I turned a spare bedroom into my first real studio back when I was still finishing automotive design coursework, and the thing nobody tells you is that the room teaches you almost as much as your instructors do. Bad light will show you exactly why your shading looks muddy. A cluttered desk will show you exactly why you keep losing momentum mid-sketch.
- Optimizing Light and Layout
- Why North-Facing Windows Win
- Arranging for Movement, Not Just Looks
- Curating Creative Inspiration
- Building a Mood Board That Actually Gets Used
- Staying Connected to the Broader Creative Community
- Organizing for a Clear Workflow
- Matching Storage to How You Actually Work
- Making Cleanup a Routine, Not a Chore
- Choosing Furniture That Earns Its Space
- Multi-Purpose Pieces Over Single-Use Ones
- Sizing the Room Honestly
- Adding Personal Touches Without Losing Function
- Displaying Work Without Creating Visual Noise
- Bringing in Texture and Material Variety
- Common Mistakes When Setting Up a Studio
- Over-Decorating Before Testing the Workflow
- Ignoring Ventilation and Air Quality
- Underestimating Storage Needs Early
- Conclusion
- Frequently Asked Questions
- Q: What's the most important factor in designing a home art studio?
- Q: How small can a home art studio be and still work?
- Q: What storage system works best for art supplies?
- Q: How do I keep a creative workspace from feeling cluttered?
- Q: Should I invest in a proper drafting stool?
- Q: How do I stay inspired without copying other artists?
- Q: What's a common mistake people make setting up a studio?
A home art studio isn’t a luxury add-on to your house. It’s the actual infrastructure behind whatever you make there, whether that’s graphite portraits, watercolor landscapes, or digital illustration on a tablet. Get the room right, and the work gets easier without you doing anything differently. Get it wrong, and you’ll fight your own creative workspace every single session.
This guide walks through what actually makes a studio worth using: light, layout, storage, and inspiration, based on years of setting up and rearranging my own spaces across two countries.
Optimizing Light and Layout
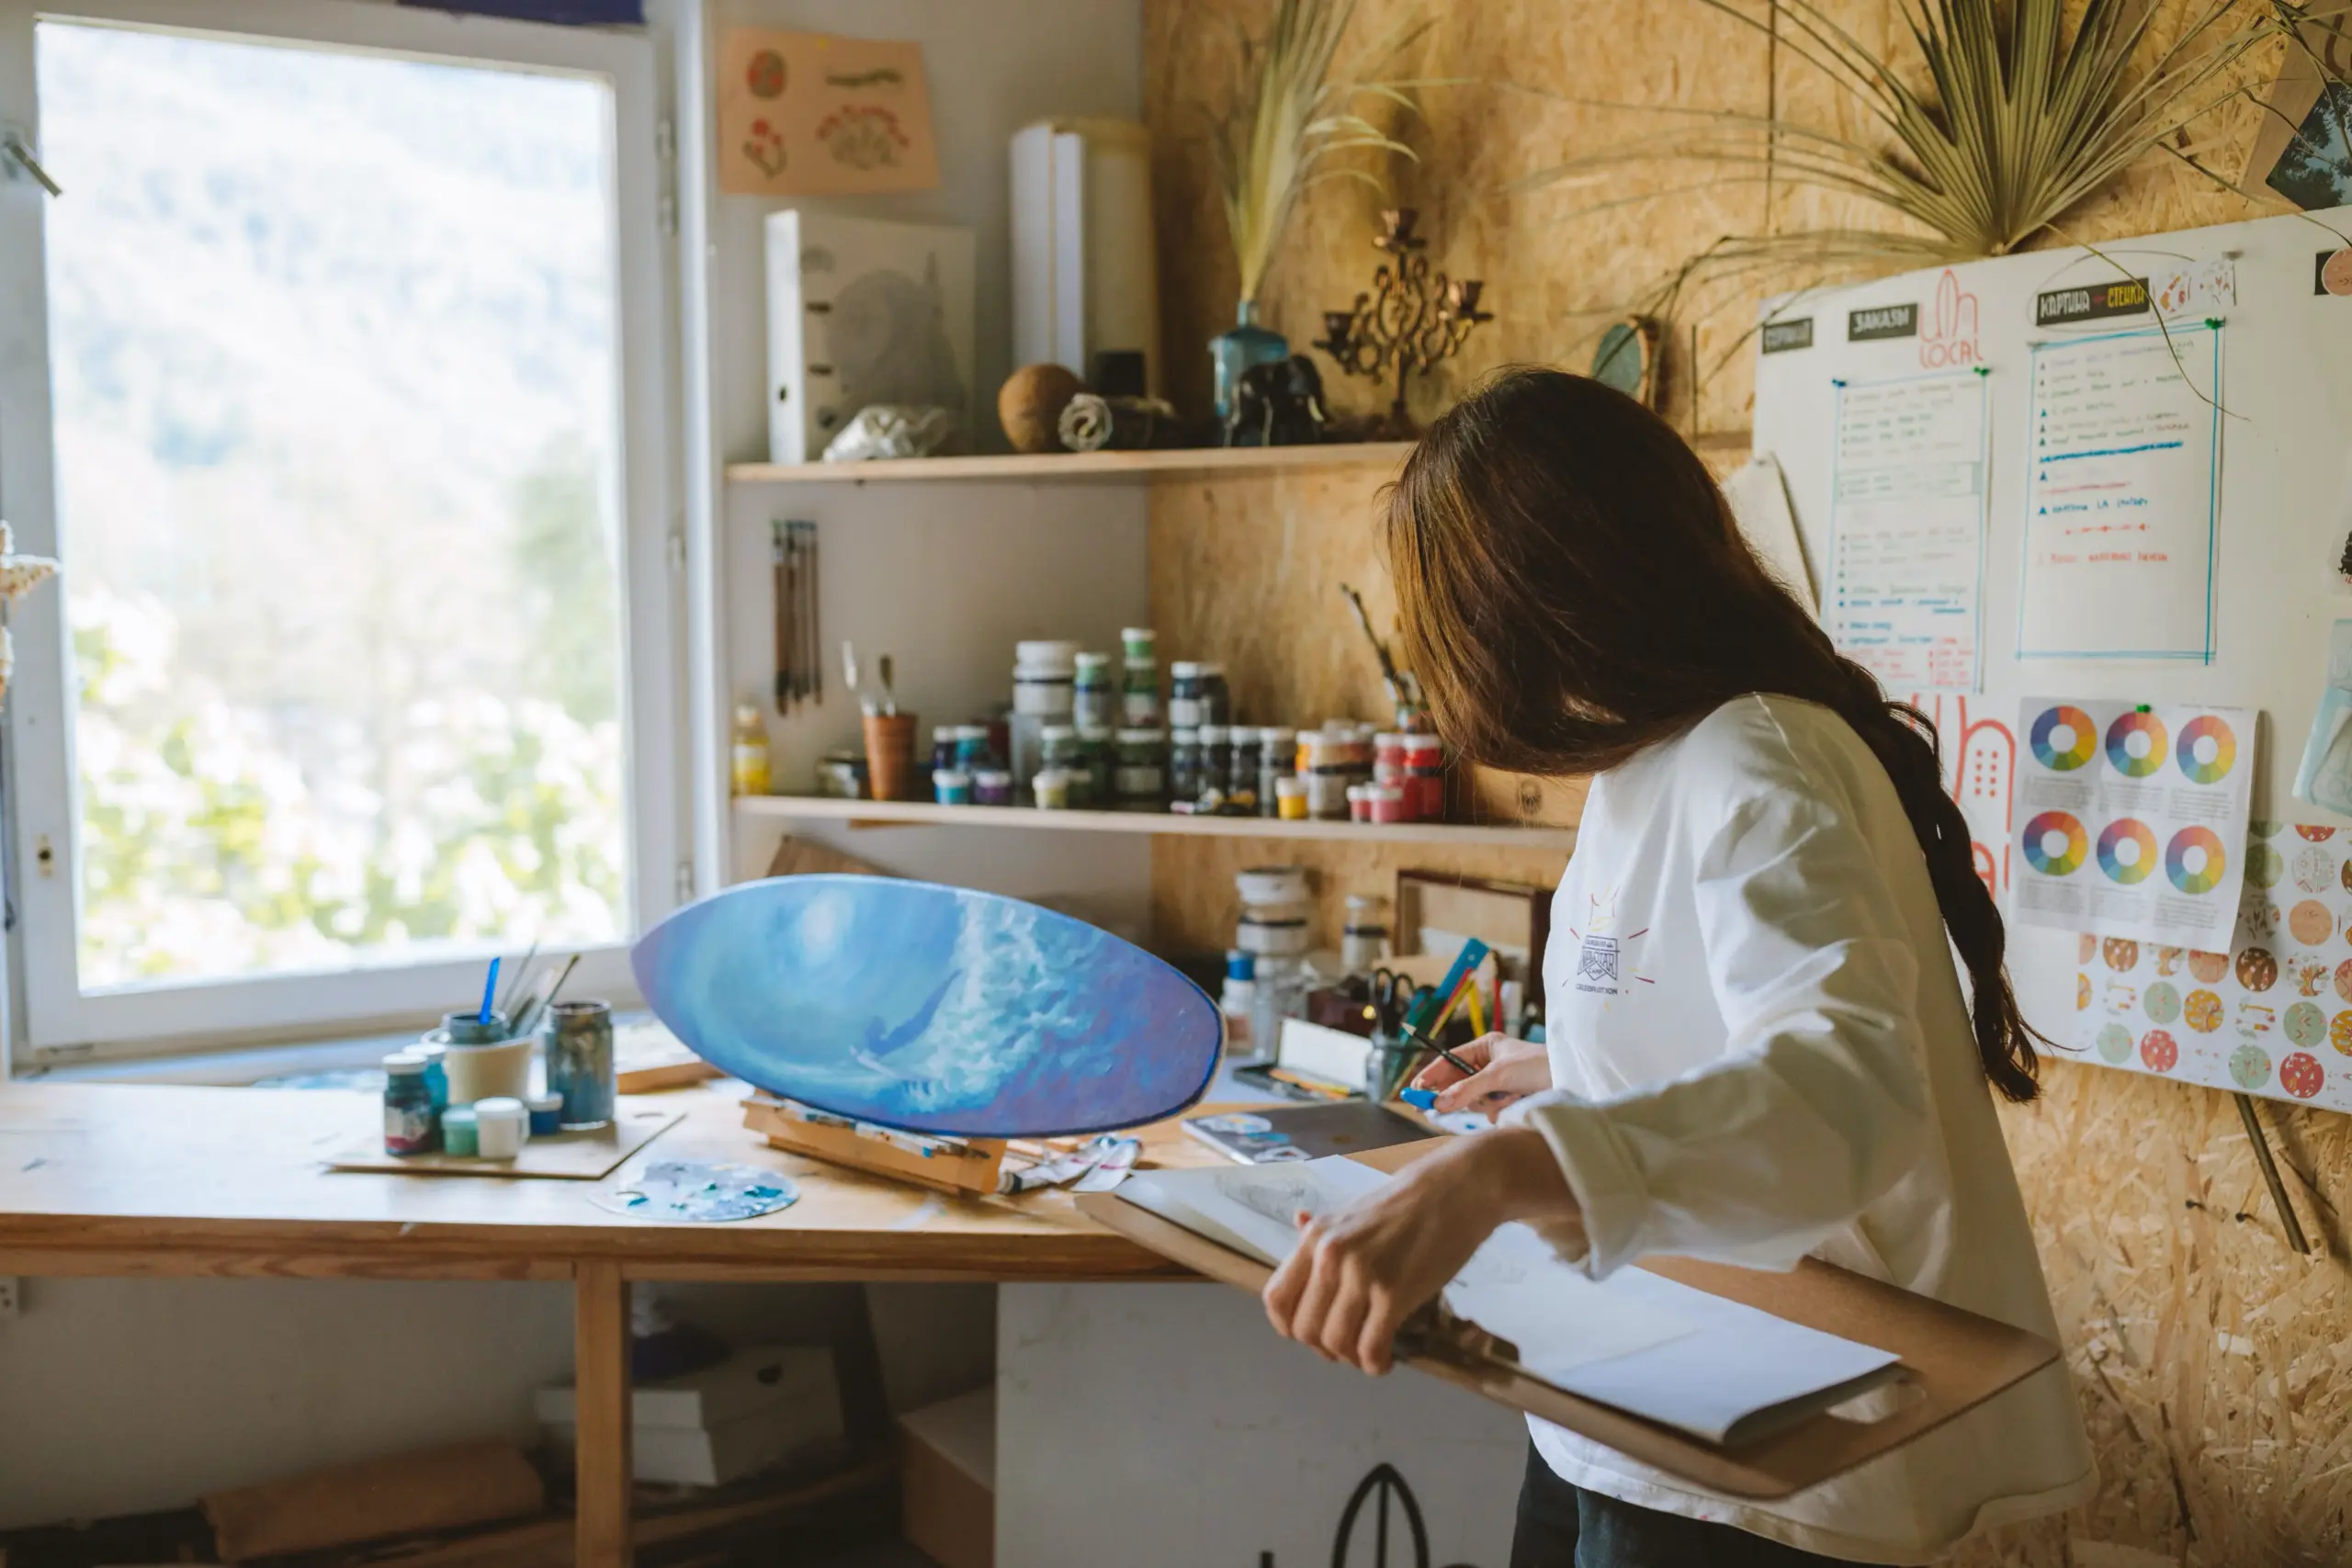
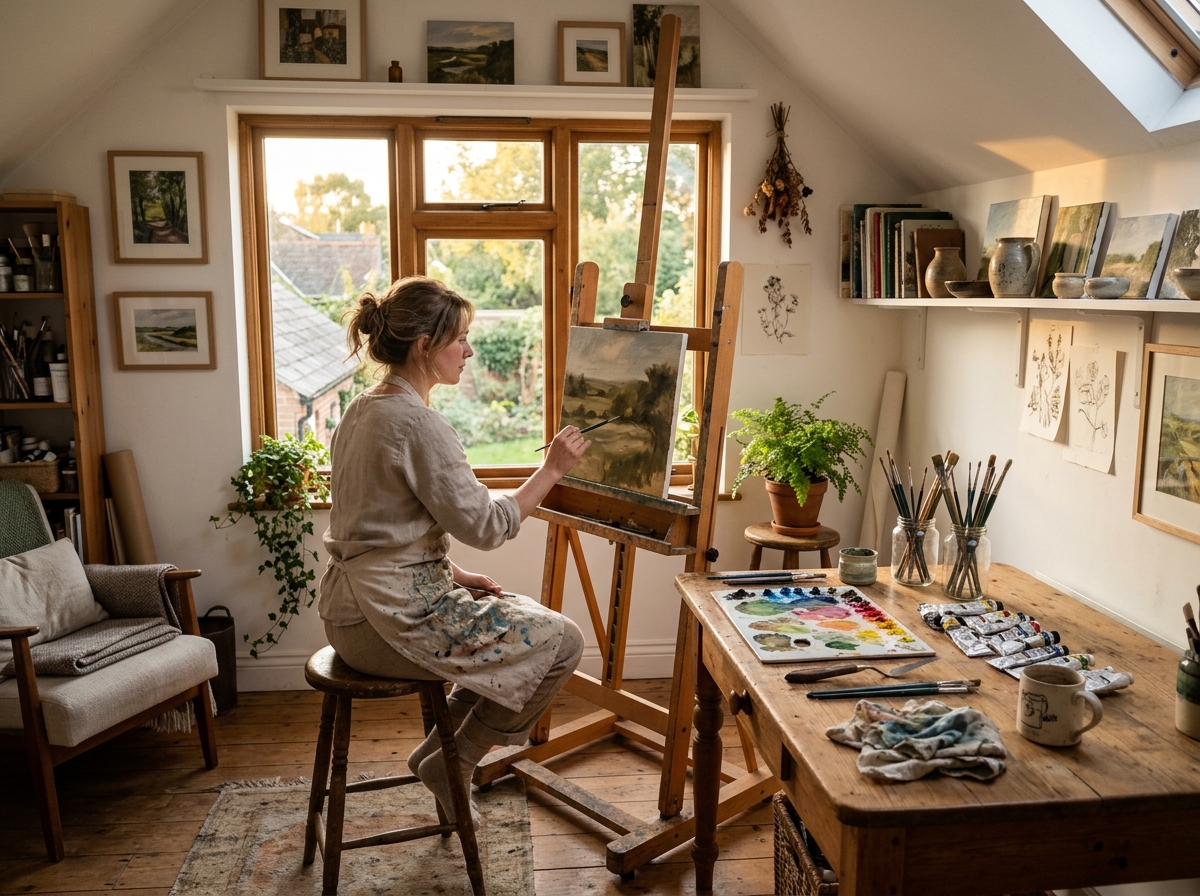
Light is the one variable that changes everything else in a studio, and most people get it backwards by picking furniture first.
Why North-Facing Windows Win
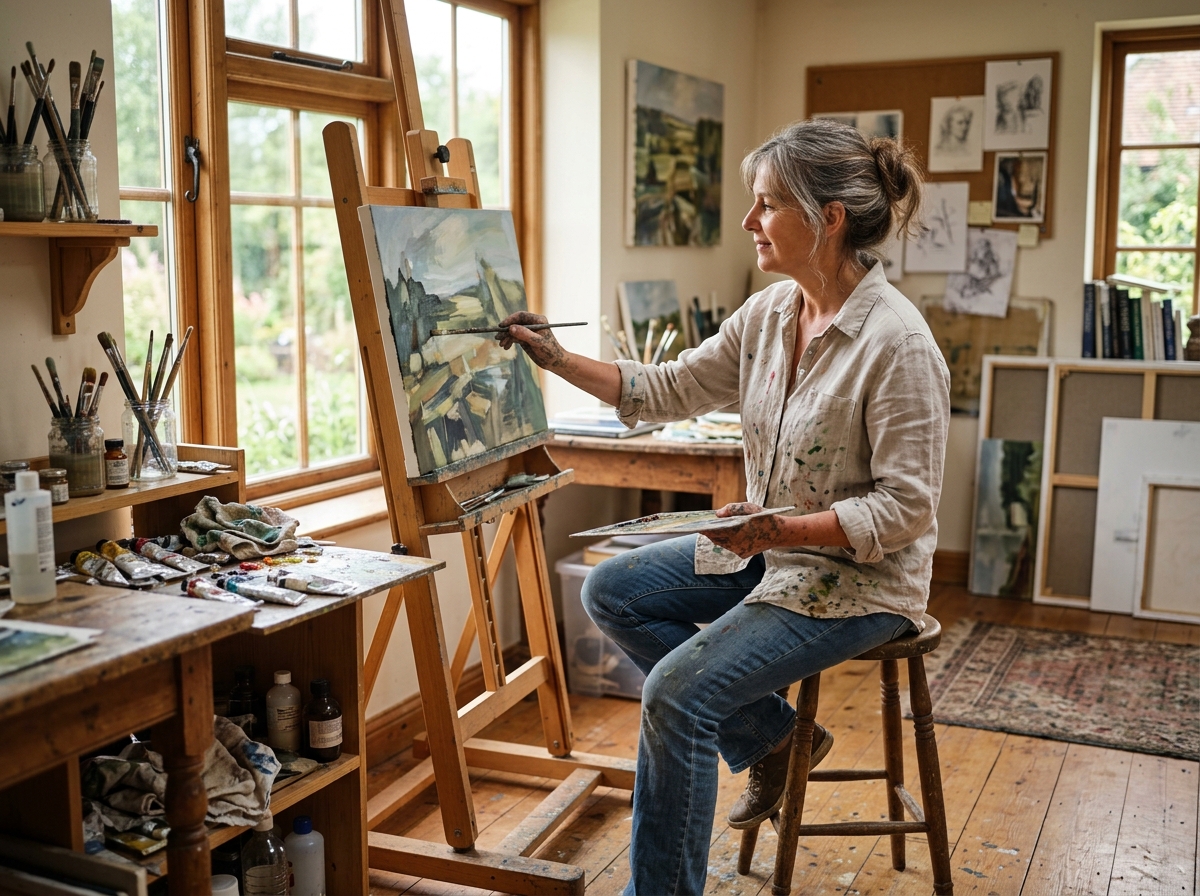
A north-facing window gives you consistent, diffused daylight throughout the day, without the harsh directional shift you get from south or west exposure. I learned this the hard way in my first Kyiv studio, where an east-facing window meant my morning painting sessions had warm, golden light and my afternoon sessions had flat gray shadows—same painting, two completely different color readings.
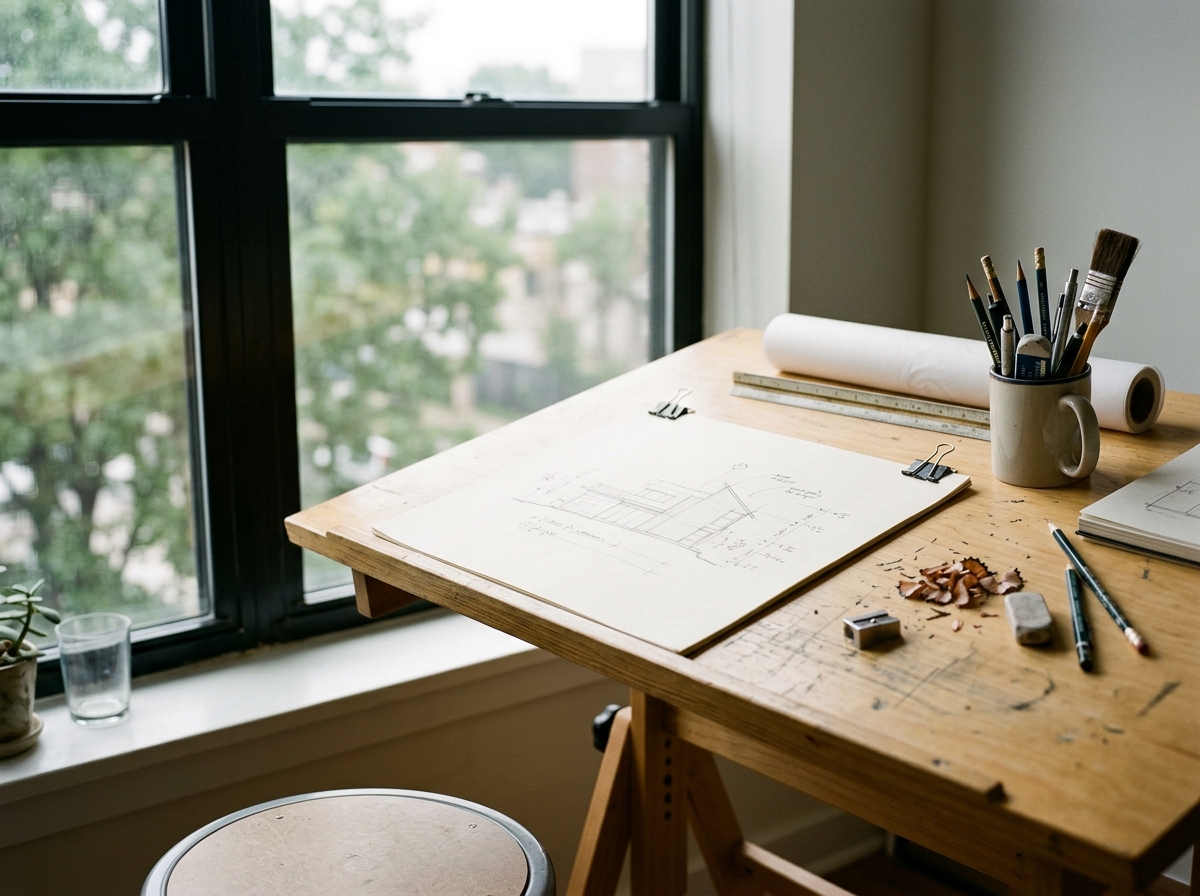
If your home layout doesn’t give you a north-facing option, color-corrected LED lamps rated around 5000K mimic that neutral daylight closely enough for serious work. I use a set of $40 clamp lamps positioned at roughly a 45-degree angle to my drafting table, angled to avoid glare on glossy paper.
QUICK TIP | Stand in your intended studio spot at the time of day you actually work, morning or evening, and watch how the light falls for ten minutes before committing to a layout. That single observation will save you from months of fighting bad shadows.
Arranging for Movement, Not Just Looks
Beyond illumination, think about how your body actually moves through the space. Keep brushes, pencils, and reference material within arm’s reach of wherever you sit most, and leave a clear path around larger furniture like an easel or a drafting table.
I’ve noticed that studios which look photogenic in a flat-lay photo often fail this test completely—everything’s arranged for the camera angle, not for someone reaching for a water jar mid-stroke. Function first, then aesthetics.
Curating Creative Inspiration
An inspiring workspace does two jobs at once: it reflects who you already are as an artist, and it keeps exposing you to ideas you haven’t had yet.
Building a Mood Board That Actually Gets Used
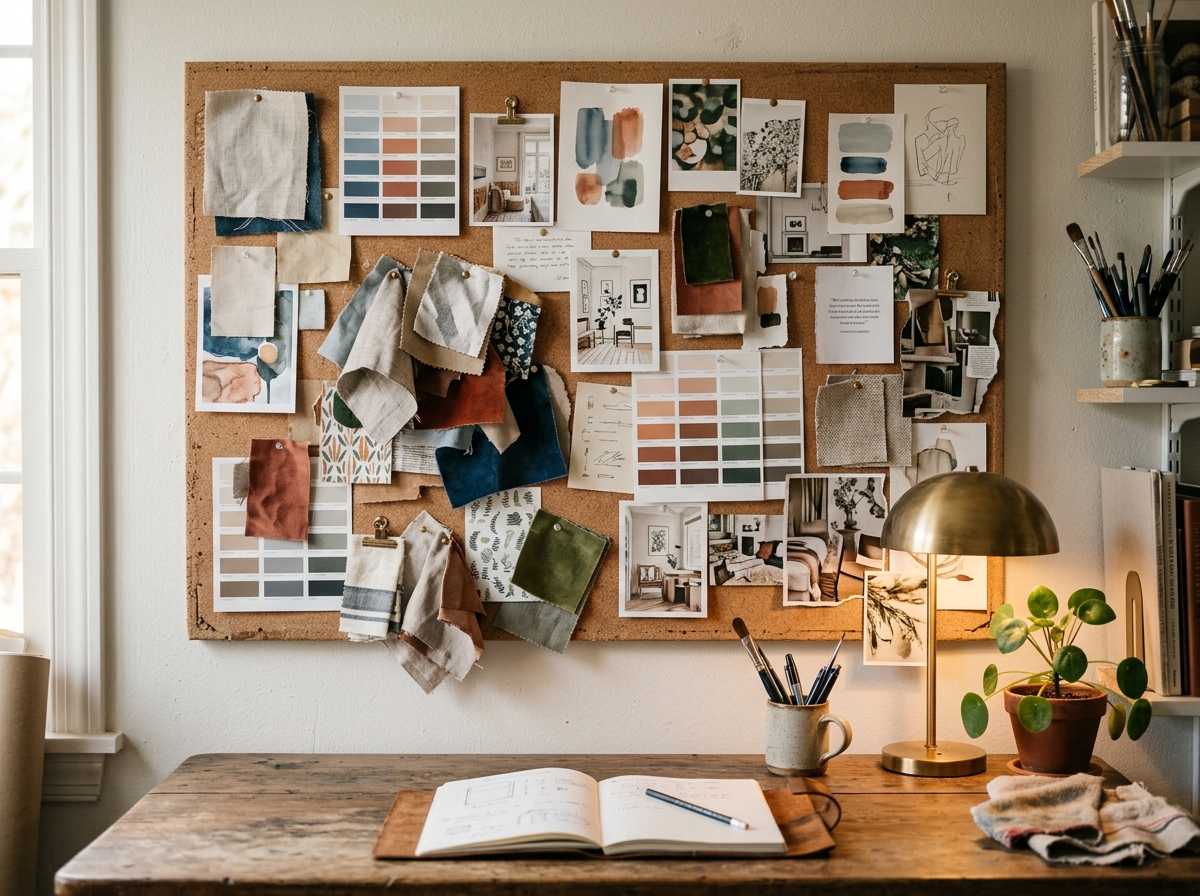
Mood boards fail when they’re decorative rather than functional. Mine lives on a corkboard directly above my monitor, not on a far wall, so I glance at it constantly instead of forgetting it exists after week one. I pin fabric swatches, printed color palettes from artists I admire, and the occasional automotive paint chip—industrial design habits die hard, and a metallic Jaguar blue swatch has genuinely influenced more than one painting’s palette.
QUICK TIP | Rotate one piece on your mood board every week, even if it’s just a phone photo you printed at a drugstore kiosk. A board that never changes stops registering as inspiration and just becomes wallpaper.
Staying Connected to the Broader Creative Community
Building your own style doesn’t mean working in isolation. Checking contemporary trends across galleries and online platforms shows you what color schemes and compositions are resonating right now, which helps you stay grounded rather than accidentally repeating ideas from five years ago.
Watching how professionals present and sell finished pieces adds a different kind of education entirely.
Studying how artists auction art online shows you which concepts are currently capturing collector attention, useful context whether you’re painting for yourself or eventually hoping to sell.
Organizing for a Clear Workflow
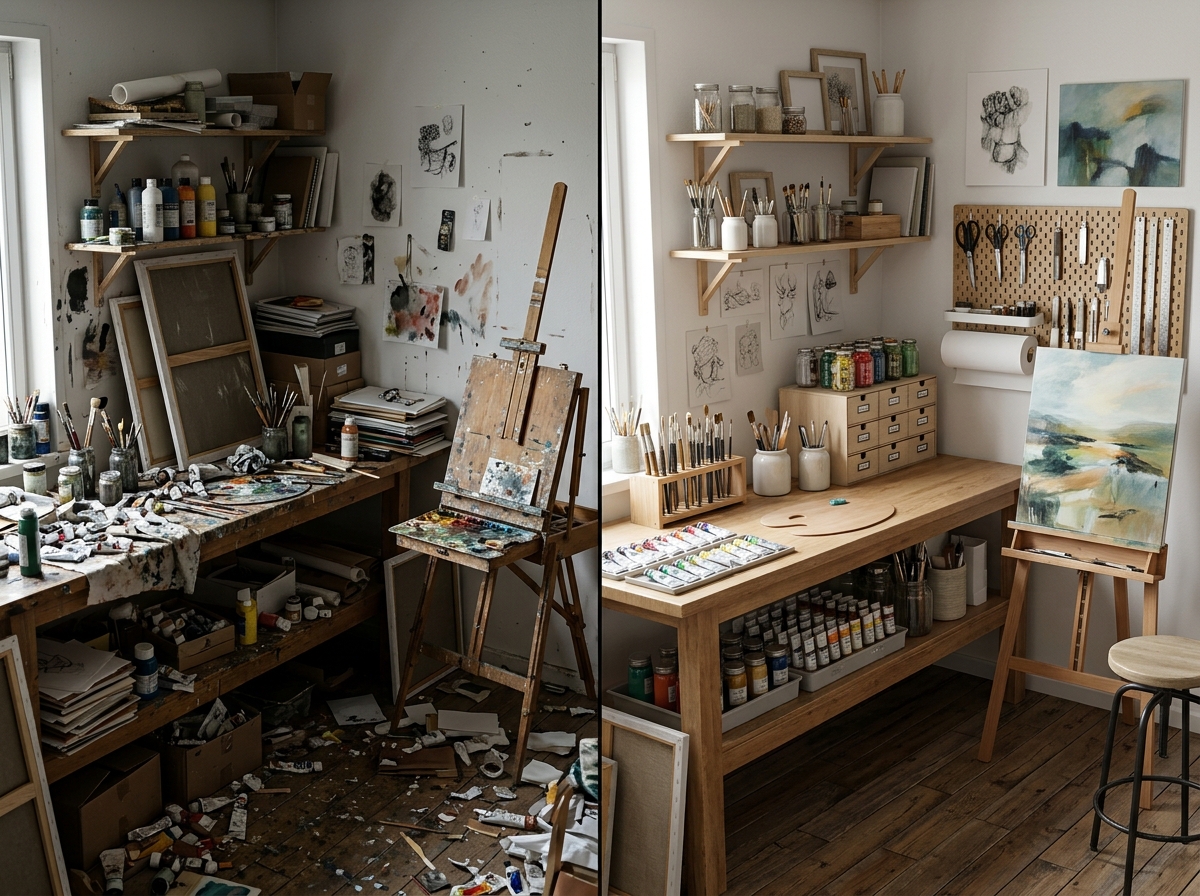
A cluttered studio doesn’t just look messy, it actively stalls creative momentum before you’ve made a single mark.
Matching Storage to How You Actually Work
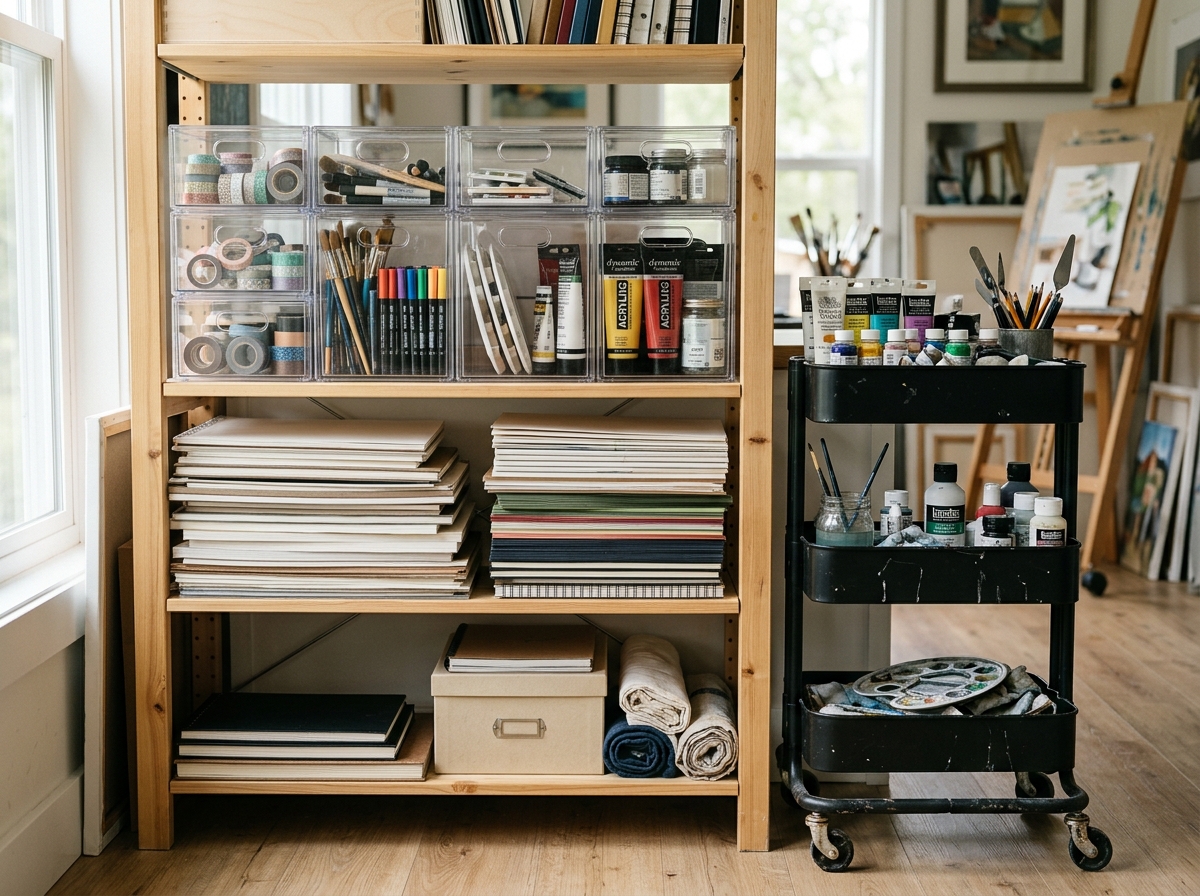
Clear acrylic bins work well for small, frequently grabbed items like markers and brushes, since you can identify contents at a glance without opening anything. Open wooden shelving suits paper stock and reference books, items you want visible as part of the room’s character. Rolling carts earn their keep for heavier supplies—paint tubes, clay tools, anything you might need to wheel closer to wherever you’re working that day.
I switched to this exact three-tier system two years ago after getting tired of digging through a single junk drawer for a 2B pencil, and setup time before painting dropped from roughly ten minutes to under two.
QUICK TIP | Do a five-minute reset at the end of every session, before you leave the room, not the next time you sit down. That single habit prevents the slow clutter creep that eventually makes a studio feel unusable.
Making Cleanup a Routine, Not a Chore
When every object has one specific home, putting things away stops requiring a decision. Labeling containers, even with simple painter’s tape and a marker, removes the guesswork that causes clutter to accumulate in the first place.
Organizing supplies by color palette rather than by type adds a genuine aesthetic layer too: my own shelf of paint tubes reads almost like a gradient chart, and it’s saved me real time hunting for a specific cadmium red.
Choosing Furniture That Earns Its Space
Furniture in a small studio needs to work harder than furniture anywhere else in the house, since square footage is usually the tightest constraint.
Multi-Purpose Pieces Over Single-Use Ones
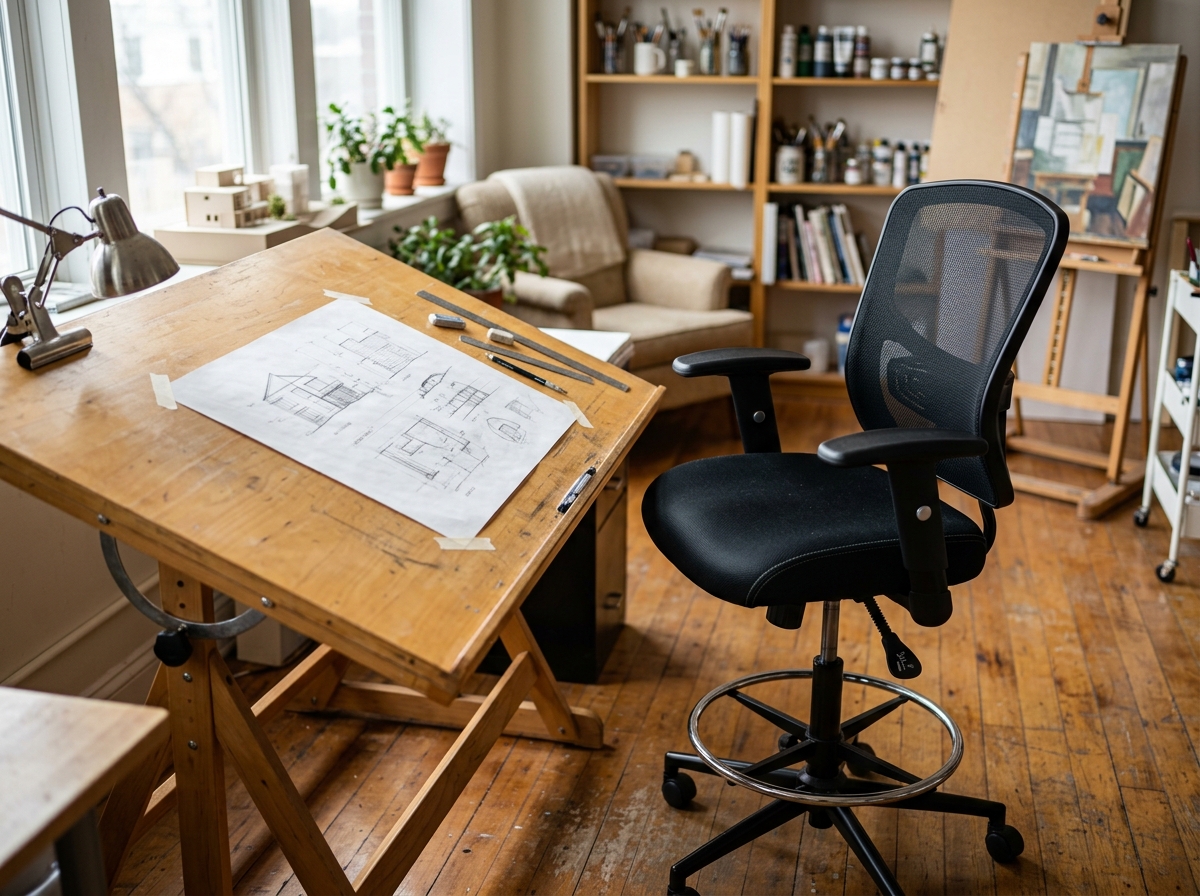
A drafting table with a tilting top and a lower shelf does the job of both a work surface and a storage unit. I’ve used an $180 adjustable-height table for the last three years that goes from standing sketch position to seated detail work in about four seconds, no tools required.
Seating matters more than most people budget for. A proper drafting stool with lumbar support pays for itself within the first few long painting sessions—cheap folding chairs simply don’t hold up to four-hour sittings without your back reminding you afterward.
Sizing the Room Honestly
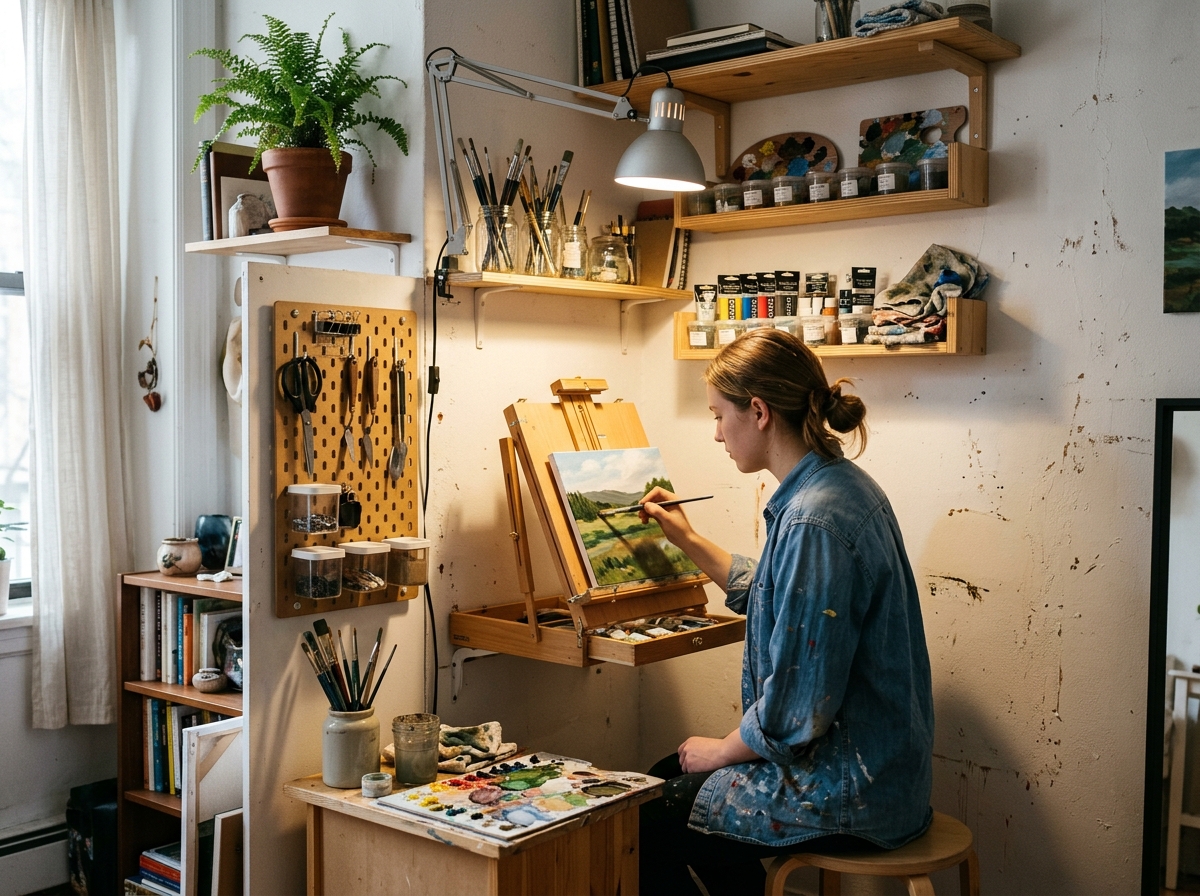
Not everyone has a spare bedroom to dedicate entirely to art. A studio corner as small as 6×8 feet can function well if the layout is deliberate: wall-mounted storage instead of floor cabinets, a compact easel that folds flat, and good task lighting concentrated exactly where you need it rather than spread evenly across a larger space.
I set up a client’s apartment corner exactly this way last year, and the honest constraint actually improved her workflow—everything she needed was within a single arm’s reach, with zero wasted steps across a room.
Adding Personal Touches Without Losing Function
A studio should feel like yours, but personality and clutter are two different things, and it’s easy to confuse them.
Displaying Work Without Creating Visual Noise
Rotating a small selection of finished pieces, three to five at most, on a single dedicated wall keeps the space feeling curated rather than crowded. I swap mine out monthly, which also gives me an honest, ongoing record of how my own work is progressing.
Bringing in Texture and Material Variety
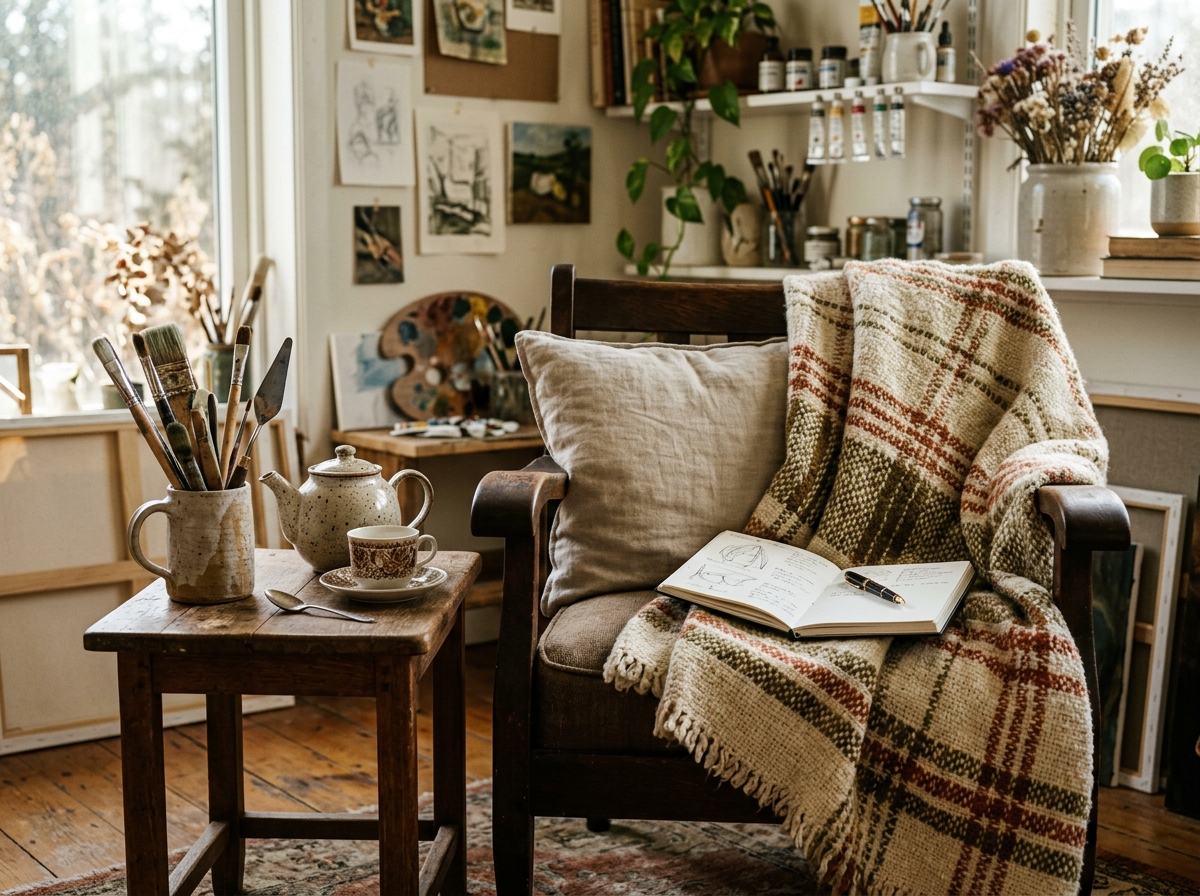
A few tactile elements, a woven throw on a reading chair, a ceramic mug for brushes instead of a plastic cup, do real work toward making a studio feel lived-in rather than clinical. I keep a small collection of fine teas, Shu Pu-erh mostly, on a shelf near my painting table; the ritual of brewing a cup before a long session has become part of how I mentally shift into focus mode.
QUICK TIP | Limit personal decor to items that also serve a function—a mug that holds brushes, a chair that’s actually comfortable to sit in for hours. Purely decorative clutter accumulates fast in a small room and works against the same organization you just built.
Common Mistakes When Setting Up a Studio
Most studio setups fail in one of a few predictable ways, and knowing them ahead of time saves real trial and error.
Over-Decorating Before Testing the Workflow
It’s tempting to style a studio like a magazine spread before you’ve actually worked in it for a week. I’ve watched clients spend real money on a beautiful shelf arrangement, then rearrange everything within a month once they realized their actual working habits didn’t match the ideal layout they’d imagined.
Ignoring Ventilation and Air Quality
If you’re working with solvents, spray fixatives, or resin, airflow isn’t optional. A studio without a window that opens or a small air purifier will leave you working in fumes you’ll notice as a headache before you notice the smell.
Underestimating Storage Needs Early
Most people set up storage for the supplies they currently own, then run out of room within six months as their practice grows. Building in roughly 20-30% extra shelf or bin capacity from day one saves you a disruptive reorganization later.
Conclusion
Designing a home art studio is never really finished. Mine has changed shape at least four times over fifteen years, shifting alongside whatever medium or project had my attention that year. What stays constant is the underlying logic: good light first, honest storage second, and inspiration that actually gets used rather than just displayed.
Start with the light in your own space this week. Watch how it moves through the room at the hour you actually plan to work, and build everything else—layout, storage, furniture—around that single observation. The rest of the ideas in this guide matter, but none of them fix a room with bad light.
The same lighting discipline matters in beauty spaces; this salon lighting design section explains how ambient light, task light, and high-CRI fixtures affect color work and client comfort.
For drawing, editing, or admin blocks, the studio chair matters more than most people admit. Pair the storage plan with this affordable ergonomic furniture guide before buying a new desk chair.
Frequently Asked Questions
Q: What’s the most important factor in designing a home art studio?
A: Light, by a wide margin. A north-facing window gives consistent, diffused daylight throughout the day without harsh shifts. If natural light isn’t available, color-corrected LED lamps around 5000K come closest to replicating that neutral quality for accurate color work.
Q: How small can a home art studio be and still work?
A: A dedicated corner as small as 6×8 feet functions well with the right layout, wall-mounted storage, a foldable easel, and task lighting concentrated exactly where you need it. The constraint often improves workflow by keeping everything within arm’s reach.
Q: What storage system works best for art supplies?
A: Match the container to the item: clear acrylic bins for small frequently-grabbed supplies like brushes and markers, open wooden shelving for paper stock and reference books, and rolling carts for heavier items like paint tubes or clay tools.
Q: How do I keep a creative workspace from feeling cluttered?
A: Give every object one specific home so putting things away stops requiring a decision, and do a five-minute reset at the end of each session rather than waiting until next time. Organizing supplies by color palette instead of type also helps visually.
Q: Should I invest in a proper drafting stool?
A: Yes, if you spend more than an hour at a time at your desk. A stool with real lumbar support pays for itself within a few long sessions, since folding chairs typically can’t hold up to extended sitting without back strain.
Q: How do I stay inspired without copying other artists?
Just as proper lighting transforms an indoor workspace, soft light elevates your outdoor area. Check out these cozy fall patio ideas for evening relaxation.
A: Rotate your mood board regularly and check contemporary trends and galleries for context on current color schemes and compositions, without treating any single source as a template. Studying how professionals present and sell finished work, including how artists auction art online, adds useful perspective on what’s resonating with audiences right now.
Q: What’s a common mistake people make setting up a studio?
A: Decorating before testing the actual workflow. It’s easy to style a space like a magazine spread, then discover within a month that real working habits don’t match the imagined ideal, requiring a full rearrangement anyway.
An ideal workspace layout always prioritizes consistent daylight. Discover how choosing and framing bright bay windows can provide the shadow-free natural illumination that artists require.
If your studio shares space with a kitchen or office wall, a tidy home coffee station can keep breaks close without letting cups, beans, and tools spread across the work table.
- 70shares
- Facebook0
- Pinterest70
- Twitter0
- Reddit0