Photoshop is a powerful tool that can significantly enhance architectural renderings. By mastering the right techniques, you can elevate the visual quality of your designs and better communicate your vision. This article provides essential tutorials that will help you harness Photoshop’s capabilities for architectural projects.
Whether you’re a novice or have some experience, these tutorials will guide you in improving your skills. You will learn how to create more compelling presentations, making your architectural concepts stand out in a competitive field.
1)Mastering Layer Masks in Photoshop
Layer masks are a powerful tool in Photoshop, especially for architectural renderings. They allow you to selectively hide or reveal parts of a layer without permanently altering the image.
To use a layer mask, first ensure the layer is selected. Click the “Add Layer Mask” button at the bottom of the Layers panel. A white thumbnail will appear next to your layer, indicating that the mask is active.
Painting on the layer mask with black will hide parts of the layer, while painting with white will reveal them. This makes it easy to blend different elements seamlessly.
You can use different brush sizes and opacities for finer control. For example, a soft brush is effective for gentle transitions, while a hard brush works well for sharp edges.
Remember to utilize the mask while adjusting color or effects. This approach gives you the flexibility to enhance your renderings without destructive edits. Mastering layer masks will significantly improve your workflow and outcomes in architectural visualization.
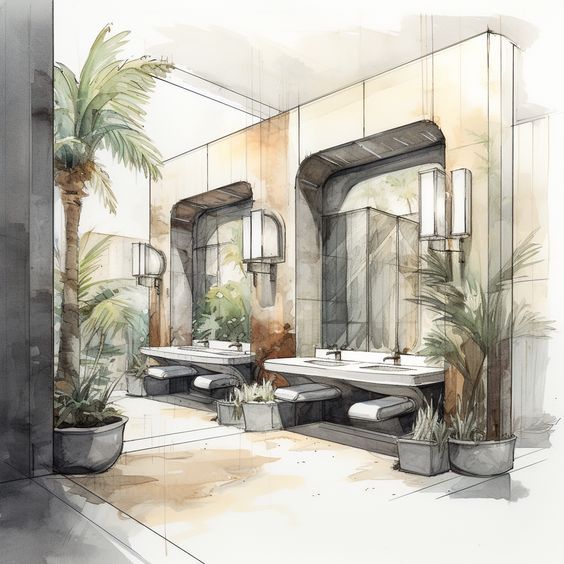
2)Creating Realistic Textures
Creating realistic textures in Photoshop is crucial for enhancing architectural renderings. Textures add depth and realism, making your projects more visually appealing.
Start by choosing high-quality texture images. You can find these online or take your own photos. Ensure they are suitable for your project’s scale and lighting conditions.
Once you have your textures, use the “Transform” tool to adjust their size and orientation. This ensures they fit seamlessly into your renderings.
Utilize blending modes to integrate textures with your 3D models. Experiment with options like “Multiply” or “Overlay” to achieve the desired effect.
Don’t forget to apply adjustments like brightness, contrast, and saturation. These tweaks can help the textures match the overall color scheme of your rendering.
Finally, consider adding subtle details like scratches or wear to enhance realism. Using a soft brush with low opacity can help you achieve a natural look.
By following these techniques, you can create stunning and realistic textures that elevate your architectural visualizations.

3)Lighting Techniques for Depth
Achieving depth in your renderings involves more than just objects and textures. Lighting plays a crucial role in creating a three-dimensional effect.
Start by adjusting the light intensity. Softer light can enhance textures and alleviate harsh shadows. Experimenting with light direction can also influence how viewers perceive depth in your images.
Consider using multiple light sources. This technique adds dimension by creating layers of light and shadow. For instance, combine ambient lighting with focused spotlights to highlight architectural features.
You can also explore different types of lighting effects, such as backlighting. This technique creates silhouettes and enhances the outlines of structures, making them stand out against backgrounds.
A simple adjustment of color temperature can dramatically affect mood and perception of space. Warmer tones can create a welcoming atmosphere, while cooler tones provide a contemporary feel.
Manipulating shadows is another effective way to deepen the image. Shadows that are too stark may flatten your rendering, so adjust opacity and blur to achieve balance.

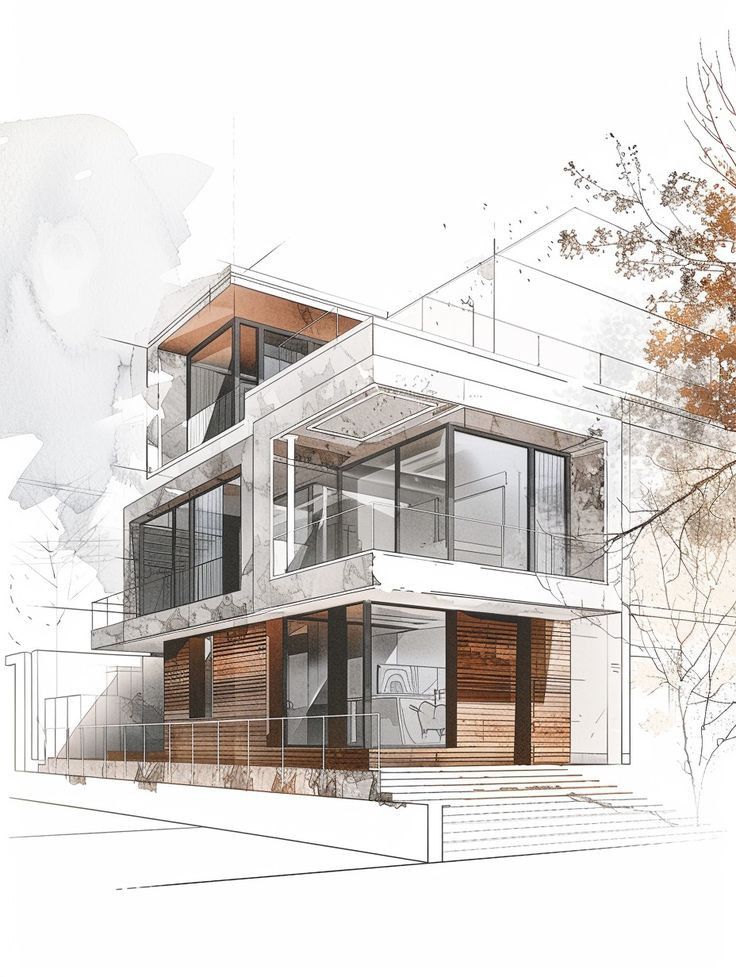
4)High-Quality 3D Render Enhancement
Enhancing your 3D renderings in Photoshop can significantly improve visual appeal. Start by importing your render and adjusting the image size to match your project requirements.
Utilize adjustment layers like Curves and Levels to refine the contrast and brightness. This step helps in making the elements of your rendering stand out more effectively.
Consider applying color grading techniques to achieve a cohesive color palette. You can use the Color Balance or Hue/Saturation adjustments to modify the overall tone and mood.
Adding textures can also enhance realism. Use high-resolution textures for surfaces like walls, floors, and landscapes. Blend them with layer masks for a natural appearance.
Don’t forget to include shadows and highlights. These elements add depth and dimensionality, making the render more lifelike. Use the Brush tool with soft settings to paint shadows where necessary.
Finally, pay attention to the details. Small additions like people, furniture, or trees can make your rendering inviting. These elements provide context and scale for the viewer.
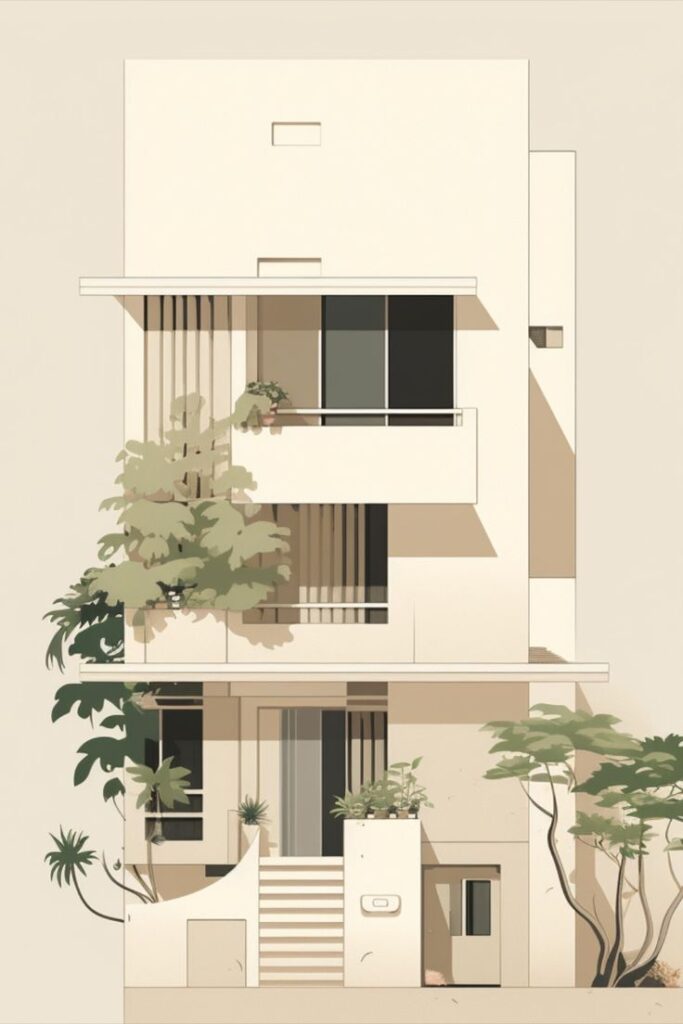
5) Advanced Architectural Compositing
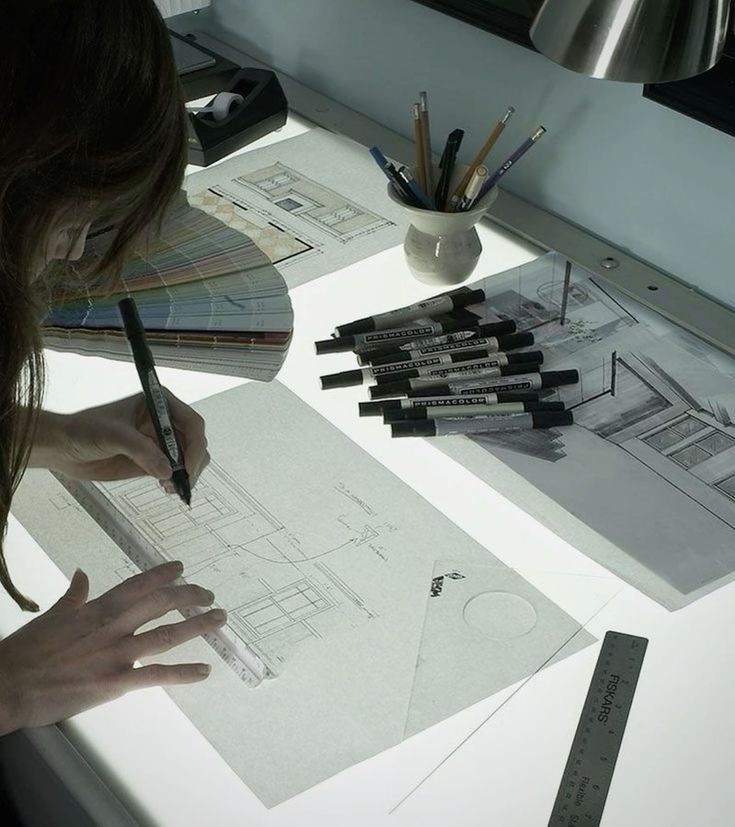
Advanced architectural compositing allows you to create stunning visuals by combining multiple elements into a cohesive scene. You can highlight your designs by integrating realistic backgrounds, textures, and lighting effects.
Start by layering your renderings with high-quality images. Use selection tools to isolate your architectural elements. This way, you can place them against different backgrounds, enhancing the scene’s context.
Next, focus on blending techniques. Utilize layer masks and blending modes to ensure that your architectural elements seamlessly integrate with the background. Adjust opacity and apply gradients for smoother transitions.
Pay attention to lighting. Match the light sources in your rendering with those in the background images. This creates a more believable atmosphere and enhances the overall realism of the composition.
Additionally, apply color correction tools. Adjust hues, saturation, and brightness levels to ensure consistency across layers. This helps your renderings appear natural within the chosen environment.
Finally, consider adding subtle effects like shadows and reflections. These elements can greatly enhance depth and realism, making your compositing work stand out.
Understanding Photoshop Tools for Architecture
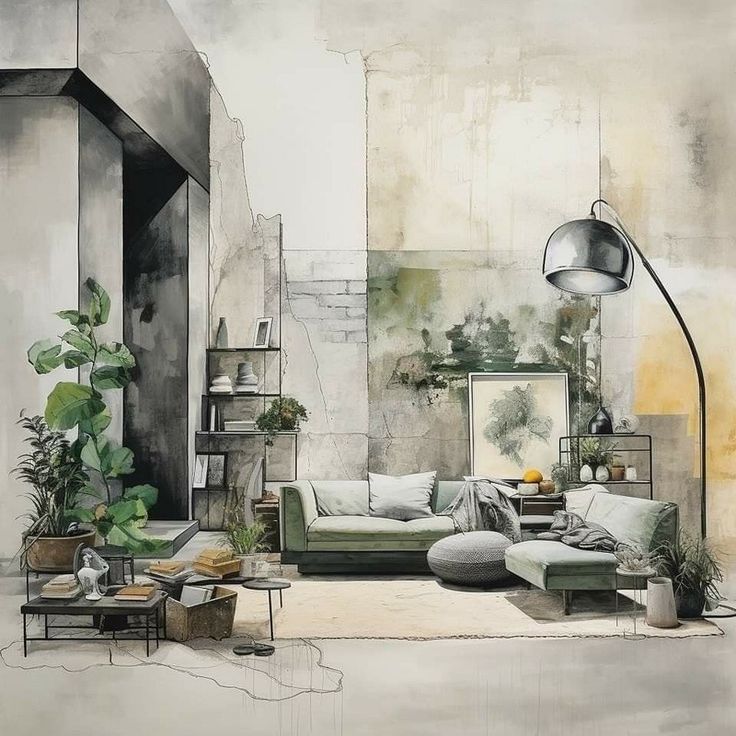
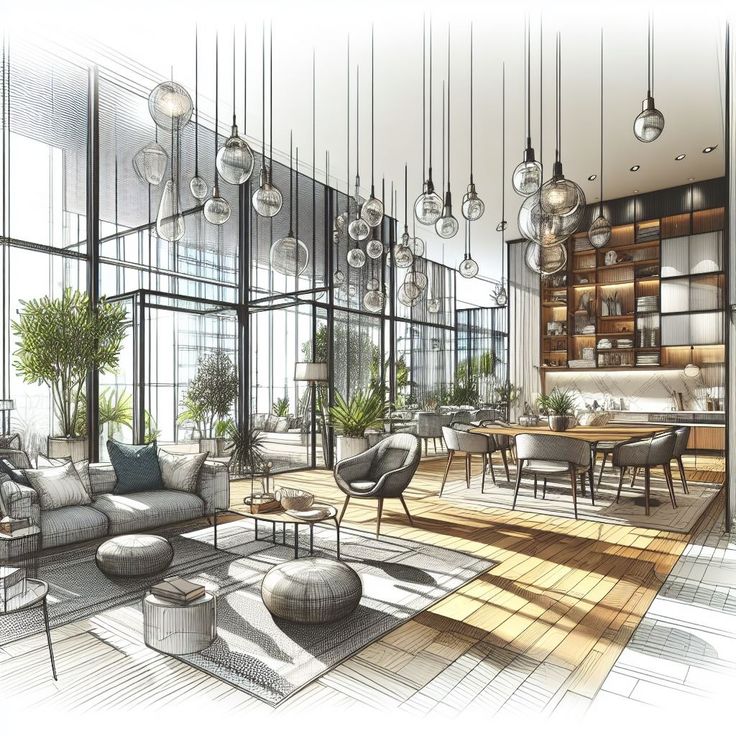
Mastering Photoshop’s tools is crucial for architects seeking to enhance their renderings. Knowledge of key functionalities can significantly improve the quality and presentation of architectural visuals.
Mastering the Layers Panel
The Layers Panel is the backbone of your Photoshop project. It allows you to organize various elements separately, facilitating easier editing and adjustments.
Create New Layers: Start by creating multiple layers for different components of your rendering, such as backgrounds, foreground elements, and textures.
Use Groups: Organize related layers into groups, making navigation straightforward.
Layer Masks: Employ masks to isolate areas for targeted editing without permanently altering the original image.
By mastering these features, you gain greater control over your work, ensuring cleaner and more effective designs.
Utilizing Brushes for Texturing
Brushes in Photoshop are powerful tools for adding realism to architectural renderings. Custom brushes can simulate various materials, helping your designs stand out.
Download Custom Brushes: Explore platforms where you can find brushes specifically designed for architecture, such as those that mimic foliage or texture.
Adjust Brush Settings: Experiment with size, opacity, and flow settings to achieve the right effect.
Layering: Apply texture brushes on separate layers for easy modification.
Through strategic use of brushes, you can create depth and visual interest in your architectural images.
Color Correction Techniques
Accurate color representation is vital in architectural imagery. Color correction tools in Photoshop can enhance the visual appeal of your renderings.
Adjust Levels: Use the Levels adjustment to set the brightness and contrast, improving overall visibility.
Curves Adjustment: Curves offer precise control over tones, allowing for adjustments that reflect your intended mood.
Selective Color: Utilize selective color adjustments to modify specific color ranges, enhancing elements such as the sky or materials.
Implementing these techniques ensures that your renderings are not only aesthetically pleasing but also true to your design intent.
Advanced Techniques for Enhancing Renderings
To achieve more compelling architectural renderings, incorporating advanced techniques is essential. Focus on precise lighting and shadow creation to bring your designs to life. These elements add depth and realism, making the final presentation more impactful.
Incorporating Lighting Effects
Lighting significantly impacts the perception of architectural designs. Use layers for different lighting effects, such as ambient, directional, and spotlights. This allows you to adjust intensity and angle easily.
Steps:
- Create a new layer for each light type.
- Use the Brush tool with a soft edge to simulate light spread.
- Experiment with layer styles—try “Overlay” for added depth.
Adjust opacity and blending modes for a natural effect. Place light sources strategically to highlight features and create focal points. This technique can enhance textures and materials, making the rendering feel more realistic.
Creating Realistic Shadows
Shadows play a crucial role in giving your renderings dimension. Use the “Drop Shadow” layer style to create soft, natural shadows. Adjust the distance, spread, and size to reflect realistic shadow behavior based on the light source.
Steps:
- Determine the light direction and intensity.
- Paint shadows using the Brush tool on a new layer. Use a soft brush for gradual shading.
- Adjust opacity to integrate the shadow seamlessly.
Utilizing the “Gaussian Blur” filter can soften edges, making shadows appear more lifelike. Pay attention to the ground plane and surrounding context; accurate shadows contribute to the overall realism of your architectural visualization.
- 3.4Kshares
- Facebook0
- Pinterest3.4K
- Twitter0
- Reddit0


