Mastering SketchUp is essential for architects looking to enhance their design workflow. Your ability to navigate this powerful tool can significantly elevate the quality of your projects and presentations. By understanding the software’s core functionalities, you can unlock new possibilities in architectural visualization.
In this article, you will find five essential tutorials designed to help you utilize SketchUp to its fullest potential. Each tutorial focuses on a key aspect of the software, providing you with practical skills to implement in your architectural practice. These resources will guide you through the intricacies of SketchUp, allowing you to streamline your design process and improve your creative outcomes.
1)Detailed Floor Plan Drafting
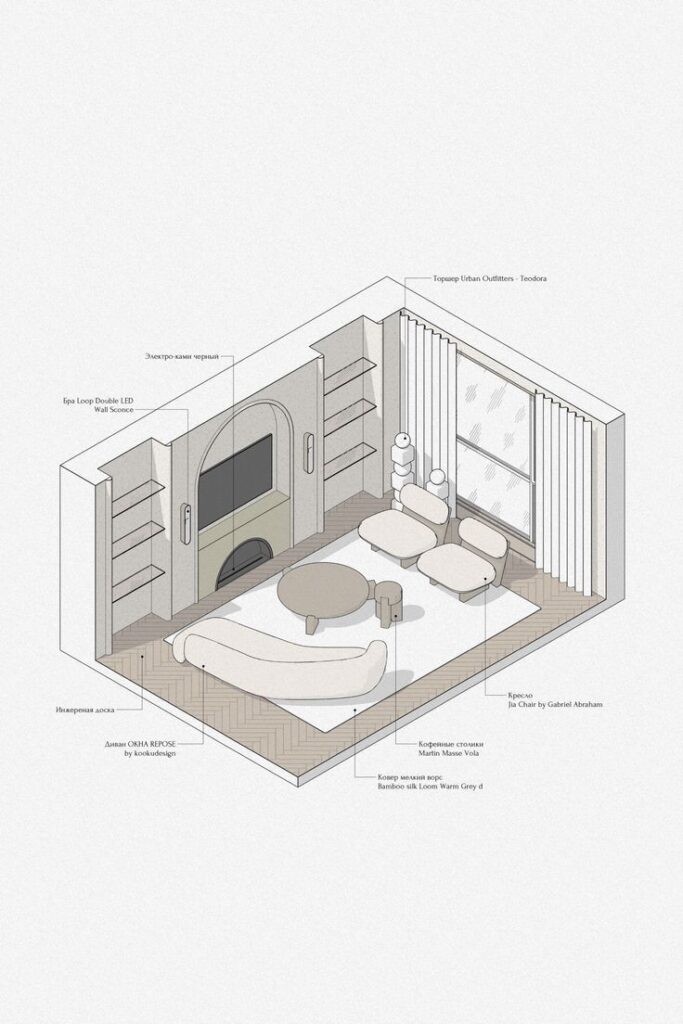
Creating a detailed floor plan in SketchUp allows you to visualize spaces accurately. Start by setting your project’s dimensions. Use the rectangle tool to define the layout of walls and rooms.
You can adjust measurements using the measurements box at the bottom right. This ensures precision and scalability for your design. The push/pull tool is essential for adding depth to walls and structural elements.
Adding windows and doors is straightforward. Simply create openings in your walls using the rectangle tool. Then, use the components library to select and insert predefined window and door designs.
Labeling rooms should be done with the text tool. Clear labels enhance the readability of your plan. Moreover, consider utilizing layers to manage different elements of your floor plan.
Explore styles and materials to give your floor plan character. You can paint surfaces and apply textures for a more realistic depiction. Grouping elements is crucial for organization, allowing you to modify parts of the design without affecting others.
Mastering these techniques will enhance your ability to draft effective floor plans in SketchUp. Practicing these fundamentals will also improve your overall architectural design skills.
2)3D Interior Design Techniques
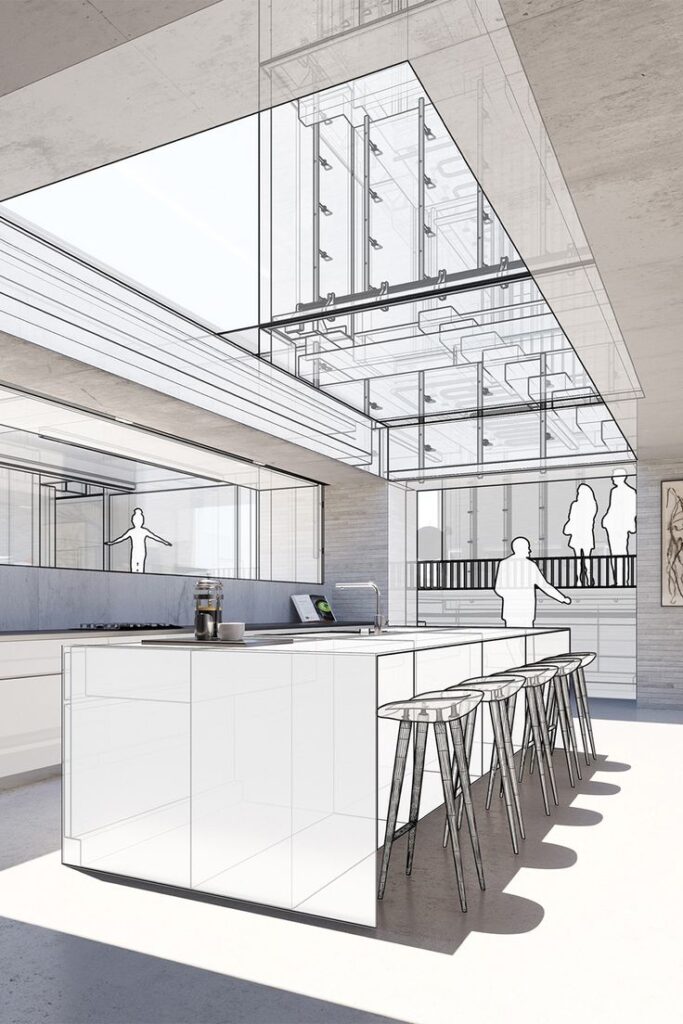
Creating realistic 3D interiors in SketchUp is essential for effective architectural visualization. You can achieve stunning results by applying specific techniques.
Start with accurate measurements of your space. This foundation allows you to create a floor plan that reflects real-world dimensions. Use the tape measure tool to enhance precision throughout your design.
Next, consider the use of components and groups. By organizing elements into groups, you can manage complex designs more easily. This approach simplifies editing and reduces clutter within your workspace.
Lighting plays a crucial role in interior design. Utilize SketchUp’s shadows and light settings to simulate natural light effects. Experimenting with different light placements can significantly change the mood and perception of your space.
Textures and materials add realism. Apply high-quality textures to surfaces for more depth and interest. The paint bucket tool provides a straightforward way to customize your finishes.
Lastly, leverage the camera tool to explore your design. Use various perspectives to visualize how the space feels. This will strengthen your design decisions and help you present your ideas more effectively.

3)Complex Roof Modeling
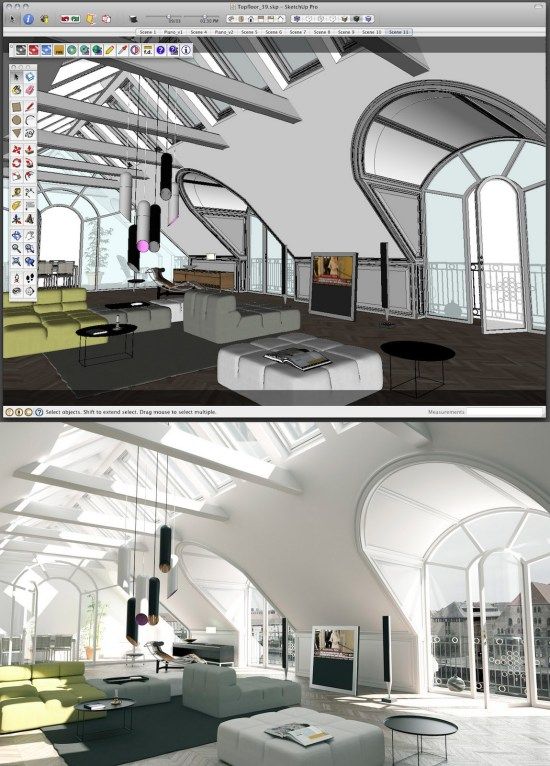
Creating complex roof structures in SketchUp requires a blend of technique and creativity. You can start by understanding the basic shapes and principles that define roof designs.
Begin with the outline of your building and use the Line tool to create the roof’s footprint. Once you have the base, employ the Push/Pull tool to extrude the shape to the required height.
Next, add slopes or gables by using the Move tool. Select the edges of your roof and adjust their positions to create the desired pitch. You can also use the Rotate tool for creating more intricate designs like dormers or irregular shapes.
Utilizing components can save you time. Create a roof component and save it for future use, ensuring consistency across your projects.
Don’t forget to leverage SketchUp’s grouping feature to manage different roof sections. This makes it easier to edit parts of your design without affecting the entire model.
Applying texture and materials helps visualize the final product. Use the Paint Bucket tool to apply shingles, tiles, or other roofing materials effectively.
Mastering these techniques will enhance your architectural designs, allowing for greater flexibility in creating diverse roof forms.
4) Photorealistic Rendering Tips
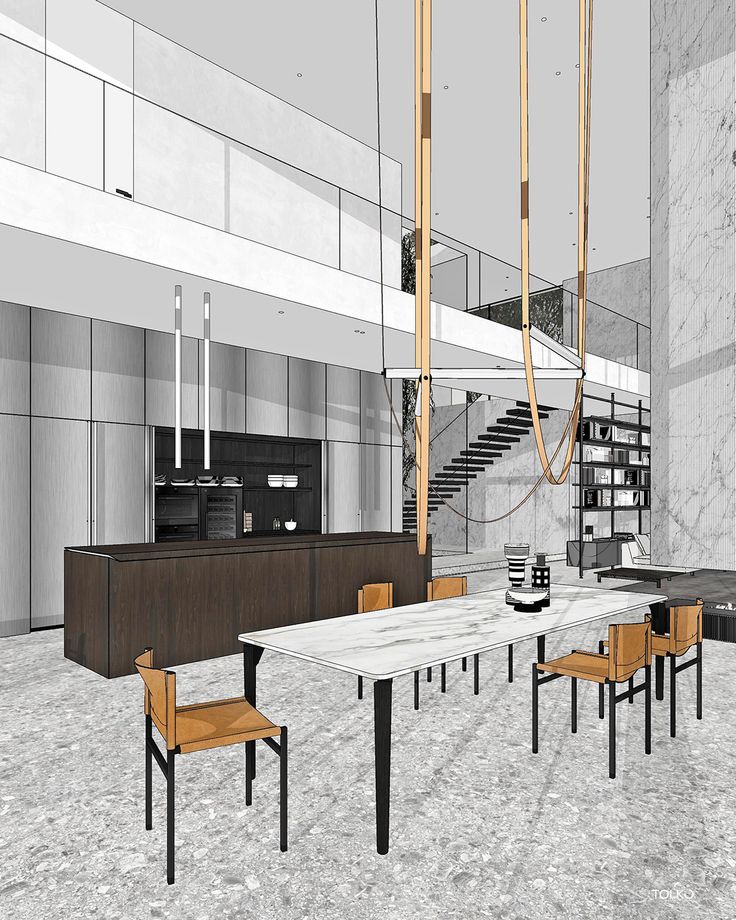
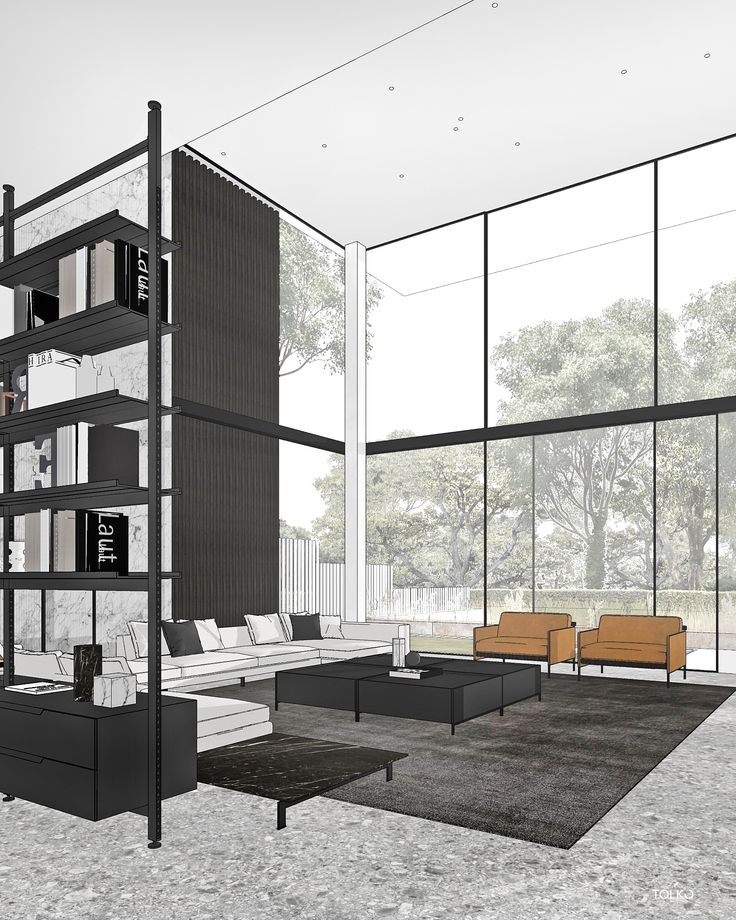
To achieve photorealistic renderings in SketchUp, focus on lighting first. Use a combination of natural and artificial lights. Set the sun’s position accurately to create realistic shadows.
Materials play a crucial role in realism. Apply high-quality textures with proper scale. Adjust the material properties, such as reflectivity and transparency, to mimic real-world surfaces.
Use HDRI images for environment backgrounds. This technique enhances lighting and adds depth to your render. Be sure to adjust exposure settings for optimal results.
Experiment with post-processing techniques in software like Photoshop. This can enhance colors, contrast, and sharpness. Subtle adjustments improve the overall presentation of your work.
Maintain a clean composition in your scene. Remove unnecessary elements that clutter the view. Focus on the key features of your design to draw attention effectively.
Keep rendering times in mind. Balance between quality and processing speed. Try lower settings for test renders to save time before finalizing your work.
5) Dynamic Component Creation
Dynamic components in SketchUp allow you to create objects that can change based on user input. This feature gives you flexibility to develop more interactive and customizable designs.
To start, you can access the Dynamic Components option from the menu. Choose an existing model or create a new one to apply dynamic behaviors, such as resizing or changing attributes based on parameters you set.
Utilizing the Component Attributes window, you can define properties like dimensions or material selections. Each attribute can include formulas to link changes dynamically.
You can also use behaviors, such as rotating or flipping components. This level of interaction adds value to your designs, making them more functional for clients.
Finally, test your dynamic components in the model to ensure they operate as intended. Refining these elements enhances the overall quality of your architecture projects.

Fundamentals of SketchUp for Architects
Understanding how to navigate SketchUp effectively is crucial for architects. Familiarity with the interface and key modeling techniques will enhance your workflow and design process.
Understanding the Interface
The SketchUp interface is user-friendly but rich with features. It includes the main toolbar, which contains essential tools such as select, draw, and modify.
On the left, you’ll find the Instructor panel that offers context-specific guidance. The View menu allows you to manage your workspace, controlling visibility and style options.
The default tray houses important panels, including Entity Info and Layers. You can customize your workspace by arranging these panels according to your preferences, optimizing your efficiency during design tasks.
Key Modeling Techniques
Modeling in SketchUp involves several core techniques that you should master. Push/Pull is fundamental, enabling you to create 3D shapes from 2D sketches.
Another essential technique is Group and Component creation. Utilize groups for organizing geometry effectively, while components allow you to replicate objects. Changes made to one instance affect all others.
Guides and measurements play a vital role as well. Use the Tape Measure tool to establish relationships and dimensions. This precision ensures your designs meet architectural standards.
By mastering these techniques, you will enhance your ability to create comprehensive architectural models in SketchUp.
Advanced Techniques in SketchUp
Mastering advanced techniques in SketchUp can significantly enhance your architectural designs. Two key areas to focus on are rendering with V-Ray for realistic visualizations and creating dynamic components for interactive models.
Rendering with V-Ray
V-Ray is a powerful rendering plugin for SketchUp that can help you achieve photorealistic images. To start, ensure you have V-Ray installed and its toolbar visible in SketchUp.
Setup Lighting: Use natural sunlight or artificial lights. Adjust the intensity and shadows to create depth in your render.
Materials and Textures: Apply high-quality materials to your model. Use V-Ray’s material editor to customize properties like glossiness, reflection, and transparency.
Camera Settings: Experiment with different camera angles and focal lengths. This can drastically change the mood of your render. Use V-Ray’s physical camera option for realistic exposure settings.
Render Settings: Adjust settings like resolution, quality, and V-Ray’s adaptive lights for faster render times. Running test renders can help fine-tune these settings before the final output.
Creating Dynamic Components
Dynamic components allow you to create models that adapt and change based on user inputs. This feature is particularly useful for interactive presentations.
Define Behaviors: Use the Component Attributes dialog to define how your component responds to user actions. For example, you can create a door that opens and closes.
Set Up Parameters: Specify parameters like dimensions or visibility. This lets you control aspects of the model with ease. For instance, you can allow users to change the size of a furniture piece.
Use Formulas: Implement formulas to automate adjustments. This can make your components more versatile. For example, adding a formula to adjust width based on height changes.
Testing Components: Always test your dynamic components in the model to ensure they function as intended. This step is crucial for avoiding user frustration.
Optimizing SketchUp for Professional Use
Efficiently customizing your SketchUp environment enhances your workflow and productivity. By tailoring toolbars and integrating essential plugins, you can streamline your design process and focus on creating.
Customizing Toolbars and Shortcuts
To enhance your efficiency, customize your toolbars by rearranging, adding, or removing tools. Right-click on the toolbar area to access the customization menu. You can drag and drop tools to create a layout that suits your workflow.
Assigning shortcuts can significantly speed up your operations. Navigate to Window > Preferences > Shortcuts to find available commands. Consider assigning shortcuts for frequently used tools, such as the push/pull tool and the rectangle tool. Utilize a consistent pattern for assignments to help you remember them easily.
Integrating Plugins for Efficiency
Plugins can dramatically extend SketchUp’s functionality, allowing you to tailor the software to your needs. Begin by exploring the Extension Warehouse and SketchUcation Plugin Store. Some popular plugins include V-Ray for rendering and Twilight Render for advanced visualization.
After installing plugins, organize them for quick access. Assign specific tasks to each plugin to help streamline your workflow. Regularly check for updates to ensure compatibility and take advantage of new features. Implementing the right plugins can save you hours in your design phase.
- 0shares
- Facebook0
- Pinterest0
- Twitter0
- Reddit0


