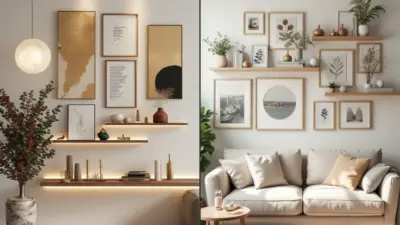
Creating your own wall art can transform any room in your home with personality and flair, all while being budget-friendly. With a wide range of materials like fabric scraps, yarn, and repurposed items, the options are limitless and customizable to suit your taste and decor style. You don’t need to spend a fortune on high-end brands to achieve a classy look; DIY projects can deliver sophistication and creativity on a dime.
Embarking on a DIY wall art project allows you to express your unique creativity and style. From crafting intricate textile art to simple, elegant plaster canvases, the process is an engaging and rewarding experience. By taking inspiration from various sources and learning some basic techniques, you can create art pieces that rival those found in high-end stores.
Whether you aim to brighten up a blank wall or add depth and texture to your space, DIY wall art offers endless possibilities. The process of creating and installing your art can be as satisfying as the finished piece hanging proudly in your home. Let your imagination lead you through each step, and enjoy the personal touch you’ll bring into your living space.
Key Takeaways
- Select a concept that aligns with your personal style.
- Gather and prepare materials to fit your project’s needs.
- Enjoy crafting and installing your personalized artwork.

Choosing Your Wall Art Concept
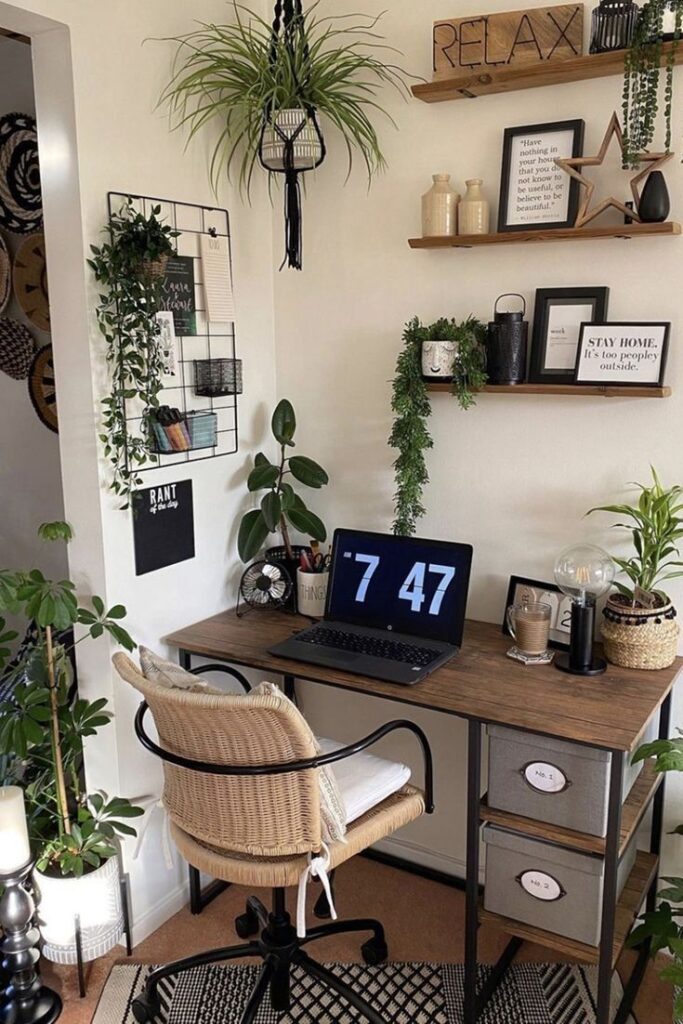
When creating DIY wall art, it’s crucial to have a solid concept in mind. Focus on understanding the core elements of DIY techniques and selecting patterns that complement your space.
Understanding the Basics of DIY
DIY wall art projects allow you to flex your creative muscles while personalizing your living area. Start by gathering essential supplies such as canvases, paints, brushes, and tools. Enjoy the flexibility to choose materials that are cost-effective yet visually appealing.
Experiment with different techniques, like stenciling or sponge painting, to achieve various textures and effects. Consider simple projects, such as string art or silhouette painting, which are beginner-friendly yet striking.
Additionally, learn to adapt your DIY art to available space and decor, ensuring it complements other elements in the room.
Identifying Suitable Patterns for Your Space
Patterns can significantly influence the aesthetic of your DIY wall art. When selecting patterns, consider the room’s existing color palette and decor style. Opt for geometric patterns for a modern look or floral designs for a softer, more classical feel.
Scale is also essential; large patterns can create a sense of spaciousness, while smaller designs add detailed interest. Test how different patterns will interact with the room’s lighting and texture variations.
Finally, balance busy patterns with solid colors to avoid overwhelming the space. Experiment and refine your choices until the wall art integrates seamlessly into your environment.
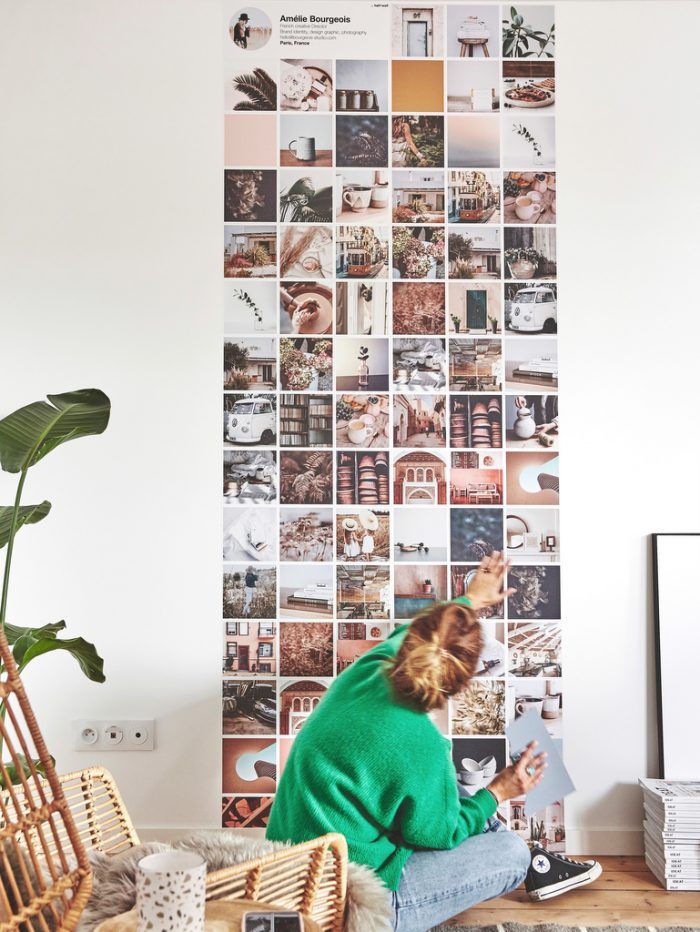
Preparing Your Workspace and Materials
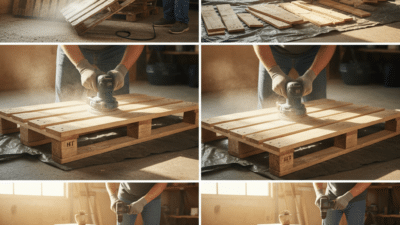
Setting up your DIY wall art project involves selecting the right tools and carefully preparing your workspace for an efficient and effective process. Quality paint and tools, along with the proper hardware, ensure your art will both look stunning and hang securely.
Selecting Quality Wall Paint and Brushes
Choosing the right wall paint is crucial for achieving professional results. Opt for acrylic or water-based paints which are easy to handle and clean. Consider the finish—matte for a subtle look or satin for a slight sheen. Color selection should complement the room’s decor, providing a cohesive look.
Selecting high-quality brushes is equally important. Brushes made with synthetic bristles work well with both acrylic and water-based paints, providing smooth and even brush strokes. Have a variety of brush sizes on hand, from wide brushes for large areas to fine-tipped ones for detail work. Clean your brushes thoroughly after each use to maintain their quality, ensuring they are ready for the next project.
Gathering Picture-Hanging Hardware
Securing your art requires reliable picture-hanging hardware to ensure it remains safely on display. Wall anchors and screws provide extra security, especially for heavier pieces. For lightweight art, simple picture hooks or adhesive strips can suffice but always check their weight limits.
Organize your hardware in a segmented box to quickly find what you need when adjusting or changing displays. A spirit level helps in aligning your art properly, contributing to a professional outcome. Keep a tape measure handy for precise placement, ensuring aesthetic balance and alignment on your wall.
Having these materials ready and well-organized streamlines your DIY process, letting you focus on your creative vision without interruptions.
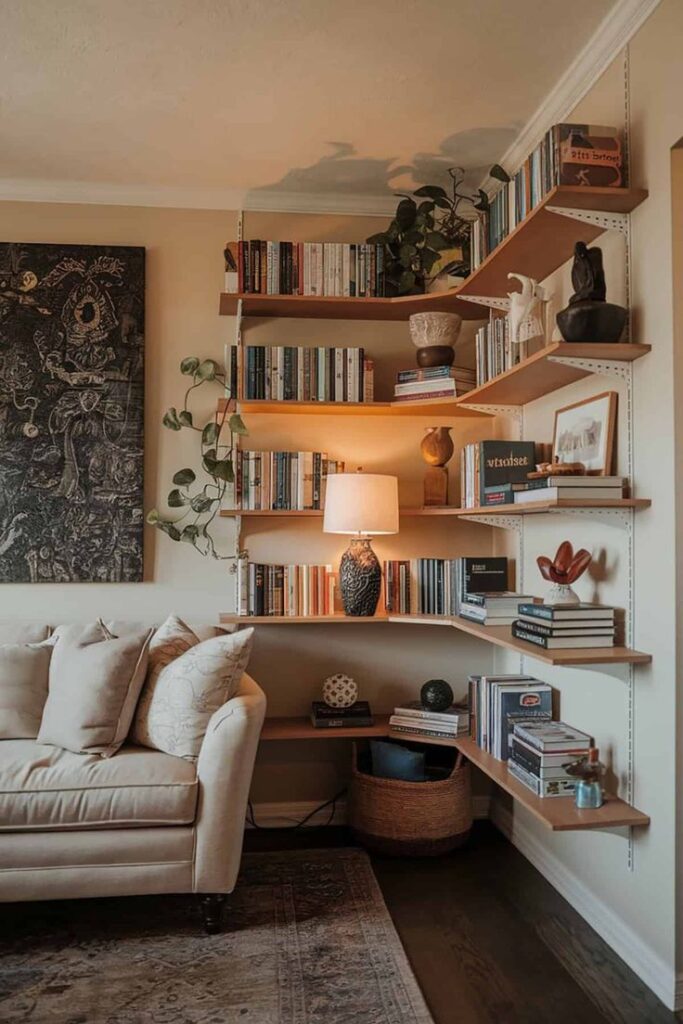
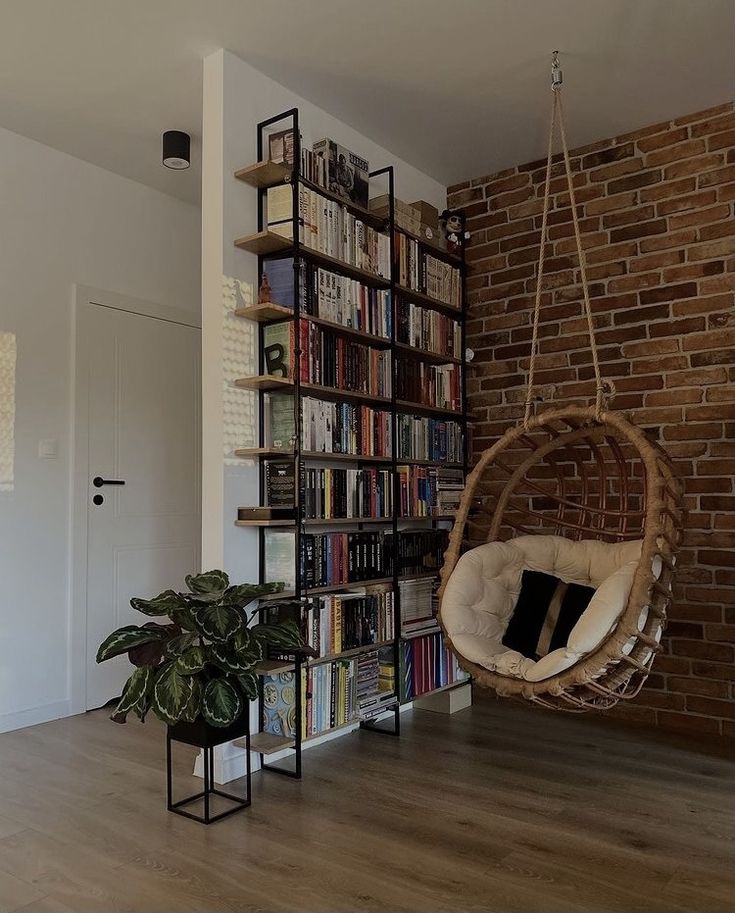
Creating Your Art Piece
Creating your own wall art can be a rewarding and cost-effective way to enhance your space. By learning simple techniques, you can produce unique pieces using basic materials like canvas and paint.
Making Canvas Art for Beginners
Starting with canvas art is ideal for beginners. Begin by selecting a canvas size that fits your wall space well. Small to medium sizes are generally more manageable. Acrylic paint is a great choice for canvas as it’s versatile and dries quickly. Basic supplies include a set of brushes and a palette.
Start by deciding on a simple design. Geometric shapes or stripes are beginner-friendly. Lightly sketch your design on the canvas with a pencil before you start painting.
Choose paint colors that complement your room’s decor. Neutral tones create a calming effect, while bold colors can add an eye-catching element to your art piece. Once finished, allow your artwork to dry completely before displaying it.
Exploring Easy DIY Abstract Techniques
For those interested in abstract art, you don’t need to be an experienced artist to create something impressive. Start by choosing a color palette that suits your personal style. Often, a mix of three to five colors works well to maintain balance.
One simple technique involves pouring or dripping paint onto the canvas, which creates a fluid, dynamic look. Alternatively, use palette knives or scrapers to spread paint, achieving different textures.
Experiment with layering colors by letting each layer dry partially before adding another. This enhances depth and complexity in your art. Remember, abstract art is open to interpretation, so trust your instincts and enjoy the creative process.
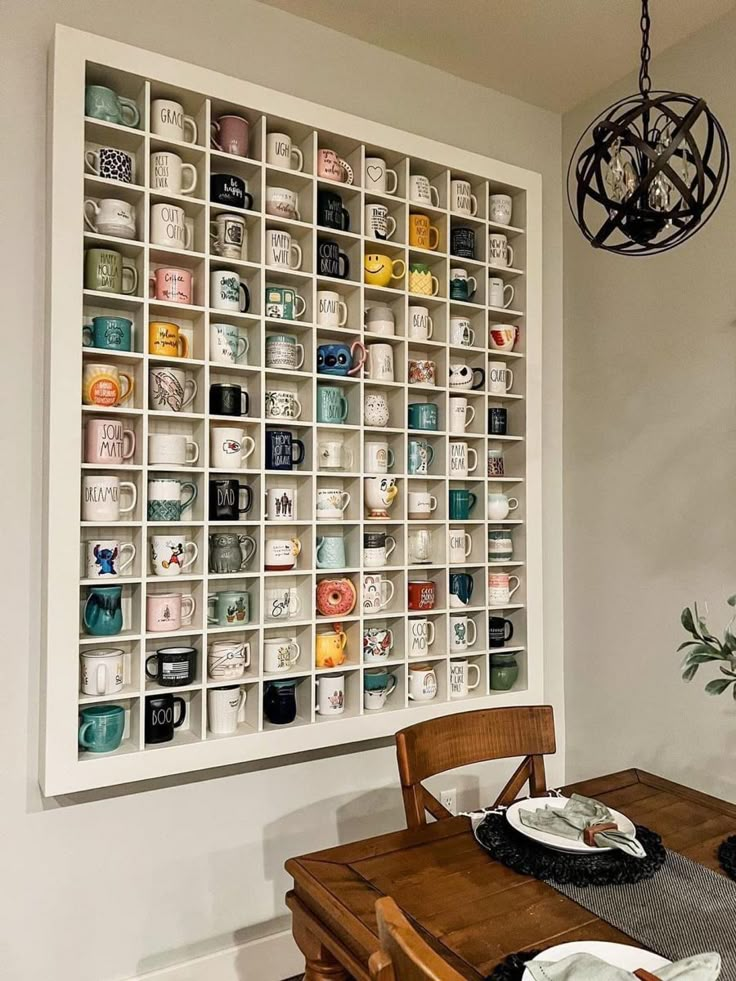
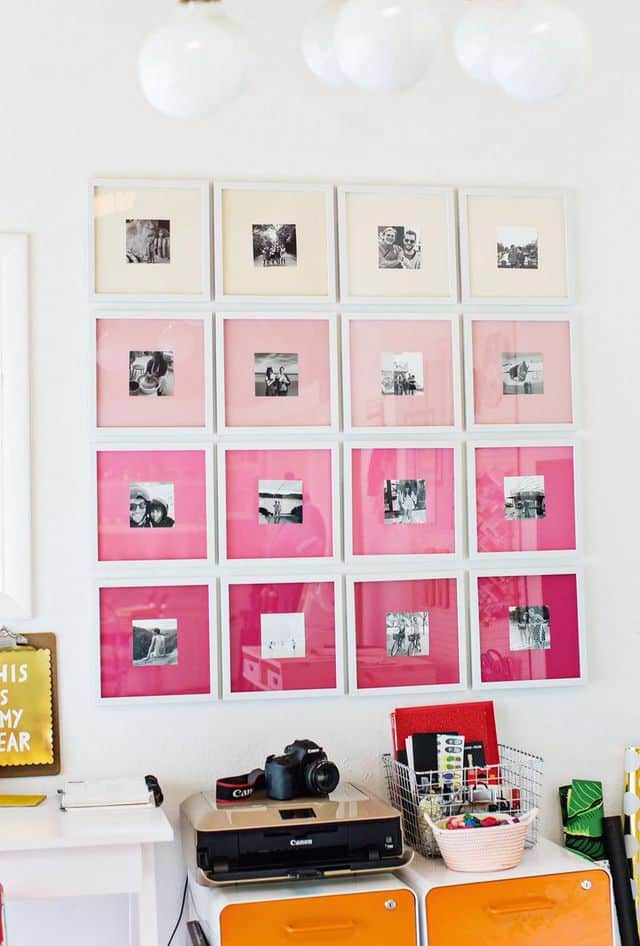
Finalizing and Installing Your Artwork
Finalizing your DIY wall art involves constructing a stable display area and showcasing your creative projects effectively. Following the right steps ensures your gallery wall and any featured canvases are securely mounted and beautifully presented.
Constructing a Sturdy Gallery Wall
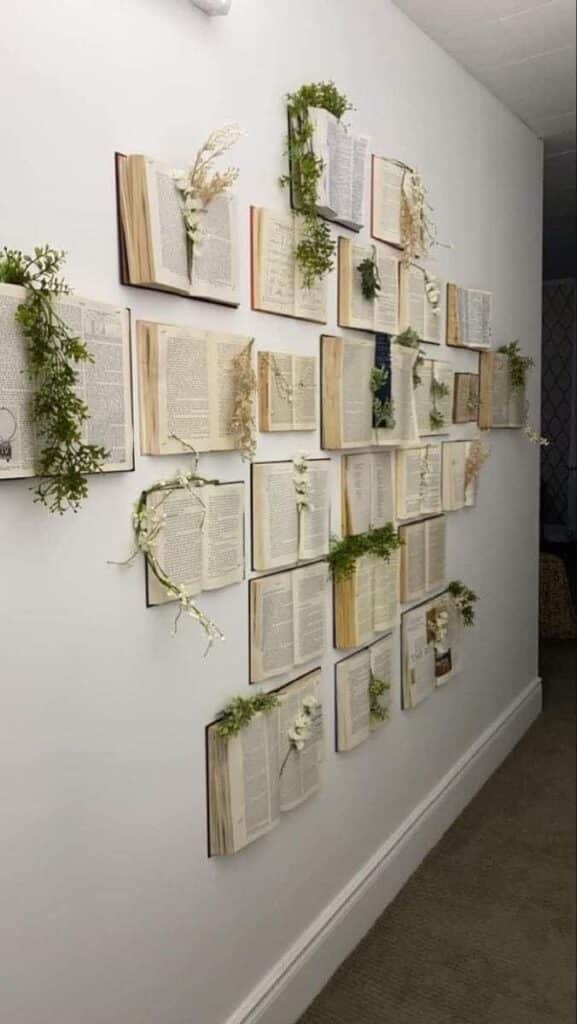
To achieve a sturdy gallery wall, start by selecting a reliable backdrop, such as a load-bearing wall, ensuring it can accommodate your artworks’ weight. Use a stud finder to locate any studs behind the wall, which provides additional support. For larger canvases or heavy frames, anchor them into studs or use wall anchors for stability. Consider the layout before you start drilling; arranging pieces on the floor first can help visualize the final design.
Measure the distance between each piece carefully to maintain balance. Aim for consistent spacing to create a cohesive look. Use a level to ensure your artwork hangs straight. If you’re crafting a gallery wall with multiple pieces, consider varying sizes and shapes to add interest. Secure each piece with the appropriate hardware, such as screws or hooks suited to your wall type.
Presenting Your DIY Projects with Confidence
Your DIY creations deserve confident presentation. Start by deciding the focal point; typically, this would be your largest or most striking piece. Arrange other items around this centerpiece to enhance visual appeal. Consider the use of accent lighting to draw attention to your DIY projects and create ambiance. Small LED spotlights or adjustable lamps can emphasize textures and details.
If using a large canvas, consider its height; ideally, the center should be at eye level. Ensure each piece is securely mounted and not prone to shifting. For a polished finish, inspect each piece for alignment and make adjustments as needed. These techniques not only showcase your artistic prowess but also give your space a professional, curated look.
- 492shares
- Facebook0
- Pinterest489
- Twitter3
- Reddit0

