DIY clay projects offer a simple and accessible way to create personalized, handmade items without needing a kiln or specialty equipment. Whether you’re making jewelry, small sculptures, or decorative holders, air dry clay lets you work creatively and achieve professional-looking results at home. You can easily craft functional and artistic pieces using basic materials and straightforward techniques.
Starting with clay is straightforward, requiring only a few essential tools to shape and finish your creations. From preparing the clay to exploring different textures and forms, you have full control over your project’s design and complexity. This makes DIY clay crafting ideal for beginners and more experienced makers alike.
If you’re looking to add a personal touch to your space or create unique gifts, air dry clay offers endless possibilities. You’ll find inspiration in simple projects that quickly build your skill and confidence, encouraging you to try more detailed work as you progress.
Key Takeways
- You can create unique, functional items with minimal materials and tools.
- Mastering basic handling techniques helps achieve clean, refined results.
- Starting small fosters creativity and leads to more complex projects over time.
Essential Materials and Tools for DIY Clay Projects
Successful clay projects depend on selecting the right materials and tools for your needs. Understanding different clays and having a basic set of supplies will help you create precise, clean, and professional-looking work.
Types of Clay for Crafting
You will encounter several options when choosing clay for your projects. Air dry clay is water-based, soft, and does not require baking. It’s convenient for beginners and low-commitment crafts but can be less durable once dry.
Polymer clay is a synthetic clay that hardens when baked in a home oven. It offers more flexibility, vibrant colors, and detail control. It’s good for jewelry, miniatures, and detailed sculptures.
Ceramic clay is a traditional clay that requires kiln firing. It is heavier, more durable, and suitable for functional pieces like pottery but demands more advanced tools and steps.
Basic Tools and Supplies
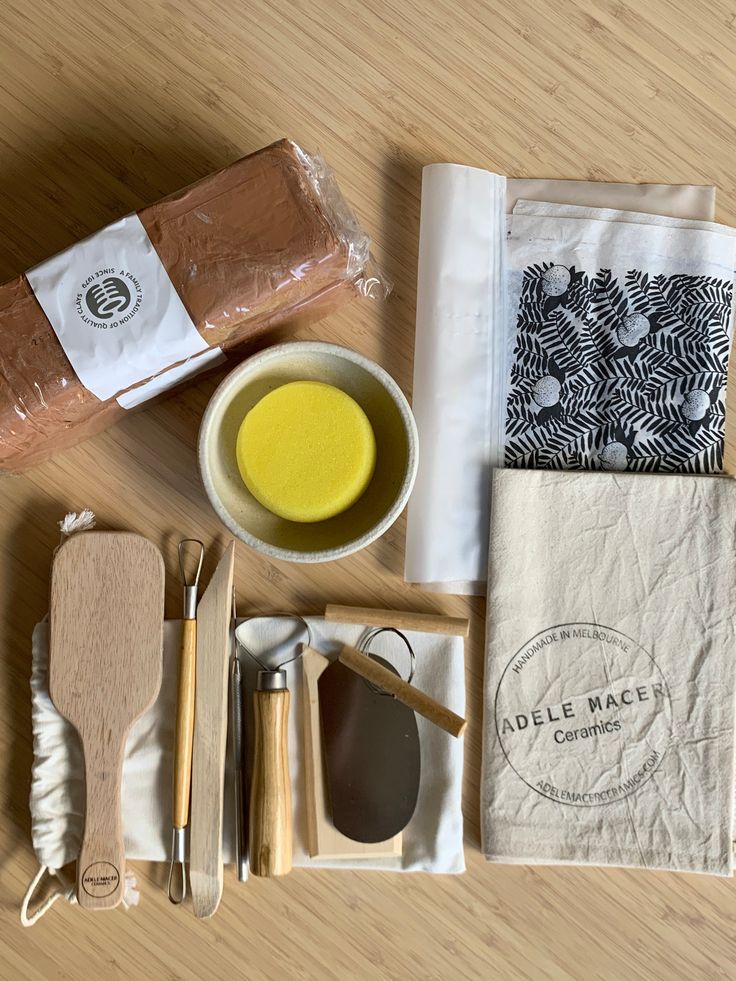
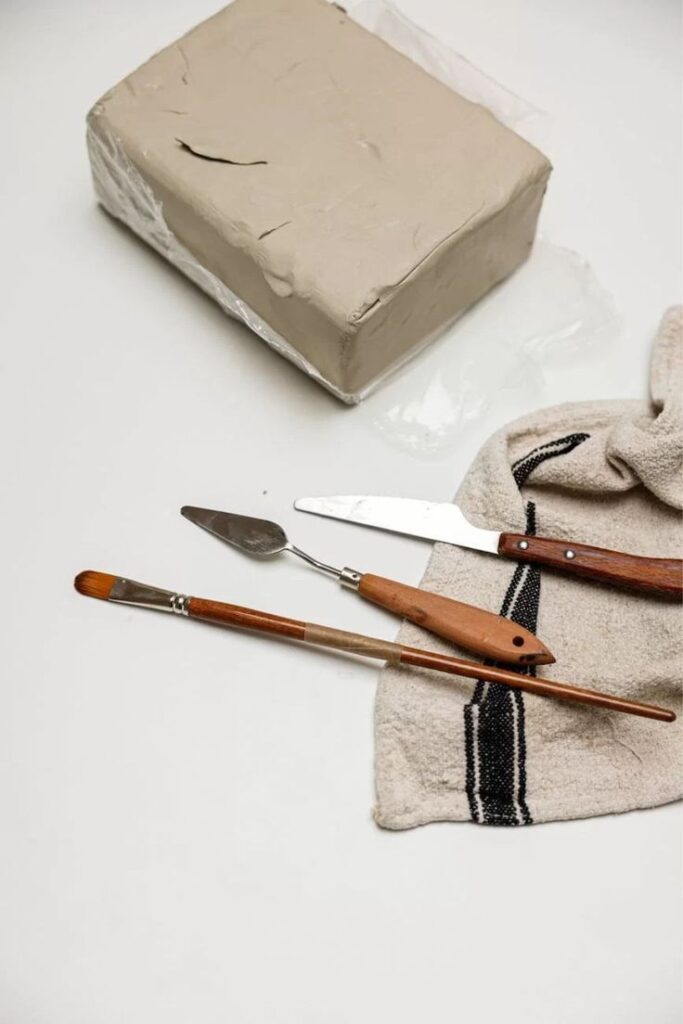
Start with a flat, clean, non-porous surface such as a ceramic tile or a silicone mat for working your clay. Essential tools include:
- Clay sculpting tools: wire cutters, dotting tools, and rib tools help you shape and texture.
- Cutting tools for precise edges.
- Rolling pins or pasta machines to flatten clay uniformly.
- Storage containers to keep unused clay from drying out.
You can find complete kits with stainless steel and plastic tools designed to be durable and comfortable.
Choosing Between Air Dry Clay, Polymer Clay, and Ceramic
Your choice depends on your project’s complexity, durability needs, and available equipment. Use air dry clay for simple, quick crafts with no kiln or oven access.
Choose polymer clay if you want detailed work, bright colors, and bake curing at home. It is ideal for charms, beads, and detailed figures.
Pick ceramic clay for durable, functional items but only if you have kiln access and experience. This clay requires firing, which allows for permanent hardening and glazing options.
Each material fits different project styles and skill levels. Assess your workspace, tools, and desired finished product before deciding.
Getting Started: Clay Preparation and Techniques
To work effectively with clay, you need to prepare your materials carefully and master a few basic techniques. This ensures your projects will hold their shape and be easier to manipulate from start to finish.
Making Your Own Clay Recipe
You can create a simple, effective air-dry clay using common household ingredients. Combine 1 cup of baking soda, 1/2 cup of cornstarch, and 3/4 cup of water in a saucepan. Heat the mixture over medium heat, stirring constantly until it thickens into a dough-like consistency. Remove from heat and let it cool before kneading.
Adding a few drops of baby oil during kneading helps make the clay smoother and less sticky. Store your homemade clay in an airtight container or plastic wrap to keep it moist between uses. This recipe is inexpensive and allows you to customize texture by adjusting the amounts of cornstarch for firmness or softness.
Conditioning and Preparing Clay
Before working with clay—whether homemade or store-bought—you must condition it. Conditioning means kneading the clay thoroughly to make it pliable and avoid cracks in your finished piece.
If your clay is dry or crumbly, add a small amount of water or baby oil to soften it. Work the clay with your hands, folding and pressing evenly. Conditioning improves elasticity and prevents air bubbles. Once conditioned, roll the clay out to your desired thickness using a smooth, flat surface and a rolling pin.
Fundamental Shaping Methods
Start shaping your clay using basic techniques: pinching, coiling, and slab-building. Pinching involves pressing the clay between your fingers to create a small bowl or pot shape.
Coiling uses rolled-out “snakes” of clay stacked and smoothed for walls or figures. Slab-building requires rolling flat sheets of clay, which you can cut into shapes and assemble. Use simple tools like toothpicks or knives to add details or smooth edges. Mastering these methods allows you to build varied and complex designs with control and precision.
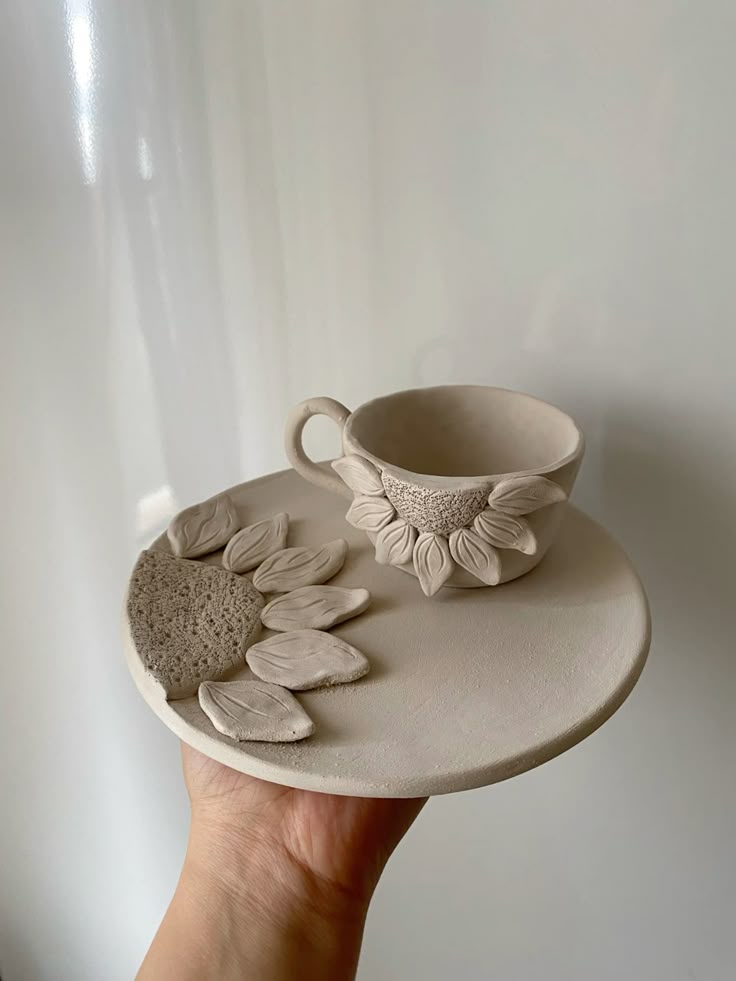
Creative DIY Clay Project Ideas
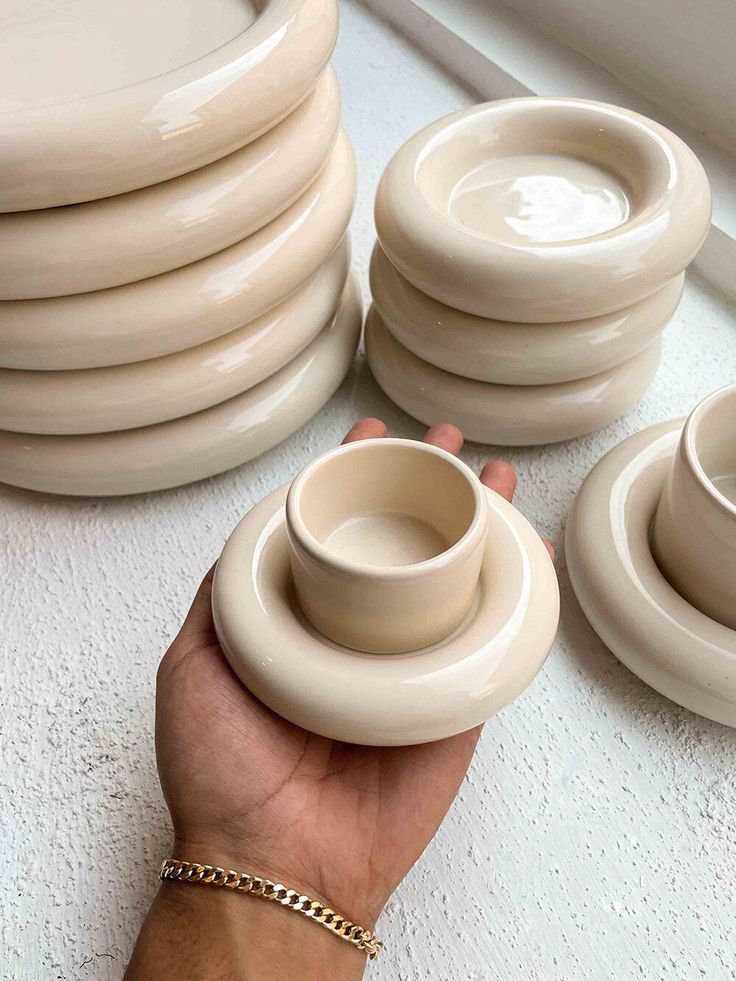
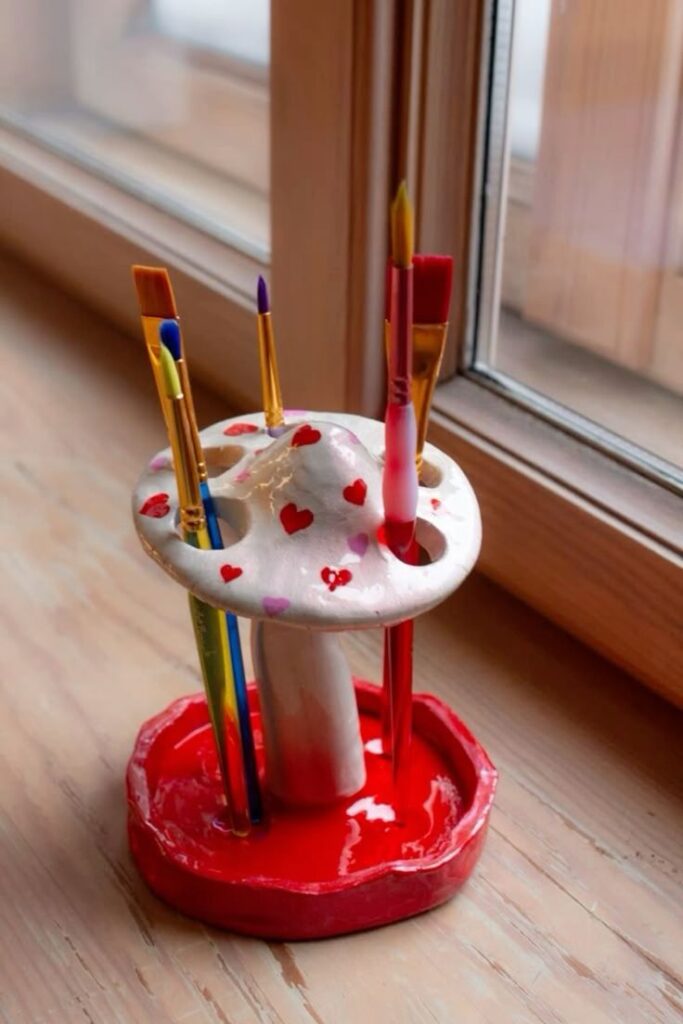
You can make versatile and functional items with air dry clay by focusing on simple shapes and adding texture or detail. Projects like bowls and jewelry combine basic techniques with creative touches, letting you personalize your craft.
Simple Clay Bowls
Start with a smooth, even slab of clay rolled to about 1/4 inch thick. Cut out a circle using a cup or lid as a template. Gently lift the edges upward to form the bowl shape.
Let your bowl air dry completely on a smooth surface to avoid warping. Once dry, you can paint or seal it with a clear glaze to increase durability.
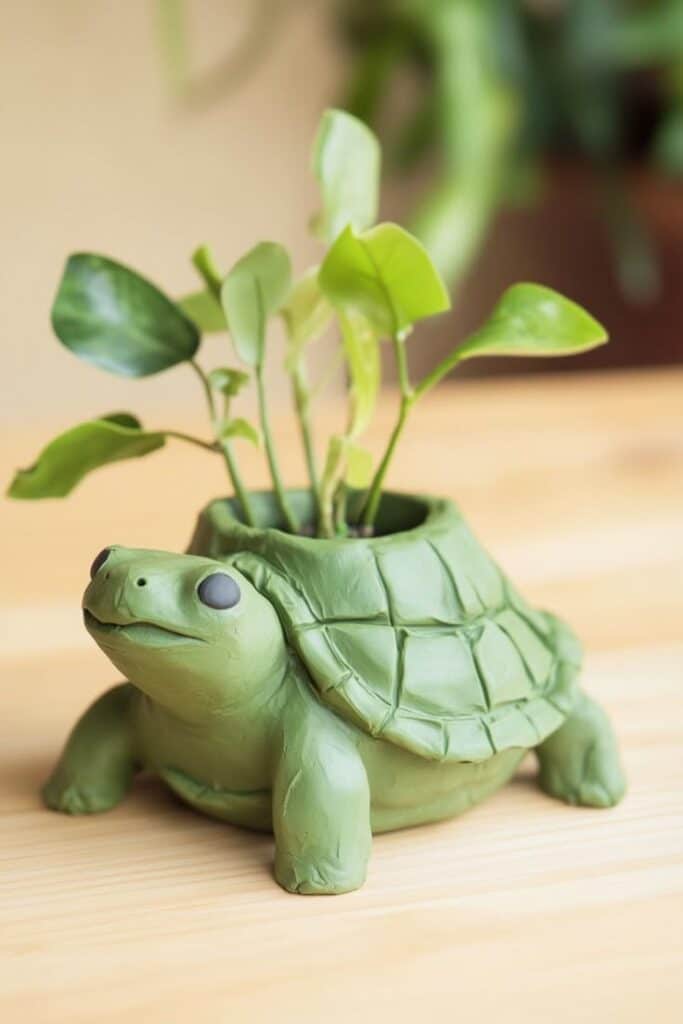
These bowls work well as trinket holders or small planters. The simplicity makes them ideal if you are new to working with clay and want quick, satisfying results.
Stamped Clay Bowls
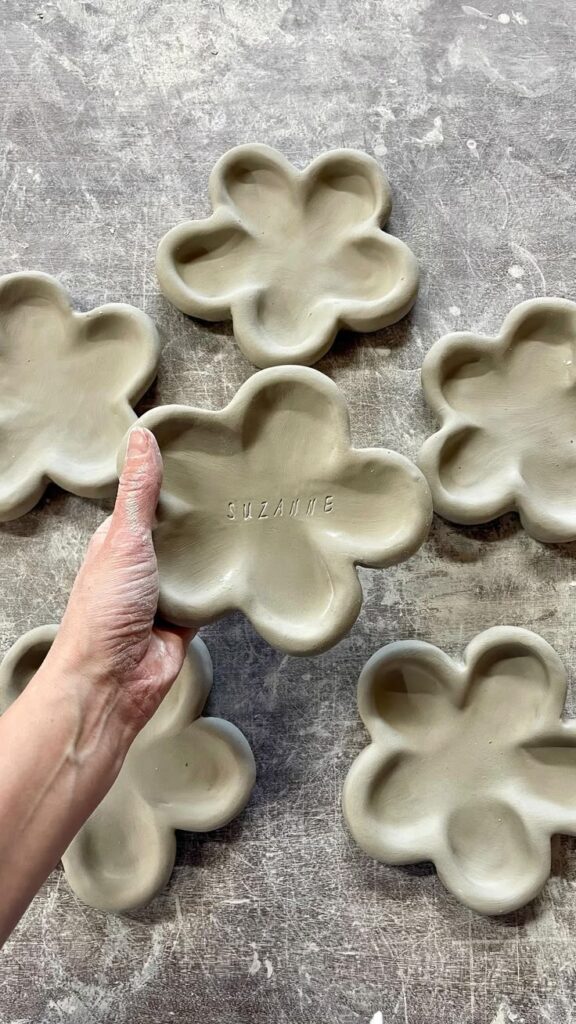
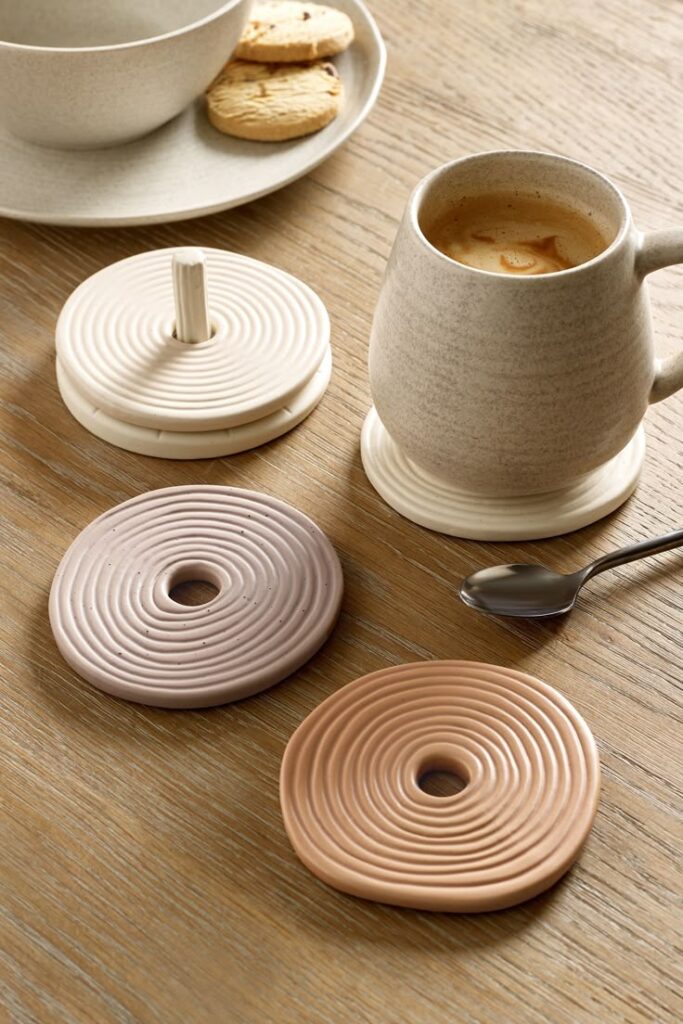
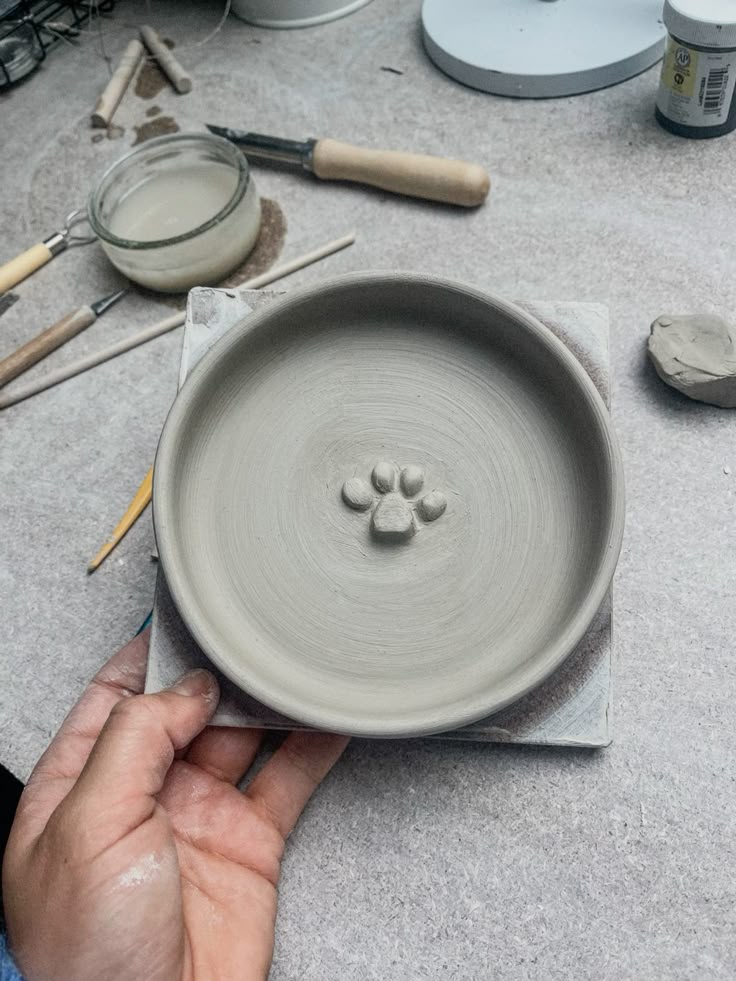
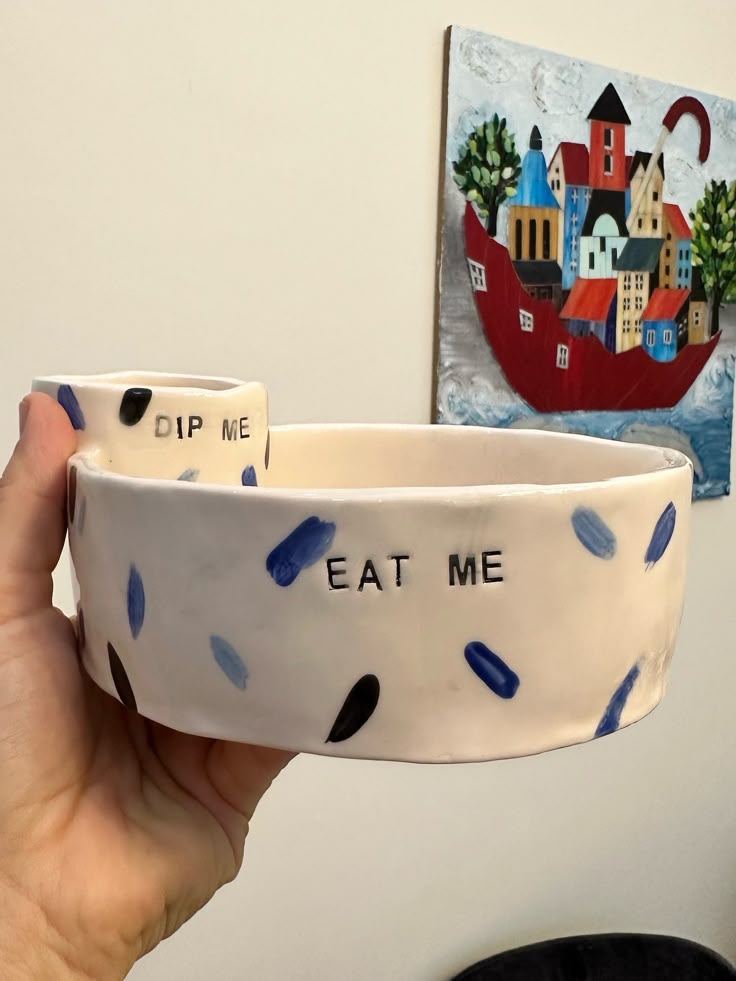
For stamped clay bowls, begin with shaping a basic bowl as you would for a simple clay bowl. Before the clay dries, press stamps or textured objects into the surface to create patterns.
You can use rubber stamps, leaves, or even household items like buttons to add unique textures. The key is to press firmly but not too hard, to avoid deforming the bowl shape.
After stamping, smooth the edges and let the bowl dry fully. Finishing with a glaze can highlight the textures and protect the piece. This method combines functionality with decorative appeal.
Clay Bead Jewelry
Make clay beads by rolling small balls or shaping cylinders from air dry clay. Use a toothpick or skewer to poke holes through the beads for stringing.
You can create uniform beads or experiment with shapes and textures. Allow the beads to dry completely before painting or sealing them.
After finishing, string beads onto elastic, wire, or thread to make bracelets, necklaces, or earrings. This project requires attention to detail but results in custom, wearable accessories that reflect your style.
| Project | Key Materials | Tips |
|---|---|---|
| Simple Clay Bowls | Air dry clay, rolling pin | Roll evenly, dry flat |
| Stamped Bowls | Clay, stamps/textures | Press gently, glaze after |
| Clay Bead Jewelry | Clay, skewer, string | Ensure bead holes align |
Advanced Clay Crafting Techniques
Mastering advanced techniques allows you to elevate your clay projects with more depth and detail. You will work with multiple layers and sculpt intricate shapes, as well as introduce texture and patterns that enhance visual and tactile appeal.
Layering and Sculpting Designs
Layering involves building up thin sheets or shapes of clay on your base piece. This method adds dimension and complexity to your project, such as raised patterns or 3D elements. You should ensure each layer is securely attached by slightly scoring and moistening surfaces before joining.
Sculpting requires precision tools to carve or shape the clay into detailed forms. You can create lifelike features or abstract shapes by pushing, pulling, and trimming the clay carefully. Maintaining consistent thickness helps avoid cracking during drying.
For long clay projects, allow time between layers to set partially but not fully harden. This balance helps layers bond without distortion. Clean tools regularly to keep edges sharp and your work neat.
Adding Texture and Patterns
Texture can dramatically change the look and feel of a clay piece. You can use household items like fabric, leaves, or stamps to imprint patterns onto soft clay. Press gently but firmly to capture details without deforming the shape.
Experiment with carving fine lines or dots using needles or sculpting knives to generate intricate surface designs. Combining multiple textures adds richness but keep contrast balanced to avoid a cluttered appearance.
For large projects, apply texture systematically in sections to maintain consistency. Finishing techniques like sanding or light glazing can enhance or soften textures depending on your desired effect.
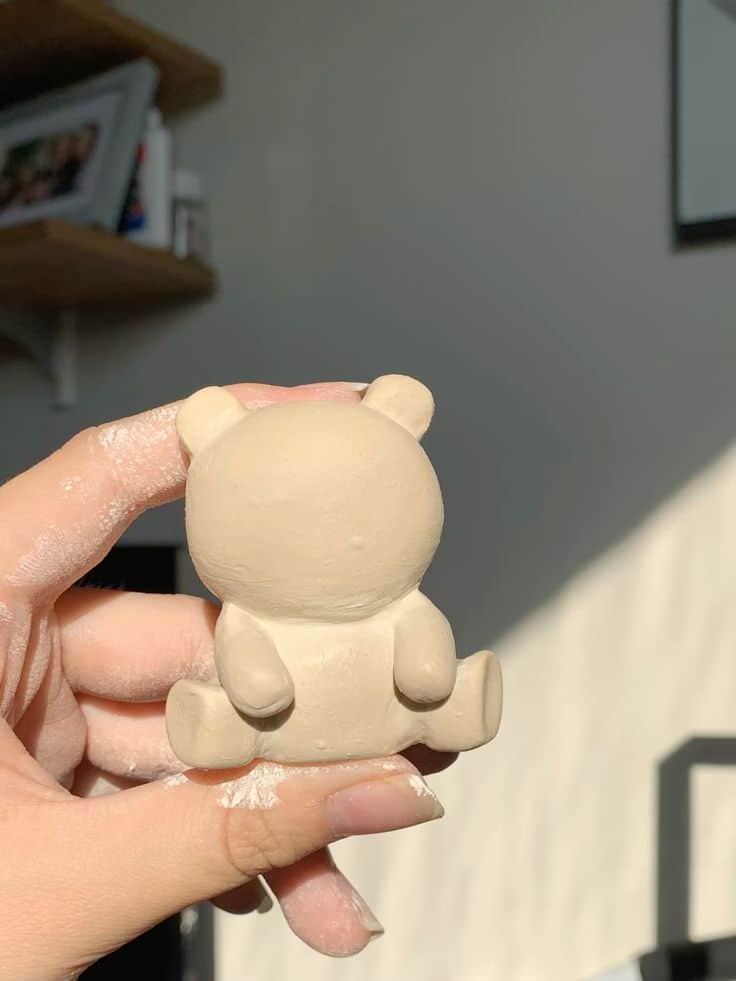
Tips for Success and Inspiration
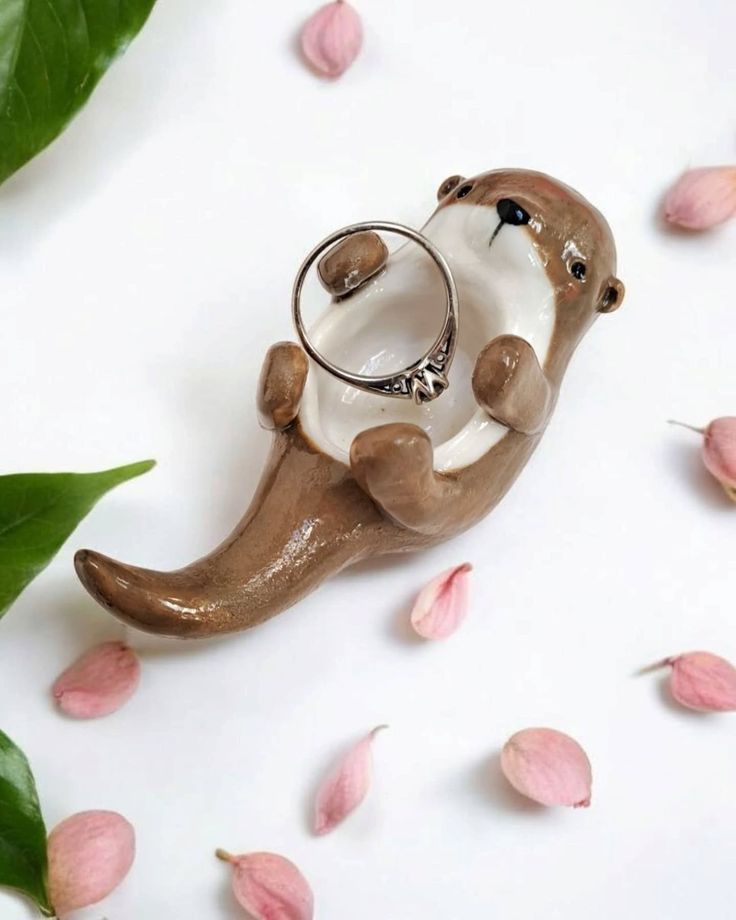
To get the best results with your clay projects, focus on how you finish and protect your pieces. Planning your workspace and storage also helps keep your projects organized and manageable.
Finishing and Sealing Your Projects
After your air dry clay has fully dried, gently sand rough edges with fine-grit sandpaper for a smooth finish. Use acrylic paint to add color or details once the surface is clean.
To protect your work, apply a clear sealer such as varnish or polyurethane. Choose a matte or glossy finish depending on the look you want. This step prevents moisture damage and increases durability.
Avoid applying too much sealer at once. Instead, apply thin, even coats and let each coat dry completely. This ensures your project remains sturdy without sticky or bubbled surfaces.
Guidance from Art Teachers
Art teachers emphasize the importance of space and patience when working with clay. They recommend having a dedicated area for your projects and drying pieces to avoid damage.
Storage is key: use labeled shelves or containers to keep your clay pieces organized and safe while drying. This minimizes accidental breakage or loss.
Teachers also stress planning your project steps before starting. Sketch your design and gather all tools beforehand. This preparation helps reduce mistakes and improves the quality of your final product.
- 6.7Kshares
- Facebook0
- Pinterest6.7K
- Twitter3
- Reddit0

