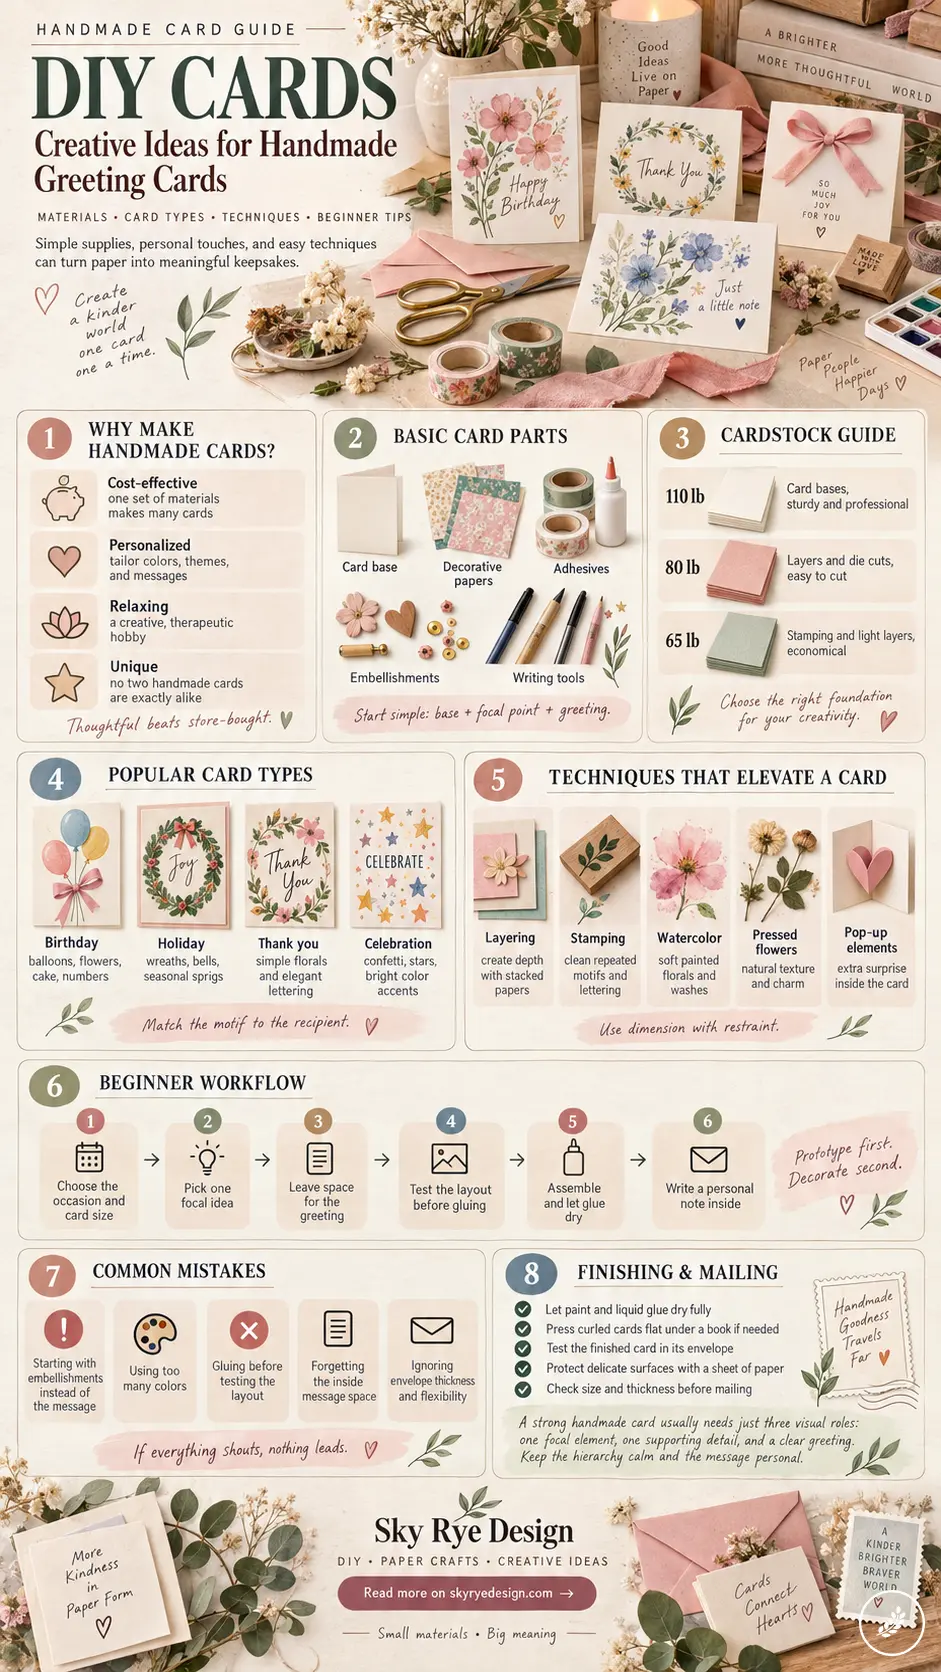
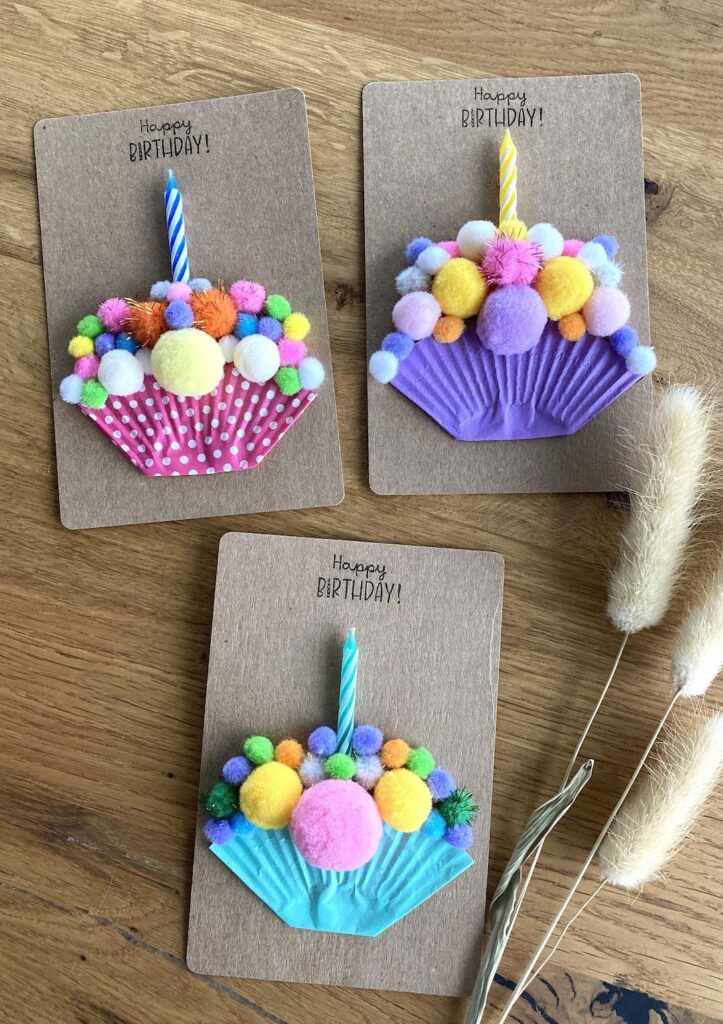
A strong birthday card design starts with the person, not the craft supplies. Choose one detail they will recognize, such as a favorite flower, color, hobby, or private joke, then build the front around that single idea. The 14 handmade cards below show how the same principle works with watercolor, stamps, layered paper, pressed flowers, pop-ups, and playful pom-poms.
You do not need a cutting machine or a drawer full of specialty tools. A firm card base, a sharp blade or scissors, reliable adhesive, and one clear visual hierarchy are enough. I usually test the front with loose paper pieces before gluing; if the greeting is hard to read at arm’s length, the layout still needs work.
What makes a good birthday card design?
A good birthday card design communicates the occasion in a glance and rewards a closer look. Begin with one focal point: a painted flower, a bold number, a photo, a stamped motif, or a pop-up shape. Give it more contrast or scale than the supporting details. Next, place the greeting where it can be read without crossing a busy pattern.
Use two main colors plus one small accent, especially if you are mixing printed paper, ribbon, and lettering. The inside should have enough blank space for an actual message; a beautiful front cannot rescue a cramped note. Finally, test the card in its envelope. A design that bows, catches, or needs force to slide inside is not finished. Trim one layer or replace a bulky embellishment with a flatter paper version. That small check makes the difference between a card that photographs well and one that survives handling and mailing.
| Design direction | Best focal point | Useful materials | Watch for |
|---|---|---|---|
| Simple and modern | Large number or short greeting | Smooth cardstock, one accent color | Too much empty decoration |
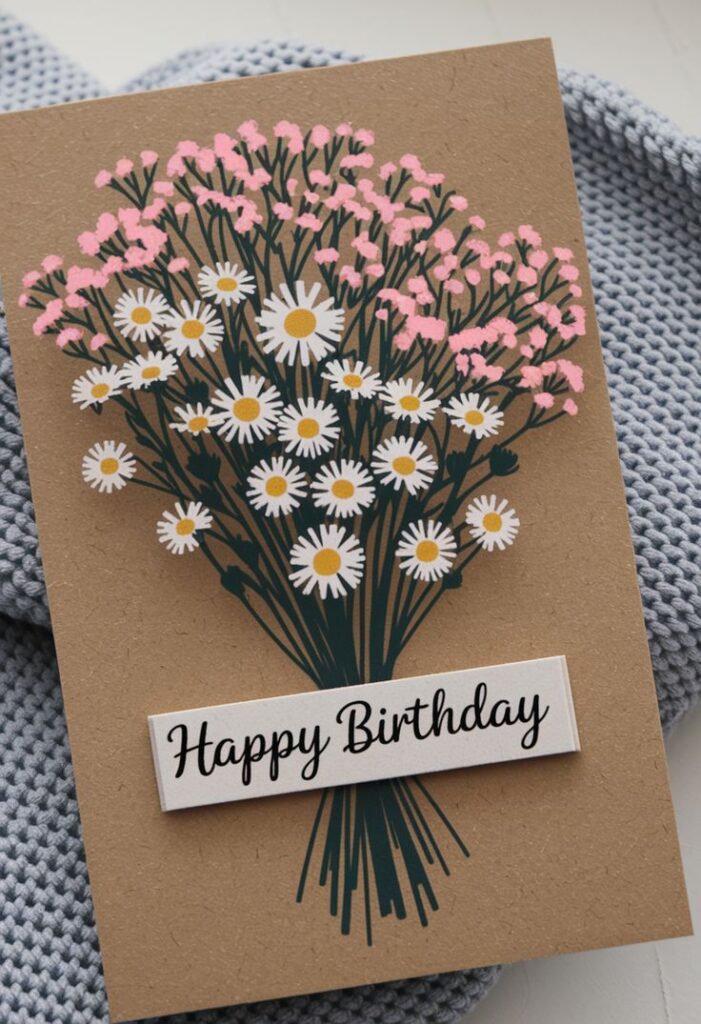
| Floral and soft | Painted or cut-paper flower | Watercolor paper, vellum, twine | Muddy color and weak lettering |
| Playful | Cake, balloons, pom-poms | Bright paper, foam dots, stickers | Too many competing colors |
| Personal | Photo, hobby symbol, private joke | Printed photo, stamps, handwriting | Generic message |
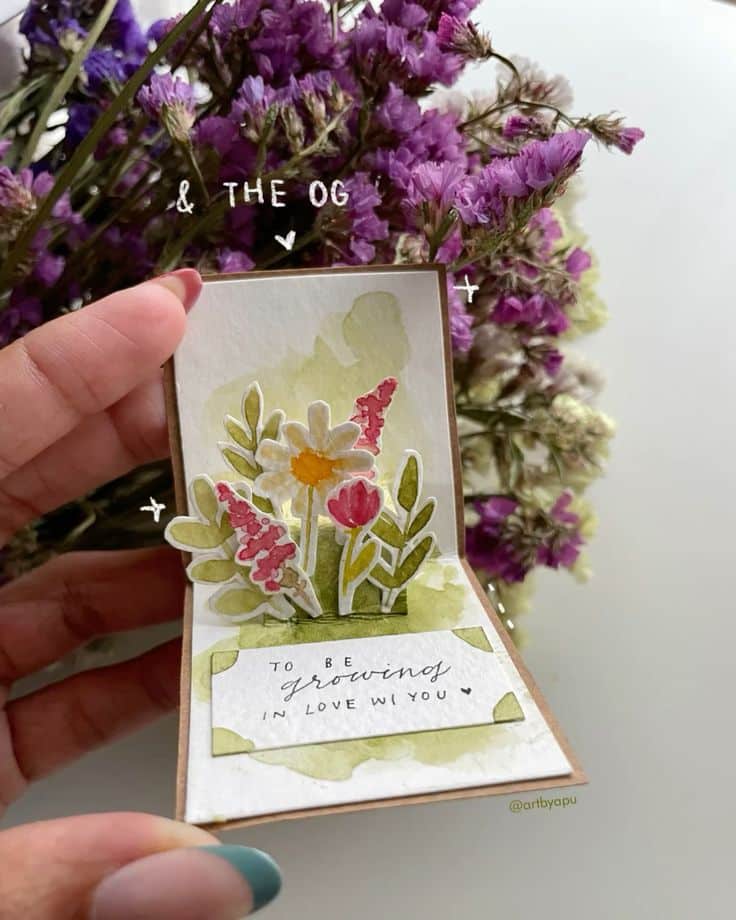
| Dimensional | Pop-up or layered scene | Heavy base, scoring tool, strong tape | Envelope thickness |
Plan the card before you cut
Start with the envelope. An A2 card at 4.25 by 5.5 inches is compact and easy to compose, while a 5 by 7 inch card gives a photo or painted scene more room. Fold scrap paper to the intended size and draw three thumbnail layouts. In each thumbnail, mark the focal image, greeting, and open space as simple boxes; do not draw details yet.
Pick the version with the clearest silhouette. This is the same decision I use in larger design work: if the arrangement is weak as three flat shapes, texture will not save it. Turn the best thumbnail upside down or view it in a mirror. Awkward spacing becomes obvious when you stop reading the words and only see the masses.
Choose a palette for the recipient
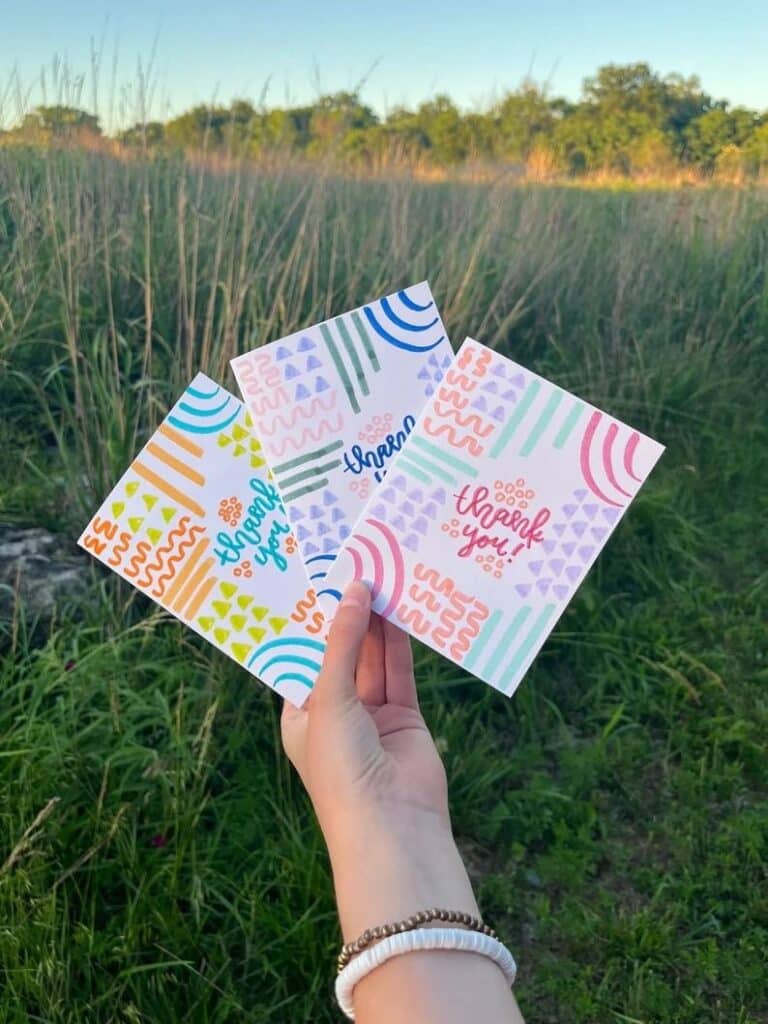
Choose two dominant colors and one accent. A navy base with warm cream and a small gold detail feels adult without becoming formal. Pink, turquoise, and yellow are lively for a child, but use one as the background and the others in smaller amounts. For a nature lover, muted green, kraft brown, and a pressed flower can say more than a rainbow of stickers.
Build a readable message area
Write the front greeting on a separate scrap first. Check its width, then cut the sentiment panel around the lettering instead of trying to squeeze the words into a shape you already glued. If you prefer more paper craft ideas, a narrow folded banner or simple paper frame can create a clean message area without special equipment.
Materials for handmade birthday cards
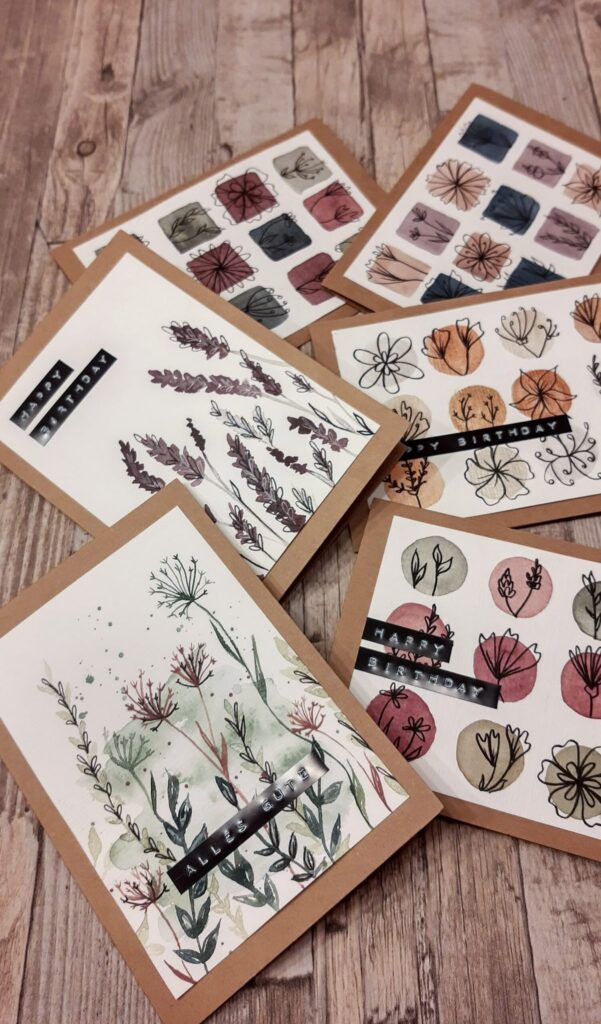
Use the heaviest paper for the folded base and lighter stock for layers. Smooth cardstock accepts stamps and pens cleanly. Watercolor paper handles wet paint but should be painted flat, allowed to dry, and then mounted to the card base. Patterned paper is useful for borders and small panels; a full busy sheet often competes with the message.
| Material | Best use | Practical note |
|---|---|---|
| Heavy cardstock | Folded base | Score before folding to reduce cracking |
| Medium cardstock | Layers and die cuts | Easy to cut without excessive bulk |
| Watercolor paper | Painted inserts | Paint separately, dry flat, then mount |
| Vellum | Soft overlays | Hide adhesive behind another element |
| Foam tape | Raised focal pieces | Use sparingly if the card will be mailed |
| Acid-free adhesive | Keepsake cards | Apply thinly to avoid warping |
For cards that may be saved, the Library of Congress recommends protective, acid- and lignin-free paper materials for works on paper. Its paper care guidance is stricter than everyday crafting requires, but the material labels are useful when you want a keepsake to age more gently.
If you already make albums, many scrapbooking supplies for beginners transfer directly to cards: a paper trimmer, archival adhesive, journaling pen, patterned scraps, small stamps, and a few controlled embellishments.
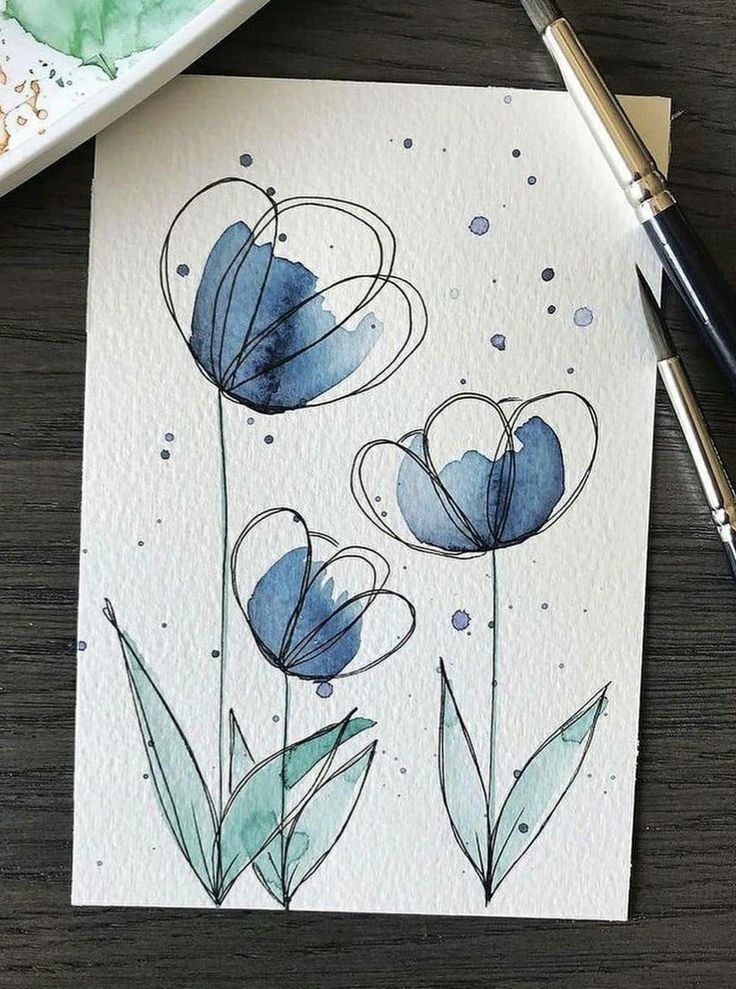
Birthday card design techniques that earn their space
Layering without a bulky envelope
Cut each paper layer 1/8 to 1/4 inch smaller than the one below it. That narrow border is enough to show contrast. Use flat double-sided tape on large panels and reserve foam dots for the single focal piece. When every layer is raised, the hierarchy disappears and the envelope becomes uneven.
Stamping with cleaner impressions
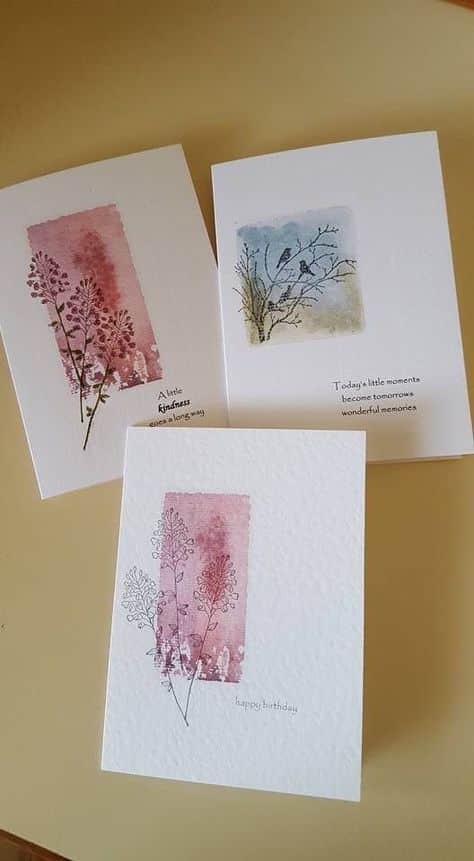
Place a scrap sheet under the card, ink the stamp evenly, and press straight down without rocking. Test the impression first because a juicy ink pad can flood fine lines. One motif stamped at full strength, then twice without re-inking, creates a useful light-to-dark rhythm. For reusable motifs, see these custom stamp projects.
Watercolor that leaves room for words
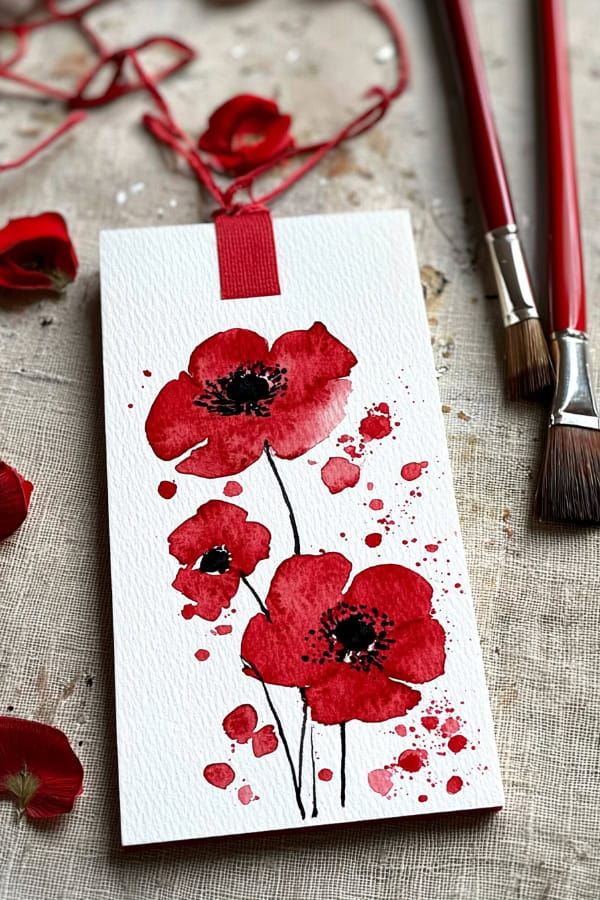
Mask or simply avoid the greeting area before you paint. Work with two pigments, let them meet while damp, and stop before the whole surface becomes equally busy. Once dry, add a small dark detail or pen line to sharpen the focal point. Mount the painted sheet to a dry card base instead of soaking the folded card.
Small embellishments and custom stickers
Washi tape, enamel dots, punched shapes, and stickers are strongest when they repeat a color already in the design. A row of three small dots can guide the eye toward the greeting; twenty unrelated stickers turn the front into storage. If you want your own motifs, this guide to how to make stickers covers a practical beginner workflow.
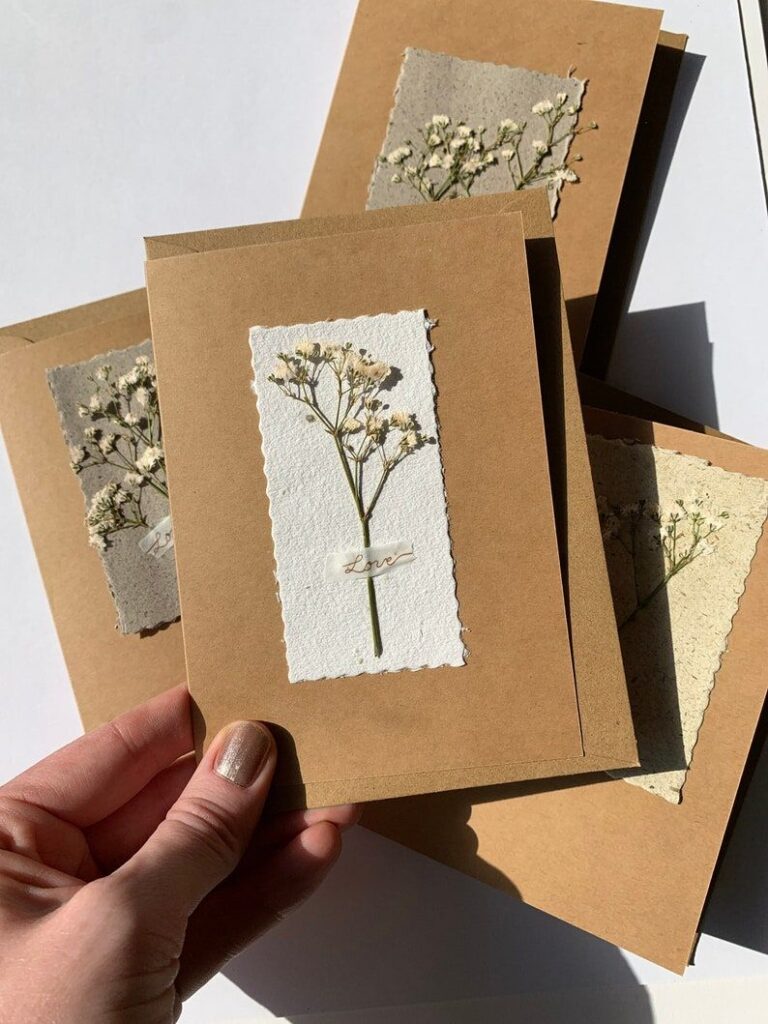
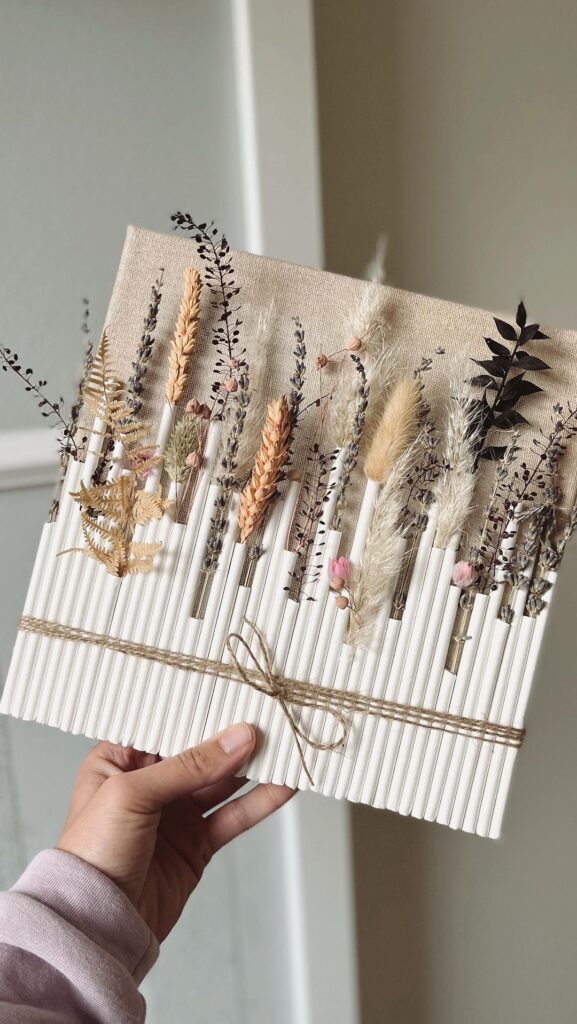
Pressed flowers and fragile details
Flatten flowers fully before mounting them, remove thick stems, and use tiny adhesive points behind sturdy areas. Leave a margin around brittle petals so the envelope does not scrape them. A vellum overlay can protect the surface while keeping the flower visible.
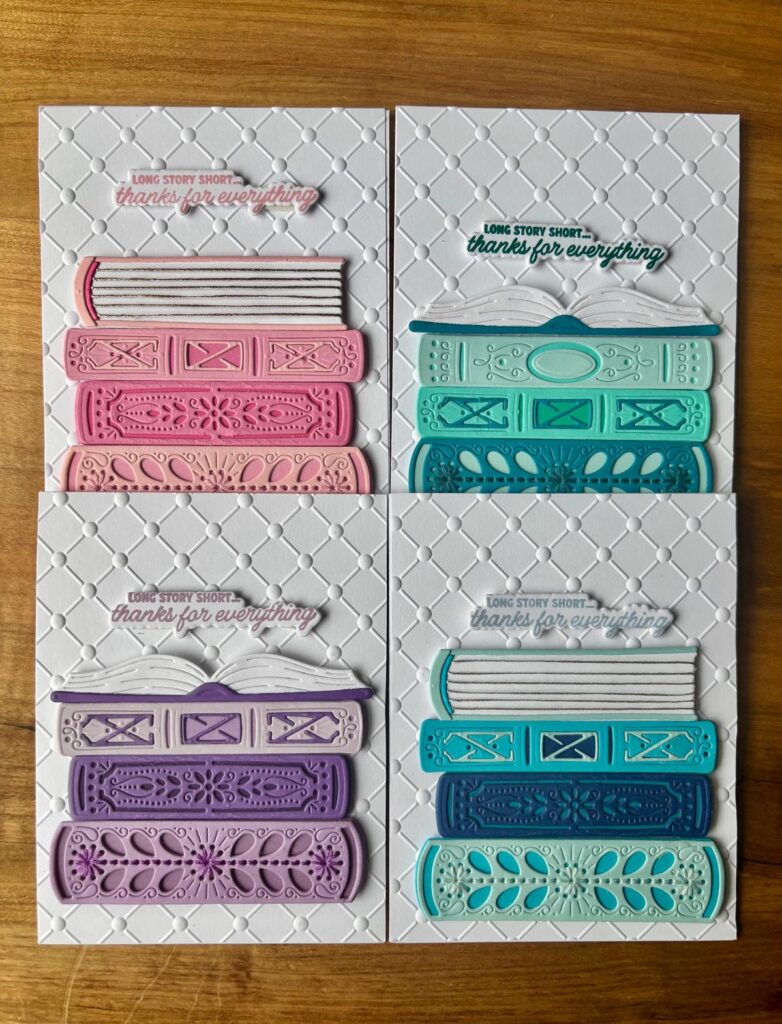
Birthday card ideas for different occasions
Simple birthday cards
For a quick card, choose one shape and repeat it. Three balloons, three candles, or three flowers are enough when the spacing and color are deliberate. Add the name or age to make the design specific. For a milestone birthday, scale the number up until it becomes the composition rather than a small label.
Holiday and seasonal cards
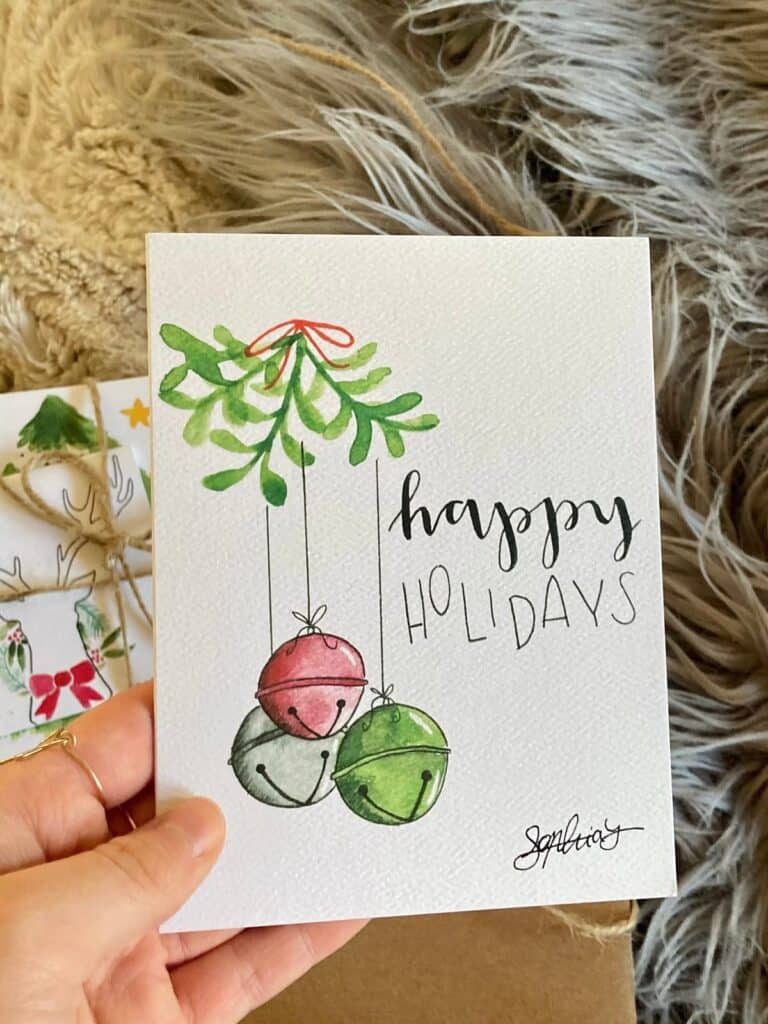
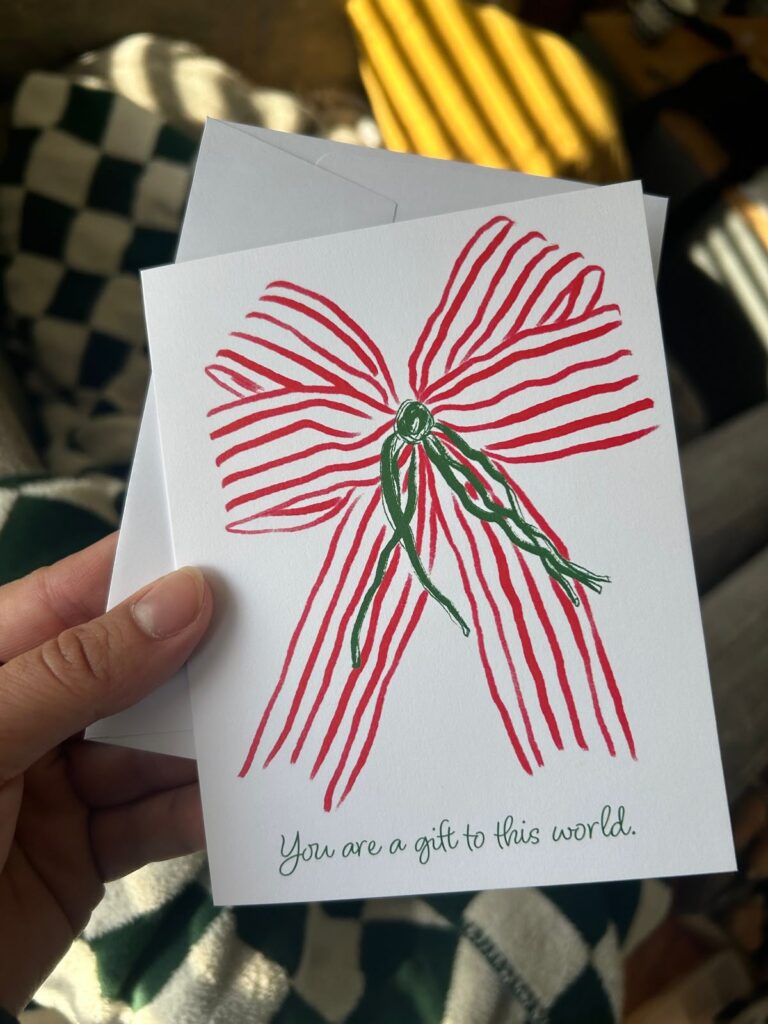
Use the same layout across a batch and change one small element: the greeting, border color, or painted sprig. That keeps the work efficient without making every card identical. The technique carries over naturally to watercolor Christmas card ideas, where one evergreen, wreath, bell, or candle can anchor the whole front.
Pop-up birthday cards
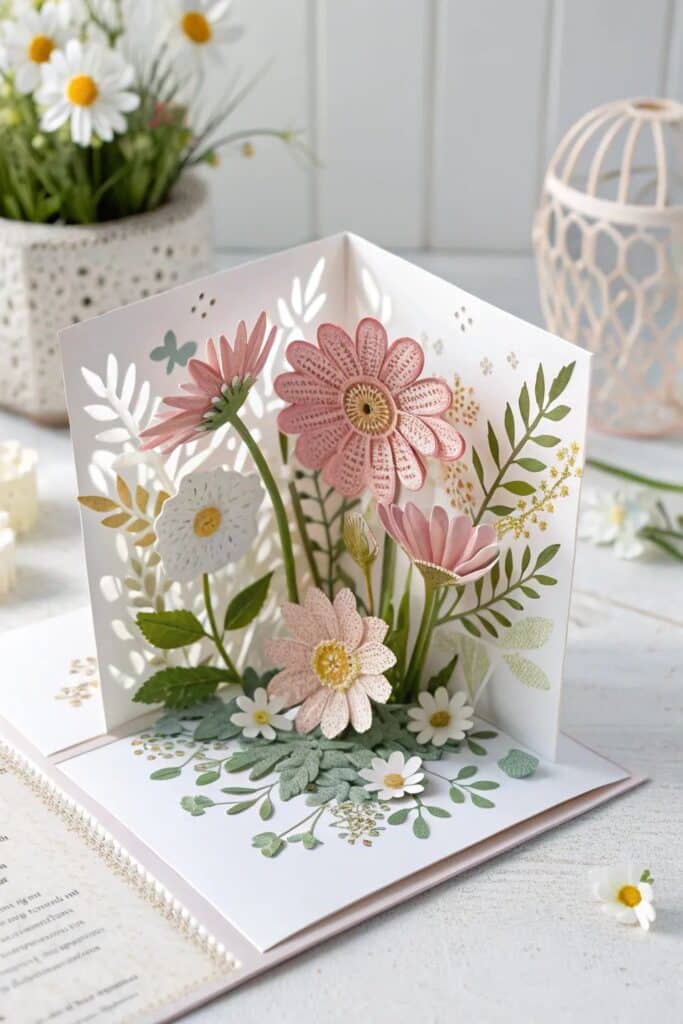
Prototype the mechanism on printer paper. Mark the fold, cut two parallel slits for a basic step, and check that the shape collapses inside the card. Only then transfer the measurements to cardstock. Keep decorations away from the fold lines; glue in those areas can stop the card from closing or tear the paper after a few openings.
Cards for children and group activities
Choose large shapes, washable materials, and a short assembly sequence. Pre-cut the card bases, then let children choose colors, draw faces, or add safe paper shapes. More birthday craft ideas can help you turn card making into a table activity rather than a precision project.
Common birthday card design mistakes
- Starting with embellishments: decide the message, size, and focal point first.
- Using every favorite color: limit the palette so the greeting remains readable.
- Gluing before testing: arrange loose pieces and photograph the layout before committing.
- Ignoring the inside: leave enough clean space for a personal note and signature.
- Forgetting the envelope: test thickness, flexibility, and size before adding the final raised piece.
- Copying the reference literally: borrow a technique, then change the motif, color, or message for the recipient.
Finish the card and prepare it for mailing
Let paint and liquid glue dry completely, then erase pencil guides and remove stray adhesive with care. Place a clean sheet over the front and press the closed card under a book for a short time if the layers have curled. Write the inside message with the same pen you tested on scrap paper; some gel and fountain inks bleed through lighter cardstock.
Raised or square cards may need different postage. USPS notes that letter pricing depends on size, rectangular shape, flexibility, and uniform thickness; check its current letter-size standards. In the UK, compare your envelope with the current Royal Mail letter limits. Rules and prices change, so measure the finished envelope rather than relying on the card base alone.
Birthday card design FAQ
Q: What makes a good birthday card design?
A: A good birthday card design has one clear focal point, a readable greeting, and a color palette chosen for the recipient. Start with the message and the envelope size, then decide whether the main feature will be lettering, a painted image, a photo, or a pop-up. If every element asks for attention, remove one before you glue anything down.
Q: How do you make a birthday card design at home?
A: Fold a piece of sturdy cardstock, mark a light center line, and plan the front as three zones: focal image, greeting, and open space. Test the layout with loose paper pieces before adding adhesive. Finish the inside message after the front is complete, then place the card in its envelope to make sure raised details do not catch or bend.
Q: What paper is best for handmade birthday cards?
A: Use sturdy cardstock for the folded base and lighter paper for layers, die cuts, or painted inserts. A smooth base is easiest for stamping and clean lettering, while cold-press watercolor paper gives paint more texture. If the card is meant to last, choose acid- and lignin-free materials and avoid tape that can yellow or release over time.
Q: What are easy birthday card ideas for beginners?
A: Start with a watercolor wash and short greeting, a paper collage made from three rectangles, a stamped motif, a photo card, or a simple balloon cutout. These ideas use basic shapes and do not need a cutting machine. Keep the first version flat enough to mail, then try foam dots or a small pop-up after you are comfortable with spacing and folds.
Q: How many design elements should a birthday card have?
A: Three visual roles are usually enough: one focal element, one supporting detail, and the greeting. That does not mean only three pieces of paper; it means the eye should understand the hierarchy quickly. Repeat one color or shape to connect the parts, and leave open space around the message instead of filling every corner with stickers or gems.
Q: Can you make a handmade card without a cutting machine?
A: Yes. A paper trimmer or ruler and craft knife handle straight cuts, while small scissors are enough for curves, flowers, and simple silhouettes. Stamps, watercolor, washi tape, pressed flowers, and hand lettering also work without a machine. A bone folder is useful for crisp folds, but the back of a spoon can score a simple card base in a pinch.
Q: How do you mail a card with raised embellishments?
A: Put the finished card in its envelope before you commit to the final decoration. Buttons, thick flowers, bows, and uneven layers can make an envelope rigid or lumpy, which may change the postage category. Protect delicate surfaces with a thin sheet of paper and check the current size, thickness, and weight rules with your postal service before mailing.
Choose one idea and make a test version
Pick the card above that best suits the recipient, then make a rough version from scrap paper. Test the fold, the focal point, and the message before reaching for the final cardstock. One careful prototype usually saves more time than trying to hide a bad cut with another embellishment.
If the card will accompany a larger handmade present, these DIY birthday gift ideas make a useful next step. Match one material or color between the card and the gift, then stop; the connection should feel intentional, not like a themed party set.
- 331shares
- Facebook0
- Pinterest330
- Twitter1
- Reddit0