If you’re new to 3D printing and wondering where to start, beginning with a beginner-friendly course can make all the difference. A good 3D printing course for beginners will guide you step-by-step through the basic concepts, the essential tools, and how to bring your ideas to life with practical projects. It’s the easiest way to gain confidence and avoid common mistakes while learning this exciting technology.
These courses often cover everything from choosing the right printer and setting it up, to mastering the software and design techniques needed to create successful prints. You’ll also discover how 3D printing can be applied to hobbies, education, and even small business projects, making it a skill worth building.
By starting with a structured course, you can learn at your own pace and get hands-on experience that turns complex ideas into clear, manageable steps. This approach sets you up for success and helps you quickly move from beginner to creator.
Key Takeaways
- You will learn the key concepts and tools behind 3D printing.
- Setting up and using a 3D printer is made simple and easy to understand.
- Projects and design skills help you apply what you learn in real life.

Essential 3D Printing Concepts
Before diving into 3D printing, it’s useful to understand the core ideas behind how the process works, the principles of additive manufacturing, and the technologies involved. These basics will give you a solid foundation for learning and using 3D printing effectively.
How 3D Printing Works
3D printing builds objects layer by layer from digital designs. You start with a 3D model created in software like Tinkercad or downloaded from an online library.
The printer reads this design and deposits material — usually plastic filament, resin, or metal powder — in precise layers. Each layer fuses to the one below until the object is fully formed.
You’ll also work with slicing software, which converts your 3D model into instructions the printer can follow. It determines layer height, print speed, and supports needed. This step is critical for a successful print.


Additive Manufacturing Explained
Additive manufacturing, another name for 3D printing, means creating items by adding material rather than removing it. This contrasts with traditional methods like cutting or milling, which waste material.
Because you build objects from the ground up, additive manufacturing allows for complex shapes and internal structures that are hard or impossible to make otherwise.
This approach reduces material waste and can speed up prototyping or custom part production, making it useful beyond hobbyist projects—into industries like aerospace and healthcare.
Overview of 3D Printing Technology
There are several types of 3D printing technologies, but the most common for beginners are Fused Deposition Modeling (FDM), Stereolithography (SLA), and Selective Laser Sintering (SLS).
- FDM melts and extrudes thermoplastic filaments. It’s affordable and great for basic projects.
- SLA uses a laser to cure liquid resin, producing high-detail parts.
- SLS fuses powder with a laser, good for strong, functional parts without the need for support structures.
Each technology has strengths and limitations in speed, detail, and material options. Knowing your options will help you pick the right printer for your goals.
Choosing and Setting Up Your 3D Printer
Getting started with 3D printing means picking the right printer and making sure it’s properly prepared. You’ll want to understand the types of printers available, what parts to focus on, and how to set them up well for your first prints.
Types of 3D Printers for Beginners
For beginners, the most common options are Fused Deposition Modeling (FDM) and Stereolithography (SLA) printers. FDM printers use melted plastic filament and are generally more affordable and easier to maintain. They are great for learning basic 3D printing and printing larger models.
SLA printers use liquid resin and produce finer details but require more careful handling and post-processing.
If you’re attending a 3D printing workshop, it’s likely they’ll provide access to FDM printers, which are user-friendly and safe to operate.
Key Printer Components
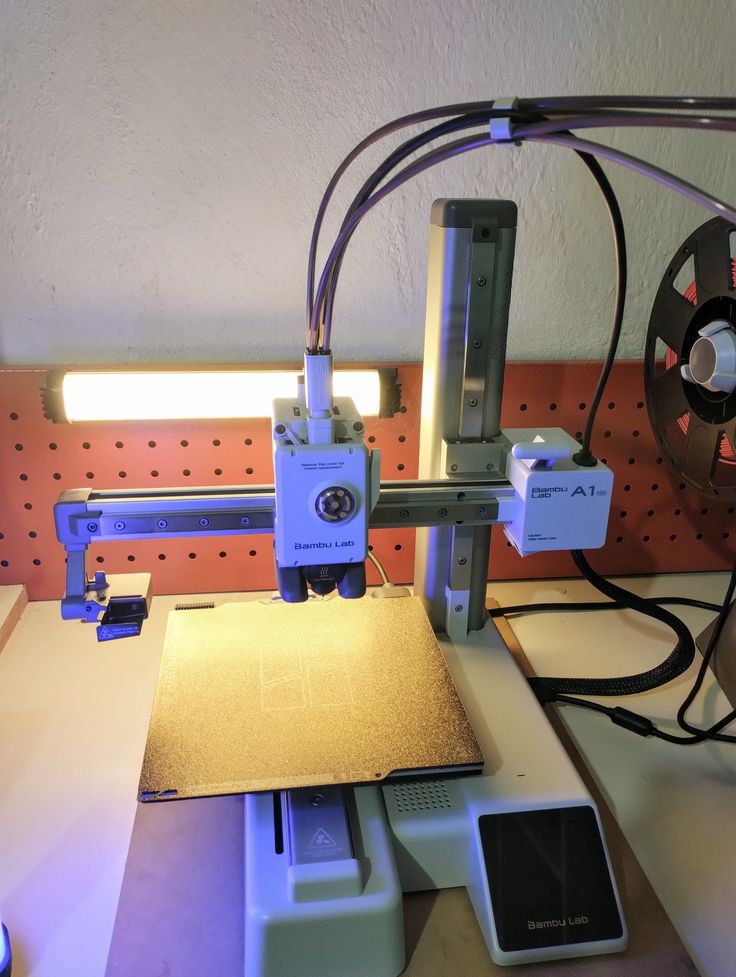
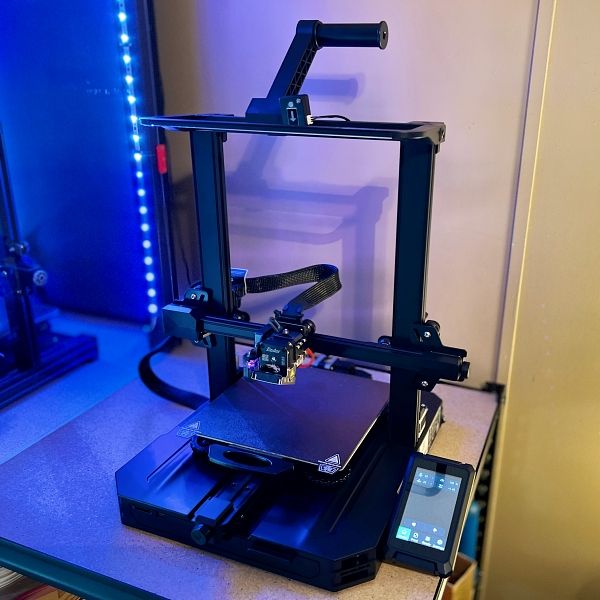
Understanding your 3D printer’s parts helps with setup and troubleshooting. The print bed is where the object is built and may be heated to prevent warping.
The extruder melts and deposits the filament; it may be direct drive or Bowden type, which affects print quality and filament types.
You’ll also see the frame, motors, and control board—each crucial for movement and operation.
Some printers include a touchscreen interface, making controls simpler, especially for beginners.
Initial Setup and Calibration
Start with assembling the printer as per the manual or workshop instructions. Then, level the print bed carefully. A well-leveled bed ensures the first layer sticks, which is vital for print success.
Load the filament following specific guidelines for your printer model.
Next, perform calibration tests like extrusion calibration and test prints. These steps prevent common print issues such as clogging or layer shifting.
Many beginner courses and workshops guide you through this process step-by-step to build your confidence.


Working with 3D Printing Software
To create successful 3D prints, you’ll need to get comfortable with different software tools. These programs help you design, prepare, and finalize your models for printing. Knowing the right software for each step makes your process smoother and your prints more reliable.
Introduction to 3D Modeling Software
3D modeling software lets you design digital objects layer by layer before printing. Many beginner-friendly options exist, allowing you to start without prior experience. These tools let you shape, resize, and detail your models with precision.
Most modeling software uses a combination of shapes, extrusions, and surfaces to build objects. You can often export these designs as standard 3D print files like STL or OBJ. Picking software with a simple interface and good tutorials helps you learn faster.
Using Tinkercad for Beginners
Tinkercad is a free, web-based 3D design tool that’s perfect when you’re just starting out. Its drag-and-drop interface uses basic shapes to build complex models, making the learning process intuitive.
You don’t need to install anything; just create an account and start designing. Tinkercad also supports easy exporting to the STL format, ready for printing. It’s great for basic projects like toys, simple tools, or prototypes, and it encourages experimentation without overwhelming you.
Getting Started with Fusion 360
Autodesk Fusion 360 is more advanced software but still accessible for beginners who want to grow their skills. It supports parametric modeling, which means you can alter your designs with precise measurements anytime.
This software lets you create detailed parts and assemblies. You can also simulate motion and stress, useful for functional designs. Fusion 360 offers cloud storage and collaboration features, which makes it a strong choice if you plan to move beyond simple designs.
Setting Up Models in Cura
Cura is slicing software that converts your 3D model into instructions your printer understands. After importing your design (usually as an STL file), you configure print settings like layer height, infill density, and support structures.
Cura visualizes the layers and estimates print time and material use. It supports many printers and profiles, allowing customization based on your machine. This software is essential for preparing your files before sending them to print, ensuring your model prints accurately.

Designing for 3D Printing
Getting your design ready for 3D printing involves careful planning and attention to detail. You’ll need to create a precise digital model, prepare it correctly for printing, and convert it into a file format your printer can understand.
Basic 3D Modeling Techniques
Start by learning simple 3D modeling skills using software like Fusion 360 or Blender. Focus on creating shapes that are clean and watertight, meaning no gaps or holes in your design.
Keep the scale accurate and use basic shapes like cubes, cylinders, and spheres to build your model. Avoid overly thin walls or intricate details that your printer can’t reproduce well.
Using layers and grouping parts can also make modeling easier. Make sure your design is manifold, which means it can exist as a solid object without any floating pieces. This is essential for successful printing.
Preparing Digital Designs
Once your model is ready, check it for errors using tools like Meshmixer or Netfabb. These programs help identify issues such as non-manifold edges, flipped normals, or intersecting faces. Fixing these problems early prevents print failures.
Remember to position your design on the virtual build plate within your 3D printing software correctly. Orient your model to minimize the need for supports and improve surface finish.
You’ll also want to consider the printing material’s limitations when finalizing your design. Washout details smaller than your printer’s resolution and accommodate material shrinkage or warping.
Slicing and Exporting Files
Slicing software, like Cura or PrusaSlicer, translates your 3D model into printer instructions. Load your design, then adjust settings such as layer height, infill density, and print speed based on your project.
Export the sliced file to your printer’s preferred format, often G-code. This file contains detailed commands like nozzle movements and temperature controls needed for printing.
Before printing, preview the sliced layers in the software. This helps you catch unexpected errors and understand how your model will be built layer by layer to ensure a successful print.

Practical Applications and Project Ideas
3D printing offers a wide range of uses, from creating useful gadgets to artistic pieces. You can start with simple projects that are functional and gradually try more creative or educational applications. This will help you build practical skills and understand how 3D printing fits into various fields.
Popular 3D Printing Uses
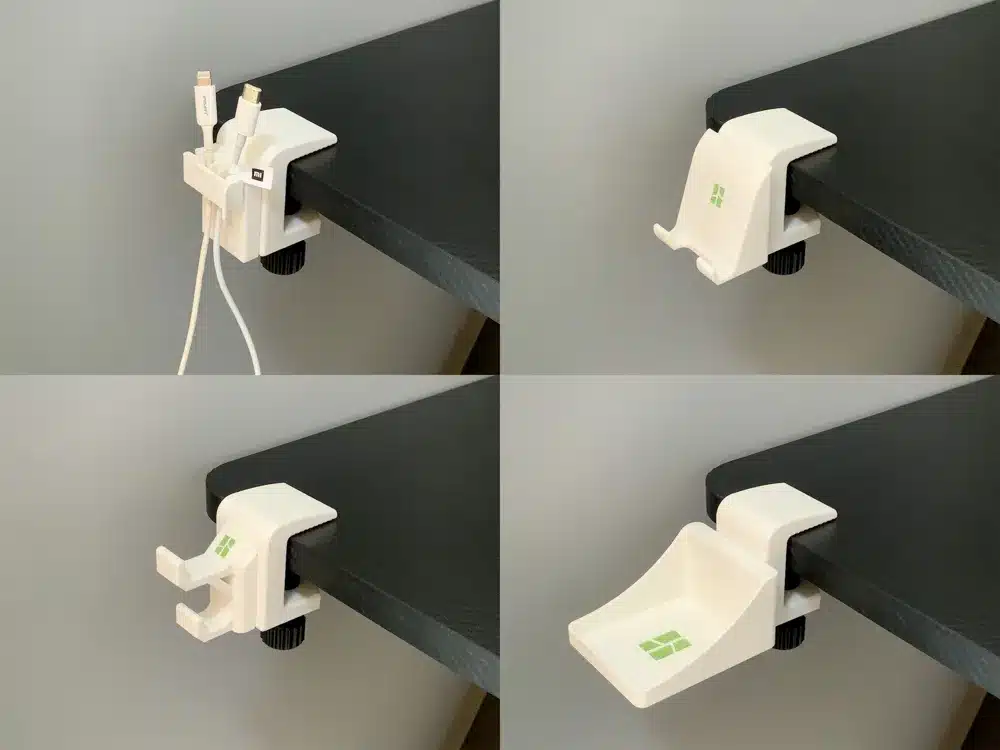
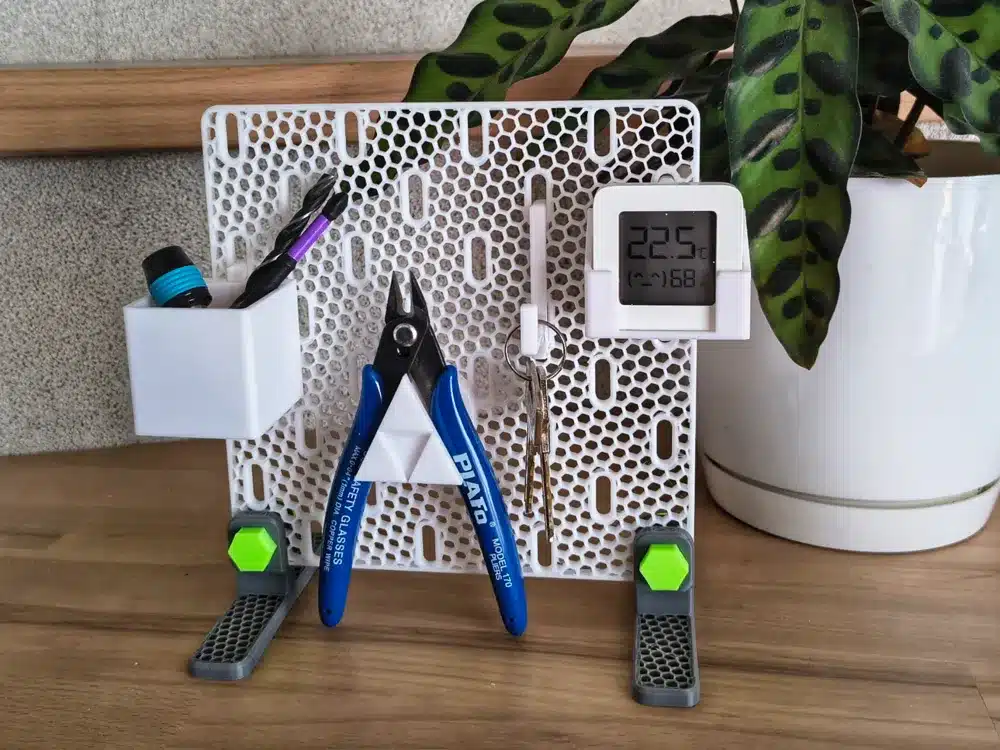
You can use 3D printing to make everyday objects like phone holders, keychains, and replacement parts for household items. Many people print custom tools or clips that fit their specific needs, saving time and money.
In healthcare, 3D printing helps produce prosthetics and models for surgical planning. In manufacturing, it’s used for rapid prototyping to test designs quickly. This technology also extends to automotive and aerospace parts, where printing light, strong components is key.

Functional and Creative Projects
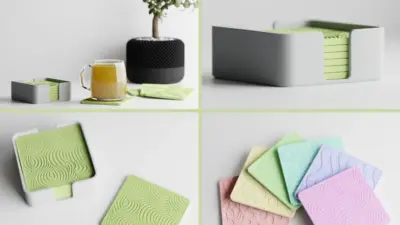
Starting with beginner-friendly items like the 3D Benchy boat helps you learn printer calibration and basics. After that, you can make practical items like tool organizers, cable clips, or even small planters. These projects improve your skills and create useful things around the home or office.
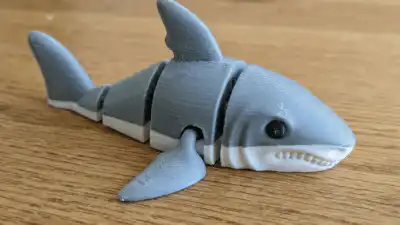
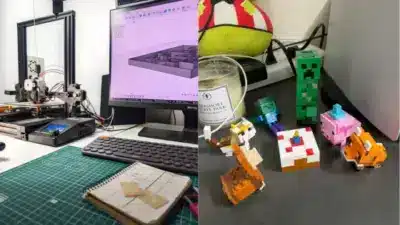
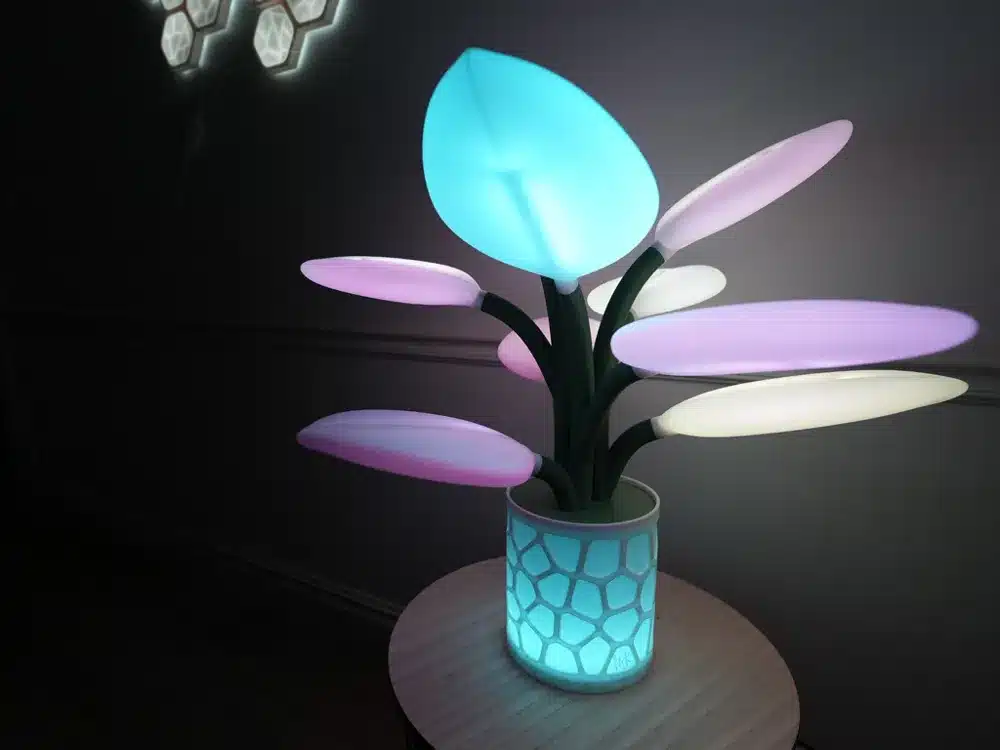
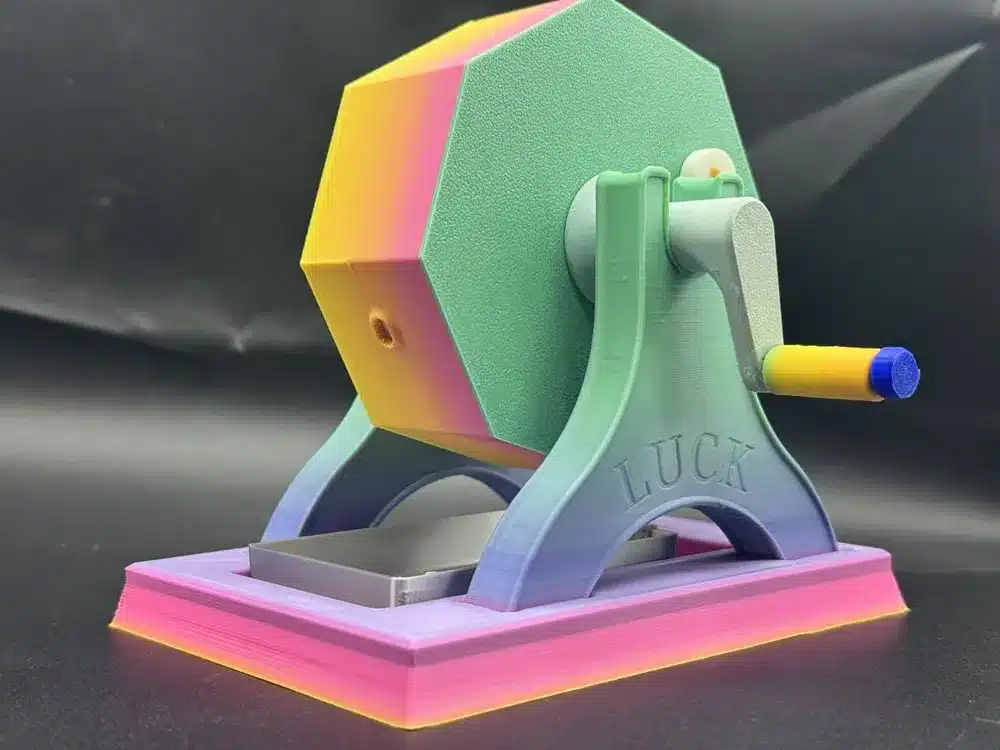
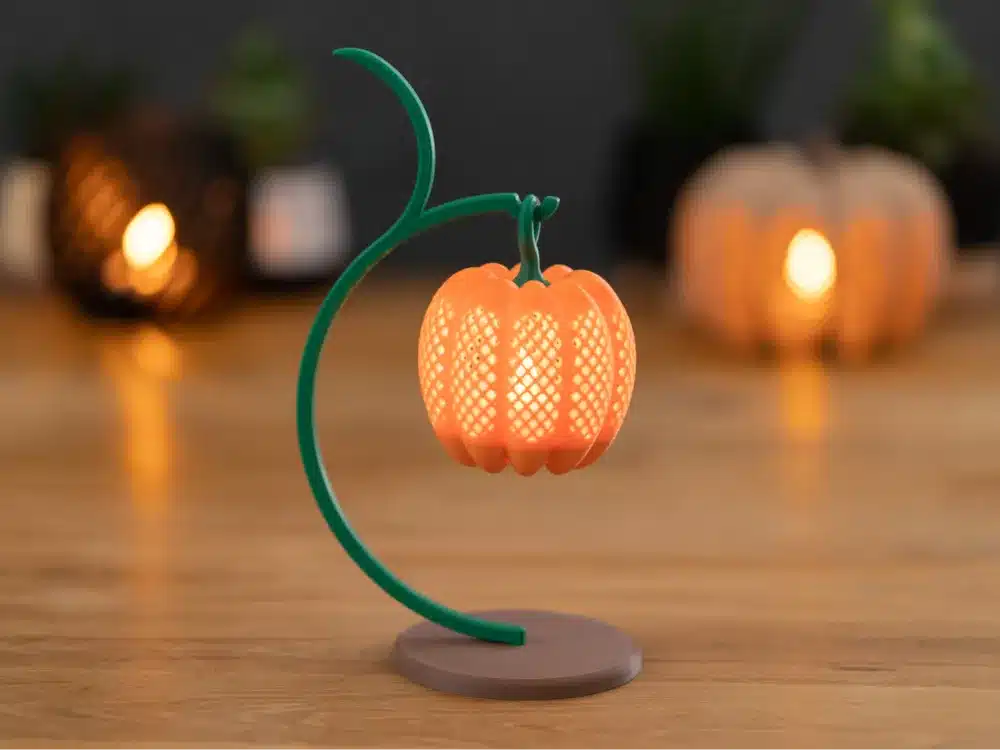
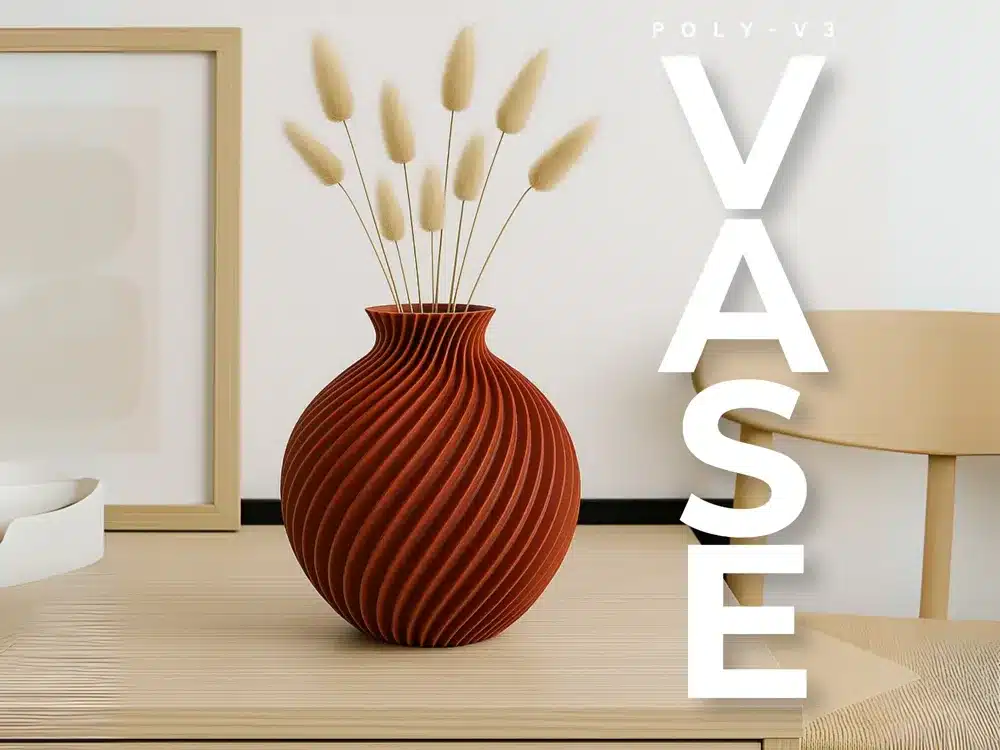
On the creative side, you might design toys, art figurines, or custom puzzles. Trying different materials and colors can give you unique results. Using design software like Fusion 360 or Blender allows you to customize your prints fully.
Exploring 3D Printing in Education
3D printing is a powerful educational tool because it combines design, technology, and hands-on learning. You can create models to understand complex subjects like biology, geometry, or engineering.
Students learn problem-solving by designing and printing their own projects. Classrooms often use 3D printing to make prototypes or interactive learning aids, which helps make abstract concepts more tangible and engaging. This approach encourages creativity and technical skills at any age.
- 0shares
- Facebook0
- Pinterest0
- Twitter0
- Reddit0

