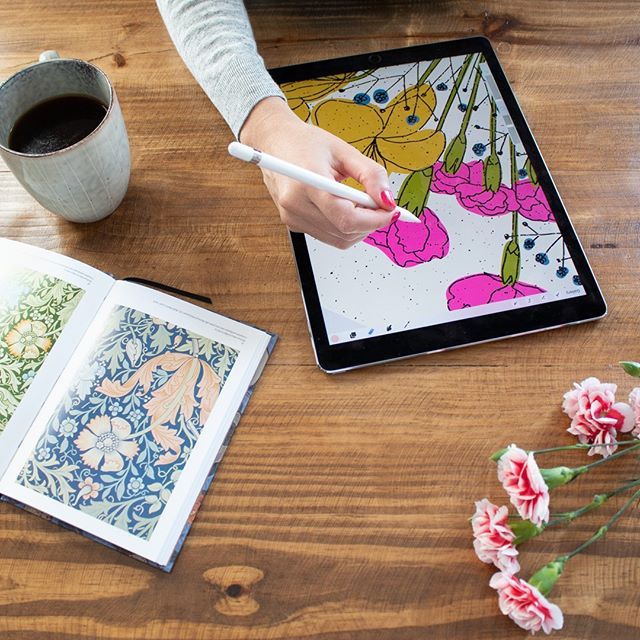
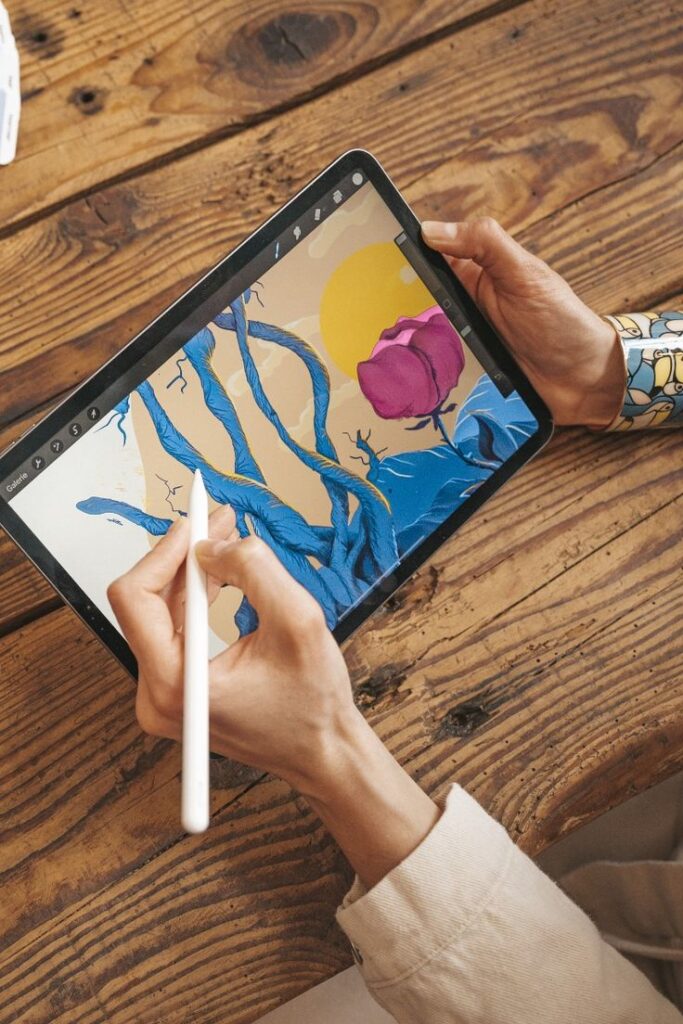
The iPad has become a favorite tool for artists and designers looking for a portable and versatile way to create digital illustrations. With advanced apps like Procreate and Adobe Illustrator, you can draw, paint, and design directly on your iPad using the Apple Pencil, giving you precision and creative freedom wherever you are. Whether you’re sketching ideas, making intricate vector art, or simply doodling, the iPad supports a wide range of techniques and styles.
You don’t need a studio or expensive equipment to start making digital art—many powerful drawing apps are available for every skill level. Your journey into iPad illustration can begin with just a few taps, letting you explore everything from quick sketches to professional-grade designs.
Key Takeaways
- Learn how simple it is to start illustrating on your iPad.
- Discover top drawing apps that make digital art easy.
- Get practical tips for mastering digital art tools and techniques.
Getting Started With iPad Illustration
To create digital art efficiently, you need the right iPad, a comfortable setup, and a few key drawing tools. Small details like choosing a good Apple Pencil and arranging your workspace can have a big impact on your creative process.
Choosing the Right iPad Model
Selecting the most suitable iPad is an important first step for illustration. The iPad Pro and iPad Air models both support the Apple Pencil, offering fast processors and high-resolution displays for detailed artwork. Larger screens, like the 12.9-inch iPad Pro, provide extra room for drawing and make working with multiple layers easier.
If you are on a budget, the 10th generation iPad and the iPad mini also work well with the Apple Pencil (1st or 2nd generation, depending on the model). Make sure to check Apple Pencil compatibility before buying, since not all iPads support every Apple Pencil version.
Quick iPad & Apple Pencil Compatibility Table:
| iPad Model | Apple Pencil Support |
|---|---|
| iPad Pro (all models) | 2nd Gen |
| iPad Air (4th/5th Gen) | 2nd Gen |
| iPad (10th Gen) | 1st Gen (USB-C Adapter) |
| iPad mini (6th Gen) | 2nd Gen |
Setting Up Your Workspace
A comfortable and organized workspace is key for relaxed, creative sessions. Use a stable surface for your iPad, like a desk or lap desk, to avoid unnecessary hand strain. Natural light can reduce eye fatigue, but if you draw at night, a small LED desk lamp works well.
Adjust the iPad angle with a stand so you can sketch or paint comfortably for longer periods. Keep your Apple Pencil charged and nearby, and store it safely to avoid misplacing it during breaks.
Consider keeping a microfiber cloth close by to clean the screen regularly. Clean screens improve Apple Pencil accuracy and keep your illustrations crisp.
Essential Accessories for Artists
A few specialized accessories greatly improve your drawing experience. The Apple Pencil is crucial for pressure-sensitive strokes and palm rejection, so choose the right one for your iPad model. Replacement nibs are handy for when the tip wears down.
A quality screen protector can make your iPad feel more like paper—matte, anti-glare “paperlike” protectors are popular among illustrators. Use a sturdy iPad case, especially if you draw on the go, to protect your device and stand it up easily.
Some artists also use a glove (usually called a drawing glove) to reduce friction between your hand and the screen, helping create smoother lines. A simple organizer or digital art bag keeps your Apple Pencil and accessories together, so nothing gets lost.
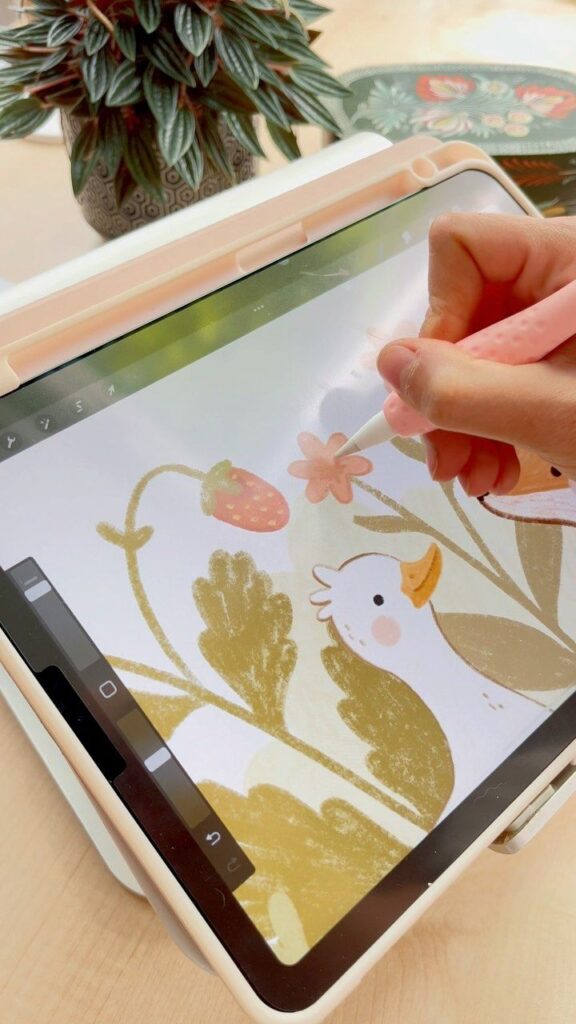
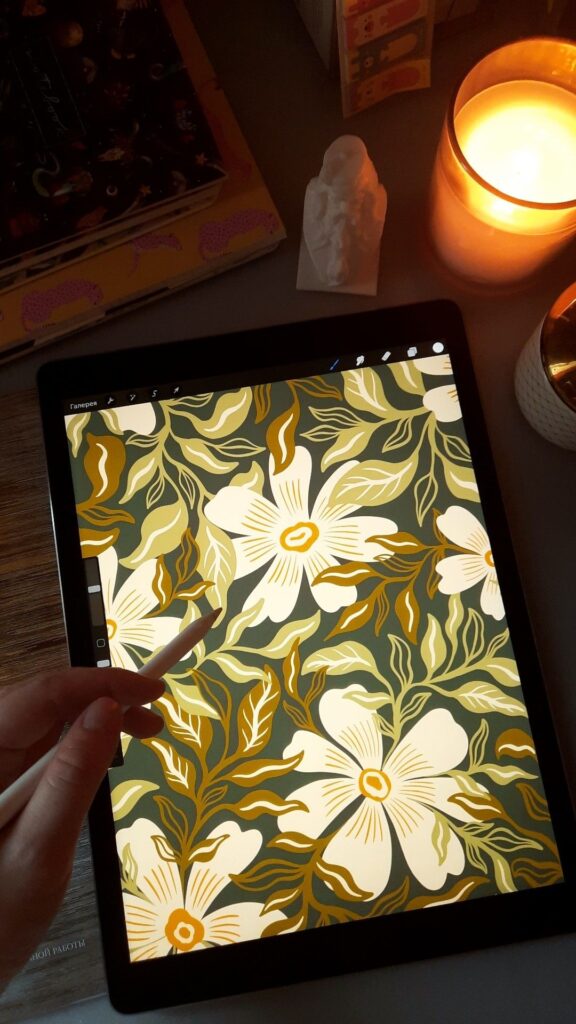
Best Drawing Apps for iPad Illustration
Picking the right drawing app can make a huge difference in your creative process. Popular choices like Procreate, Clip Studio Paint, Autodesk Sketchbook, and Art Set 4 each provide unique features tailored for different illustration styles and user levels.
Procreate Features and Tips
Procreate stands out as a top choice for iPad illustration because of its flexible brush engine, intuitive interface, and robust professional features. You get over 200 brushes out of the box, plus the ability to create custom brushes or import sets from other artists. Animation Assist, a time-lapse record of your art process, and a quick menu make complex workflows easy.
Layers and advanced blending modes help you organize and experiment with your artwork. Customizable gestures, like two-finger undo, speed up your drawing, and the color drop tool lets you fill spaces instantly.
Try using the QuickShape feature to create perfect circles, lines, and rectangles quickly. Many artists pair Procreate with the Apple Pencil for responsive pressure sensitivity and tilt controls, allowing for precise detail.
Autodesk Sketchbook Overview
Autodesk Sketchbook is especially popular for its natural drawing feel and minimal learning curve. It provides a wide selection of realistic brushes, pencils, and markers designed to mimic traditional media, making it a solid pick if you’re transitioning from paper to digital.
Key features include unlimited layers, effective blending modes, and a clean interface that maximizes your canvas space. Sketchbook’s predictive stroke function also helps straighten out shaky lines, ideal for sketching on the go.
The app runs smoothly even on older iPads, which can be important if you’re not on the latest hardware. File export supports both PSD and high-resolution PNG, allowing easy integration with other art apps or workflows.
Art Set 4 for Beginners
If you’re new to digital art, Art Set 4 provides an approachable introduction to illustration on iPad. The interface closely resembles a classic artist’s desk, complete with virtual pencils, watercolor brushes, and even oil pastels. This makes it comfortable if you’re more familiar with traditional tools.
Art Set 4’s tools include realistic smudge, blending, and layer techniques, making it easy to experiment without feeling overwhelmed by menus. Color mixing happens naturally, allowing for intuitive control over shades and opacity.
The free version of Art Set 4 covers essentials, but you can unlock extra brushes, layers, and canvases with a premium upgrade. It’s a great way to explore digital drawing without a steep learning curve.
Exploring Clip Studio Paint
Clip Studio Paint is favored by illustrators, manga artists, and comic creators due to its powerful brush customization and vector layer support. You get tools tailored for both line art and painting, so it’s effective for both detailed sketches and vibrant color work.
The built-in symmetry, perspective rulers, and panel features make comic creation efficient. Clip Studio’s vector system allows you to easily adjust lines after drawing, which is useful for precise edits and consistent inking.
You’ll find a deep asset library with downloadable materials, brushes, and 3D models to incorporate into your artwork. While the learning curve is higher, the app’s flexibility appeals to experienced users seeking professional-level control over their art.
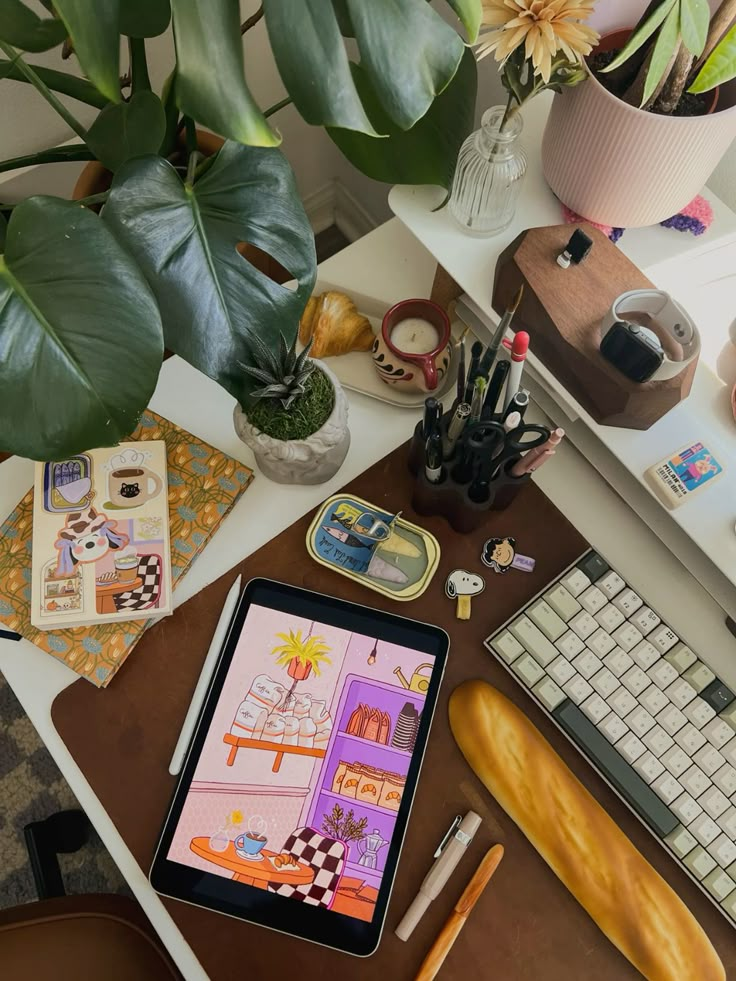
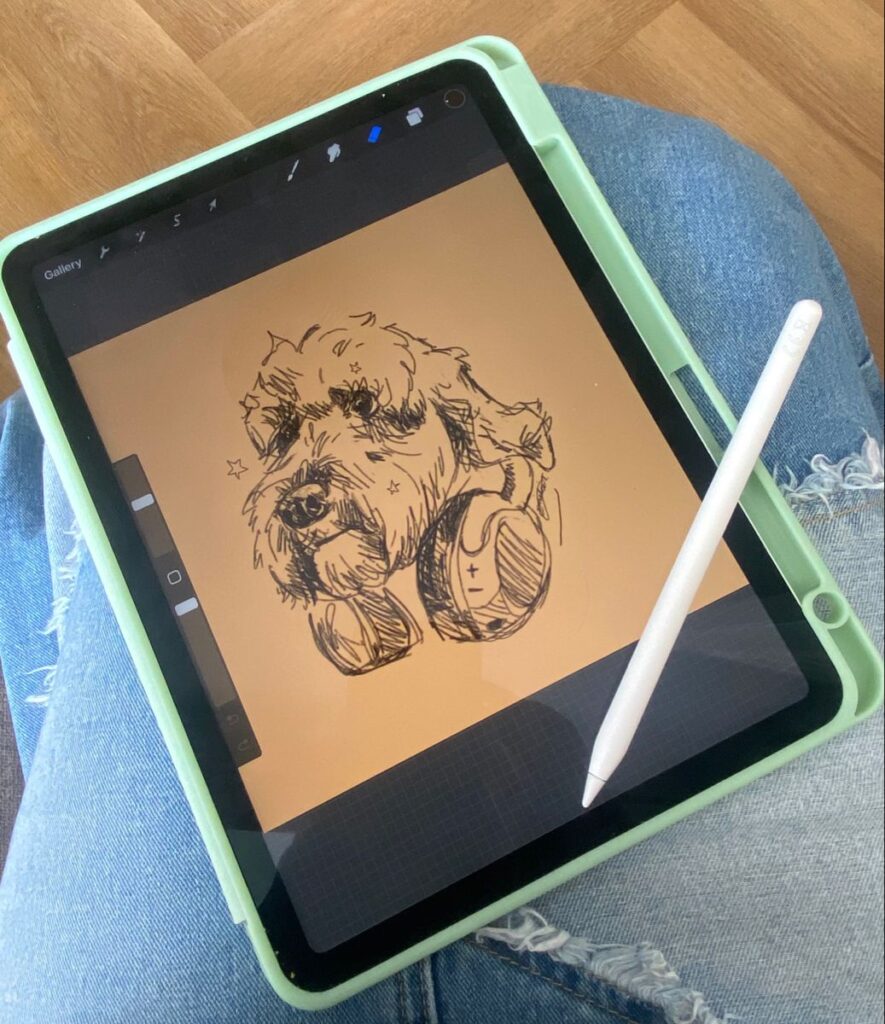
Digital Art Techniques and Tools
iPad illustration relies on mastering tools that help you create flexible, layered works. Choosing the right approach lets you streamline your process while adding depth and complexity to your digital art.
Working With Brushes
Brushes give you control over the texture, opacity, and shape of every mark you make. Most popular iPad art apps like Procreate and Adobe Fresco offer a wide range of default brushes, from realistic pencils to bold texture brushes.
You can adjust individual brush settings, change size and flow, or even customize and create your own brushes to match your favorite traditional mediums. Exploring different brush types helps you find effects you could not easily achieve with physical materials.
A good workflow involves switching between several brushes. For example, use a soft round brush for shading, a hard inking brush for outlines, and a textured brush for highlights or grit. Save your favorite custom brushes into sets for quick access.
Experimenting with pressure sensitivity—especially when using an Apple Pencil—unlocks finer control for sketching, coloring, and detailing.
| Brush Type | Best For | Apps |
|---|---|---|
| Pencil | Sketching, rough drafts | Procreate, Sketchbook |
| Ink Pen | Outlining, sharp lines | Adobe Fresco, Concepts |
| Watercolor | Soft gradients, blending | Procreate, Adobe Fresco |
| Texture Brush | Adding grit, special effects | Procreate, Clip Studio Paint |
Mastering Blend Modes
Blend modes change how colors interact when you stack brush strokes or layers. These settings let you lighten, darken, or combine colors in unique ways.
Multiply darkens colors; Screen and Add lighten them. Overlay boosts contrast and is great for vivid highlights. By learning how each blend mode works, you can experiment with light, shadow, and special effects.
Set blend modes on individual layers or even specific brush strokes. Try using Multiply for natural shadows and Overlay for glowing effects. Turn down layer opacity to fine-tune results without losing detail.
Pairing blend modes with color selections gives your digital art richness and depth that’s tricky to achieve with standard brushes alone.
Using Clipping Masks and Layers
Clipping masks and layers are fundamental for non-destructive editing. Layers allow you to separate sketches from color fills, backgrounds, effects, and line art. You’re able to move, edit, or hide elements without disrupting the whole piece.
A clipping mask restricts changes to only the content of the layer below. For example, you can paint highlights or textures onto a character without coloring outside its outline. When you add a new layer above your shape and set it as a clipping mask, your brush strokes only appear inside the shape’s boundaries.
Layer management is crucial for more complex works. Name your layers and group them for easier navigation. Use alpha lock if you need to recolor an area while keeping edges sharp.
Combining layers, masks, and blend modes helps you work efficiently and keep your digital art organized.
Vector Drawing on the iPad
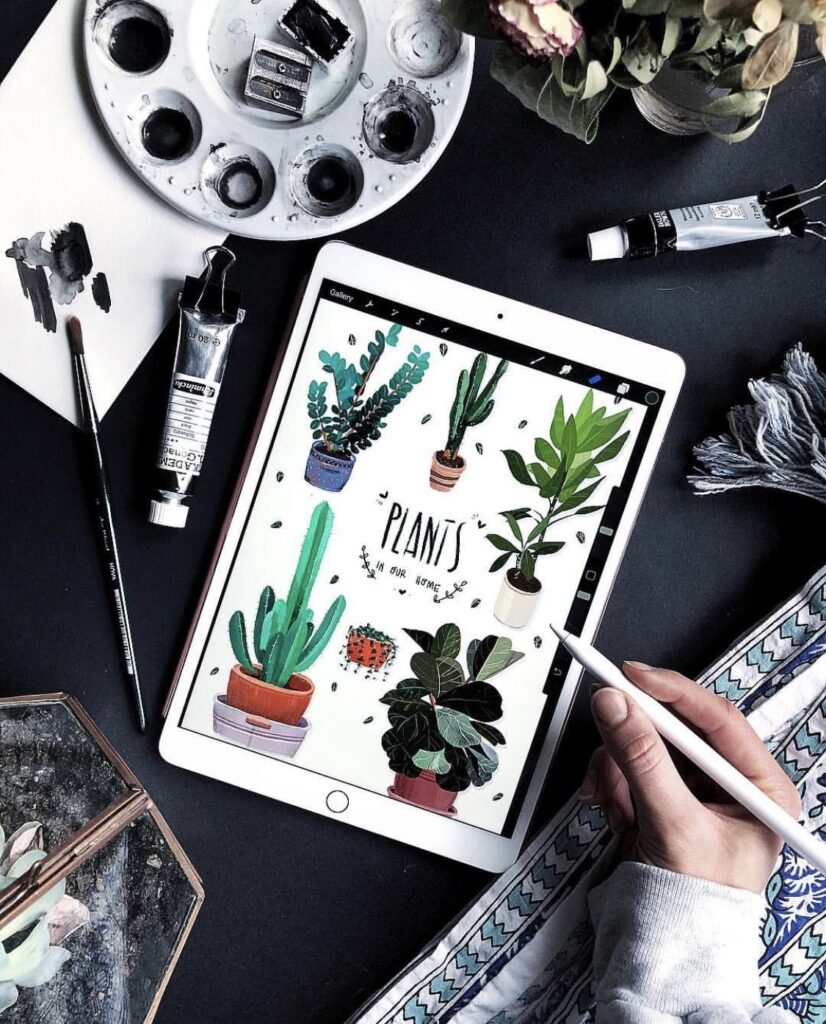
Vector drawing lets you create crisp, scalable illustrations using precise tools and flexible controls. Modern iPad vector drawing apps support advanced workflows, professional export options, and user-friendly touch interfaces.
Vector Drawing Basics
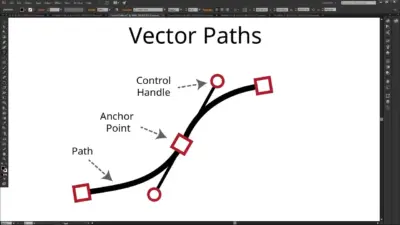
Vector drawing is all about using mathematical paths instead of pixels. This means your illustrations remain sharp at any size, making them perfect for logos, infographics, and detailed designs.
You’ll work with points, lines, curves, and shapes known as “vectors.” Unlike raster images, vectors never lose clarity when you zoom in or export at higher resolutions. This makes editing and refining much easier.
Most vector drawing apps for iPad let you use layers to manage elements, with tools such as Bezier pens and shape creators. You can arrange, group, align, and modify objects without quality loss. Basic file types include SVG, PDF, and sometimes AI—great for compatibility.
Popular Vector Drawing Apps
There are multiple iPad vector drawing apps worth exploring. Each offers different strengths, so it’s helpful to match features to your creative needs.
Adobe Illustrator for iPad offers deep integration with the desktop version, letting you move projects between devices with cloud syncing. Its pen, pencil, and brush tools cover most vector needs.
Graphic for iPad brings desktop-level vector features with an accessible interface, allowing both detailed illustrations and simple diagrams.
Inkpad is open-source and straightforward, focusing on precision and speed. It suits those who need an uncluttered workspace.
Amadine provides a clean, modern design ideal for beginners and professionals. It works on both iPad and iPhone.
Supported export formats usually include SVG, PDF, and PNG. Most apps also support Apple Pencil, giving you pressure-sensitive controls for more natural line work.
Linearity and Vectornator Introduction
Linearity Curve (formerly Vectornator) has become a top choice for iPad vector work due to its wide toolset and free availability. You get advanced pen tools, real-time collaboration, and customizable workspaces.
The interface is fully touch-optimized for gestures, quick selection, and multi-finger actions. Linearity supports import/export of major formats like SVG, PDF, and AI, so it fits well into any designer’s workflow.
You can also use vector brushes, typography tools, and shape creators for varied designs. The app is well-suited for logo design, UI work, and illustration. Collaboration options and cloud sync features mean you can keep your work up to date across multiple devices.
Concepts and Workflow
Concepts is known for a flexible, infinite canvas and hybrid vector-raster approach. You can sketch freely with an Apple Pencil, then refine lines as accurate vector paths afterward.
The app lets you create custom brush and color palettes, offering a customizable workspace. Workflow tools include easy layering, snapping, and shape guides. You can annotate, add notes, and export artboards for presentations or further editing.
Concepts supports professional file exports, including SVG and PDF. This makes it easy to share your work with clients or continue on desktop software. Many illustrators use Concepts for brainstorming, UX wireframing, and detailed technical drawing thanks to its simple yet powerful design.
Advanced Tips for iPad Illustrators
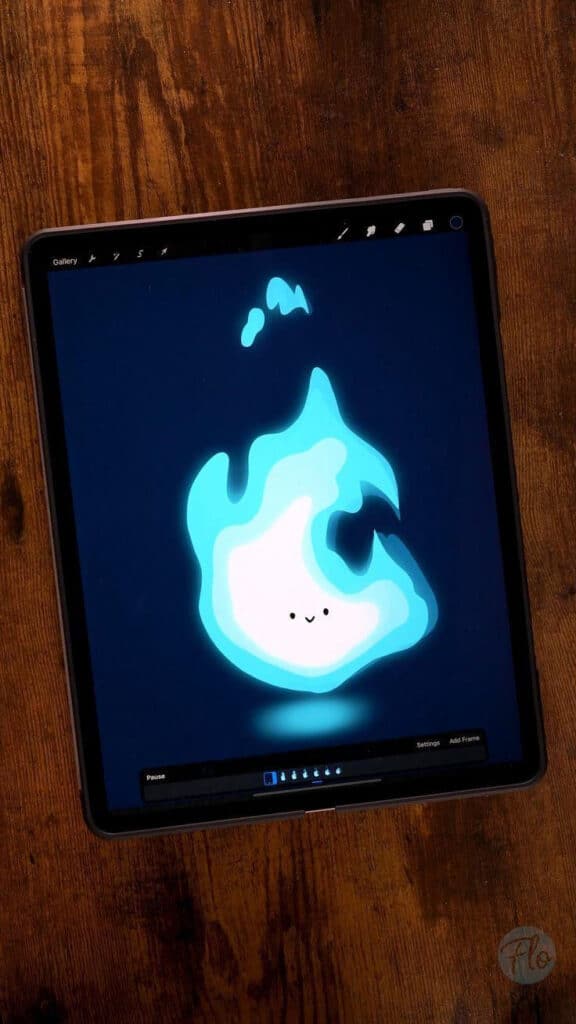
Finishing your iPad illustrations at a high level requires more than sharp drawing skills. To boost efficiency and achieve a professional finish, you’ll need to learn how to manage workflows, output artwork in multiple formats, and make the most of available art tools and accessories.
Optimizing Workflow Across Devices
Integrating your iPad with other devices streamlines the illustration process. Start by enabling iCloud Drive or alternative cloud storage to access your files across your Mac, iPhone, or PC. This makes it simple to pick up right where you left off, whether you’re at home or on the go.
AirDrop provides fast, wireless transfers between Apple devices. You can quickly move high-resolution art files, reference photos, or Procreate projects between your iPad and Mac. For apps like Procreate, exporting in PSD format allows you to continue editing in Adobe Photoshop on different platforms.
Split-view and multitasking make it easy to reference tutorials, open palettes, or move images between apps. For collaborative work, apps such as Figma, Miro, or Google Drive let you share projects and receive real-time feedback from clients or teammates.
Exporting and Sharing Art
When your illustration is finished, exporting in the right file format is crucial. Procreate and other leading drawing apps for iPad support formats like PNG, JPEG, TIFF, PSD, and PDF. These cover professional printing, web uploads, and easy sharing.
Export Tips:
- Use PNG for transparent backgrounds.
- Choose TIFF or PSD for layered files.
- Set proper DPI (300 dpi for print, 72 dpi for web).
iPad art apps usually include options to adjust color profiles and resolution. Utilize built-in exporting features to save directly to Dropbox, Google Drive, or send files via email or AirDrop. Many apps also let you export time-lapse videos to showcase your creative process on social media.
If you publish online, look for “export for web” options to keep file sizes small without sacrificing quality. Always preview your export on the intended display platform or device to ensure accuracy.
Expanding Your Creative Toolkit
Take advantage of the extensive ecosystem built around iPad art. The Apple Pencil is the default choice for precision and pressure sensitivity, but don’t overlook third-party styluses for unique brush effects or alternative ergonomics.
Essential drawing apps for iPad include Procreate, Adobe Fresco, and Affinity Designer—each offering features like customizable brushes, symmetry tools, and layer blending modes. Explore custom brush libraries available through online marketplaces or art communities.
Hardware add-ons, such as matte screen protectors, can give your iPad’s surface a paper-like texture for a more natural drawing experience. Try keyboard shortcuts or external keyboards supported by many art apps to speed up commonly used actions.
Expand your references and inspiration sources by using apps like Pinterest or PureRef alongside your drawing app. With the right combinations, your iPad toolkit can rival any traditional studio.
- 0shares
- Facebook0
- Pinterest0
- Twitter0
- Reddit0

