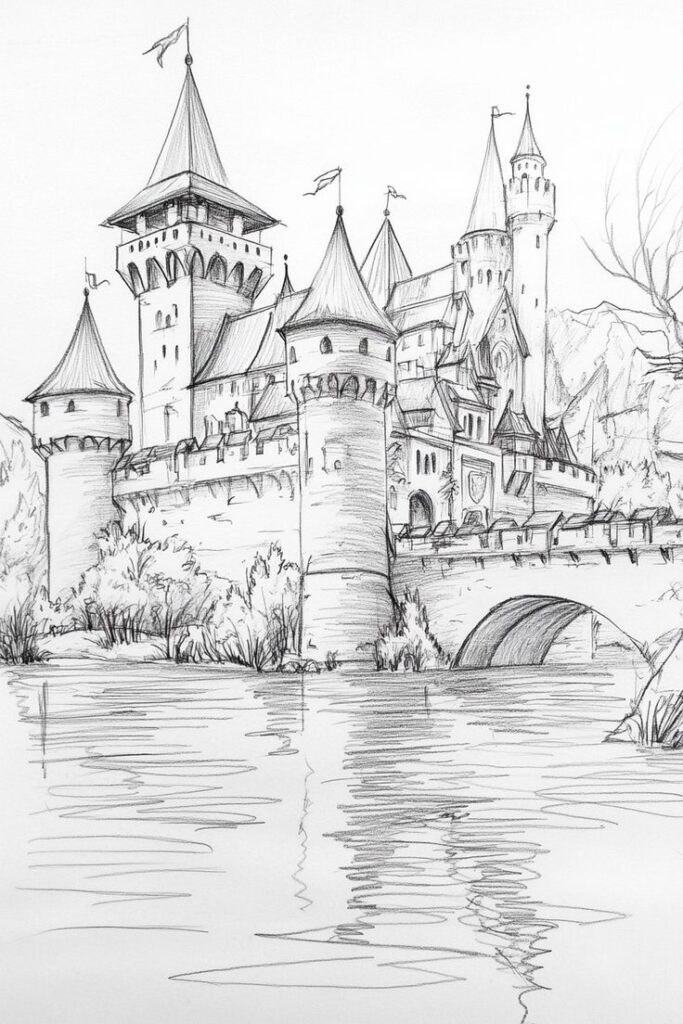
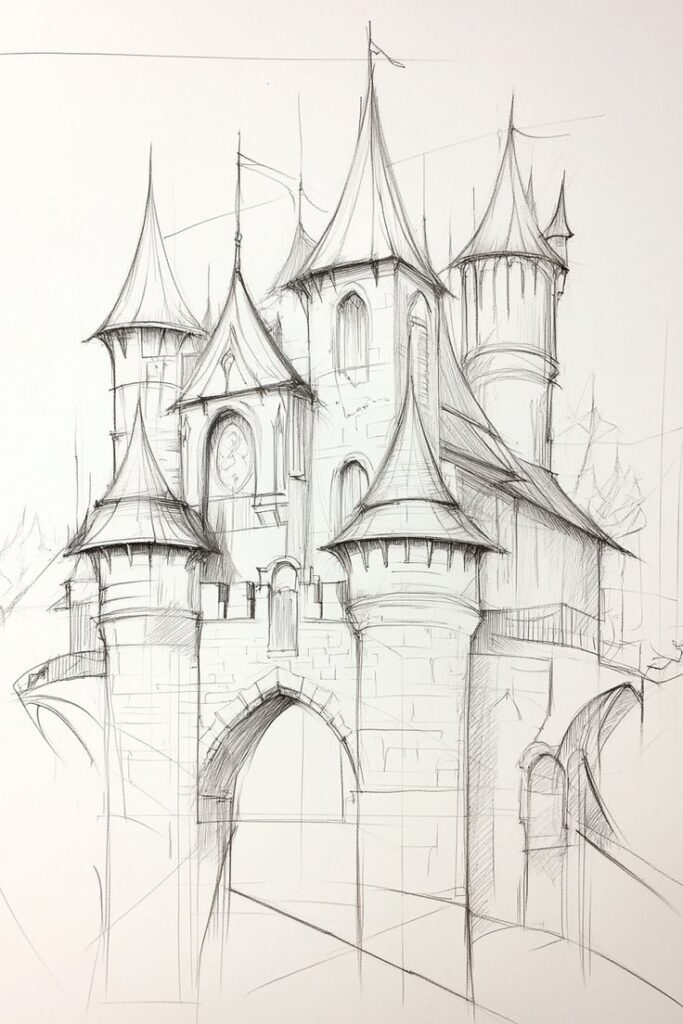
The allure of a medieval castle, with its imposing walls, towering turrets, and intricate stonework, has captivated artists and dreamers for centuries. These architectural marvels, steeped in history and folklore, present a fascinating challenge for any aspiring or seasoned artist. To draw a castle is to embark on a journey through history, geometry, and imagination, requiring a systematic approach to capture its grandeur and structural integrity. This guide provides a professional, step-by-step methodology to master the art of how to draw a castle, transforming complex structures into compelling visual narratives. We will delve into seven crucial steps, each designed to build your skills and confidence, culminating in a majestic and believable rendering.
1. Understanding Castle Anatomy and Perspective
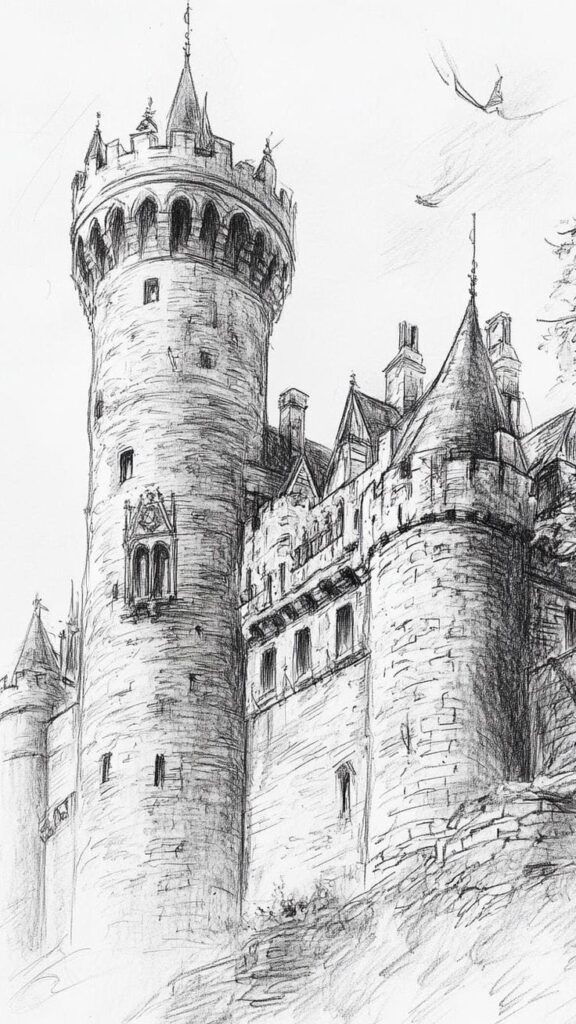
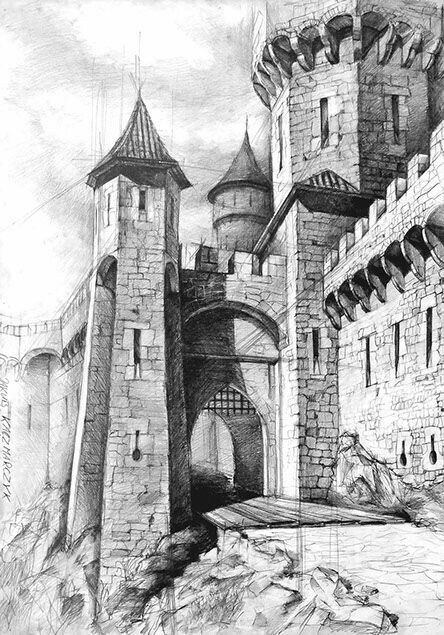
Before placing pencil to paper, a comprehensive understanding of castle anatomy and the principles of perspective is paramount. A castle is not a monolithic entity but a collection of distinct architectural elements working in concert. Familiarize yourself with these components:
- The Keep: Often the strongest and most central tower, serving as the castle’s primary defensive and residential structure.
- Curtain Walls: The main defensive walls enclosing the castle courtyard.
- Towers/Turrets: Various cylindrical or square structures along the walls or at corners, offering defensive vantage points.
- Gatehouse: The fortified entrance, typically featuring portcullises, drawbridges, and murder holes.
- Battlements: The protective parapets atop walls and towers, characterized by alternating solid sections (merlons) and gaps (crenels), allowing defenders to shoot while remaining shielded.
- Machicolations: Floor openings between the supporting corbels of a projecting parapet, through which stones or boiling liquids could be dropped on attackers.
- Arrowslits: Narrow vertical openings in walls, allowing archers to fire arrows.
Grasping the function and form of these elements will enable you to construct a more believable and historically accurate representation. For a deeper dive into visualizing complex structures, consider exploring resources on beginner architecture drawing ideas.
Perspective is the backbone of realistic architectural drawing. Without it, your castle will appear flat and unconvincing. Start by choosing a primary viewpoint:
- One-point perspective is ideal for head-on views, where one face of the castle is parallel to the viewer. All receding lines converge at a single vanishing point on the horizon.
- Two-point perspective is more dynamic, showcasing two faces of the castle receding towards different vanishing points on the horizon. This is excellent for corner views.
- Three-point perspective introduces a third vanishing point above or below the horizon, creating a dramatic sense of height (looking up at a towering castle) or depth (looking down from above).
Begin by sketching a clear horizon line and establishing your vanishing points. This foundational framework will guide all subsequent lines and ensure your castle occupies a stable, three-dimensional space on your canvas. Practice drawing simple cubes and cylinders in various perspectives to internalize these crucial rules before tackling the complexity of a castle.
2. Sketching Basic Forms and Proportions
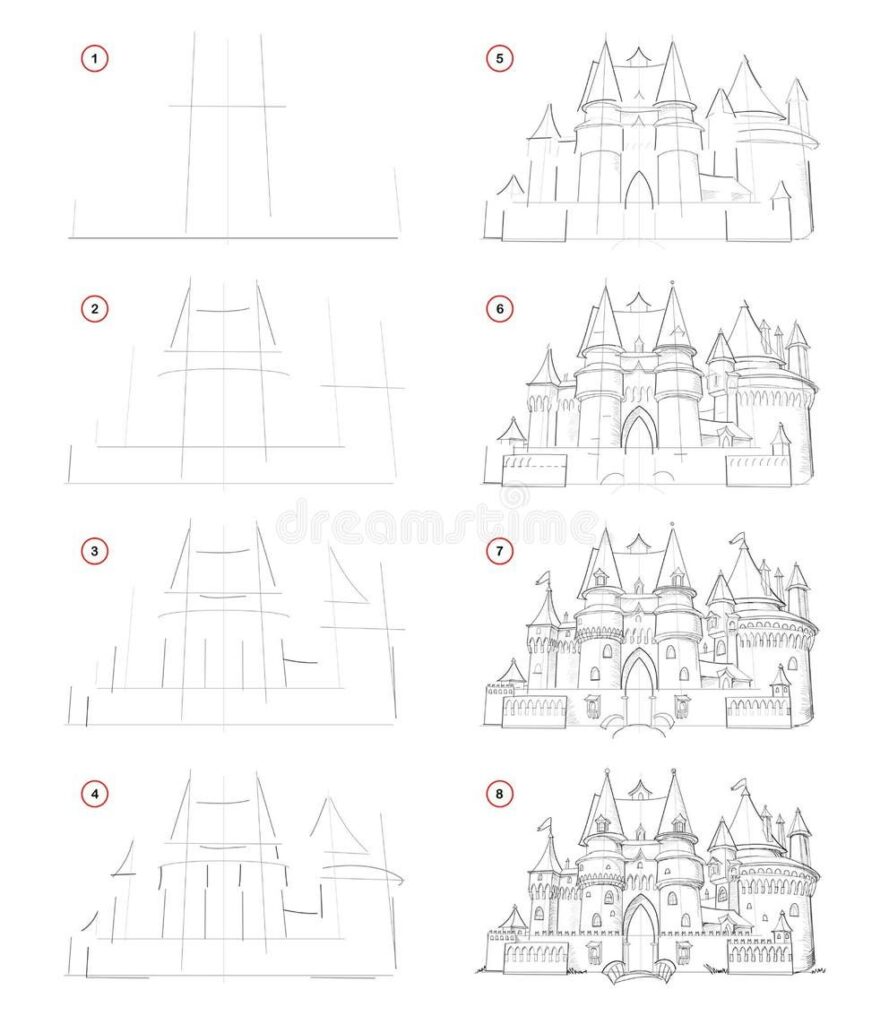
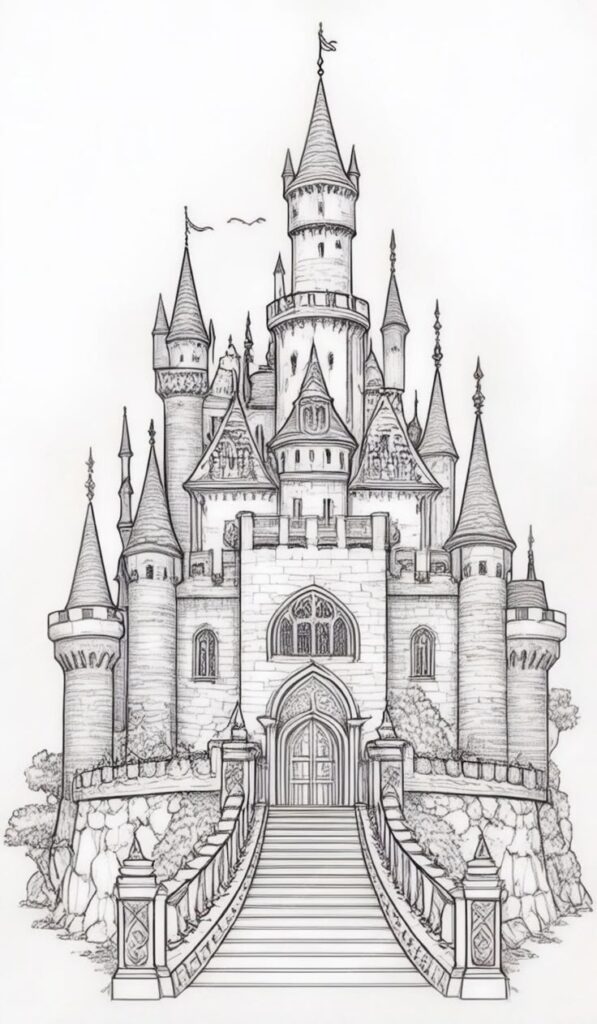
With your understanding of castle anatomy and perspective in place, the next step involves laying down the foundational shapes and establishing the correct proportions. This stage is about building the castle’s skeleton with a light hand, focusing on scale and spatial relationships before diving into intricate details.
Start by lightly sketching the largest, most dominant forms of your castle. Think in terms of simple geometric primitives:
- Cylinders for round towers and turrets.
- Rectangular prisms for the keep and curtain walls.
- Cones or pyramids for tower roofs.
Use a light pencil (e.g., 2H or H) that allows for easy erasure without leaving indentations. These initial lines are guides, not permanent fixtures. Employ your chosen perspective grid rigorously. All vertical lines should remain truly vertical unless you’re using three-point perspective, and all horizontal lines that recede into the distance must converge towards their respective vanishing points.
Establishing accurate proportions is critical to conveying a sense of grandeur and realism. A castle’s scale is immense, and its elements must relate to each other logically. Consider:
- Height and Width Ratios: How tall are the towers compared to the length of the walls? Is the keep proportionally dominant?
- Door and Window Placement: Where would a human enter? How high would windows be from the ground? Even without drawing figures, implying human scale through these features makes the structure more relatable. A general guideline is to imagine a person at the base of your castle. This visual reference helps calibrate the size of gates, windows, and other elements.
Pay close attention to the overall composition. How does the castle sit on the page? Does it feel balanced? Sometimes, allowing for the importance of white space in design around your primary subject can enhance its impact and majesty. Avoid drawing the castle dead-center unless specifically desired; often, slightly off-center compositions are more dynamic. Utilize the rule of thirds as a compositional aid, placing key elements or the overall structure along intersecting lines or points to create visual interest. This foundational sketch, though simple, is the blueprint for your entire drawing; precision here saves significant correction later.
3. Developing Architectural Details
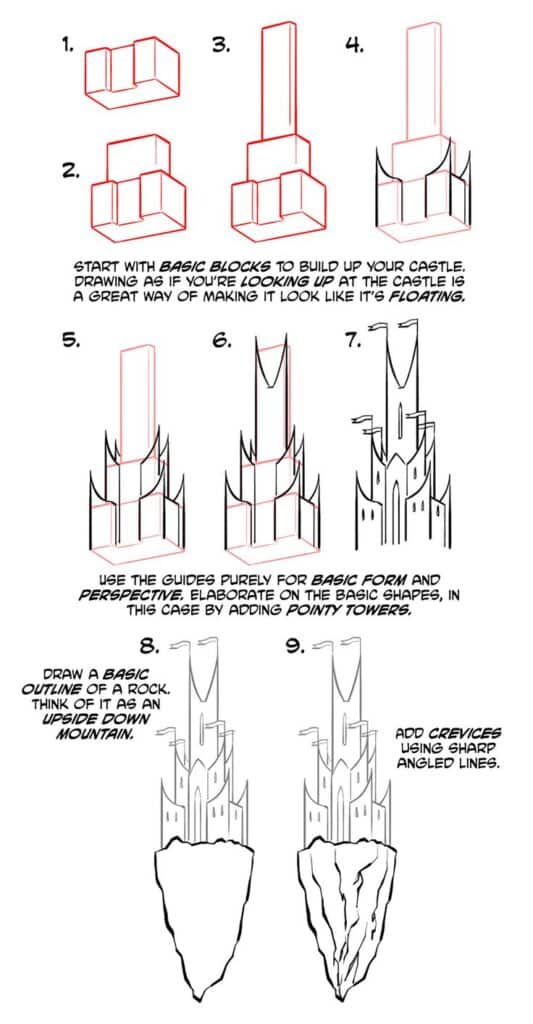
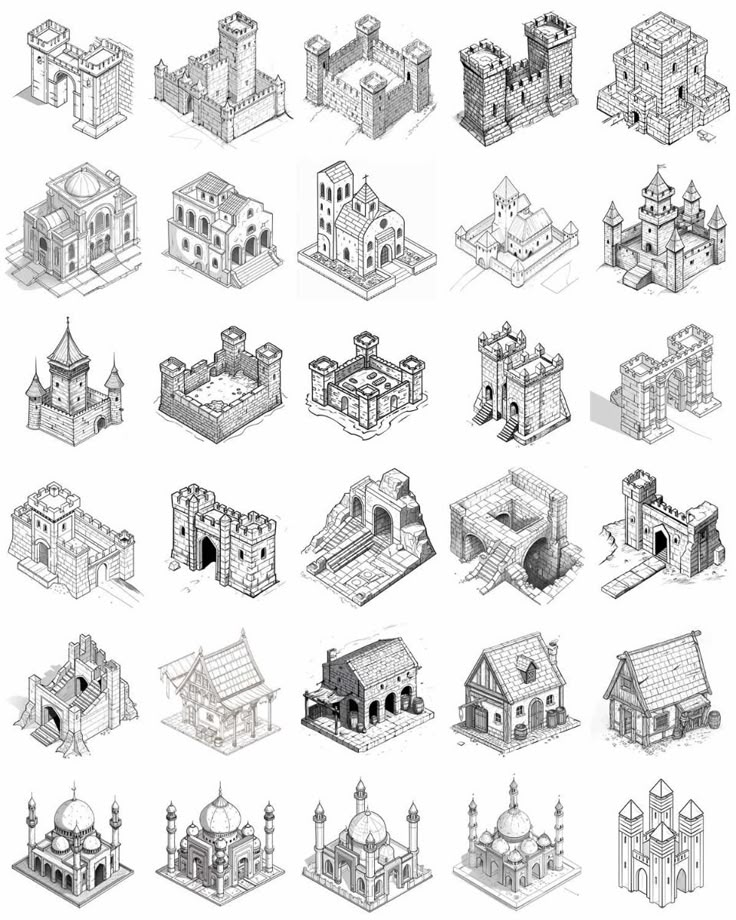
Once the basic forms and proportions are established, it’s time to breathe life into your castle by developing its architectural details. This stage transitions from broad strokes to specific features, defining the character and age of your fortress.
Begin with the most prominent details:
- Gatehouse Enhancements: Add the drawbridge mechanism, portcullis grooves, and any decorative or defensive carvings around the entrance.
- Window and Doorways: Vary the shapes and sizes of windows. Arched windows suggest an older, Romanesque style, while rectangular, more numerous windows might hint at later periods or domestic areas within the castle. Ensure all windows and doors adhere to your established perspective, receding accurately into the structure. Remember that defensive arrowslits are narrow and strategically placed for firing, often widening internally.
- Battlements and Crenellations: Carefully render the alternating merlons (solid blocks) and crenels (gaps) along the tops of walls and towers. The regularity and size of these elements contribute significantly to the castle’s visual rhythm and historical feel.
Next, focus on the intricate stonework. Rather than drawing every single stone, which can lead to a cluttered look, imply texture and detail through strategic line work:
- Vary Stone Size and Shape: Suggest irregular patterns in the stone blocks, especially at corners and edges, to give a sense of hand-hewn construction.
- Outline Key Stones: Define the edges of larger, more prominent stones, particularly those under windows, around doorways, or at the base of towers.
- Hatching and Cross-Hatching: Use light hatching to suggest the rough texture of stone, varying the direction to show light and shadow.
Consider the roofs of your towers and keep. Conical roofs are iconic for round towers, while flat roofs or pyramidal structures might top square keeps. Add flags or banners to turrets, imagining them fluttering in the wind to introduce dynamism. For those interested in the grand scope of architectural rendering, exploring concepts around drawing architectural wonders from ancient monuments to modern skylines can provide broader context for detailing and structural representation. Every detail, no matter how small, should enhance the overall realism and narrative of your castle.
4. Mastering Shading and Lighting

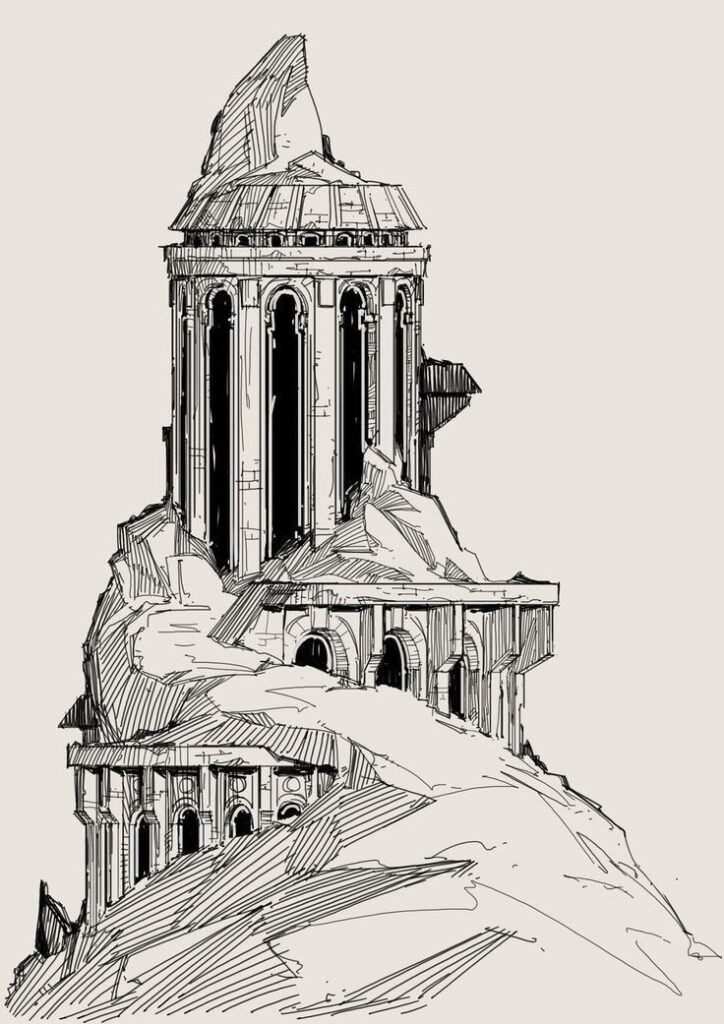
Shading and lighting are the critical elements that transform a flat line drawing into a three-dimensional, atmospheric masterpiece. This step gives your castle weight, depth, and mood. The key is to establish a consistent light source from the outset.
1. Define Your Light Source: Decide where the light is coming from – the sun in the upper-left, a moon directly above, or a dramatic light from below. Once chosen, adhere to it throughout your drawing. This consistency is fundamental for believability.
2. Understand Form Shadows: These are the shadows cast on the object itself. Surfaces facing away from the light source will be darker, while those facing towards it will be lighter. For a cylindrical tower, the shadow will wrap around the curve, gradually darkening as it moves away from the light. For a flat wall, the transition will be more abrupt.
3. Identify Cast Shadows: These are shadows projected by one object onto another, or onto the ground. The battlement parapets will cast shadows onto the wall below. A tower will cast a long shadow across the courtyard or onto an adjacent wall. The angle and length of cast shadows provide crucial information about the time of day and the intensity of the light.
4. Utilize Value Range: Value refers to the lightness or darkness of a tone. A majestic castle drawing requires a full range of values, from the crispest highlights to the darkest shadows.
* Highlights: The brightest areas, where light hits directly. These add sparkle and define edges.
* Mid-tones: The bulk of your drawing, representing surfaces partially illuminated.
* Core Shadows: The darkest parts of the form shadow, where light cannot reach.
* Reflected Light: A subtle bounce of light into shadow areas from surrounding surfaces. This prevents shadows from looking flat and solid.
5. Pencil Techniques for Shading:
* Hatching: Parallel lines to create tone.
* Cross-hatching: Intersecting sets of parallel lines for darker tones and texture.
* Stippling: Dots to build up tone and texture.
* Blending: Using a blending stump, tissue, or your finger (carefully) to smooth out tones for soft transitions. For precise textural work, consider techniques often used in rendering complex surfaces, such as those discussed in tutorials like how to draw hair: simple techniques for texture and volume, which, while different in subject, shares principles of building realistic volume through controlled shading.
6. Atmospheric Perspective: For elements in the background, reduce their contrast and detail, and make their values slightly lighter and cooler (if coloring). This creates the illusion of distance and air between the viewer and the distant objects.
Regularly step back from your drawing to assess the overall light and shadow pattern. Does it make sense? Is the light source consistent? Effective shading is arguably the most powerful tool for conveying realism and drama in your castle drawing.
5. Incorporating Background Elements
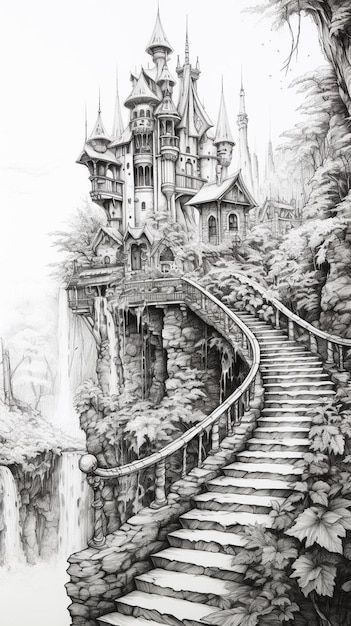

A majestic castle rarely stands in isolation. Its surroundings play a crucial role in establishing its scale, historical context, and overall mood. Incorporating background elements effectively adds depth and narrative to your drawing.
1. The Landscape:
- Terrain: Castles are often built on strategic elevations. Sketch in hills, mountains, or rocky outcrops that cradle your fortress. The contours of the land should interact with the castle’s base, making it feel grounded.
- Vegetation: Forests, individual trees, or shrubbery can frame the castle, adding organic contrast to its rigid geometry. Use varying tree types – dense pines for a formidable look or deciduous trees for a gentler setting. Consider a moat or a winding river for added defensive features and visual interest. When depicting the blend of constructed and natural forms, insights from blending architecture with nature: design principles that begin with the lawn can be invaluable, even if your “lawn” is a medieval field.
2. The Sky: - Clouds: Dramatic cloud formations can enhance the castle’s imposing presence, while a clear sky can emphasize its stark silhouette. Pay attention to how clouds interact with your chosen light source, casting their own shadows and catching highlights.
- Atmospheric Effects: Consider adding subtle effects like mist or fog, especially around the base of the castle or in distant valleys, to create a mysterious or ancient atmosphere. A setting sun or moon can cast long, dramatic shadows and highlight the castle’s silhouette.
3. Foreground Elements: - Roads or Paths: A winding road leading to the castle gatehouse invites the viewer into the scene and emphasizes the approach.
- Rocks and Debris: Scattered rocks, fallen trees, or even small structures (like a guard outpost or a small village) in the foreground can anchor the composition and provide additional context for the castle’s size.
- Human or Animal Figures: Even tiny, silhouetted figures can dramatically enhance the sense of scale. A lone traveler on a path, or a small flock of sheep in a field, instantly communicates the immense size of the castle.
When adding background elements, remember the principles of atmospheric perspective. Objects further away should have less detail, softer edges, and lighter values. This creates a convincing illusion of depth. Ensure that the background supports the castle, rather than distracting from it. The goal is to build a cohesive environment where the castle is the undeniable focal point, yet feels intrinsically connected to its surroundings.
6. Refining and Adding Fine Details
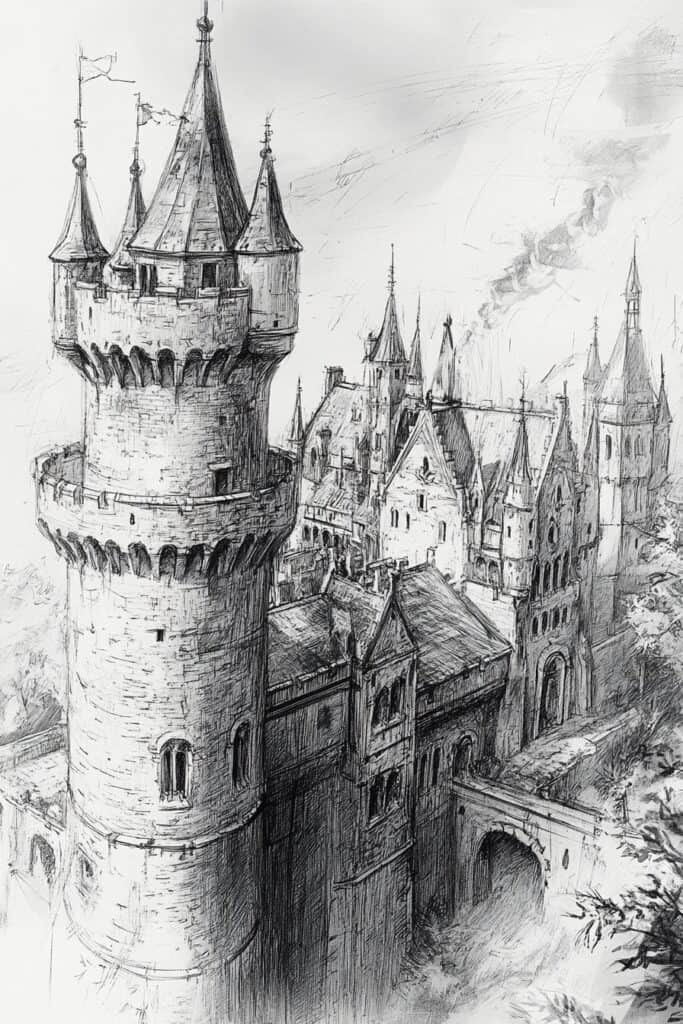
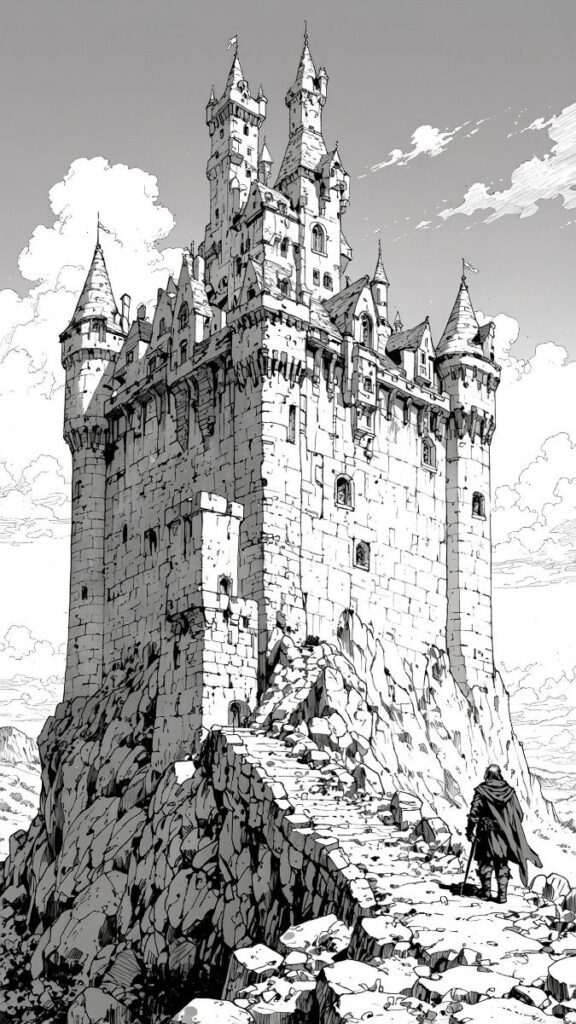
With the primary forms, shading, and environment in place, this stage focuses on the meticulous refinement of your castle drawing. This is where you elevate your work from good to exceptional by infusing it with character, history, and a tangible sense of realism.
1. Enhance Textures:
- Stonework: Go back to your walls and towers. Instead of just implying stone, selectively define individual blocks, especially at corners, around windows, and near edges. Vary the size and shape of these stones to reflect natural wear and construction. Use subtle variations in shading and tiny irregular lines to suggest rough-hewn surfaces, cracks, or mortar lines. Remember that different types of stone would weather differently.
- Wood and Metal: For elements like doors, draw in the grain of the wood, and for metal hinges or portcullises, suggest the sheen and strength of the material with specific highlights and darker values.
2. Introduce Signs of Age and Wear: - Cracks and Erosion: No ancient castle is pristine. Add subtle cracks in the stonework, crumbling edges, or areas where the stone has weathered over centuries. These imperfections contribute significantly to the castle’s authenticity and story.
- Vegetation Growth: Moss, lichen, or small vines clinging to the walls can indicate age and neglect, or simply the passage of time. These organic elements soften the rigid architectural lines and add visual interest.
3. Flags, Banners, and Heraldry: - Movement: If you’ve included flags or banners, refine their folds and wrinkles to suggest movement in the wind. This adds a dynamic element to an otherwise static structure.
- Detail: Add heraldic symbols or insignia if appropriate, giving a hint of the castle’s fictional inhabitants or historical period.
4. Architectural Ornamentation: - Sculptures and Carvings: Some castles featured elaborate carvings, gargoyles, or decorative elements. If your castle concept allows, sketch these in, ensuring they are consistent with the overall style and period.
- Roof Details: Refine chimneys, weather vanes, or roof tiles.
5. Narrative Elements: - Torch Sconces: Small details like empty torch sconces on walls or along pathways can add to the atmosphere.
- Small Figures: If you’ve placed any human figures, refine their basic forms to add a subtle human touch without distracting from the main subject.
The goal of this stage is to add layers of believable detail that enrich the visual experience without overwhelming the viewer. Approach these refinements systematically, working from larger details to smaller, ensuring each addition serves to enhance the castle’s majesty and realism. A drawing with a strong drawing aesthetic often excels in this careful layering of details.
7. Applying Finishing Touches and Review
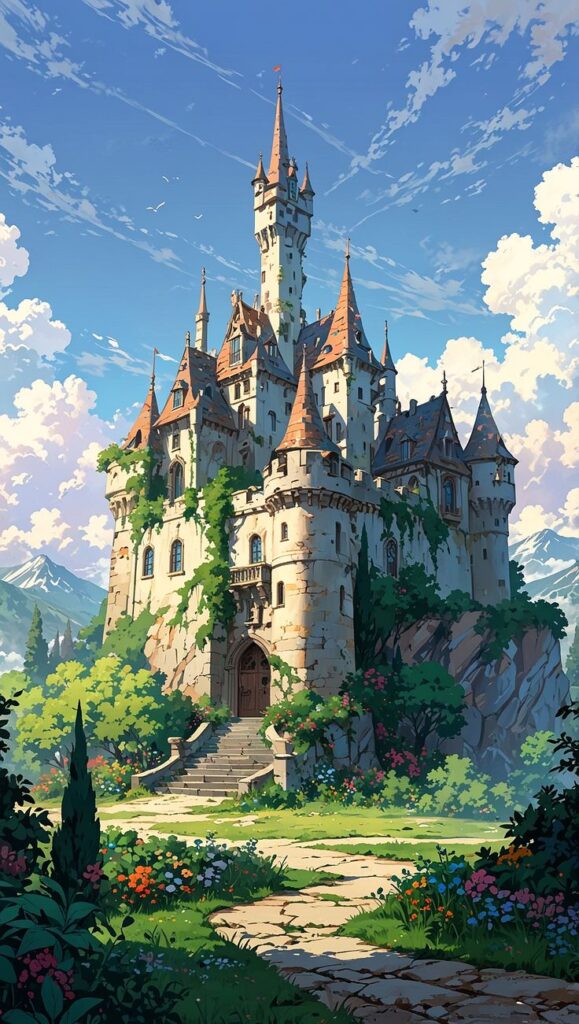
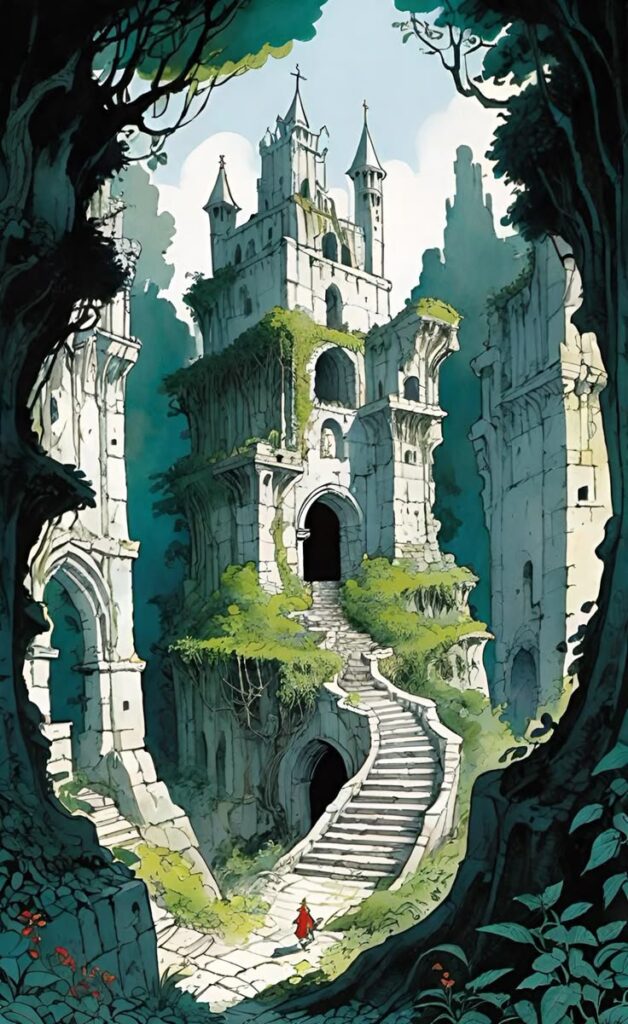
The final stage of drawing your majestic castle involves applying meticulous finishing touches and conducting a comprehensive review. This critical phase ensures consistency, maximizes visual impact, and allows you to catch any overlooked details.
1. Final Review for Consistency:
- Perspective: Double-check all receding lines to ensure they still converge accurately to your vanishing points. An error in perspective, however small, can disrupt the illusion of depth.
- Lighting and Shading: Confirm that your light source is consistent across the entire drawing. Are all shadows falling in the correct direction? Is there a full range of values, from the darkest darks to the brightest highlights? Ensure no area appears too flat or too busy without purpose.
- Proportions: Step back and observe the castle as a whole. Do the elements still appear proportional to each other and to the implied human scale?
2. Enhance Highlights and Deepen Shadows: - Highlights: Use a kneaded eraser or a very sharp, soft eraser to pick out the brightest highlights. These crisp whites on sunlit edges, windows, or weathered stone can make your castle truly “pop” and enhance its three-dimensionality.
- Darkest Accents: Go back with a darker pencil (e.g., 6B or 8B) to deepen the core shadows and the darkest parts of your cast shadows. This adds drama, contrast, and definition, pulling foreground elements forward and pushing background elements back.
3. Edge Control: - Sharpen Edges: For elements closest to the viewer or those meant to feel strong and distinct (like the edge of a tower), sharpen their outlines with a fine-tipped pencil.
- Soften Edges: For elements receding into the distance or areas meant to feel smoother (like distant clouds), subtly soften their edges to enhance atmospheric perspective.
4. Subtle Atmospheric Effects: - Haze or Mist: If appropriate for your scene, use very light, soft shading or smudging in distant areas to suggest a subtle atmospheric haze, further enhancing depth.
- Texture Overlays: Consider very light texture overlays, like a barely visible stippling pattern across the entire drawing, to unify the artwork.
5. Signature and Presentation: - Sign Your Work: A small, neat signature in a discreet corner is a mark of completion.
- Clean Up: Gently erase any stray marks or smudges that detract from the final piece. A clean drawing surface enhances the professionalism of your work.
6. Self-Critique and Learning: - Take a moment to critically evaluate your drawing. What worked well? What could be improved next time? This reflective practice is vital for continuous artistic growth. Perhaps you’ll find inspiration to try a different architectural style or a new medium, much like exploring the dynamic aesthetics of graffiti drawings, exploring urban art styles for a different approach to visual storytelling.
By meticulously attending to these finishing touches and thoroughly reviewing your work, you ensure that your castle drawing achieves its full potential, standing as a testament to your skill and vision.
Drawing a majestic castle is a deeply rewarding artistic endeavor that demands patience, precision, and a keen eye for detail. From understanding the fundamental elements of castle anatomy and the immutable laws of perspective to the delicate application of shading, the integration of environmental elements, and the meticulous refinement of textures, each step builds upon the last, culminating in a powerful and realistic depiction. This professional guide has provided a structured pathway, emphasizing the importance of a systematic approach that allows for both technical accuracy and creative expression. Remember that practice is the cornerstone of mastery; the more you observe, sketch, and refine, the more your castles will come to life on the page. Now, armed with these seven professional steps, embark on your artistic journey and start creating your own majestic castle drawing today!
- 0shares
- Facebook0
- Pinterest0
- Twitter0
- Reddit0

