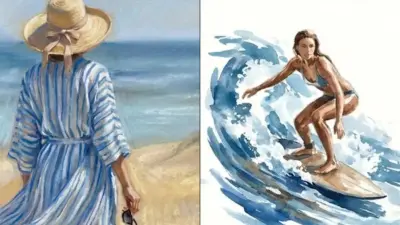
Ever felt that itch to create, to put your imagination onto paper, but then thought, “Nah, I can’t draw”? Well, think again! Diving into pencil drawing for beginners isn’t about natural talent; it’s about learning, practicing, and most importantly, having fun. It’s a journey open to everyone, regardless of age or perceived artistic ability. This guide is your friendly companion, ready to show you just how easy and rewarding it can be to pick up a pencil and start sketching. Forget perfection; let’s embrace the joy of making marks and watching your world come alive, one doodle at a time. Ready to unleash your inner artist? Let’s get started!
Why Pencil Drawing is the Perfect Starting Point
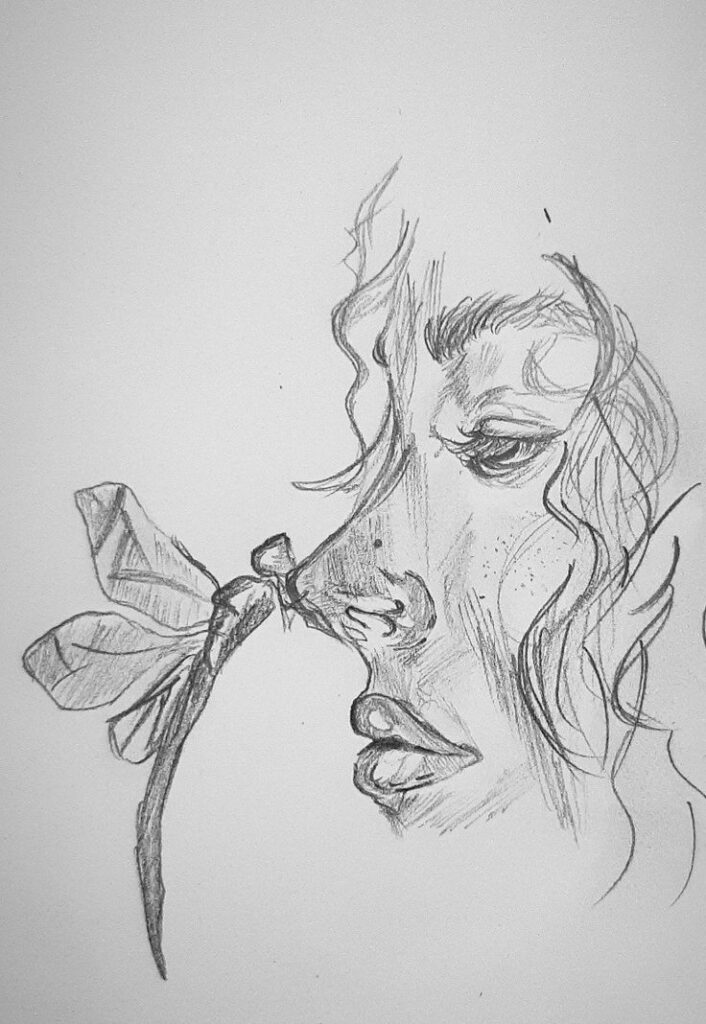
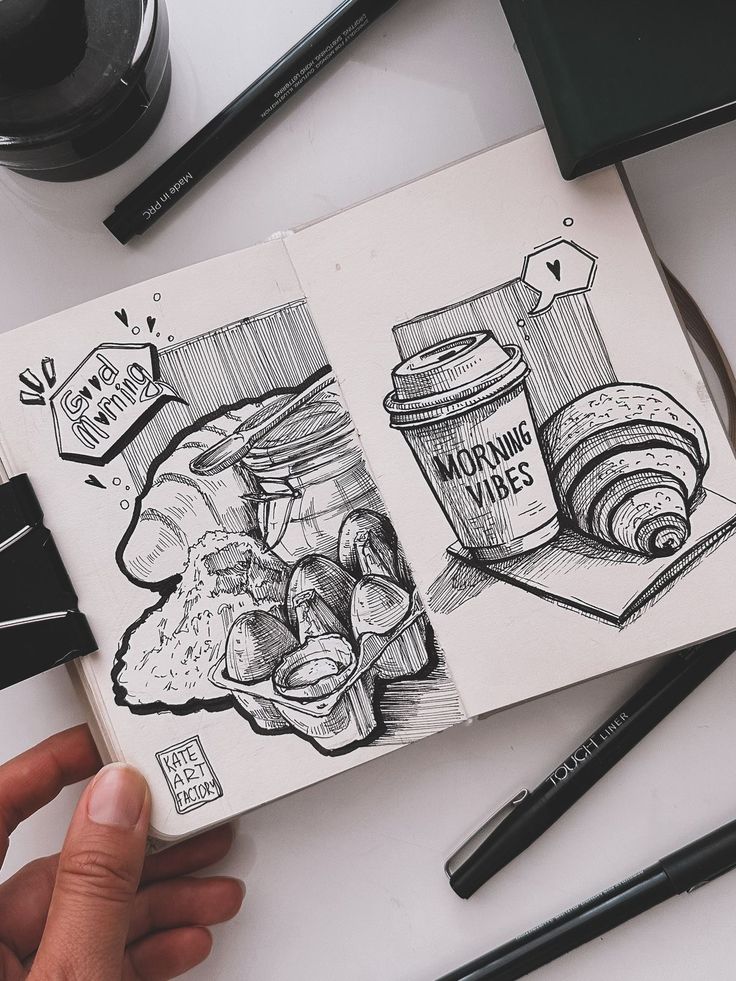
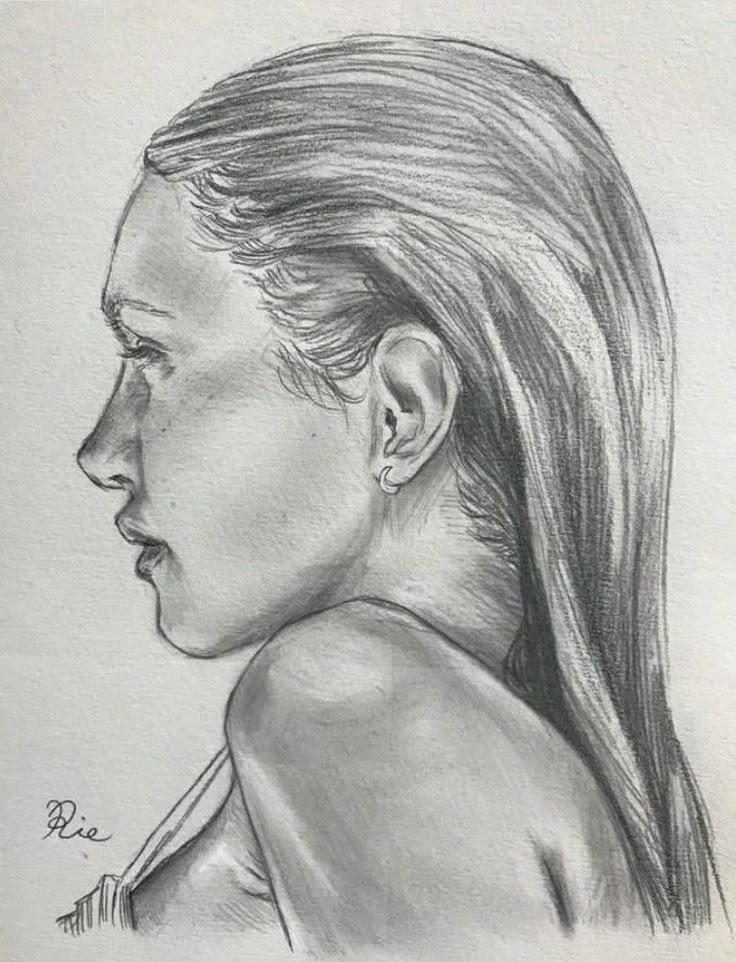
Pencil drawing holds a special place in the art world, especially for those just starting out. It’s incredibly accessible, forgiving, and fundamental to almost all other art forms. Think of it as your artistic training wheels – a safe and effective way to build confidence and develop essential skills.
Accessibility and Simplicity
Compared to paints, sculpting tools, or digital tablets, pencils are cheap, portable, and require minimal setup. You can draw anywhere: at your kitchen table, on a park bench, or even while waiting for your coffee. This low barrier to entry means you can experiment freely without feeling like you’re wasting expensive materials.
Building Foundational Skills
Every great artist, from Leonardo da Vinci to your favorite comic book illustrator, started with drawing. It teaches you to see – to observe shapes, light, shadow, and perspective – which are critical skills for any visual medium. Mastering these basics with a pencil will give you a solid foundation if you decide to explore other art forms later, like painting, digital art, or even 3D modeling. Understanding how to represent something on a 2D surface is a universal skill.
Expressive Freedom
Pencils offer an incredible range of expression. From delicate, feathery lines to bold, dark strokes, you can convey so much emotion and detail with just a graphite stick. It’s a direct link between your mind’s eye and the paper, allowing for immediate and intuitive creation.
Pros and Cons
| Pros | Cons |
|---|---|
| – Low cost and highly accessible. | – Can feel restrictive compared to color. |
| – Excellent for building foundational art skills. | – Easy to smudge, especially for left-handers. |
| – Highly portable; draw anywhere, anytime. | – Erasers can sometimes damage paper. |
| – Forgiving medium; easy to correct mistakes. | – Limited textural variety compared to other media. |
| – Wide range of tones and expressions achievable. | – Might lack the “pop” of vibrant mediums. |
Your Essential Toolkit: What You Really Need
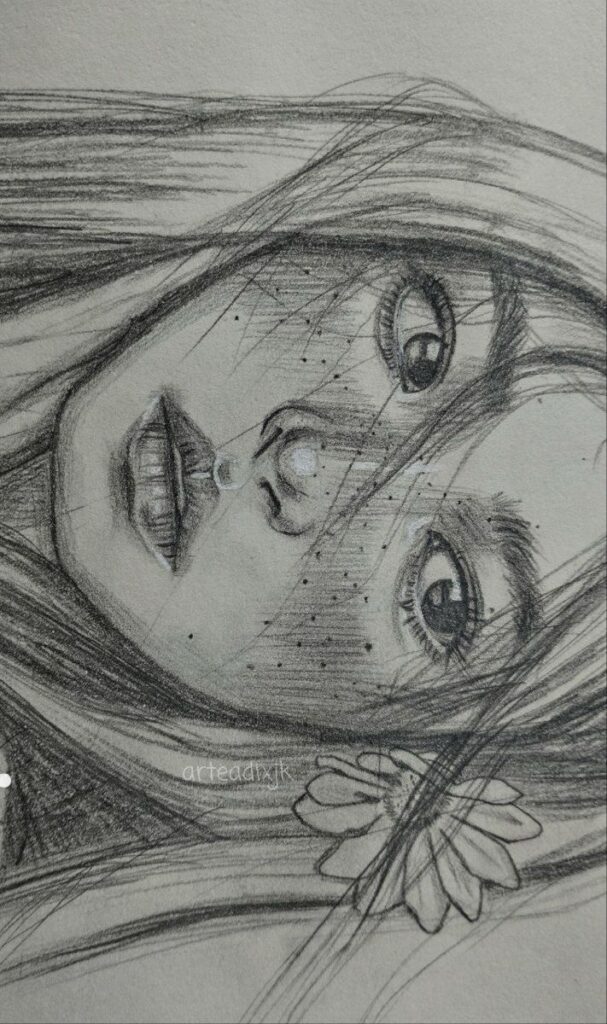
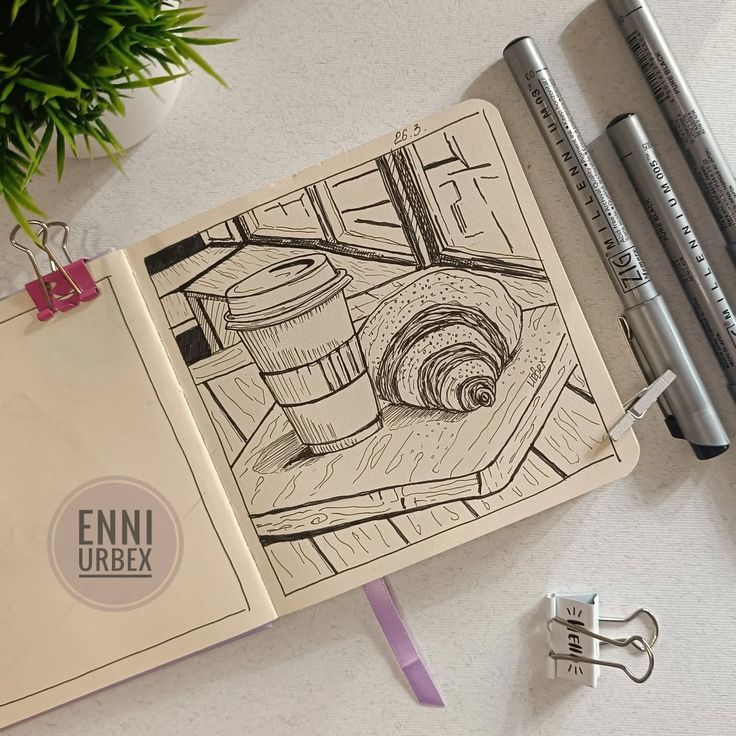
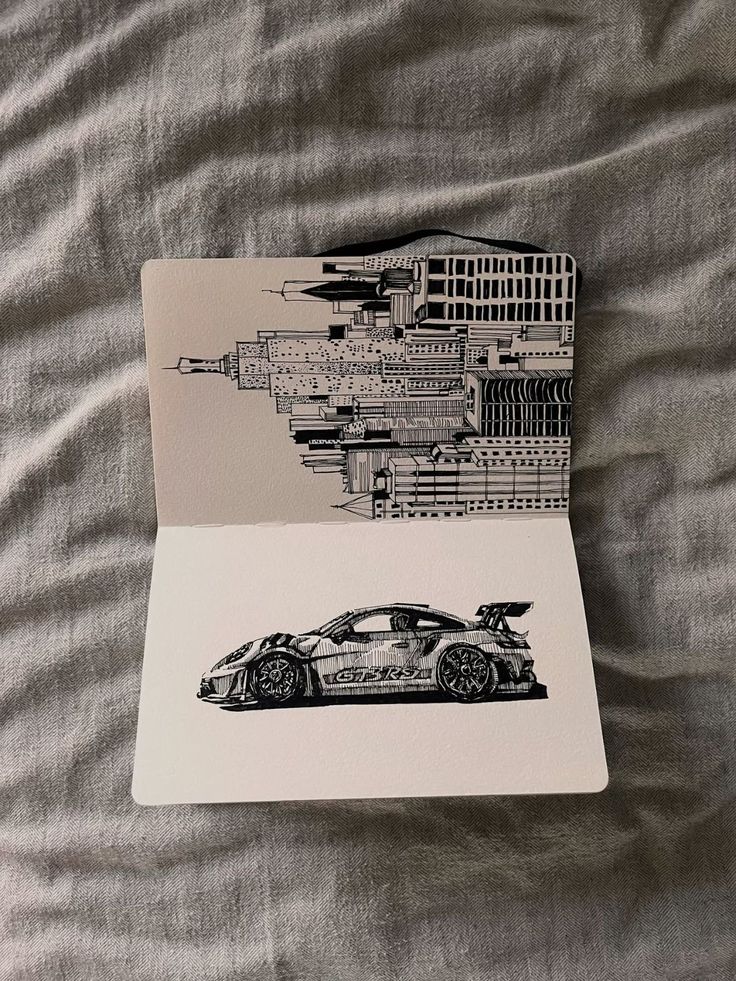
Don’t let endless art supply lists intimidate you. For pencil drawing for beginners, you only need a few key items to get started. Focus on quality over quantity.
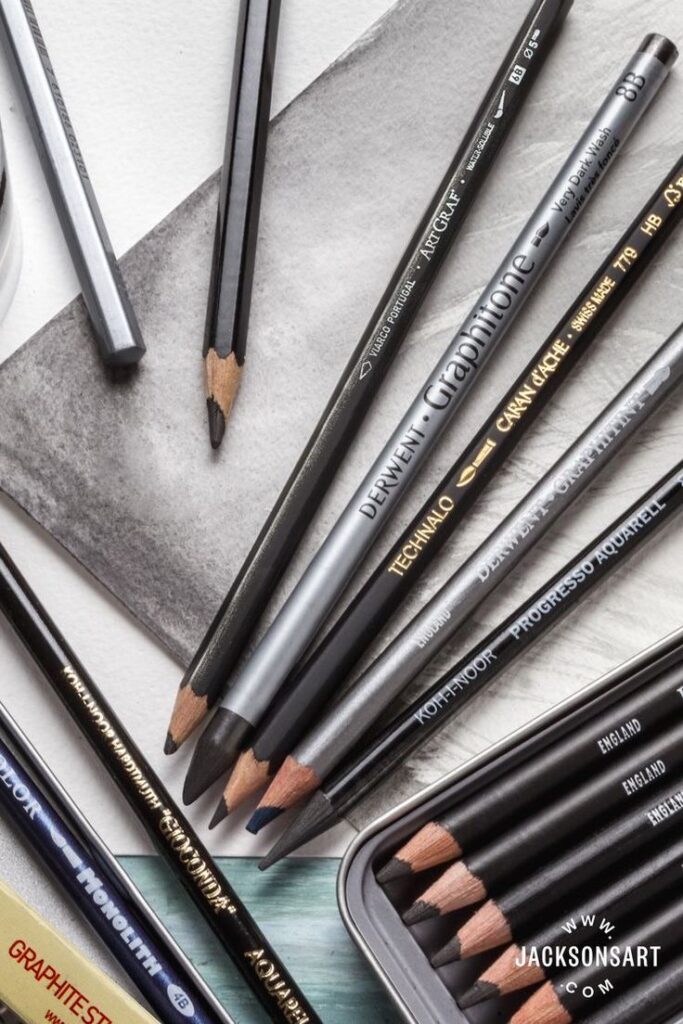
Pencils: The Heart of Your Art
You’ll encounter various types of drawing pencils, categorized by their hardness (H) and blackness (B).
- H Pencils (Hard): These produce lighter, finer lines and are great for initial sketches and technical drawings. Think 2H, H.
- B Pencils (Black/Soft): These offer darker, richer tones and are ideal for shading, blending, and creating deep blacks. Think 2B, 4B, 6B.
- HB Pencil: This is your all-rounder, sitting in the middle – great for general drawing and writing.
- Recommendation: Start with a small set, maybe an HB, 2B, and 4B or 6B. This gives you enough range without overwhelming you.
Paper: Your Canvas
Any paper will do to start, but better paper can make a difference.
- Sketchbook: A spiral-bound sketchbook with medium-weight paper (around 60-80gsm or 40-50lb) is perfect for practice. It’s portable and keeps your work together.
- Drawing Paper: If you want something a bit more substantial, look for heavier paper (100gsm/60lb or more) specifically designed for drawing. The slight texture, or “tooth,” helps graphite adhere better.
- Avoid: Super smooth printer paper or glossy paper, as they don’t hold graphite well.
Erasers: Your Best Friends (and Tools!)
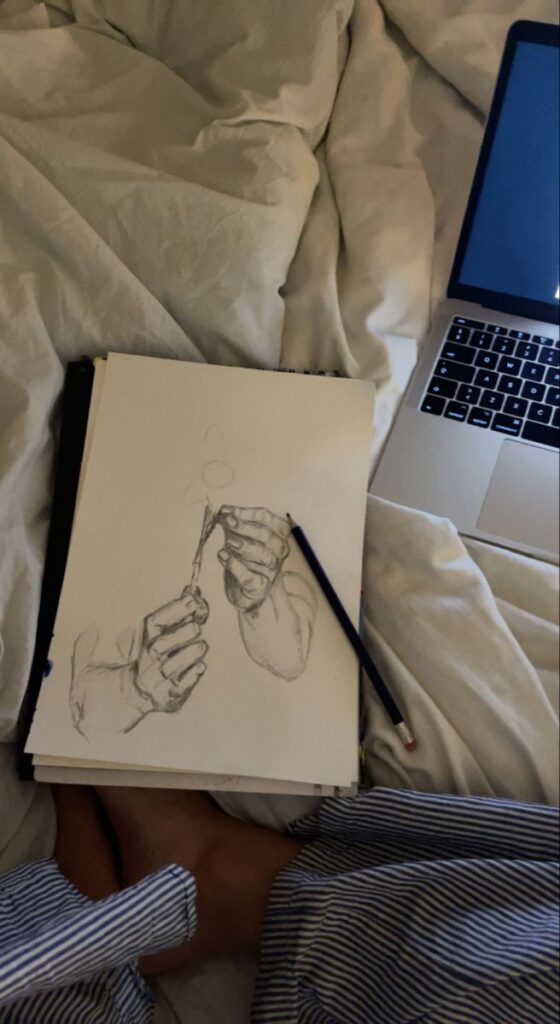
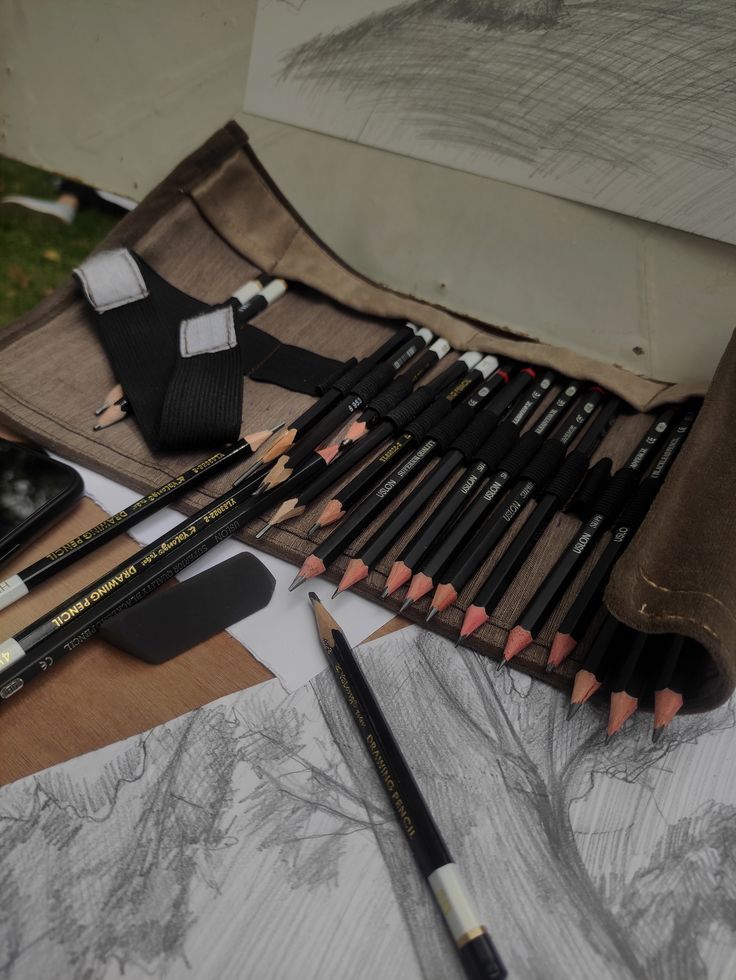
Erasers aren’t just for fixing mistakes; they’re also drawing tools.
- Kneaded Eraser: This soft, pliable eraser can be molded into any shape. It lifts graphite rather than rubbing it, which is great for lightening areas or creating highlights without damaging the paper.
- Plastic/Vinyl Eraser: A standard white block eraser is excellent for cleanly removing dark lines and larger areas.
- Rubber Eraser: The classic pink eraser is fine for general erasing but can sometimes smudge or damage delicate paper.
Sharpeners: Keeping it Sharp
- Manual Handheld Sharpener: Simple, effective, and portable. Look for one with a good blade.
- Utility Knife/Craft Knife: For more control and a longer, sharper point, many artists prefer sharpening with a blade. Be careful, though!
Optional but Helpful Tools:
- Blending Stump/Tortillon: Tightly rolled paper tools used to blend graphite smoothly, preventing smudges from fingers.
- Ruler: For perspective exercises or architectural elements.
- Fixative Spray: A light spray that protects your finished drawings from smudging, though not essential for practice pieces.
The Basics of Pencil Control and Mark-Making

Before you draw masterpieces, you need to understand how to hold your pencil and make different marks. This is where the magic truly begins for pencil drawing for beginners.
Holding Your Pencil: More Than One Way
You probably hold your pencil like you write, which is great for detailed work, but less effective for broader strokes.
- Tripod Grip (Writing Grip): Best for fine lines, details, and precise control. Your fingers are close to the tip.
- Overhand Grip (Drawing Grip): Hold the pencil further back, almost like you’re holding a paintbrush, with your entire arm rather than just your wrist. This allows for looser, more fluid lines and broader shading. Practice drawing circles and long, sweeping lines with this grip.
- Underhand Grip: Similar to the overhand grip, but with your palm facing up. Good for broad strokes and shading large areas.
Exploring Line Quality
Lines aren’t just outlines; they convey information and emotion.
- Light Pressure, Dark Pressure: Experiment with how much pressure you apply. A light touch creates a faint, delicate line, while firm pressure creates a bold, dark one.
- Thick and Thin Lines: Varying line weight can make objects appear closer or further away, or give them a sense of volume.
- Smooth and Textured Lines: Practice drawing smooth, continuous lines and then broken, textured ones.
- Hatching and Cross-Hatching: These are fundamental shading techniques.
- Hatching: Drawing parallel lines close together. The closer the lines, the darker the value.
- Cross-Hatching: Drawing parallel lines in one direction, then drawing another set of parallel lines across them at an angle. This builds up darker values rapidly.
Shading and Value: Creating Form
Value refers to the lightness or darkness of a color, or in pencil drawing, the tones from white to black. Mastering value is key to making your drawings look three-dimensional.
- Value Scale: Practice drawing a gradient from pure white to pure black, showing a smooth transition through various shades of gray. This exercise builds control and helps you understand how different pencil grades achieve different values.
- Blending: Use a blending stump or even a clean finger (though be careful of oils) to smooth out shaded areas. Remember to use light pressure and build up layers.
- Understanding Light and Shadow: Observe how light hits an object. There’s a light source, highlights (brightest points), mid-tones, core shadow (darkest part of the object), reflected light (light bouncing onto the object from a surface), and cast shadow (the shadow the object casts on other surfaces).
Fundamental Concepts: Seeing Like an Artist

Learning to draw isn’t just about moving a pencil; it’s about learning to see the world in a new way. These concepts are crucial for pencil drawing for beginners.
Basic Shapes: The Building Blocks
Every complex object can be broken down into simple geometric shapes: spheres, cubes, cylinders, and cones.
- Practice: Draw these basic shapes from different angles. Then, try to see them within everyday objects. A coffee mug is a cylinder, an apple is a sphere, a book is a cube.
- Constructing Objects: Start by lightly sketching the basic shapes that make up your subject, then refine those into the actual object. This “skeletal” approach helps with proportion and placement.
Perspective: Creating Depth
Perspective gives your drawings the illusion of depth and distance on a flat surface.
- Horizon Line: This is your eye level. Objects above it appear to be viewed from below; objects below it appear to be viewed from above.
- Vanishing Points: Imaginary points on the horizon line where parallel lines appear to converge.
- One-Point Perspective: All parallel lines recede to a single vanishing point on the horizon line. Great for drawing roads, hallways, or objects viewed head-on.
- Two-Point Perspective: Two vanishing points on the horizon line, used when viewing an object from an angle. This is excellent for drawing buildings or furniture.
- Practice: Start by drawing simple cubes and rectangles in one-point perspective, then move to two-point. You’ll be amazed at how quickly you can create the illusion of space!
Proportion and Scale: Getting Things Right
- Proportion: The relative size of parts of an object in relation to each other. If a head is too big for a body, the proportions are off.
- Scale: The size of an object in relation to other objects around it. A small tree next to a large house suggests scale.
- Measuring Techniques: Use your pencil as a measuring tool. Hold it out at arm’s length, close one eye, and measure the relative height or width of an object against your pencil. Then, transfer that proportion to your paper.
Practical Exercises to Get You Drawing
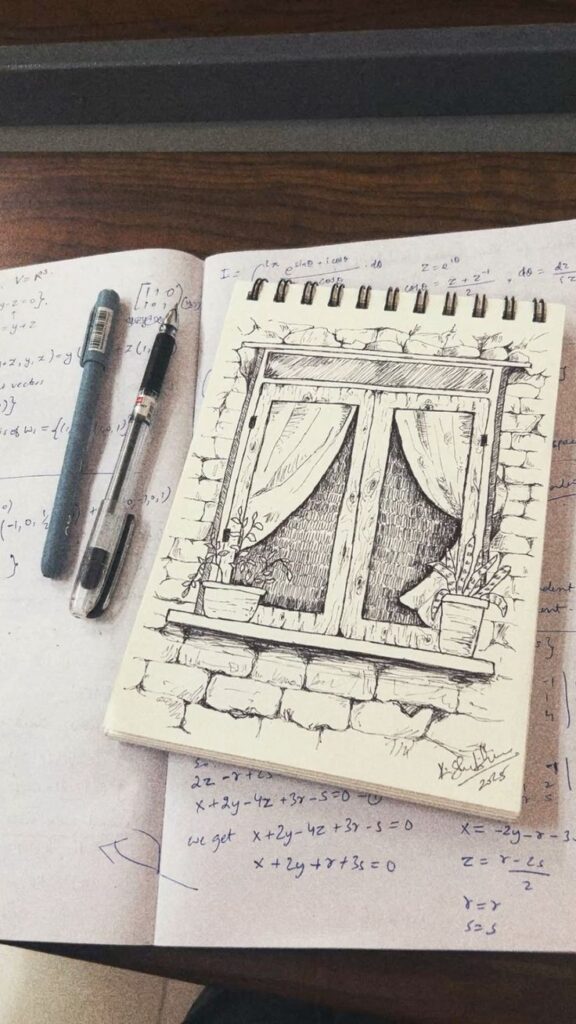
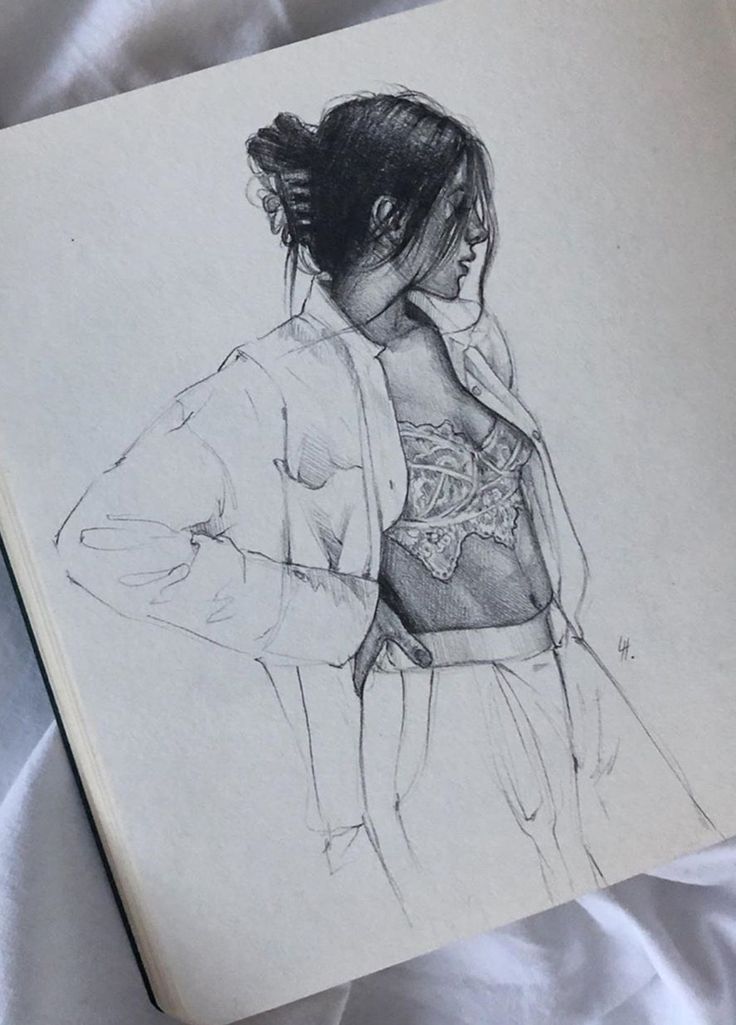
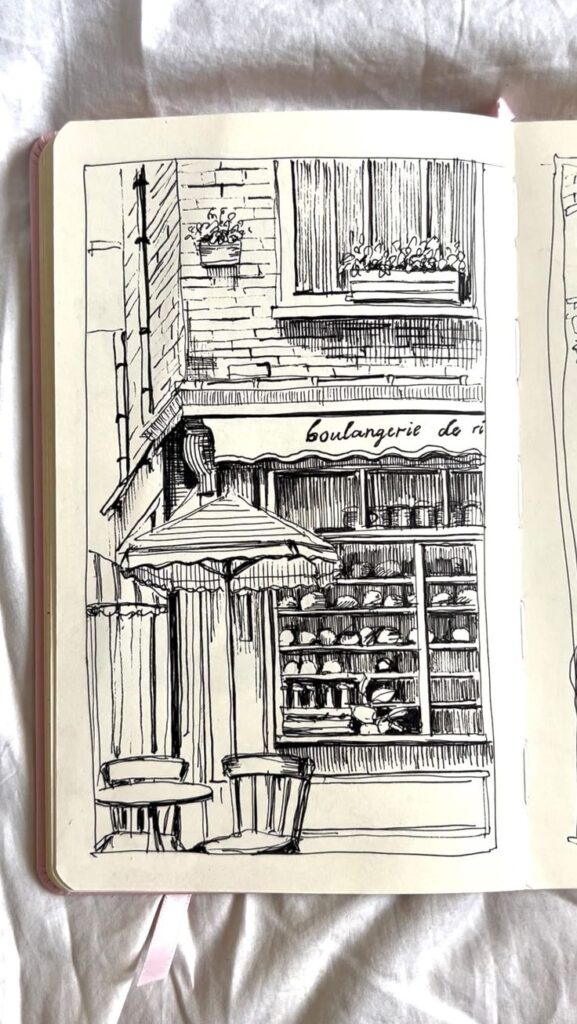
Theory is good, but practice is where the real learning happens. Here are some fun and effective exercises for pencil drawing for beginners.
The Doodle Warm-Up
Before starting any serious drawing, just doodle! Scribble, make random shapes, draw spirals. This loosens your hand and gets you comfortable making marks without pressure.
Blind Contour Drawing
This is a fantastic exercise for teaching you to see.
- How to: Choose an object. Place your pencil on the paper. Without lifting your pencil or looking at your paper, slowly draw the outline of the object, letting your eyes guide your hand as if your pencil is touching the object’s edges.
- Benefits: It forces you to focus purely on observation, improves hand-eye coordination, and results in wonderfully expressive, albeit distorted, drawings.
Gesture Drawing
Capturing the essence of a subject quickly.
- How to: For subjects like people, animals, or even dynamic still life, try to capture the movement, weight, and overall form in very quick sketches (30 seconds to 2 minutes). Don’t worry about details; focus on the flow.
- Benefits: Develops speed, confidence, and the ability to simplify complex forms into their most essential elements. This is especially helpful if you ever want to try basic sketching of the human figure.
Drawing from Reference
You don’t have to invent everything. Drawing from photos or real objects is a great way to learn.
- Still Life: Arrange a few simple objects (a fruit, a mug, a book) on a table. Observe them closely. How does the light hit them? What shadows do they cast?
- Nature: Go outside! Draw trees, leaves, flowers, or even rocks. Nature offers endless inspiration and organic forms. If you’re looking for ideas, check out these 10 botanical sketch subjects.
- Copying Masterpieces: Find drawings by artists you admire and try to copy them. This isn’t plagiarism; it’s a learning tool to understand how they achieved certain effects, handled values, and constructed compositions.
Stepping Up Your Subject Matter

Once you feel comfortable with the basics, you can start tackling different types of subjects. Remember, the principles of shapes, value, and perspective apply to everything!
Everyday Objects: Your First Models
You don’t need exotic subjects. Look around your home.
- Kitchen Utensils: Spoons, forks, cups – they offer interesting reflections and curves.
- Shoes: Complex shapes with lots of texture and folds.
- Books: Excellent for practicing perspective and straight lines.
- Glasses/Bottles: Challenge yourself with transparent objects and reflections.
Nature’s Beauty: From Leaves to Landscapes
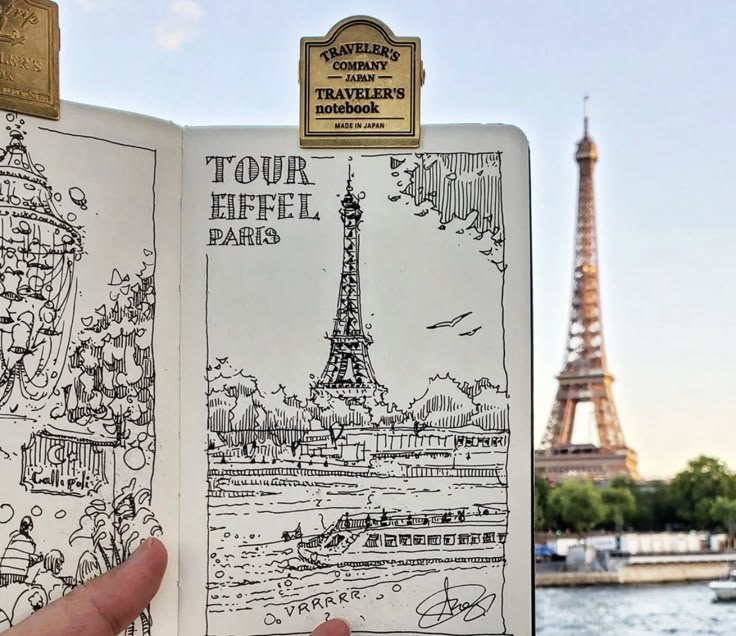
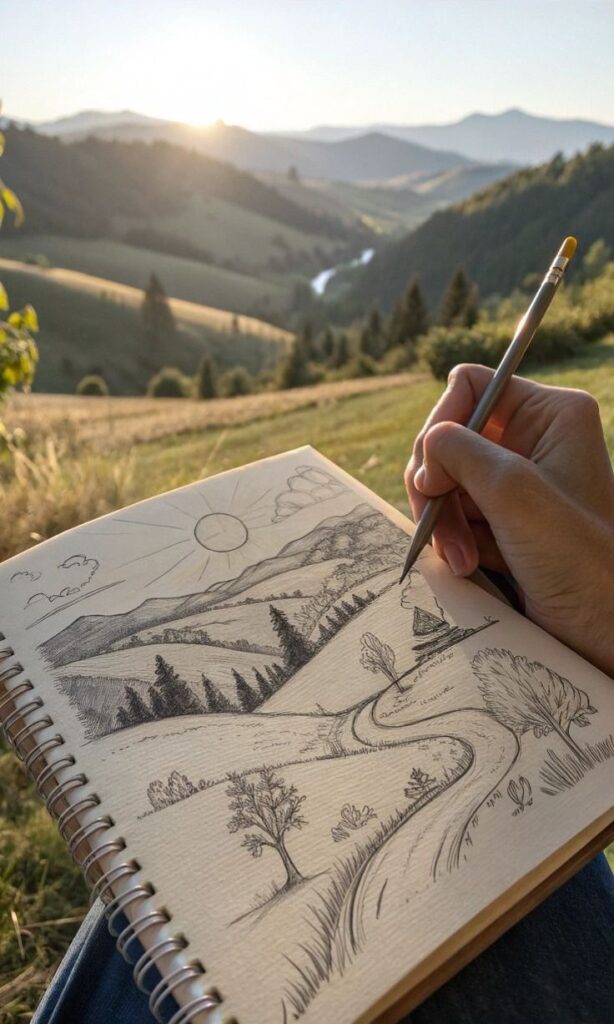
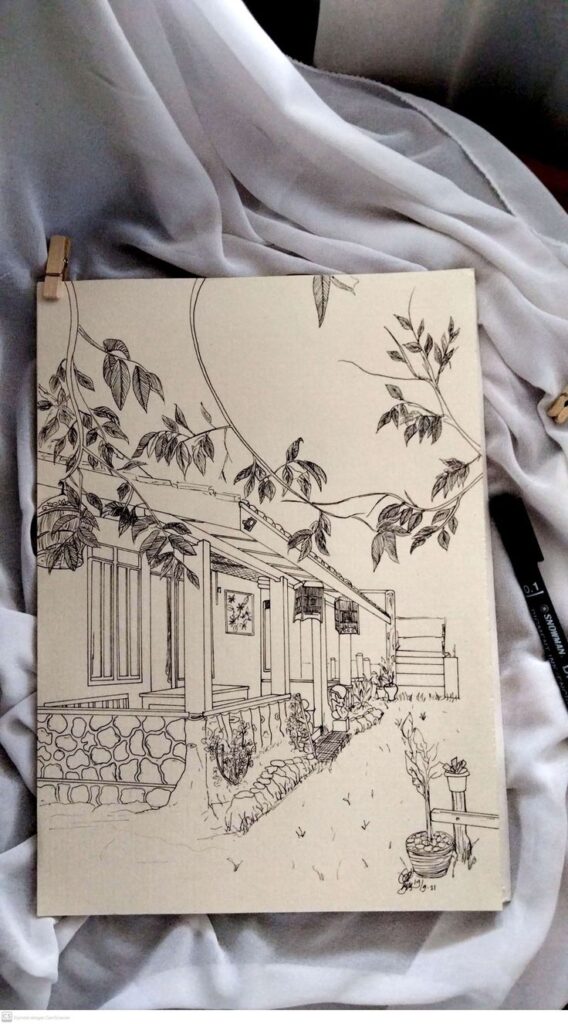
Nature is an endless source of inspiration.
- Leaves and Flowers: Great for practicing organic shapes, intricate details, and varied textures.
- Trees: Learn to capture their unique silhouettes, bark textures, and the way light filters through branches.
- Landscapes: Start with simple scenes, focusing on distant mountains, rolling hills, or a single building in the distance. Think about atmospheric perspective – objects further away appear lighter and less detailed.
Simple Figures and Faces (No Pressure!)
Drawing people can seem daunting, but you can start simply.
- Stick Figures with Volume: Start by drawing basic stick figures, then add simple shapes (ovals for joints, cylinders for limbs) to give them volume.
- Basic Proportions: Learn general guidelines for human proportions (e.g., the head is roughly 1/8th of the total body height).
- Focus on Features Individually: Instead of drawing an entire face, practice drawing just an eye, a nose, or a mouth. There are also great resources available for learning how to draw hair with simple techniques.
- Silhouettes: Draw the outline of a figure or head without worrying about internal features. This helps you capture the overall shape and pose.
Overcoming Common Beginner Challenges

Every artist, no matter how skilled, faces challenges. For pencil drawing for beginners, knowing these hurdles exist can help you jump over them.
“My Drawing Doesn’t Look Right!”
- It’s Okay! This is the most common thought. Remember, drawing is a skill, not a magic trick. It takes time and practice.
- Step Back and Analyze: Look at your drawing from a distance, or even in a mirror. Sometimes a fresh perspective reveals proportion issues.
- Compare to Reference: Don’t be afraid to compare your drawing to your reference image. Identify what isn’t right (e.g., “the eye is too high,” “the arm is too short”).
- Embrace Mistakes: Each “mistake” is a learning opportunity. Erase and try again, or better yet, start a new sketch with the lesson learned.
Fear of the Blank Page
The pristine white paper can be intimidating.
- Start Small: Don’t aim for a masterpiece. Just aim to make a mark. Doodle, draw a few lines, test your pencils.
- Warm-Up Exercises: Use blind contour or gesture drawing to break the ice.
- Light Sketches: Begin with very light, almost invisible lines. You can always darken them later. This makes erasing less daunting.
Comparing Yourself to Others
It’s easy to scroll through social media and feel discouraged by amazing artwork.
- Focus on Your Journey: Your art journey is unique. Celebrate your small victories. The goal is to improve your drawing, not to be better than someone else.
- Inspiration, Not Comparison: Use other artists’ work as inspiration, not a benchmark to feel inadequate against. Ask yourself, “What can I learn from this?”
- Practice Consistency: Even 15-30 minutes of drawing a few times a week is more beneficial than one intense session a month.
Smudging
Graphite loves to smudge, especially softer B pencils.
- Protect Your Hand: Place a clean piece of paper under your drawing hand to prevent dragging your hand across fresh graphite.
- Work from Top to Bottom: If possible, draw from the top of the page downwards to avoid resting your hand on completed sections.
- Fixative: Once a drawing is finished, a light spray of fixative (or even hairspray in a pinch, from a distance) can help prevent smudging.
Developing Your Unique Style
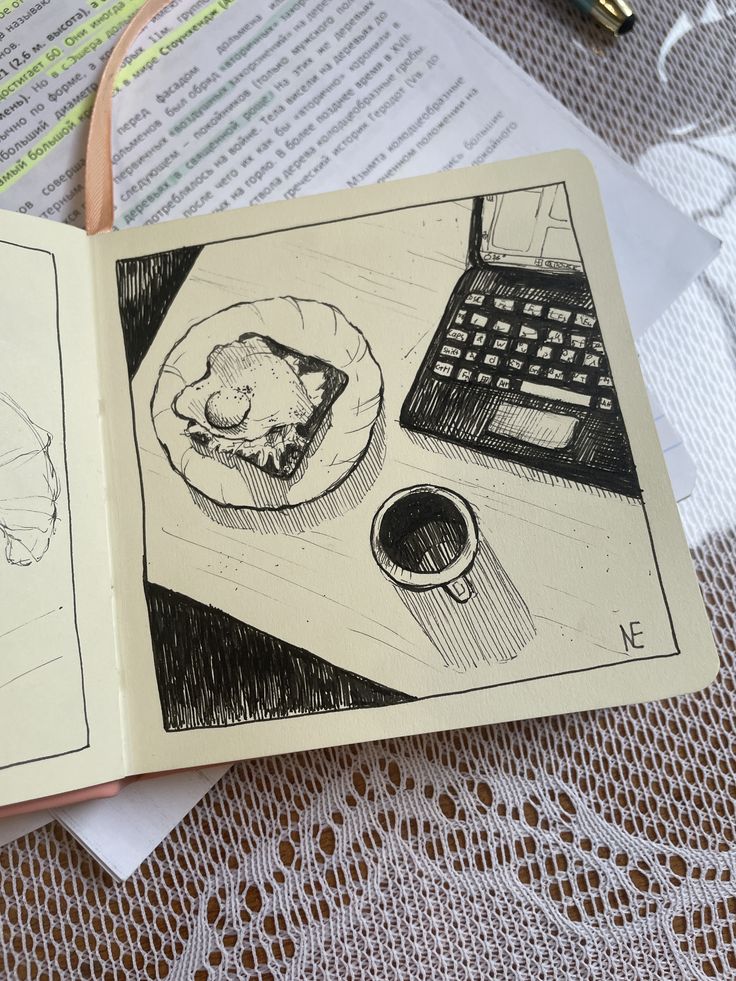
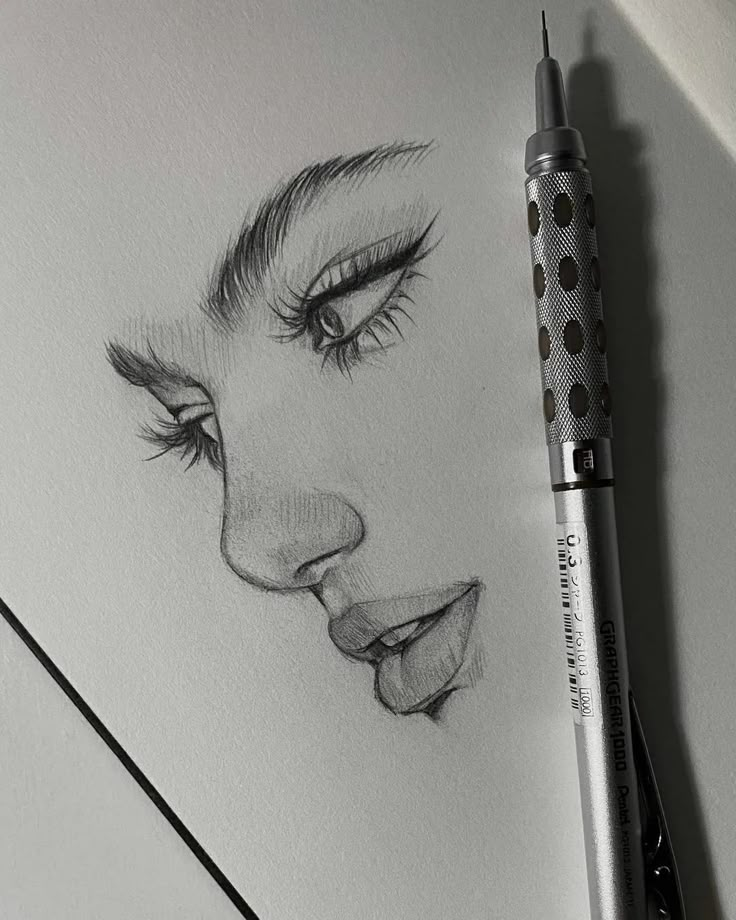
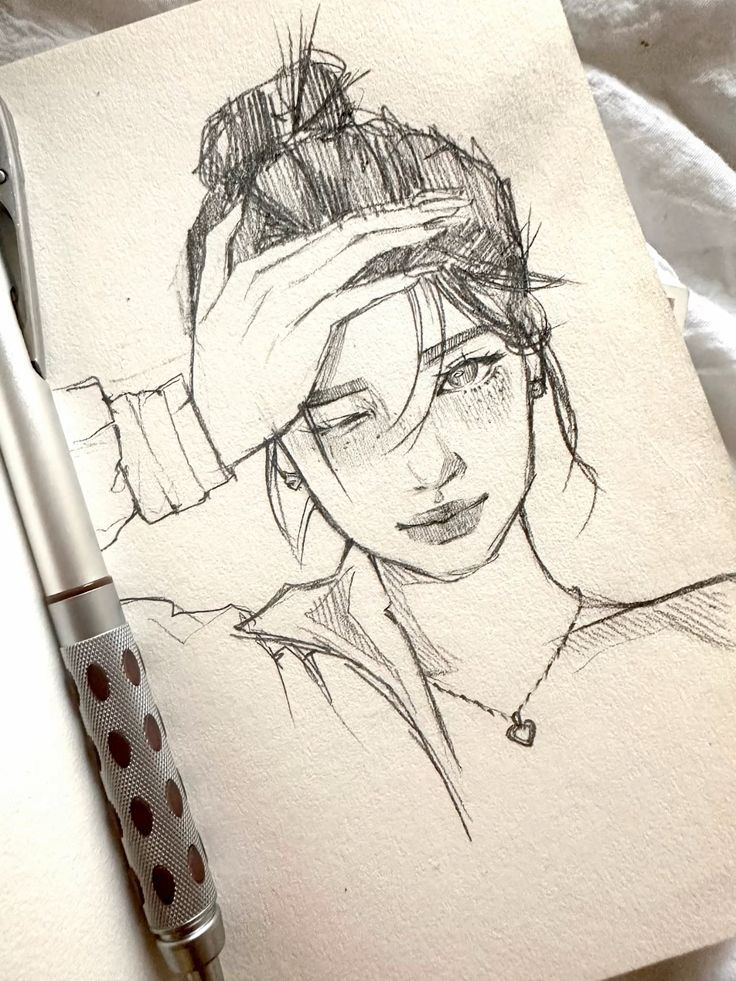
As you progress in pencil drawing for beginners, you’ll naturally start to develop your own way of seeing and drawing. This is your personal style!
Experiment, Experiment, Experiment
- Try Different Pencils: Don’t stick to just one. See how a 2H feels different from an 8B.
- Vary Techniques: Play with hatching, cross-hatching, stippling (dots), and blending.
- Diverse Subjects: Don’t get stuck drawing only one thing. Challenge yourself with a wide range of subjects, from one-line drawing ideas to intricate landscapes.
- Loosen Up: Not every drawing needs to be precise. Sometimes a looser, more expressive approach can be more interesting.
Embrace Your Quirks
What might seem like an imperfection in your early drawings could become a signature part of your style. Maybe you have a unique way of drawing trees, or your faces always have a certain charm. Don’t fight these natural inclinations; explore them.
Seek Inspiration, Not Duplication
Look at other artists, but let their work inspire your unique take on the world, rather than trying to replicate it exactly. Keep a visual journal or a Pinterest board of things that catch your eye.
The Journey Continues: Beyond the Basics

Congratulations! You’ve taken your first steps into the exciting world of pencil drawing for beginners. But the journey doesn’t end here.
Keep Learning and Practicing
Drawing is a lifelong skill. There’s always something new to learn, a technique to refine, or a subject to master.
- Online Tutorials: YouTube, art blogs, and online courses offer a wealth of knowledge.
- Books: Many excellent drawing books break down complex concepts into digestible lessons.
- Workshops/Classes: If you prefer structured learning, a local art class can provide personalized feedback.
- Art Communities: Share your work, get feedback (be open to constructive criticism!), and connect with other artists online or in person.
Experiment with Other Mediums
Once you’re comfortable with pencil, you might find yourself curious about other materials:
- Charcoal: Offers rich blacks and expressive smudging, similar to soft pencils but even darker.
- Ink: Great for bold lines, cross-hatching, and creating strong contrasts.
- Colored Pencils: Add a new dimension with color while maintaining the precision of a pencil.
- Pastels: Offer vibrant colors and a painterly feel.
Conclusion

Starting your pencil drawing for beginners journey is an exciting step into a world of creativity and self-expression. You’ve learned that it’s not about being a “natural,” but about embracing basic tools, understanding fundamental concepts like lines, shapes, and values, and most importantly, consistent practice. From simple doodles to complex compositions, the pencil is a powerful and versatile tool in your hand.
Remember, every line you draw, every smudge you make, and every “mistake” you learn from is a part of your unique artistic development. Don’t be afraid to experiment, be patient with yourself, and celebrate every small improvement. The world is full of beauty waiting to be captured by your pencil. So grab your sketchbook, sharpen your pencil, and let your imagination flow onto the page. Your artistic adventure has just begun! Keep drawing, keep exploring, and most of all, keep having fun!
- 9shares
- Facebook0
- Pinterest9
- Twitter0
- Reddit0


