Drawing a dog doesn’t have to be difficult—even if you’re new to art, you can create a charming dog sketch with just a few simple steps. You can easily draw an adorable dog by following straightforward techniques, using basic shapes and clear guidelines. Whether you want to draw a playful puppy or a cute cartoon beagle, simple tutorials make the process fun and rewarding.
With the right approach, your drawing will quickly start looking like a dog you recognize. There are plenty of ideas and tips to help you add personality and finishing touches to your artwork, so your dog drawing stands out.
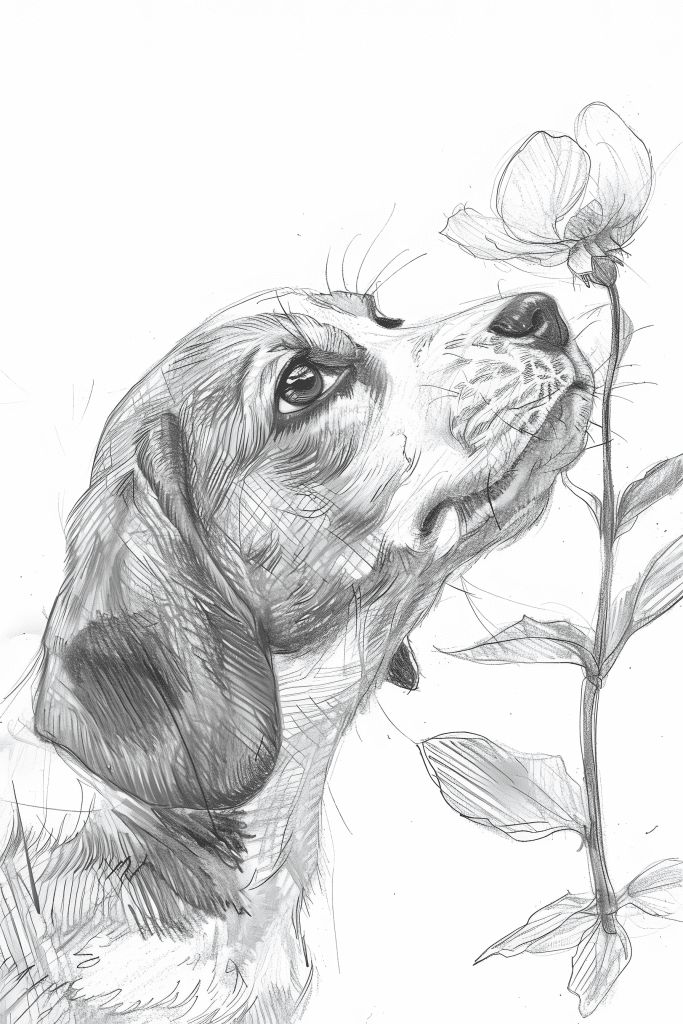
Key Takeaways
- Learn easy steps for drawing a simple dog.
- Add details and color to bring your dog drawing to life.
- Explore fun ideas for making your drawing unique.
Getting Started With Easy Dog Drawing
Before you begin sketching your dog, it’s helpful to have the right tools, create a relaxed environment, and learn a few simple drawing techniques. Preparation can make each step less frustrating and more enjoyable, especially if you are new to drawing.
Choosing Your Drawing Materials
Selecting the right materials can make the drawing process smoother. For easy dog drawing, you don’t need expensive tools. A basic pencil (HB or 2B), good-quality eraser, and smooth drawing paper are enough to start.
Colored pencils or markers help add detail later. If you plan to follow along with drawing tutorials online, gather extra sheets of paper so you can practice multiple times. A fine-tipped black pen can be useful for outlining after sketching.
Recommended Materials Table:
| Material | Purpose |
|---|---|
| Pencil (HB/2B) | Sketching basic shapes |
| Eraser | Correcting mistakes |
| Drawing paper | Smooth surface for lines |
| Colored pencils | Adding color and details |
| Black pen | Outlining final drawing |
Keeping your materials simple ensures you can focus on learning and improving your sketching rather than worrying about art supplies.
Setting Up a Comfortable Workspace
A comfortable, well-lit workspace makes a big difference. Natural light is ideal, but a desk lamp works well too as long as it reduces shadows on your paper. Make sure your chair is at a good height so your arm rests naturally on the table.
Keep your drawing materials within easy reach. You might want a small tray or box to keep pencils and erasers organized. Limit distractions by turning off notifications or noise. A tidy, organized space helps you focus fully on your drawing lessons and drawing instructions.
If you work digitally, adjust your screen brightness and use a stylus for more control.
Basic Techniques for Beginners
Begin with basic shapes like circles and ovals to sketch your dog’s head and body. Don’t worry about perfection—light lines are easy to erase and adjust. Many drawing tutorials suggest starting with these fundamental forms to outline the entire dog before adding details.
Practice drawing floppy ears, round noses, and simple eyes using just a few curved lines. Aim for loose sketches at first rather than tight, detailed work. Simple drawing lessons often recommend breaking each body part into shapes, then slowly refining the outline.
Use the eraser to adjust lines as you go and refer to step-by-step drawing instructions if needed. Keep your lines gentle until you’re ready to trace final outlines with a black pen or darker pencil. Repeating these steps will build your confidence and make easy drawing more enjoyable.

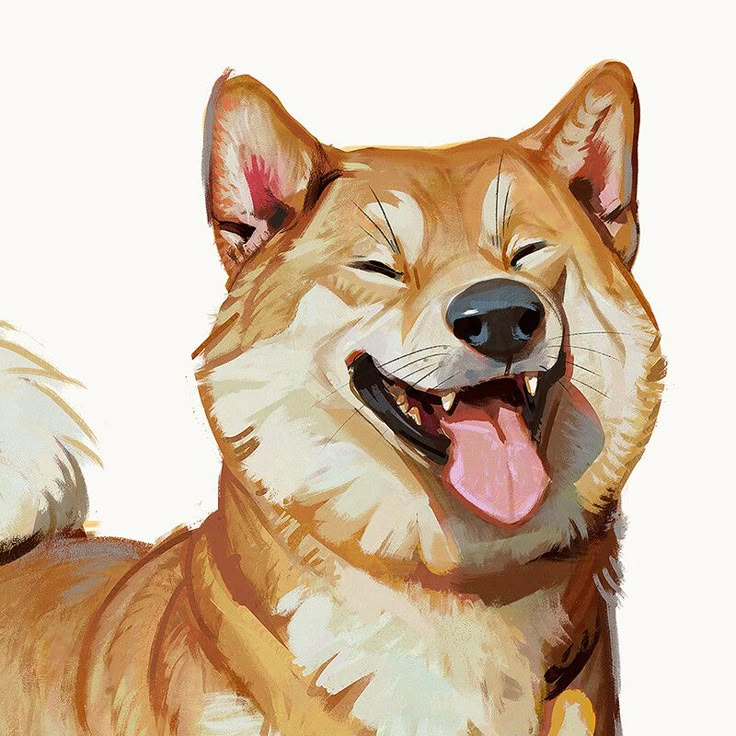
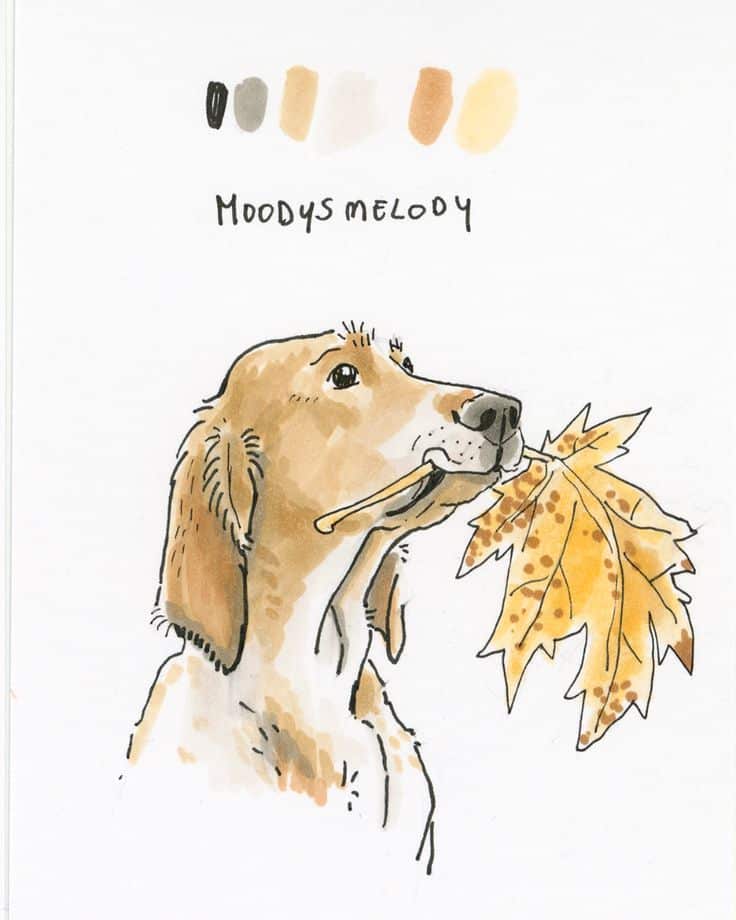
Step-by-Step Guide to Drawing a Simple Dog
You can quickly create an easy dog drawing by breaking the process into a series of manageable steps. Focus on building the shapes one at a time and pay attention to simple details that bring your drawing to life.
Drawing the Basic Outline
Start by sketching two simple shapes: a circle for the head and an oval for the body. Use light pencil strokes, so you can easily adjust if needed.
Next, draw a guideline connecting the head and body to mark how the neck sits. Place a vertical line down the head to help position the facial features later.
Make sure the head and body are in proportion. For a cartoon-style dog, you might pick a larger head and smaller body to create a cute look.
- Tools you’ll need:
- Pencil
- Eraser
- Plain paper
Take a moment to look at your outline and adjust the shapes as necessary. The goal is to have a clean, simple structure before adding details.
Defining the Head and Body
On the head, gently sketch in the muzzle area by adding a small oval overlapping the bottom of the circle. This will be the dog’s nose and mouth base.
Mark where the eyes go with two small dots above the muzzle. Draw a sideways oval for the nose at the tip of the muzzle.
For the body, round out the sides of the original oval so it looks less like a perfect shape and more like a soft, furry torso. At this stage, keep your lines relaxed and avoid sharp edges.
If you want your simple dog drawing to have cheeks, add little bumps to either side of the face. Erase any extra guidelines that you no longer need to keep the drawing tidy.
Check the head-to-body connection and gently refine the neck line so there’s a smooth transition. This small adjustment helps dogs look natural in your step-by-step drawing.
Adding Ears, Legs, and Tail
Sketch the ears onto the top of the head. Floppy ears can be drawn with long, curved lines drooping down, while pointed ears are shaped with triangles. Position the ears to suit your chosen dog breed or design.
For legs, start with four straight or slightly curved lines extending from the bottom of the body oval. Thicken these lines by drawing a parallel line next to each one, then close off the ends with small, rounded shapes for paws. A step-by-step approach makes drawing paws less confusing.
Draw the tail near the back of the body. A simple curved line works for a wagging tail—add thickness by mirroring the curve and joining the lines at the tip.
Tip: Add small details to make your dog drawing lively, such as light fur lines on the ears, toes on the paws, or a patch around one eye. Keep your lines loose and playful, especially if you’re new to drawing dogs.
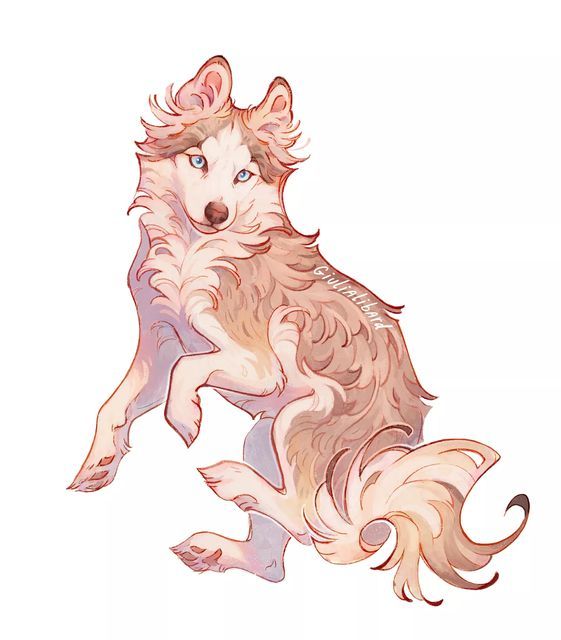
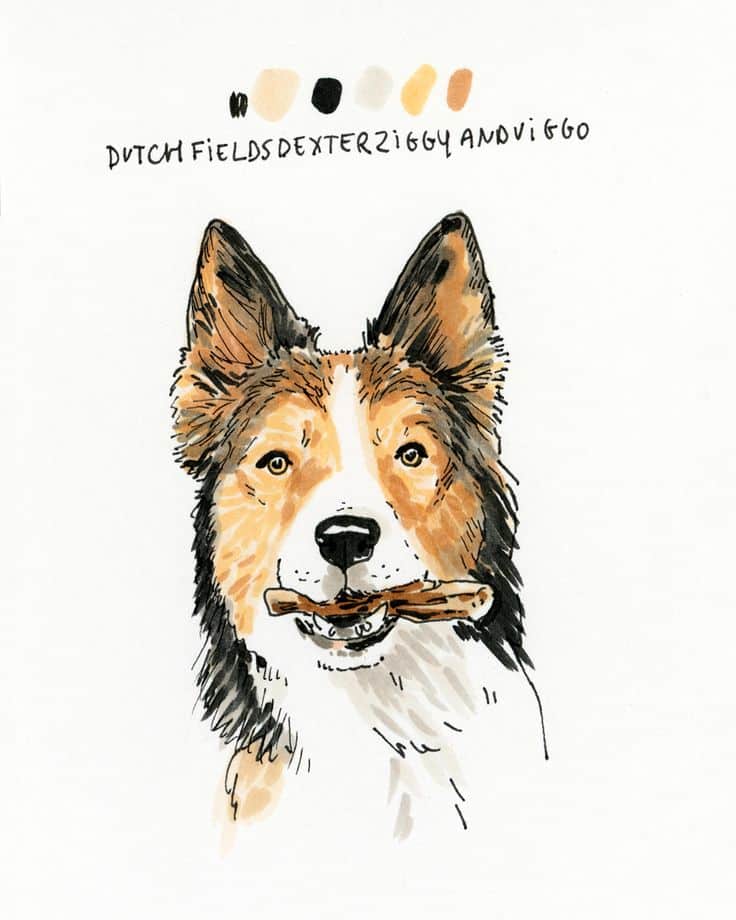
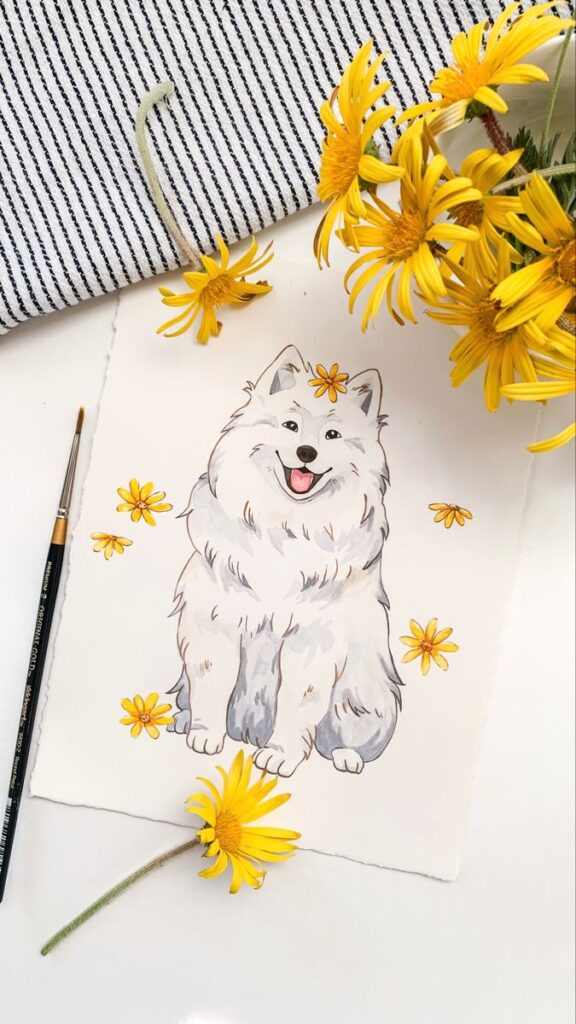
Bringing Your Dog Drawing to Life
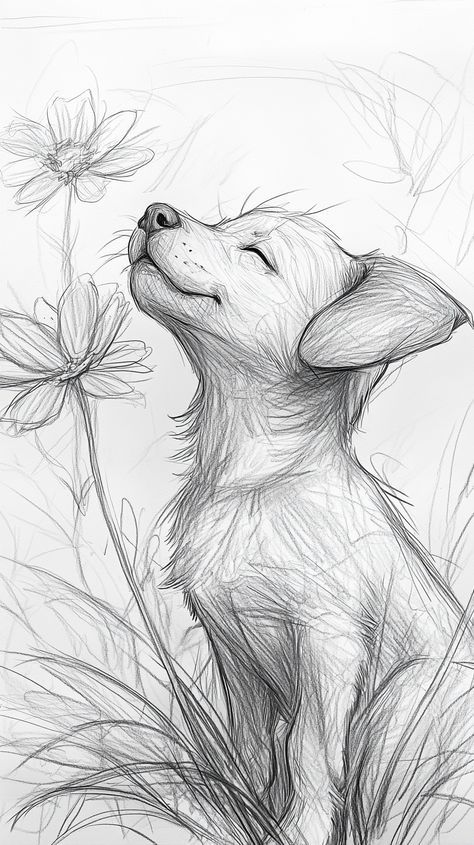
Bringing out realistic or lively details transforms a simple line drawing into an artwork full of character. Focusing on the dog’s face and using light and shadow will make your drawing feel more expressive and three-dimensional.
Adding Facial Expressions
A dog’s face is key to showing personality. Start by carefully sketching the eyes—they are the most expressive part. Try tilting the eyebrows or making a slight curve in the mouth for a big impact. A smiling mouth or raised eyebrows can turn a neutral face into one that looks happy, curious, or playful.
Pay attention to subtle differences. For example, big, rounded eyes and floppy ears give a cute, puppy look, while perked, upright ears hint at excitement or alertness. Practice these small changes during your drawing lessons for kids or for your own skills.
Use a light pencil at first for adjustments. This lets you test different emotions before picking the one you like best. Once you’re happy, outline with a darker line and erase extra marks.
Incorporating Highlights and Shadows
To make your dog look more realistic rather than flat, add highlights and shadows. Highlights show where light hits fur—usually above the eyes, top of the head, or the tip of the nose. You can leave small white areas or use an eraser to lift away some pencil for the brightest spots.
Shadows help define the form. Use gentle, soft shading under the chin, below the ears, or on the far side of the body. Blend these areas with your finger, a blending stump, or cotton swab for smooth transitions.
Try creating a reference table:
| Area | Highlight | Shadow |
|---|---|---|
| Top of head | Yes | No |
| Under chin | No | Yes |
| Side of nose | Small/reflective | Yes (opposite side) |
Practicing these techniques is an important step toward becoming an artist who can bring sketches to life. Even a simple dog drawing gains depth and personality when you use highlights and shadows thoughtfully.
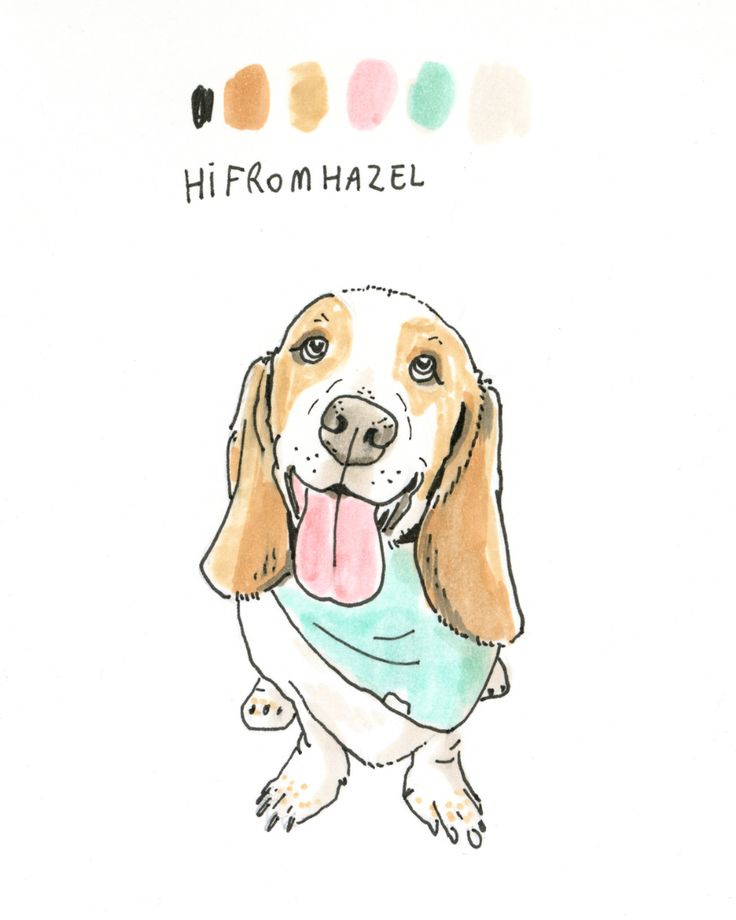


Exploring Cute and Fun Dog Drawing Ideas
Drawing adorable dogs can be simple when you break the process into easy steps. By focusing on basic shapes and playful features, you’ll be able to capture a wide variety of cute, cartoon-style and real-life dog breeds in your sketchbook.
How to Draw a Cute Dog
Start with a circle for the head and an oval for the body. Add two round ears on top and sketch out big, friendly eyes. A small button nose and a wide, happy mouth will give your dog an expressive look.
For the legs, use short, stubby shapes, and finish with a wagging tail. Vary the size of features (like oversized eyes or floppy ears) to increase cuteness. You can also experiment with different facial expressions—try surprised, excited, or sleepy.
You might find it helpful to use reference images or simple step-by-step guides. Outlining your dog with a black pen and adding light color with colored pencils or markers can make your drawing pop. Don’t worry about being perfect—part of the charm comes from playful imperfections and experimenting with new ideas.
Puppy Drawing Basics
Puppies are often drawn with a bigger head compared to their body. Begin with a large circle for the head and a much smaller oval below for the body. Place the eyes lower on the face and wide apart to get that classic “puppy dog eyes” look.
A tiny, rounded nose and a small open mouth will help create an innocent expression. Add chubby legs and tiny paws—this emphasizes how young and playful the pup is. You can use a few curved lines to show the pup’s fluffy fur, especially around the cheeks and top of the head.
List of puppy drawing basics:
- Keep shapes rounded and soft
- Use minimal details for a cartoony charm
- Experiment with big, sparkling eyes for added cuteness
Add shading under the chin and belly for depth. Fun art challenges for puppies can include drawing them in different playful poses like sitting, rolling over, or wagging their tails.
How to Draw a Corgi
To draw a corgi, start with a rounded rectangle for the body and a circle for the head. Place two tall, pointed ears on top and draw a fox-like snout. Corgis have distinct, short legs—use four stubby lines with small paws to convey this unique trait.
Draw the eyes large and bright, and position them toward the upper part of the face. A small oval nose and a big, friendly smile will make your corgi look inviting. Corgis have a fluffy butt and a short, stubby tail, so draw the rear slightly rounded with fur details.
For extra personality, add classic markings like an orange-and-white pattern, or dress your corgi up with a scarf or bowtie. Table formatting can help break down their features:
| Feature | Shape/Mark |
|---|---|
| Ears | Tall, Triangular |
| Legs | Short, Stumpy |
| Body | Long, Rounded |
| Tail | Short, Fluffy |
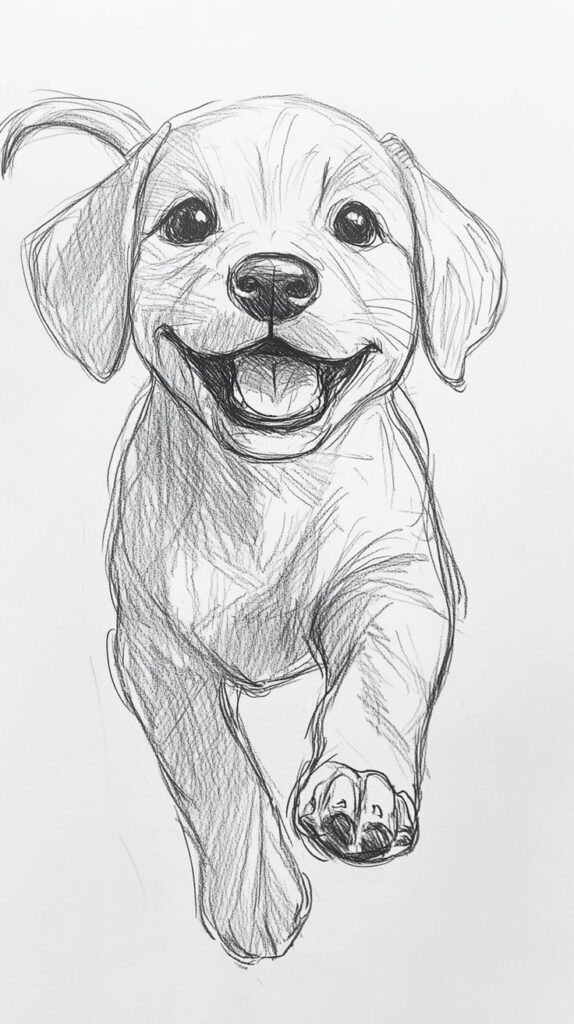
Creative details like sticking out the tongue or drawing the corgi mid-run can add movement and fun to your finished art.
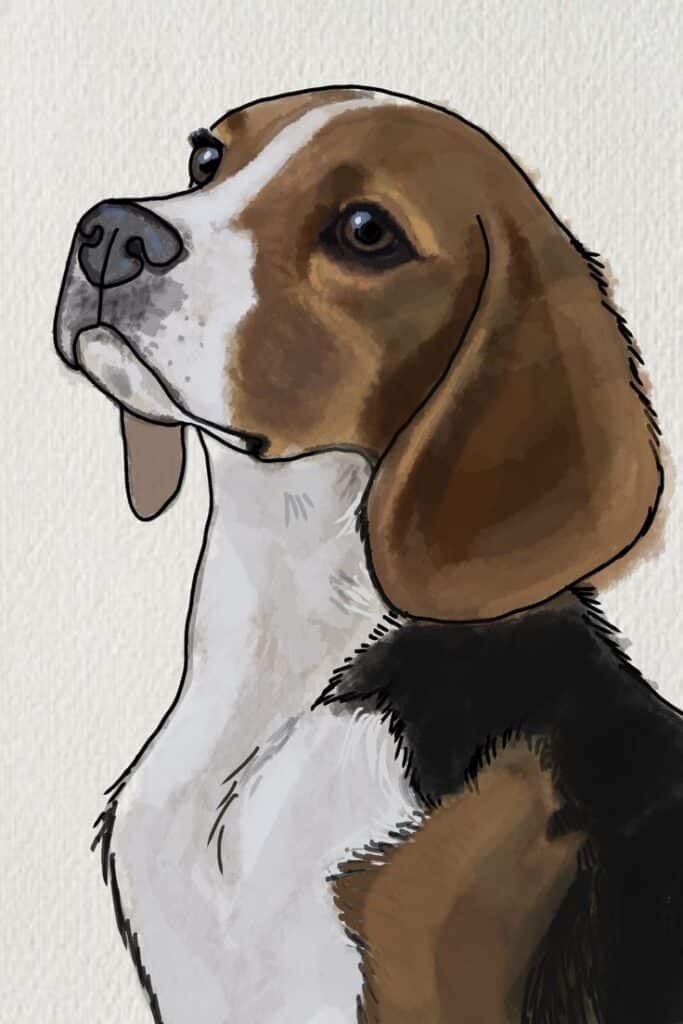
Coloring and Finishing Touches
Adding color brings your simple dog drawing to life. Whether you use colored pencils, markers, or create printable coloring pages, choosing the right technique can make your artwork stand out and look complete.
Using Color Pencils
Colored pencils are a great choice for dog drawings because they offer control and the ability to build up layers. Begin by selecting a set of good-quality pencils with a range of browns, blacks, grays, and creams. Use light, gentle strokes to create soft fur effects and always move your pencil in the direction the fur would naturally flow.
To blend colors, try lightly overlapping different shades. For example, you might layer a light tan over a darker brown in shadowed spots. Sharpen your pencils often for precise details, especially around the eyes and nose.
Here’s a simple technique table:
| Technique | Effect |
|---|---|
| Layering | Soft transitions |
| Light Pressure | Subtle shading |
| Sharp Pencil Tips | Crisp details |
Take your time to gradually build up color and depth, which adds realism and charm to your drawing.
Color With Markers
Markers are fast and bold, making them perfect if you want vibrant colors or a cartoon look. Use alcohol-based markers for smooth blending and fewer streaks. Start with lighter shades, then gradually add darker lines for shadows, marking areas such as underneath the ears, belly, and under the legs.
Work quickly while the ink is still wet to blend colors together. Use a colorless blender or a lighter shade marker to soften harsh edges between colors. Markers can also be used for outlining the dog, adding definition and helping features stand out.
If you prefer a more graphic look, try flat coloring without blending. This approach highlights the shape and personality of your dog without focusing on details like fur texture.
Creating Coloring Pages
You can turn your dog sketches into custom coloring pages for yourself or others. Outline your drawing in black pen or marker and erase all pencil marks. Ensure all lines are clean and connected so the shapes are easy to fill in.
Leave areas blank in the eyes and inside ears for highlights. If you want to add details, create simple patterns or textures inside the dog’s fur or in the background. Save your outline as a digital file by scanning or photographing your drawing.
Printable coloring pages can be shared online or printed for group activities. This is a fun way to let others experiment with their own colors and styles. Adding a title or a small artist signature in the corner adds a personal touch to each page.
- 4.4Kshares
- Facebook0
- Pinterest4.4K
- Twitter3
- Reddit0
