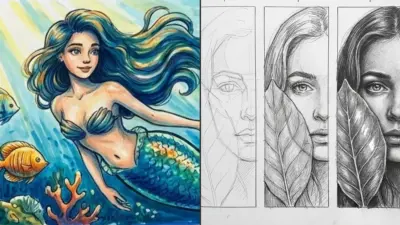
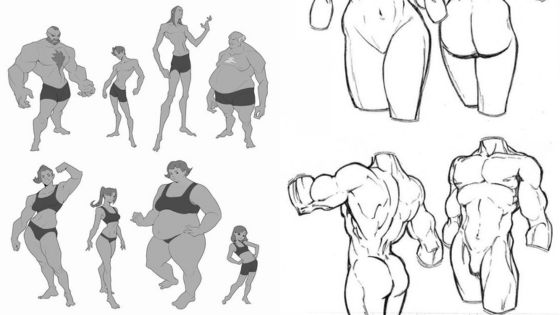
Drawing compelling characters starts with understanding how to position their bodies to tell a story. Character poses are the foundation of visual storytelling, whether you’re creating comic book heroes, anime characters, or realistic portraits. The right pose can show emotion, suggest movement, and bring your artwork to life.

Character poses combine body language, anatomy knowledge, and artistic technique to create figures that feel dynamic and believable. Artists use poses to show what characters are thinking and feeling without words. A slumped shoulder might show sadness, while an outstretched arm could show confidence or reach.
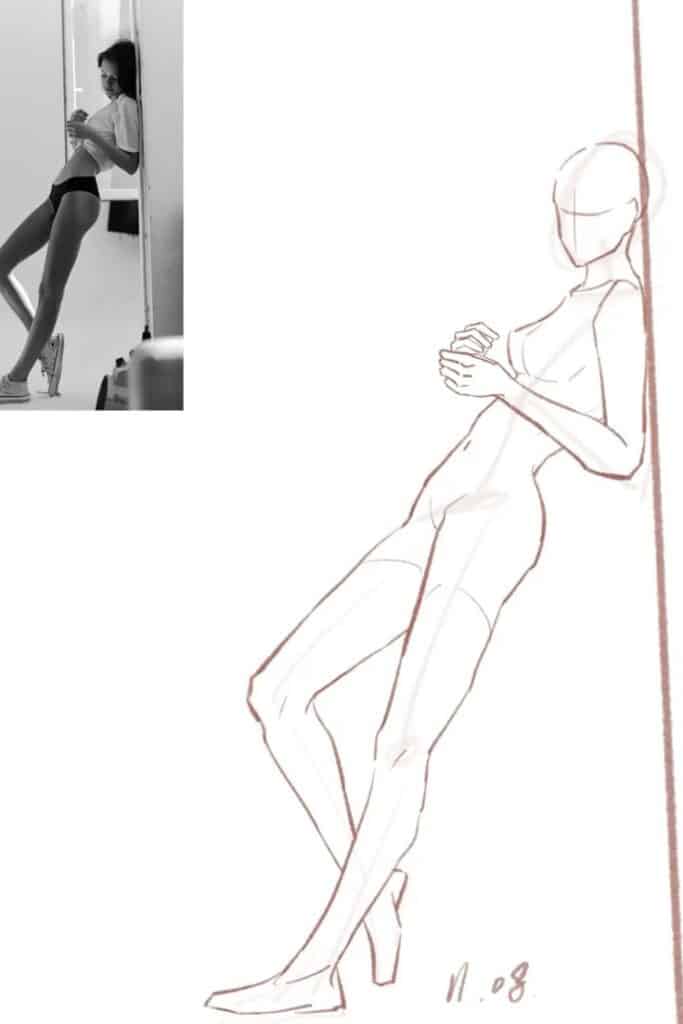
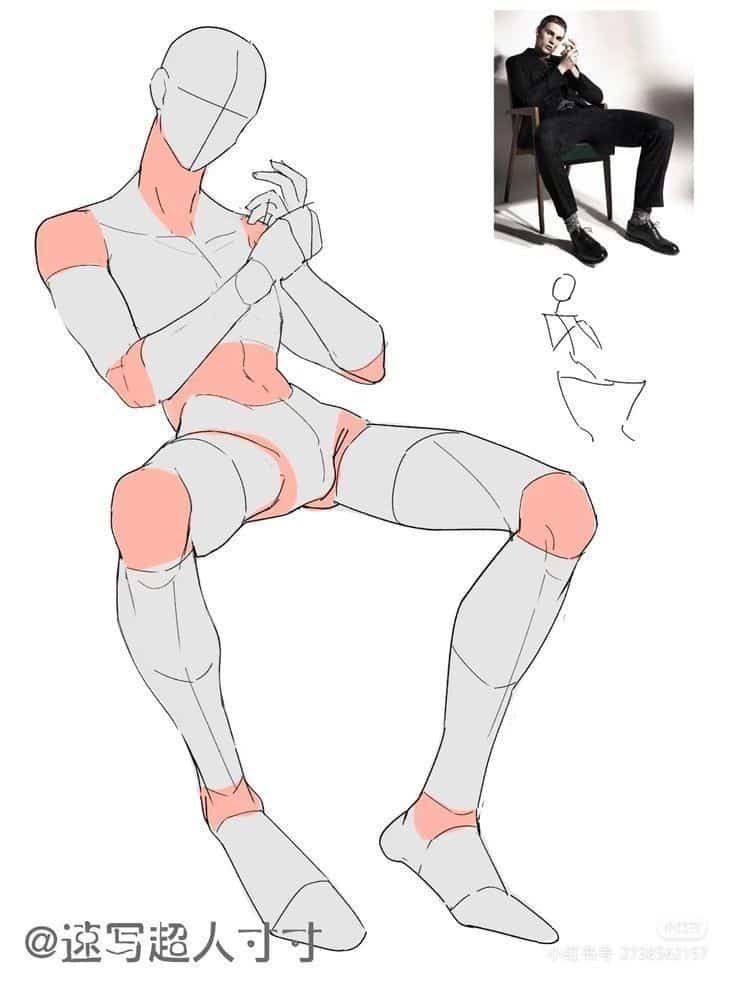
Getting poses right takes practice and the right tools. Many artists struggle with making their characters look stiff or unnatural. Learning proper techniques and using helpful resources can transform flat drawings into engaging artwork that connects with viewers.
Key Takeaways
- Character poses combine body positioning, anatomy, and storytelling to create dynamic artwork
- Using reference photos and digital tools helps artists create more realistic and expressive characters
- Advanced techniques like exaggeration and format optimization can enhance the impact of character poses
Understanding Character Poses

Character poses serve as the visual language that communicates who your character is before they even speak. They reveal personality traits, emotions, and relationships through body language and positioning.
Definition and Importance
Character poses are the specific ways figures position their bodies, arms, legs, and heads in artwork. These positions communicate information about the character’s personality, mood, and role in the story.
Poses work like a visual shorthand. A character standing tall with shoulders back shows confidence. Someone hunched over with crossed arms appears defensive or insecure.
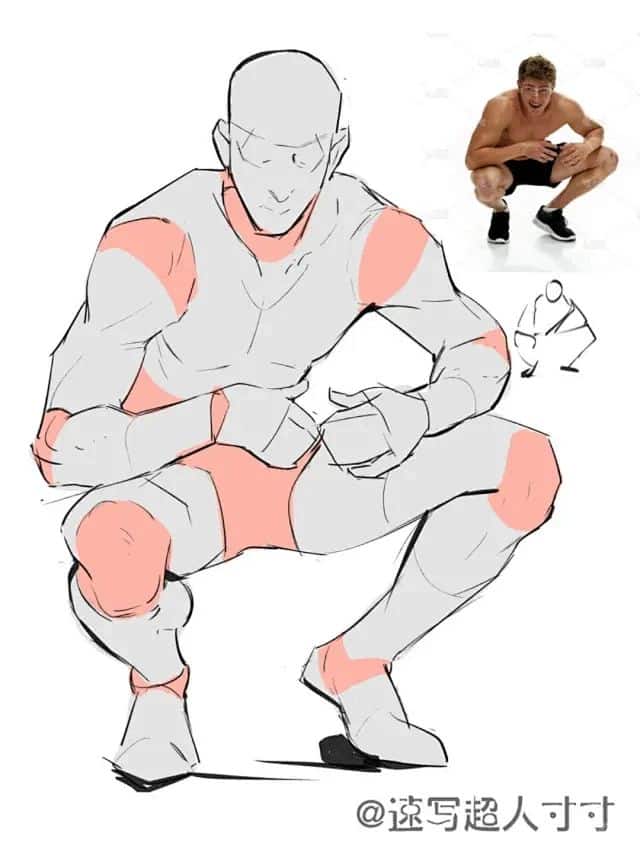
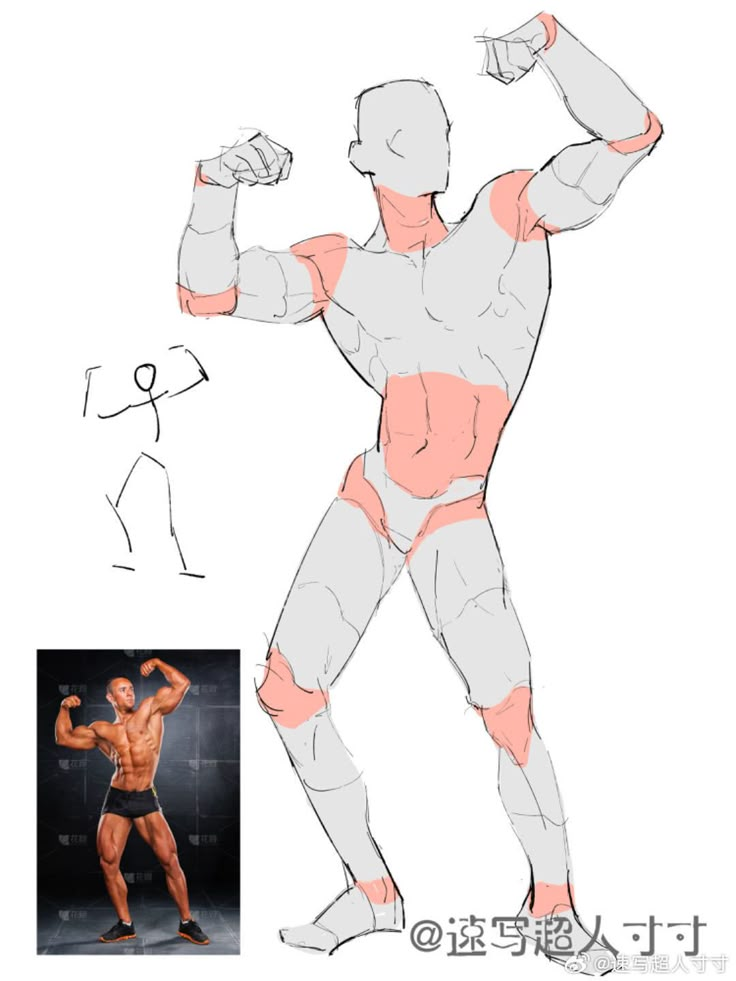
Body language speaks louder than words in visual art. Viewers read poses instantly and form opinions about characters within seconds of seeing them.
Good character poses make artwork more engaging. They help viewers connect emotionally with the characters and understand the story better.
Artists use poses to show relationships between characters too. Characters standing close together suggest friendship or romance. Those facing away from each other might be in conflict.
Common Pose Types
Character poses fall into several basic categories that serve different purposes in artwork.
Static poses show characters in neutral, balanced positions. These work well for character sheets and profile views. The character stands normally with even weight distribution.
Dynamic poses capture movement and action. Characters might be running, jumping, or reaching for something. These poses show energy and excitement.
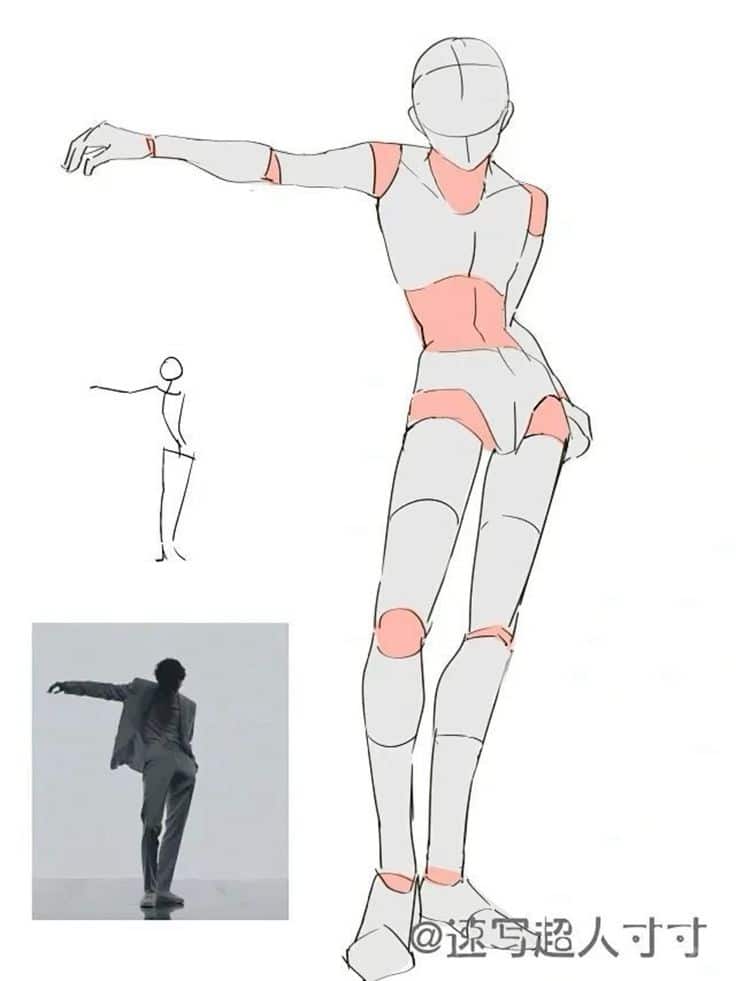
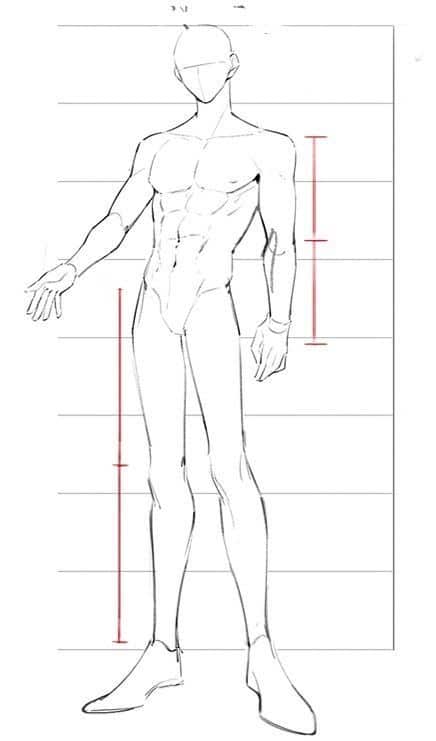
Emotional poses focus on expressing feelings through body language:
- Confident: Chest out, head high, hands on hips
- Shy: Shoulders hunched, arms crossed, looking down
- Angry: Clenched fists, forward lean, tense muscles
- Sad: Slumped posture, head down, arms at sides
Interaction poses show characters relating to each other or their environment. They might be pointing, gesturing, or reacting to something nearby.
Impact on Storytelling
Character poses drive storytelling forward by showing rather than telling important information. They reveal character development and plot points without needing dialogue or text.
Poses can show character growth throughout a story. A shy character might start with closed, protective poses and gradually adopt more open, confident positions.
Contrasting poses create visual tension and highlight conflicts. A hero standing upright facing a villain who leans forward aggressively shows their opposing roles clearly.
Poses also establish the mood and tone of scenes. Relaxed, casual poses suggest peaceful moments. Tense, alert poses build suspense and drama.
The spacing between characters tells its own story. Close positioning shows intimacy or cooperation. Wide spacing suggests distance, conflict, or independence.
Character poses guide the viewer’s eye through the composition. Strong, clear poses help readers follow the action and understand what happens next in the story.
Fundamental Techniques for Creating Character Poses

Strong character poses start with understanding gesture, anatomy, and movement. These core skills help artists capture life and energy in their drawings.
Gesture Drawing Basics
Gesture drawing captures the essential action and flow of a pose in quick sketches. Artists use this technique to understand the overall movement before adding details.
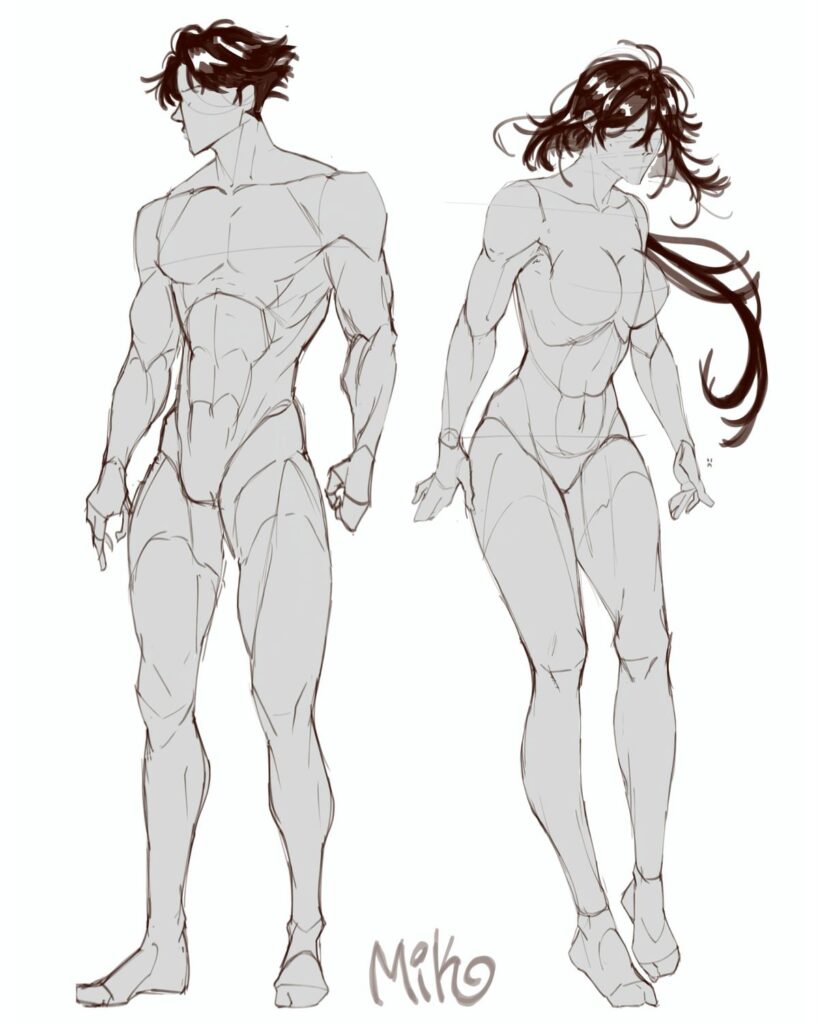
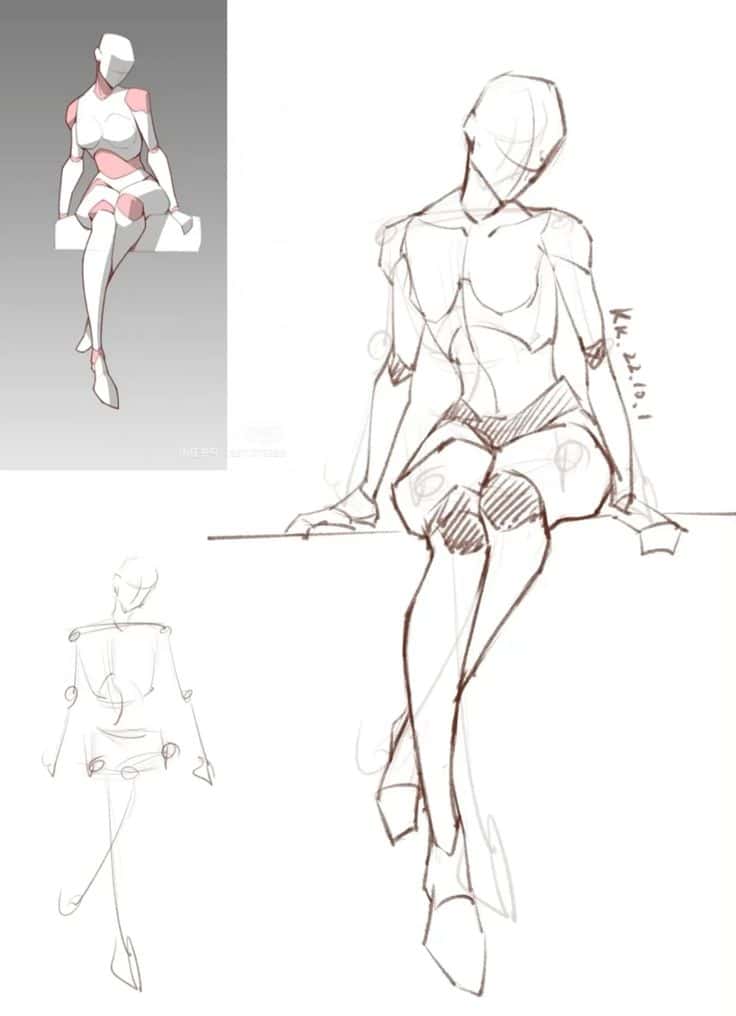
Line of action forms the backbone of every gesture. This imaginary line runs through the character’s spine and shows the main direction of movement. A strong line of action makes poses feel alive and dynamic.
Quick gesture sketches should take 30 seconds to 2 minutes. This time limit forces artists to focus on the most important elements. The goal is energy, not accuracy.
Key gesture elements include:
- Overall body flow
- Weight distribution
- Primary action
- Secondary movements
Artists should practice gesture drawing daily. Even 10 minutes of practice improves understanding of how bodies move and bend.
Anatomy and Proportion Principles
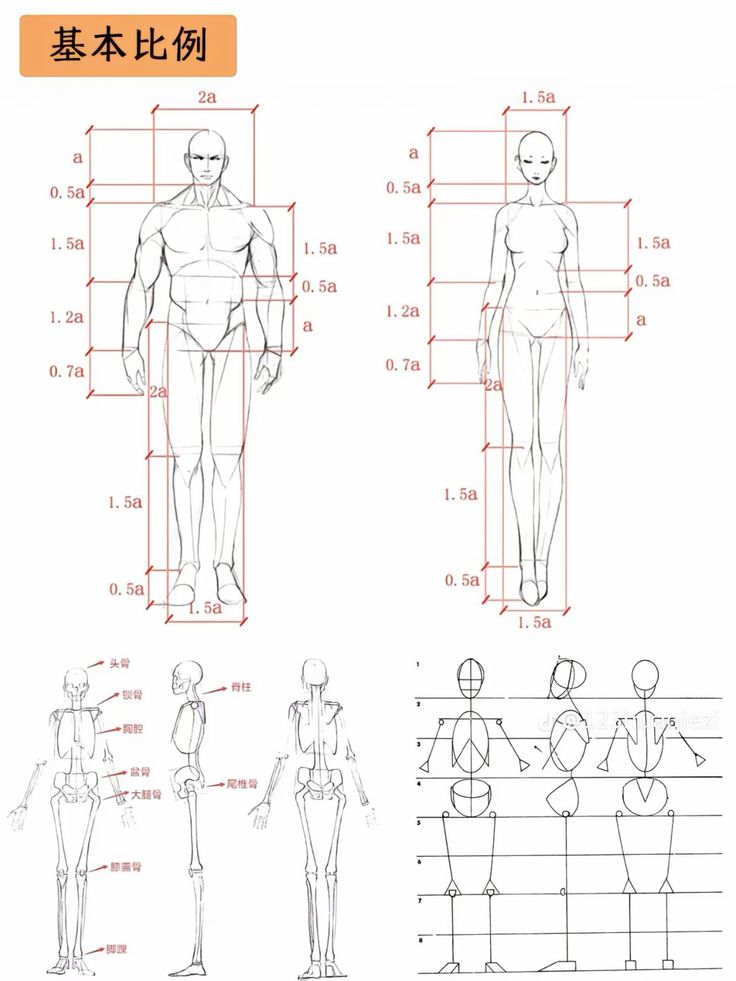
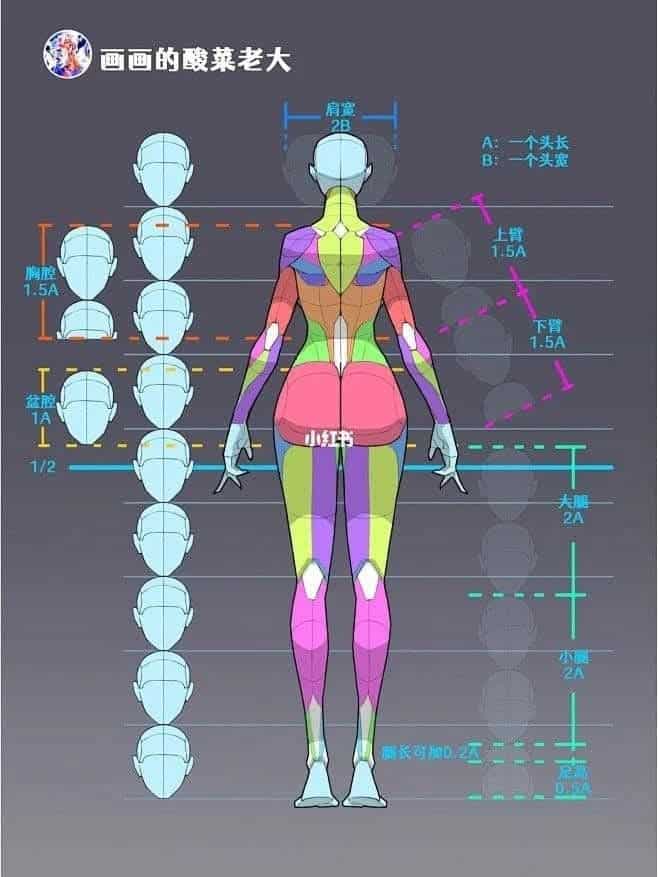
Understanding basic anatomy helps create believable character poses. Artists need to know how joints move and where muscles stretch or compress.
Major joint types:
- Ball joints (shoulders, hips) – full rotation
- Hinge joints (elbows, knees) – back and forth motion
- Pivot joints (wrists, ankles) – twisting movement
Proportion keeps characters looking natural. The average adult measures about 8 heads tall. The torso equals 3 head lengths, while legs take up 4 head lengths.
Critical proportion points:
- Eyes sit halfway down the head
- Arms reach mid-thigh when relaxed
- Hands span from chin to hairline
- Shoulders are 2-3 head widths apart
Weight shifts change how the body balances. When weight moves to one leg, the hip tilts up on that side. The spine curves to maintain balance.
Movement and Balance
Dynamic character poses show energy through asymmetry and weight distribution. Perfect symmetry looks stiff and unnatural in most poses.
Contrapposto creates natural-looking stances. This technique shifts weight to one leg while the other leg relaxes. The hips and shoulders tilt in opposite directions.
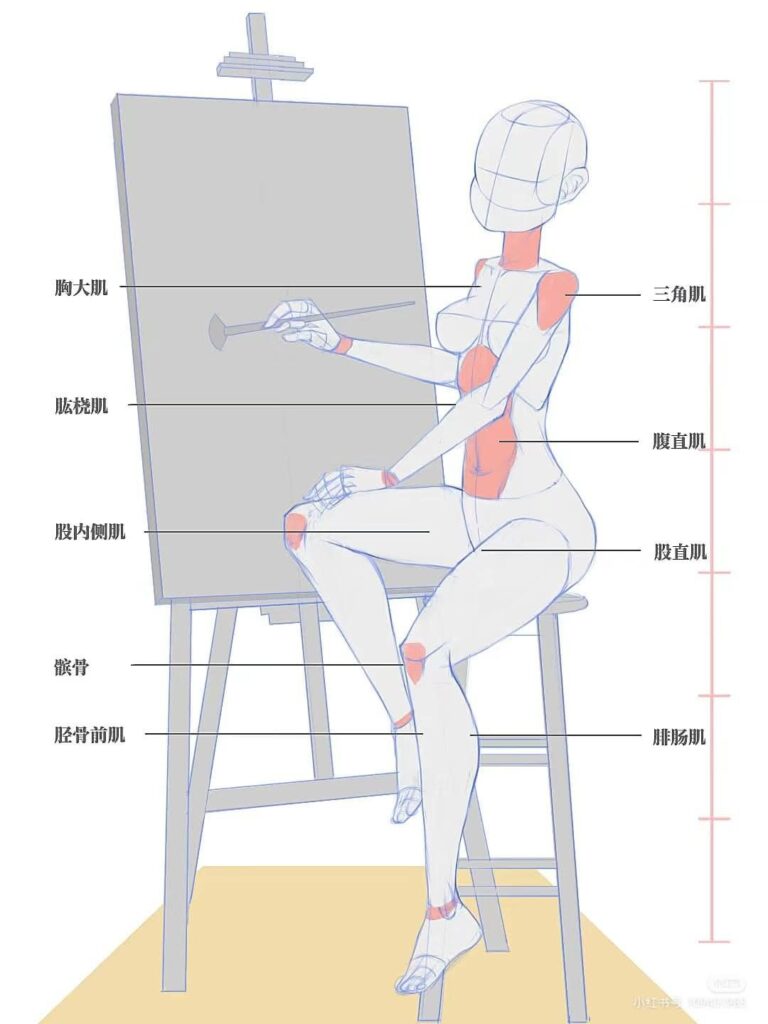
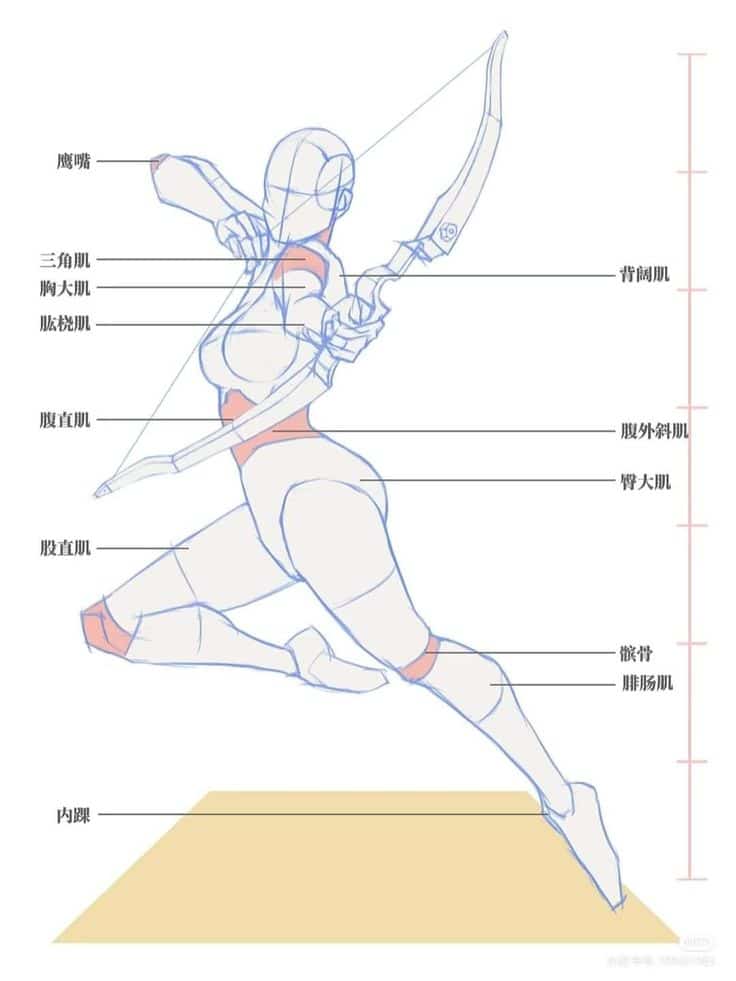
Action lines help plan movement in poses. These invisible lines show the direction of force and energy. They guide how body parts connect and flow together.
Balance indicators:
- Center of gravity falls between support points
- Tilted poses need strong anchor points
- Moving characters lean into their direction
- Stopping motions show backward lean
Creating energy in poses:
- Bend joints at different angles
- Twist the torso opposite to hips
- Use diagonal lines instead of straight ones
- Show tension in stretched muscles
Foreshortening adds drama to character poses. This technique makes body parts appear larger when they point toward the viewer. It creates depth and pulls viewers into the action.
Using Photo References and Templates
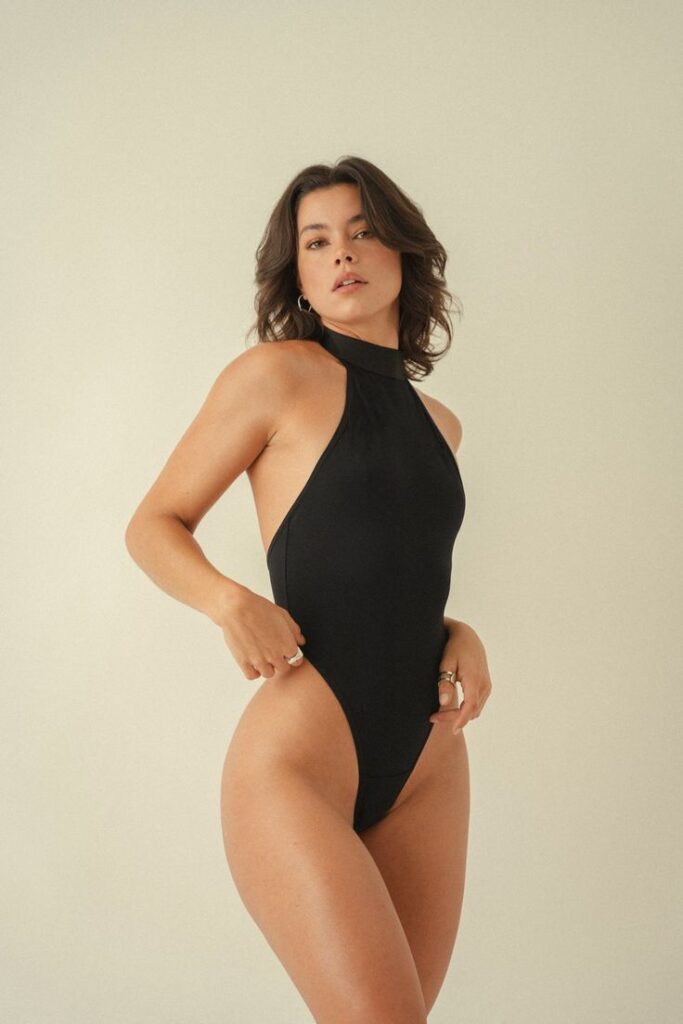
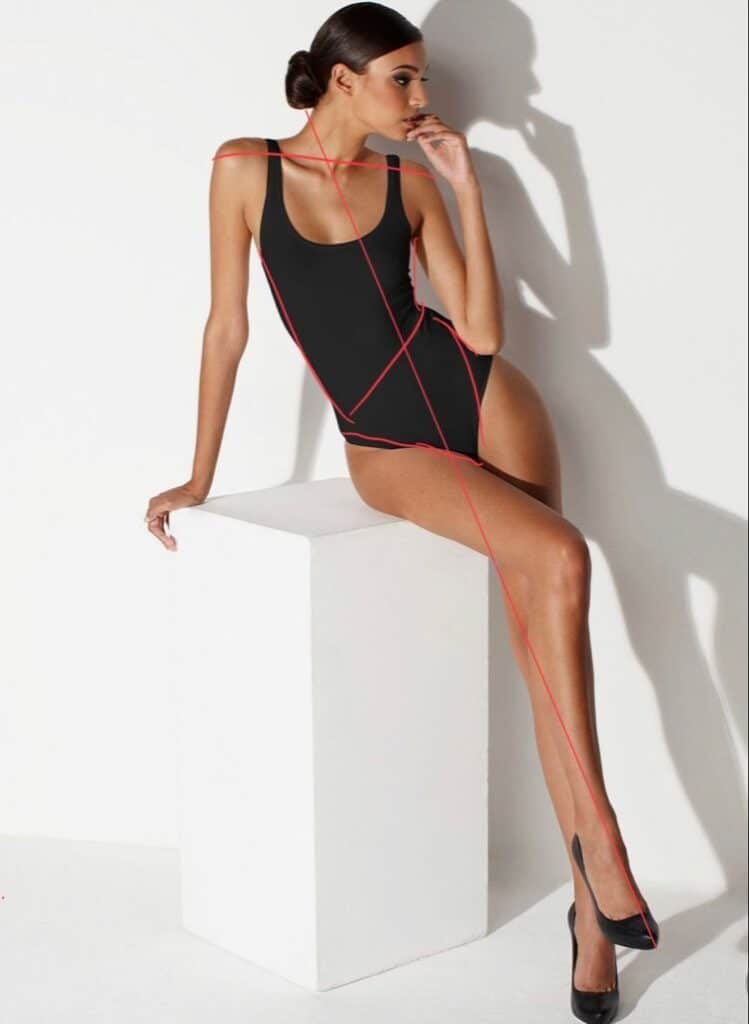
Photo references and templates provide artists with accurate anatomical information and pose ideas for their character drawings. These tools help artists understand body proportions, muscle structure, and natural movement patterns.
Working with Photo References
Photo references serve as the foundation for realistic character poses. Artists can find high-quality reference photos through stock photography websites, pose reference databases, or by taking their own photographs.
Good reference photos should include:
- Clear lighting that shows muscle definition
- Multiple angles of the same pose
- High resolution for detail work
- Natural body proportions
Artists benefit from studying how light falls on different body parts in photos. This helps them understand shadow placement and form. Reference photos also show how clothing wraps around the human body.
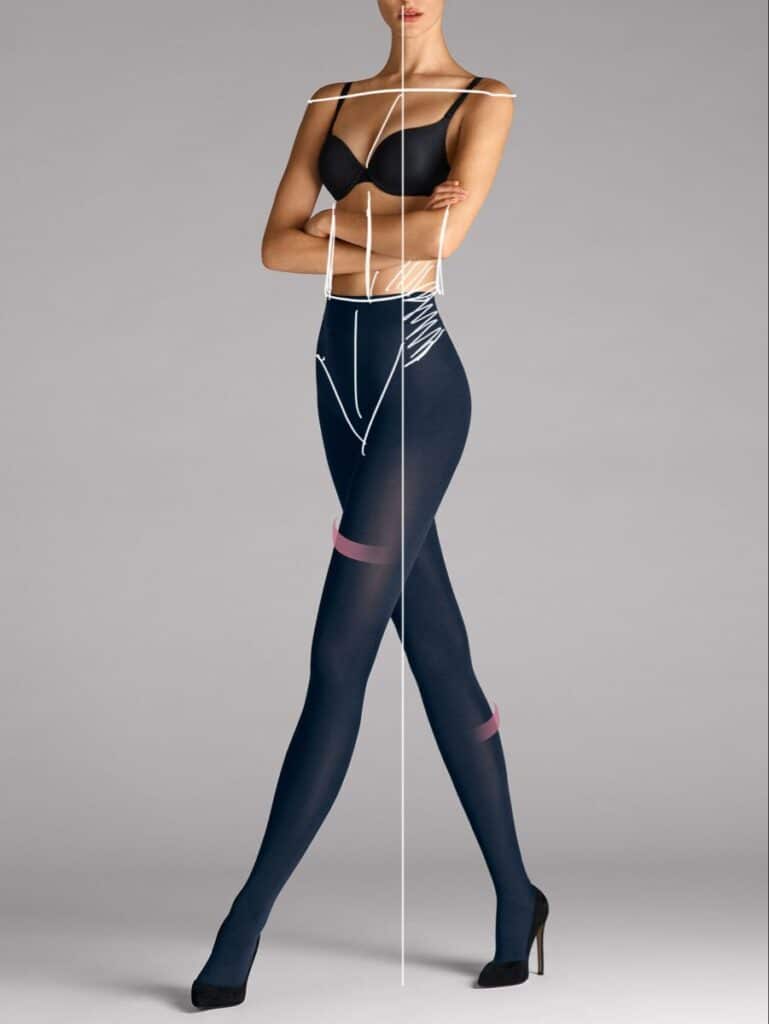
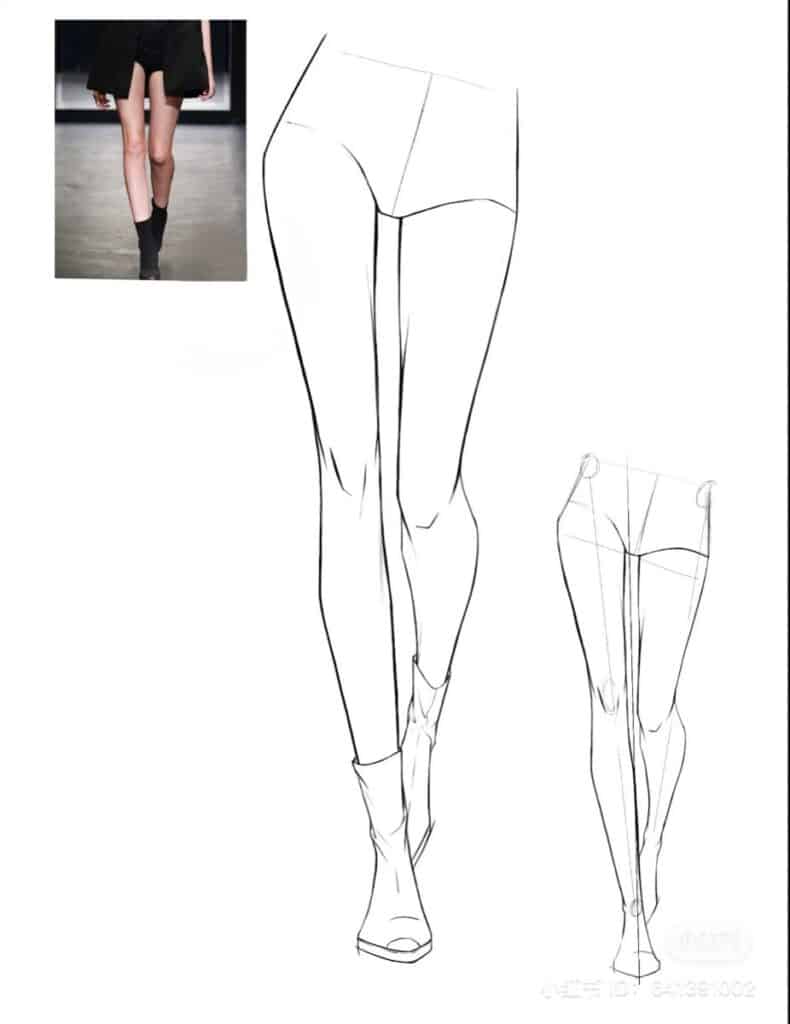
When using photos, artists should focus on the overall gesture first. Then they can add specific details like muscle tension and fabric folds. Photos help artists avoid common mistakes like incorrect joint placement or unnatural body positions.
How to Source Templates
Templates provide pre-made pose structures that artists can modify for their characters. Many websites offer free pose templates, while others sell professional reference packs with hundreds of poses.
Popular template sources include:
- Art reference websites
- Photography databases
- Cosplay reference collections
- Action pose libraries
Artists should look for templates that match their artistic style. Realistic templates work best for detailed character art. Simple templates suit cartoon or stylized characters better.
Template collections often group poses by category. Common categories include action poses, sitting positions, and emotional expressions. This organization helps artists find the right pose quickly.
Incorporating 3D Models
3D models let artists create custom poses from any angle. Software tools allow artists to position digital figures and adjust lighting before drawing. This gives artists complete control over their reference material.
Modern 3D posing tools offer different body types and proportions. Artists can adjust muscle definition, height, and body shape to match their characters. Some tools include clothing and prop options.
Benefits of 3D models:
- Unlimited viewing angles
- Consistent lighting control
- Easy pose adjustments
- No copyright concerns
3D models work especially well for complex poses that are hard to photograph. Artists can create impossible camera angles or dramatic action scenes. The models also help with foreshortening and perspective challenges.
Digital Tools and Resources for Character Poses
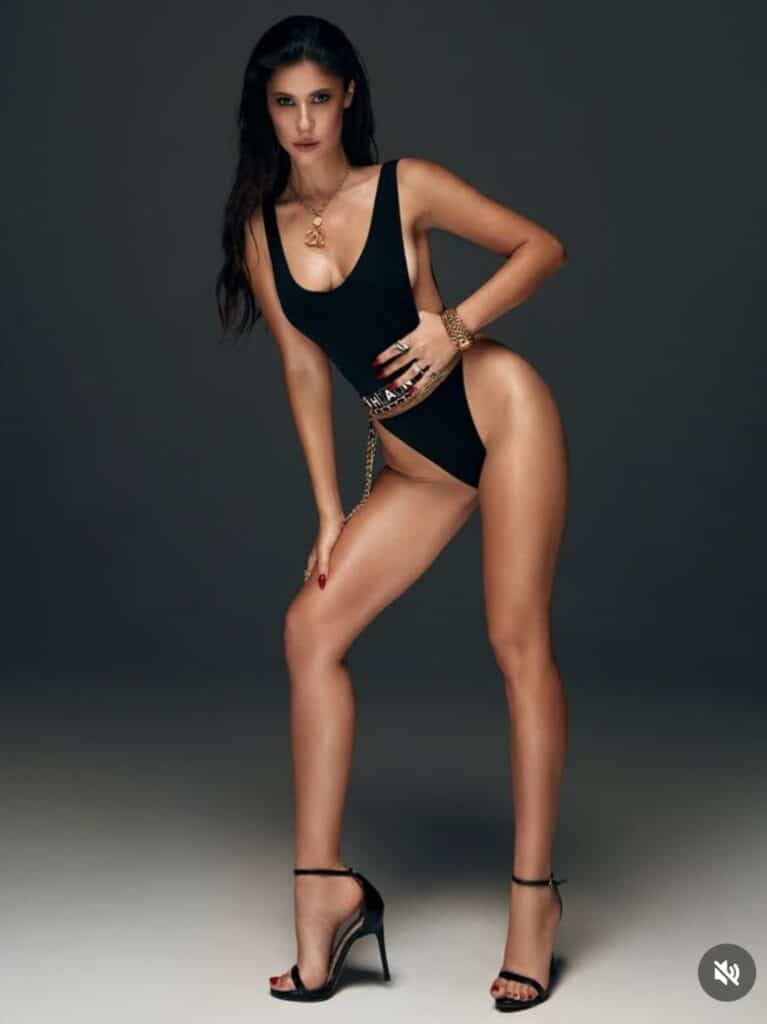
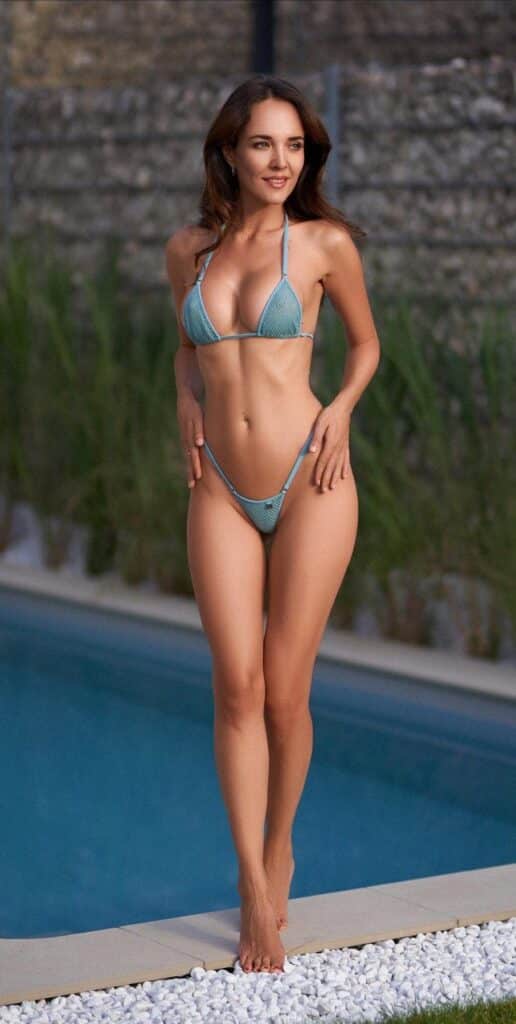
Modern artists have access to powerful digital tools that make creating character poses easier than ever before. AI generators can create custom poses instantly, while online libraries provide thousands of reference images and 3D pose makers let artists manipulate virtual models.
AI Pose Generators
AI pose generators use artificial intelligence to create character poses from simple inputs or reference images. These tools can generate dynamic poses for anime, manga, and digital art within seconds.
PixelDojo offers a free AI pose maker that helps artists create poses without any technical knowledge. The tool generates poses that work well for concept art and character design projects.
Generate Image AI Pose Control gives artists complete control over their character’s positioning. Users can adjust everything from head tilt to limb placement. The tool maintains proper body proportions in each generated pose.
Krikey AI Character Pose Generator creates custom poses for websites, social media, and marketing projects. Artists can use these generated poses as templates for their own character artwork.
The main benefit of AI generators is speed. Artists can test multiple pose ideas quickly before starting their final artwork.
Pose Reference Libraries
Digital pose libraries contain thousands of character pose images that artists can use as references. These collections help artists draw more accurate body positions and movements.
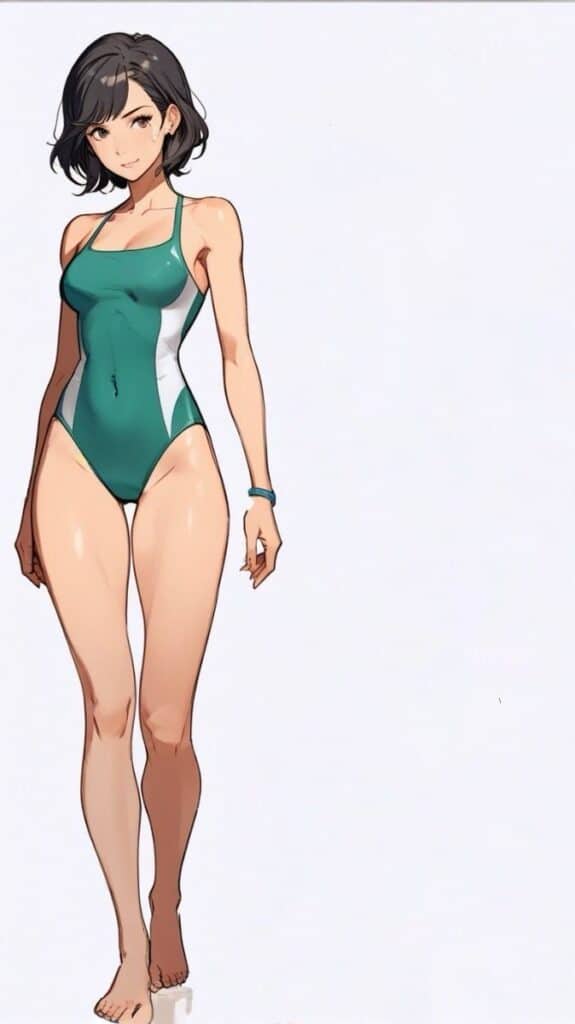
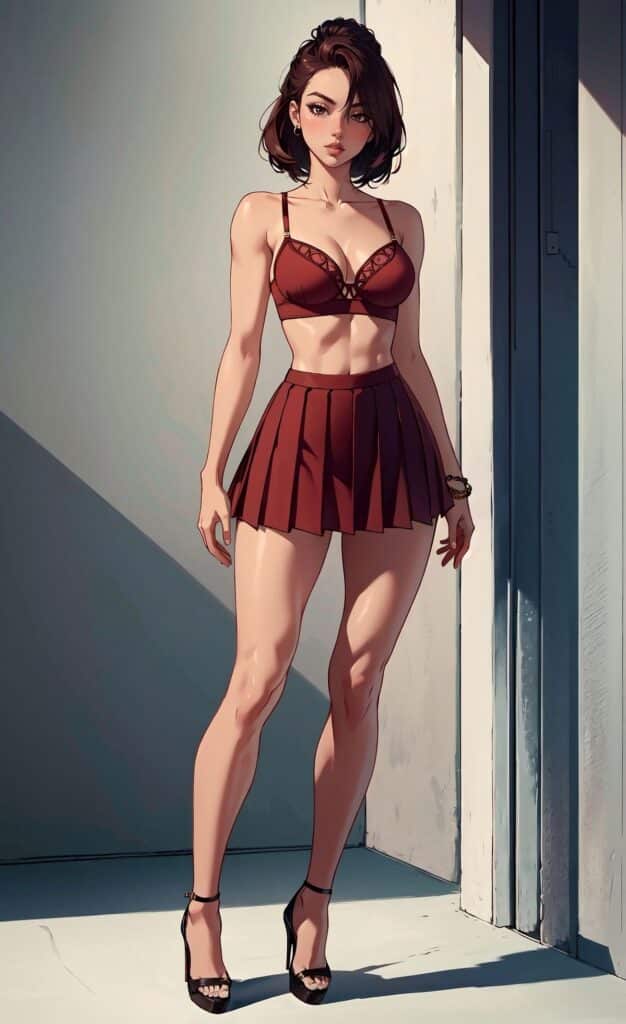
JustSketchMe provides pose references specifically designed for artists. The platform offers characters in various positions that artists can study while drawing. The tool works on iOS, Mac, Windows, and Android devices.
Figurosity features photorealistic pose models instead of basic digital figures. The platform has a large catalog of poses that artists can access with just a few clicks. This removes the need to learn complex 3D software.
Many pose libraries organize their content by categories like action poses, sitting positions, and emotional expressions. Artists can quickly find the exact type of pose they need for their project.
These libraries save time compared to setting up photo shoots or searching for reference photos online.
Online 3D Pose Makers
Online 3D pose makers let artists manipulate virtual models to create custom character poses. These tools provide more control than static reference images.
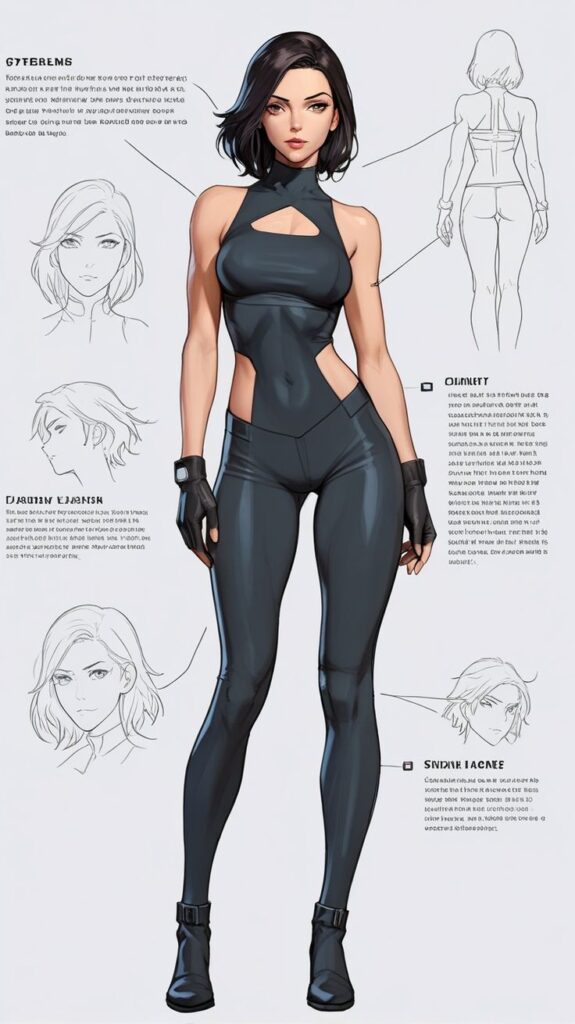
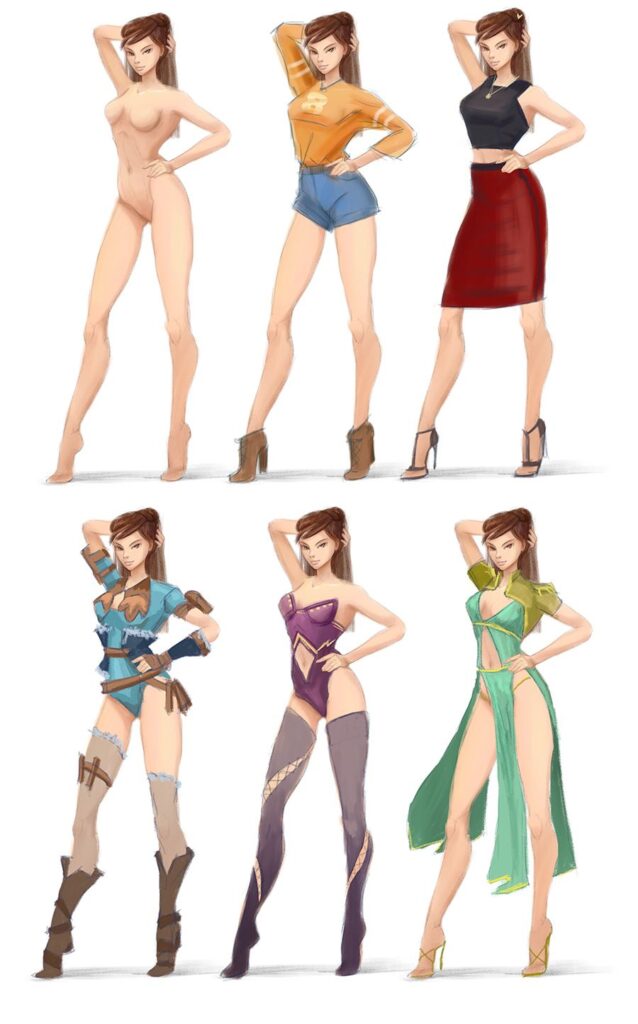
PoseMy.Art offers a free tool for creating reference poses with 3D models. Artists can pose digital figures and use premade animations to create dynamic references for their artwork.
Pose by Gal Shir is a simple web app for character posing. Artists design characters exactly how they want them and follow easy guidelines to bring poses to life in their favorite drawing apps.
These 3D tools allow artists to adjust lighting, camera angles, and model positions. Artists can rotate the view to see poses from different perspectives. This helps when drawing complex positions or unusual angles.
Most online pose makers work directly in web browsers without requiring software downloads. Artists can save their custom poses and return to them later during the drawing process.
Optimizing Character Poses for Different Formats
Character poses must be adjusted based on where they will be used. Square formats need centered compositions, while animation requires poses that flow well between frames, and print versus web have different resolution needs.
Adapting Poses for Square and Other Ratios
Square formats present unique challenges for character positioning. The 1:1 ratio works best when the character’s main action fits within the center area.
Artists should place key body parts like the head and torso in the upper two-thirds of the square. This creates better visual balance.
Vertical rectangles allow for full-body poses with dramatic height. Characters can stretch upward or show jumping actions more effectively.
Horizontal formats work well for action scenes. Running, fighting, or dancing poses benefit from the wider space.
Consider these adjustments for different ratios:
- Square: Center the character, avoid wide arm gestures
- Portrait: Use full height, emphasize vertical lines
- Landscape: Show movement across the frame, use diagonal poses
The character’s silhouette becomes more important in constrained formats. Clear, readable shapes help viewers understand the pose quickly.
Preparing Poses for Animation
Animation poses need to connect smoothly with the frames before and after them. Each pose becomes a keyframe that guides the character’s movement.
Extreme poses show the most dramatic moment of an action. These poses push the character’s position to create strong visual impact.
Breakdown poses sit between keyframes. They help define the path of movement and timing between major poses.
Joint rotation limits matter more in animation. Characters need poses that their rig can actually achieve without breaking.
Consider these animation requirements:
- Avoid poses that create gimbal lock
- Keep secondary elements like hair and clothing in mind
- Plan for ease-in and ease-out timing
- Test poses in the actual rig before finalizing
Arcs of motion should be visible in the pose design. Arms, legs, and the spine follow curved paths during movement.
Exporting Poses for Print and Web
Print formats require higher resolution and different color considerations. 300 DPI works for most print applications, while web images only need 72-96 DPI.
Color profiles differ between formats. Print uses CMYK color space, which has a smaller range than RGB used for screens.
File formats matter for different uses:
- Print: TIFF or high-quality PDF
- Web: PNG for transparency, JPEG for photos
- Animation: EXR or PNG sequences
Compression affects pose details differently. Fine lines and small details may disappear in heavily compressed web images.
Print poses can use finer detail work. Web poses need stronger, clearer shapes that read well at smaller sizes.
Bleed areas in print require poses to extend beyond the final trim size. Important character elements should stay within the safe area.
Web poses must load quickly. Optimize file sizes while maintaining pose clarity and character recognition.
Advanced Tips and Creative Exploration
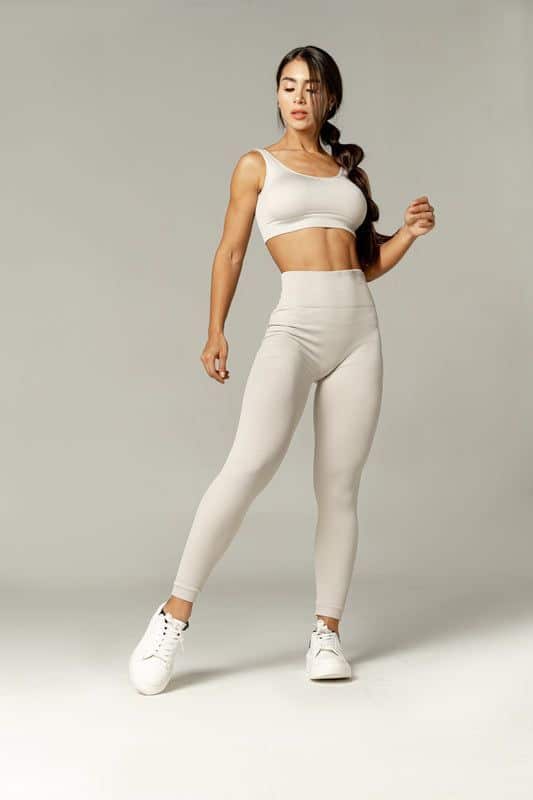
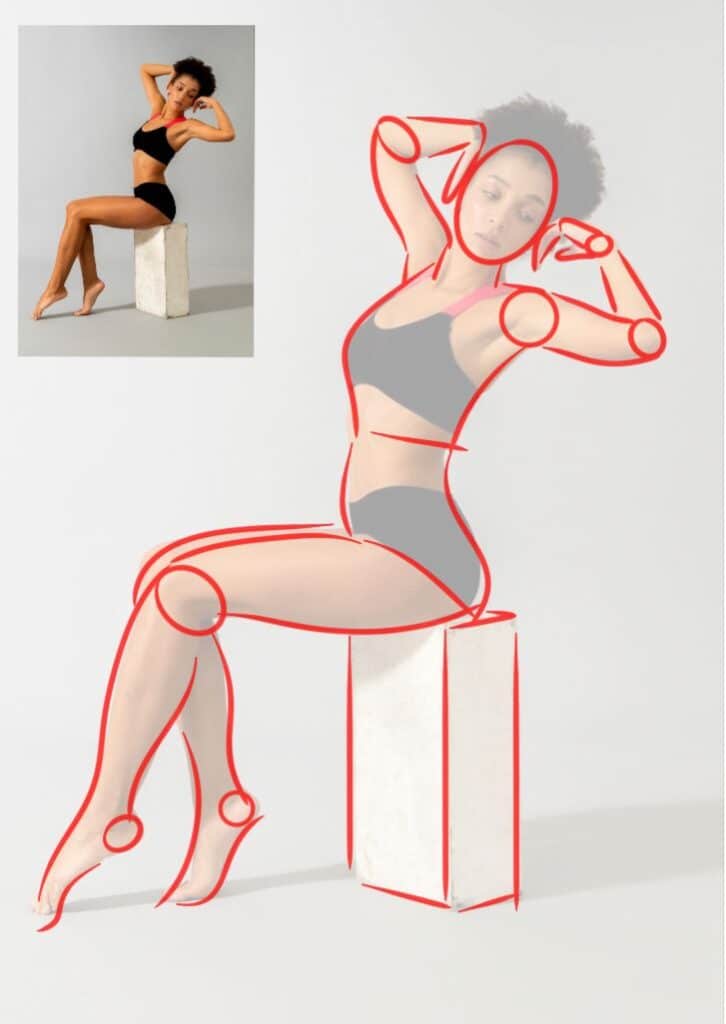
Taking character poses beyond basic positions requires understanding pose customization, action dynamics, and avoiding common pitfalls. These advanced techniques transform static figures into compelling, energetic characters that connect with viewers.
Customizing Classic Poses
Classic poses serve as foundations, but customization makes characters unique. Artists can modify standard standing, sitting, or walking poses by adjusting angles, weight distribution, and body language.
Key Customization Techniques:
- Angle shifts: Turn shoulders opposite to hips for natural movement
- Weight placement: Show gravity’s effect through bent knees or leaning
- Gesture variations: Change hand positions and arm angles
A basic standing pose becomes dynamic when one hip drops lower than the other. This creates an S-curve through the spine that suggests natural weight shifting.
Facial direction also impacts pose effectiveness. Characters looking away from their body’s direction create visual tension and interest.
Small details matter most. Tilted heads, curved fingers, or shifted shoulders add personality without major pose changes.
Dynamic and Action-Oriented Poses
Action poses capture movement and energy through specific techniques. Action lines guide the viewer’s eye and create motion flow throughout the character’s body.
Essential Action Elements:
- Strong directional lines from head to toe
- Opposing forces between limbs
- Clear weight distribution
- Exaggerated key positions
Characters in motion show contrapposto naturally. When the right leg moves forward, the left arm swings ahead. This creates balance and realistic movement patterns.
Foreshortening adds drama to action poses. Arms reaching toward viewers or legs extending away create depth and impact.
Timing matters in action poses. Show characters at peak action moments rather than neutral positions. A jumping character works best at the highest point, not mid-leap.
Clothing and hair should follow the action. Fabric flows behind running characters, and loose hair trails the movement direction.
Common Mistakes to Avoid
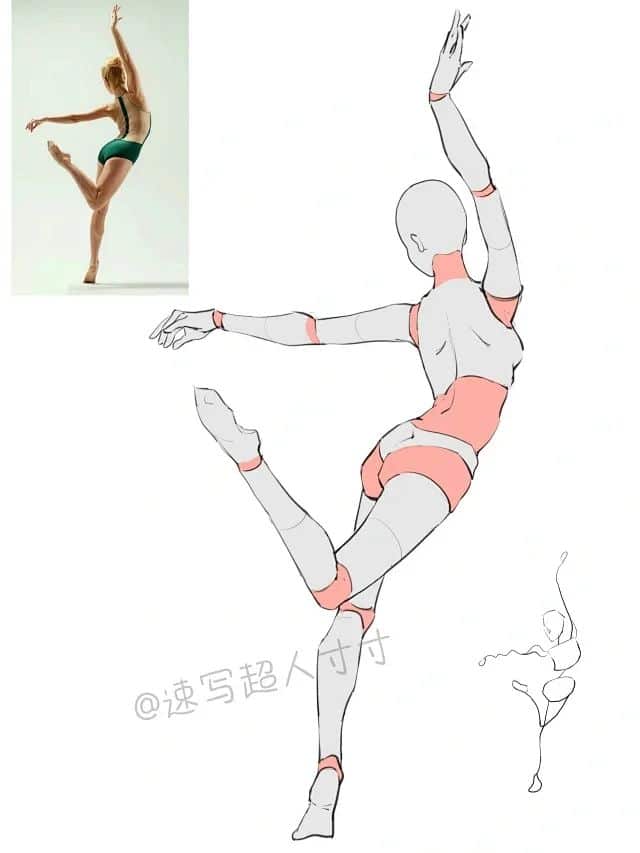
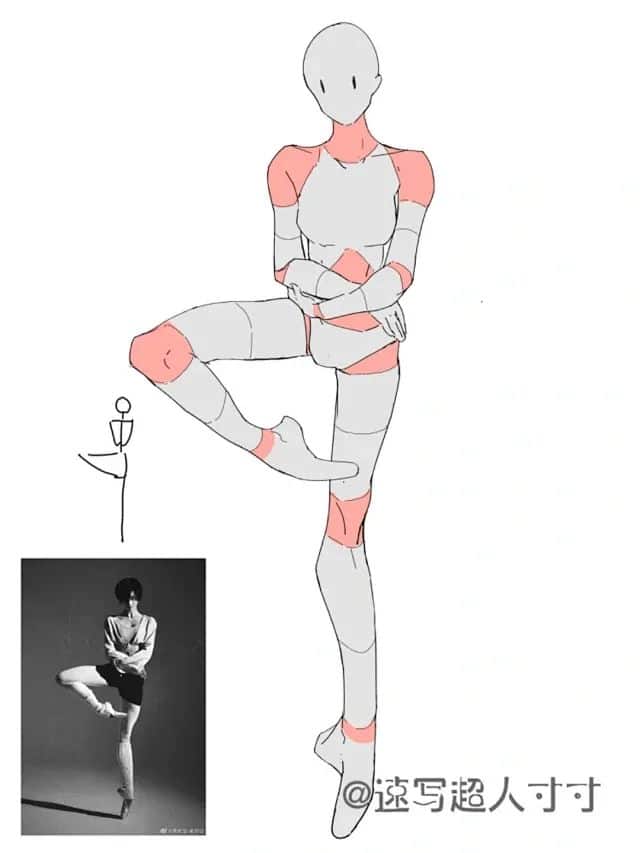
Pose mistakes often stem from rushing or ignoring basic principles. Stiff poses result from forgetting natural body mechanics and weight distribution.
Frequent Pose Errors:
- Perfectly straight spines in casual poses
- Arms hanging directly at sides
- Equal weight on both feet
- Flat, parallel shoulders
- Identical left and right sides
Anatomical errors break pose believability. Joints bending wrong directions or impossible body positions confuse viewers and reduce impact.
Scale problems occur when body parts don’t match perspective. Hands too small for their distance or heads too large destroy pose effectiveness.
Over-complication weakens poses. Too many action lines or competing focal points scatter attention instead of directing it.
Artists often ignore reference materials when creating complex poses. Even experienced artists benefit from photo references or 3D models for unusual angles.
Rushing the initial gesture sketch leads to problems later. Strong poses start with clear, simple action lines before adding details.
- 851shares
- Facebook0
- Pinterest848
- Twitter3
- Reddit0

