Butterfly drawing is a rewarding and creative activity that allows you to express your artistic side while appreciating these beautiful creatures. Understanding the anatomy of butterflies can significantly enhance your drawing skills, making your artwork more accurate and lifelike. With the right materials and techniques, you can create stunning representations that capture their unique patterns and colors.
Whether you are a beginner or looking to refine your skills, following a step-by-step guide can make the process enjoyable and straightforward. You’ll learn how to approach proportions, use shading, and add intricate details that bring your butterfly drawings to life. The final touches can elevate your work from a simple sketch to a visually appealing piece.
Engaging with butterfly drawing not only improves your artistic capabilities but also deepens your appreciation for nature. It’s an excellent way to relax and focus, allowing you to connect with both art and the environment in a meaningful way.

Key Takeaways
- Understanding butterfly anatomy enhances your drawing accuracy.
- A step-by-step approach simplifies the process for artists of all levels.
- Adding finishing touches elevates your artwork and presentation.
Understanding Butterfly Anatomy
Butterflies exhibit intricate anatomical features that contribute to their beauty and diversity. Key areas of interest include the structure of their wings and the variety found among different species.
Butterfly Wings and Patterns
Butterfly wings play a crucial role in their survival and attraction. Each wing consists of two layers, the forewings and hindwings, connected by a framework of veins. The patterns on these wings are not just for aesthetics; they serve various functions such as camouflage and signaling to potential mates.
- Coloration: The vibrant colors arise from microscopic scales and pigments.
- Patterns: Unique patterns help butterflies avoid predators. For example, the monarch butterfly features a distinct orange and black pattern that warns birds of its toxicity.
- Flight Mechanics: The design of the wings aids in flight efficiency and agility.
Variety in Butterfly Species
There is immense variety among butterfly species, with over 17,500 documented. This diversity results in differences in size, shape, and coloration, reflecting adaptation to various environments.
- Size Range: Species can vary from the tiny Eastern Pygmy Blue to the large Swallowtail butterflies.
- Habitat Specialization: Some species are adapted to tropical climates, while others thrive in temperate zones.
Each species offers unique wing patterns. The glasswing butterfly, for example, possesses transparent wings that allow it to blend into its surroundings, showcasing nature’s creativity.
Materials and Setup
Gathering the right materials and organizing your setup is essential for creating a successful butterfly drawing. Here’s what you need to consider to ensure the best results.
Choosing the Right Pencil and Eraser
Select pencils that suit your drawing style. A range of pencils from 2H (hard) to 6B (soft) will provide versatility. The harder pencils create fine lines for detail, while softer pencils deliver rich, deep tones.
Recommended Pencils:
- 2H to H: For precise outlines.
- 2B to 6B: For shading and texture.
An effective eraser is equally important. Choose a kneaded eraser for gentle lifting of graphite without damaging the paper. A plastic eraser can provide sharper corrections.
Selecting Your Drawing Paper or Sketchbook
The choice of paper can impact your drawing’s texture and detail. Look for heavyweight paper with a smooth surface for crisp lines or textured options for more depth.
Recommended Paper Types:
- Bristol Board: Ideal for detailed work.
- Watercolor Paper: If you plan to use wet media.
A sturdy sketchbook can also be useful for practice. Ensure it has acid-free paper to prevent yellowing over time. A spiral-bound sketchbook allows for easy page turning, making it convenient for multiple sketches.
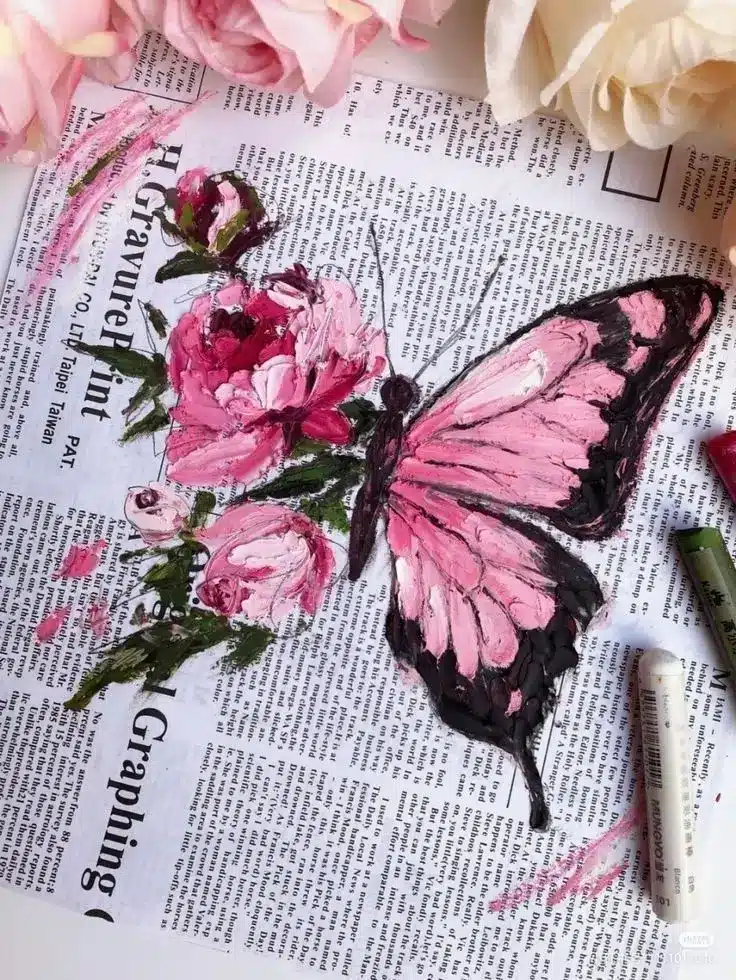
Step-by-Step Drawing Guides
Learning to draw a butterfly involves grasping different techniques and styles. You can create a simplistic version or opt for something more intricate like a realistic butterfly. There are also abstract and cartoon interpretations that add a fun twist.
Basic Butterfly Drawing Techniques
Start with a simple outline to capture the butterfly’s shape. Use light pencil strokes to sketch an elongated oval for the body and two large wing shapes extending from each side.
Key steps:
- Draw the head as a small circle.
- Add antennae extending from the head.
- Design symmetrical wings by outlining the top and bottom curves.
Next, include details like the body segments and the wing patterns. You can use shapes like circles or lines to mimic natural designs. Once satisfied, outline your drawing with a pen or darker pencil and erase extra lines.
Detailed Realistic Butterfly
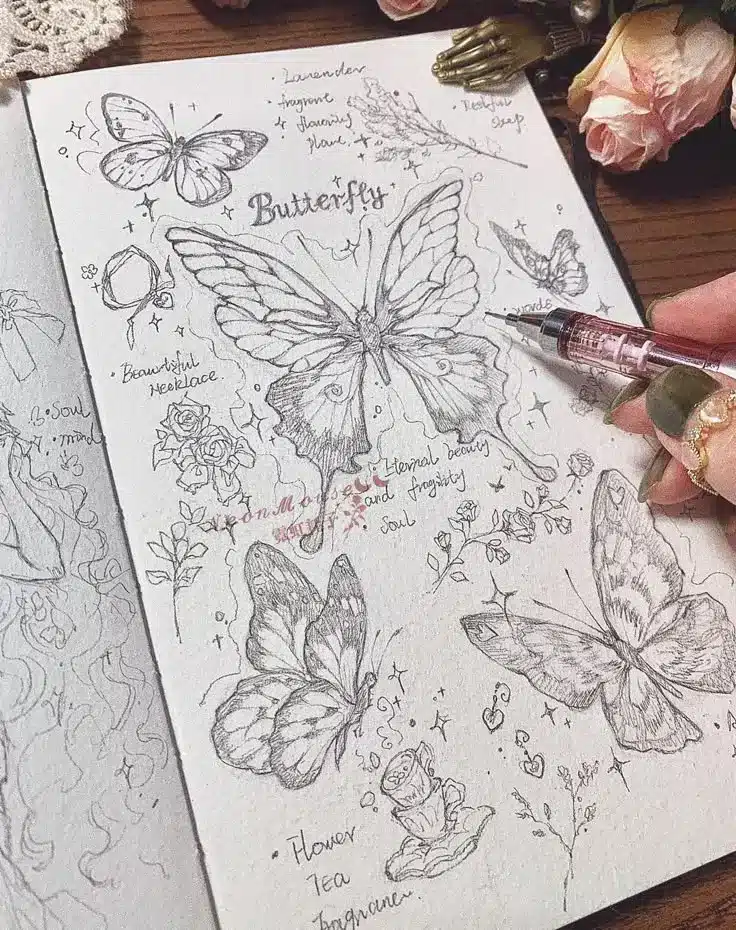
For a realistic butterfly, focus on proportion and intricate details. Start with a refined body shape, ensuring the head and thorax are well-defined. The wings should display delicate veins and patterns.
Steps to consider:
- Observe a real butterfly for reference.
- Incorporate shading to create depth using lighter and darker pencil strokes.
- Use color effectively; soft pastels can replicate natural hues.
Pay attention to the transitions between colors on the wings. For added realism, include gradients and small highlights that suggest transparency. This technique brings your drawing to life.
Abstract and Cartoon Butterfly Styles
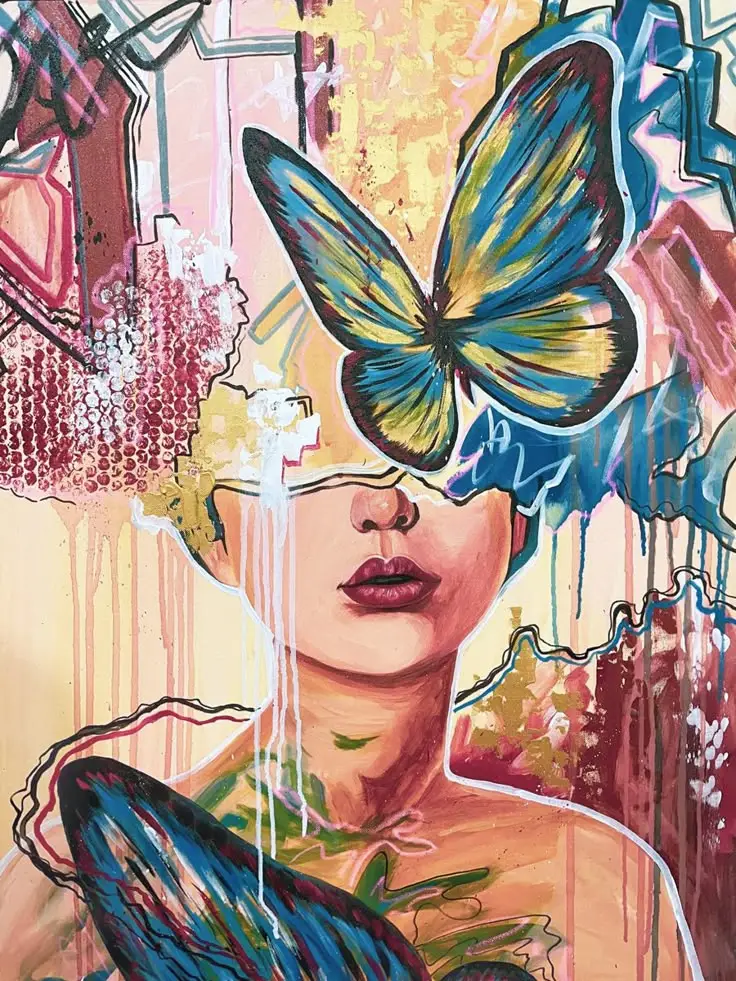
Creating an abstract butterfly allows for creative expression. Begin with exaggerated shapes or vibrant colors, breaking the traditional form.
Tips for this style:
- Use bold, thick lines to define your shapes.
- Experiment with unconventional colors that don’t represent reality.
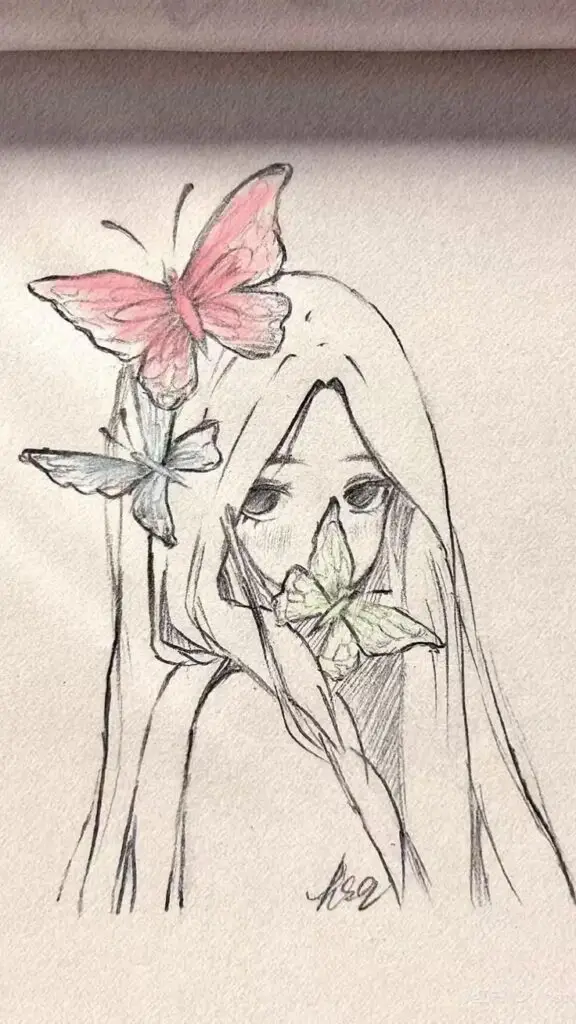
In contrast, for a cartoon butterfly, emphasize cuteness. Large wings, bright colors, and oversized features are essential. Keep the body simple with a focus on conveying personality, like smiling or winking faces.
Quick pointers:
- Use simple shapes for bodies and wings.
- Add patterns like polka dots or stripes for visual interest.
This can make your butterfly drawing more approachable and fun, especially for younger audiences.

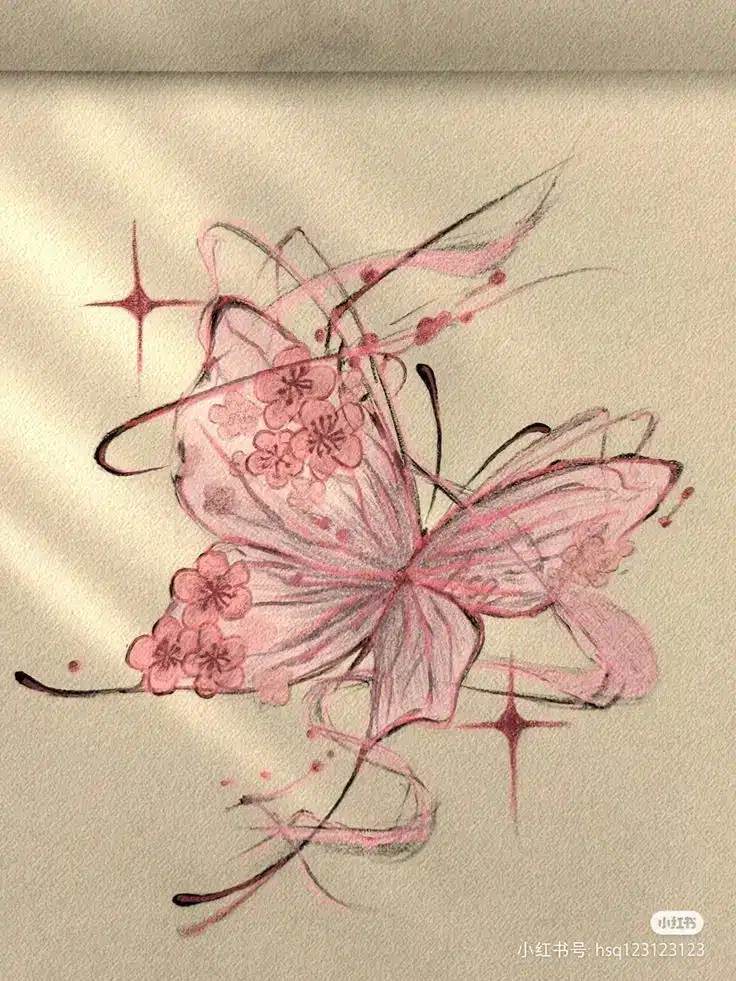
Finishing Touches and Presentation
Adding the final elements to your butterfly drawings enhances their beauty and ensures they are ready for display. Attention to detail in shading and color will elevate your illustration, while proper presentation techniques make your art shine.
Enhancing Beauty with Shading and Color
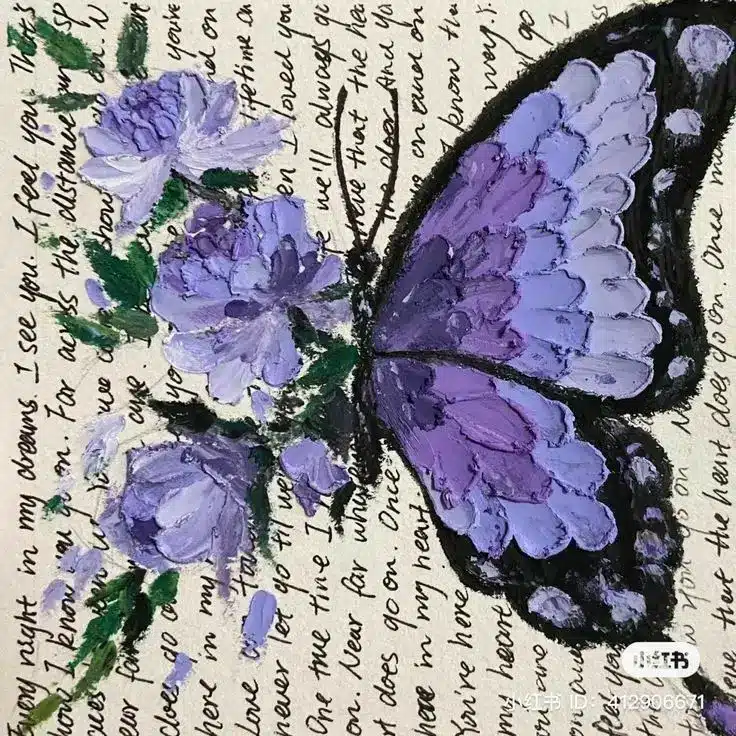
To bring your butterfly drawings to life, consider layering your colors. Use colored pencils or watercolors to create depth. Start with a base layer and gradually build up with darker shades.
Shading can be effectively added by identifying the light source. Apply a lighter hue on the areas where the light hits, and darker shades in the shadows. Blending techniques, like using a blending stump or your finger, can smooth transitions.
You can also utilize different color palettes based on the species you’re illustrating. A vibrant palette can evoke energy, while pastel tones can provide a serene look.
Displaying Your Butterfly Art
Once your butterfly art is complete, choose a suitable method to display it. Framing your artwork not only protects it but also enhances its appearance. Choose a frame that complements the colors in your drawing.
Consider using a mat board for added depth. This can highlight the illustration and draw attention to the details.
If you wish to showcase your art in an exhibition or online, consider using a gallery-style display. This format allows multiple pieces to be seen together, creating a cohesive theme. Light your artwork effectively—overhead lighting or spotlights can enhance features.
- 301shares
- Facebook0
- Pinterest301
- Twitter0
- Reddit0


