Improving your sketching skills can elevate your artistic work significantly. By exploring effective techniques, you can enhance your ability to express ideas visually and create more compelling drawings. These methods are not just for beginners; they can benefit artists at any skill level seeking growth.
In this article, you will discover five sketching techniques that can help refine your craft. Each technique serves a unique purpose and can be tailored to fit your personal style, allowing you to achieve better results in your artistic endeavors. Whether you’re looking to boost creativity or improve accuracy, these approaches will provide valuable insights.
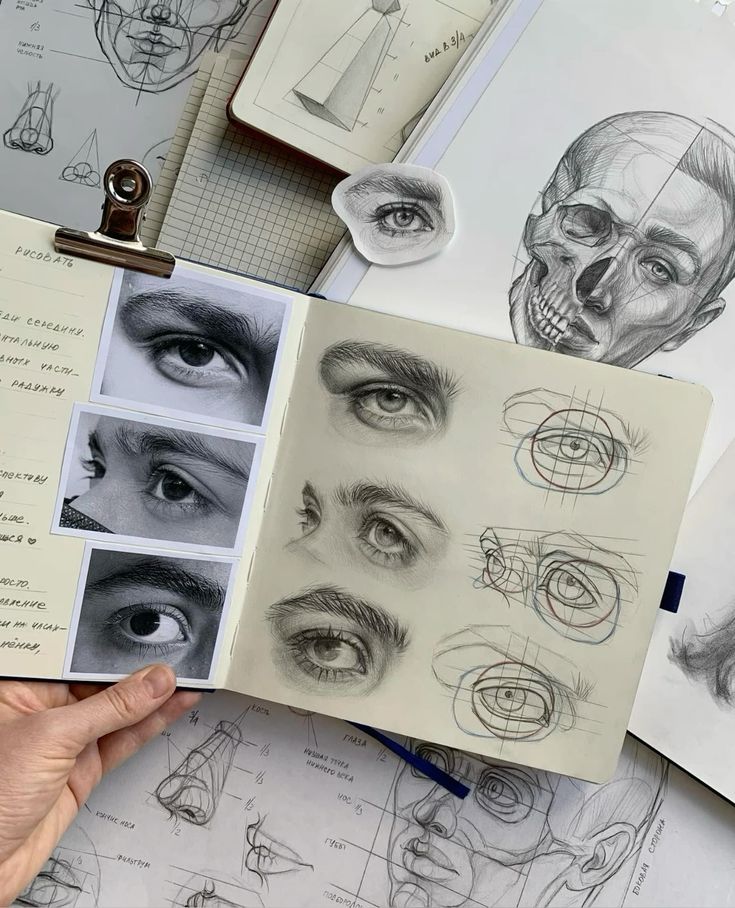
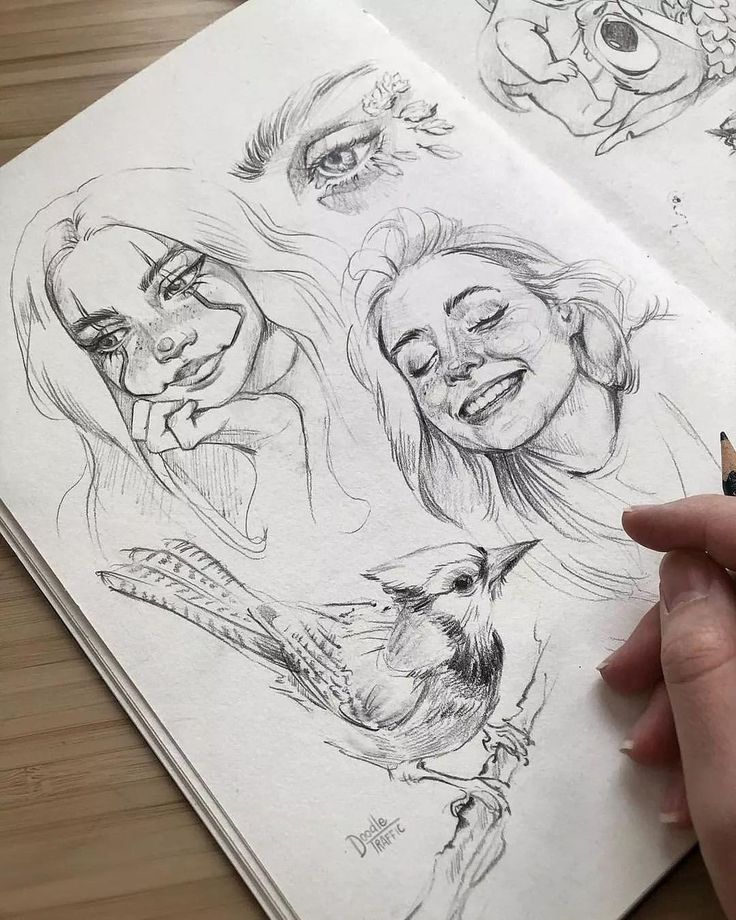
1) Gesture Drawing
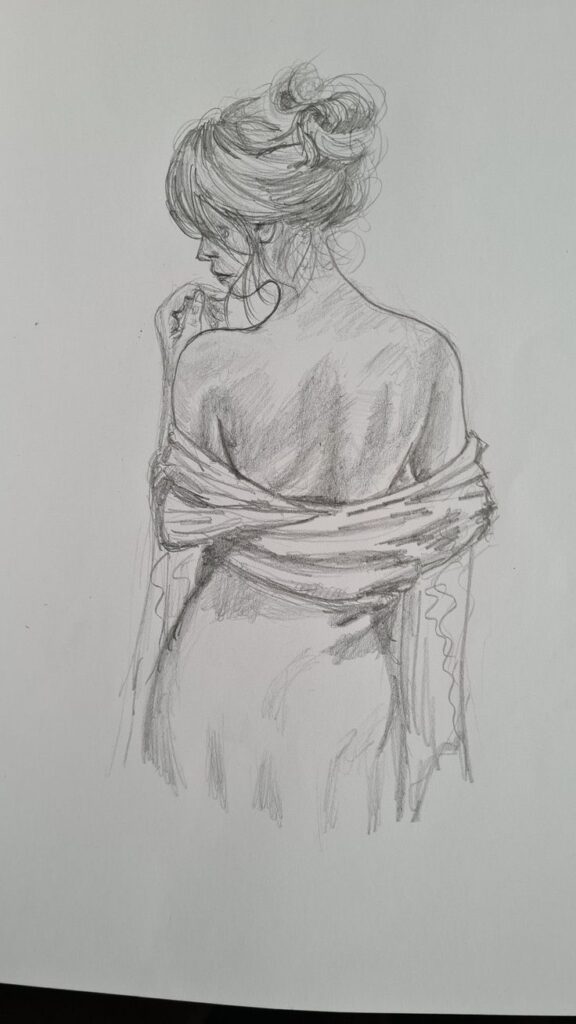
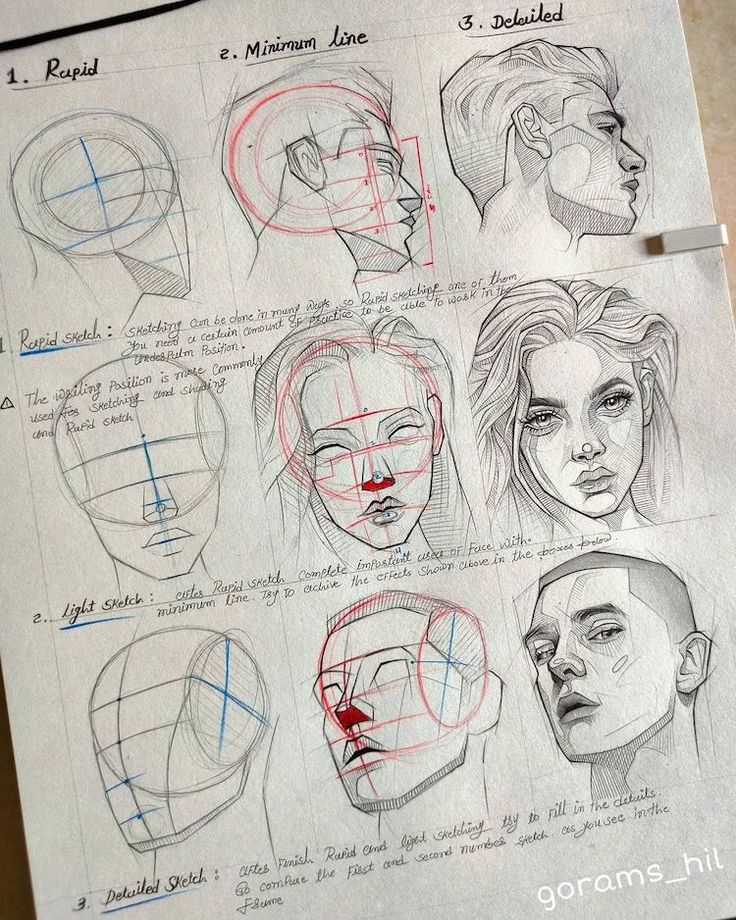
Gesture drawing is a technique that focuses on capturing the essence and movement of a subject. It emphasizes quick and fluid lines, allowing you to convey motion and form without getting bogged down in details.
To practice gesture drawing, set a timer for a short duration, typically between 30 seconds to two minutes. This restriction encourages you to work rapidly, honing your ability to identify the most important aspects of your subject.
Start by observing the basic shapes and angles, then translate those observations into loose strokes. The goal is to convey the figure’s pose and energy rather than produce a perfect image.
Using a variety of drawing tools can enhance your gesture drawings. Pencils, charcoal, or ink can each yield different effects, allowing you to experiment with line quality and weight.
Incorporating gesture drawing into your routine will improve your overall drawing skills. It helps build confidence and allows your drawings to feel more dynamic and alive.
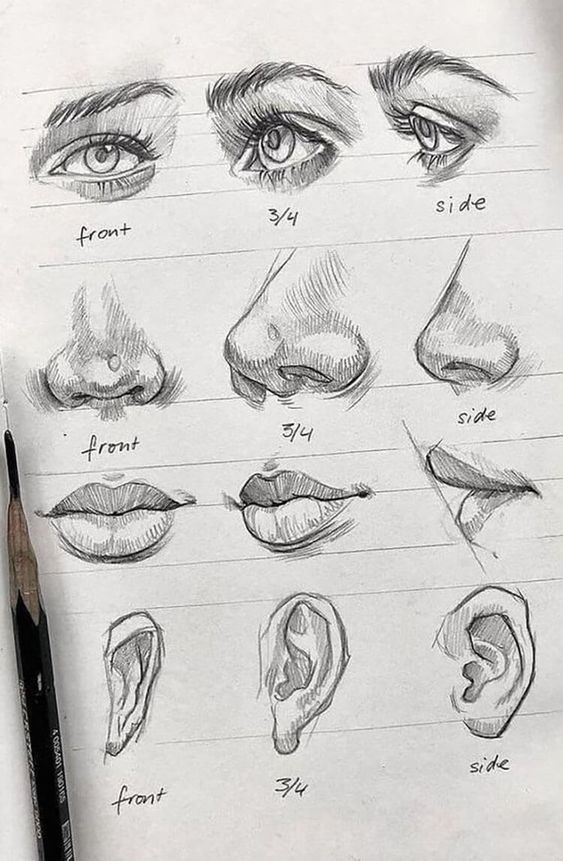
2)Hatching and Cross-Hatching
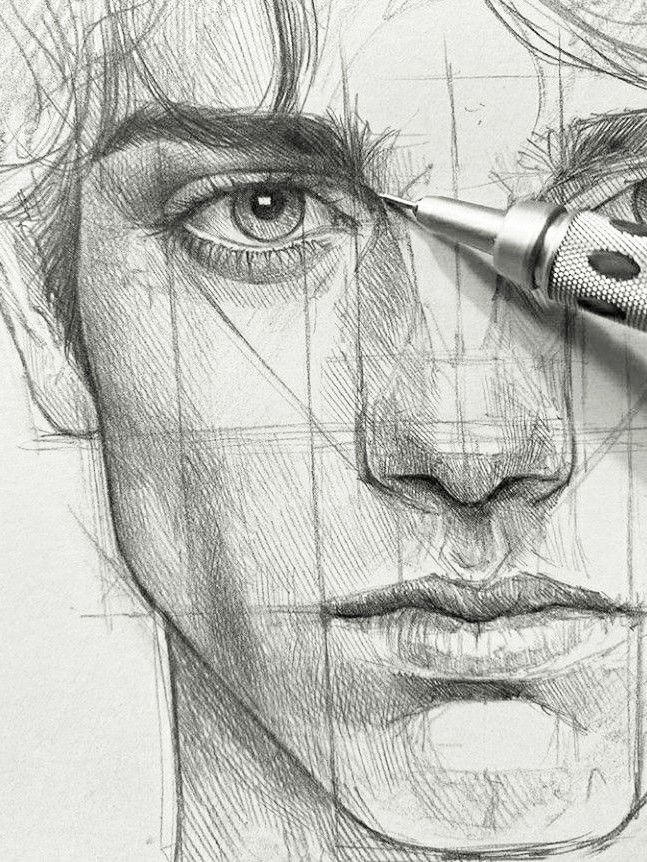
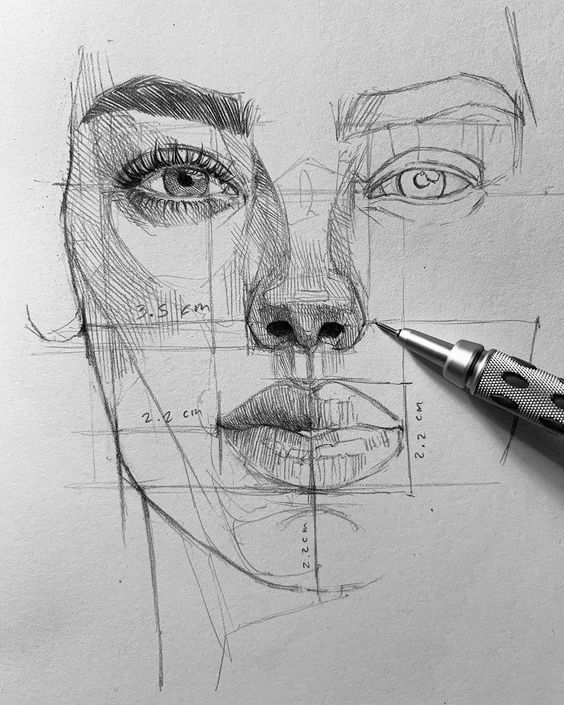
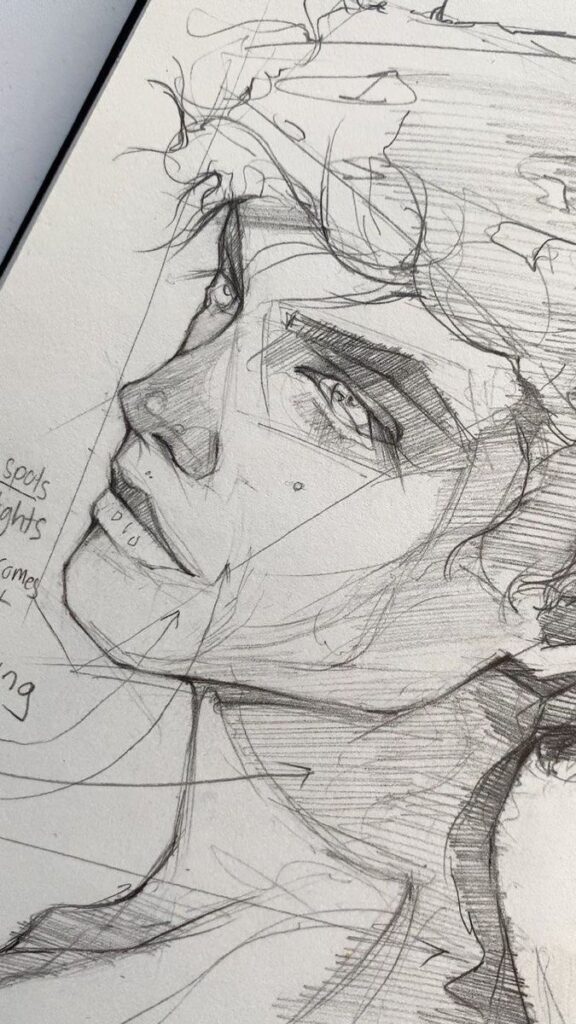
Hatching involves drawing closely spaced parallel lines to create shading and texture. The density and angle of these lines can suggest different levels of light and shadow in your drawing.
Cross-hatching adds another layer by intersecting lines, creating more complex shading effects. You can achieve darker areas by increasing the number of lines or changing their direction.
Experiment with varying the spacing between lines. Closer lines will produce darker shades, while wider spacing will result in lighter areas.
Practice using different angles for your hatching. This can add depth and dimension to your work.
Incorporating hatching and cross-hatching in your sketches can enhance their realism and visual interest. These techniques allow you to control light and shadow effectively, giving your drawings a professional appearance.
3) Using Perspective Lines
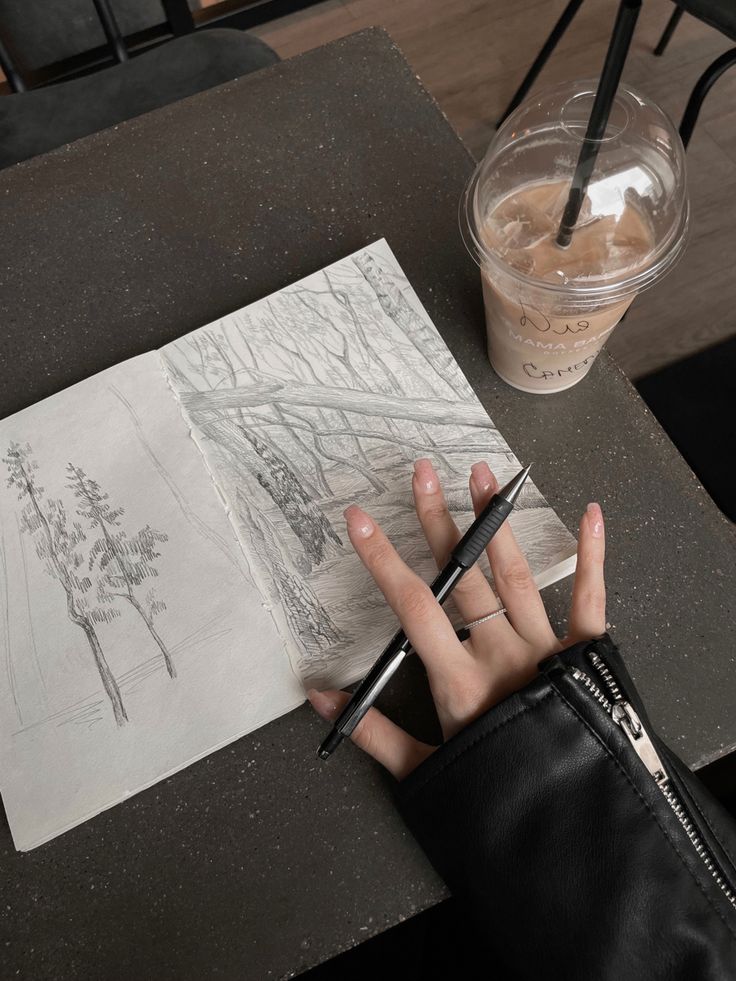
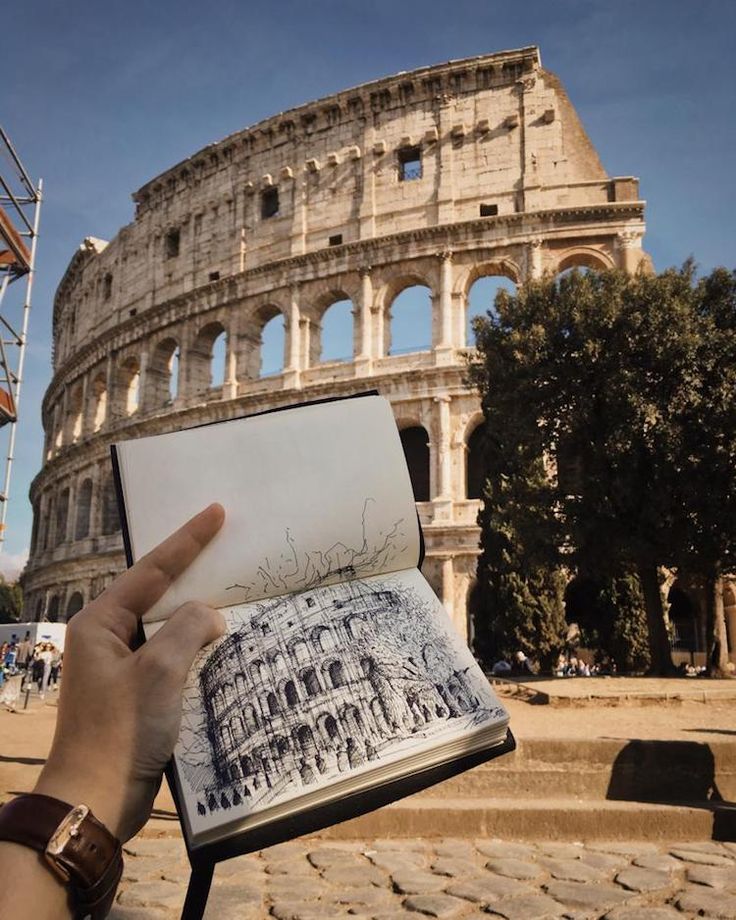
Perspective lines are essential for creating depth in your drawings. They help you represent three-dimensional objects on a two-dimensional surface.
Start by establishing a horizon line. This line represents your viewer’s eye level and is the basis for all perspective work.
Next, identify the vanishing point or points. This is where your perspective lines converge. For one-point perspective, all lines lead to a single vanishing point. For two-point perspective, use two points on the horizon line.
Draw your perspective lines from the vanishing point outward. This will guide the placement of objects in your composition.
As you sketch, make sure to adjust your lines based on the height and width of objects. This will create a more realistic appearance.
Practicing with various objects will help you understand how perspective affects their shapes. Experiment with different angles and scenes to enhance your skills.
4) Negative Space Drawing
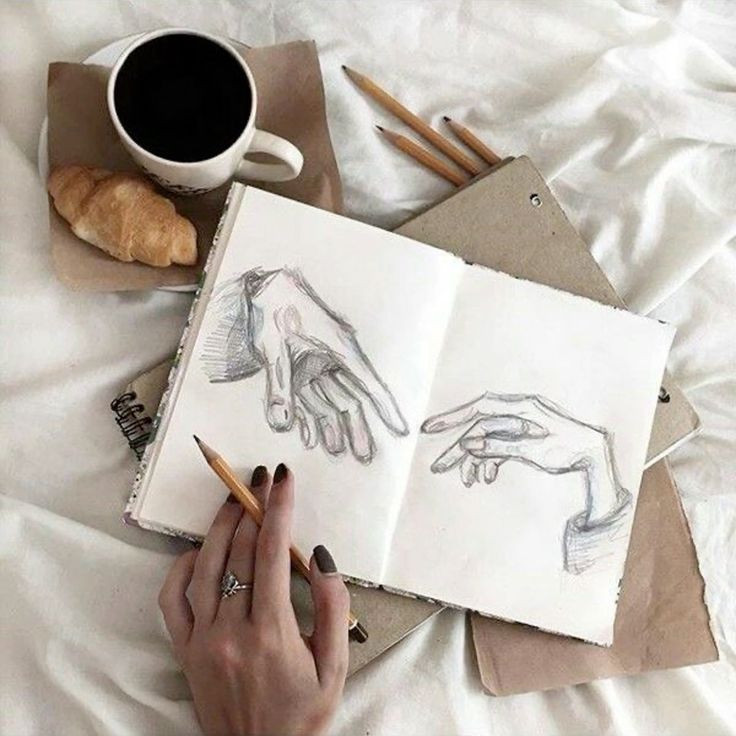
Negative space drawing focuses on the areas around and between your subject. This technique helps you see shapes and forms that may not be immediately obvious. It encourages you to look beyond the subject itself.
To start, choose a subject and observe the space surrounding it. Pay attention to the shapes created by this negative space. Sketch these shapes to enhance your understanding of the composition.
Using negative space can also improve your proportions. By defining the areas around the subject, you often gain a clearer perspective on dimensions and relationships within the drawing. This approach can lead to more accurate representations.
Practicing this technique can build your confidence. It teaches you to analyze the space in a more holistic way. Over time, you may find your drawings become more balanced and lifelike.
5) Blind Contour Drawing
Blind contour drawing is a technique that enhances your observation skills. You create a drawing without looking at the paper, focusing solely on the subject.
This method encourages you to slow down and pay attention to the details. By keeping your eyes on the object, you capture its contours and shapes more accurately.
Your hand moves in sync with your eyes, translating what you see directly onto the page. The result is often an expressive and spontaneous line drawing that reveals your interpretation of the subject.
It’s important to resist the urge to peek at your work. Embrace the freedom of imperfection, as this technique prioritizes the experience over the final product.
Blind contour drawing can also serve as a warm-up exercise. It prepares you for more structured drawing techniques by enhancing your hand-eye coordination and confidence.
Incorporate this method into your routine to notice improvements in your overall drawing skills. As you practice, you may find new ways to express your artistic voice.

Understanding the Basics of Sketching
Before diving into advanced techniques, it is essential to grasp the foundational elements of sketching. Your ability to manipulate line quality and practice contour drawing can significantly enhance your overall drawing skills.
Importance of Line Quality
Line quality refers to the thickness, darkness, and uniformity of the lines in your sketches. Varying line quality can convey depth, texture, and emotion in your drawings.
- Thick Lines: Use for emphasis or to outline objects.
- Thin Lines: Suitable for detail or delicate features.
- Varied Lines: Create contrast and interest, drawing the viewer’s eye.
Practicing different pencil pressures will help you gain control over your lines. Experiment with various drawing tools, such as mechanical pencils or charcoal, to see how they affect your line quality. Developing this skill will make your sketches more dynamic and engaging.
Mastering Contour Drawing
Contour drawing involves sketching the outline of an object without lifting your pencil from the paper. This technique enhances your observation skills and helps build muscle memory for structures and shapes.
- Focus on Edges: Observe the edges of objects to capture their form accurately.
- Avoid Looking at Paper: This encourages a more direct connection with what you’re observing.
Start with simple objects to build your confidence. Gradually move to more complex subjects, ensuring you capture all essential details. By practicing contour drawing, you improve your ability to translate three-dimensional forms into two-dimensional sketches.
Advanced Techniques for Texture and Depth
To enhance the textures and depths in your drawings, employing precise techniques is essential. Two effective methods are cross-hatching and stippling, both of which allow for greater control and dimensionality in your work.
Utilizing Cross-Hatching
Cross-hatching involves creating patterns of intersecting lines to build texture and shading. By adjusting the density and angle of the lines, you can effectively convey light and shadow.
- Line Weight: Varying the pressure on your pencil produces different line weights, adding depth.
- Directionality: Angling your lines can simulate curvature or surface texture.
Tip: Practice layering your lines; start with light strokes and gradually build to darker tones. Using a finer pen or pencil for detail work can enhance the complexity of your piece.
Implementing Stippling
Stippling uses small dots to create shading and texture. This technique is excellent for achieving subtle gradations and intricate details.
- Dot Density: Placing dots closely together creates darker areas, while spacing them apart results in lighter regions.
- Control: Use different sizes of dots for variations in texture—larger dots can suggest rough surfaces, while smaller dots indicate softness.
For precision, a fine-point pen or a sharpened pencil works best. Experiment with varying pressures to control dot size and density. This method may require patience, but the results can significantly elevate your work’s visual depth.
Practicing Effective Composition
Effective composition is essential for creating impactful drawings. Understanding key principles can significantly enhance your artistic expression.
Rule of Thirds
The Rule of Thirds is a fundamental guideline in art that divides your drawing area into nine equal sections using two horizontal and two vertical lines. To apply this rule, position the most important elements of your composition along these lines or at their intersections. This approach helps create a sense of balance and interest.
When framing a subject, ask yourself where the focal point lies. By avoiding the center, your drawing can feel more dynamic. For example, if you’re sketching a landscape, place the horizon on one of the horizontal lines to create depth. Experiment with this technique to see how it transforms the visual flow of your work.
Balancing Positive and Negative Space
Balancing positive and negative space is crucial for enhancing the visual impact of your drawings. Positive space refers to the subjects or objects you draw, while negative space is the area surrounding them. Emphasizing this relationship helps create harmony in your artwork.
Start by observing how space interacts within your composition. You might use more negative space to draw attention to a subject, creating a minimalist look. Alternatively, fill the space with intricate details to evoke complexity. Aim for a deliberate balance; too much positive space can overwhelm, while excessive negative space may weaken your focus. Regular practice will help refine your ability to manage this balance effectively.
- 137shares
- Facebook0
- Pinterest136
- Twitter1
- Reddit0
