The integration of 3D printing technology in architecture is transforming the way you design and create physical models. This article will guide you through five practical tutorials that enhance your skills in producing architectural models using 3D printing techniques. By exploring these tutorials, you will gain hands-on experience and improve your ability to visualize and communicate design concepts.
As you navigate through these resources, you will discover various methods and tools that can streamline your modeling process. Embracing 3D printing not only elevates your design capabilities but also opens doors to innovative solutions in architectural practice.

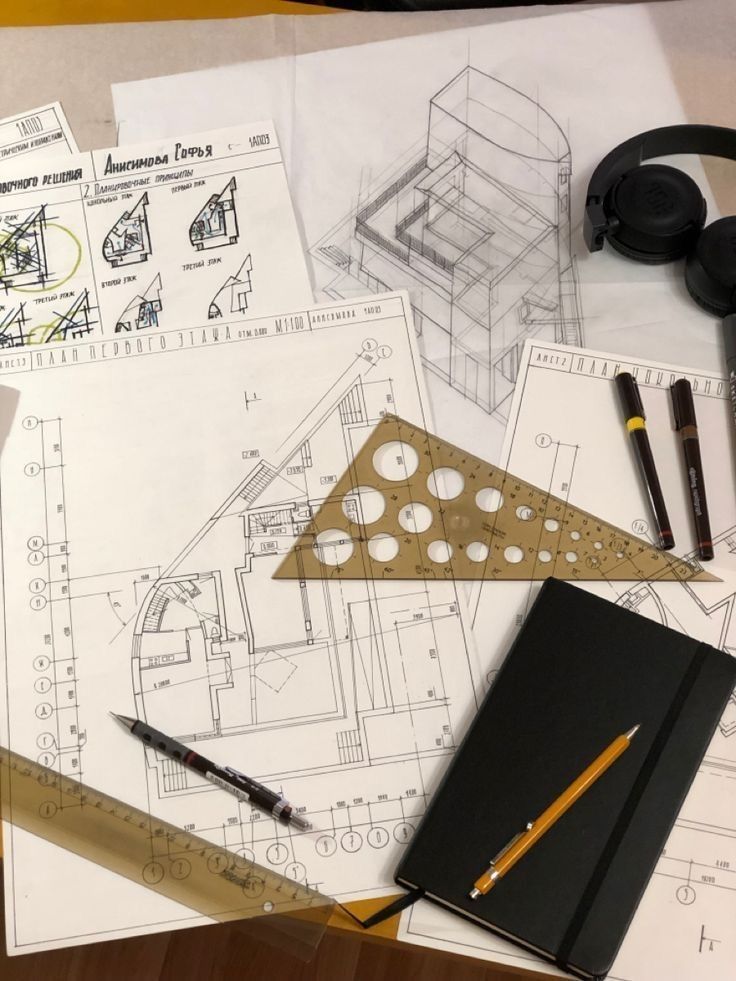
1) Fusion 360 Basics
Fusion 360 is a powerful tool for creating 3D models in architecture. You can use it for parametric design, allowing precise adjustments as you develop your project.
Begin by familiarizing yourself with the interface. The canvas is where you create and visualize your models. Explore the toolbar to find tools for sketching, modeling, and assembling.
Start with a simple sketch. Use geometric shapes like lines and circles to form the base of your design. The dimension tool ensures accuracy in your measurements.
Once your sketch is complete, you can apply 3D features. Use extrude, revolve, and loft to transform your 2D sketch into a 3D model. Each feature adds depth and complexity to your design.
Don’t forget to utilize the materials library. You can apply different textures and finishes to visualize how your model will look in the real world.
Finally, save your work frequently to avoid losing progress. Fusion 360 also allows you to collaborate with others by sharing your designs directly from the software.
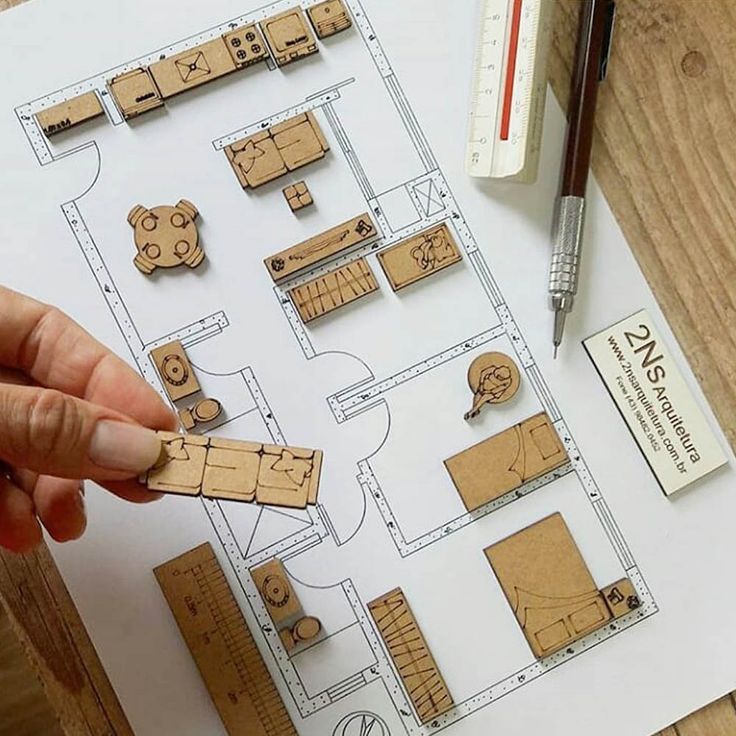
2) Tinkercad for Beginners
Tinkercad is an accessible and user-friendly online tool that simplifies 3D modeling. Its intuitive interface makes it ideal for beginners.
To start, create an account on the Tinkercad website. Once logged in, you can access the dashboard where you’ll find options to start new projects or explore existing ones.
The workspace features a grid where you can drag and drop shapes from the side panel. You can modify these shapes by resizing, rotating, and positioning them to create your desired model.
Tinkercad also supports importing existing designs and exporting them for 3D printing. This flexibility allows you to refine your models easily.
You can access numerous tutorials and resources within Tinkercad. These guides cover various topics, from basic shape manipulation to more complex modeling techniques.
Experiment with different designs and tools to enhance your understanding. The more you practice, the more proficient you will become in using Tinkercad for architectural models.
3) SketchUp to 3D Printing
SketchUp is a user-friendly tool for creating 3D models, making it a popular choice in architecture. Once your model is complete, you can export it for 3D printing.
To prepare your SketchUp model, ensure it is a solid object. Use the “Entity Info” tool to check for any issues. If the model is not a solid, repair it by merging faces or closing gaps.
After verifying your model, export it in a compatible format. Common formats for 3D printing include STL and OBJ. You can use plugins like SketchUp STL to simplify this process.
Once exported, you can import your model into slicing software. This software prepares the file for the specific 3D printer you will be using. Here, you can set the parameters such as layer height and infill density.
Finally, send the sliced file to your printer. Monitor the printing process to ensure everything runs smoothly. With a well-prepared model and proper settings, you can achieve high-quality physical models from your SketchUp designs.
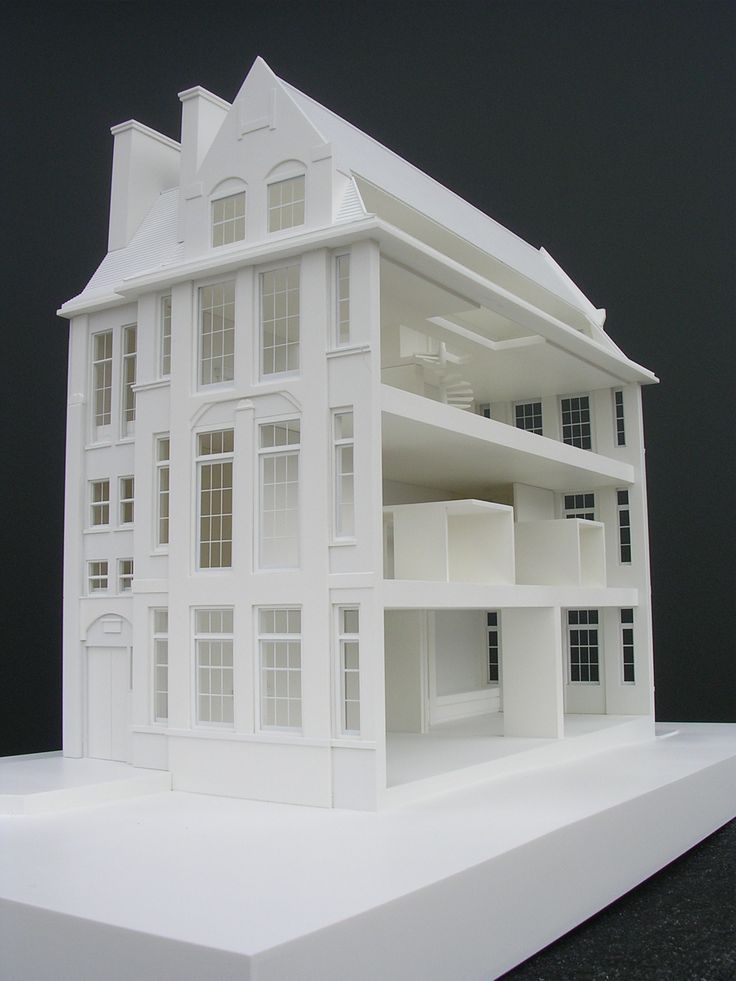
4) Blender 3D Architectural Models
Blender is a powerful tool for creating detailed architectural models. Its advanced features allow you to design complex structures with precision.
To start, familiarize yourself with Blender’s interface. Key tools like the Modeling tab, Mesh options, and Sculpting features are essential for creating architectural forms.
You can use reference images for accurate scaling and proportion. Import your images into Blender and set them as backgrounds for better alignment of your models.
Utilize Blender’s modifiers, such as the Mirror and Array modifiers, to streamline your workflow. These tools help you replicate designs and maintain symmetry without excessive manual adjustments.
For textures, explore Blender’s Shader Editor. Here, you can create realistic materials, enhancing the overall appearance of your models.
Rendering with Cycles or Eevee will provide high-quality visual outputs. Experiment with lighting and camera settings to achieve the desired effect for your architectural presentation.
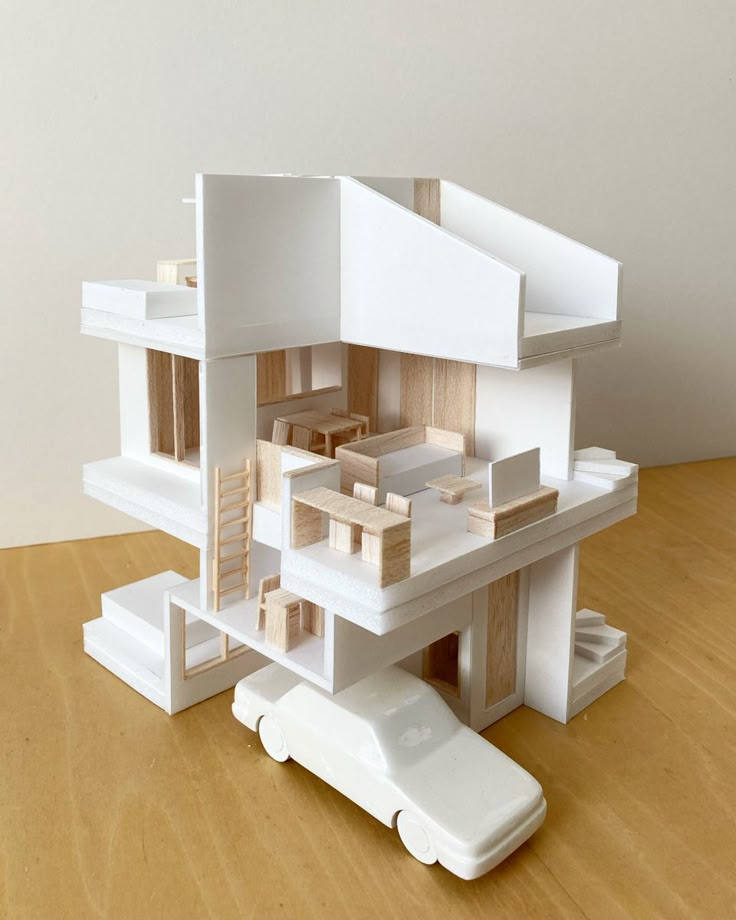
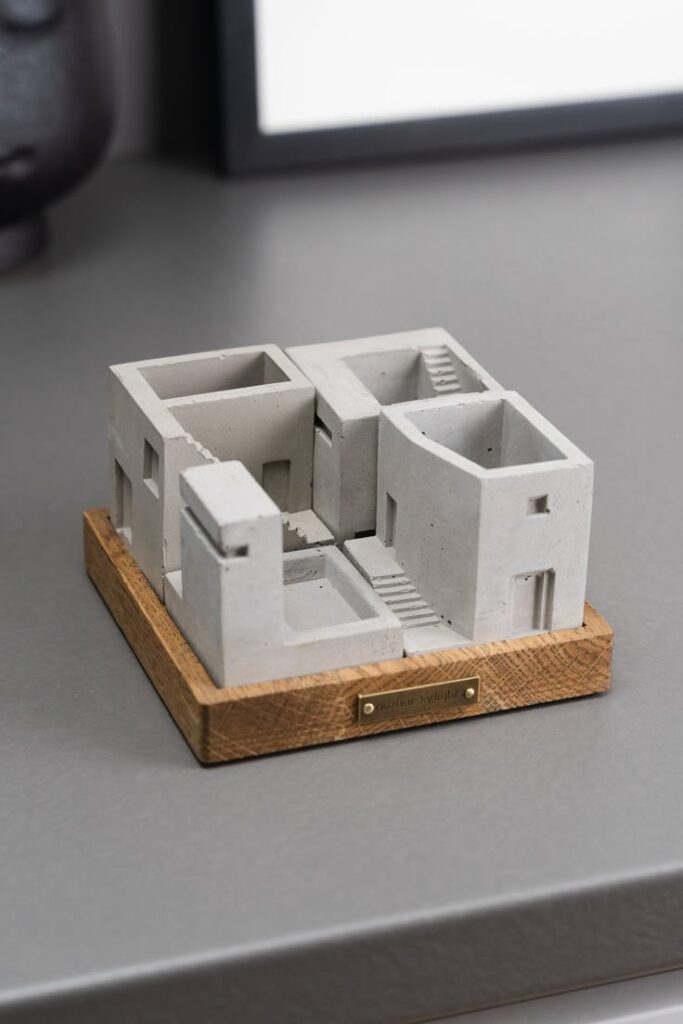
5) Rhino for Model Making
Rhino is a powerful tool for creating detailed architectural models. Its flexibility allows you to work with complex shapes and surfaces that are essential in architectural design.
You can start by sketching your base geometry using Rhino’s intuitive interface. The precise control of curves and surfaces makes it easy to develop intricate forms.
Once your model is ready, you can use various plugins to enhance functionality. For instance, Grasshopper allows for algorithmic design, enabling parametric modeling that can adapt to changes in design specifications.
Rhino also supports various file formats for 3D printing. You can export your model in formats like STL and OBJ, ensuring compatibility with most 3D printers.
You can easily check for errors in your model by using the analysis tools available in Rhino. This helps to ensure that your design is ready for physical production.
Overall, mastering Rhino opens up opportunities for innovative model making in architecture. Experiment with its features to find the best methods for your projects.
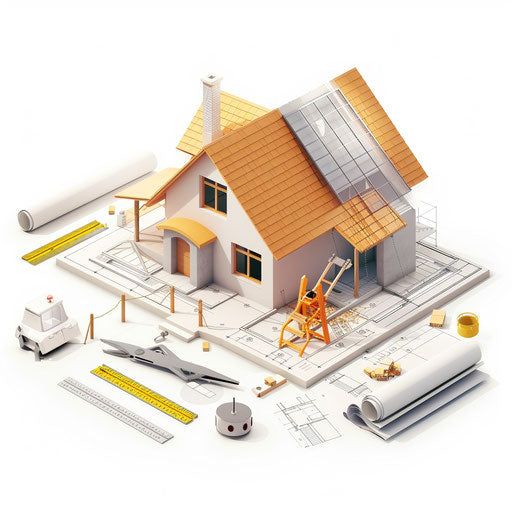
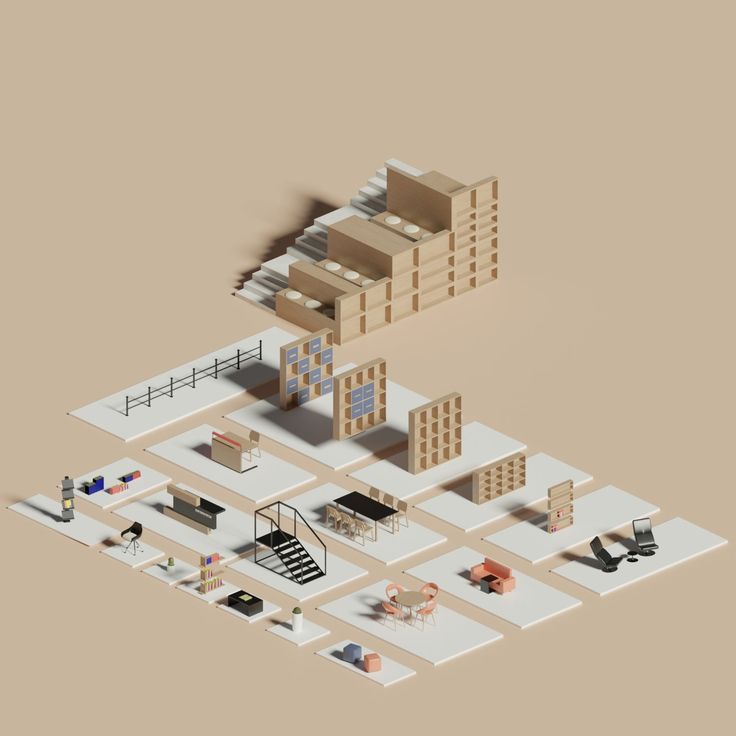
Understanding 3D Printing in Architecture
3D printing is transforming how architects create and visualize their designs. It allows for innovative modeling techniques and improved efficiency in the construction process. This method not only enhances creativity but also streamlines workflows.
Benefits of 3D Printing for Architects
3D printing offers several advantages that can significantly impact architectural practices.
Rapid Prototyping: You can create physical models quickly, allowing for faster design iterations and immediate feedback on concepts.
Customization: Each model can be tailored to specific client needs or design specifications, enhancing personalization in projects.
Cost Efficiency: It reduces material waste compared to traditional methods, optimizing cost management in your projects.
Complex Geometry: You can produce intricate designs that may be difficult or impossible to achieve through conventional construction methods.
These benefits facilitate a more creative, efficient, and client-centered approach to architecture.
Materials Used in Architectural 3D Printing
The choice of materials in architectural 3D printing is critical for achieving desired outcomes. Common materials include:
PLA (Polylactic Acid): This biodegradable material is easy to print and ideal for concept models.
ABS (Acrylonitrile Butadiene Styrene): Known for its strength and flexibility, ABS is suitable for functional prototypes.
Resins: Used in SLA printers, these provide high detail and a smooth finish, perfect for intricate designs.
Concrete: Emerging in large-scale projects, 3D-printed concrete offers durability and cost-effective constructions.
Understanding these materials will help you select the right options for your specific project needs.
Techniques for Creating Physical Models
Creating physical models in architecture requires a blend of the right tools and effective preparation methods. Below are key techniques to enhance your modeling process.
Software Tools for Architectural 3D Modeling
Choosing the right software is essential for creating accurate 3D models. Popular options include:
- AutoCAD: Known for its precision in creating 2D and 3D designs.
- SketchUp: User-friendly, ideal for quick model visualizations and concept development.
- Revit: Excellent for Building Information Modeling (BIM), enabling detailed construction plans and specifications.
When selecting software, consider your project requirements and level of experience. Ensure compatibility with your 3D printer. Accessibility to tutorials and support communities can also aid in your learning.
Best Practices for Model Preparation
Preparing your model for 3D printing involves several best practices. Start by ensuring your design is manifold, meaning it should have no holes or non-manifold edges.
Check the scale and dimensions to fit your printer’s specifications, aiming for resolution that balances quality and print time.
Utilize slicing software, like Cura or PrusaSlicer, to convert your 3D model into a format your printer can understand. Adjust settings like layer height, infill, and support structures based on your model’s needs to improve the final outcome.
- 139shares
- Facebook0
- Pinterest139
- Twitter0
- Reddit0
