Watercolor painting offers a unique combination of transparency, fluidity, and versatility that attracts artists at every stage of their creative journey. The medium allows for spontaneous expression while also rewarding careful planning and technique. Whether you’re just picking up a brush for the first time or looking to refine your existing skills, understanding the core principles of watercolor can transform your approach to painting.
Learning proper watercolor techniques helps you create cleaner colors, maintain better control over your paintings, and achieve more professional-looking results. This article covers practical tips that address everything from material selection to paint application methods. You’ll discover how to work with the medium’s natural properties rather than against them, building confidence through techniques that improve color vibrancy, texture creation, and overall composition.
1) Use cold-pressed paper for better texture and paint absorption
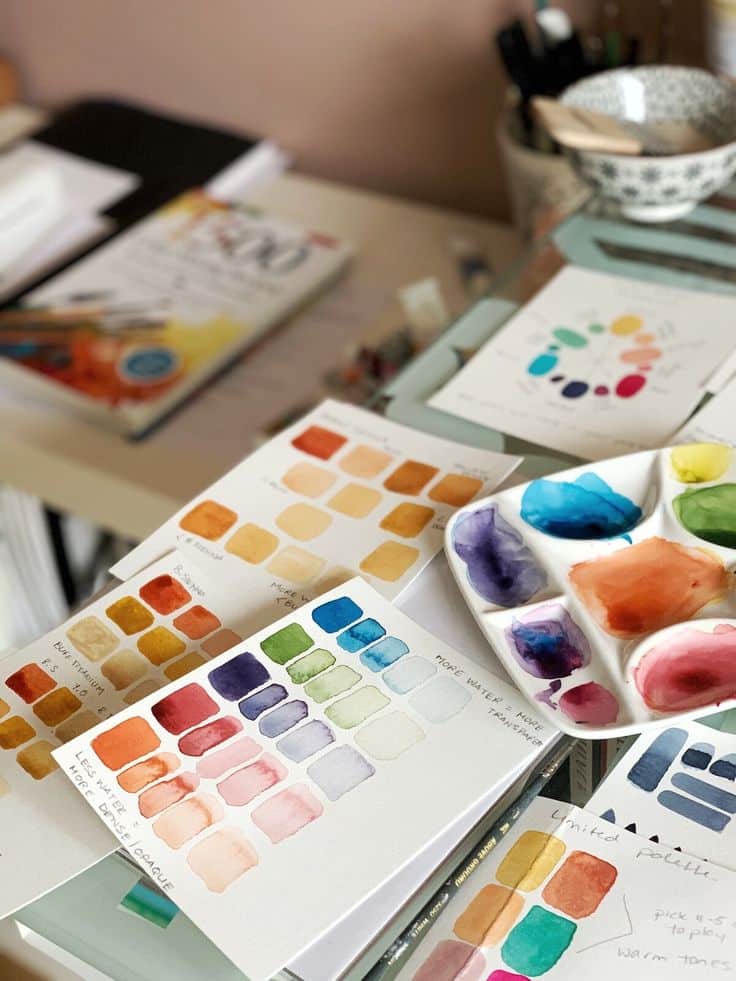
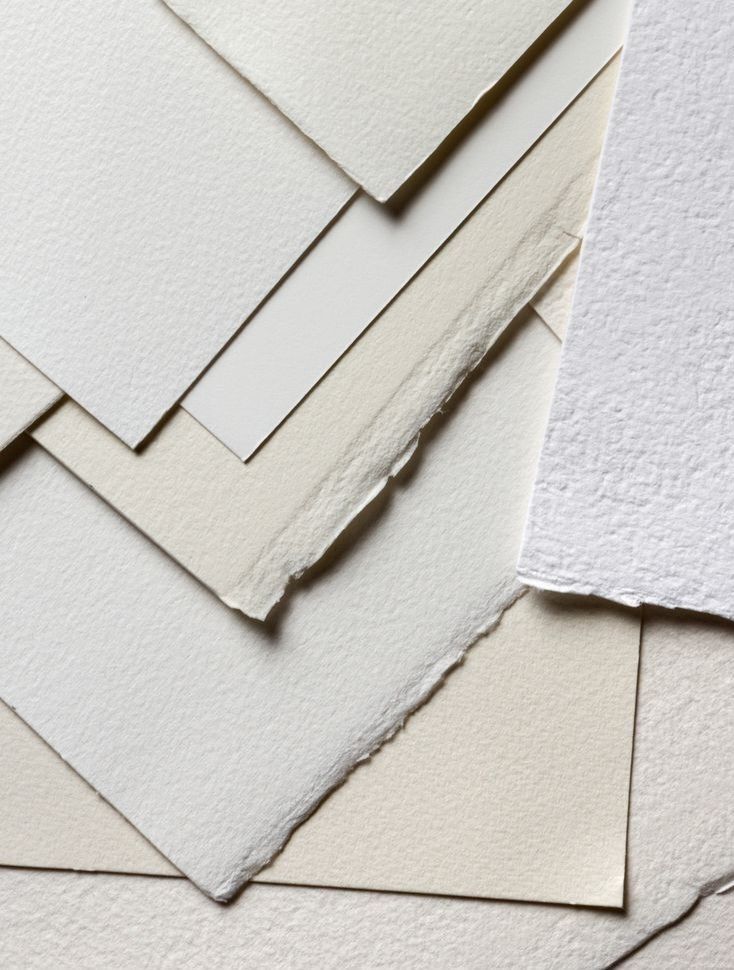
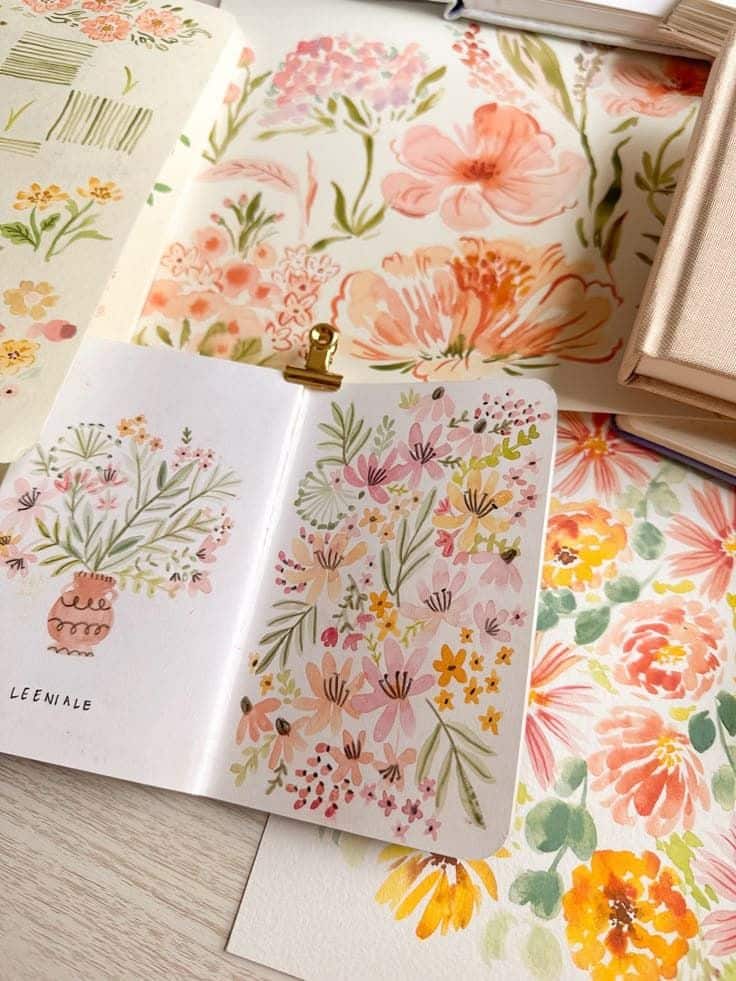
Cold-pressed watercolor paper offers a slightly textured surface that strikes an ideal balance for most painting styles. The texture helps your paint sit on the paper in interesting ways while still allowing for good control.
This type of paper handles moisture well and supports multiple washes without excessive warping. You’ll find it easier to blend colors smoothly and build up layers gradually, which gives you more flexibility as you work.
The medium texture of cold-pressed paper creates a subtle tooth that holds pigment effectively. This means your colors will stay vibrant and won’t slide around unpredictably like they might on smoother surfaces.
If you’re just starting with watercolors, cold-pressed paper is forgiving and versatile. It works well for both detailed areas and broader washes, letting you experiment with different techniques without switching papers.
Look for paper weights of at least 140 lb to minimize buckling when wet. Cold-pressed paper generally provides consistent results across most quality brands, making it a reliable choice for your watercolor work.
2) Start with light washes and build layers gradually
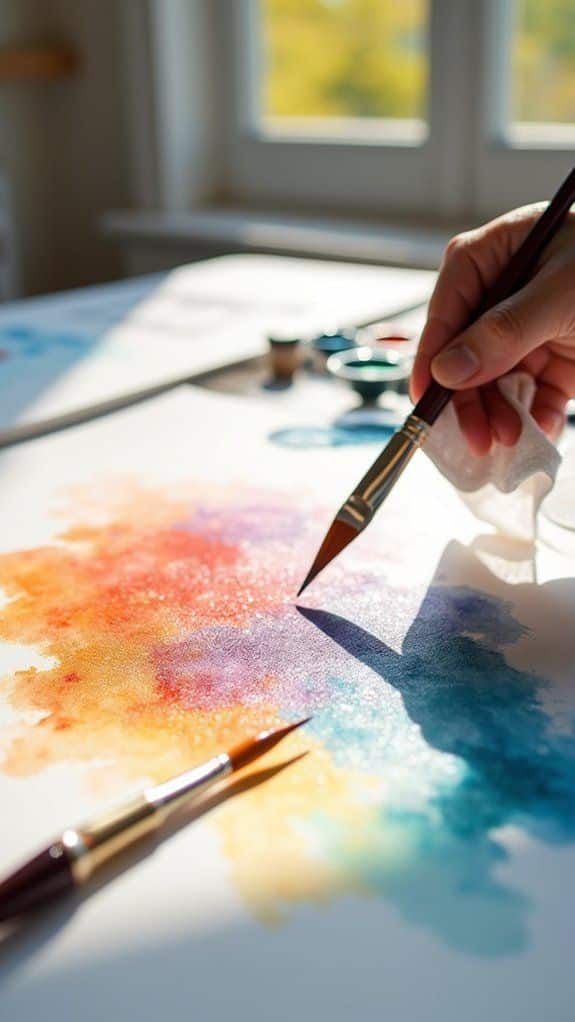
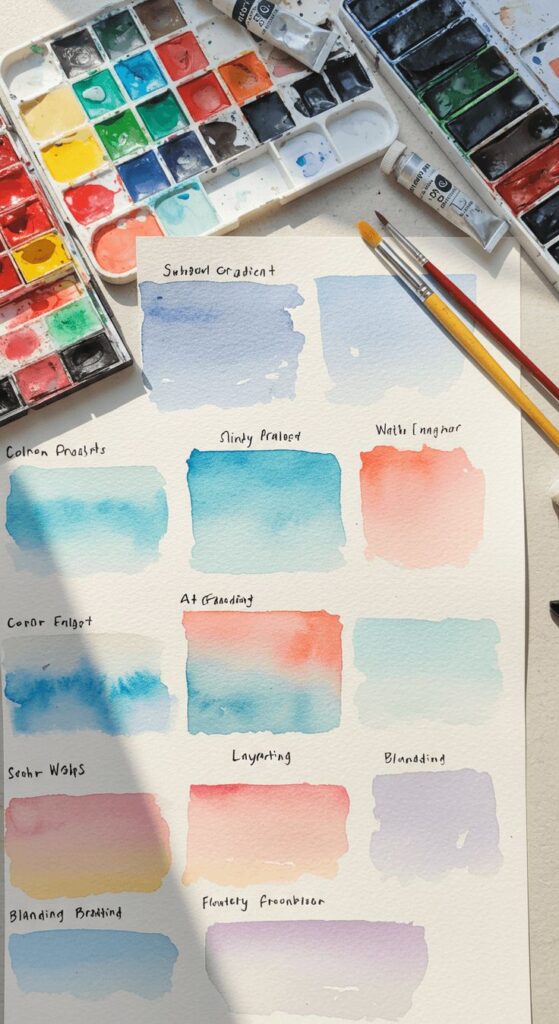
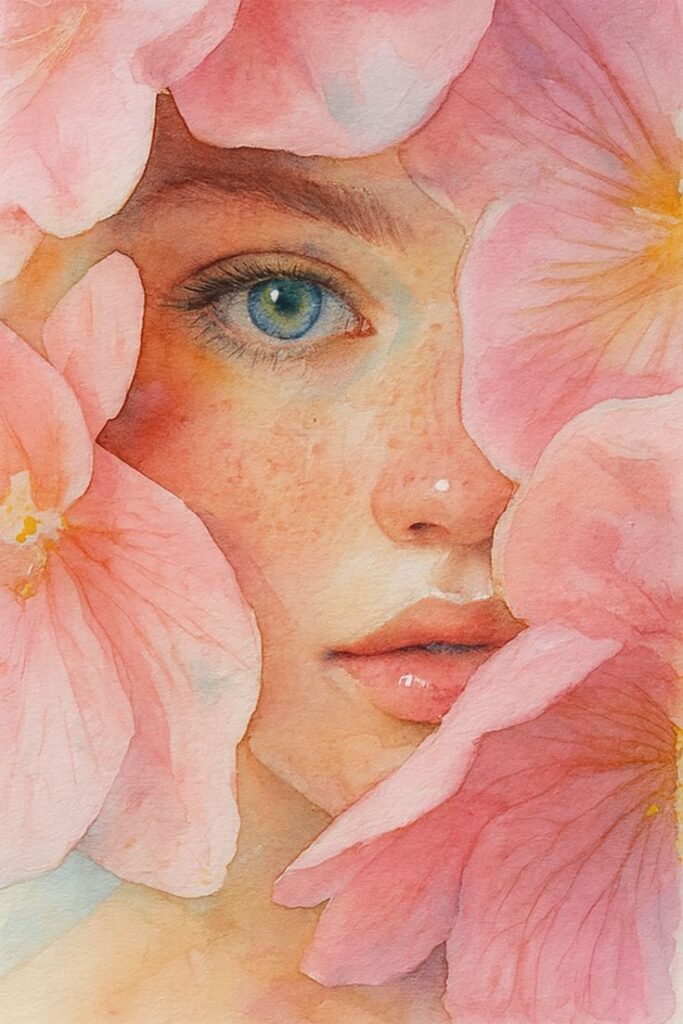
Watercolor works differently than other paints because of its transparent nature. You can always add more pigment, but removing it once it’s on paper is nearly impossible.
Begin each painting with a light wash of color mixed with plenty of water. Let this first layer dry completely before moving forward. This approach gives you control over the intensity and helps you avoid muddy, oversaturated colors.
Once your initial layer is dry, you can add another wash to build depth and richness. Each new layer should be slightly darker or more saturated than the last. This gradual buildup creates dimension in your work without overwhelming the paper.
The key is patience. Rushing through layers while the paint is still wet can cause colors to blend in unwanted ways. Wait for each section to dry fully before adding details or deeper tones.
This layering technique also gives you room to adjust your painting as you go. You can shift values, correct small mistakes, and refine your composition without starting over.
3) Always test your color mixes on scrap paper first
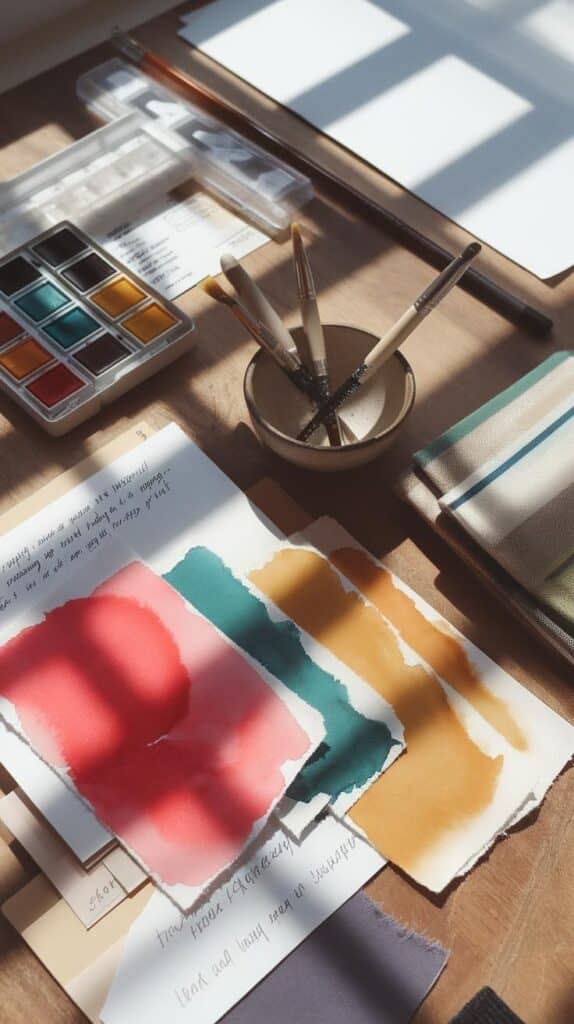
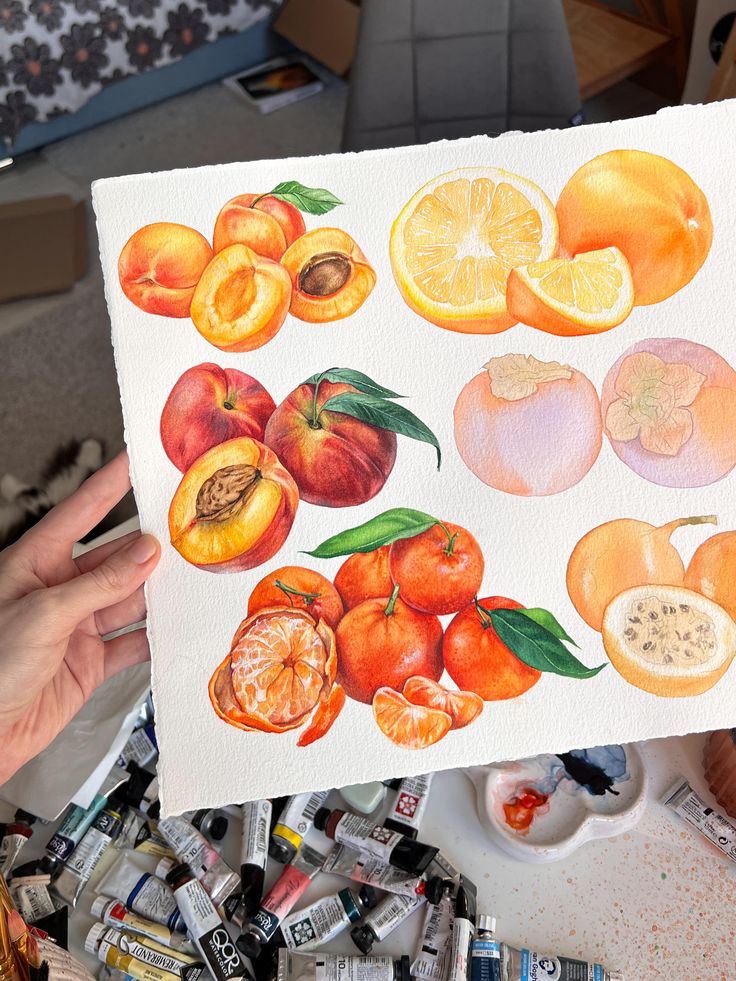
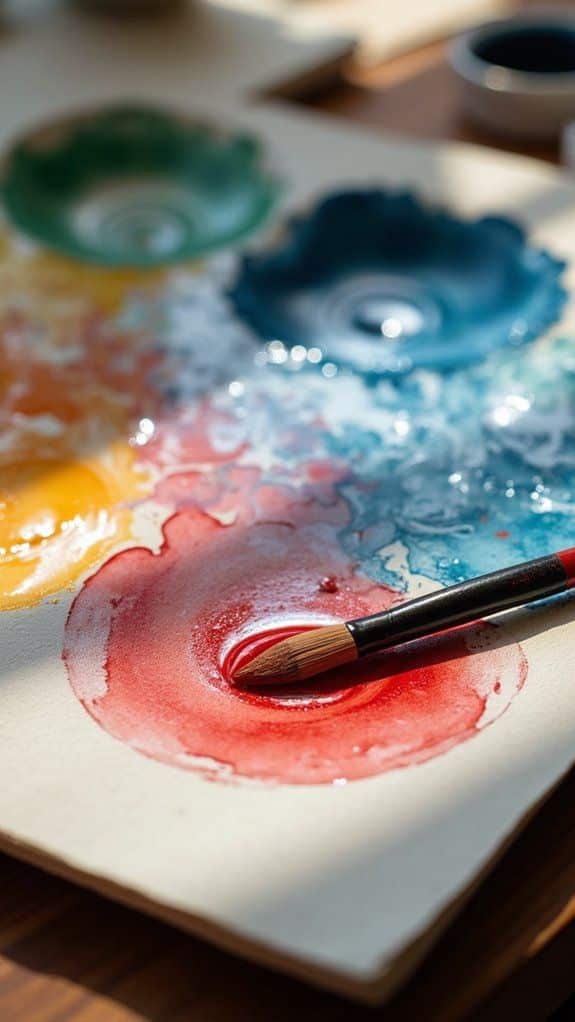
Before you apply any color mix to your actual painting, take a moment to test it on scrap watercolor paper. This simple step can save you from unwanted surprises and keep your work looking its best.
Colors often appear different once they dry on paper compared to how they look on your palette. Testing first lets you see the true intensity, transparency, and value of your mix before committing to your painting.
Keep a piece of scrap watercolor paper nearby during every session. When you mix a new color, apply a quick test stroke and let it dry if you have time. This way, you can adjust the water-to-pigment ratio or tweak the color blend until you’re satisfied.
If you want to remember your successful mixes, write down quick notes next to your test swatches. Include which colors you combined and their approximate proportions.
This practice is especially helpful when mixing greens, skin tones, or any complex hues that require multiple pigments. You’ll gain confidence knowing exactly what will appear on your paper.
4) Keep your brushes clean to maintain vibrant colors
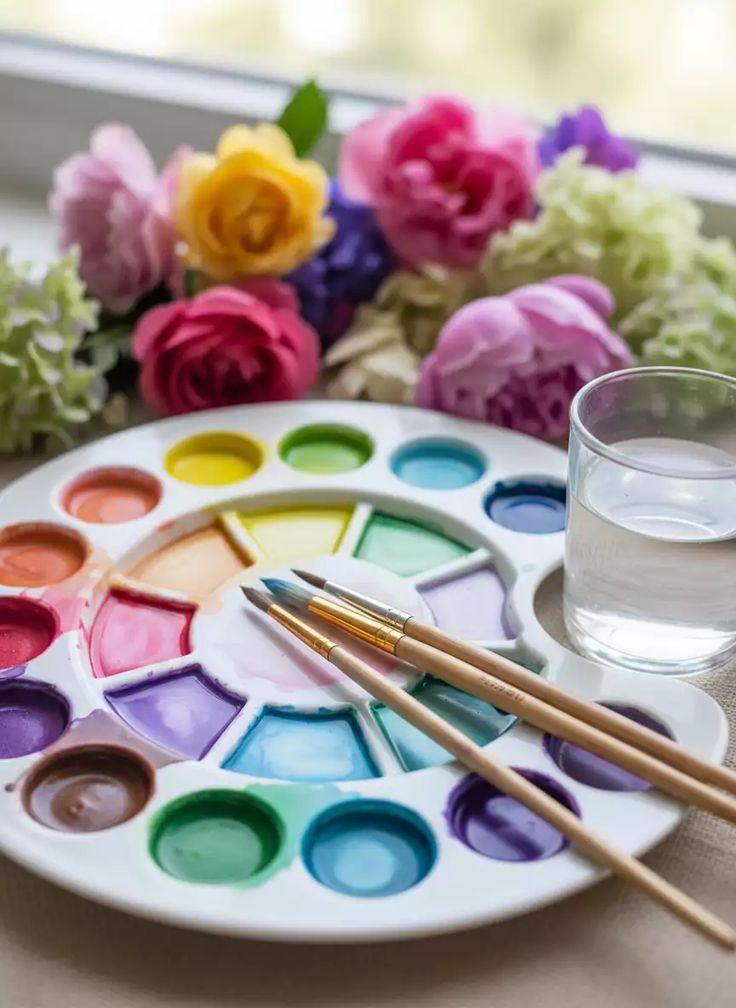
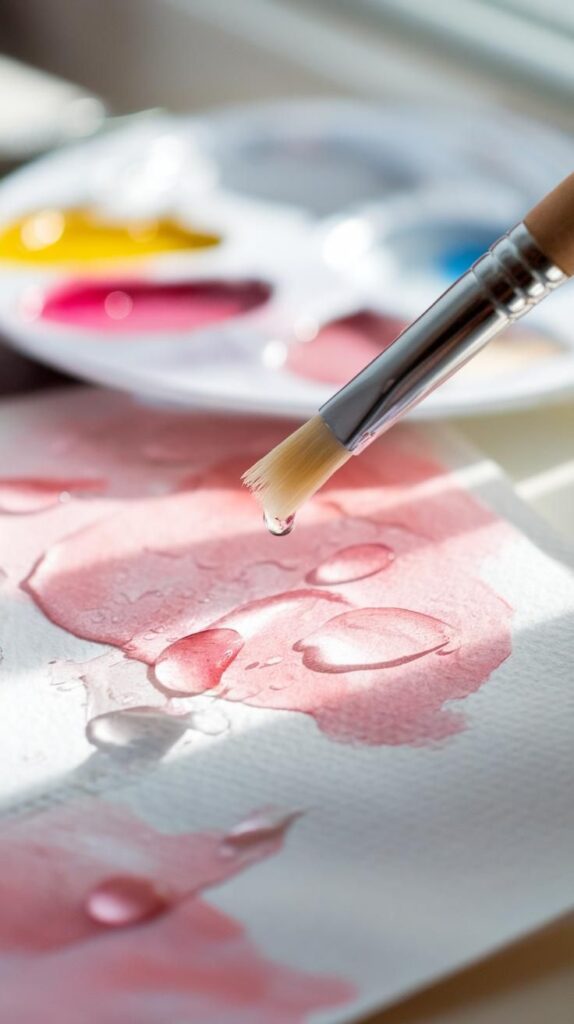
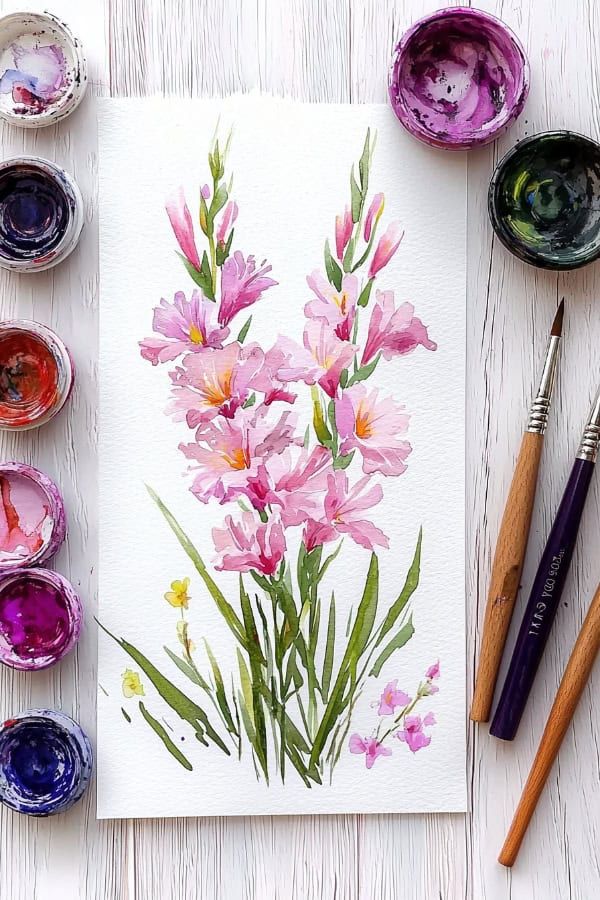
Dirty brushes are one of the fastest ways to muddy your watercolors. When old paint builds up in your bristles, it mixes with fresh colors and dulls their brightness.
You should rinse your brush thoroughly between each color change. Swirl it gently in clean water and wipe it on a cloth or paper towel until no more pigment comes out. This simple habit makes a huge difference in keeping your paintings crisp and clear.
While you’re working, don’t let paint dry in your brush bristles. Even a few minutes can cause pigment to settle deep into the ferrule, where it becomes harder to remove. Keep a water container nearby and rinse frequently.
After each painting session, wash your brushes with lukewarm water and gentle soap. Work the lather through the bristles carefully, then rinse until the water runs clear. This deep cleaning removes any remaining pigment that regular rinsing might miss.
Clean brushes give you precise control and true color. They also last much longer, protecting your investment in quality tools.
5) Master the wet-on-wet technique for soft blends
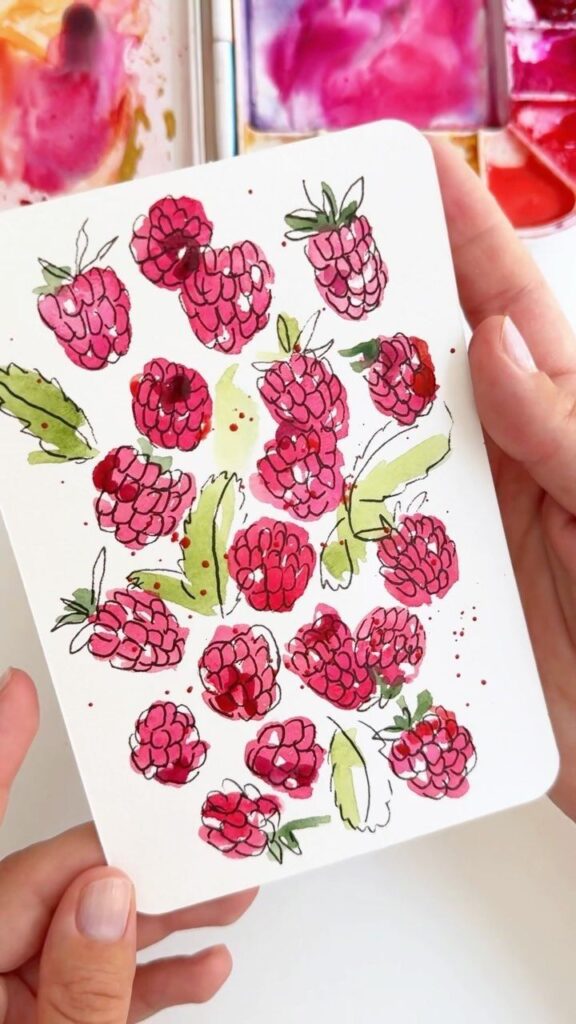
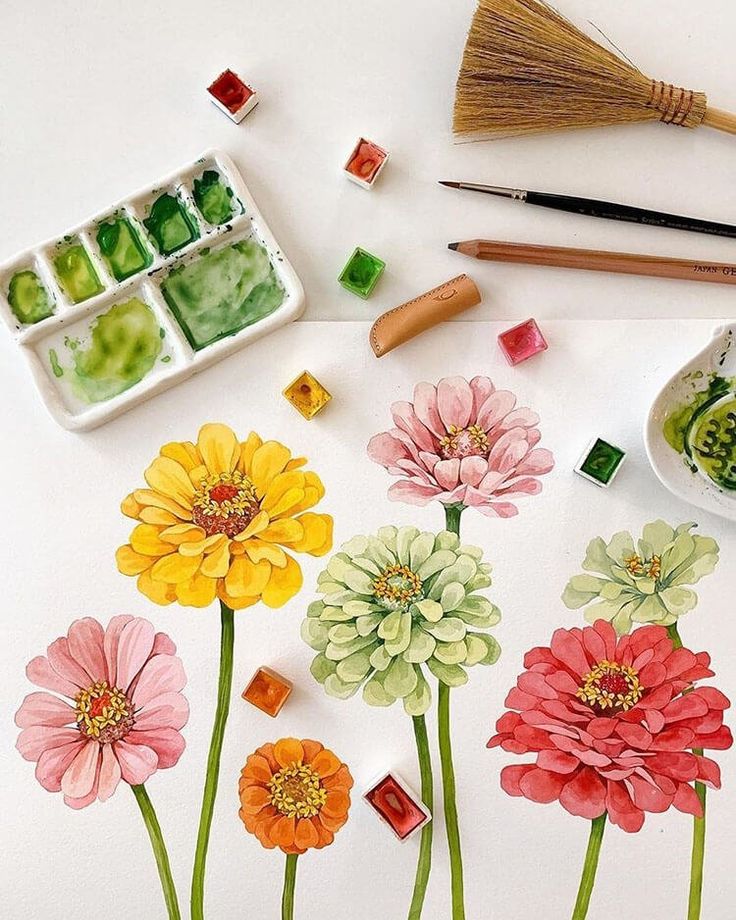
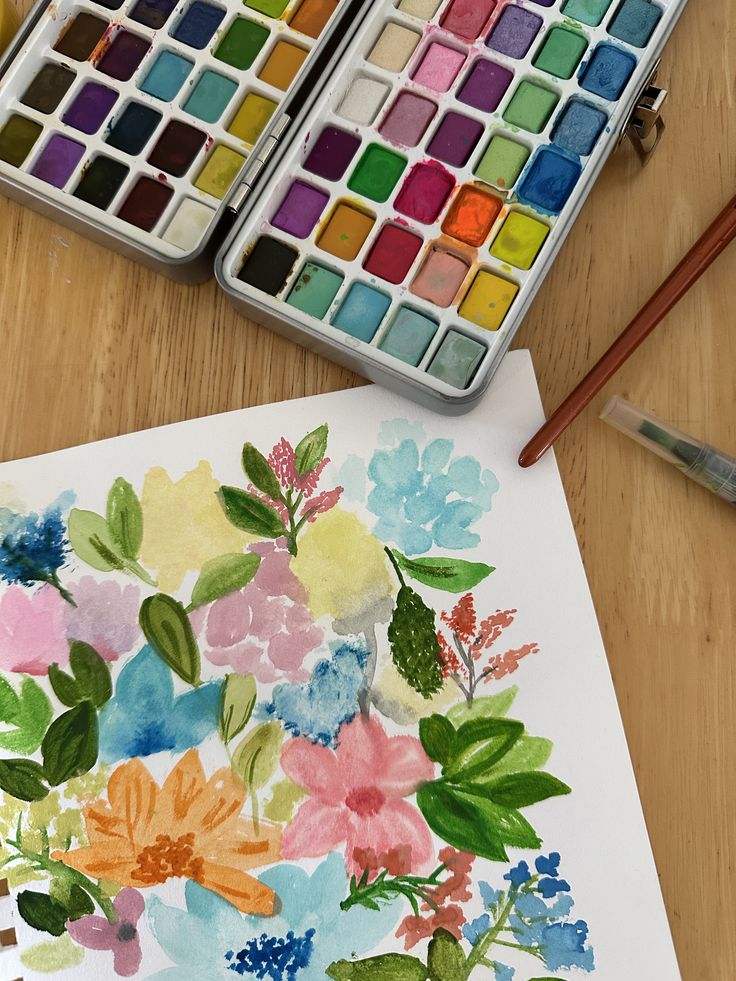
The wet-on-wet technique creates beautiful, flowing color transitions that give your paintings a dreamy quality. You apply wet paint onto already wet paper or a wet layer of paint, allowing the colors to blend naturally.
Start by wetting your paper with clean water using a brush or spray bottle. The paper should have a slight sheen but no puddles. Apply your first color while the surface is still wet, and watch it spread softly across the damp area.
You can add a second color while the first is still wet, and they’ll blend together on their own. The amount of water on your paper affects how much the colors spread. More water means softer, more diffused edges.
Work quickly since the paper dries faster than you might expect. If you need more blending time, keep a spray bottle nearby to rewet areas that are drying too fast.
This technique works perfectly for skies, backgrounds, and any area where you want gentle color transitions. Practice controlling the water-to-paint ratio on scrap paper first to build your confidence.
6) Experiment with dry brush for texture effects


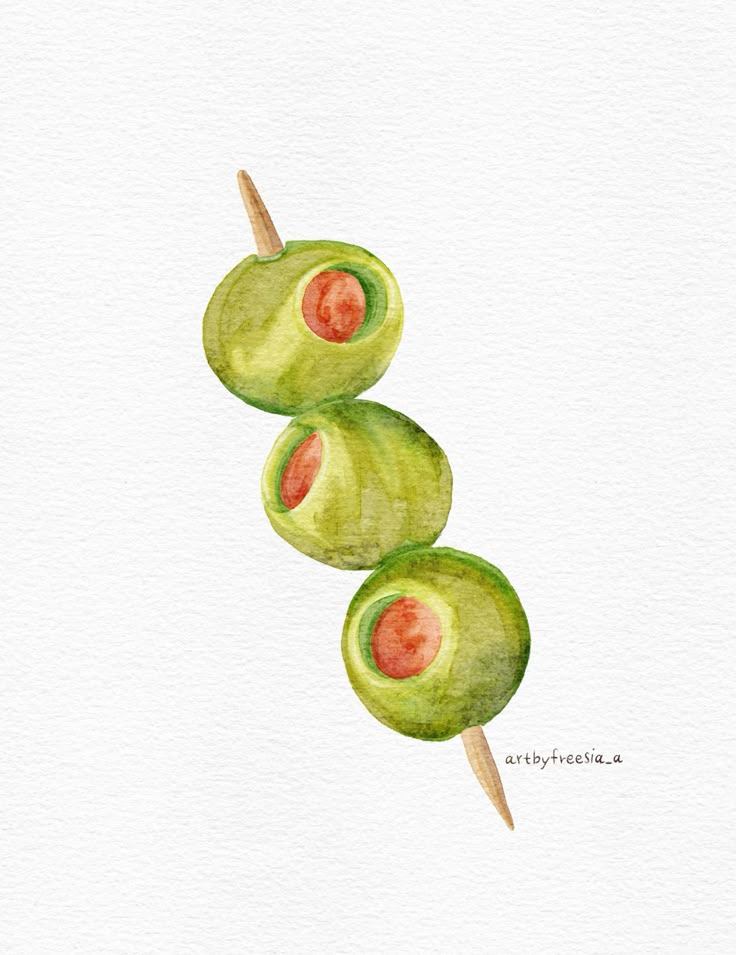
The dry brush technique is a simple way to add interesting textures to your watercolor paintings. You’ll use a brush with very little water and more concentrated pigment to create rough, broken marks on your paper.
Start by loading your brush with paint, then blot excess moisture on a paper towel or rag. When you apply the brush to textured paper, the bristles catch on the paper’s surface rather than gliding smoothly across it.
This creates a scratchy, grainy effect that’s perfect for depicting natural textures. Try using dry brush to paint tree bark, rocky surfaces, weathered wood, or tall grass in landscapes.
The technique works best on cold press or rough watercolor paper since the texture helps create those distinctive broken marks. You can use the side of a round brush or a flat brush to achieve different effects.
Practice controlling your water-to-pigment ratio, as this determines how dry and textured your strokes will appear. The drier your brush, the more pronounced the texture becomes.
7) Control water-to-paint ratio to avoid muddy colors
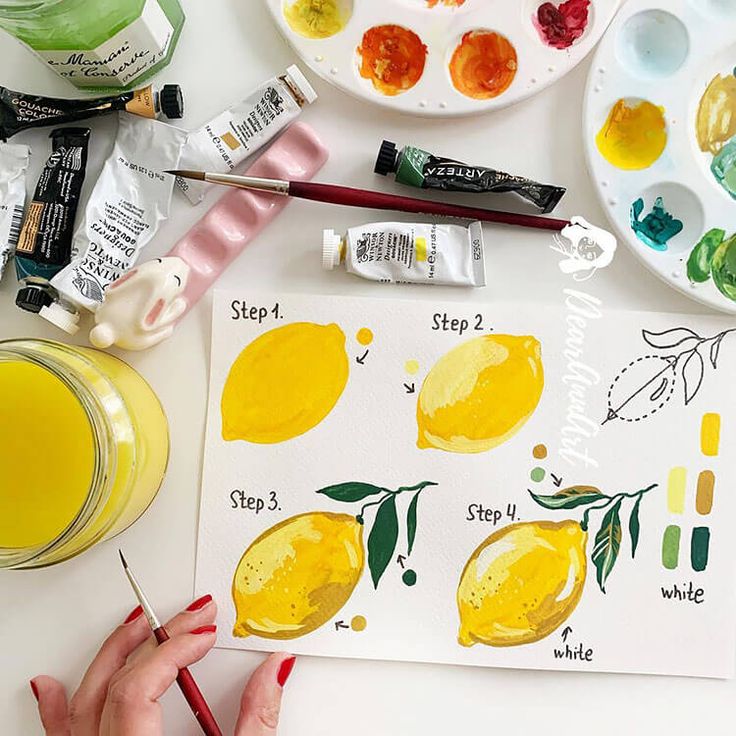
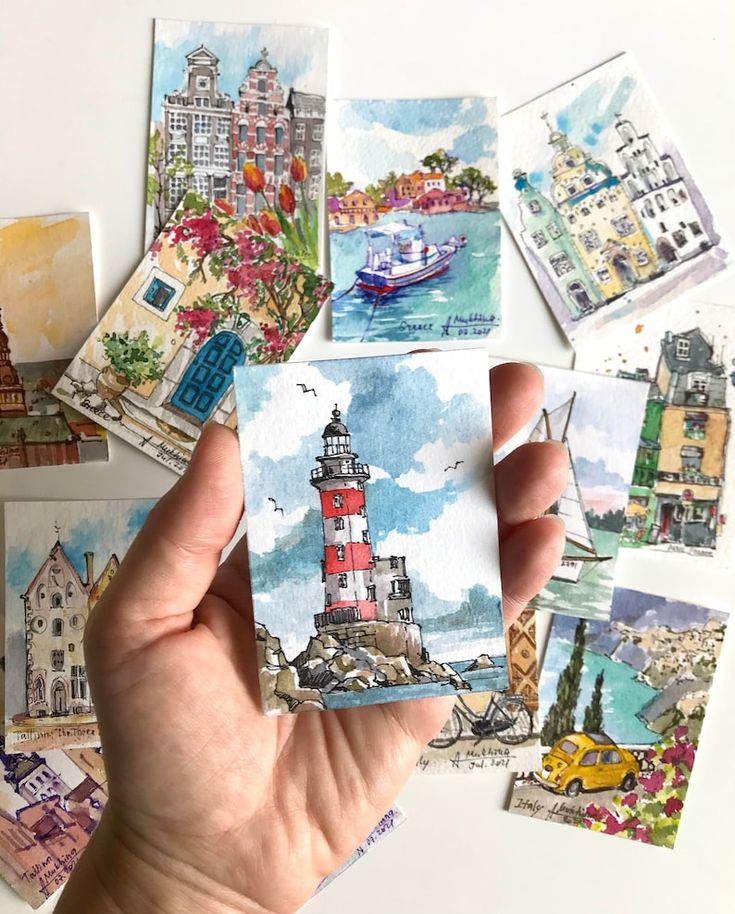
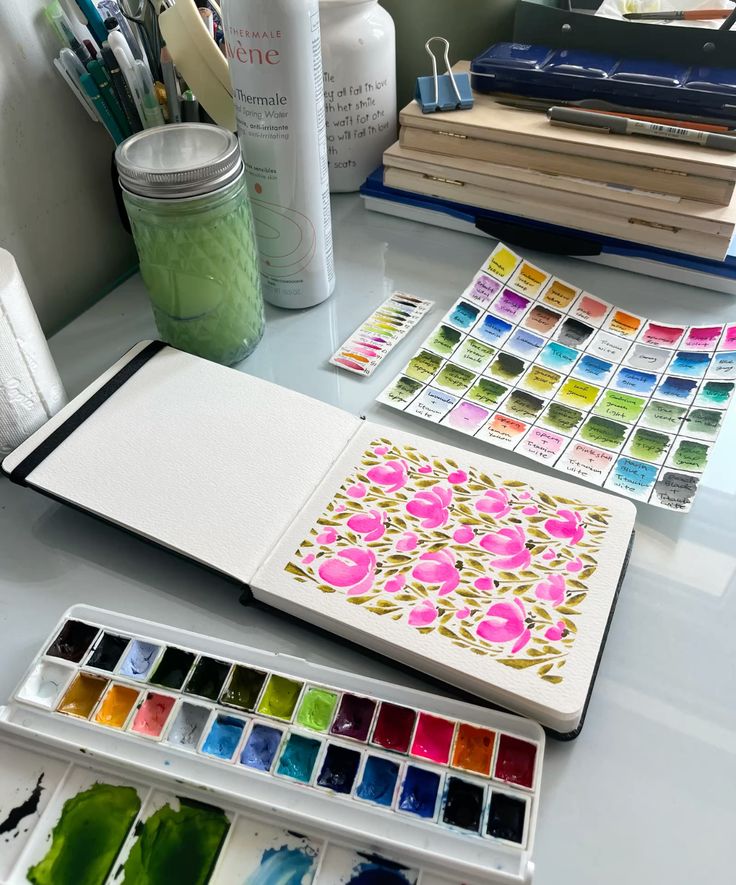
Mastering your water-to-paint ratio is essential for keeping your watercolors vibrant and clear. Too much water dilutes your pigments and creates weak washes. Too little water makes your paint hard to blend and can result in uneven color.
The key is finding balance. Start by loading your brush with pigment from the pan or tube, then control how much water you add. For bold, saturated colors, use less water. For soft, translucent washes, add more.
Muddy colors often happen when you overmix or combine too many pigments. Stick to mixing two or three colors maximum. Test your ratios on scrap paper before applying them to your painting.
Keep two water containers handy. Use one for rinsing your brush and the other for clean water to mix with your paints. This prevents contaminating your colors with residue from previous washes.
Pay attention to how wet your brush and paper are. A damp brush on dry paper creates different effects than a wet brush on wet paper. Practice controlling these variables to improve your results.
8) Work from light to dark to preserve highlights
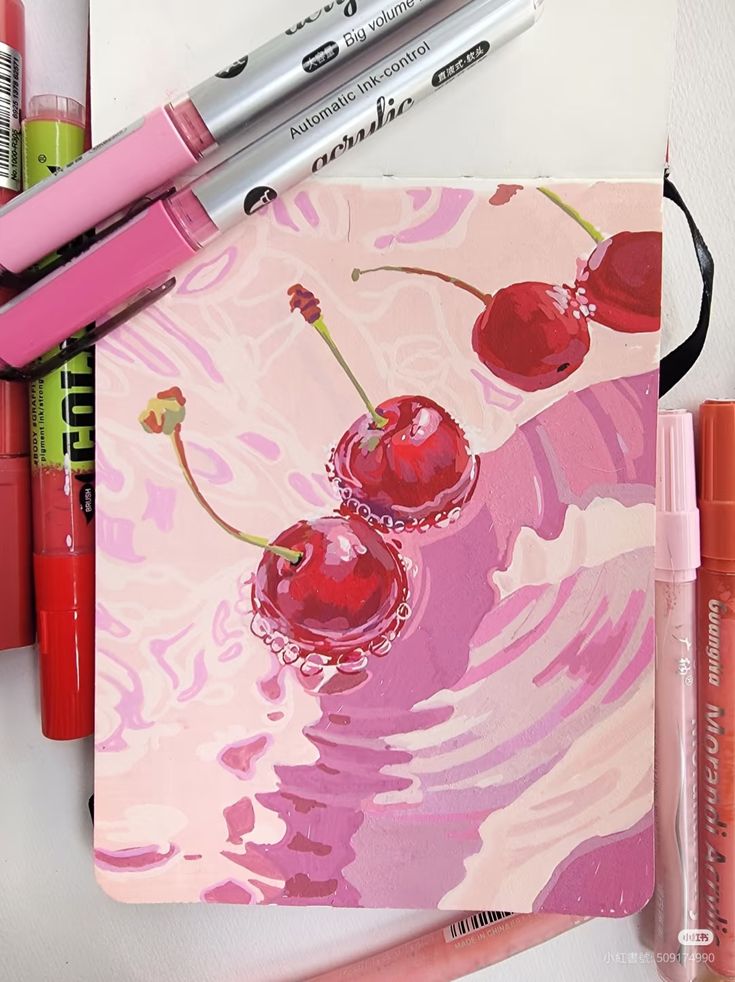
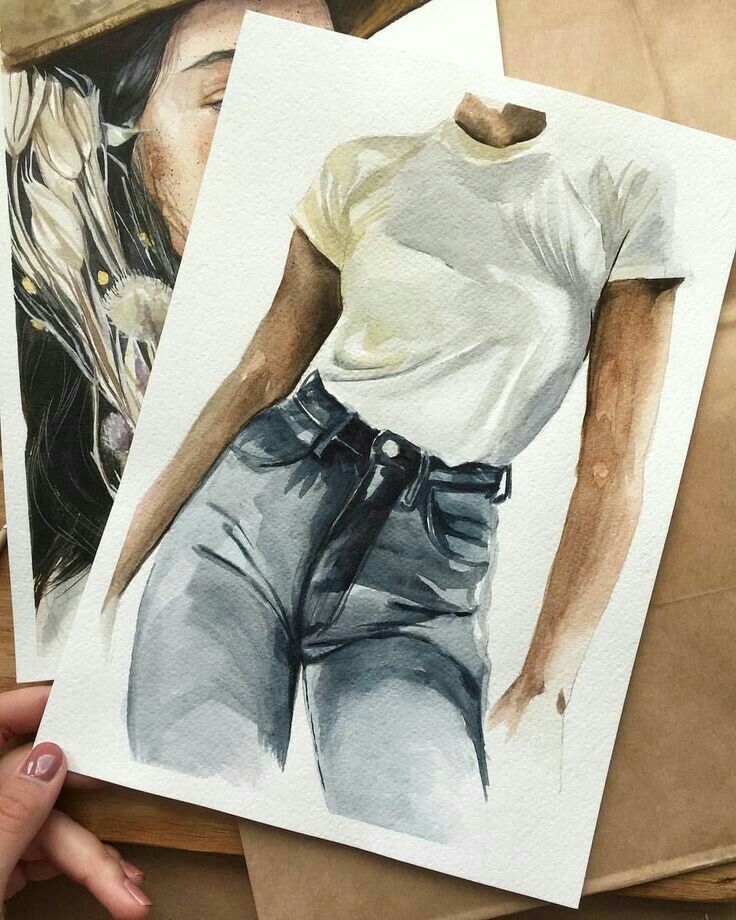
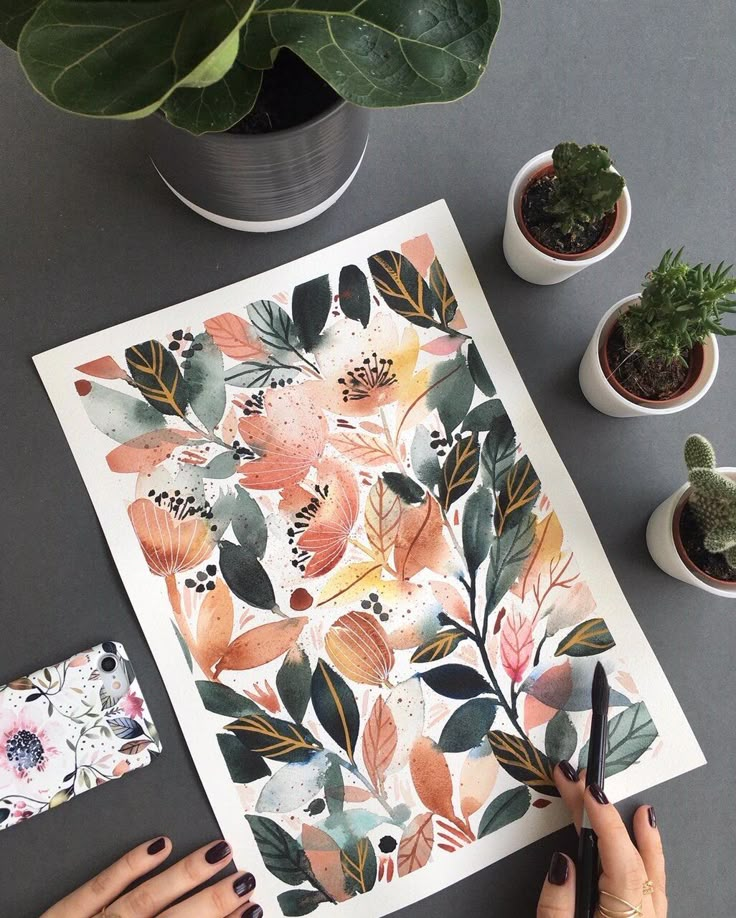
Watercolor is a transparent medium, which means you need to think differently about highlights than you would with opaque paints. You can’t simply add white paint on top at the end. Instead, you preserve the white of your paper from the very beginning.
Start with your lightest washes and gradually build up to darker values. This approach requires a bit of planning before you put brush to paper. Identify where your brightest areas will be and leave those spots untouched or apply only the palest washes.
You can use a technique called glazing to deepen colors by layering transparent washes once each layer dries. If you accidentally paint over an area you meant to keep light, try lifting the wet paint with a clean, dry brush to recover some brightness.
This method of working takes patience, but it creates luminous paintings with natural-looking highlights. The untouched white paper becomes the brightest part of your artwork, adding sparkle and contrast that makes your paintings come alive.
9) Use masking fluid to protect white areas
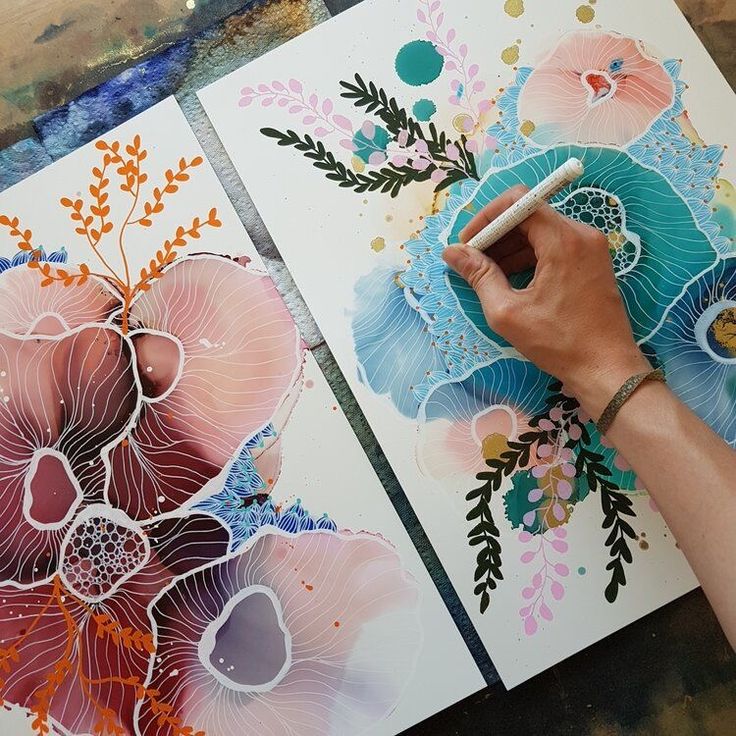
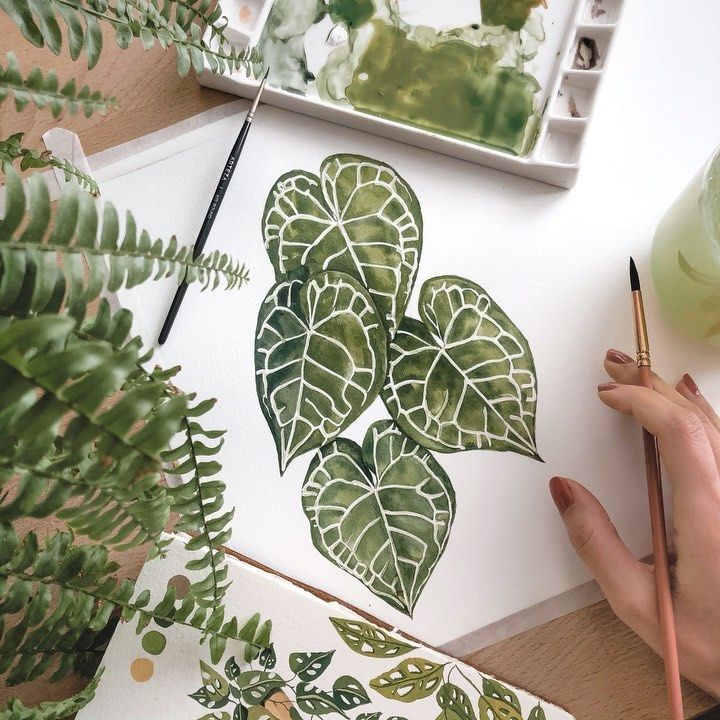
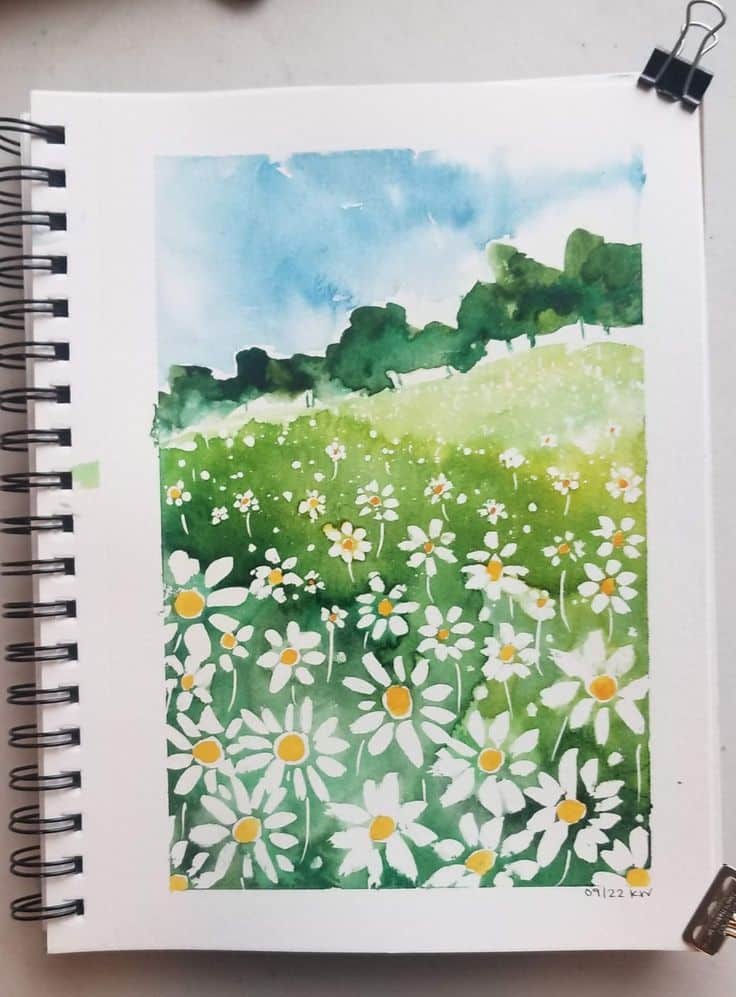
Masking fluid is a liquid latex product that creates a protective barrier on your watercolor paper. When you apply it to specific areas and let it dry, those spots stay pristine white even as you paint over them.
You’ll find masking fluid especially useful for preserving highlights in water, creating intricate details, or keeping the whites of eyes bright in portraits. It typically comes in cream or blue colors so you can see where you’ve applied it.
To use it, apply the fluid with an old brush or specialized tool to the areas you want to protect. Let it dry completely before painting your watercolors over it. The dried fluid acts as a waterproof shield that repels your paint.
Once your painting is completely dry, you can gently rub off the masking fluid with your finger or an eraser. The white paper underneath will be revealed, giving you crisp, clean highlights that would be difficult to achieve any other way.
Remember to clean your application tool immediately after use, as dried masking fluid can ruin brushes.
10) Tilt your paper to create natural paint flowing effects
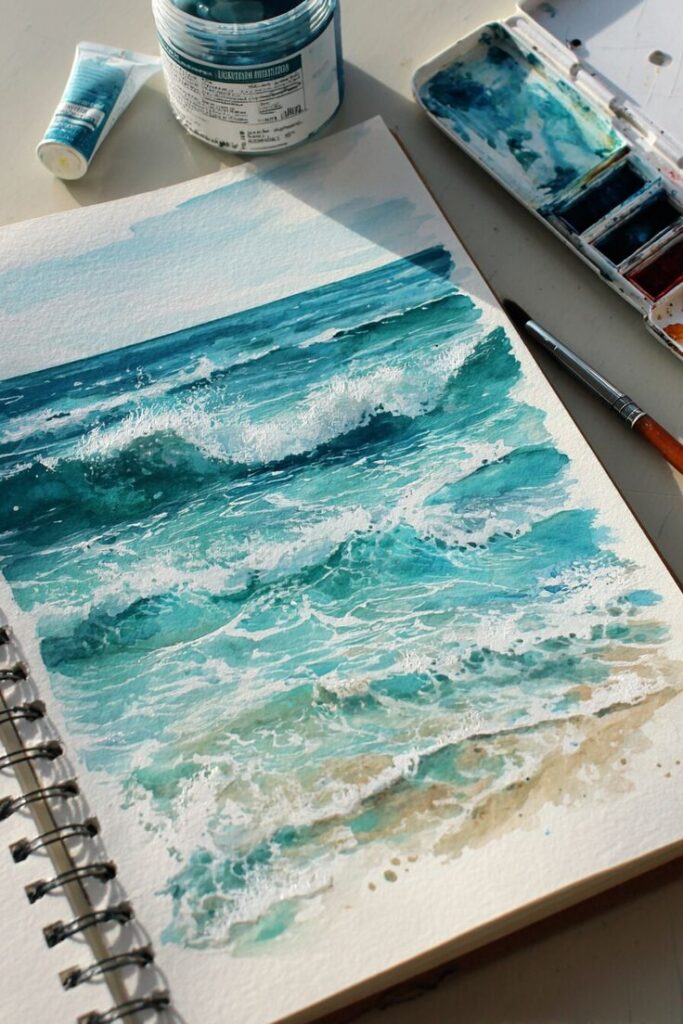
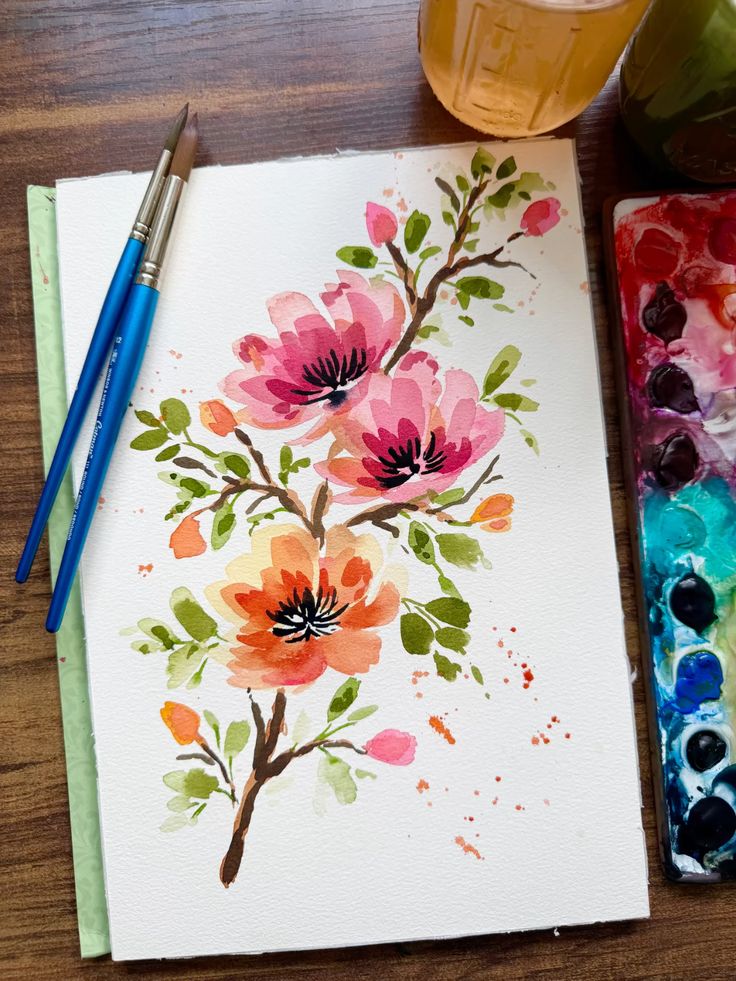
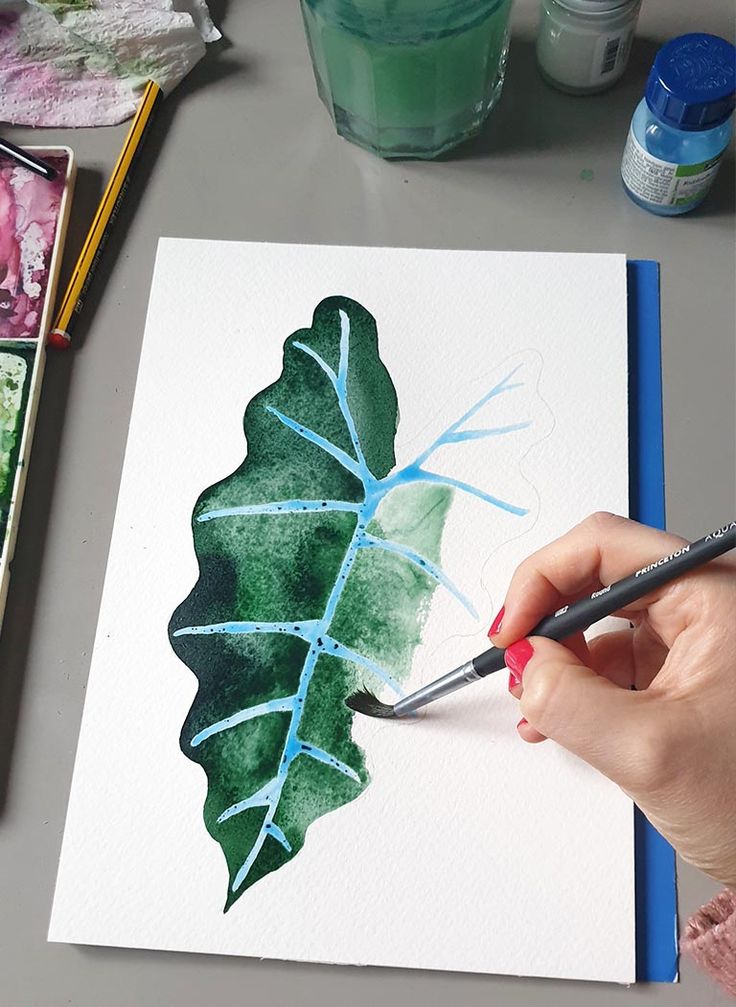
Tilting your watercolor paper is a simple yet effective way to guide wet paint across your surface. By lifting one edge of your paper, you can control where the pigment flows and pools. This creates organic, unpredictable patterns that add movement to your work.
This technique works best when your paint has a high water-to-pigment ratio. Apply your watercolor to dampened or dry paper, then gently angle your work in the direction you want the paint to travel. You can adjust the tilt angle to speed up or slow down the flow.
Use this method to create atmospheric skies, flowing water, or dynamic backgrounds. The paint will naturally settle into interesting formations as gravity does the work for you. You can also rotate your paper to change the direction mid-flow, layering different colors as they run.
Experiment with different tilting angles and watch how your colors interact. Some pigments are heavier and move differently than others, giving you varied results each time you try.
Choosing Essential Watercolor Supplies
Quality materials make a noticeable difference in your watercolor results, but you don’t need to spend a fortune to get started. The right paper, brushes, and paint storage will set you up for successful practice sessions and steady improvement.
Selecting the Right Paper
Paper choice affects how your watercolors behave more than any other supply. Look for paper labeled specifically for watercolor that weighs at least 140 lb (300 gsm). This weight prevents buckling and warping when wet.
Cold-pressed paper offers the best balance for beginners. It has a subtle texture that holds paint well without being too rough. Hot-pressed paper is smooth and works better for detailed work, while rough paper has pronounced texture suited for loose, expressive styles.
You’ll find watercolor paper in pads, blocks, and individual sheets. Blocks come glued on all four sides, which keeps the paper flat while you paint. Pads are more affordable for practice. Start with student-grade paper from brands like Canson or Strathmore to practice techniques before investing in artist-grade options.
Types of Brushes for Beginners
Round brushes are your most versatile tool. A size 6 or 8 round brush handles both detail work and broader washes. The pointed tip creates fine lines while the belly holds enough water for larger areas.
Add a flat brush (around 1 inch wide) for painting skies, backgrounds, and architectural elements. Flat brushes make clean edges and cover space efficiently.
Natural hair brushes like sable hold more water and form better points than most synthetics. However, quality synthetic blends now perform nearly as well at a fraction of the cost. Brands like Princeton and Silver Brush offer reliable synthetic options.
You only need three brushes to start: one large round (size 10-12), one medium round (size 6-8), and one flat (3/4 to 1 inch). This minimal set covers all basic techniques without overwhelming your workspace.
Safe Storage for Paints
Watercolor paints come in tubes or pans, and both need proper storage to maintain quality. Tubes dry out if caps aren’t secured tightly after each use. Check the threads regularly and clean off dried paint that prevents proper sealing.
Store tubes horizontally or with caps facing up in a drawer or box away from direct sunlight and heat. Temperature fluctuations can affect paint consistency.
Pans fit into portable palettes that protect them from dust and damage. Leave space between colors when filling empty pans from tubes to prevent mixing. Let freshly filled pans dry completely before closing the palette lid.
Keep your paints in a cool, dry location. Avoid basements or areas with high humidity, which can cause mold growth on natural pigments. A simple plastic storage container with a lid works well for organizing tubes, while metal tins protect pan sets during transport.
Understanding How Watercolor Paint Behaves
Watercolor’s unique character comes from its interaction between pigment, water, and paper. Mastering these dynamics lets you predict and control your results instead of fighting against unpredictable outcomes.
Controlling Water and Pigment Flow
The ratio of water to pigment determines everything from color intensity to drying time. More water creates lighter washes and allows pigments to flow freely across your paper, while less water produces concentrated, vivid color that stays where you place it.
You’ll notice that watercolor moves toward wet areas and pools in low spots on your paper. This natural flow can work for you when creating soft backgrounds or against you when pigments collect in unwanted puddles. Watch your brush loading carefully—too much water creates uncontrollable blooms, while too little prevents smooth application.
Key water-to-pigment ratios:
- Very wet (90% water): Pale tints and large washes
- Medium wet (70% water): Standard painting consistency
- Damp (50% water): Rich, vibrant color
- Thick (30% water): Deep, concentrated pigment
Different pigments also behave differently based on their particle size. Heavier pigments like ultramarine settle into paper texture, creating granulation effects. Lighter pigments like phthalo blue spread quickly and stain the paper more permanently.
Layering and Transparency Effects
Watercolor’s transparency lets you build depth by applying multiple thin layers. Each new layer shows through previous ones, creating optical color mixing rather than physical mixing on your palette.
Wait for each layer to dry completely before adding the next one. Painting on damp layers reactivates the pigment underneath, causing colors to blend and muddy. This wet-on-dry technique preserves the clarity of each layer and prevents unwanted mixing.
You can adjust transparency by varying your paint’s water content. Thin washes allow maximum light reflection from the white paper beneath, creating luminosity. Thicker applications reduce transparency and create more opaque passages where needed.
Plan your lightest values first since you can’t remove watercolor easily once applied. Build gradually from light to dark, preserving your whites and pale areas from the start.
- 88shares
- Facebook0
- Pinterest85
- Twitter3
- Reddit0
