The humble chicken, often overlooked in the grand tapestry of artistic subjects, presents a remarkable opportunity for artists seeking to hone their skills in avian art. Beyond its agrarian stereotype, the chicken is a creature of intricate anatomy, diverse feather patterns, and surprisingly expressive demeanor. Mastering the art of chicken drawing is not merely about replicating a farm animal; it is about embracing complexity, understanding form, and capturing the vibrant essence of life itself. This comprehensive guide will delve into seven professional techniques designed to elevate your chicken drawings from simple sketches to compelling works of art, providing you with the tools and insights to truly master avian representation.
1. Understanding Avian Anatomy and Structure
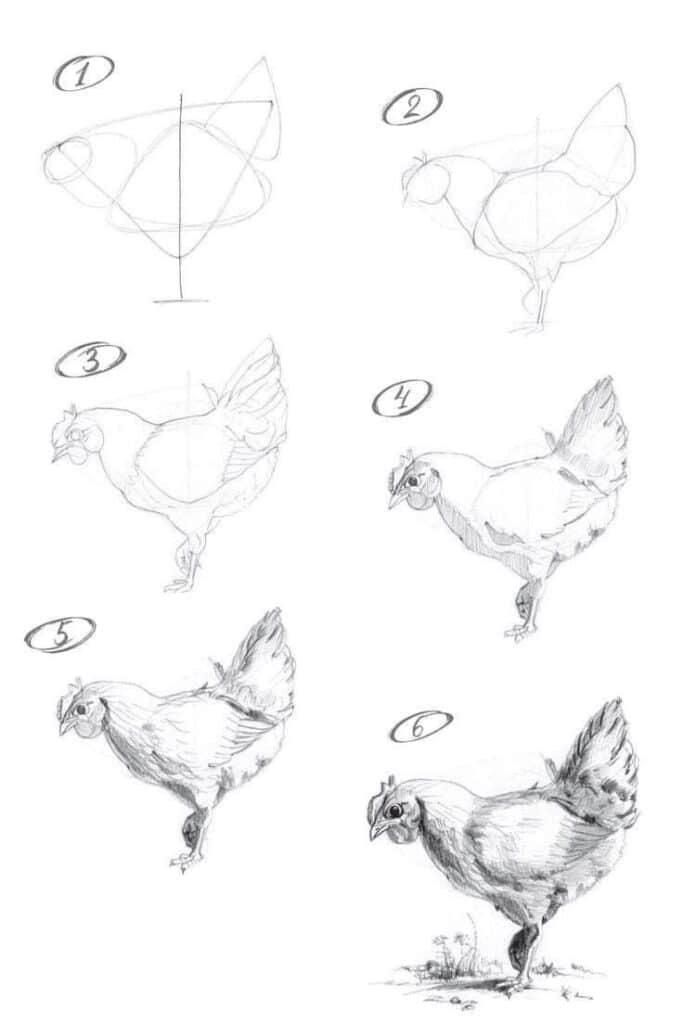
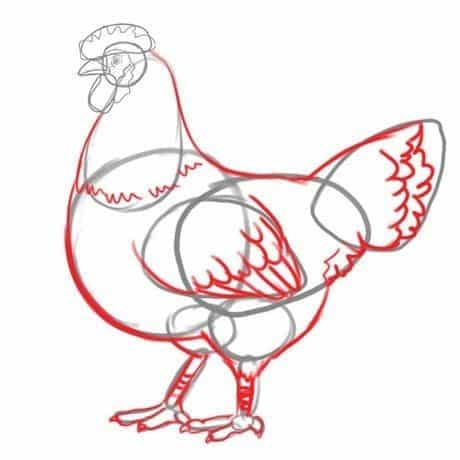
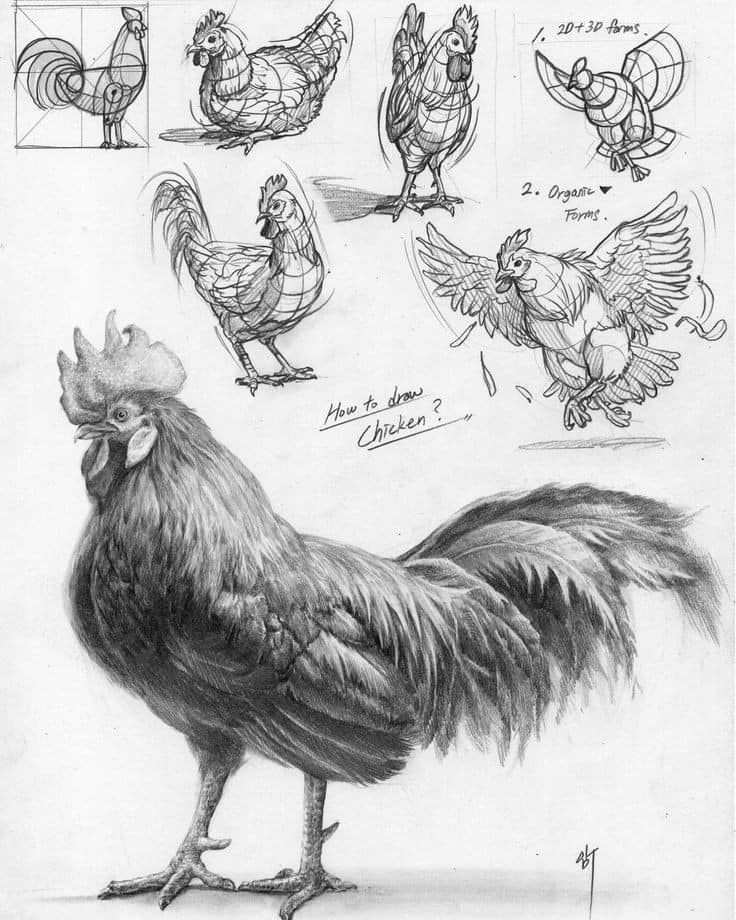
To accurately and expressively draw a chicken, a foundational understanding of its anatomy is paramount. While feathers create a soft, rounded exterior, beneath lies a complex skeletal and muscular structure that dictates form and movement. Professional artists begin by deconstructing the subject into basic geometric shapes before adding detail.
Start by observing the overall mass of the chicken. The body can be simplified into a large oval or egg shape, with a smaller oval for the head and a distinct, elongated S-curve for the neck. The legs, though slender, are strong and capable of supporting the bird’s weight, consisting of powerful thighs hidden beneath feathers, connecting to the visible drumsticks and scaled shanks. Pay close attention to the distinct joint points: the knee (often high and hidden), the hock (backward-bending joint), and the three forward-pointing toes with a single backward-pointing toe, tipped with sharp claws.
Consider the different breeds of chickens; each possesses unique anatomical variations that greatly influence their appearance. A fluffy Silkie, for instance, will have a much softer, less defined outline than a lean, angular Leghorn. The comb and wattles vary dramatically in size, shape, and texture, from the large, fleshy single comb of a Rhode Island Red to the pea comb of an Araucana. These seemingly minor details are crucial for capturing breed-specific accuracy and character.
Study the skeleton of a bird, even if superficially. Knowing where the bone structure supports the musculature will prevent your chicken from looking like a soft, shapeless blob. The sternum (breastbone) is particularly prominent, providing an anchor for powerful flight muscles, even in breeds that are poor flyers. Understanding how the wings fold neatly against the body, or extend outward during movement, comes from grasping the underlying bone structure of the humerus, ulna, and radius.
Utilize reference materials judiciously. High-quality photographs, anatomical diagrams, and, ideally, direct observation of live chickens will be invaluable. Sketching quick gestures to capture various poses and movements will help you internalize their dynamic form. Think about the weight distribution and balance. A chicken pecking for food will have its center of gravity shifted forward, while one preening will arch its neck and shift its balance backward. Just as understanding human anatomy is vital for figure drawing, a grasp of avian structure is indispensable for truly bringing your chicken drawings to life. For those interested in mastering the human form, exploring resources like 20 How to Draw People can offer foundational insights into anatomical drawing principles that are transferable across species.
2. Mastering Feathers and Texture
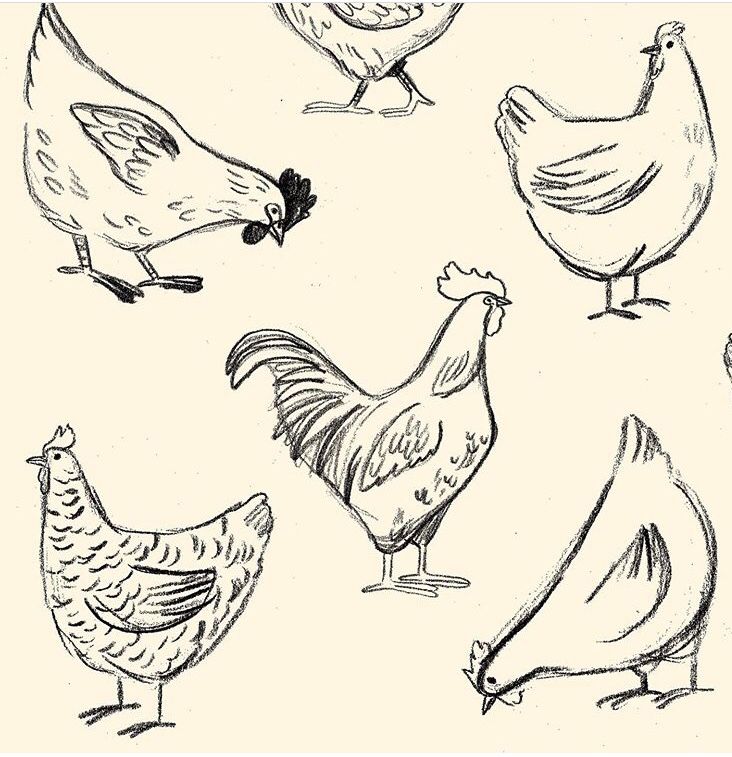
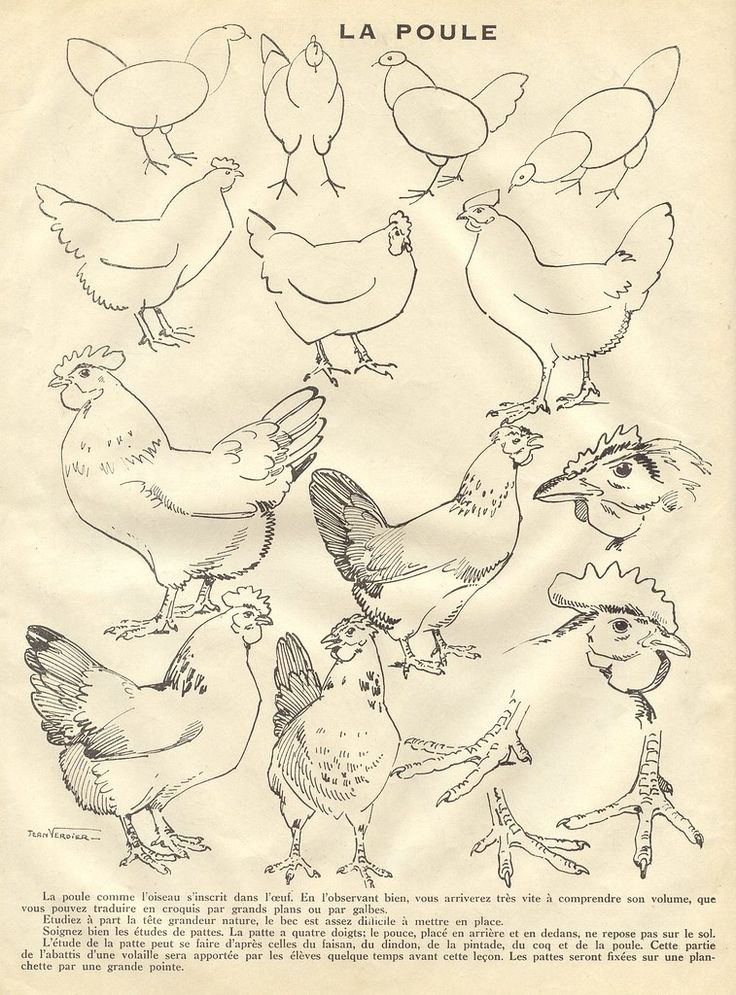
The texture and arrangement of feathers are what give a chicken its distinctive appearance and provide immense opportunity for artistic expression. Feathers are not simply a uniform covering; they vary in size, shape, and sheen across the bird’s body, creating a rich tapestry of textures. Mastering their rendering is key to professional chicken drawing.
Begin by understanding the general flow and direction of feather growth. Feathers typically overlap like shingles on a roof, generally pointing downwards and backward, creating a streamlined form. Observe how larger flight feathers on the wings and tail are stiffer and more defined, while the contour feathers covering the body are softer and create the overall silhouette. The downy feathers close to the skin provide insulation and appear much softer and less structured.
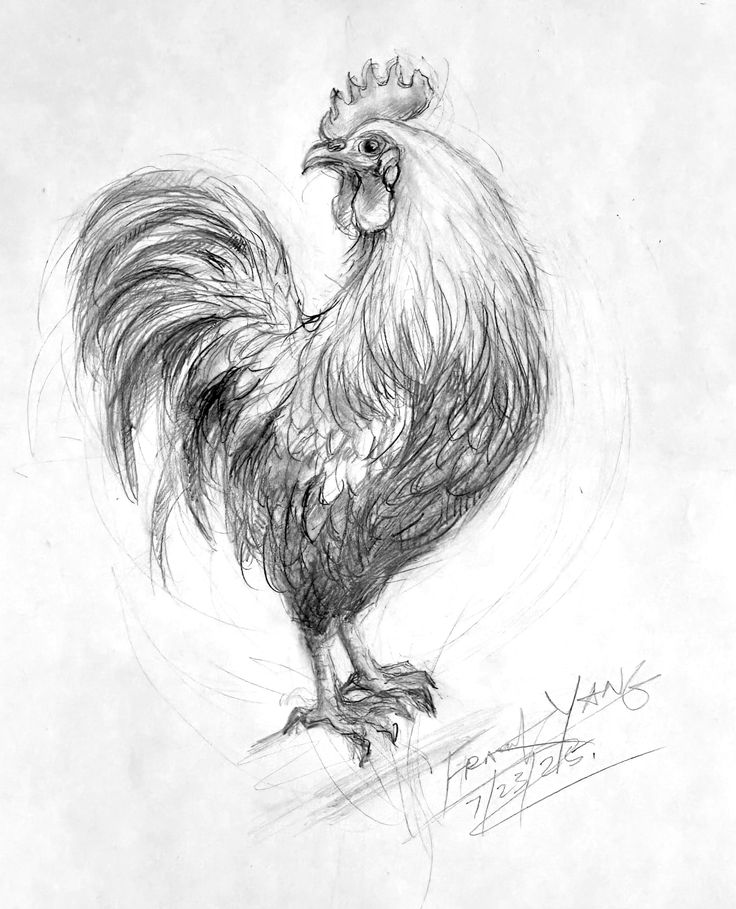
To create convincing feather texture, avoid drawing every single feather individually, which can lead to a flat, tedious result. Instead, focus on depicting masses of feathers, using varying line weights and shading techniques to suggest their presence. For the contour feathers, use overlapping strokes that follow the body’s curves. Vary the pressure of your pencil or brush to create subtle shifts in tone, mimicking the way light interacts with individual barbules.
The iridescent sheen on a chicken’s neck or hackle feathers is particularly challenging but rewarding to capture. These feathers often display a metallic green, blue, or purple shimmer. To render this, use subtle gradations of color or value, incorporating highlights that suggest the light catching the surface, rather than simply drawing solid blocks of color. Consider cross-hatching or stippling with colored pencils or pastels to build up these complex, shimmering textures. Pastel drawings, in particular, excel at capturing soft textures and vibrant hues, making them an excellent choice for depicting feathered subjects, as discussed in 8 Pastel Drawing Themes.
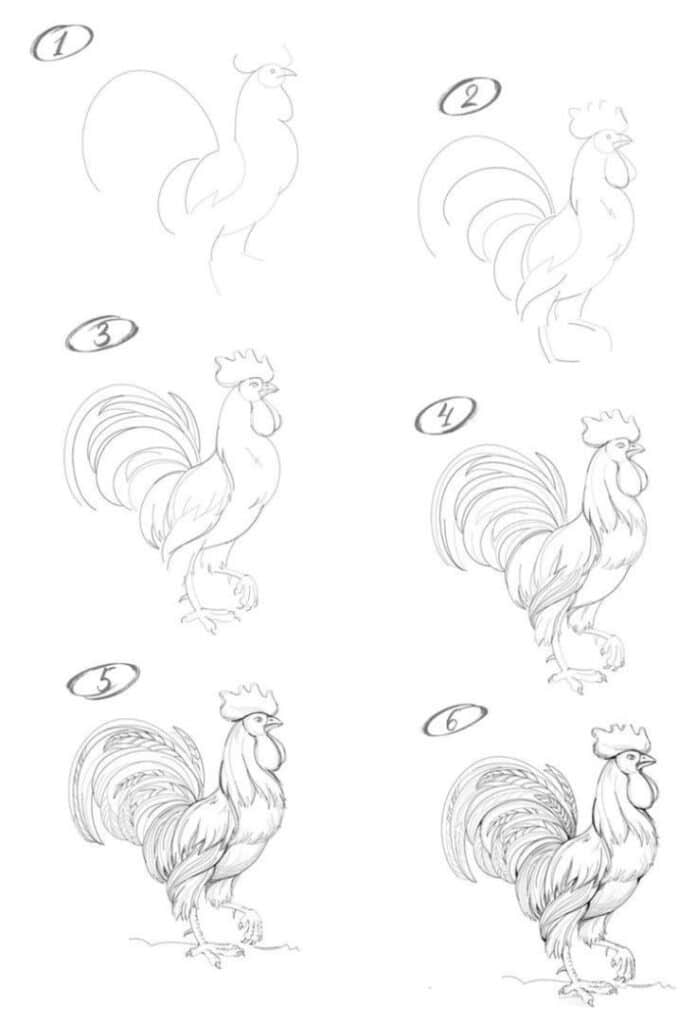
For tail feathers, which are often broad and overlapping, pay attention to their individual shapes and how they fan out. The saddle feathers on the back and the sickles of a rooster’s tail add dramatic flair; render them with bold, sweeping strokes that convey their length and curve. Conversely, the fluffier feathers around the vent or underbelly require lighter, softer strokes, often blended to create a sense of softness and volume. Experiment with different drawing tools—soft graphite pencils for blending, harder pencils for sharper feather edges, or even fine-tipped pens for individual feather details when appropriate. The goal is to convey the illusion of feathers, their varying textures, and how they contribute to the overall form and character of the chicken.
3. Capturing Expression and Personality
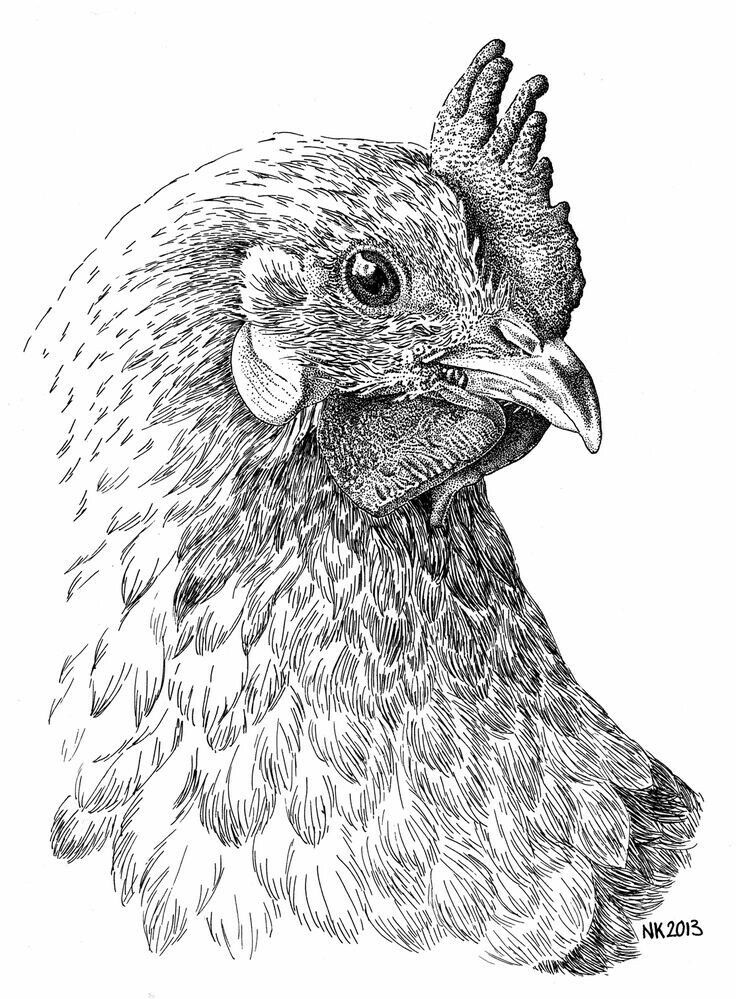
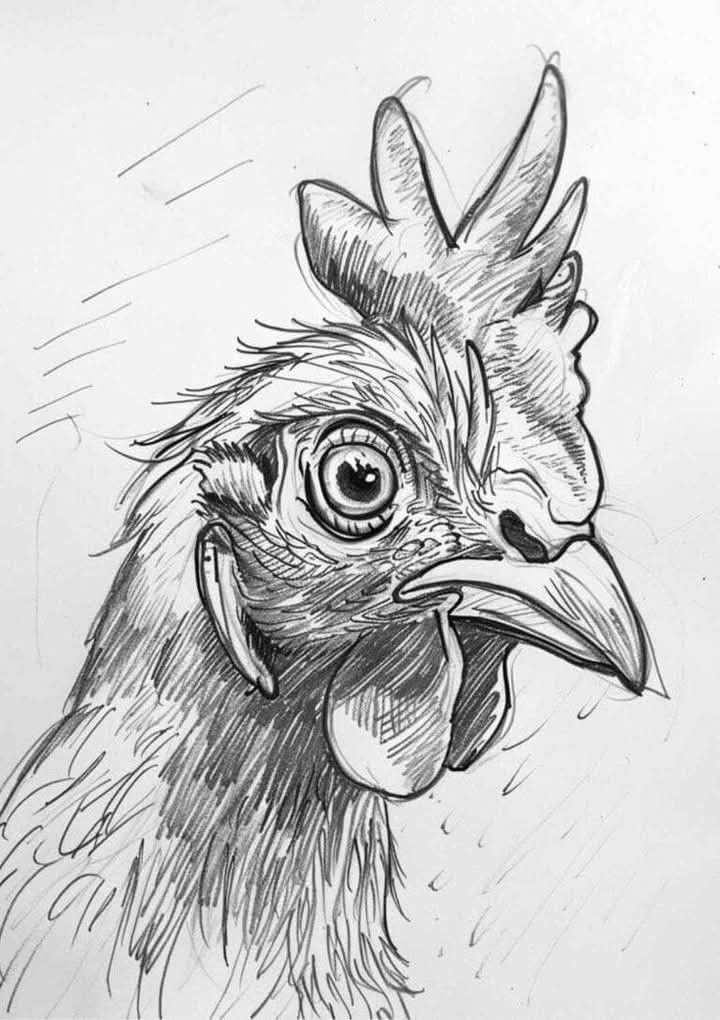
Beyond anatomical accuracy, a truly professional chicken drawing conveys the bird’s personality and expression. Chickens, despite their often-stoic appearance, exhibit a surprising range of emotions and behaviors that can be captured through careful observation and artistic interpretation.
The eyes are often the most crucial element in conveying expression. A chicken’s eye can be bright and alert, wary and suspicious, or even curious and intelligent. Pay close attention to the shape of the eye, the size and intensity of the pupil, and the subtle surrounding skin or feathering. A small catchlight in the eye can instantly bring it to life, adding sparkle and depth. The angle of the head and the position of the comb and wattles also contribute significantly to the perceived mood. A drooping comb might suggest heat or illness, while an upright, vibrant comb indicates alertness and health.
Body language is another powerful tool. A chicken standing tall with its chest puffed out might convey dominance or pride. One hunched over, scratching intently, shows focus and determination. A hen protecting her chicks will have a different posture than one foraging peacefully. Consider the subtle shifts in wing position, the angle of the tail, and how the legs are placed. A leg slightly lifted, a quick turn of the head—these fleeting moments capture the dynamic essence of the bird.
Observe common chicken behaviors:
- Dust bathing: The relaxed, almost trance-like state.
- Puffing up feathers: For warmth or intimidation.
- Pecking order interactions: Subtle glances, aggressive posturing.
- Rooster calls: The full extension of the neck and open beak.
- Foraging: The intense focus on the ground, head down.
Each of these behaviors presents a unique opportunity to capture a specific mood or action. Don’t be afraid to exaggerate subtle cues slightly to enhance the narrative in your drawing. The goal is not merely to draw a chicken, but to draw that chicken, with its unique quirks and character shining through. A drawing that captures the specific energy and personality of its subject will resonate far more deeply with viewers, transforming a mere depiction into a narrative piece of art.
4. Light, Shadow, and Form Definition
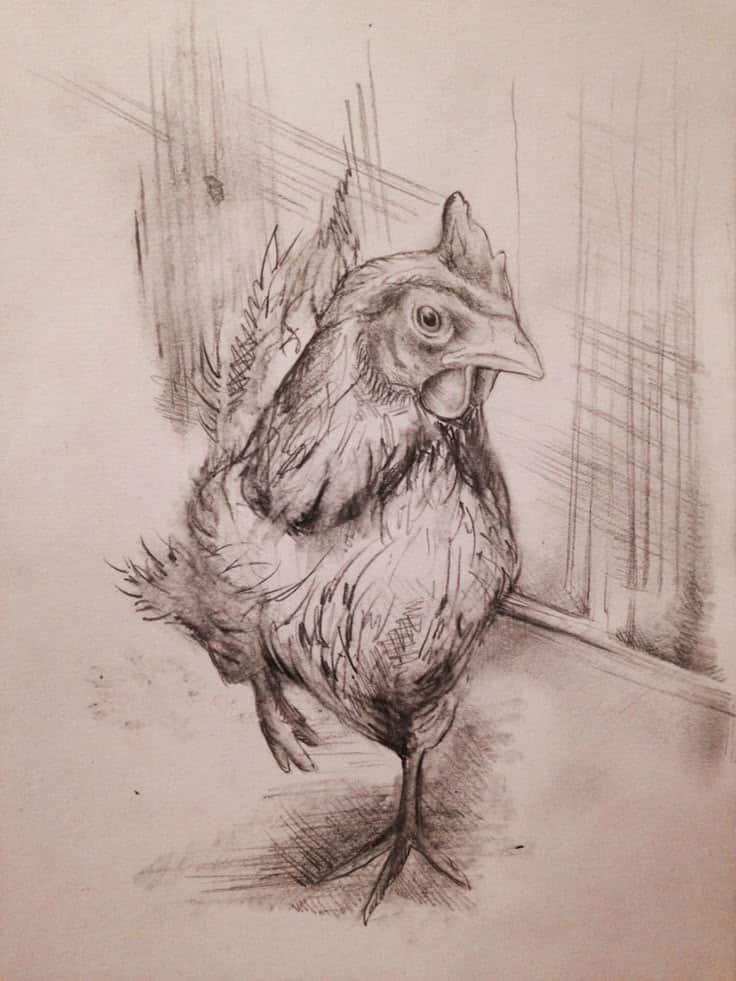
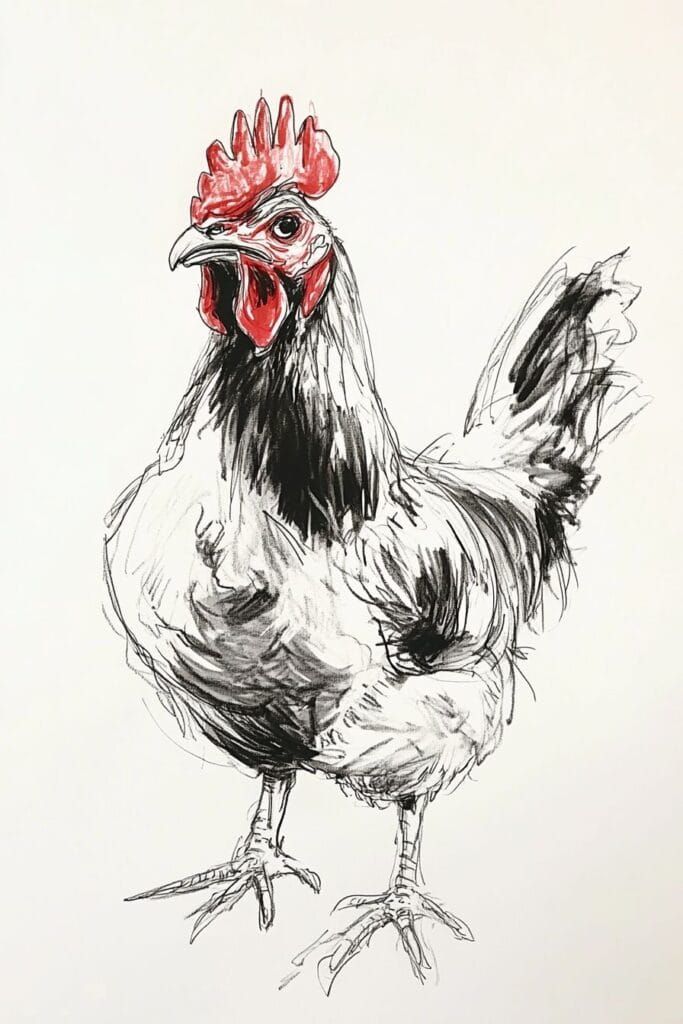
Light and shadow are fundamental tools for any artist, and nowhere is their mastery more critical than in defining the complex forms of a feathered creature like a chicken. Without proper chiaroscuro, your drawing risks appearing flat and lifeless.
Begin by identifying your light source. Is it a single, strong light creating sharp contrasts, or a diffused, soft light resulting in subtle gradations? A consistent light source is crucial for creating believable depth and volume. Once established, observe how light hits the various planes of the chicken’s body, creating highlights, mid-tones, core shadows, reflected light, and cast shadows.
- Highlights: These are the brightest areas where light directly strikes the surface. On feathers, highlights can be sharp or diffuse, depending on the feather type and sheen.
- Mid-tones: The broad areas that receive light but are not directly illuminated. These define the general color or value of the feathers.
- Core Shadows: The darkest part of the form, where light cannot reach. These help turn the form and give it three-dimensionality.
- Reflected Light: Light bouncing off surrounding surfaces (ground, other chickens) into the shadowed areas. This prevents shadows from looking like flat, black holes and adds richness.
- Cast Shadows: Shadows projected onto surfaces by the chicken itself. These ground the chicken in its environment and add depth.
Techniques like hatching, cross-hatching, stippling, and blending are invaluable for rendering these values.
- Hatching: Parallel lines to create tone.
- Cross-hatching: Overlapping sets of parallel lines for darker tones and texture.
- Stippling: Dots of varying density for a textured, soft appearance.
- Blending: Using a tortillon, finger, or brush to smooth out graphite or charcoal, creating seamless transitions.
Consider how the texture of feathers impacts light and shadow. Soft, fluffy feathers will have softer shadows and highlights, while stiff, glossy feathers might produce sharper, more defined reflections. The curve of the breast, the roundness of the head, and the angularity of the legs all need to be rendered with appropriate shading to make them appear solid and real.
Experiment with different ranges of value. Pushing your darks truly dark and keeping your lights bright will create a strong sense of contrast and drama. Conversely, a more muted value range can evoke a softer, more atmospheric mood. The interplay of light and shadow not only defines the chicken’s form but also adds emotional depth and realism, transforming a two-dimensional surface into a volumetric representation.
5. Drawing the Environment and Composition
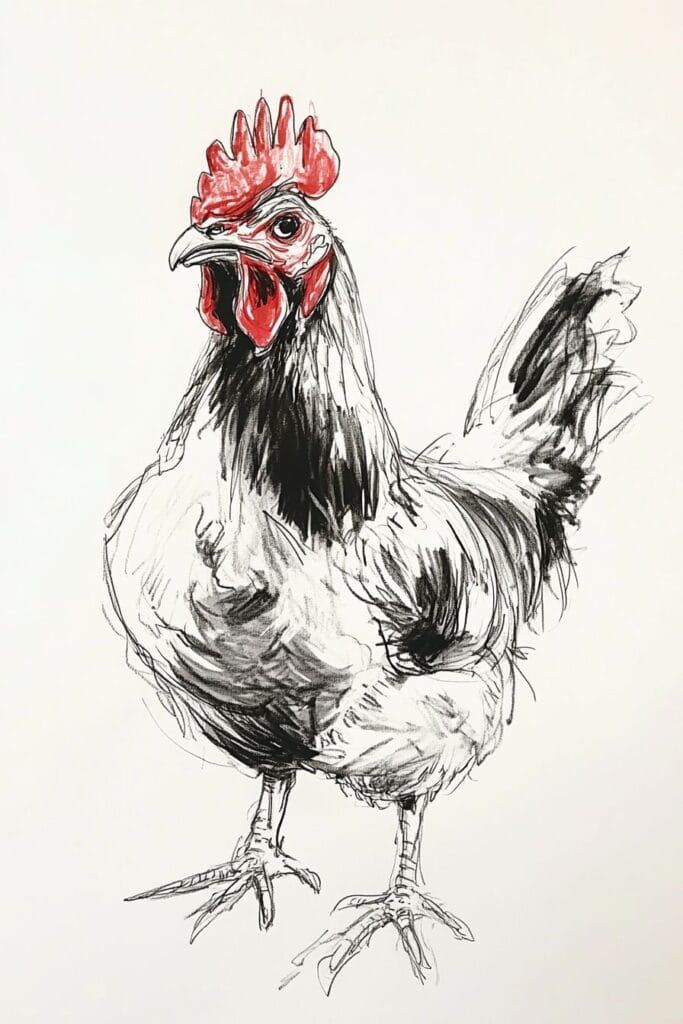
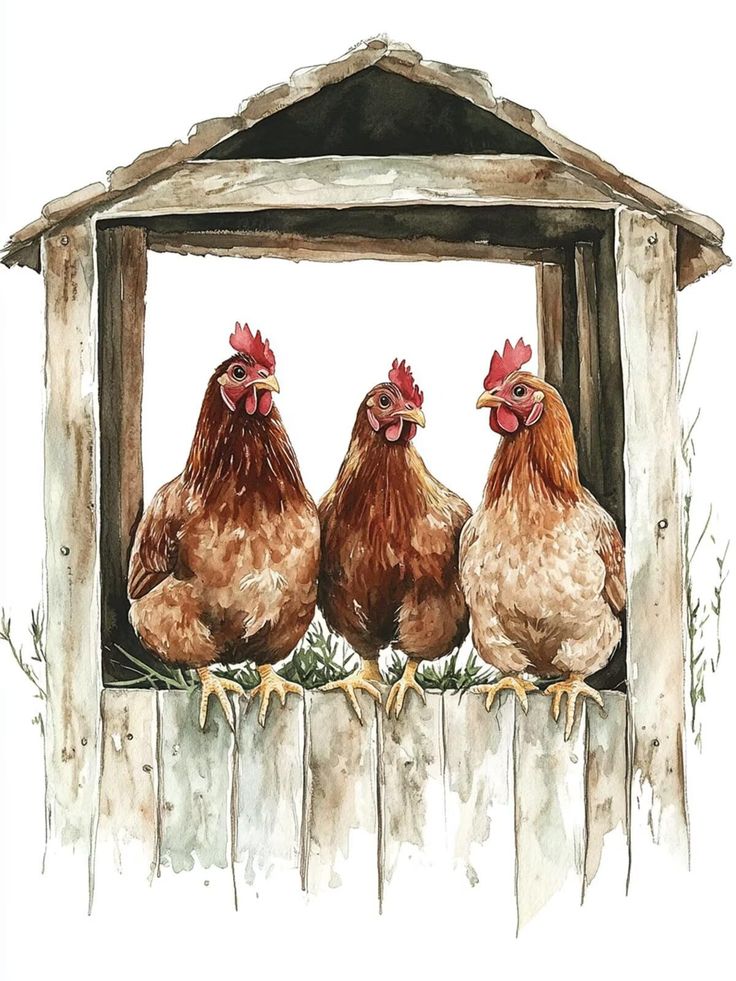
A professional chicken drawing rarely exists in isolation. Placing the bird within a thoughtfully considered environment and adhering to strong compositional principles elevates the artwork from a mere study to a complete narrative. The surroundings provide context, atmosphere, and visual interest.
When conceptualizing the environment, think about where chickens naturally reside. A rustic wooden coop, a sprawling grassy yard, a dusty farm path, or even a cluttered barn interior can serve as a compelling backdrop. The environment should complement the chicken without overpowering it. Details like scattered straw, a feed trough, a fence post, or even dappled sunlight filtering through leaves can add realism and depth. However, these elements should be rendered with less detail and intensity than the chicken itself, ensuring the bird remains the focal point.
Composition is the strategic arrangement of elements within your drawing to create a visually pleasing and engaging image. Key principles include:
- Rule of Thirds: Imagine your canvas divided into nine equal sections by two horizontal and two vertical lines. Placing your chicken or key elements along these lines or at their intersections often creates a more dynamic and balanced composition than centering everything.
- Leading Lines: Use elements within the environment (a path, a fence, a shadow) to guide the viewer’s eye towards the chicken.
- Negative Space: The area around and between your subject. Thoughtfully shaped negative space can enhance the positive form of the chicken and add visual interest.
- Depth and Perspective: Utilize linear perspective for structural elements (coop walls, fences) and atmospheric perspective for distant elements (fainter lines, lighter values) to create a sense of three-dimensional space. Even for an outdoor scene, elements like distant trees or hills can benefit from drawing architectural wonders from ancient monuments to modern skylines, by applying similar principles of perspective and scale.
- Framing: Use elements in the foreground (leaves, branches, a partially obscured fence) to frame the chicken, drawing the viewer’s attention directly to it.
- Cropping: Don’t be afraid to crop your subject strategically. A close-up of a chicken’s head and neck, or a partial view of its body, can create a more intimate or dramatic composition.
Consider the relationship between the chicken and its surroundings. Is it interacting with the environment, or simply existing within it? A chicken pecking at the ground creates a strong vertical line that contrasts with the horizontal plane of the earth. A chicken perched on a branch establishes a sense of height and balance. By consciously designing both the environment and the composition, you elevate your chicken drawing into a complete and compelling scene that tells a story.
6. Choosing Your Medium and Tools
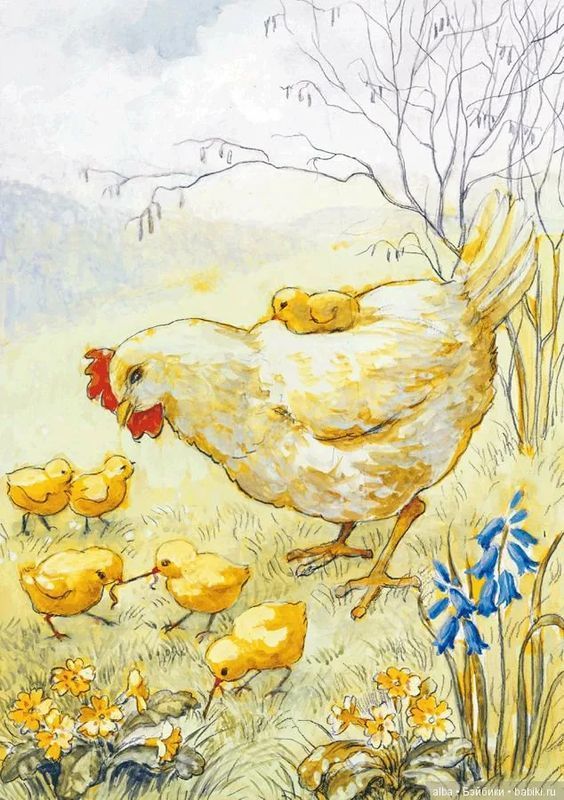
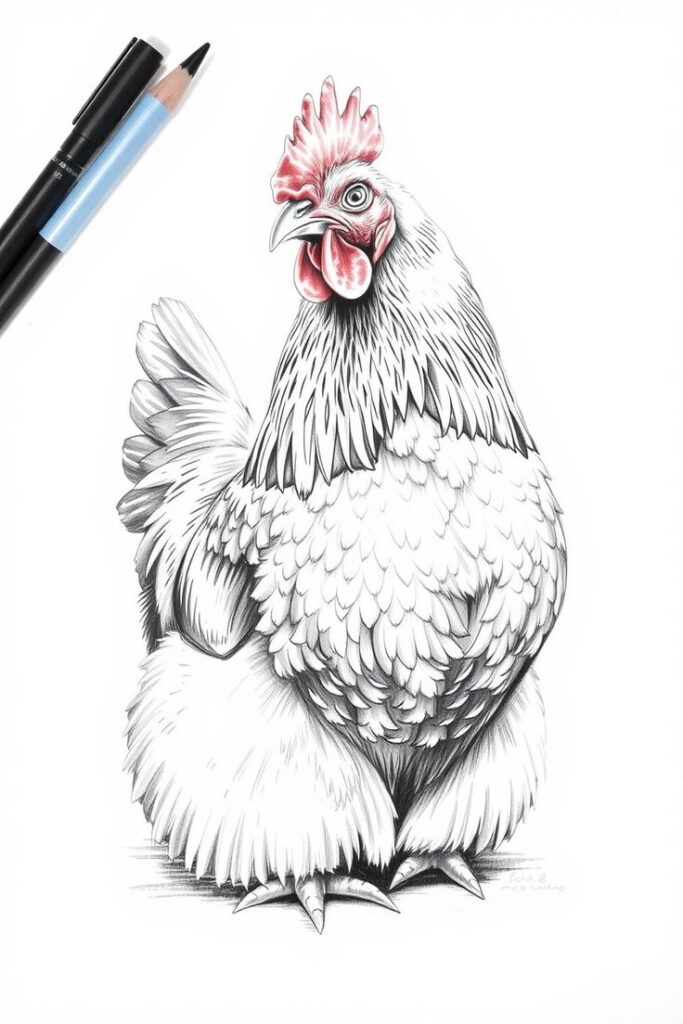
The choice of drawing medium and tools significantly impacts the final aesthetic and the techniques you can employ for your chicken drawing. A professional artist understands the strengths and limitations of various materials and selects them purposefully to achieve their desired outcome.
- Graphite Pencils: The most common and versatile choice. Available in a range of hardness (H for lighter, finer lines; B for darker, softer tones), graphite allows for precise detail, smooth blending, and rich tonal variations. Ideal for realistic, monochrome studies, capturing texture and light beautifully.
- Charcoal: Offers deep, rich blacks and expressive, dramatic lines. Excellent for capturing the soft, velvety texture of certain feathers and creating strong contrasts. Available in stick, compressed, and pencil forms. It requires a fixative to prevent smudging.
- Colored Pencils: Provide the ability to capture the vibrant and iridescent colors of chicken plumage. Layering colors can create depth and subtle shifts in hue. High-quality colored pencils allow for smooth blending and fine detail.
- Pastels (Soft and Hard): Offer rich, vibrant color and a painterly quality. Soft pastels are excellent for broad areas of color and blending, mimicking the softness of feathers. Hard pastels are better for sharper lines and details. Like charcoal, they require fixative. Exploring different pastel drawing themes can inspire new approaches to texture and color.
- Ink (Pen and Ink): For crisp lines, intricate patterns, and high contrast. Various nib sizes allow for fine details, cross-hatching, stippling, and expressive line work. Ideal for stylized or graphic representations.
- Digital Drawing: Using a drawing tablet and software (e.g., Photoshop, Procreate, Clip Studio Paint) offers unparalleled flexibility. Digital brushes can simulate traditional media, layers allow for non-destructive editing, and color mixing is limitless. This medium is particularly effective for experimentation and rapid iteration. For those new to digital art, resources like How to Start Drawing in Digital Format: A Guide for Those Who Are Used to Paper can provide an excellent transition.
Paper and Surfaces:
The surface you draw on also matters. Smooth papers are good for fine detail and blending, while textured papers (like Bristol board or watercolor paper) can add tooth, which is excellent for holding charcoal or pastels and creating interesting textural effects.
Consider the narrative and mood you wish to convey. A detailed scientific illustration might call for fine graphite or colored pencil, while a more impressionistic or dramatic piece might benefit from charcoal or pastels. Don’t be afraid to experiment and combine different media to discover what best suits your personal style and the demands of your subject. The right tools, skillfully wielded, are extensions of your artistic vision.
7. Practice, Patience, and Continuous Learning
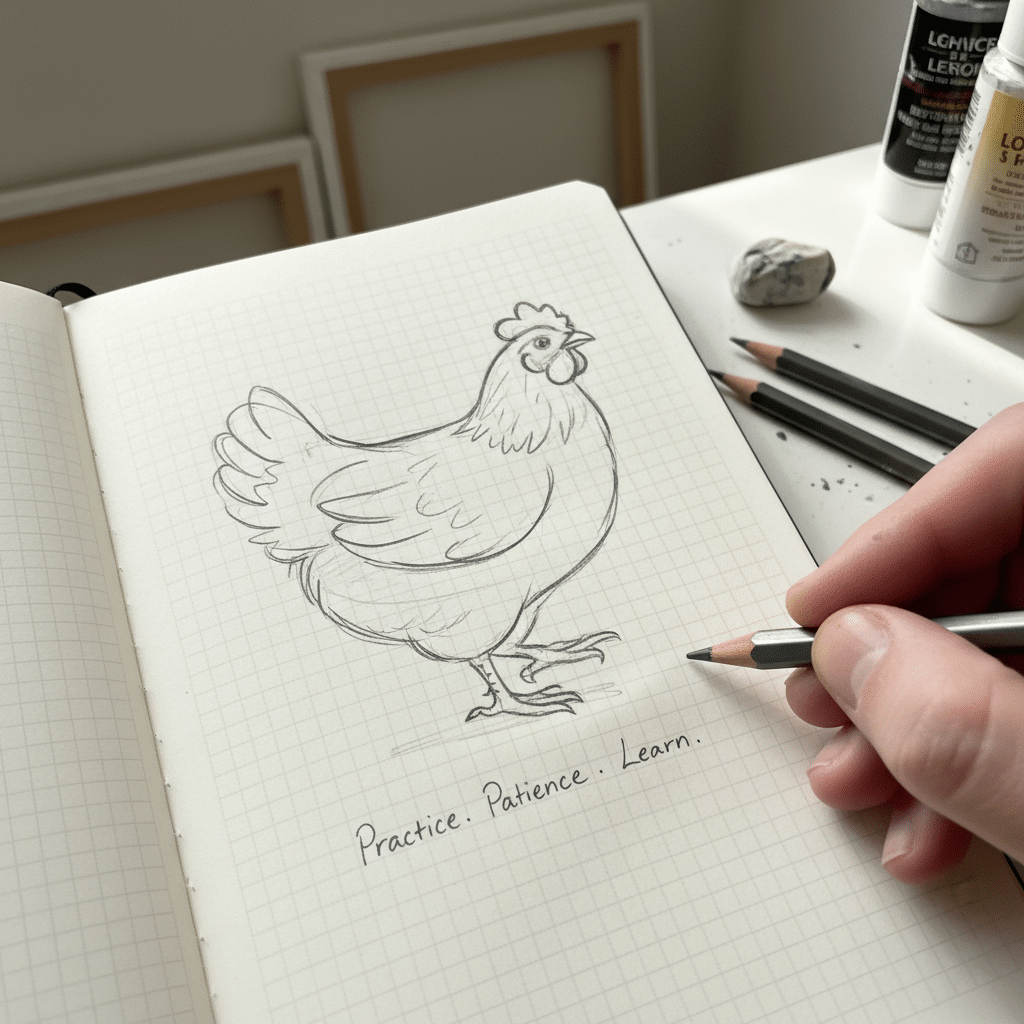
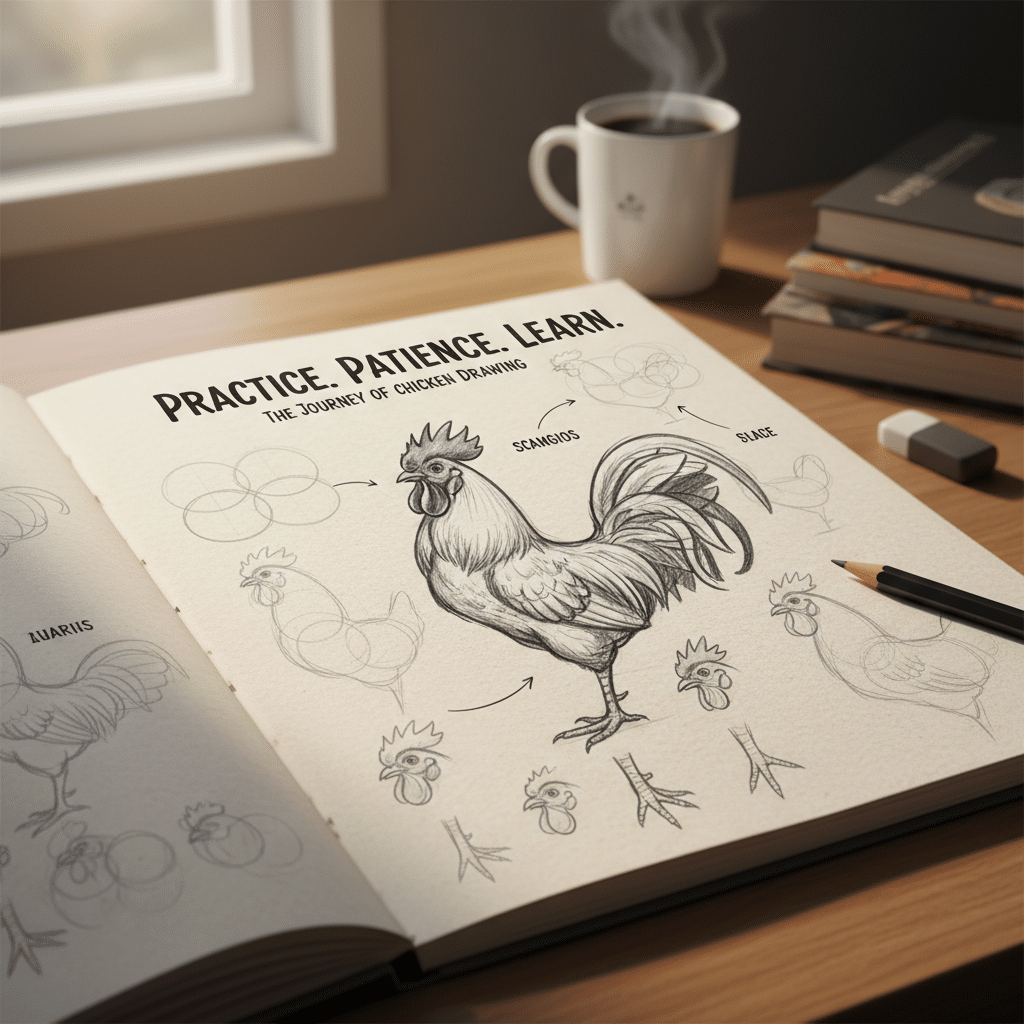
Mastering any art form, including the intricate skill of chicken drawing, is not a destination but a continuous journey defined by practice, patience, and an unwavering commitment to learning. Professional artists understand that skill development is an iterative process, requiring consistent effort and a willingness to embrace challenges.
Consistent Practice: The adage “practice makes perfect” holds true. Dedicate regular time to drawing, even if it’s just short, daily sketches. Quick gesture drawings of chickens in various poses will train your eye to capture their essence and movement rapidly. Draw from life whenever possible, as no photograph can fully convey the three-dimensional form, subtle movements, and unique character of a living creature.
Embrace Observation: Cultivate a keen eye for detail. Observe how chickens move, interact, and react to their environment. Notice the subtle shifts in their feather patterns, the glint in their eyes, and the way light plays across their forms. Carry a sketchbook to capture these fleeting moments and ideas. The more you observe, the richer your visual vocabulary becomes.
Learn from Others: Study the work of master artists who specialize in avian art or animal drawing. Analyze their techniques, their use of light and shadow, their composition, and how they convey texture and emotion. Don’t copy, but rather learn and adapt elements into your own evolving style. Seek out tutorials, workshops, or online courses that focus on animal anatomy or specific drawing techniques.
Seek Feedback: Share your work with trusted peers, mentors, or online communities. Constructive criticism is an invaluable tool for growth. Be open to different perspectives and suggestions, using them to identify areas for improvement. Understanding how to improve your art style fast often comes from analyzing your work critically and incorporating external insights.
Experiment and Innovate: Don’t be afraid to step outside your comfort zone. Try new mediums, experiment with different styles (from realistic to stylized), or tackle challenging compositions. Innovation often stems from pushing boundaries and exploring uncharted artistic territory. Perhaps you’ve focused on realistic depictions; try a more surreal or abstract approach to capturing the chicken’s spirit.
Patience with Yourself: There will be days when your drawings don’t meet your expectations. Frustration is a natural part of the creative process. Instead of giving up, view these moments as learning opportunities. Understand that skill develops gradually. Celebrate small victories and acknowledge your progress. The ability to create compelling chicken drawings, with depth, emotion, and technical proficiency, will come with persistent effort and a genuine passion for the subject.
The Path Forward: Embrace the Avian Canvas
The art of chicken drawing, far from being a niche pursuit, serves as a powerful testament to an artist’s ability to observe, interpret, and render complex life forms. By meticulously applying these seven professional techniques—from a deep understanding of avian anatomy to the thoughtful choice of medium and the continuous dedication to practice—you can transform your approach to drawing these fascinating birds.
Each feather, every gleam in their eye, and every unique posture offers a challenge and an opportunity to refine your craft. Embrace the rich textures, the nuanced expressions, and the dynamic forms that chickens present. Let your curiosity guide your hand, and allow the intricate beauty of these common creatures to inspire your most detailed and expressive works.
Now, take up your chosen tools, observe the world around you, and begin to articulate the captivating spirit of the chicken on your canvas. The journey to mastering avian art is an enriching one, waiting for your unique vision to unfold.
- 17shares
- Facebook0
- Pinterest17
- Twitter0
- Reddit0
