Ever found yourself staring at a blank page, itching to create something cool, futuristic, and full of personality? Well, you’ve landed in the perfect spot! Learning how to draw a robot isn’t just about putting lines on paper; it’s about bringing a piece of your imagination to life, gear by gear, bolt by bolt. Whether you dream of crafting a clunky, lovable companion bot or a sleek, hyper-advanced android, this ultimate guide will take you from basic shapes to bold bots, no matter your current drawing skill level. Get ready to power up your pencils and unleash your inner inventor!
Drawing robots is incredibly rewarding. It combines technical thinking with boundless creativity. You’re not just sketching; you’re engineering a character, giving it purpose and charm. It’s a fantastic way to develop your artistic skills, pushing you to think about form, function, and detail in exciting new ways. Plus, let’s be honest, robots are just plain cool. They represent our hopes, fears, and wildest technological fantasies, making them a fantastic subject for any aspiring artist.
Why Drawing Robots is an Artistic Superpower
Think about it: robots can be anything! They aren’t bound by the rules of human or animal anatomy, giving you immense creative freedom. This freedom helps you stretch your imagination and think outside the box, which is a crucial skill for any artist. When you tackle robot drawing, you’re not only improving your hand-eye coordination but also your ability to visualize complex objects in three dimensions. You learn about balance, structure, and how different parts connect and interact, all while having a blast.
This journey is about more than just technique; it’s about exploring your own unique style. Will your robots be menacing war machines, helpful domestic assistants, or quirky space explorers? The choice is entirely yours! And who knows, mastering the art of robot drawing might even open doors to other creative fields, like character design for games or animation. Speaking of character design, developing strong visuals is key, much like how eye-catching visuals can transform your pop-up promotions. The principles of engaging design are universal!
Your Robot Drawing Toolkit: Essential Gear
Before we dive into the nuts and bolts of drawing, let’s make sure you have the right tools at hand. Don’t worry, you won’t need anything too fancy or expensive. The beauty of drawing is its accessibility!
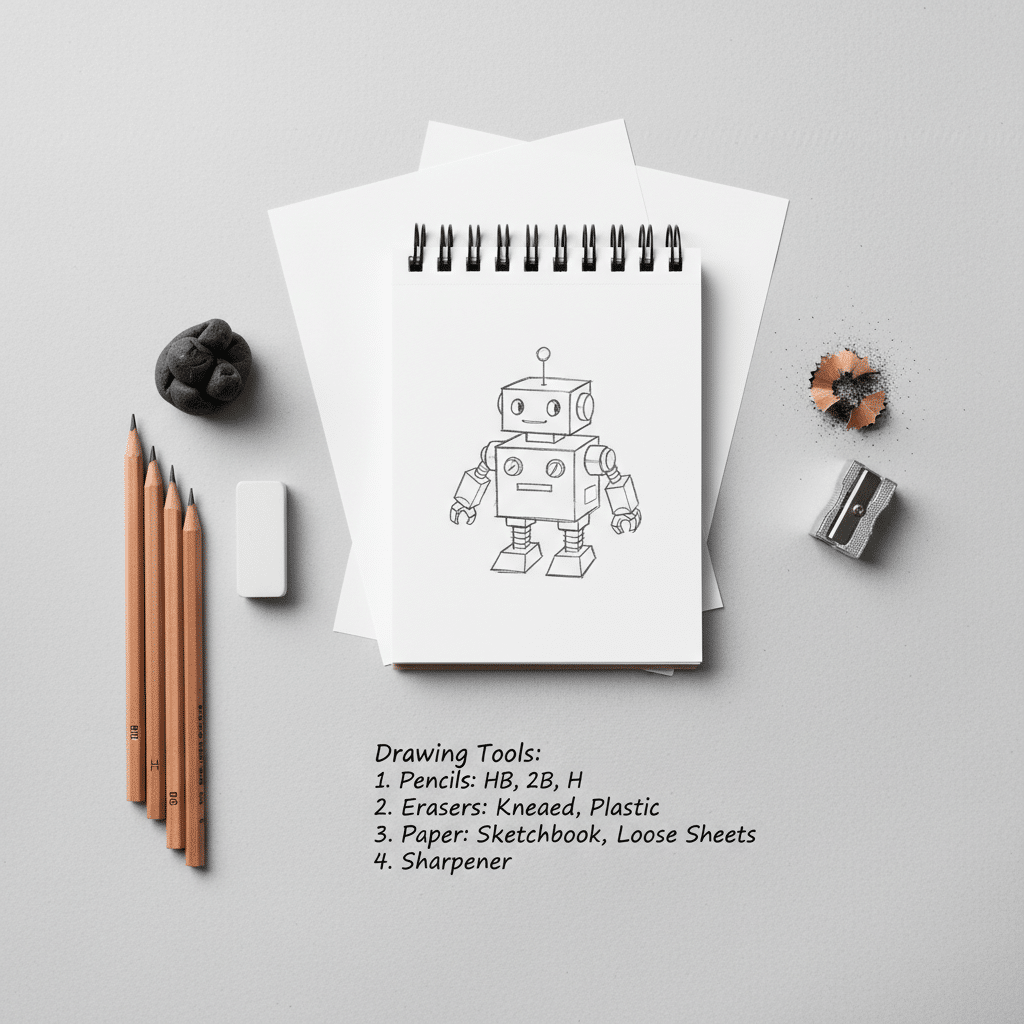

What You’ll Need:
- Pencils: Start with a few different lead hardnesses. An HB pencil is great for general sketching, a 2H or 4H for light guide lines, and a 2B or 4B for darker lines and shading.
- Eraser: A good quality kneaded eraser is fantastic for lifting graphite without damaging the paper, and a vinyl eraser (the white plastic kind) is perfect for precise corrections.
- Paper: Any sketch paper will do for practice. If you plan to make a finished piece, consider a slightly heavier drawing paper.
- Ruler (Optional but Helpful): Robots often feature straight lines and geometric shapes, so a ruler can be a real time-saver, especially for beginners.
- Reference Images: Crucial for inspiration! Look up real-world machinery, futuristic concept art, or even other robot drawings. We’ll talk more about this later.
That’s it! With these simple supplies, you’re well on your way to creating mechanical masterpieces. Remember, the tools are just an extension of your creativity; it’s your hand and imagination that do the real work.
Deconstructing the Machine: Thinking in Basic Shapes
The secret to drawing anything complex, especially something like a robot, is to break it down into its simplest components. Forget about the intricate wires and gleaming chrome for a moment. Think like a sculptor shaping clay, starting with the biggest, most fundamental forms. This is often called “constructive drawing,” and it’s your best friend when learning easy anime drawings or, in our case, powerful bots!
The Power of Geometric Forms
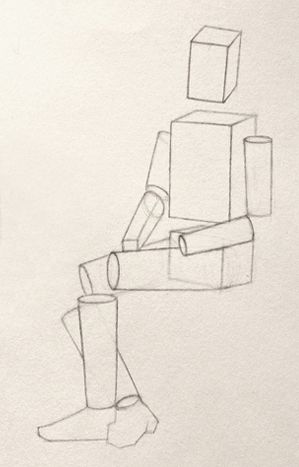
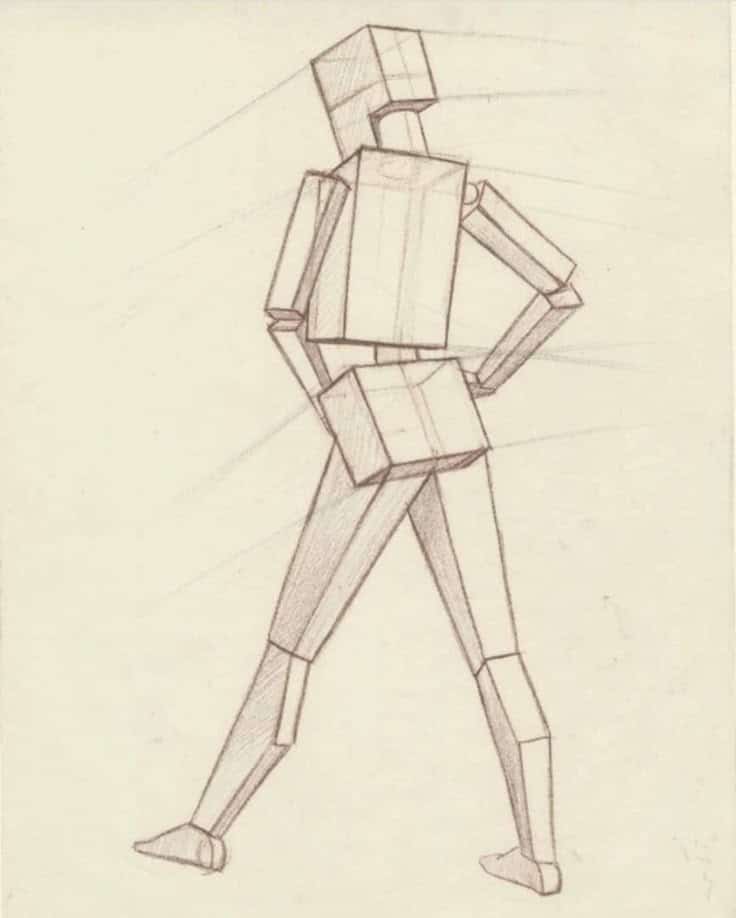
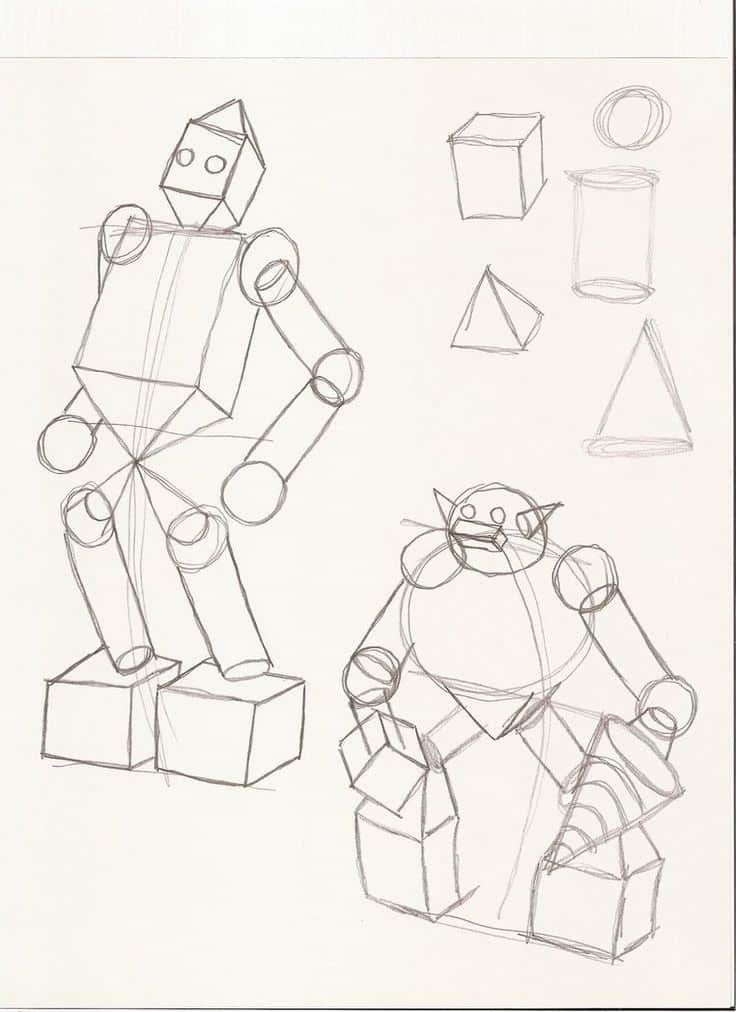
Robots are, at their core, made up of geometric shapes. Cubes, cylinders, spheres, cones, and pyramids are your building blocks.
- Body: Often a cube, cylinder, or a rectangular prism.
- Head: Can be a sphere, a box, or even a more complex, elongated shape.
- Arms and Legs: Typically cylinders or tapered rectangles, sometimes with spherical joints.
- Hands and Feet: Can be simple blocks, claws, or more articulated structures.
By starting with these basic forms, you establish the robot’s overall proportions, pose, and spatial relationship to its environment. This foundational step is absolutely critical because it dictates the entire drawing’s stability and realism. If your basic shapes are wobbly or out of proportion, the finished robot will look off, no matter how much detail you add.
Thinking in 3D: Giving Your Bot Depth
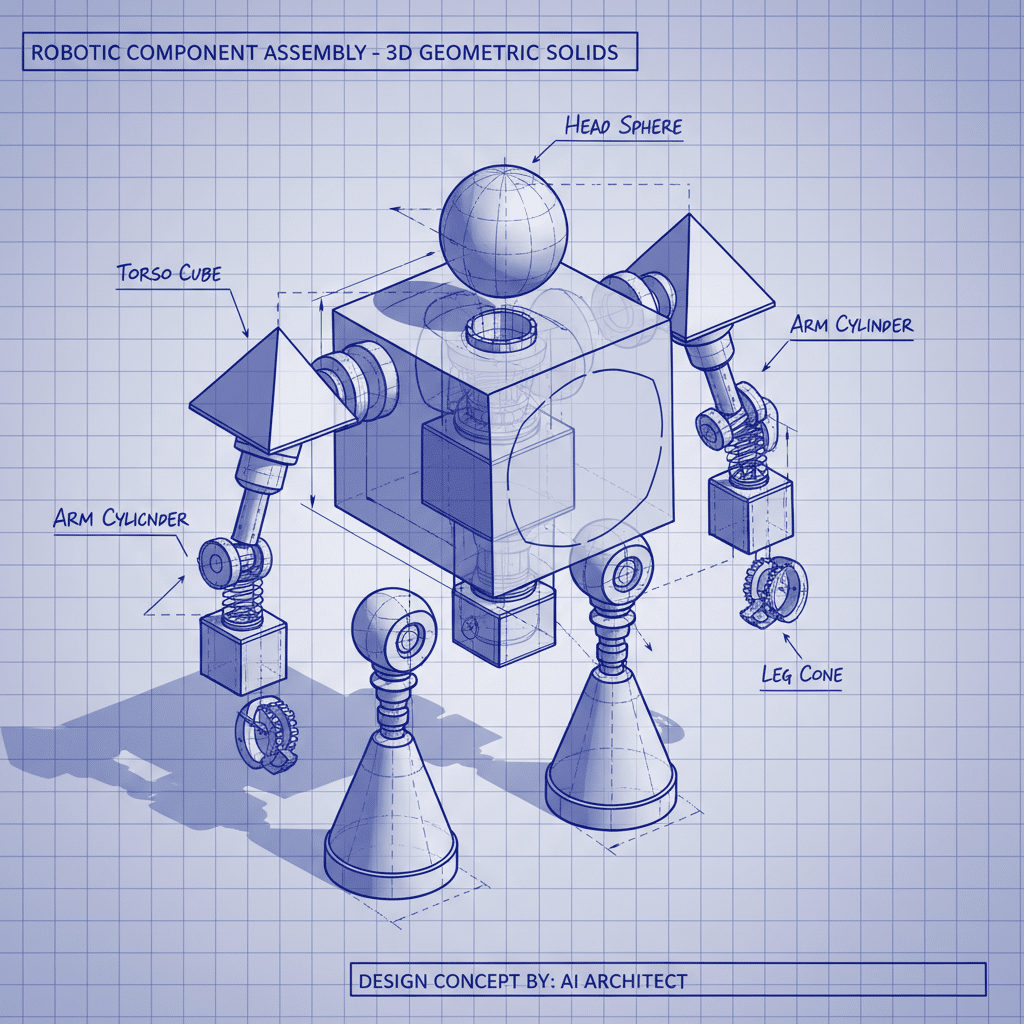

It’s not enough to just draw flat squares and circles. You need to think about these shapes in three dimensions. Imagine them as solid objects existing in space.
- Cubes: Show three sides to convey depth.
- Cylinders: Draw the top and bottom ellipses to give them volume.
- Spheres: Use subtle contour lines to indicate their roundness.
This “3D thinking” helps you understand how light will hit your robot, how its parts will connect, and how it will interact with its surroundings. It’s like building a model before you paint it. This approach is fundamental to creating compelling visuals, whether you’re drawing, designing, or even crafting virtual worlds, which often relies on breaking down complex environments into simpler components as highlighted in crafting virtual worlds: the essentials of game development.
Practice drawing these basic shapes from different angles. Rotate a cube in your mind, then draw it. Imagine a cylinder lying down, then standing up. The more comfortable you become with these fundamental forms, the easier it will be to construct any robot you can imagine.
Step-by-Step Robot Drawing: From Idea to Icon
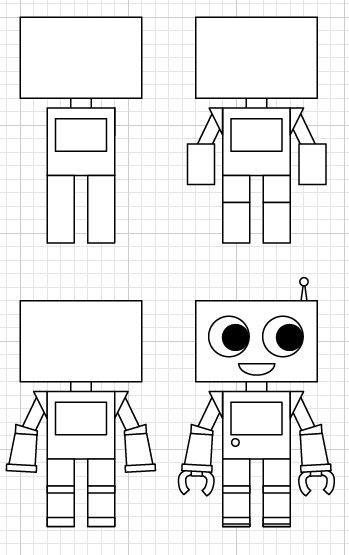
Okay, let’s get down to business! Here’s a step-by-step breakdown of how to draw a robot, guiding you from a glimmer of an idea to a fully rendered mechanical marvel. Remember to keep your lines light and loose in the initial stages—you’ll be refining and erasing as you go.
Step 1: Brainstorming Your Bot
Before you even touch your pencil to paper, take a moment to think. What kind of robot do you want to draw?
- Purpose: Is it a worker, a fighter, a friend, or an explorer?
- Personality: Is it grumpy, happy, stoic, or mischievous?
- Era/Setting: Is it a retro-futuristic bot from the 50s, a gritty steampunk creation, or a sleek sci-fi marvel from a distant future?
- Key Features: Does it have tracks, wheels, wings, multiple arms, glowing eyes?
Having a clear concept will guide your design choices and make the whole process smoother. You don’t need a perfect blueprint, just a general direction. A great way to kickstart this process is to do some quick, thumbnail sketches – tiny, rough drawings that capture the essence of your ideas without getting bogged down in detail. This phase is all about imagination!
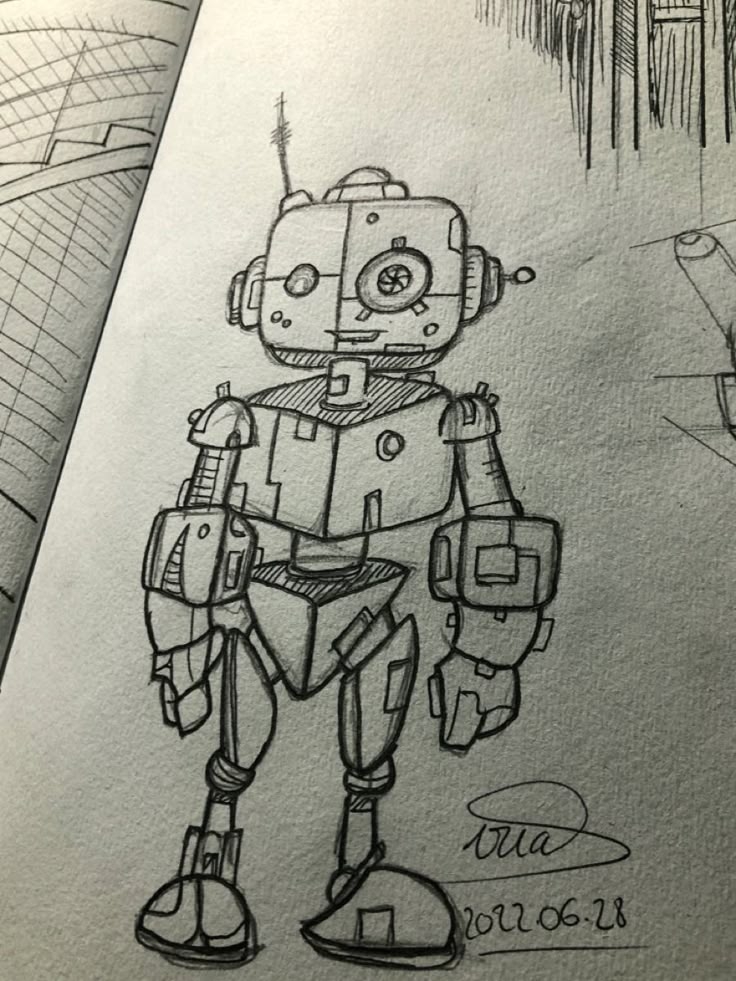
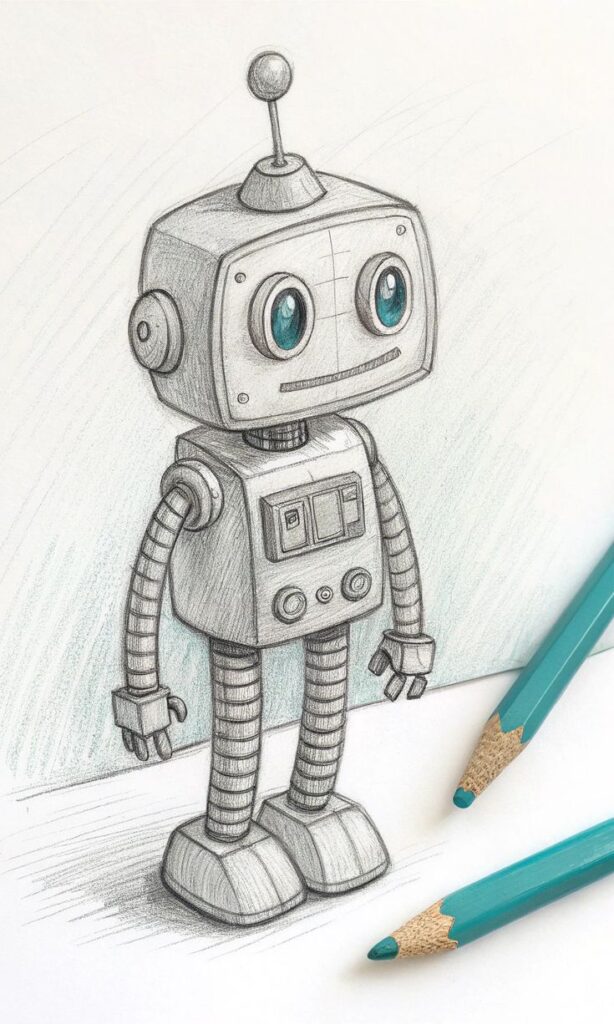
Step 2: Sketching Basic Forms and Pose
This is where you apply that “thinking in 3D” we just talked about.
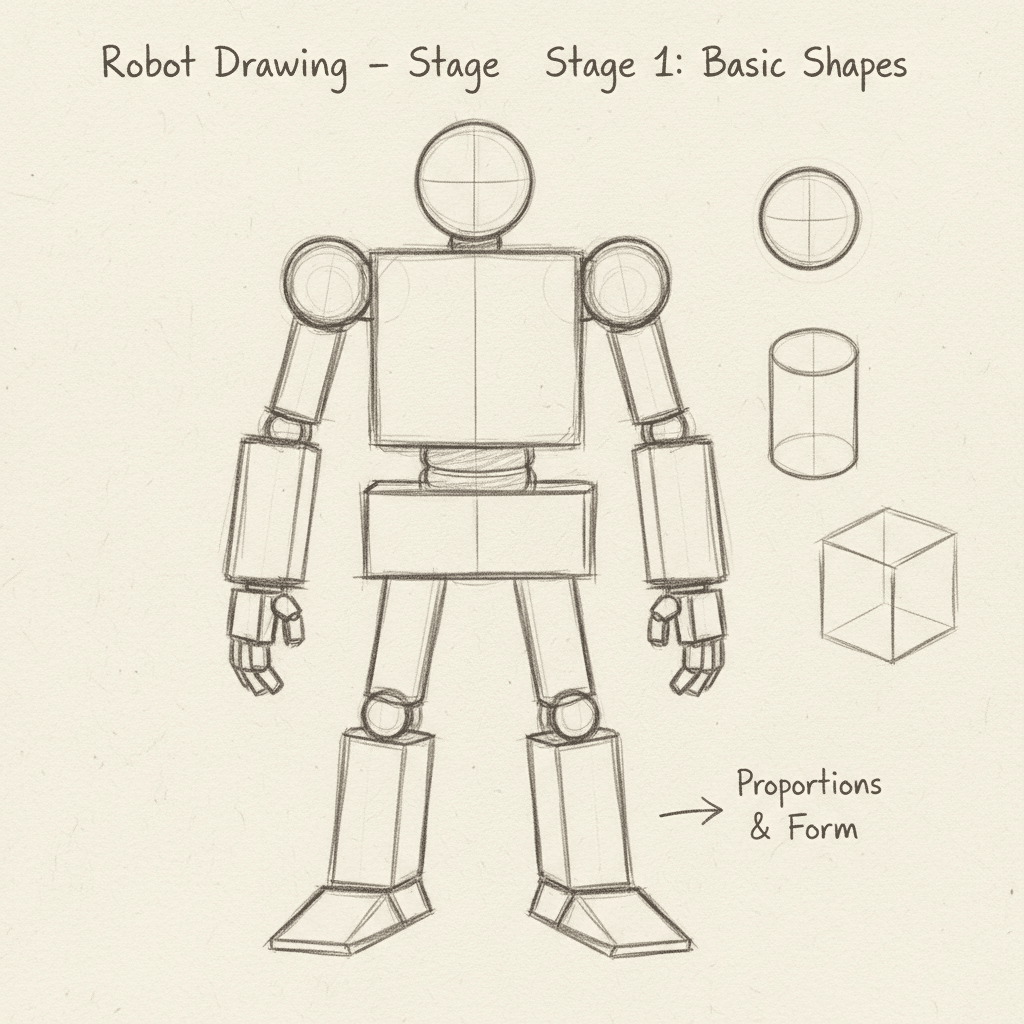
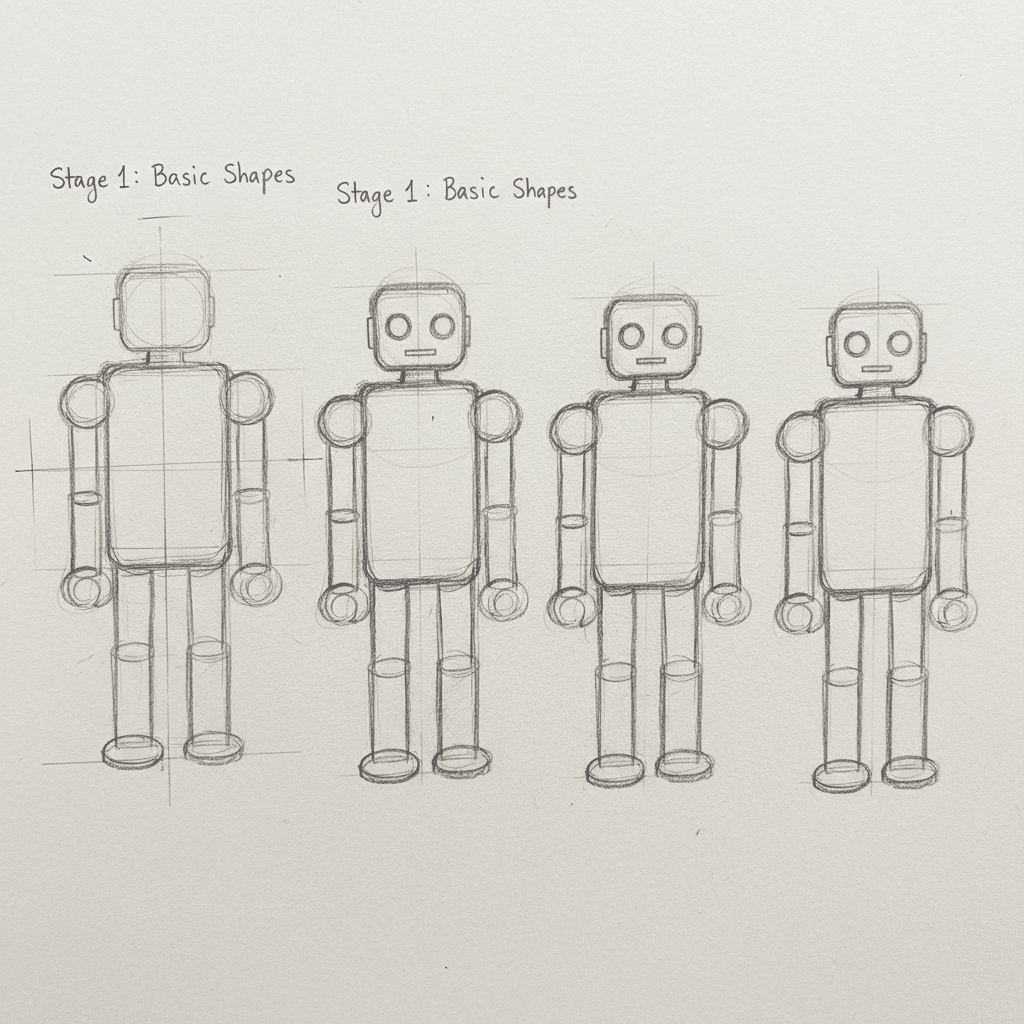
- Start with the torso: Lightly sketch a cube, cylinder, or rectangular prism for the robot’s main body. This acts as the anchor for the rest of your drawing.
- Add the head: Place a sphere or box where the head would be. Consider its size relative to the body for proportion. A large head can make a robot look cute or clumsy, while a small head can make it seem more powerful or streamlined.
- Outline limbs: Use simple lines for the central axis of the arms and legs, then build cylindrical or box shapes around them. Think about how the limbs connect to the body and how they articulate at the joints. Are the arms bent? Is one leg stepping forward?
- Establish the pose: Give your robot some action or attitude. Even a standing robot can have a slight lean or a specific weight distribution. Use “stick figure” versions of your shapes to quickly block out the pose.
Keep these initial lines very light. They are just guides! Don’t press hard, or you’ll leave indentations on the paper.
Step 3: Connecting the Shapes
Now that you have your basic forms, it’s time to connect them and give your robot a sense of cohesion.
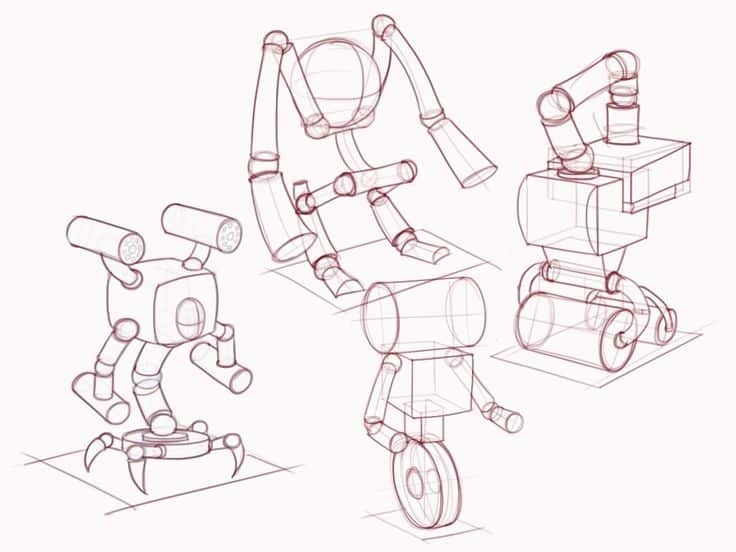
- Define the joints: Decide how the parts connect. Are they ball-and-socket joints, hinges, pistons, or flexible conduits? Sketch in simple shapes for these connections. For example, spheres for shoulders and hips, or cylinders for elbows and knees.
- Smooth out the forms: Gently blend the geometric shapes into each other. If you have a cylindrical arm connected to a boxy torso, you might add a shoulder plate or a rounded attachment to make the transition look natural and functional.
- Consider overlapping: Parts of your robot will overlap. Use this to create depth. For instance, an arm might be in front of the torso, or a leg might be behind the other.
This step is crucial for making your robot look like a single, functional entity rather than just a collection of detached shapes.
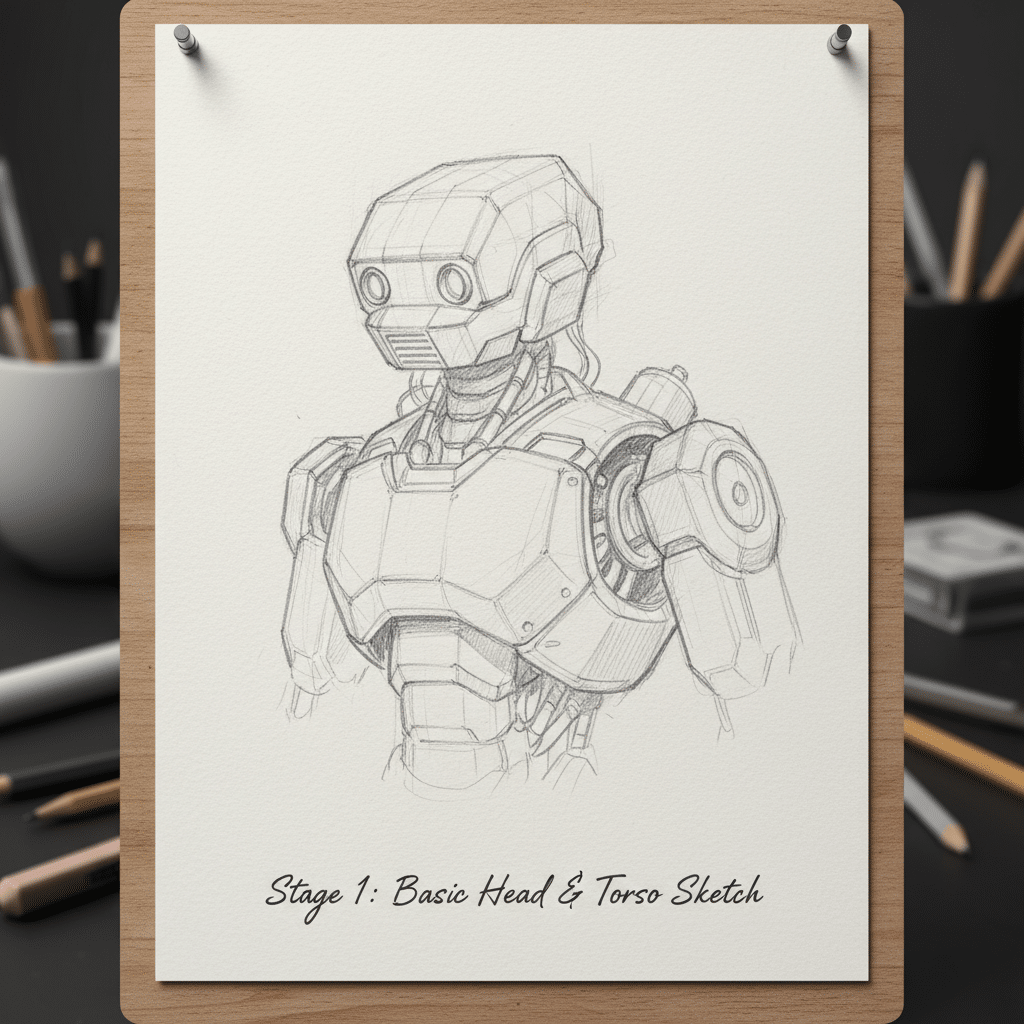
Step 4: Adding Details and Features
This is where your robot truly starts to come to life!
- Facial features: If your robot has a face, add eyes (simple dots, glowing slits, camera lenses), a mouth (a grill, a speaker, nothing at all), or other sensors. These details often give a robot its personality.
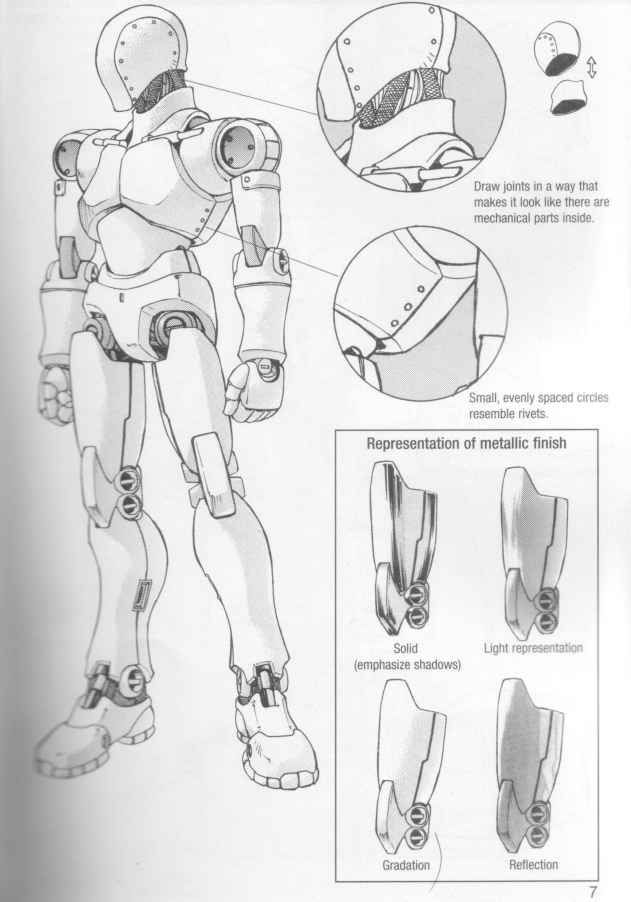
- Panels and plating: Robots are typically built from individual plates or panels. Sketch these in, following the contours of your basic forms. Think about where seams, rivets, or bolts would be.
- Mechanical components: Add wires, pistons, gears, vents, lights, buttons, and switches. These functional details enhance the robot’s believability and mechanical nature.
- Hands and feet: Refine these areas. Will the hands be simple claws, complex manipulators, or just nubs? Will the feet be treads, human-like, or broad stabilizers?
Don’t go overboard with details too early. Focus on the most important features first, then gradually add smaller elements. This helps you maintain a sense of balance in your design.
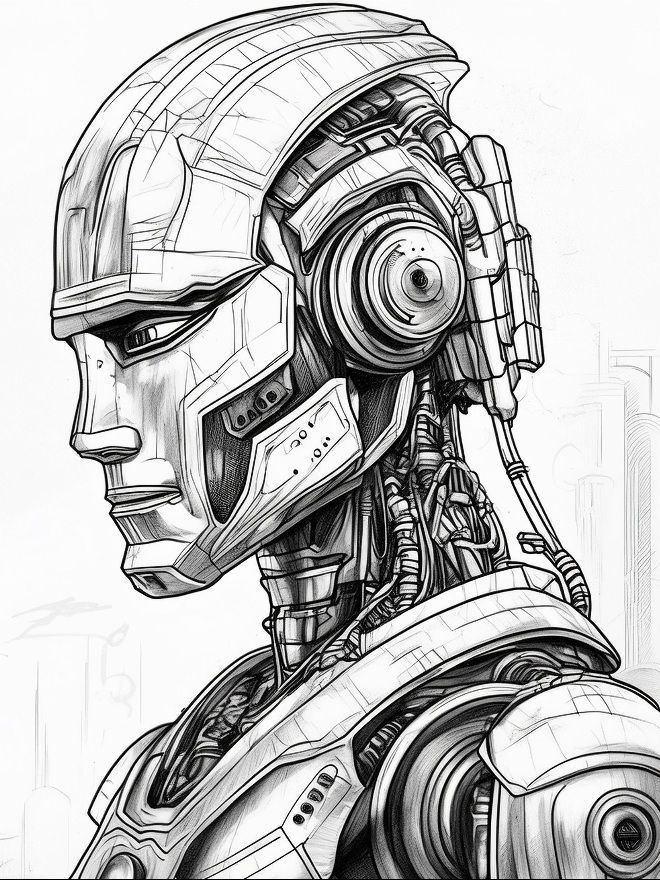
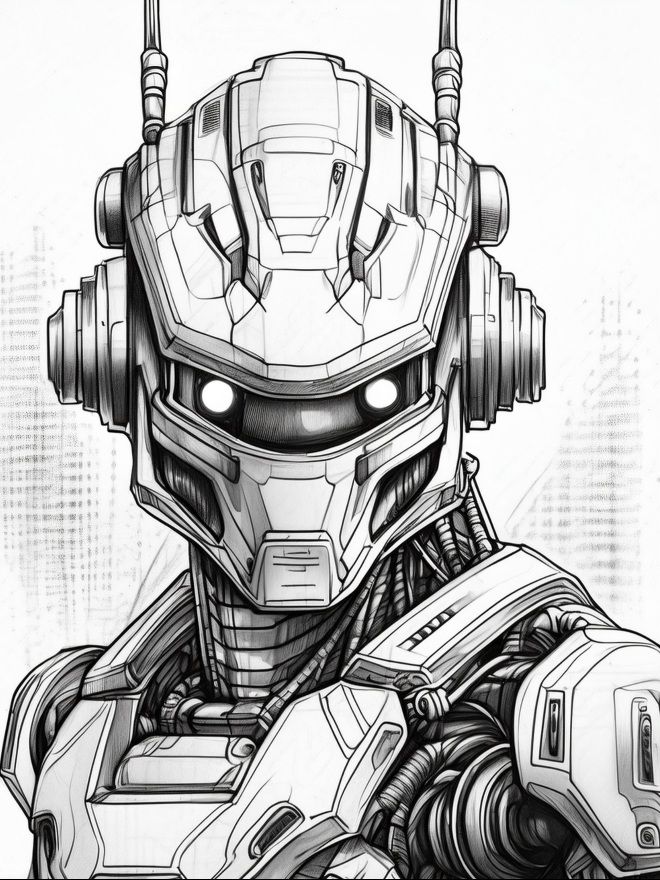
Step 5: Refining Lines and Erasing Guides
Once you’re happy with the overall form and major details, it’s time to clean up your drawing.
- Darken essential lines: Go over the lines you want to keep with a slightly darker pencil (like a 2B) to make them stand out.
- Erase guide lines: Carefully use your kneaded eraser to lift away all those light construction lines that are no longer needed. Be gentle to avoid smudging.
- Add line weight variation: This is a professional trick! Make lines that are closer to the viewer or define an edge darker and thicker. Lines that recede or describe internal details can be lighter and thinner. This adds depth and visual interest to your robot.
A clean line drawing instantly makes your robot look more polished and professional.
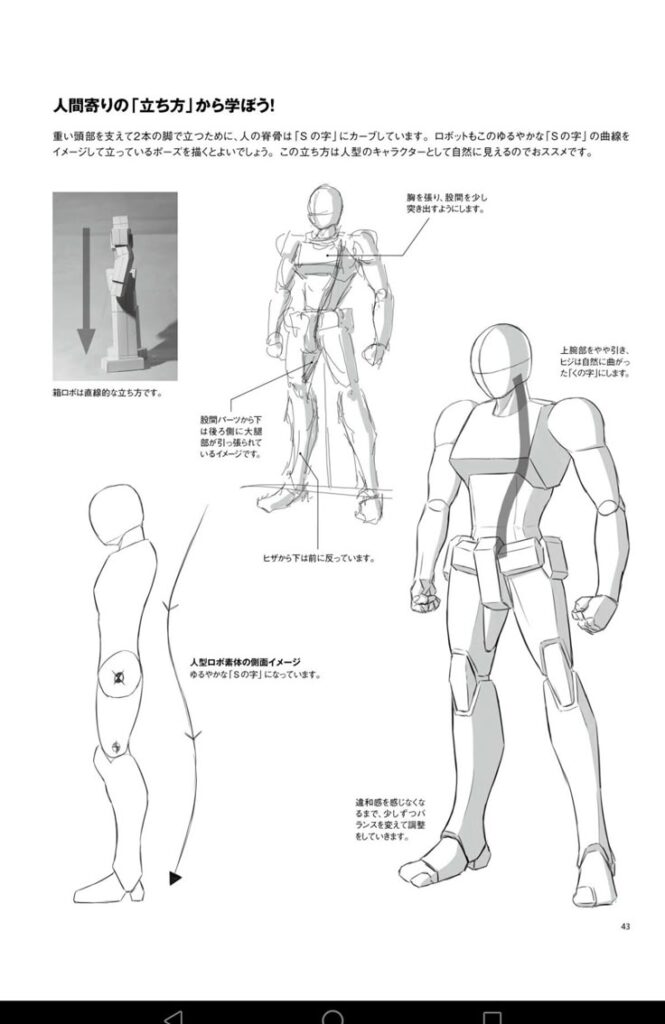
Step 6: Giving Your Robot Personality (Expressions, Poses)
A robot doesn’t have to be a static, lifeless machine. You can inject personality through various means:
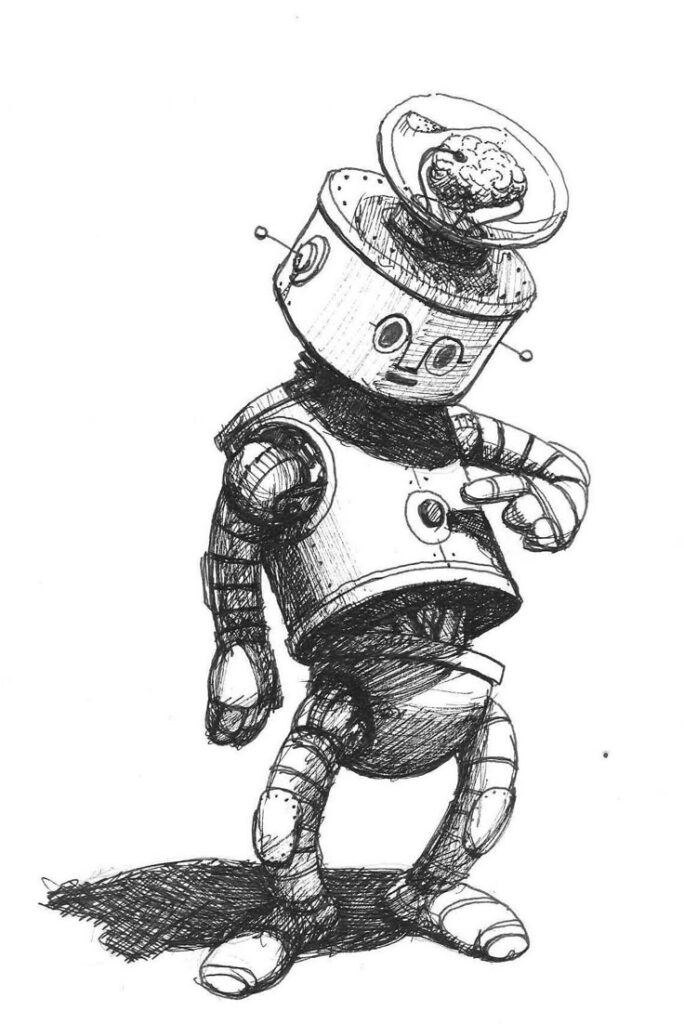
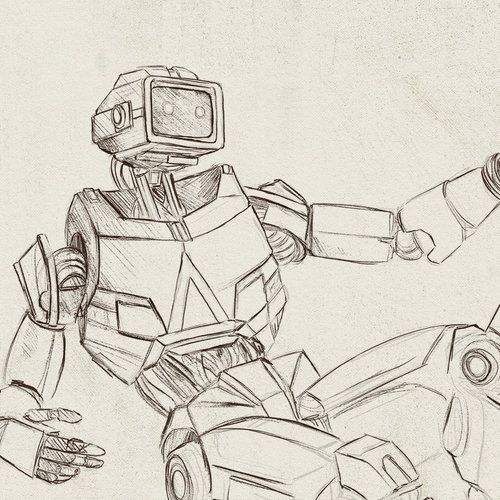
- Body language: A slight tilt of the head, a slumped posture, or an outstretched arm can convey emotions or intentions. Even subtle shifts in the angle of the torso or limbs can speak volumes.
- “Facial” expressions: While robots don’t have muscles to express emotion, you can use eye shape, antenna position, or even a grill design to suggest a mood. Glowing red eyes might imply anger, while wide, round lenses could suggest curiosity.
- Accessories: A toolbox, a flower, a weapon, or a badge can tell a story about your robot’s function or character.
Think about what your robot is doing or feeling, and try to reflect that in its design and posture. This is similar to how artists draw outfits – the clothes tell a story about the character wearing them.
Step 7: Shading and Texturing
Shading gives your robot volume, while texturing adds realism and character.
- Establish a light source: Decide where the light is coming from. This will determine where the shadows fall.
- Block in core shadows: Apply a base layer of shading to the areas that are furthest from the light source.
- Add mid-tones and highlights: Gradually build up the shading, creating a smooth transition from dark shadows to brighter areas. Leave some spots untouched for highlights, which represent the brightest reflections of light.
- Apply textures:
- Metal: Use subtle gradients, sharp reflections, and perhaps a few scuffs or scratches.
- Plastic: Softer, more diffuse shading, possibly with a slight sheen.
- Rubber: Darker, matte shading with minimal reflections.
- Wires/Cables: Draw parallel lines along the length of the wire to show its roundness.
Experiment with different shading techniques like cross-hatching, stippling, or smooth blending to achieve various effects. Don’t forget ambient occlusion – the soft shadows that occur where two surfaces meet, like under a robotic chin or where an arm connects to a shoulder.
Step 8: Adding Color (Optional but Fun!)
If you’re feeling adventurous, add color!
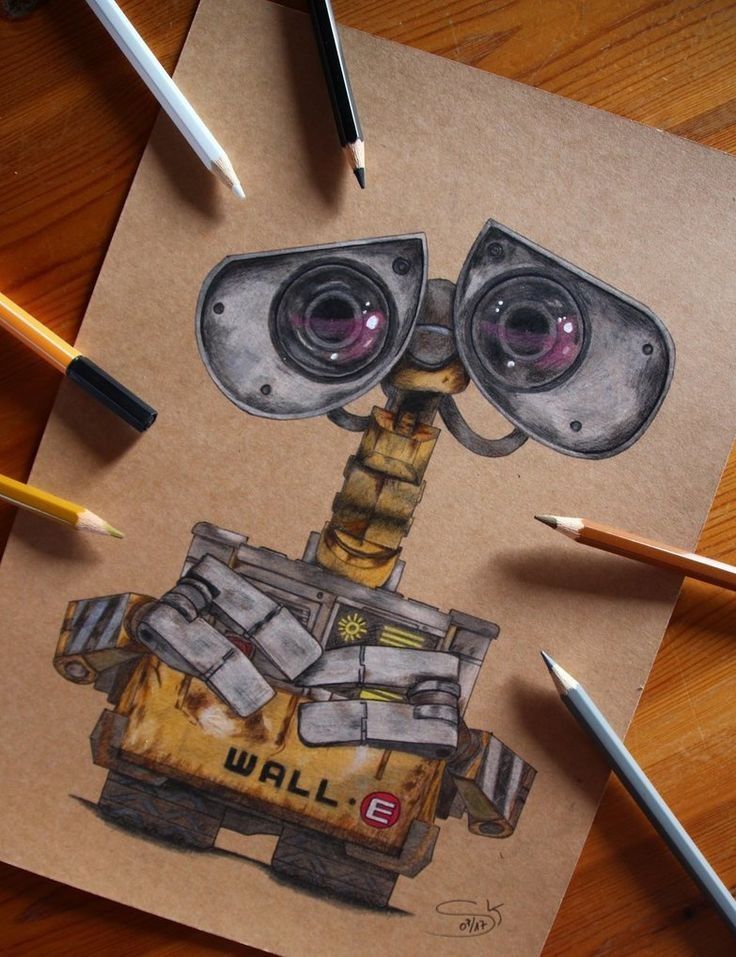
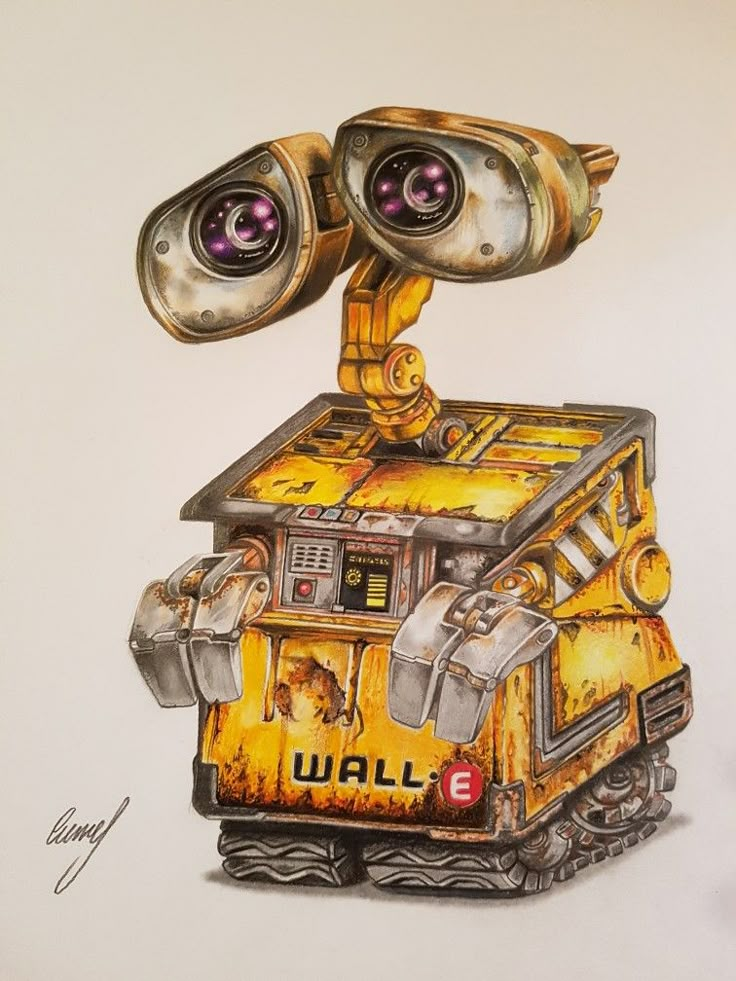
- Choose a color palette: Decide on a main color, secondary colors, and accent colors. Consider what kind of robot it is – a rugged utility bot might have muted, earthy tones, while a sleek AI might sport bright whites and blues.
- Layer your colors: Start with light, even layers and gradually build up intensity. This gives you more control and prevents oversaturation.
- Consider reflections: Metallic robots often reflect their surroundings. Add subtle hints of environmental colors in their reflections.
You can use colored pencils, markers, watercolors, or even digital painting software. Color brings another dimension of personality and vibrancy to your robot.
Exploring Different Robot Styles
One of the most exciting aspects of drawing robots is the sheer variety of styles you can explore. Each style offers unique design challenges and opportunities for creative expression.
Classic Sci-Fi Bots
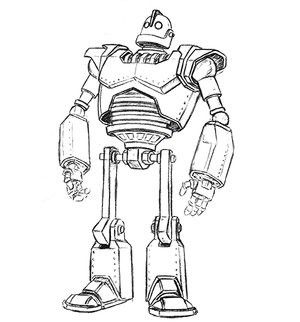
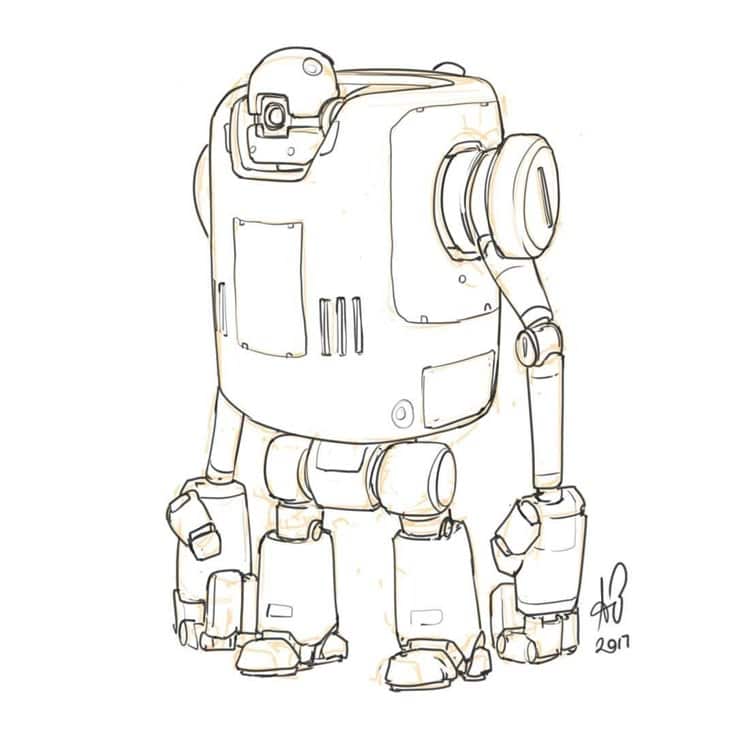
Think iconic designs like R2-D2 or the robots from 1950s sci-fi movies. These often feature:
- Rounded, retro forms: Domed heads, cylindrical bodies, simple limbs.
- Visible seams and rivets: A charming, “built-in-a-garage” aesthetic.
- Antennas, lights, and gauges: Functional yet stylistic details.
- Limited articulation: Often move in a charmingly clunky way.
Drawing these bots is a great exercise in simplicity and capturing a nostalgic feel.
Industrial/Mecha Robots
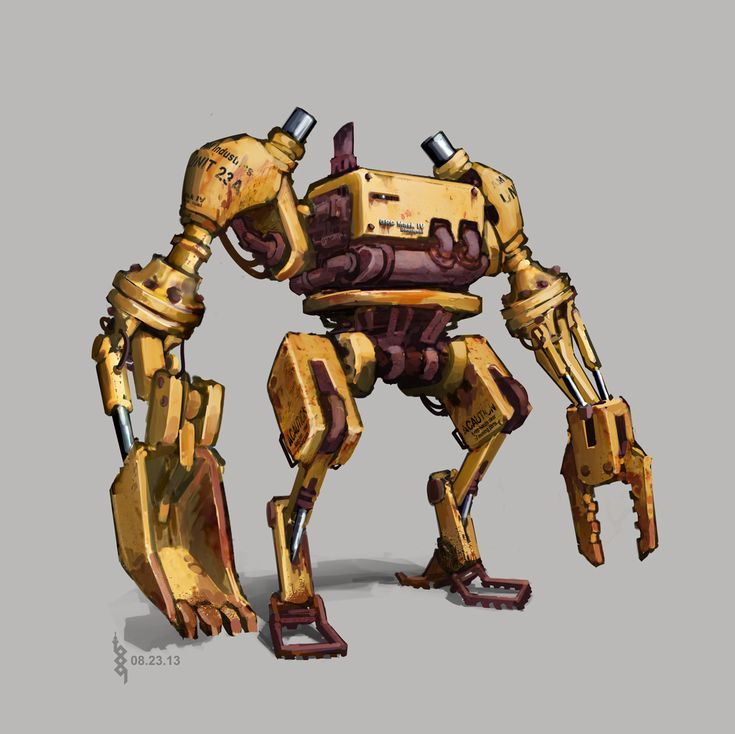
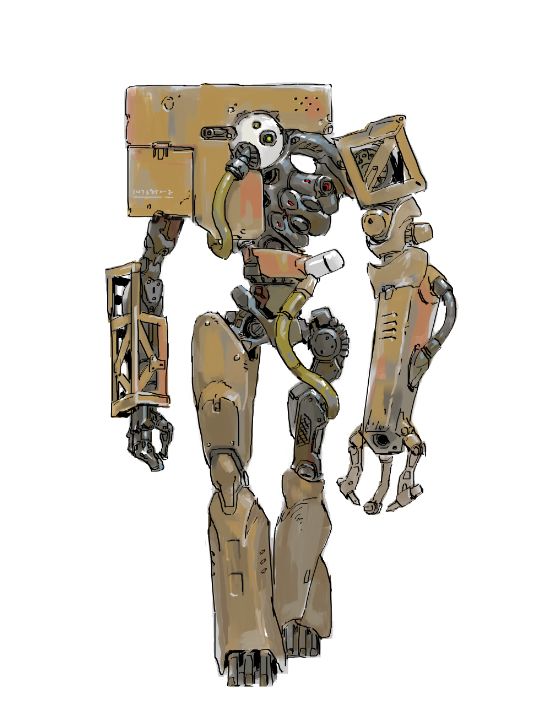
These are the heavy-hitters: giant fighting machines, construction bots, or military-grade androids.
- Exaggerated proportions: Massive limbs, powerful torsos, armored plating.
- Complex mechanics: Visible pistons, hydraulic systems, heavy-duty joints.
- Gritty, functional aesthetics: Often look weathered, scratched, or heavily modified.
- Sharp angles and robust forms: Designed for strength and resilience.
This style demands attention to mechanical detail and a sense of imposing scale.
Cute & Cartoony Robots
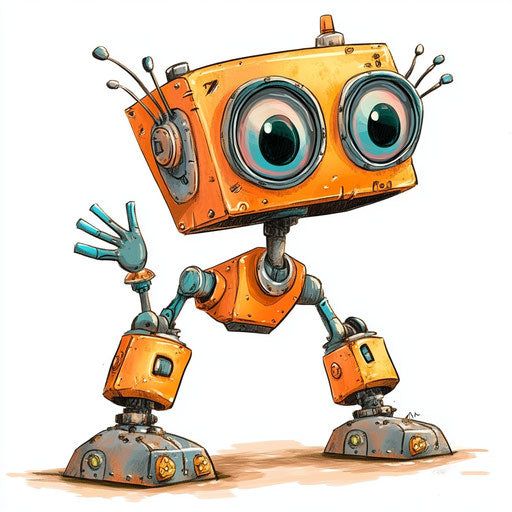
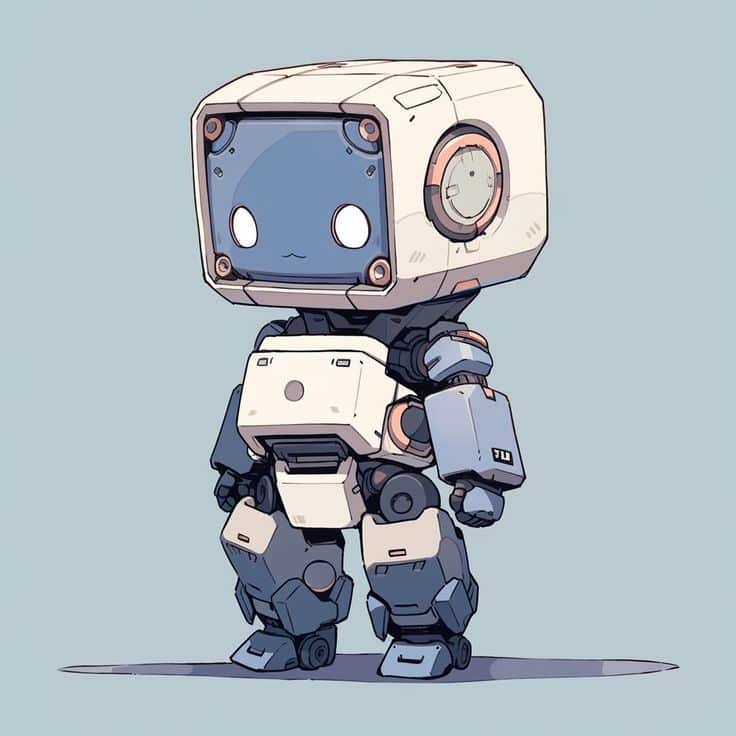
Perfect for artists who love whimsical, expressive characters.
- Simplified shapes: Often squishy, bubbly, or incredibly round.
- Exaggerated features: Large, expressive eyes; oversized heads; tiny limbs.
- Vibrant colors: Bright and inviting palettes.
- Human-like expressions: Despite being machines, they convey emotions clearly.
Drawing cute robots focuses on charm and personality, often bending the rules of mechanics for comedic or endearing effect.
Futuristic & Sleek Robots
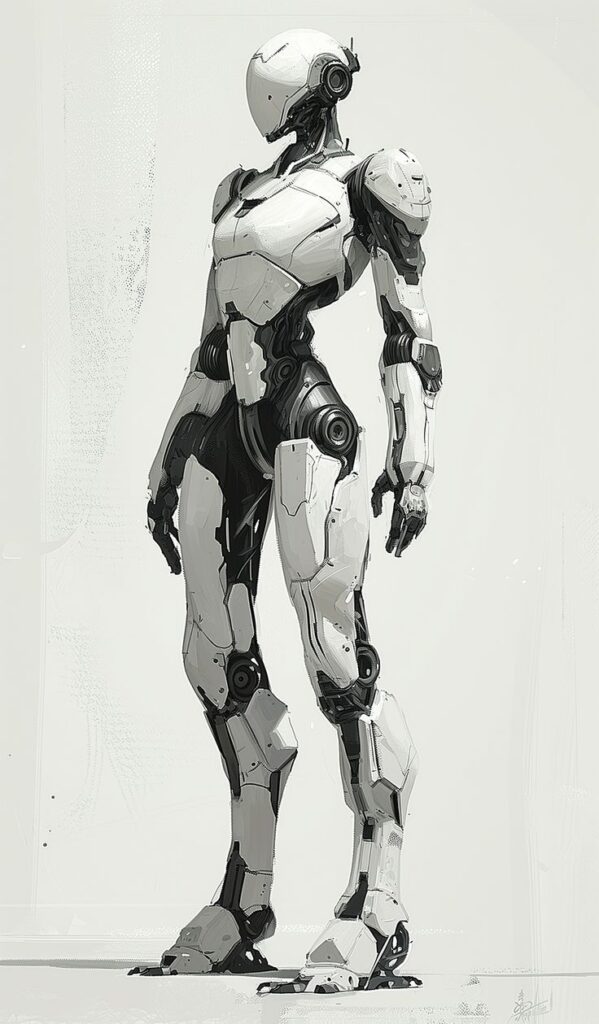
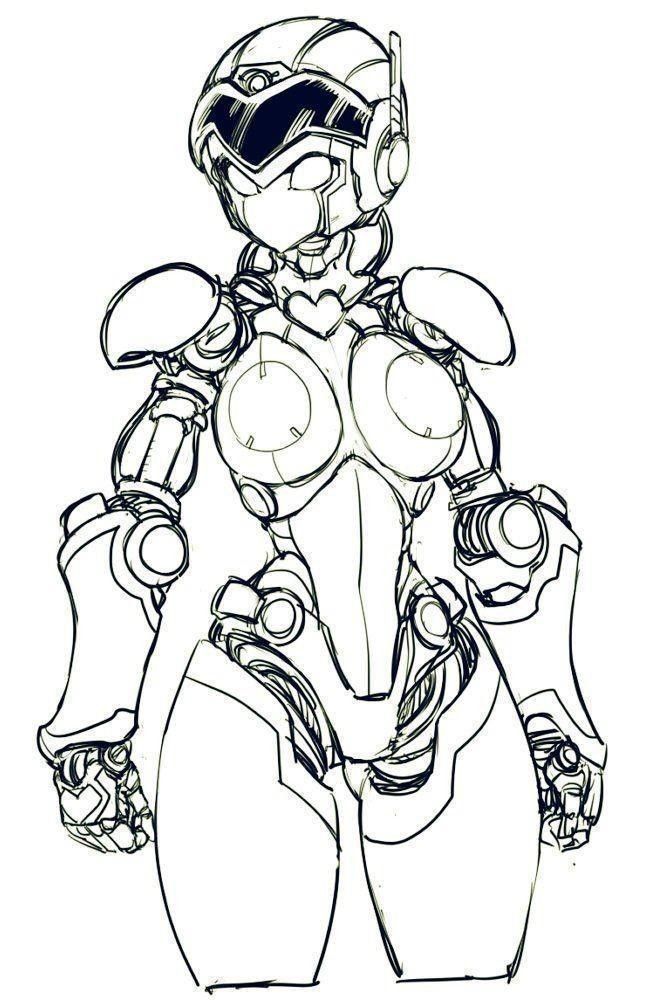
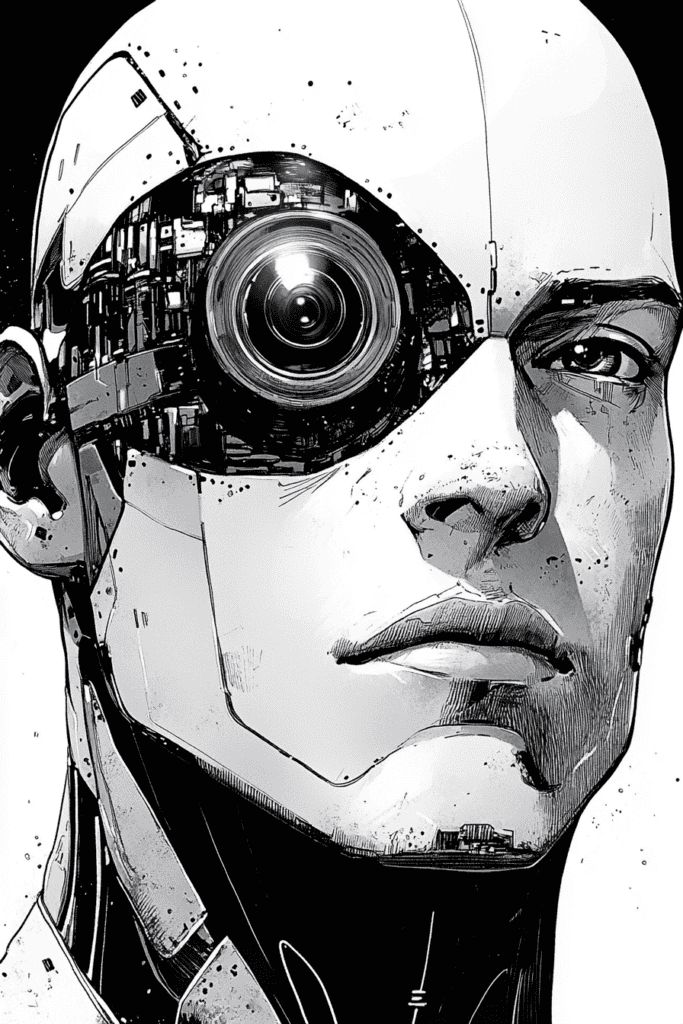
These are the darlings of modern sci-fi: elegant, minimalist, and often eerily human-like.
- Smooth, flowing lines: Minimal visible seams or mechanics.
- Streamlined forms: Often inspired by aerodynamic design or organic shapes.
- Advanced materials: Suggestive of reflective surfaces, glowing components, or advanced alloys.
- Subtle details: Focus on clean interfaces, integrated sensors, and elegant curves.
This style requires a keen eye for minimalist design and a mastery of conveying advanced technology through subtle visual cues.
Tips for Leveling Up Your Robot Drawings
You’ve got the basics down, now how do you take your robot art to the next level?
Practice, Practice, Practice
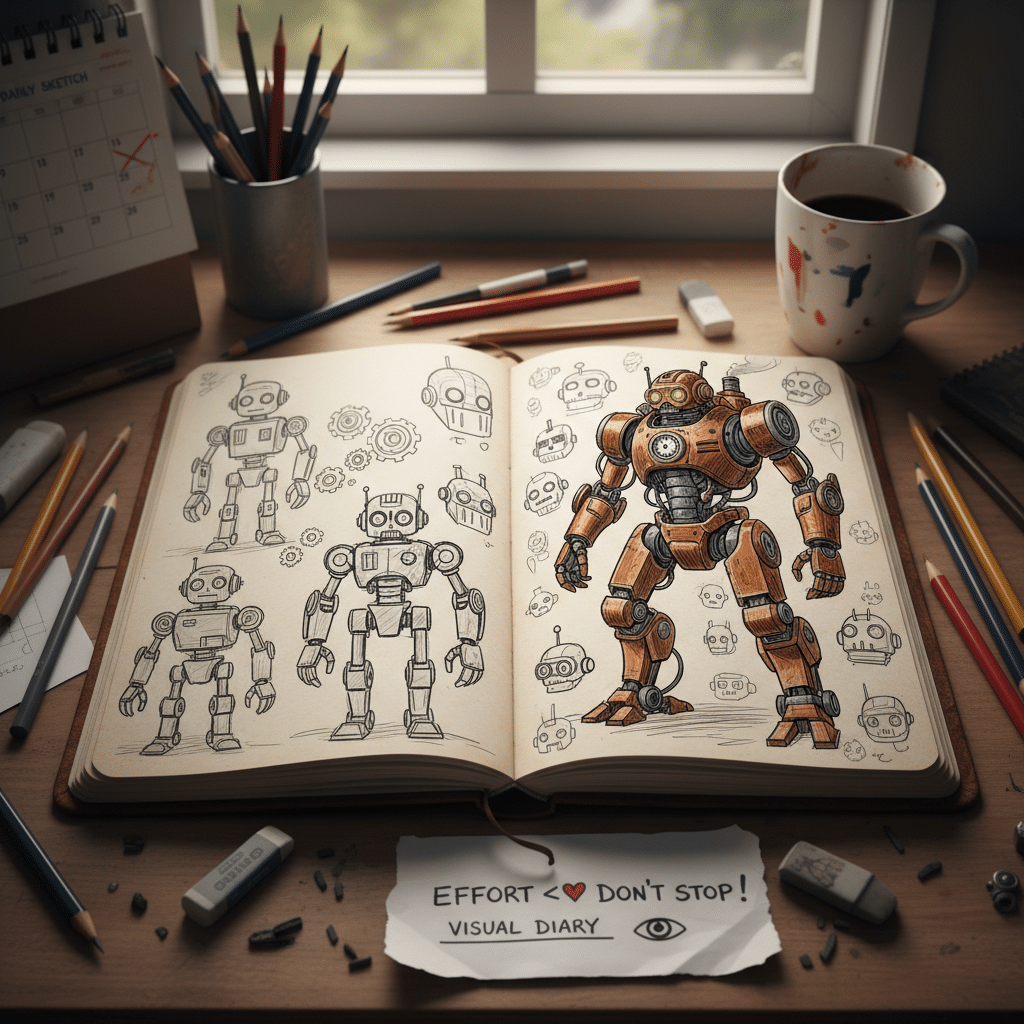
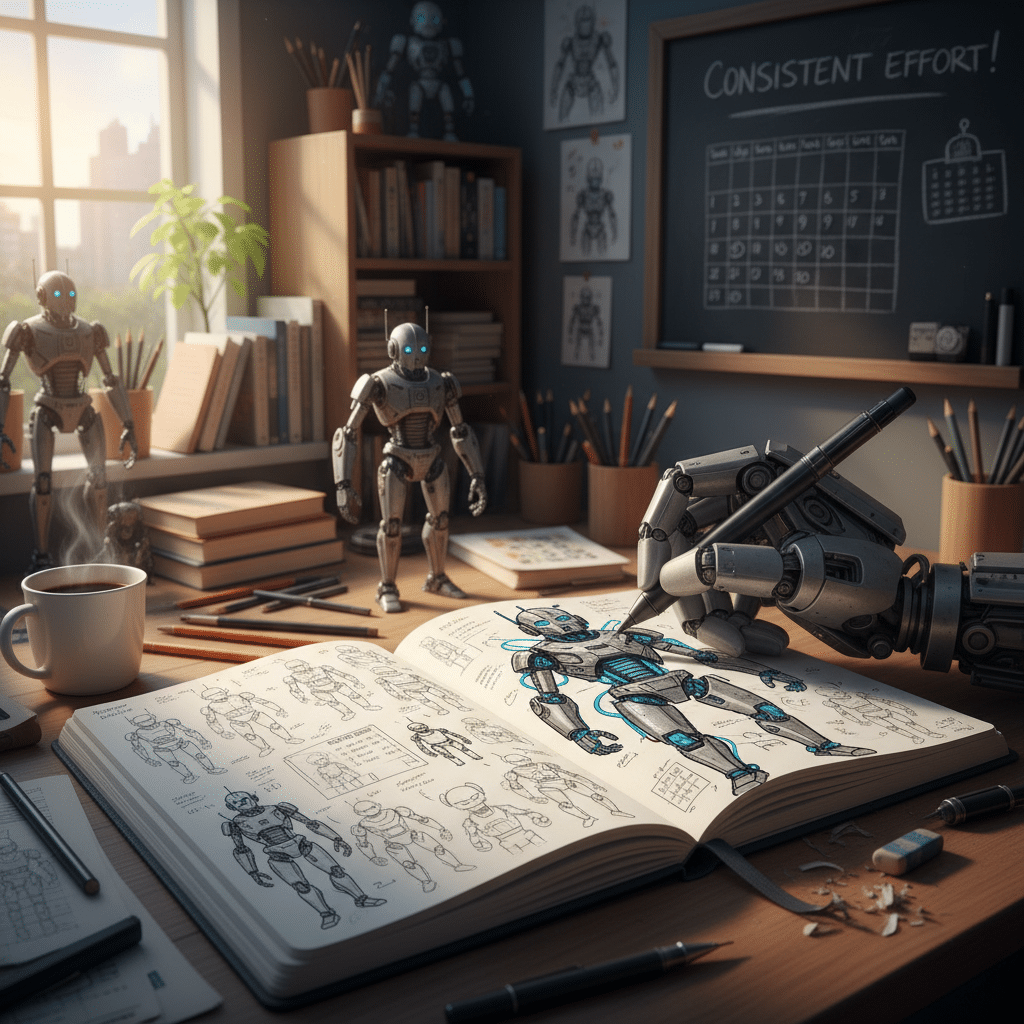
There’s no substitute for consistent effort. The more you draw, the better you’ll become. Set aside dedicated time each day or week to sketch. Don’t aim for perfection every time; just aim to create. Keep a sketchbook handy and draw whenever inspiration strikes, whether it’s a quick doodle or a detailed study. This consistent effort is vital for any creative pursuit, much like how you might draw your day: creating a visual diary to hone your observation skills.
Study Real-World Mechanics
Even though robots are fictional, they often mimic real-world engineering. Look at how engines are built, how industrial machinery moves, how joints work in vehicles or prosthetic limbs. Understanding basic mechanical principles will make your robot designs more believable and functional. Pay attention to how different parts connect and what their purpose might be.
Use Reference Images
Don’t be afraid to look at other people’s robot designs, real-world machines, or even animal anatomy for inspiration. Reference images aren’t for copying; they’re for learning. They can help you understand how light behaves on metallic surfaces, how wires are bundled, or how to create interesting panel lines. A collection of diverse references is an invaluable resource.
Experiment with Materials
Don’t limit yourself to just pencils. Try different drawing tools: charcoal for dramatic shading, ink for crisp lines, markers for bold colors. Each medium brings its own unique qualities and can help you discover new ways to render your robots. Experimenting broadens your artistic vocabulary.
Don’t Be Afraid to Make Mistakes
Mistakes are part of the learning process. Embrace them! A “bad” drawing is just a stepping stone to a better one. Analyze what went wrong, learn from it, and try again. Drawing is a journey of continuous improvement, and every smudge, erased line, or wonky proportion offers a lesson.
Common Mistakes to Avoid
Even seasoned artists run into common pitfalls. Being aware of these can help you sidestep them.
Flatness
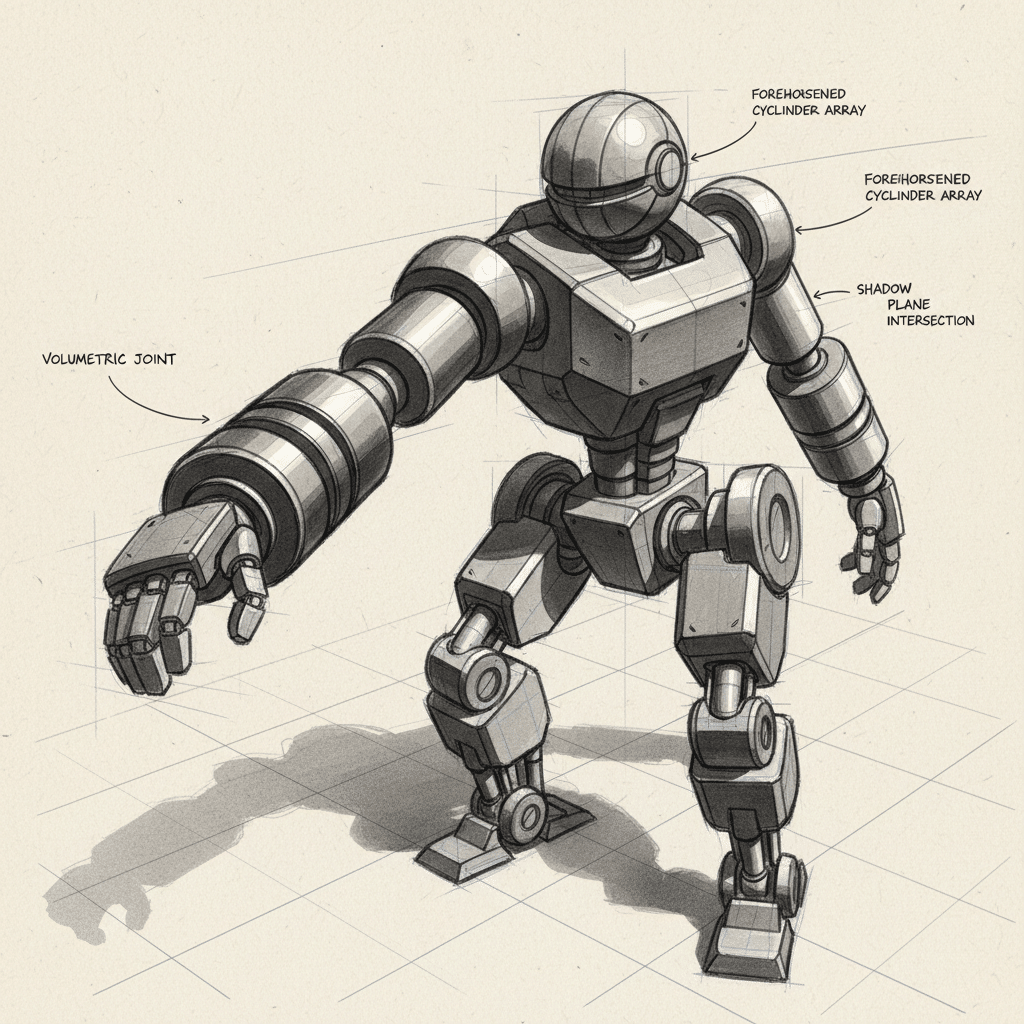
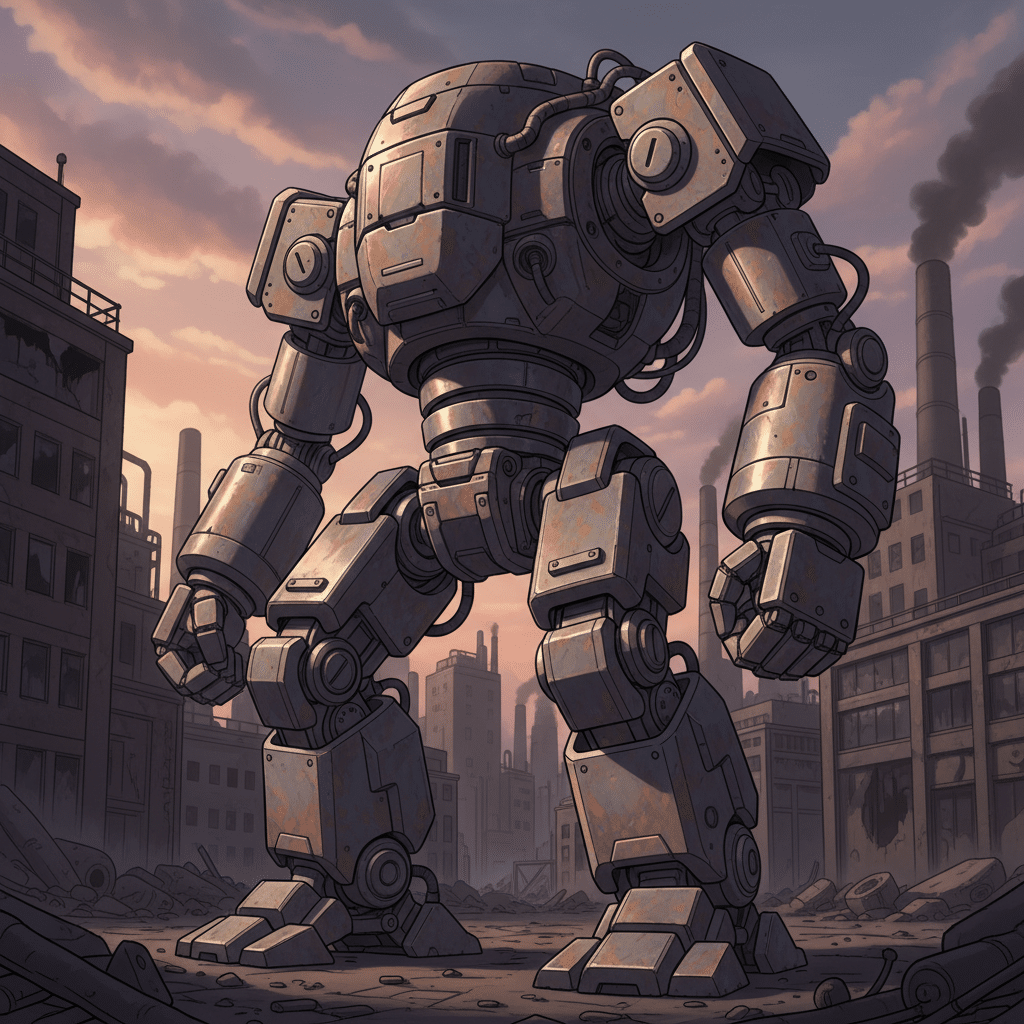
A common mistake is drawing robots that look like flat cut-outs rather than three-dimensional objects. This often happens when artists don’t use constructive drawing principles or fail to consider perspective. Always remember to think about volume, depth, and how light will interact with different planes of your robot. Overlapping forms and varying line weight are your friends here.
Lack of Variety
If all your robots look similar, you might be falling into a comfort zone. Challenge yourself! Try drawing a robot in a style you’re not used to, or with a completely different function. Explore different proportions, textures, and levels of detail. The more diverse your designs, the more versatile your skills become.
Forgetting Function
Even a fantastical robot should feel like it could work. Ask yourself: how does this part move? What is its purpose? Where would the power source be? Thinking about the robot’s function, even in a simplified way, adds credibility to your design. Forgetting function can lead to designs that look cool but make no practical sense, which can detract from their believability.
Beyond the Pencil: Digital Robot Drawing
Once you’re comfortable with traditional drawing, you might want to explore the world of digital art. Drawing robots digitally opens up a whole new realm of possibilities.
Software and Tools
- Drawing Tablets: A graphics tablet (like a Wacom Intuos or Cintiq, or an iPad Pro with Apple Pencil) is essential for digital drawing.
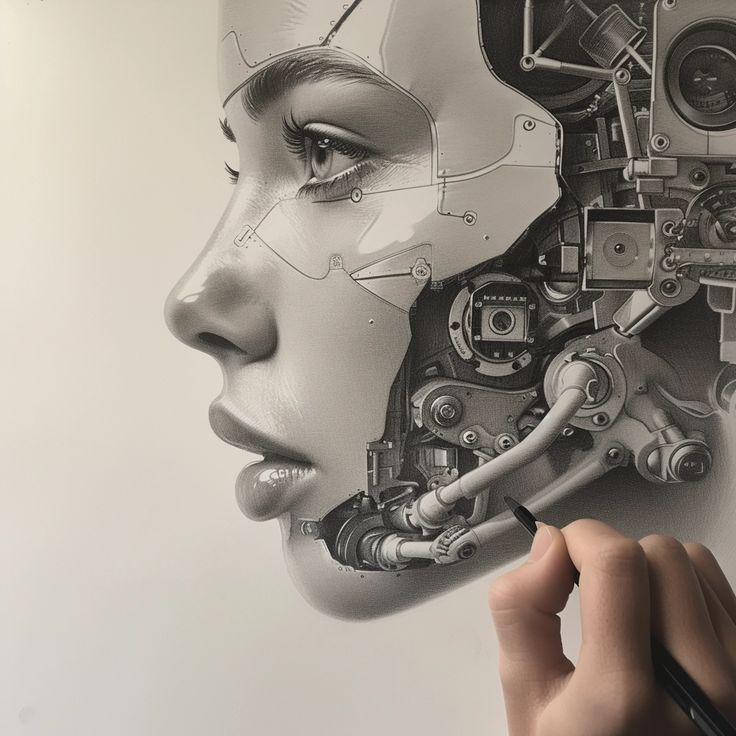
- Software: Popular choices include Adobe Photoshop, Clip Studio Paint, Procreate (for iPad), Krita (free), and GIMP (free). Each offers a unique set of tools for sketching, inking, coloring, and adding effects.
Benefits of Digital Art
- Undo Button: Your best friend! No more permanent mistakes.
- Layers: Work on different elements (sketch, lines, colors, shadows) independently, making edits incredibly easy.
- Brushes: Access to an endless array of brushes for different textures, effects, and line qualities.
- Color Control: Effortlessly choose, adjust, and experiment with colors.
- Efficiency: Speed up your workflow with features like selection tools, transformations, and filters.
- Animation Potential: Digital drawing is a natural stepping stone to animation, allowing your robots to literally come to life, much like using animation 3D graphics for maximum engagement in other creative fields.
While the tools are different, the fundamental principles of constructive drawing, anatomy, shading, and composition remain the same. Digital art simply gives you more power and flexibility.
Conclusion: Powering Up Your Artistic Journey

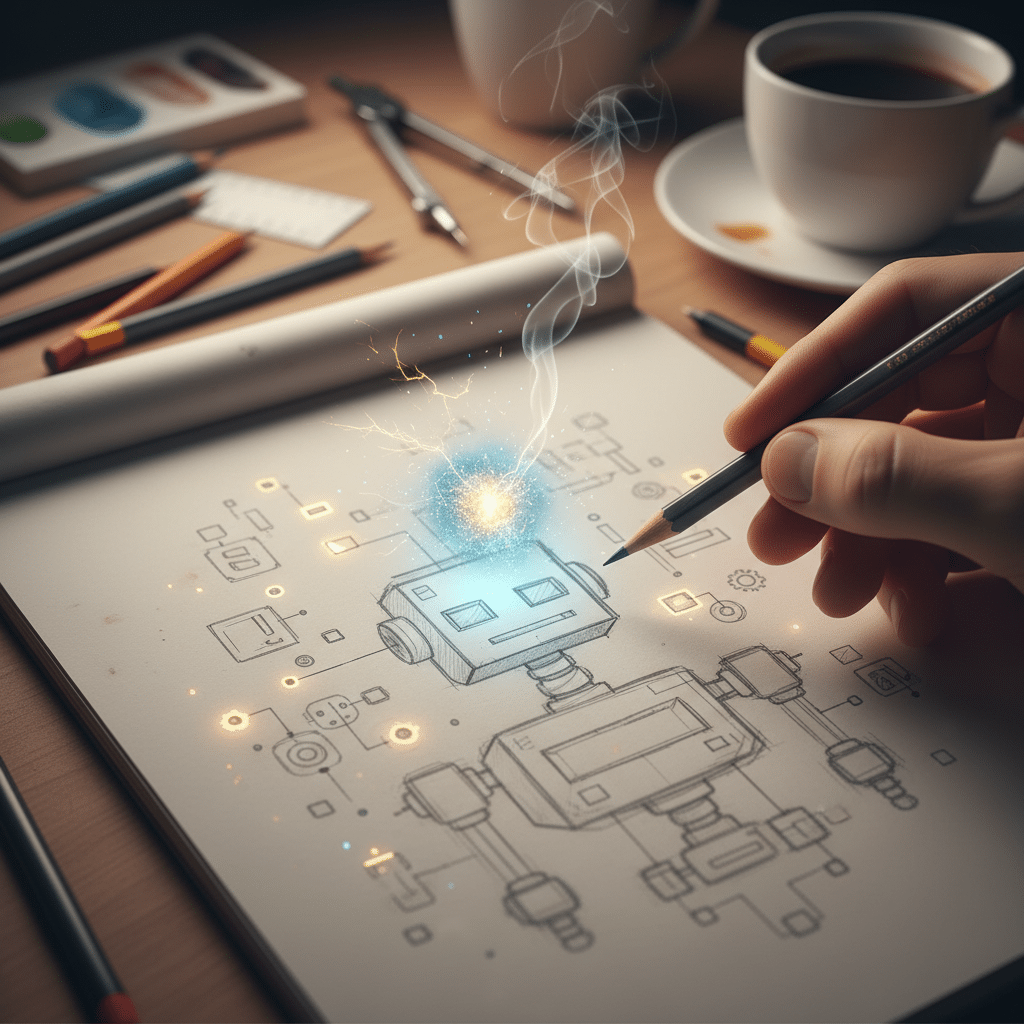
Congratulations! You’ve just walked through your ultimate guide on how to draw a robot, from the very first spark of an idea to a fully detailed creation. We’ve covered everything from gathering your tools and breaking down complex forms into basic shapes, to a step-by-step drawing process that empowers you to create any bot you can imagine. Remember, whether your robot is a clunky retro companion, a sleek future sentinel, or a valiant warrior, the journey of drawing it is an adventure in itself.
The key takeaways are simple: start with basic shapes, think in 3D, build up details gradually, and practice consistently. Don’t be afraid to experiment with different styles and tools, and always keep an eye out for inspiration in the world around you. Every line you draw, every shape you render, adds to your growing skill set and unique artistic voice.
So, grab your pencils (or your stylus!), clear your workspace, and let your imagination take the lead. The world is waiting for your next bold bot to roll, stride, or fly into existence. What mechanical marvel will you create next? The future of robotics, at least on paper, is in your hands! Now go forth and draw!
- 0shares
- Facebook0
- Pinterest0
- Twitter0
- Reddit0

