Ever gazed at a majestic deer, perhaps caught a glimpse in a forest, and thought, “Wow, I wish I could capture that beauty on paper?” You’re not alone! Deer, with their graceful forms, expressive eyes, and impressive antlers, are a captivating subject for artists of all levels. However, many find themselves intimidated, unsure where to begin. Fear not, aspiring artist! This friendly guide is here to demystify the process and show you exactly how to draw deer, transforming that intimidation into inspiration.
Drawing deer isn’t about perfectly replicating every hair on your first try. It’s about understanding fundamental shapes, proportions, and anatomy, then gradually building up details. Think of it like learning to play a musical instrument; you start with scales before you play a symphony. By breaking down the process into manageable steps, you’ll discover that rendering these magnificent creatures is not only achievable but incredibly rewarding. So grab your pencil, paper, and let’s embark on this artistic journey together!
Getting Started: Your Artistic Toolkit and Mindset
Before you even make your first mark, it’s helpful to gather a few basic supplies and adopt the right approach. You don’t need a professional art studio to create stunning deer drawings.
Essential Supplies for Your Deer Drawing Adventure
- Pencils: A good range of graphite pencils is invaluable. Start with an HB for general sketching, a 2B or 4B for darker lines and shading, and perhaps a 2H for lighter guidelines.
- Paper: Any drawing paper will do to start, but smoother surfaces tend to work better for finer details and blending. Sketchbooks are excellent for practice.
- Eraser: A kneaded eraser is fantastic for lifting graphite without damaging the paper, and a regular plastic eraser is good for sharper corrections.
- Blender (Optional): A blending stump, tortillon, or even a cotton swab can help you achieve smooth shading transitions.
- Reference Images: This is crucial! Unless you have a live deer posing for you (unlikely, and probably not recommended!), clear, high-quality reference photos are your best friend. Look for images from different angles and in various poses. Pay attention to lighting and environment.
Cultivating the Right Mindset
Drawing is a skill that improves with practice and patience. Don’t aim for perfection on your first attempt. Instead, focus on learning, observing, and enjoying the process. Every line you draw, every mistake you make, is a step forward. Embrace the journey!
The Foundation: Basic Shapes and Proportions
Every complex subject can be broken down into simpler forms. This is the golden rule of drawing, and it’s especially true for deer. We’ll start by mapping out the deer’s overall structure using basic geometric shapes.
Step 1: Establishing the Core Body
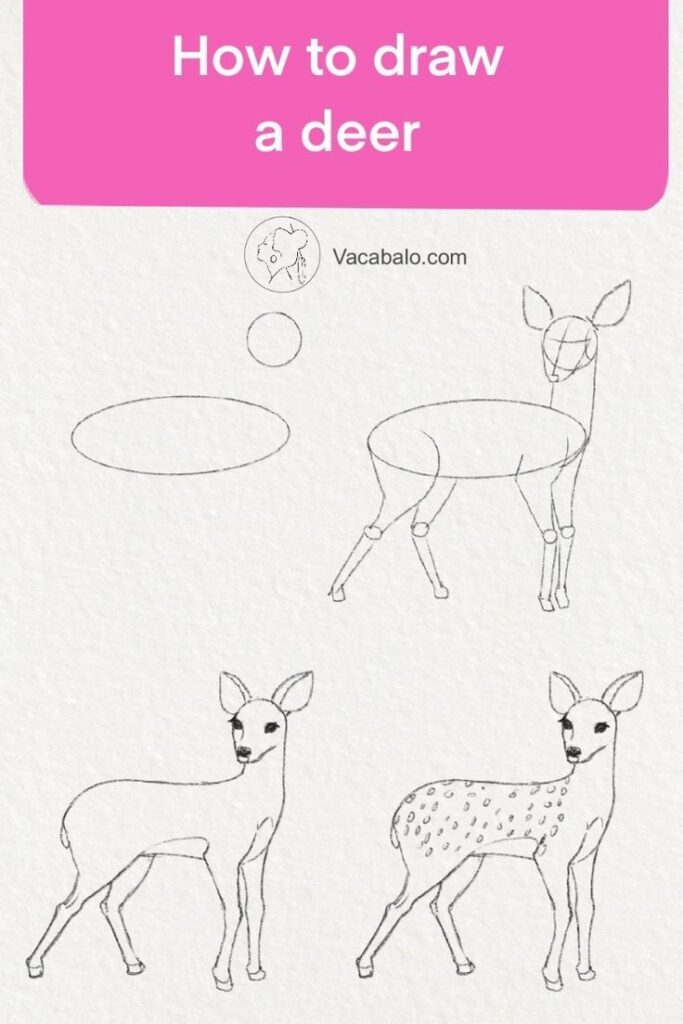
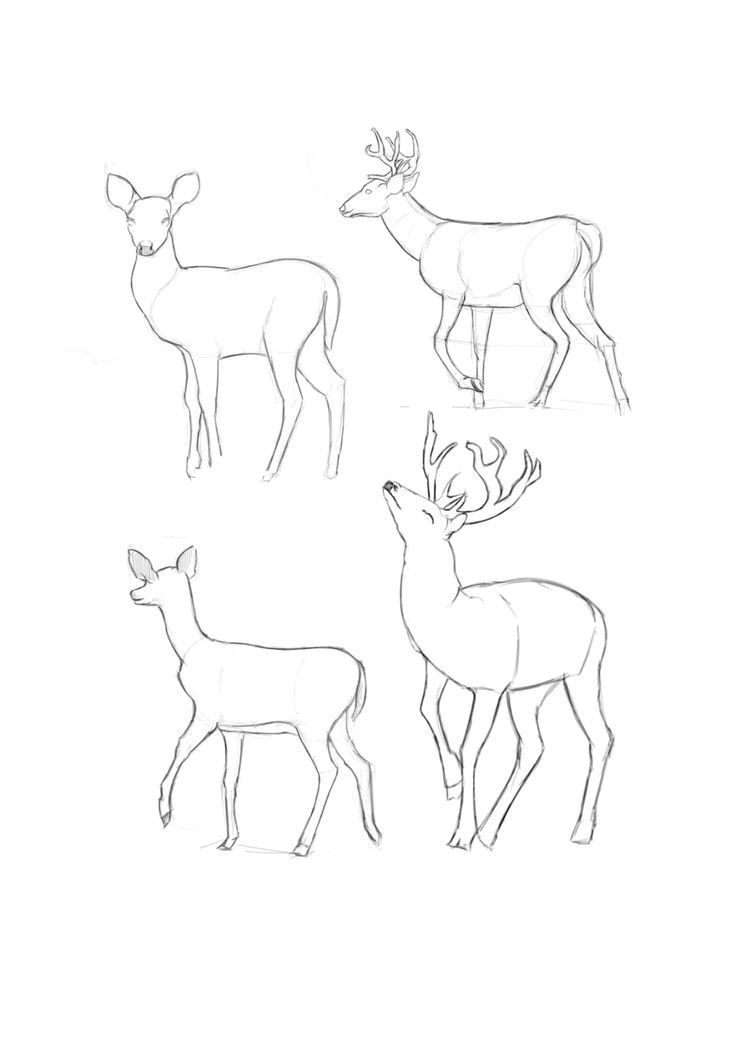
Imagine the deer’s body as two main oval or egg shapes.
- Chest/Shoulder Area: Draw a larger, somewhat elongated oval for the chest and front part of the body. This oval should be slightly tilted, with the narrower end pointing towards the head.
- Pelvic/Rear Area: Draw a slightly smaller, rounder oval for the hindquarters. Position it behind and slightly above the first oval, leaving a gap that will become the deer’s midsection.
- Connecting the Ovals: Lightly sketch two curved lines to connect these two ovals, forming the basic silhouette of the deer’s torso. This gives you the initial body length and general curve of the back and belly.
Step 2: The Head and Neck
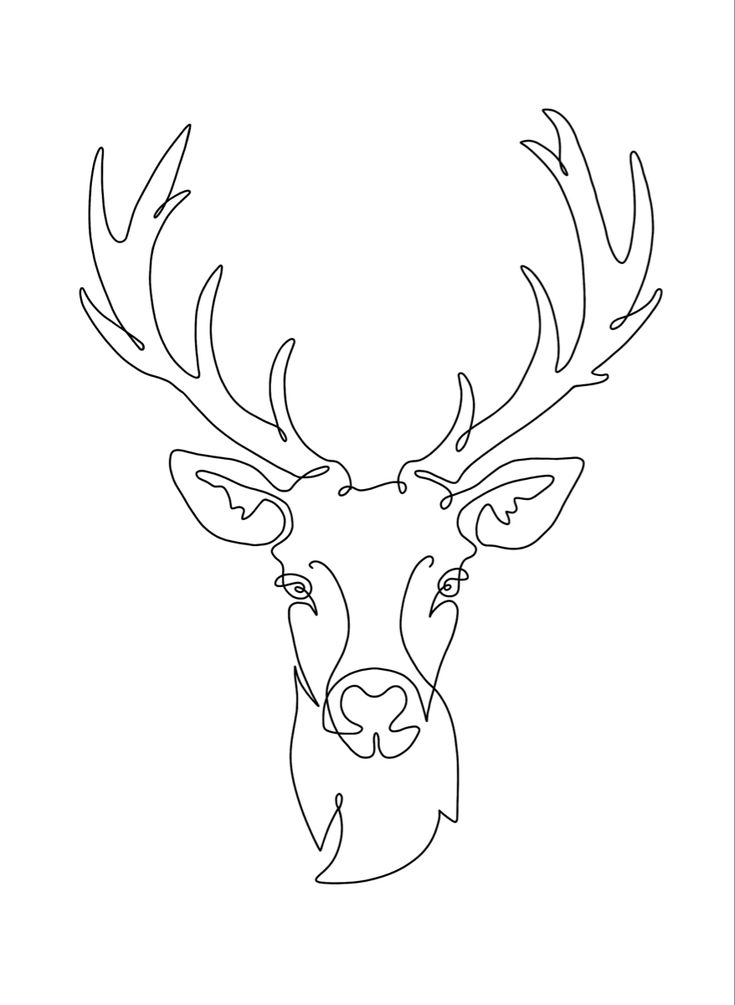
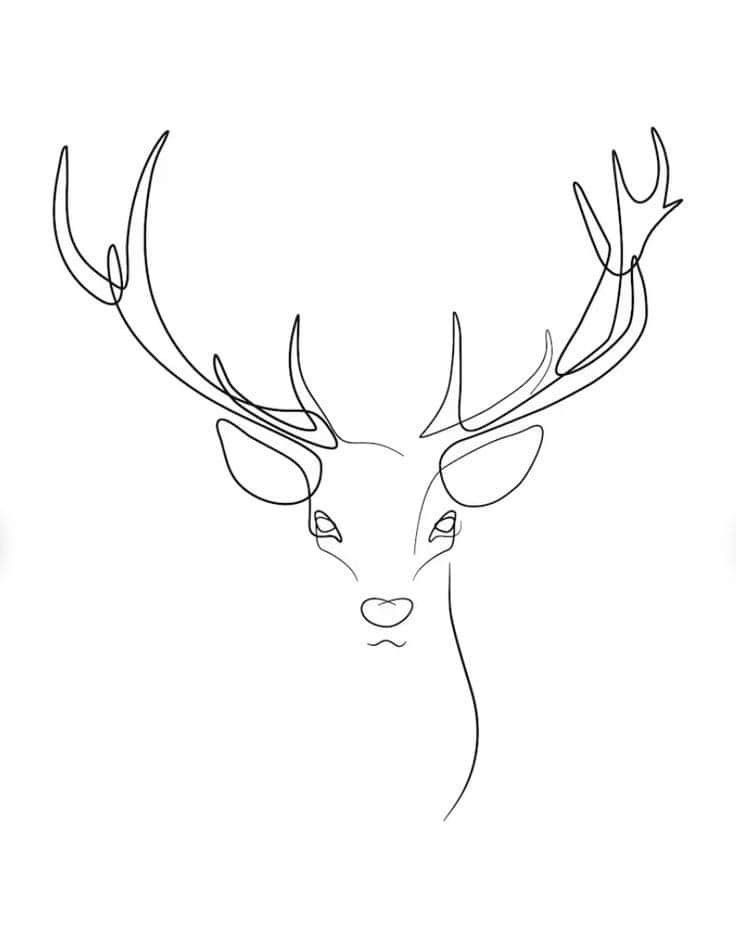
Now, let’s add the head and neck, crucial elements for defining the deer’s posture and expression.
- Neck: Draw a curved line extending from the chest oval upwards and forwards. The neck of a deer is thick at the base and tapers towards the head. Think of it as a cylinder.
- Head: At the end of the neck, sketch a relatively small oval or a slightly rounded rectangle for the main part of the skull. Below this, draw a smaller, narrower oval for the muzzle. The size of the head in proportion to the body is important; it’s generally quite small.
- Connecting Head Shapes: Lightly connect the main head oval to the muzzle to define the basic shape of the deer’s face.
Step 3: Legs and Hooves – The Pillars of Grace
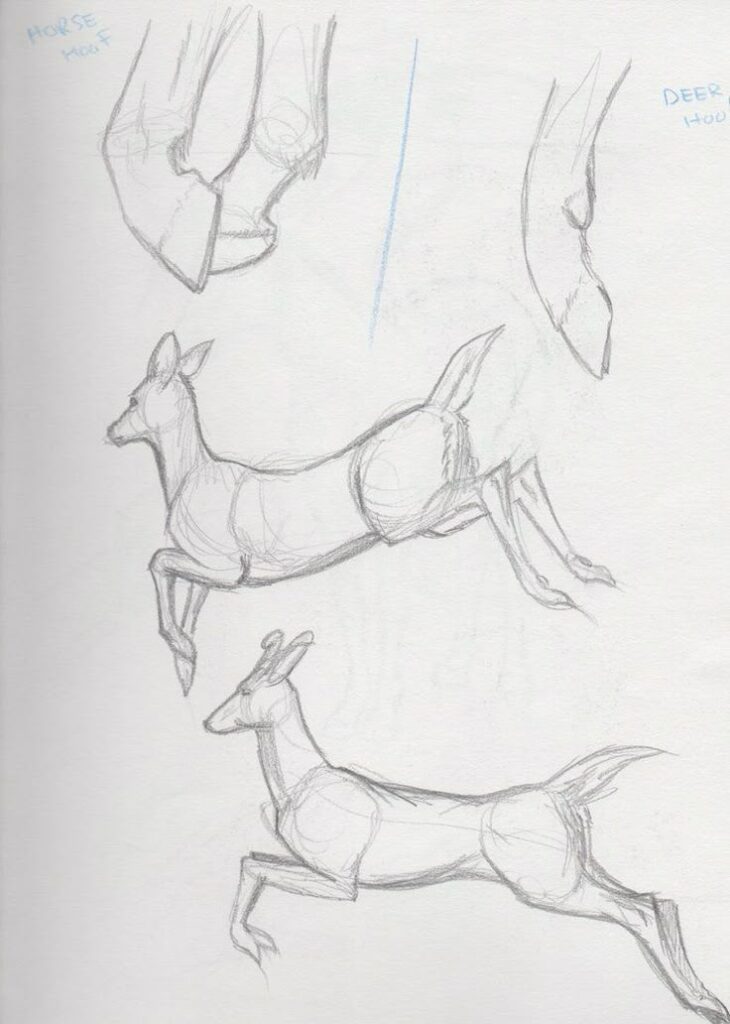
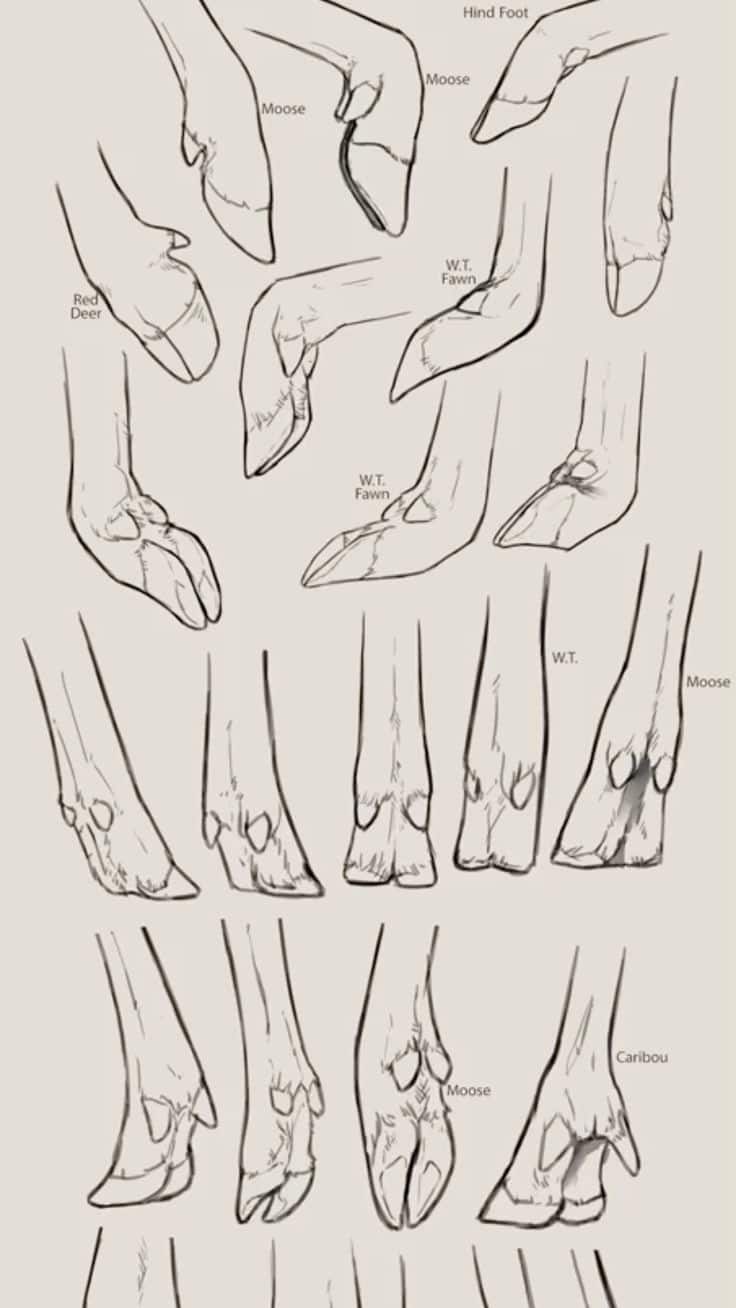
Deer legs are long and slender, but don’t let their delicate appearance fool you – they are incredibly strong and allow for their characteristic agility.
- Joints First: Instead of drawing straight lines, think about the joints. Deer have knees (similar to our elbows) on their front legs and hocks (like our heels) on their hind legs, both bending in specific ways.
- For the front legs, draw two lines extending downwards from the chest oval. Mark a small circle for the ‘knee’ joint. Below this, draw another segment and then a smaller circle for the ankle joint.
- For the hind legs, draw two lines from the pelvic oval. Mark a large, prominent circle for the hock joint, which is relatively high on the leg. Below the hock, the leg goes almost straight down to the ankle.
- Leg Segments: Connect these joints with lines, creating the upper leg, forearm/shin, and lower leg segments. Keep them relatively thin.
- Hooves: At the very bottom, add small, pointed, block-like shapes for the hooves. Remember that deer have cloven hooves, meaning they are split.
Pro Tip: Pay close attention to the angles and lengths of the legs in your reference image. This is where many artists struggle to get the proportions right. Observe how the weight is distributed. To understand how body parts connect and move, much like how you might observe different elements when learning how to draw clothing that flows and moves, consider the underlying skeletal structure that dictates the form.
Refining the Form: Anatomy and Structure
With your basic shapes in place, it’s time to start “sculpting” your deer, adding flesh and muscle over your skeletal framework.
The Head: Eyes, Ears, and Muzzle
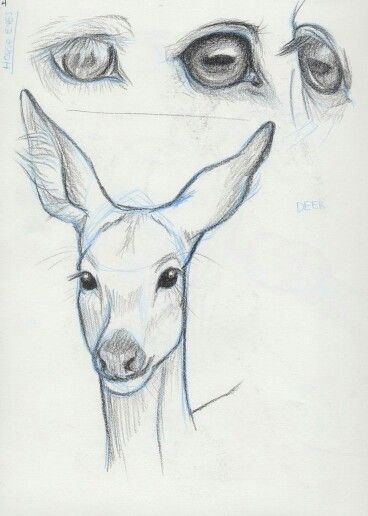
The deer’s head is where its personality shines through.
- Eyes: Deer eyes are large, dark, and set quite far to the sides of the head, giving them a wide field of vision. They are almond-shaped with a soft, gentle expression. Place them carefully on the main head oval, slightly above the midline.
- Ears: Deer ears are prominent, often large and expressive. They are typically elongated oval shapes, widest at the base and tapering to a soft point. Observe their placement in your reference – usually high on the head, fanning out.
- Muzzle and Nose: Refine the muzzle shape, making it slightly narrower than the upper head. The nose is a dark, wet, triangular shape at the very end of the muzzle, with visible nostrils. Add a subtle curve for the mouth line.
The Body: Musculature and Flow
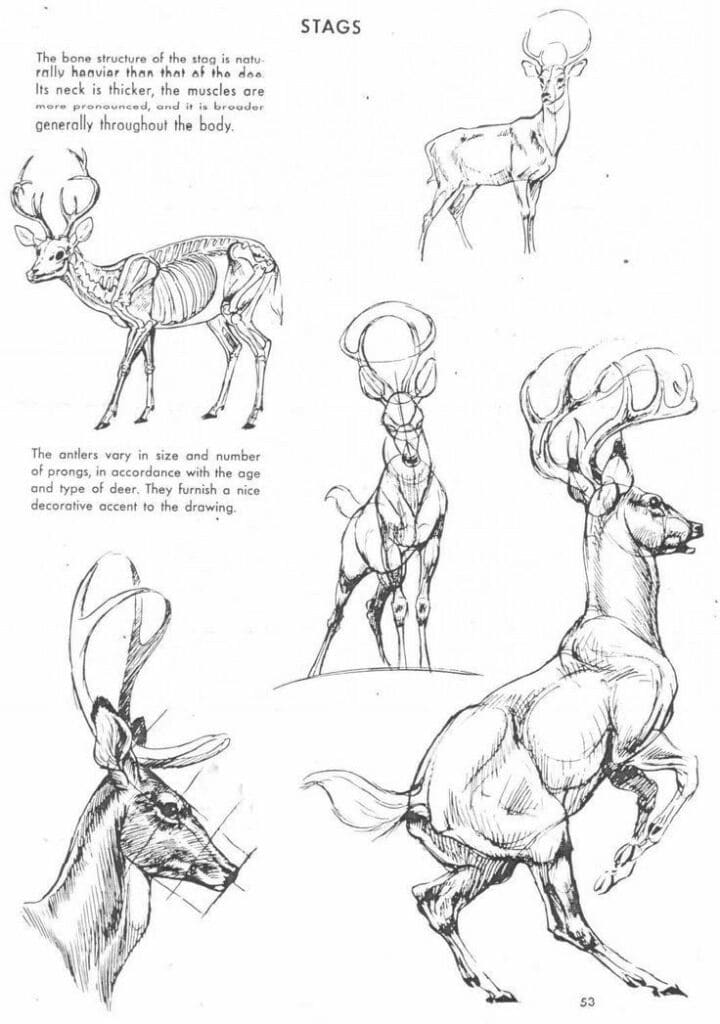
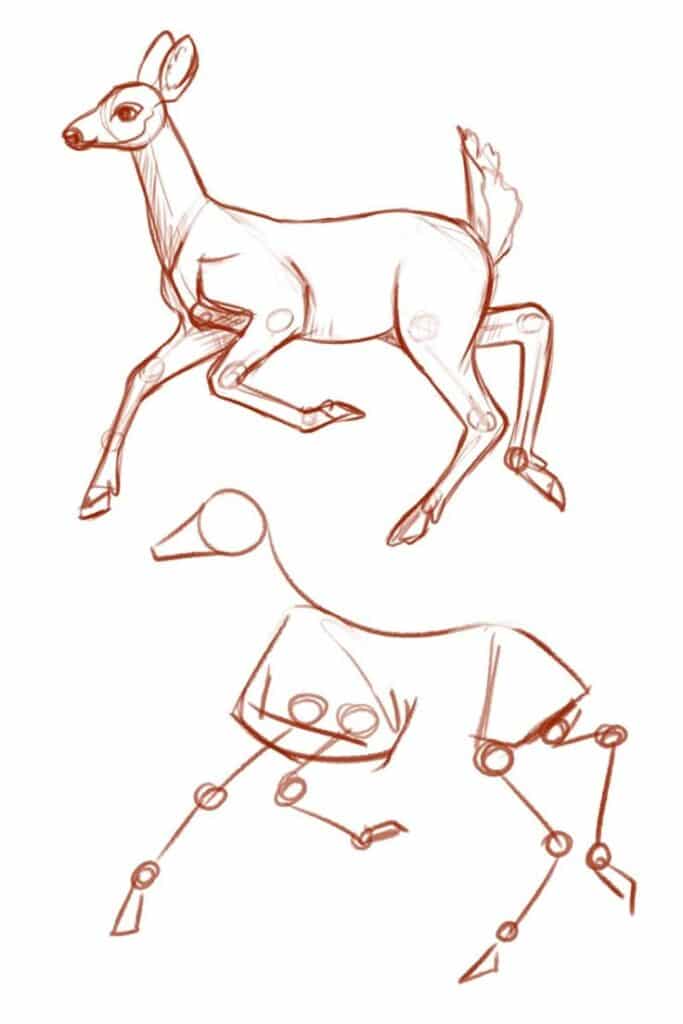
- Neck: Smooth out the neck lines, adding subtle curves for muscle definition. The underside of the neck will gently curve into the chest.
- Shoulders and Hips: These areas will have more volume. Soften the edges of your initial ovals to suggest the rounded forms of the shoulder and hip joints.
- Spine and Belly: Follow the natural curve of the deer’s back (often a gentle arch) and the slightly less pronounced curve of the belly. Deer generally have a lean, athletic build.
Legs: Strength and Grace
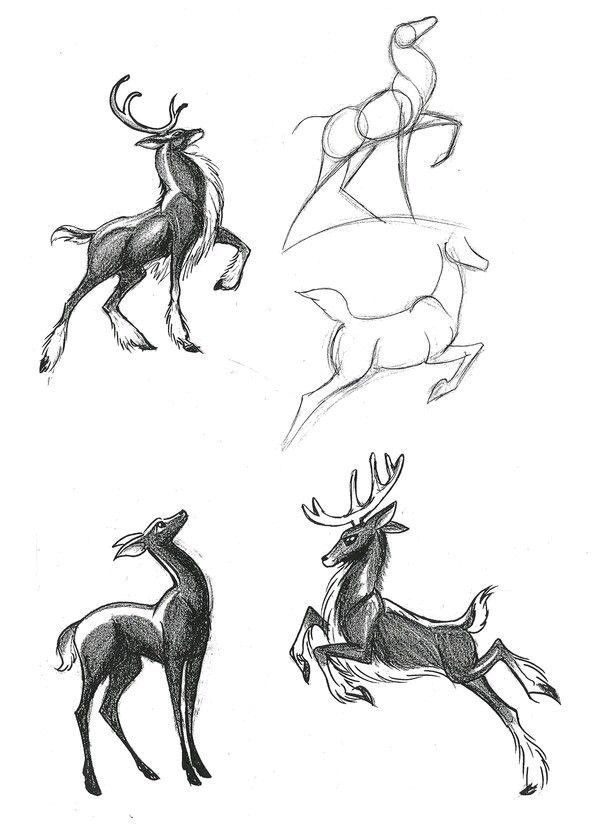
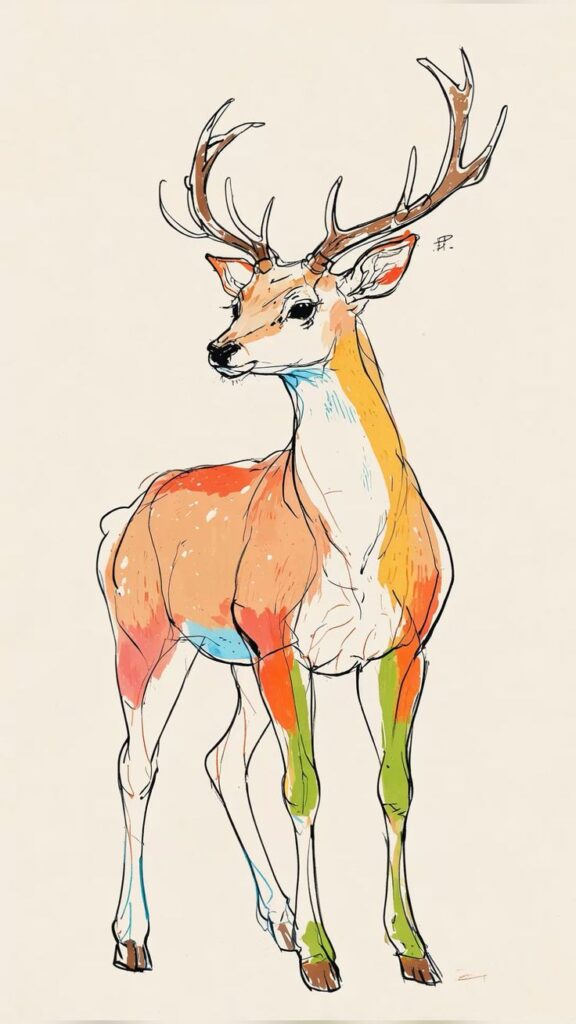
- Muscle Definition: Begin to add subtle muscle mass to the upper legs. The forelegs will show distinct muscle groups around the shoulders and upper arm. The hind legs will have powerful thigh muscles. Keep these details soft; deer aren’t heavily muscled like a horse.
- Tendons and Bones: Below the major muscle groups, the lower legs are primarily bone and tendon. Keep these areas slender and defined.
- Hooves: Refine the hooves, making sure to indicate the cloven split. The front of the hoof is typically straighter, while the back curves in.
The Majestic Crown: Drawing Antlers
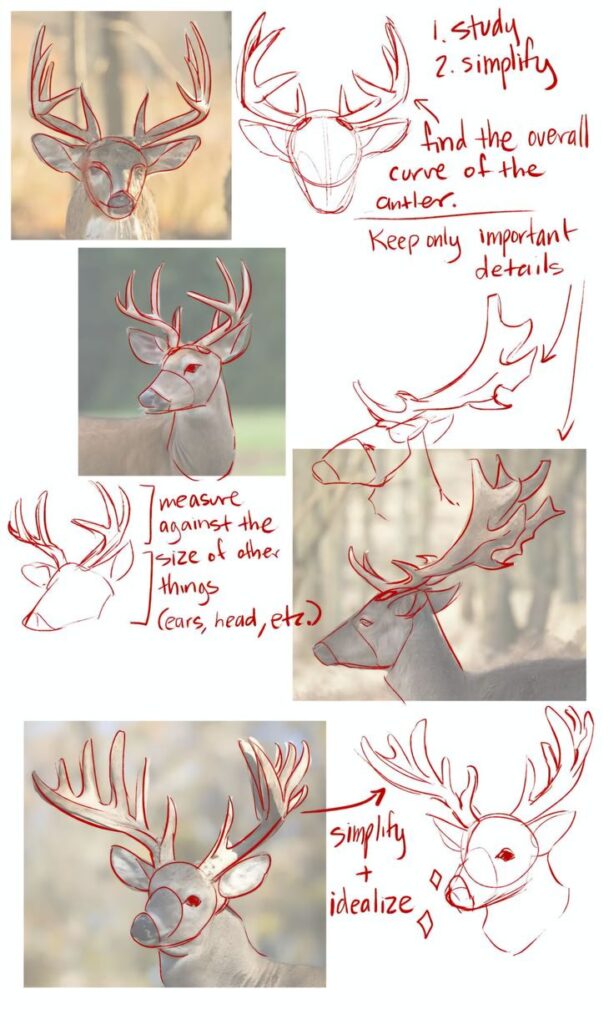
Antlers are often the most challenging yet rewarding feature of a male deer (buck or stag). They are unique, growing and shedding annually, and vary greatly in size and complexity.
Understanding Antler Growth and Structure
- Pedicles: Antlers grow from bony projections on the skull called pedicles. Start by drawing two small bumps on the top of the head, slightly behind the ears.
- Main Beam: From the pedicles, the main beam of the antler curves upwards and outwards. Observe its general direction and curve in your reference.
- Tines (Points): Tines branch off the main beam. The number and arrangement of tines vary by species, age, and individual deer. Sketch these as simple lines branching off, paying attention to their length and angle.
- Overall Shape: Think of the overall silhouette of the antlers. Do they spread wide? Are they tall and narrow? Capture this general form before adding details.

Adding Texture to Antlers
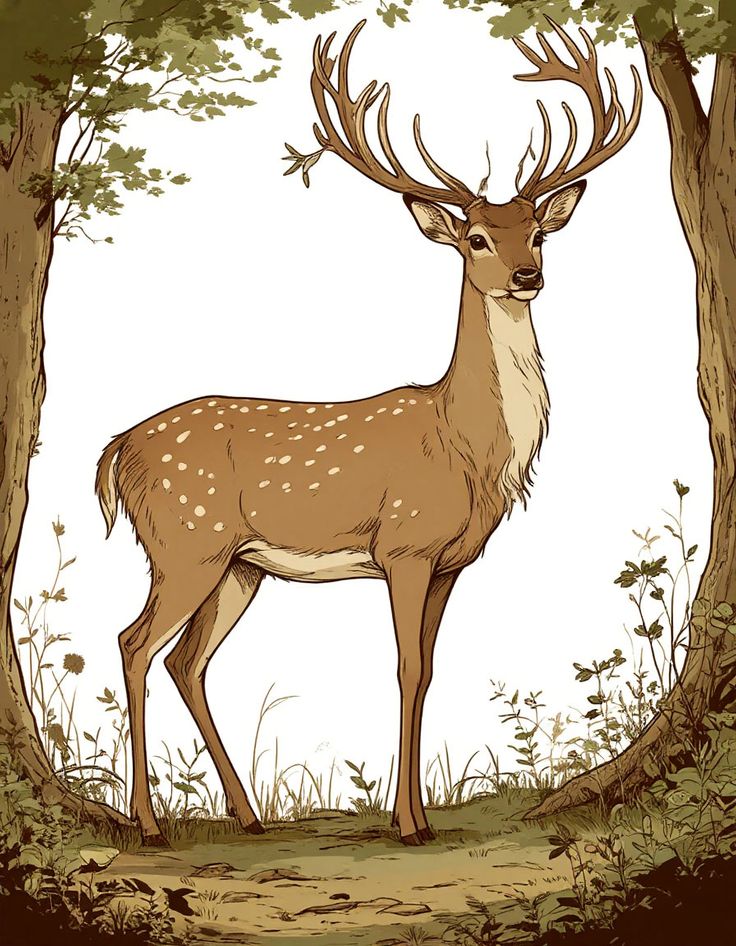
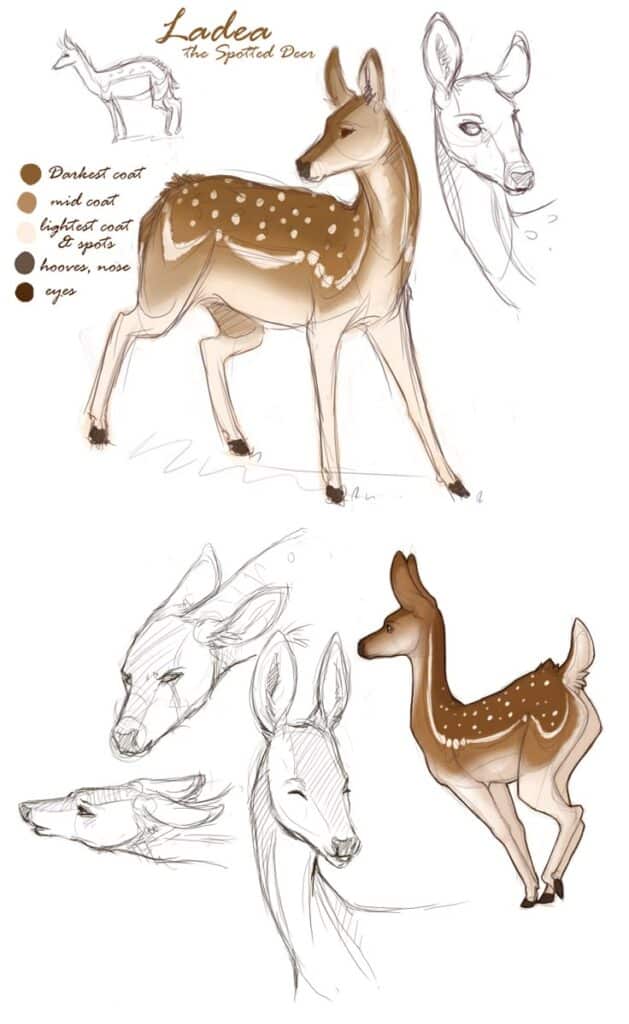
Mature antlers have a rough, bony texture, sometimes with grooves or ridges.
- Bumps and Ridges: Use short, varied pencil strokes to suggest the uneven surface.
- Color Variation: If you’re working in color, remember antlers are typically bone-colored, but can have darker rubbed areas from trees.
Key Tip: Antlers are symmetrical but not identical. Don’t try to make them perfect mirror images. Embrace the natural variations. For more dynamic forms and to understand how different elements create a whole, considering how to draw various organic and inorganic shapes can be very helpful. Much like when learning to draw something as intricate as different body parts, applying similar principles helps you tackle complex forms like antlers or even human features, as seen in tutorials like how to draw lips or anime eyes drawing.
Bringing it to Life: Details and Texture
Now that the underlying structure is solid, it’s time to add the captivating details that make your deer drawing truly realistic and alive.
Fur Texture
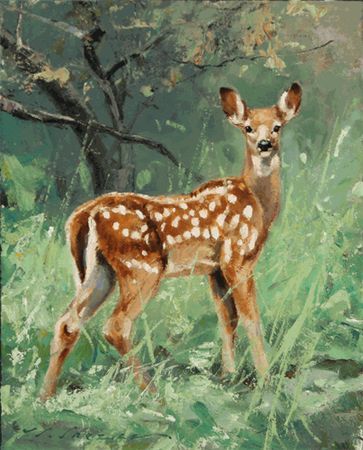
Deer fur varies by season and species, but generally, it’s short, dense, and lies flat against the body.
- Direction of Growth: Always draw your fur strokes in the direction the fur naturally grows. This follows the contours of the body.
- Layering: Don’t draw individual hairs everywhere. Instead, use short, overlapping strokes to create patches of fur. Build up layers of strokes to create depth.
- Highlights and Shadows: Observe how light hits the fur. Areas in light will have lighter, softer strokes, while shadowed areas will have darker, denser strokes.
- Variations: The fur on the belly is often lighter, and there might be subtle color shifts. Pay attention to patches of white, especially around the tail and muzzle.
Expressive Eyes
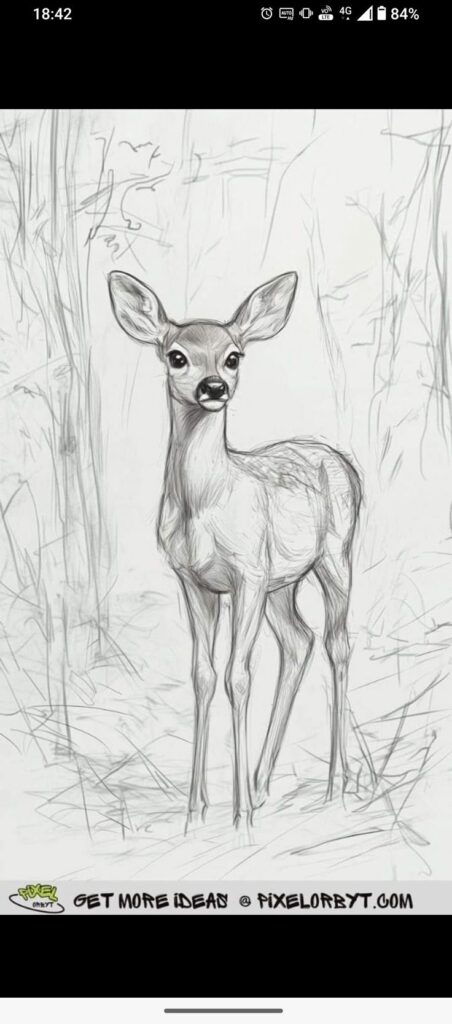
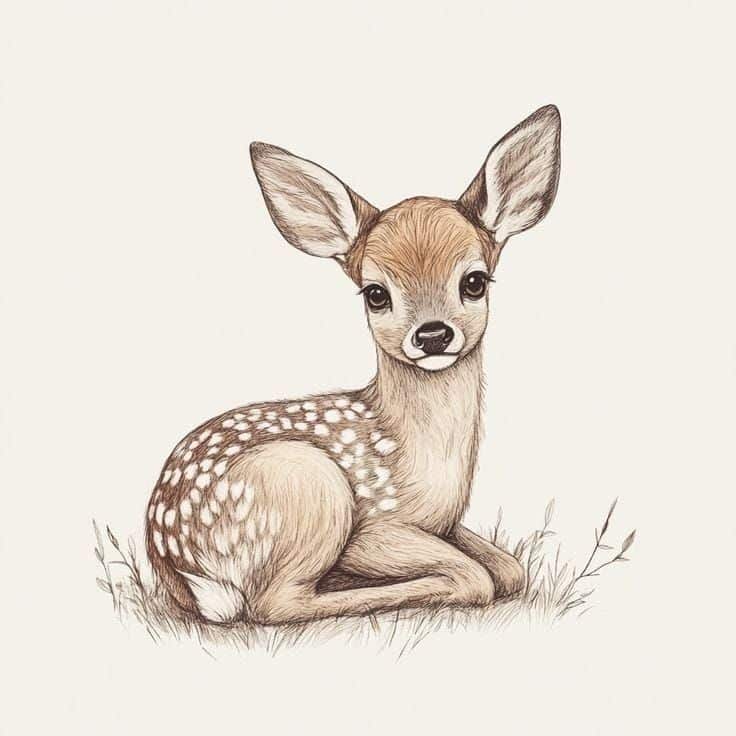
The eyes are the window to the deer’s soul.
- Dark Pupils: Deer have large, dark pupils. Fill these in darkly, but leave a tiny specular highlight (a white dot) to make the eye sparkle and appear wet and alive.
- Eyelids: Add subtle lines for the eyelids and surrounding skin.
- Reflections: If your reference shows reflections in the eye, try to include them. They add immense realism.
Nose and Mouth
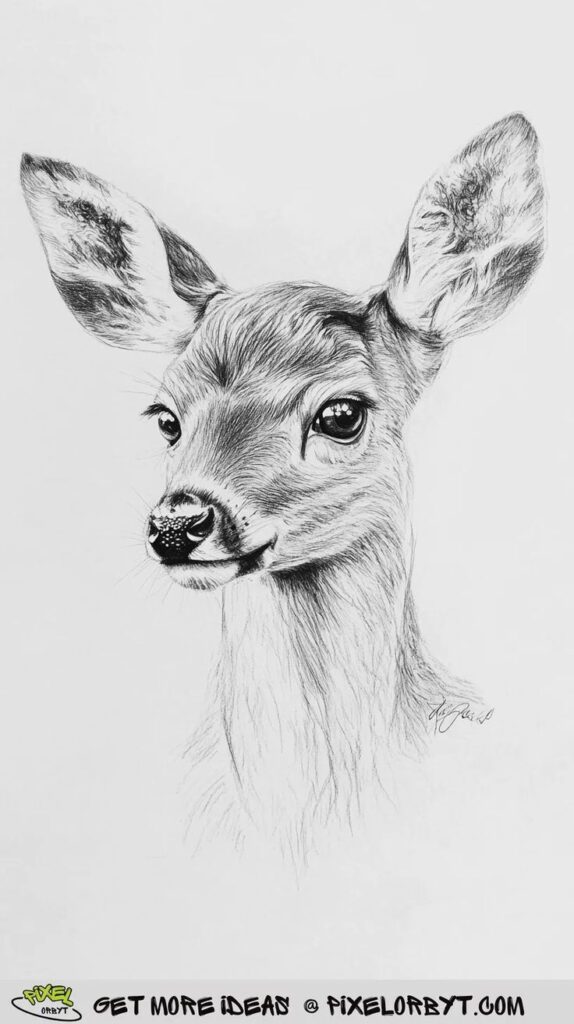
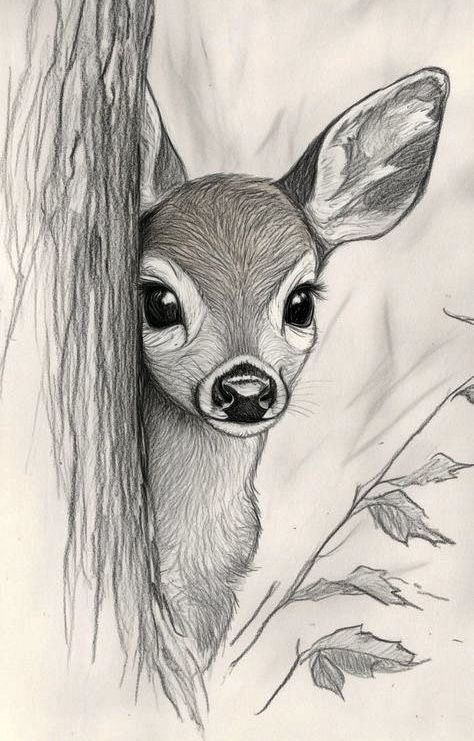
- Nose: The nose is typically dark and moist. Use a smooth, dark tone, leaving a slight highlight to indicate its wetness. Clearly define the nostrils.
- Mouth: The mouth line is usually subtle. Use a fine line to suggest its presence.
Ears and Tail
- Ears: Add the inner fur texture to the ears, often lighter than the body fur. The inside of the ear might be lighter in tone.
- Tail: Deer tails vary. Some are short and bushy, others longer. Observe its shape and how it attaches to the body. Use fur texture techniques.
Adding Depth: Lighting, Shading, and Form
Shading is what transforms a flat outline into a three-dimensional form. It’s about understanding how light interacts with the deer’s body.
Understanding Light Source
- Determine Your Light Source: Where is the light coming from? This dictates where the highlights and shadows will fall.
- Core Shadows: These are the darkest areas, typically on the opposite side of the light source, and where forms turn away from the light.
- Cast Shadows: These are shadows cast by one part of the deer onto another (e.g., the head casting a shadow on the neck) or by the deer onto the ground.
Shading Techniques
- Hatching and Cross-Hatching: Using parallel lines or intersecting parallel lines to build up tone.
- Circulism: Small, overlapping circular strokes, great for smooth fur textures.
- Blending: Use a blending stump or cotton swab to smooth out graphite and create gradients.
- Contrast: Don’t be afraid of dark darks and light lights. Strong contrast adds drama and dimension.
- Form Shadows: As you shade, remember you’re revealing the underlying forms – the roundness of the chest, the curve of the leg muscles.
Dynamics and Environment: Poses and Backgrounds
A deer rarely stands perfectly still. Capturing its movement and natural habitat can elevate your drawing. Understanding various character poses can also offer a broader perspective on depicting life and movement in your artwork, even for animals.
Dynamic Poses
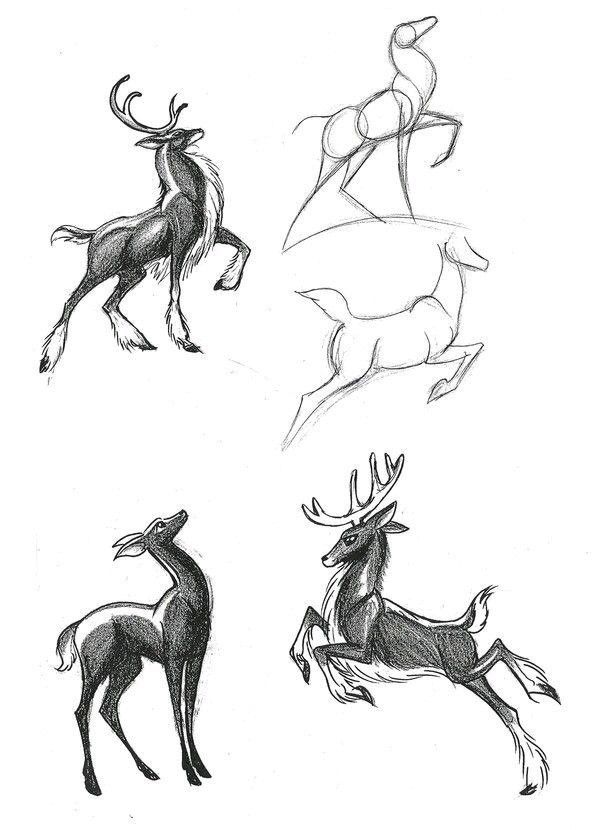
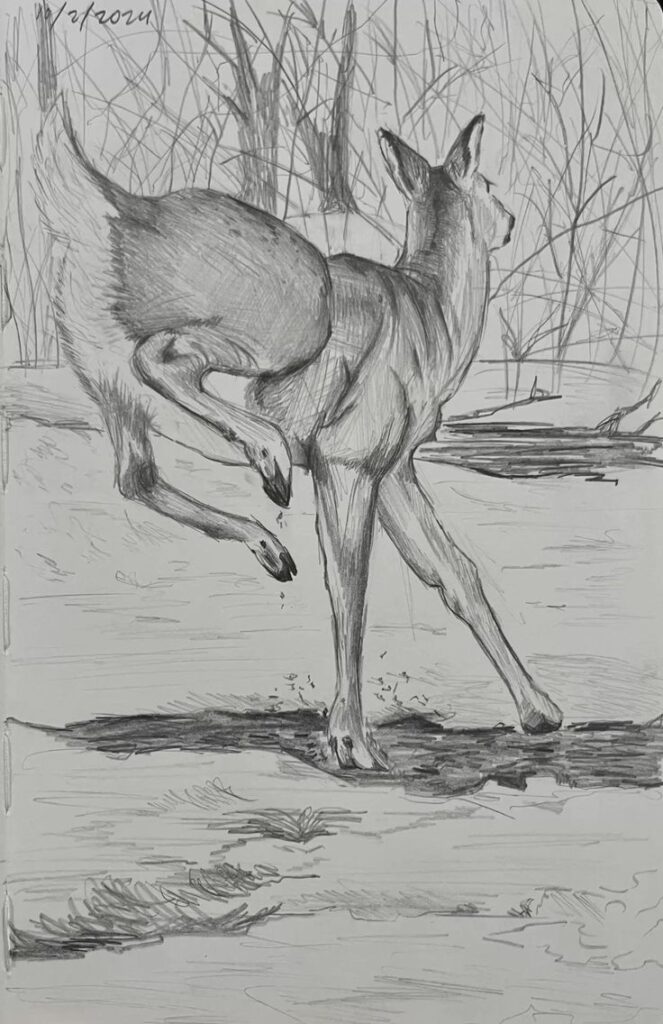
- Observation is Key: Look at your reference photos. Is the deer grazing, alert, running, or resting? Each pose tells a story.
- Action Lines: Before you draw any shapes, sketch a very light “line of action” that captures the overall flow and energy of the pose. This helps maintain dynamism.
- Foreshortening: If parts of the deer are coming towards or away from the viewer, they will appear shorter than they are. This can be tricky but adds immense realism. Practice simple forms first.
Integrating with a Background
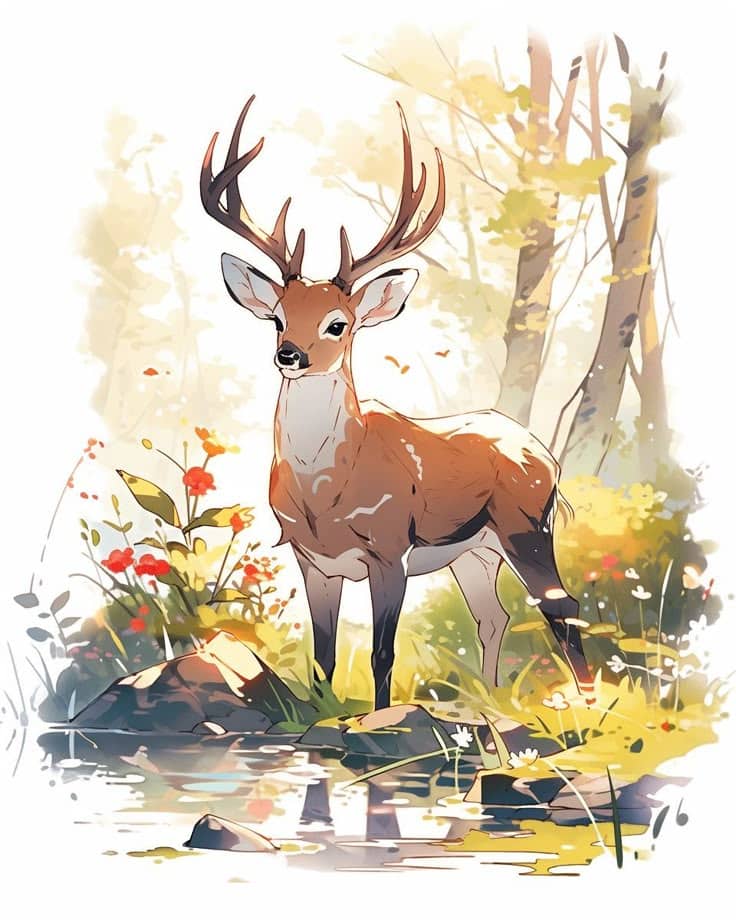
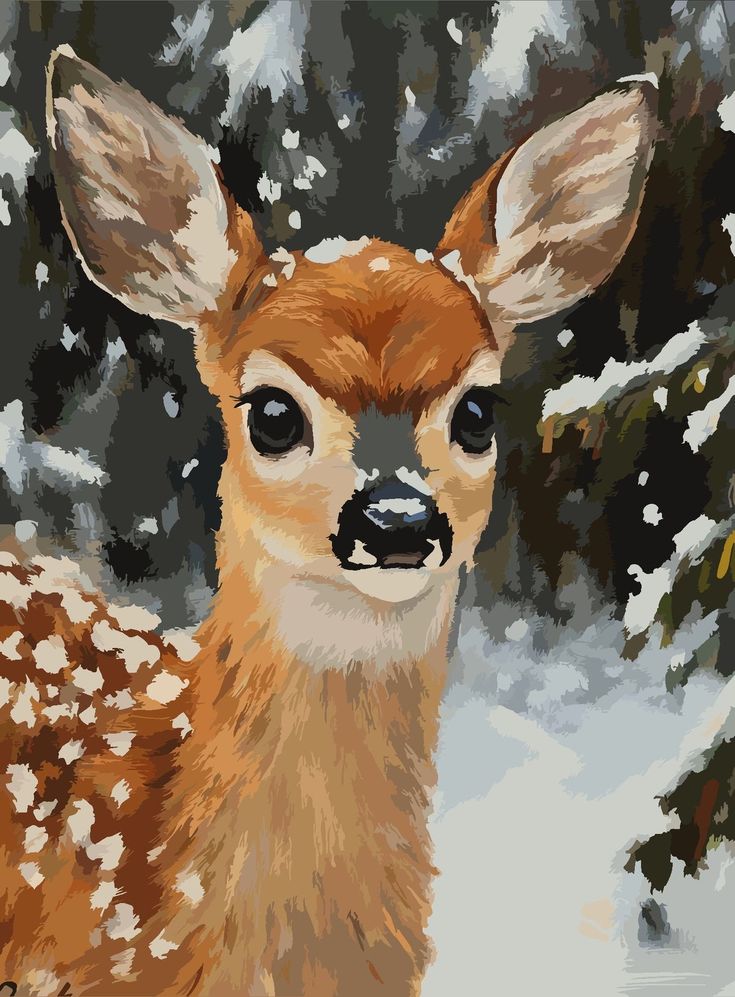
A simple background can anchor your deer in a scene.
- Blurry Background: Often, a softly blurred background puts the focus squarely on the deer while still giving context.
- Simple Elements: Consider basic shapes for trees, bushes, or ground cover. You don’t need intricate detail.
- Atmospheric Perspective: Objects further away appear lighter, less saturated, and less detailed. Use this to create depth.
- Ground Shadow: A cast shadow beneath the deer helps ground it, making it feel like it’s actually standing on something, rather than floating.
- Natural Elements: Adding elements like grass, leaves, or even simple drawing flowers can enrich the environment without overpowering the main subject.

Conclusion: Embrace the Artistic Journey
Learning how to draw deer is a journey of observation, patience, and persistence. From breaking down the majestic form into simple ovals and cylinders, to meticulously adding the texture of fur and the grandeur of antlers, each step builds upon the last. Remember, the most important tools you have are your eyes and your willingness to keep trying. Don’t get discouraged by drawings that don’t quite meet your expectations; instead, view them as valuable lessons learned.
The beauty of drawing lies in the process as much as the final product. With each deer you sketch, you’ll hone your observational skills, improve your understanding of anatomy, and develop a deeper appreciation for these magnificent creatures. So keep practicing, keep observing, and most importantly, keep enjoying the magic of bringing your vision to life on paper. Who knows, your next sketch might just be your masterpiece!
Ready to put your newfound skills to the test? Pick up your pencil, find a great reference photo, and start drawing your very own majestic deer today.
Frequently Asked Questions
What are the most important things to focus on when starting to draw a deer?
When you’re just starting, the most important things are getting the basic proportions and overall shape right. Focus on breaking the deer’s body down into simple ovals and cylinders, paying attention to how these shapes connect and their relative sizes. Don’t worry about tiny details until the foundation is solid.
How do I make my deer drawing look more realistic?
Realism comes from careful observation and layering details. Pay close attention to your reference image for fur direction, subtle muscle definition, lighting and shadows, and especially the expression in the eyes. Adding texture with varied pencil strokes, creating strong contrast with shading, and including realistic highlights in the eyes will make a big difference.
Are antlers difficult to draw, and how can I simplify them?
Antlers can be challenging due to their complex branching structure. To simplify, start by drawing the main beam’s general curve and direction. Then, lightly sketch the major tines as simple lines, focusing on their overall placement and length before adding any texture or thickness. Remember, they are generally symmetrical but not perfectly identical.
What kind of pencils should I use for drawing deer?
A good range of graphite pencils is ideal. An HB pencil is great for initial sketching and guidelines. Use softer pencils like 2B or 4B for darker lines, shadows, and building up fur texture. Harder pencils like 2H can be used for very light details or subtle outlines if needed.
How can I practice drawing deer effectively?
Consistent practice is key! Don’t just draw one finished piece. Do quick sketches focusing on specific elements, like just drawing heads, legs, or antlers. Study reference photos closely for different poses and lighting. Experiment with various shading techniques and try drawing the same deer from multiple angles to understand its form better.
Should I draw the background or just the deer?
Whether you draw a background depends on your goal. For learning, focusing solely on the deer is perfectly fine. However, a simple background can help ground your deer and add context. You can keep it minimalist, perhaps a few blurred trees or a hint of grass, to ensure the deer remains the focal point.
What’s a common mistake beginners make when drawing deer?
A common mistake is rushing to details without establishing solid proportions first. This can lead to a deer that looks distorted or unbalanced. Another is making the legs too straight and stiff, or not understanding the crucial joint placements, which robs the drawing of its natural grace and movement. Always start with construction lines and basic shapes!
- 610shares
- Facebook0
- Pinterest610
- Twitter0
- Reddit0
