Welcome, fellow makers and 3D printing enthusiasts! If you’ve spent any time in the additive manufacturing world, you’ve likely heard whispers, or perhaps even roars, about PETG. This fantastic filament has become a true darling of the 3D printing community, offering a compelling blend of strength, flexibility, and ease of use that positions it perfectly between the often-finicky ABS and the ever-popular PLA. Today, we’re diving deep into the wonderful world of petg 3d printing, uncovering why it might just be the go-to material for your next project, and how to tame it for consistently amazing results. Forget the frustration; we’re here to unlock PETG’s full potential, together.
What Exactly is PETG? Understanding the Material
Let’s start with the basics. What does PETG even stand for? It’s Polyethylene Terephthalate Glycol-modified. That’s a mouthful, so let’s simplify. PET is the same plastic used in water bottles – yes, that clear, tough material. The “G” part, glycol-modified, is crucial. This modification prevents the material from crystallizing and becoming brittle when heated, making it much more suitable for 3D printing. This means PETG retains many of the desirable properties of PET, like strength and food-safety characteristics (for uncolored, virgin material), but with added printability.
Compared to PLA, PETG offers significantly higher impact resistance, making your prints less likely to shatter under stress. It also boasts better temperature resistance than PLA, meaning it won’t deform as easily in a hot car or near a heat source. When pitted against ABS, PETG generally wins on ease of printing – less warping, fewer fumes, and often no enclosure required. It truly occupies a sweet spot, providing mechanical properties that approach ABS, but with much less fuss on your printer.
Why PETG Might Be Your Next Favorite Filament
So, why are so many people, from hobbyists to professional designers, gravitating towards PETG? It boils down to a stellar combination of properties that make it incredibly versatile.
First off, its strength and durability are impressive. If you need parts that can take a beating, PETG is a fantastic choice. Think drone parts, protective enclosures, or even tool handles. It’s not just strong; it’s also quite flexible. Unlike PLA, which can be quite rigid, PETG has a slight give, making it less prone to brittle fractures. This flexibility is a game-changer for parts that need to bend or absorb impact without breaking.
Another major benefit is its chemical resistance. PETG stands up well to various chemicals, including acids, bases, and even some solvents, which expands its application possibilities far beyond what PLA can handle. It also offers good layer adhesion, meaning your prints are less likely to delaminate, leading to stronger, more reliable parts. Plus, many PETG filaments are food-safe (check individual manufacturer specs, especially for colored or composite filaments), opening doors for kitchen gadgets, custom food containers, and more. Lastly, while it does have its quirks, PETG is generally considered easier to print than ABS, requiring less stringent environmental controls and suffering less from warping issues.

Getting Started: The Essentials for Successful PETG Printing
Ready to dive in? Great! While PETG is friendly, it does appreciate a little preparation. Here’s what you’ll need to consider for a smooth printing experience.
#### Printer Setup: Bed Adhesion and Temperature Getting your first layer right is paramount with PETG. It loves to stick – sometimes too much! Without proper bed preparation, you risk damaging your print surface when removing the part.
- Bed Material: Glass, PEI, and even Kapton tape work well. Some users also have success with textured build plates.
- Adhesion Layer: A thin layer of glue stick (PVA glue) is often all you need. It acts as both an adhesive and a release agent, protecting your bed. Painter’s tape is another good option, as it provides a sacrificial surface.
- Bed Temperature: A common range is 70-85°C. Start around 75°C and adjust as needed. Too cool and it won’t stick; too hot and it might become too adherent.
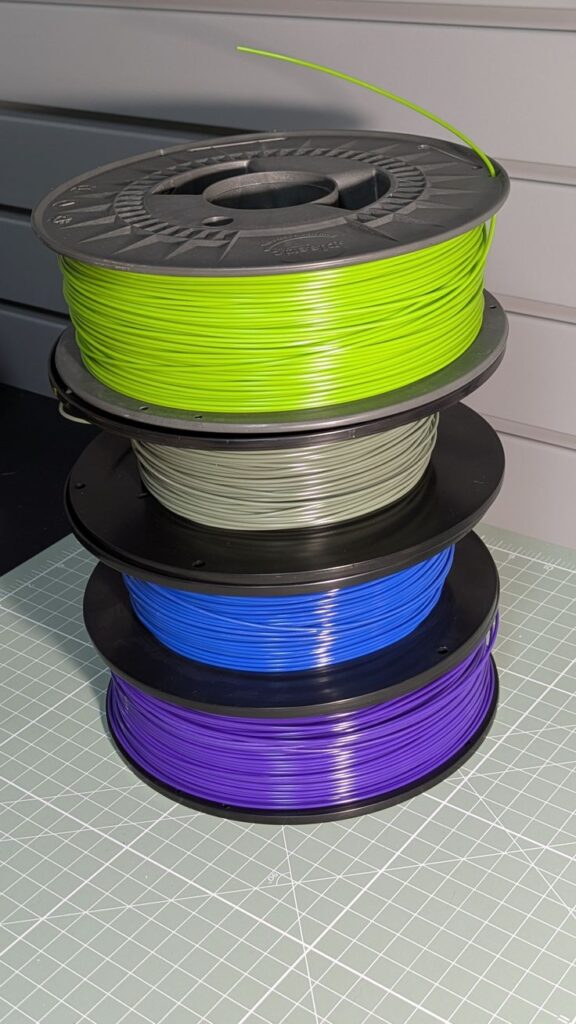
#### Filament Considerations: Drying and Storage Like many thermoplastics, PETG is hygroscopic, meaning it absorbs moisture from the air. Wet filament leads to bubbles, stringing, and weaker prints.
- Drying: If your filament has been exposed to humidity, consider drying it in a dedicated filament dryer or a food dehydrator before printing. A common recommendation is 4-6 hours at 60-65°C.
- Storage: Store PETG in an airtight container with desiccant packets when not in use. This keeps it dry and ready for your next project.
#### Slicer Settings: The Digital Blueprint Your slicer software is where you translate your 3D model into printer instructions. Fine-tuning these settings is key to success.
- Nozzle Temperature: PETG generally prints hotter than PLA, typically between 230-250°C. Start in the middle, like 240°C, and do a temperature tower calibration if you’re seeing issues.
- Print Speed: PETG can be a bit gooier than PLA, so printing too fast can lead to stringing and poor layer adhesion. A good starting speed is 40-60 mm/s.
- Retraction: This is crucial for managing stringing. We’ll dive deeper into this in the next section, but generally, you’ll need slightly higher retraction distances and speeds than with PLA.
- Cooling Fan: This is a tricky one. Too much cooling can hinder layer adhesion, leading to brittle prints. Too little can cause sagging and poor overhangs. Many users find success with minimal cooling (10-30%) for the first few layers, then increasing to 50-70% for subsequent layers, or even turning it off entirely for strength-focused prints.
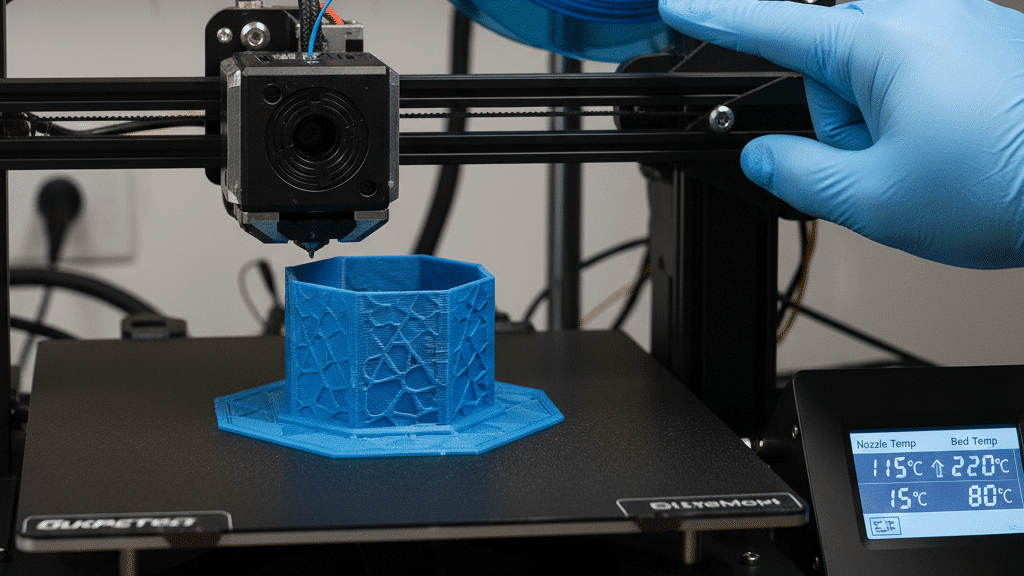
Mastering the Settings: A Deep Dive into Slicer Adjustments
Let’s break down those critical slicer settings to truly dial in your PETG prints. Getting these right can transform a stringy, blobby mess into a smooth, strong masterpiece.
#### Nozzle Temperature (Extruder Temperature) As mentioned, PETG needs more heat than PLA. A common range is 230-250°C.
- Too Low: You’ll see under-extrusion, poor layer adhesion, and the filament might not melt consistently, leading to clogs.
- Too High: Excessive stringing, oozing, and possibly burnt filament sticking to your nozzle. This can also degrade the material’s properties.
- Finding the Sweet Spot: Start at 240°C. If you’re getting brittle prints or poor layer adhesion, bump it up by 5°C increments. If stringing is rampant, try lowering it by 5°C. A temperature tower test print is your best friend here.
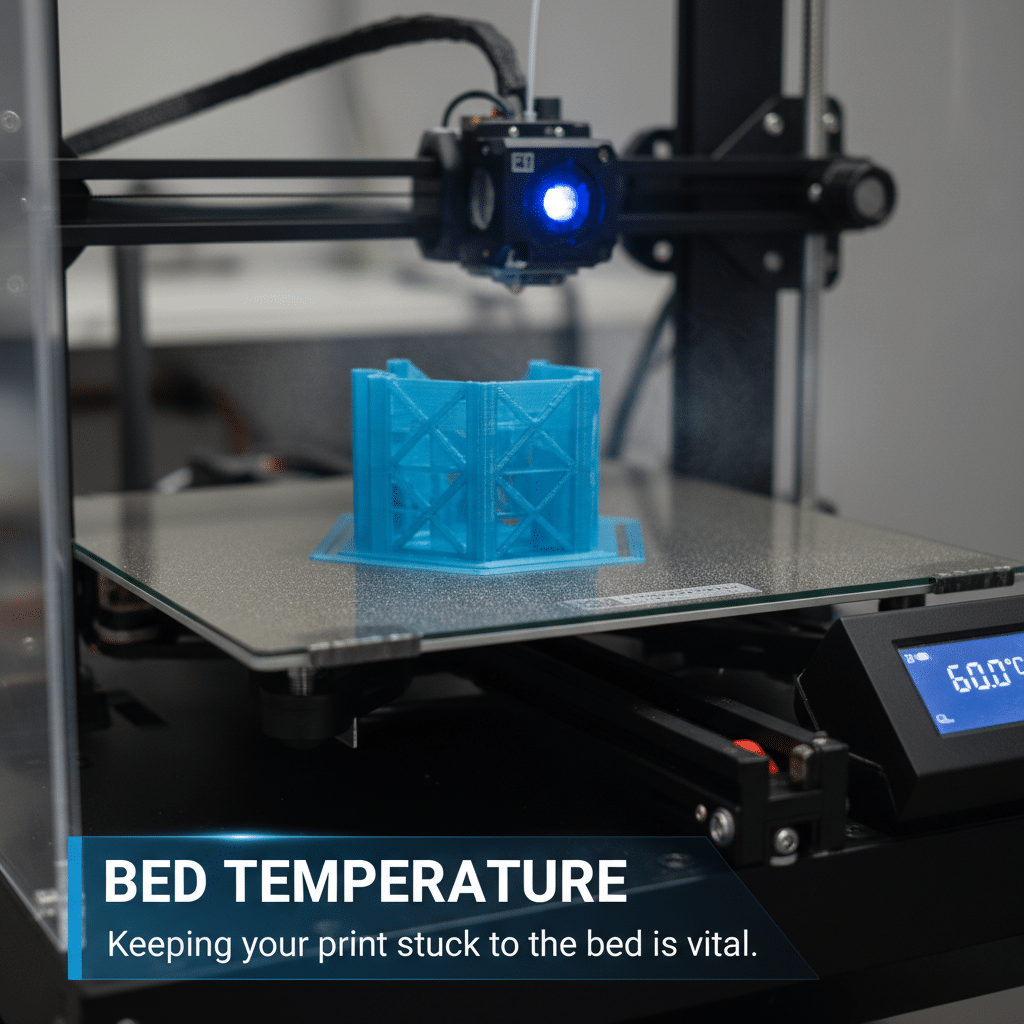
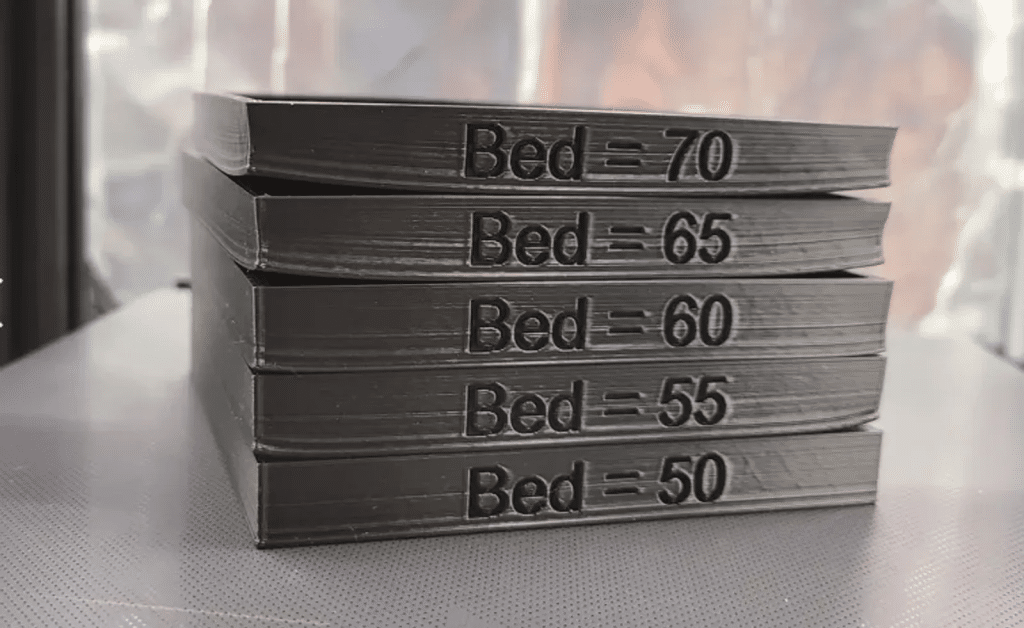
#### Bed Temperature Keeping your print stuck to the bed is vital.
- Optimal Range: 70-85°C.
- Too Low: Prints won’t adhere and will warp or detach mid-print.
- Too High: The print might stick too well, making removal difficult and potentially damaging your build plate. It can also lead to “elephant’s foot” on the first layer. Adjust in 5°C increments.
#### Print Speed PETG is a bit more viscous than PLA when molten.
- Recommended Speed: 40-60 mm/s for general printing. For outer walls and intricate details, you might drop it to 20-30 mm/s.
- Too Fast: Can cause under-extrusion, poor layer adhesion, reduced accuracy, and increased stringing.
- Too Slow: While it might seem like a solution for stringing, printing too slow can sometimes lead to excessive oozing from the hot nozzle.
#### Retraction Settings This is arguably the most critical setting for combating PETG’s notorious stringing. When the extruder moves between parts of a print without extruding, it “retracts” the filament slightly to relieve pressure and prevent oozing.
- Retraction Distance: For Bowden setups (where the extruder motor is separate from the hotend), start with 4-6mm. For direct drive setups (where the motor is right on the hotend), 0.5-2mm is usually sufficient.
- Retraction Speed: Start around 30-50 mm/s.
- Fine-tuning: If you see strings, increase the distance or speed slightly. If you hear clicking or notice gaps in your print, your retraction might be too aggressive, pulling molten filament too far back and causing clogs or air gaps. It’s a delicate balance!
#### Cooling Fan Unlike PLA, PETG often benefits from less cooling.
- First Few Layers: Keep the fan off or at 0-10% for the first 1-3 layers to maximize bed adhesion and ensure a strong bond between the first layers.
- Subsequent Layers: For most prints, 30-50% fan speed is a good starting point. This helps with overhangs and bridges without sacrificing too much layer adhesion.
- Strength vs. Aesthetics: If maximum strength is your goal, consider turning the fan off entirely after the first layers. This promotes excellent layer bonding but might result in less crisp overhangs. For aesthetic prints with complex geometries, you might need up to 70% fan speed.
#### First Layer Settings This is where your print either thrives or fails.
- First Layer Speed: Print the first layer very slowly (10-20 mm/s) to ensure optimal adhesion.
- First Layer Height: Slightly thicker (e.g., 0.25-0.3mm) can help compensate for minor bed leveling imperfections.
- First Layer Extrusion Multiplier: A slight increase (e.g., 105-110%) can help really press that first layer into the bed, but be careful not to over-extrude and create an “elephant’s foot.”
#### Z-Hop Z-hop lifts the nozzle slightly when it’s moving across already printed parts without extruding. This can help prevent the nozzle from dragging through the print, reducing blobs and surface defects.
- When to Use: Especially useful for prints with many small features or when stringing is an issue, as it gives the retracted filament more time to cool before the next extrusion.
- Setting: A Z-hop height of 0.2-0.4mm is usually enough. Be aware that it increases print time slightly.
Common PETG Printing Challenges and How to Overcome Them
Even with the right settings, PETG can present a few head-scratchers. Don’t worry, most common issues have straightforward solutions.
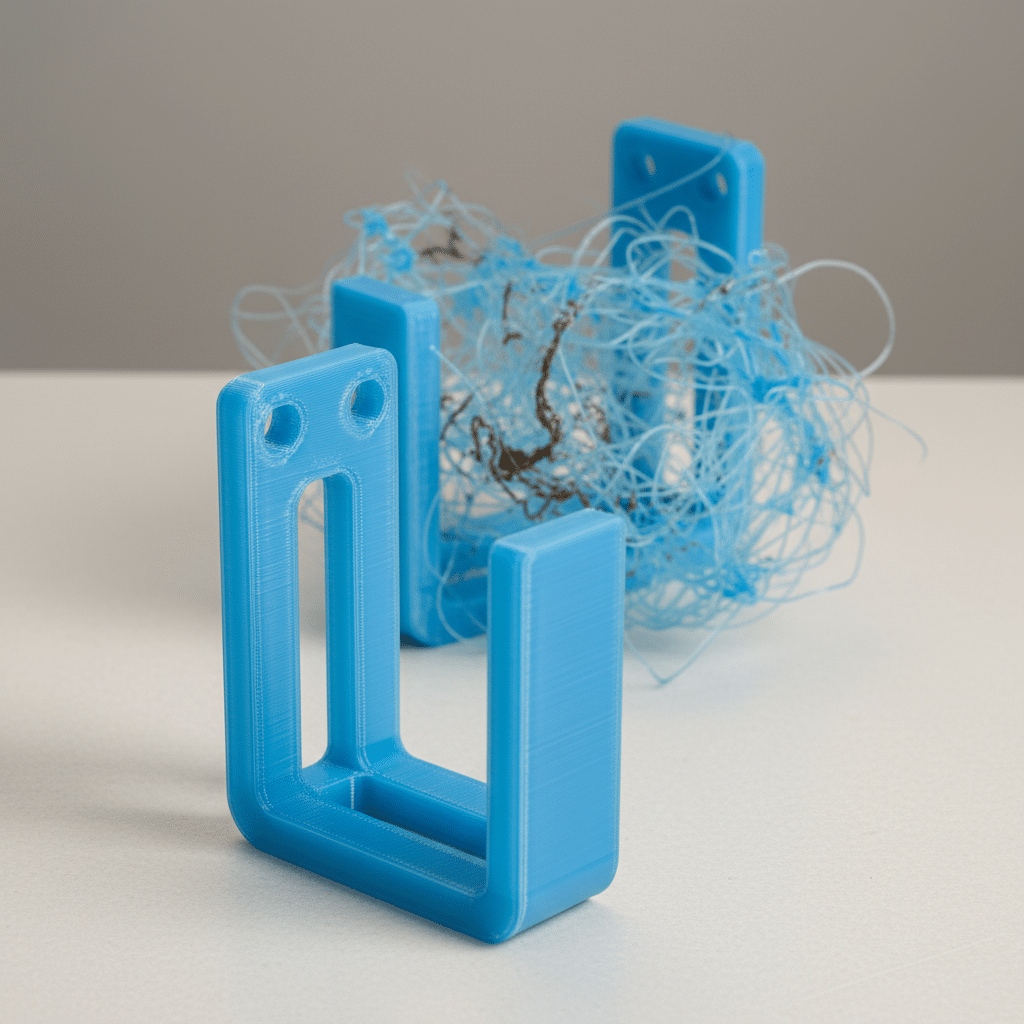
#### Stringing (The PETG Web) This is PETG’s most infamous trait. Thin strands of plastic appear between printed parts.
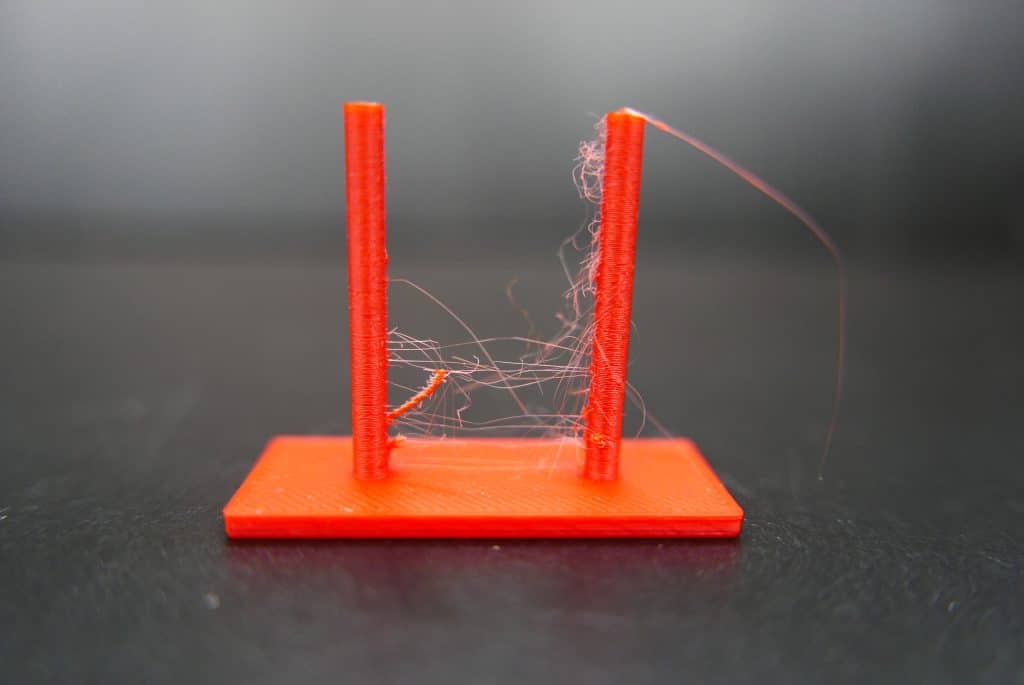
- Solutions:
Retraction Calibration: Increase retraction distance and speed gradually. Temperature Tower: Find the lowest possible printing temperature that still allows good flow and layer adhesion. Lower temperatures reduce oozing. Keep Filament Dry: Wet filament exacerbates stringing. Nozzle Wiping: Some slicers have a “wipe” setting that makes the nozzle wipe itself against the print before retraction.
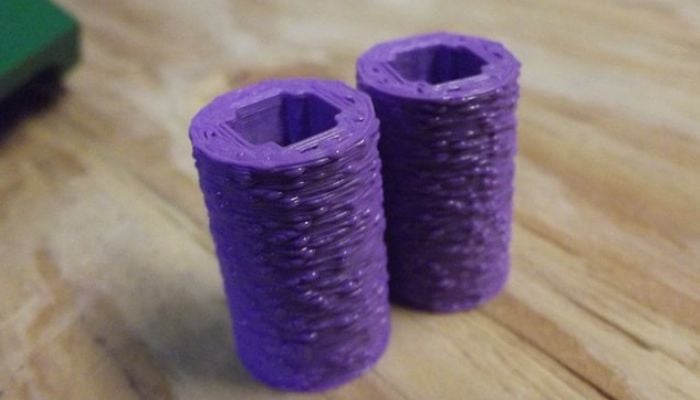
#### Blobs and Zits (Surface Imperfections) Small bumps or blemishes on the surface of your print.
- Solutions:
Retraction: Again, proper retraction helps prevent excess material from oozing out. Wipe Settings: Enable nozzle wiping in your slicer. Coasting: This feature turns off extrusion slightly before a travel move, allowing residual pressure to finish the line. Z-Seam Alignment: Hide the start/stop points of layers by aligning them to a sharp corner or a less visible area. Dry Filament:* Moisture can cause these, too.
#### Poor Layer Adhesion Prints that easily delaminate or break along layer lines.
- Solutions:
Increase Nozzle Temperature: This allows the plastic to bond better. Reduce Cooling Fan: Less cooling means hotter plastic stays molten longer, leading to better fusion. Slow Down Print Speed: Gives the layers more time to bond. Dry Filament: Moisture weakens prints.
#### Warping and Detachment from the Bed Edges of the print curl up or the entire print comes unstuck.
- Solutions:
Proper Bed Adhesion: Ensure your bed is clean and use a reliable adhesive (glue stick, painter’s tape). Increase Bed Temperature: Try bumping it up in 5°C increments. Draft Shield/Enclosure: While PETG doesn’t require an enclosure like ABS, minimizing drafts can help maintain consistent temperatures around the print, reducing warping. Brim or Raft: These build plate adhesion aids create a larger footprint for your print, increasing its grip on the bed.
#### Oozing and Gooping Excessive plastic dripping from the nozzle during travel moves.
- Solutions:
Retraction: Essential for managing oozing. Lower Print Temperature: Find the lowest temperature possible. Increase Travel Speed: Faster travel means less time for molten plastic to drip. Z-Hop: Lifts the nozzle, preventing contact with the print surface, which can pull out oozed material.
Post-Processing Your PETG Prints
Once your PETG print is off the bed, you might want to give it some finishing touches. PETG is quite agreeable to various post-processing techniques.
#### Support Removal PETG can sometimes bond strongly to its support structures.
- Careful Removal: Take your time. Use flush cutters or pliers to break away supports.
- Support Interface Settings: In your slicer, experiment with Z-gap distance (distance between print and support). A slightly larger gap can make supports easier to remove, though it might impact the quality of the supported surface. Increasing the X/Y distance (horizontal gap) also helps.
- Specialized Supports: Consider using tree supports for easier removal on complex parts.
#### Sanding PETG can be sanded to achieve a smoother finish.
- Wet Sanding: This is usually best, starting with coarse grits (e.g., 220) and moving to finer grits (e.g., 400, 800, 1000+). Wet sanding helps prevent heat buildup and clogging of sandpaper.
- Heat Management: Be careful not to sand too aggressively in one spot, as friction can generate heat and cause the plastic to melt or warp.
#### Painting and Finishing PETG accepts paint well.
- Primer: For best results, apply a plastic-compatible primer before painting. This helps the paint adhere better and provides a uniform base.
- Paint Type: Acrylic paints, spray paints designed for plastic, or even automotive paints work. Always test on a scrap piece first.
- Clear Coats: For added durability and a desired sheen, apply a clear topcoat.
Creative Applications: What Can You Print with PETG?
The unique properties of PETG open up a world of possibilities for your 3D printing projects. From practical everyday items to robust outdoor gear, this filament excels where others might falter.
#### Functional Parts PETG’s strength, durability, and moderate flexibility make it ideal for parts that need to perform under stress. Think custom brackets, jigs for your workshop, or replacement parts for appliances. Its resistance to impact means these parts won’t just look good, they’ll last. You can find inspiration for 8 best useful 3d prints that are perfect for PETG.
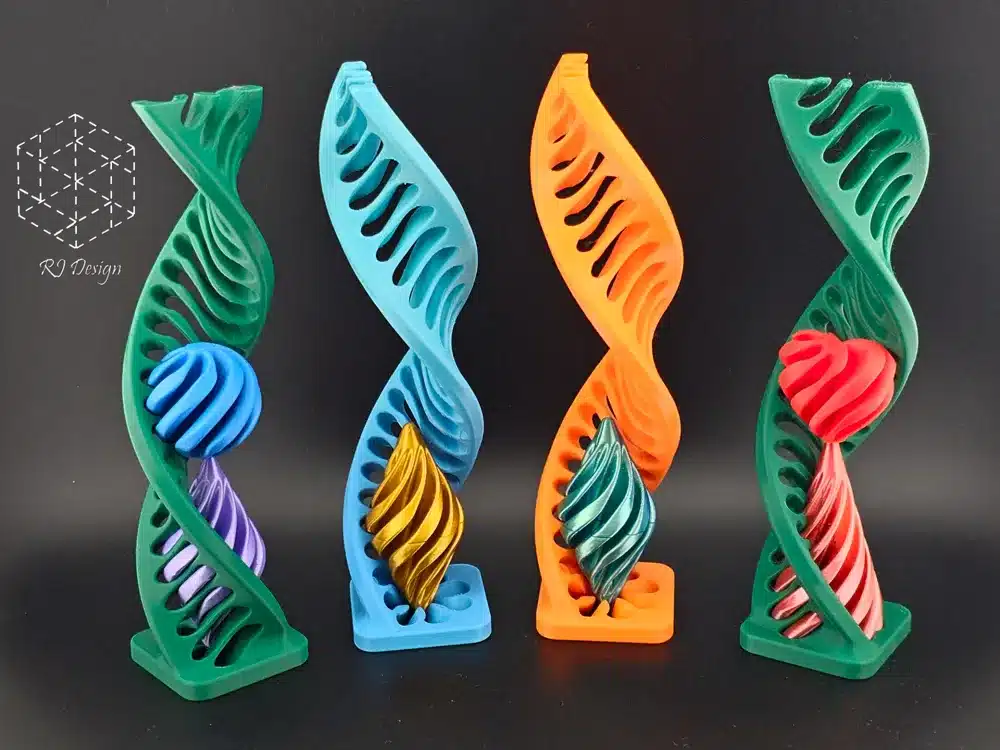
#### Mechanical Components For items requiring interlocking parts or moving assemblies, PETG’s slight give and low friction characteristics are a boon. Gears, hinges, and structural components for robotics or DIY projects can be reliably printed with PETG. It offers a robustness that PLA often lacks for these applications.
#### Outdoor Items Considering its UV resistance (better than PLA) and chemical resistance, PETG is a fantastic choice for prints destined for the great outdoors. Garden tool holders, custom planters, or components for outdoor sensor enclosures will stand up to the elements much better than if printed in PLA. You could even use it for parts in your DIY raised garden beds project!
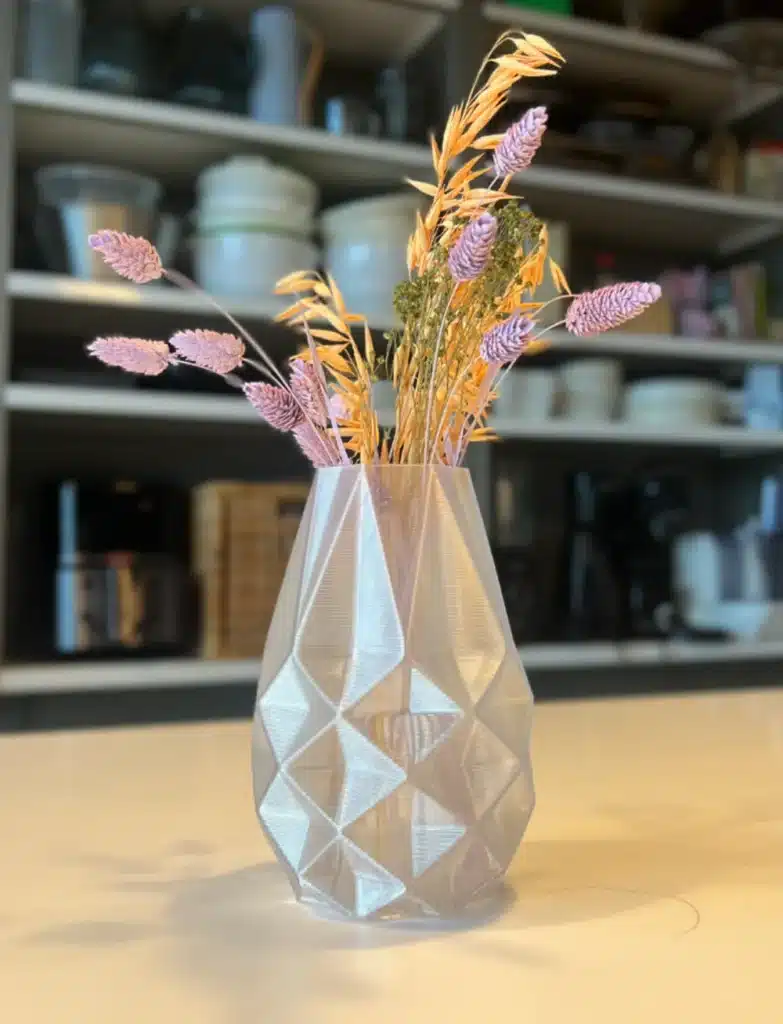
#### Vases and Decorative Art While often praised for its functional attributes, PETG can also produce stunning aesthetic prints. Its natural translucence (especially in uncolored varieties) allows for beautiful light diffusion, making it excellent for lampshades, vases, or artistic sculptures. With careful temperature control and a well-tuned retraction, you can achieve incredibly smooth, almost glass-like finishes.

Maintenance and Care for Your PETG Filament and Prints
Taking a little care goes a long way in ensuring consistent print quality and the longevity of your PETG creations.
#### Filament Storage We’ve touched on this, but it bears repeating: PETG is a moisture magnet.
- Airtight Containers: Invest in some large airtight containers or vacuum-sealable bags.
- Desiccants: Include silica gel packets with your filament spools to absorb any residual moisture. Recharge or replace these regularly.
- Filament Dryers: For serious makers, a dedicated filament dryer is an excellent investment, allowing you to dry filament on demand and even print directly from the dryer.
#### Print Longevity Your PETG prints are durable, but a few considerations can make them last even longer.
- Cleaning: PETG is generally easy to clean with soap and water. Avoid harsh solvents unless you’ve specifically tested them.
- Heat Exposure: While more temperature resistant than PLA, extreme prolonged heat can still cause deformation. Avoid leaving PETG prints in direct sunlight in a hot car, for example.
- UV Exposure: For outdoor applications, clear PETG can yellow slightly over time with prolonged UV exposure, though its structural integrity remains largely intact. Pigmented PETG is generally more resistant to visible UV degradation.
The Evolution of PETG in 3D Printing
PETG isn’t standing still. As 3D printing technology advances, so does the material science behind our filaments. Manufacturers are continuously refining PETG formulas, introducing new variations with enhanced properties. We’re seeing more transparent options with better optical clarity, improved heat resistance, and even specialized blends for specific applications like medical or food contact.
The development of new composite PETG filaments, infused with materials like carbon fiber or glass fiber, promises even greater strength and stiffness, pushing PETG into new realms of engineering applications. This material, much like the evolution of modern home materials, is constantly adapting to meet the demands of innovation and practical use. As our understanding of additive manufacturing grows, PETG is poised to remain a cornerstone material for its versatility and performance.
Conclusion: Embrace the Power of PETG
By now, you should have a solid understanding of why PETG 3D printing is such a powerful tool in your making arsenal. It’s not just another plastic; it’s a versatile, robust material that offers an incredible balance of strength, flexibility, chemical resistance, and relative ease of use. From functional prototypes to stunning decorative pieces, PETG stands ready to bring your ideas to life with impressive durability.
While it has its quirks – hello, stringing! – with a little patience and the right adjustments to your slicer settings, you’ll soon be printing amazing PETG parts consistently. Don’t be intimidated by its slightly higher printing temperatures or the need for meticulous retraction settings. The rewards of strong, reliable, and versatile prints are well worth the effort. So, load up that spool of PETG, dial in your settings, and get ready to unlock a whole new level of 3D printing possibilities. Happy printing!
What is PETG and why is it popular in 3D printing?
PETG is Polyethylene Terephthalate Glycol-modified, a tough, strong, and impact-resistant plastic similar to water bottles but modified for better 3D printing performance. It offers a good balance of strength, flexibility, and ease of printing, making it popular among hobbyists and professionals.
How do I ensure good bed adhesion when printing with PETG?
To ensure good bed adhesion with PETG, use surfaces like glass, PEI, or Kapton tape, apply a thin layer of glue stick or painter’s tape for extra grip, and set the bed temperature around 70-85°C. Using a brim or raft can also improve adhesion and reduce warping.
What are the key slicer settings for successful PETG printing?
Critical slicer settings for PETG include a nozzle temperature between 230-250°C, bed temperature around 70-85°C, print speed of 40-60 mm/s, minimal cooling fan (10-30%), and proper retraction (4-6mm for Bowden, 0.5-2mm for direct drive at 30-50 mm/s) to combat stringing.
How can I minimize stringing and oozing with PETG?
To reduce stringing and oozing, calibrate retraction settings carefully, lower the printing temperature to the lowest effective level, increase travel speed, enable nozzle wiping, and consider Z-hop. Proper filament drying and using the right print speed also help.
What post-processing methods work well for PETG prints?
Post-processing PETG prints can include support removal with careful cutting or adjusting support interface settings, sanding (preferably wet sanding with finer grits), and painting with suitable primers and paints. These methods help achieve a smooth and professional finish.
- 29shares
- Facebook0
- Pinterest29
- Twitter0
- Reddit0


