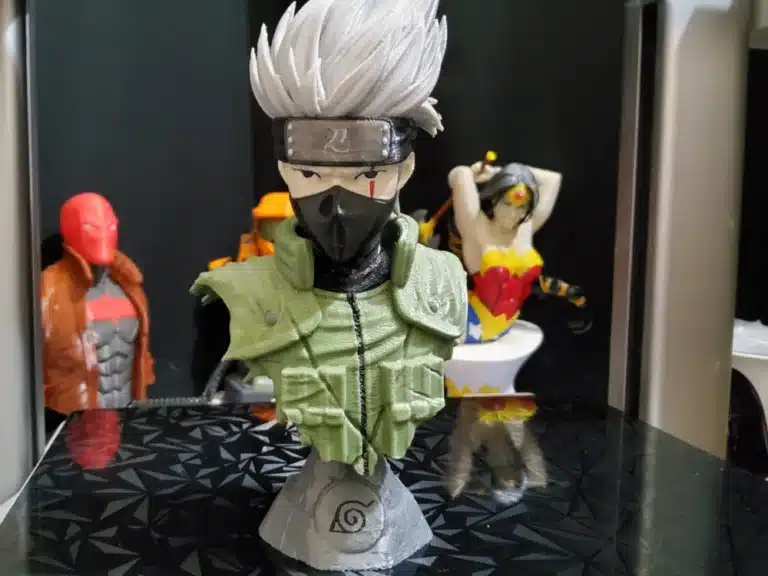
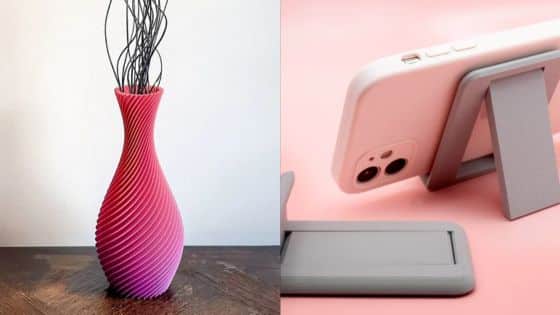
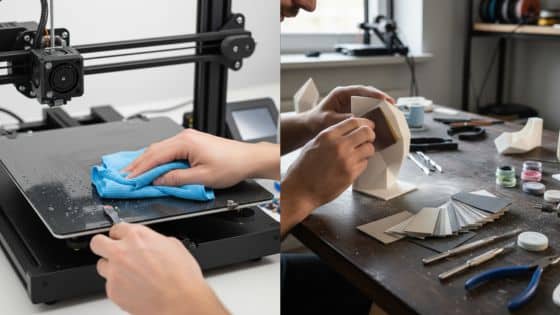
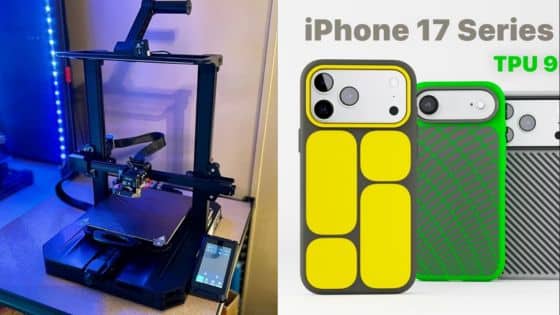
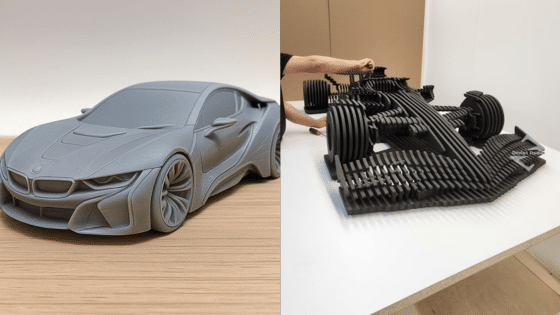
Ever wondered how those intricate, custom-made objects magically appear from a machine, layer by tiny layer? You’ve seen the videos, read the headlines, and perhaps even held a 3D printed gadget in your hand. But what’s really going on behind the scenes? Today, we’re taking a relaxed stroll through the fascinating world of additive manufacturing to peek inside and demystify how 3D printers work their magic. It’s less like sci-fi and more like incredibly precise, automated crafting, and once you get the hang of it, you’ll see why it’s such a game-changer across countless industries and even in our homes.
At its core, 3D printing is about building things up, rather than carving them out. Think of it like drawing a picture, but instead of ink, you’re drawing with plastic, resin, or metal, and each stroke stacks on the last to create a physical object. Ready to dive in? Let’s peel back the layers!
The Big Picture: What is 3D Printing Anyway?
Before we get into the nitty-gritty, let’s establish what we’re talking about. “3D printing” is actually an umbrella term for a bunch of different technologies, all falling under the fancy name of “additive manufacturing.” Why “additive”? Because, unlike traditional manufacturing methods where you start with a big block of material and cut away what you don’t need (like carving a statue from stone, which is “subtractive”), 3D printing adds material, layer by tiny layer, until the final object is complete.
Imagine baking a cake. You don’t start with a giant cake and chip away at it. You mix ingredients, pour them into a mold, and build up the layers if it’s a tiered cake. 3D printing is similar, but on a microscopic scale, building solid objects from digital designs. This approach opens up a world of possibilities, allowing for complex geometries, hollow structures, and custom designs that would be impossible or incredibly expensive to create with traditional methods. It’s truly revolutionary, shifting how we design, prototype, and produce everything from simple toys to crucial medical implants.
The Core Ingredients: What You Need to Get Started

So, what do you need to whip up something awesome with a 3D printer? It’s not just the machine itself. There’s a whole workflow, and each component plays a crucial role in bringing your digital dreams to life.
The Digital Blueprint: Your 3D Model
Every physical object starts as a digital design. This is your blueprint, your instruction manual, your master plan. You can get these 3D models in a few ways:
- Design it yourself: If you’re savvy with software, you can use Computer-Aided Design (CAD) programs. Think of software like SolidWorks, Fusion 360, TinkerCAD (great for beginners!), or Blender. These tools let you sculpt, model, and engineer your ideas from scratch. It’s a fantastic way to unleash your creativity, whether you’re designing a custom phone stand or a miniature fantasy creature. Many designers find great drawing inspirations to create amazing 3D models.
- Scan a real object: Got something tangible you want to replicate or modify? 3D scanners can capture the physical dimensions of an object and turn it into a digital file. This is super handy for reverse engineering or creating digital archives.
- Download existing models: The internet is bursting with repositories of free and paid 3D models. Websites like Thingiverse, MyMiniFactory, and Cults3D offer millions of ready-to-print designs, from functional spare parts to cool artistic pieces. It’s a treasure trove for anyone looking to jump straight into printing.
Regardless of how you get your 3D model, it usually ends up in a file format like STL (Standard Tessellation Language) or OBJ, which are like universal languages for 3D geometry.
The Brains: Slicer Software
Okay, you have your digital blueprint. But a 3D printer doesn’t understand an STL file directly. It needs specific instructions – a recipe, if you will – on how to build that object layer by tiny layer. That’s where “slicer software” comes in.
The slicer takes your 3D model and, as the name suggests, “slices” it into hundreds or thousands of horizontal layers. For each layer, it generates a path for the printer’s nozzle or laser to follow, converting the complex 3D shape into a series of 2D cross-sections. It also figures out things like:
- Layer height: How thick each layer will be (thinner layers mean more detail but longer print times).
- Print speed: How fast the printer moves.
- Infill density: How solid or hollow the inside of your object will be (a honeycomb or grid pattern is often used for strength without excessive material use).
- Support structures: If your object has overhangs or parts floating in mid-air, the slicer will automatically generate temporary supports that can be removed after printing.
- Rafts/Brima/Skirts: These are various types of bases that help the print stick to the build plate.
All these instructions are then translated into “G-code,” a language of commands that tells the printer exactly where to move, how fast to go, how much material to extrude, and what temperature to maintain. Think of G-code as the musical score that the printer performs.
The Body: The Printer Itself
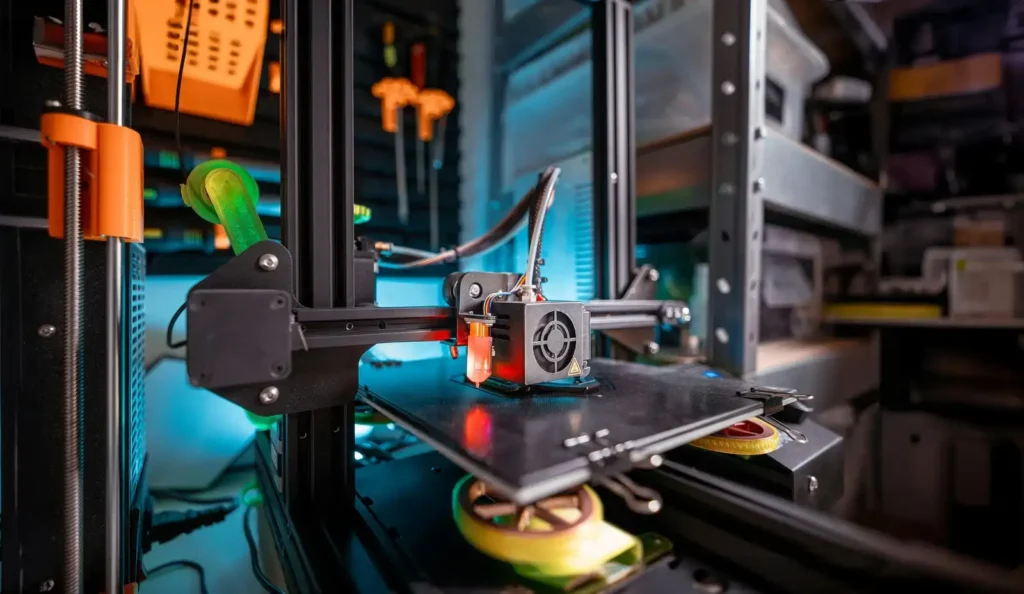
This is the star of the show, of course! While there are many types, they all share common components:
- Build Plate/Bed: The surface where your object is printed. It often heats up to help prints stick.
- Extruder/Resin Vat: Where the raw material is processed. For FDM, it’s the hot end that melts plastic. For SLA, it’s a vat of liquid resin.
- Motion System: Motors and belts that precisely move the print head (or build plate) along the X, Y, and Z axes to build the object.
- Controller Board: The “nervous system” that interprets the G-code and sends commands to the motors, heaters, and other components.
The Fuel: Print Material
You can’t print something from nothing! 3D printers use a variety of materials, often specific to the type of printer.
- Filaments (for FDM printers): These are spools of plastic strings, commonly PLA (polylactic acid), ABS (acrylonitrile butadiene styrene), PETG (polyethylene terephthalate glycol), and flexible filaments like TPU. Each has different properties – PLA is easy to print, ABS is stronger but trickier, PETG is a good all-rounder.
- Resins (for SLA/DLP printers): These are liquid photopolymer resins that cure and harden when exposed to specific wavelengths of light. They come in various types, offering different levels of flexibility, detail, and strength.
- Powders (for SLS/Binder Jetting printers): Fine powders of plastic, metal, or ceramic are used. Lasers or binders then fuse or bind these powders together.
Unpacking the Magic: How 3D Printers Work Step-by-Step

Let’s trace the journey of an object from a digital idea to a physical reality, focusing primarily on FDM (Fused Deposition Modeling) as it’s the most common type for hobbyists and many professionals.
Step 1: The Digital Blueprint is Ready
You’ve designed your masterpiece in CAD software or downloaded a cool model. It’s a pristine digital file, usually in STL format, representing the surface geometry of your object using tiny triangles.
Step 2: Slicing and Dicing
Next, you load that STL file into your slicer software (like Cura, PrusaSlicer, or Simplify3D). Here, you make all those crucial decisions we talked about: layer height, infill, supports, etc. Once you hit “Slice,” the software performs its magic, calculating every single movement and extrusion needed. The output is your G-code file, saved onto an SD card or sent directly to the printer via USB.
Step 3: Loading Up the Fuel
Time to prepare the printer!
- For FDM: You feed your chosen filament from its spool into the printer’s extruder assembly. The printer’s hot end heats up to the required temperature (e.g., 200°C for PLA). If your printer has a heated bed, that warms up too (e.g., 60°C for PLA).
- For SLA: You pour liquid resin into the printer’s transparent vat.
Step 4: The Build Begins!
This is where the real “magic” happens.
FDM in Action: The Hot Glue Gun of High-Tech
- Homing: The printer usually “homes” itself first, moving its print head to a known starting position (often the front-left corner and just above the build plate) to calibrate its position in 3D space.
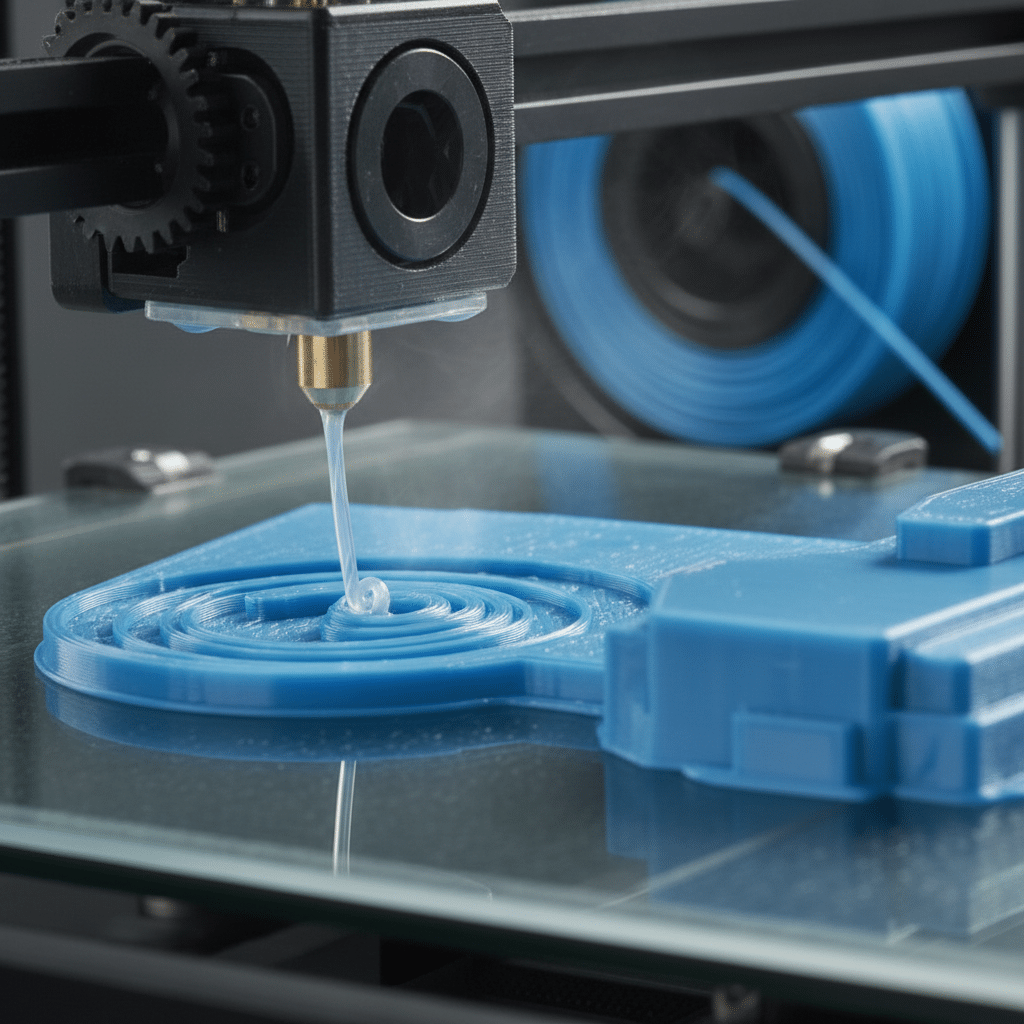
- First Layer: The print head moves to the starting point of your object’s first layer. Molten plastic is extruded through a tiny nozzle (typically 0.4mm in diameter) onto the build plate. This first layer is critical; it needs to stick well to prevent the whole print from failing. The heated bed helps with this adhesion.
- Building Up: Once the first layer is down, the print head either moves up slightly (in some designs) or the build plate moves down (more common), ready for the next layer. The print head then traces the path for the second layer, extruding more molten plastic directly onto the first.
- Repeat: This process repeats, layer after painstaking layer. The print head precisely moves along the X and Y axes (side to side, front to back) while the Z-axis (up and down) incrementally changes to build the height. Each layer fuses with the one below it, solidifying to form the 3D object.
- Cooling: As the plastic extrudes, it cools rapidly, solidifying almost instantly. Small fans often help accelerate this cooling, especially for overhangs and intricate details.
SLA/DLP in Action: Light and Liquid
For resin printers, the process is different but equally fascinating:
- Resin Vat: The build plate slowly lowers into a vat of liquid photopolymer resin, leaving a tiny gap equal to the layer height above a light source.
- Light Cure: A UV laser (SLA) or a digital light projector (DLP) shines light into the resin, selectively curing and hardening a cross-section of the object for that specific layer.
- Peeling: The build plate then lifts slightly, “peeling” the newly cured layer away from the bottom of the vat. This allows fresh resin to flow underneath.
- Lower and Repeat: The plate lowers back down, exposing the next layer to light. This continues until the entire object is built, suspended upside down from the build plate.
Step 5: Post-Processing
Once the printer finishes its job, your object isn’t quite ready for primetime.
- Removal: You carefully remove the printed object from the build plate.
- Support Removal: If you used supports, you’ll snap or cut them away.
- Curing (for resin prints): Resin prints often need a final cure under UV light to fully harden and strengthen.
- Cleaning: Any excess material needs to be cleaned off (e.g., washing resin prints in isopropyl alcohol).
- Finishing: Depending on your desired outcome, you might sand, polish, paint, or assemble your 3D print.
Types of 3D Printers: A Quick Look
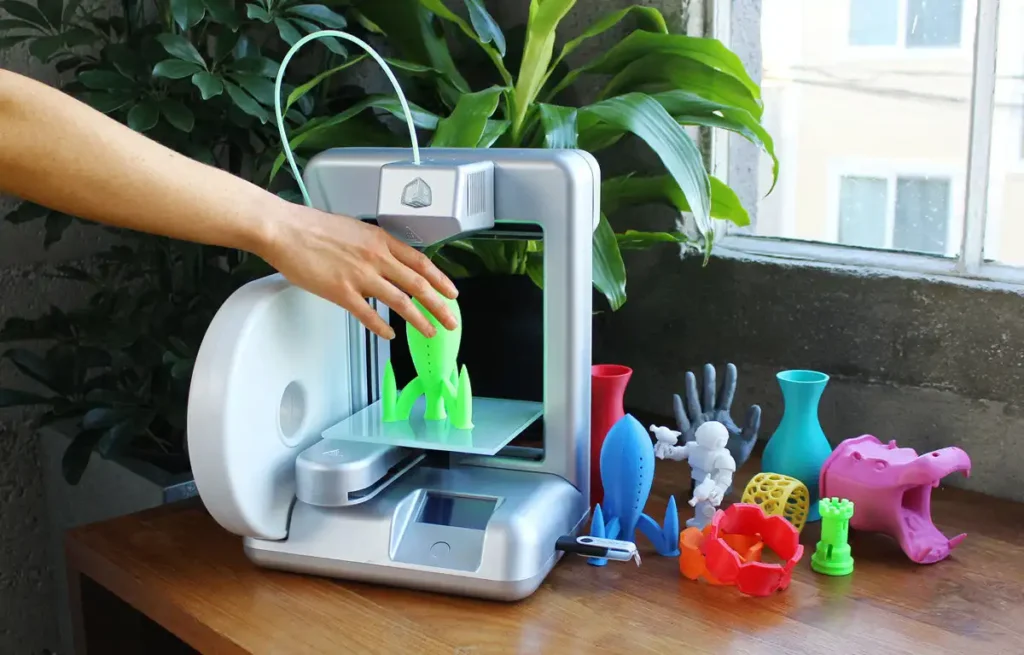
While all 3D printers build layer by layer, how they do it varies significantly.
Fused Deposition Modeling (FDM)
- How it works: Melts and extrudes plastic filament through a heated nozzle.
- Pros: Most affordable, wide range of materials, relatively easy to use, great for functional prototypes and large parts.
- Cons: Visible layer lines, generally lower detail compared to resin, can struggle with fine features.
- Best for: Hobbyists, functional parts, prototypes, larger objects.
Stereolithography (SLA) / Digital Light Processing (DLP)
- How it works: Uses a UV laser (SLA) or a projector (DLP) to cure liquid resin, hardening it layer by layer.
- Pros: Incredible detail, smooth surface finish, ideal for intricate designs.
- Cons: More expensive, limited material choice, messy post-processing (working with liquid resin), smaller build volumes typically.
- Best for: Miniatures, jewelry, dental models, high-detail prototypes.
Selective Laser Sintering (SLS)
- How it works: A high-powered laser fuses (sintering) fine powder particles (like nylon) together, layer by layer.
- Pros: Very strong and durable parts, no support structures needed (the unused powder acts as support), complex geometries possible, suitable for end-use parts.
- Cons: Industrial-grade, very expensive, materials can be limited, parts can have a slightly grainy surface.
- Best for: Functional prototypes, end-use parts, industrial manufacturing.
The Power of Layers: Why It Matters

The magic of 3D printing truly lies in this layer-by-layer approach. It’s not just a technical detail; it’s what unlocks so much potential:
- Complex Geometries: Traditional manufacturing struggles with internal cavities, organic shapes, and intricate lattices. 3D printing eats them for breakfast! You can create designs that were previously impossible to produce.
- Customization on Demand: Need a phone case perfectly molded to your hand, or a prosthetic limb tailored to an individual? 3D printing makes one-off, personalized items as feasible as mass-produced ones.
- Rapid Prototyping: Designers and engineers can quickly iterate on designs. Instead of waiting weeks for a new mold or machined part, they can print a new prototype in hours or days, test it, and refine it, dramatically speeding up product development.
- Material Efficiency: Since you’re only adding material where it’s needed, there’s less waste compared to subtractive methods, especially with techniques like SLS where unused powder can be recycled.
Pros and Cons
| Pros | Cons |
|---|---|
| – Allows for highly complex and intricate geometries. | – Slower than traditional manufacturing for mass production. |
| – Enables rapid prototyping and design iteration. | – Limited choice of materials for some printer types. |
| – High degree of customization for individual products. | – Post-processing often required, adding to time and effort. |
| – Reduced material waste compared to subtractive methods. | – Can have visible layer lines or require specific surface finishing. |
| – Accessible to hobbyists and small businesses. | – Initial investment in quality printers and materials can be high. |
Beyond the Hobby Bench: Real-World Applications
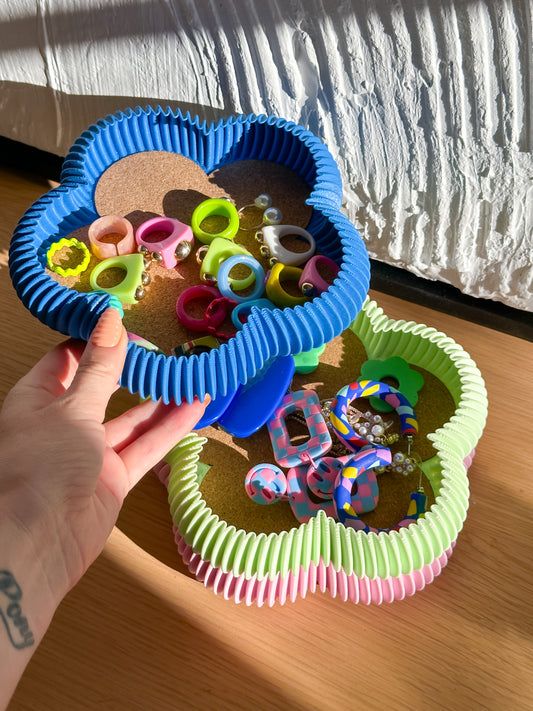
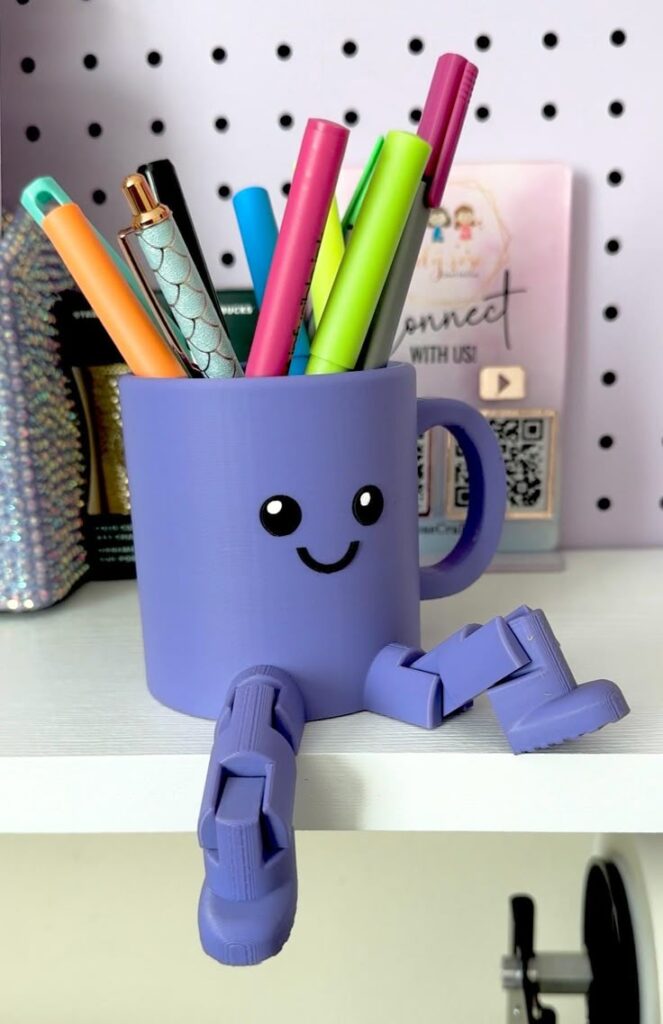
While 3D printing started as a niche technology, it’s now a powerhouse across almost every industry. It’s not just about cool gadgets; it’s about transforming how we innovate and create.
Prototyping & Product Development
This is perhaps the biggest application. Companies can quickly bring ideas from concept to physical model, allowing for rapid testing and feedback. Imagine a new shoe design; designers can print multiple iterations of components to ensure maximum comfort and efficiency, a process that is critical when designing shoes for comfort. This speeds up the design cycle and saves immense costs.
Manufacturing & Customization
For jigs, fixtures, and specialized tools, 3D printing is invaluable. It also shines in creating low-volume, highly customized end-use parts. Think bespoke car parts, personalized jewelry, or even intricate components for drones and robotics. The beauty is you can print exactly what you need, when you need it.
Healthcare
The medical field has embraced 3D printing with open arms.
- Prosthetics: Custom-fit, lightweight, and affordable prosthetic limbs are being printed, dramatically improving lives.
- Surgical Guides: Doctors can print patient-specific anatomical models to plan complex surgeries, or create custom guides for precise drilling or cutting.
- Bioprinting: While still emerging, bioprinting aims to print living tissues and organs using biological materials, holding incredible promise for the future of medicine.
Art & Design
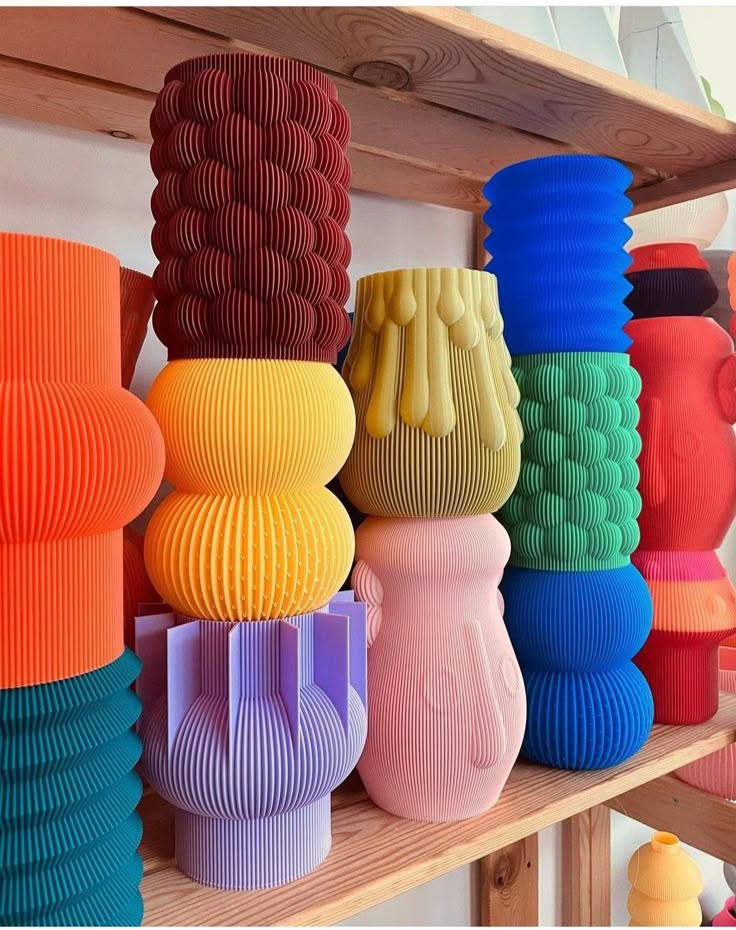
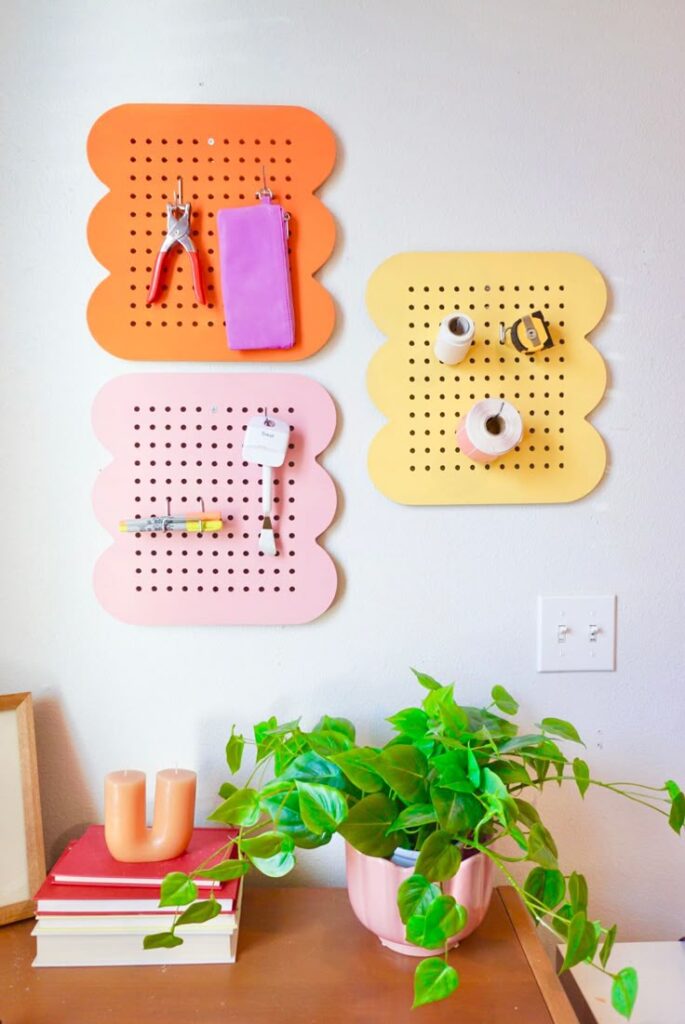
Artists are leveraging 3D printing to create breathtaking sculptures and intricate installations that would be impossible with traditional methods. Architects use it to quickly visualize complex building models. Fashion designers are even printing intricate garments and accessories. If you’re looking for more ideas, check out these 15 best 3D printing ideas for inspiration.
Education
From K-12 classrooms to university labs, 3D printers are powerful educational tools, allowing students to engage in hands-on STEM learning, visualize abstract concepts, and unleash their inner inventors.
Common Challenges and Troubleshooting Tips

While the magic of 3D printing is undeniable, it’s not always smooth sailing. There are common hurdles new (and experienced) users face:
- Bed Adhesion Issues: Prints not sticking to the build plate is a frequent culprit. Solutions include cleaning the build plate, using adhesive aids (glue stick, hairspray), calibrating the bed level, or adjusting bed temperature.
- Warping: When corners lift off the build plate, often due to uneven cooling or poor adhesion. Enclosures can help maintain stable temperatures, as can brims or rafts.
- Stringing/Blobs: Excess material left on the print, usually due to incorrect retraction settings (where the filament is pulled back slightly to prevent oozing during travel moves).
- Clogged Nozzles: Filament getting stuck and preventing extrusion. This can be caused by dust, incorrect temperatures, or poor quality filament. Regular maintenance and proper material storage help.
- Failed Prints: Sometimes, prints just fail – supports break, layers shift, or the print detaches. Patience, calibration, and learning from each failure are key. The 3D printing community is incredibly helpful for troubleshooting!
The Future is Now (and Beyond): What’s Next for 3D Printing?

3D printing isn’t just a trend; it’s a foundational technology that’s continually evolving. What does the future hold?
- New Materials: Expect to see an explosion of new printable materials, including advanced composites, ceramics, more diverse metals, and even foods. Imagine printing a steak!
- Faster, Larger, More Accessible: Printers will become faster, capable of printing larger objects, and even more user-friendly, pushing further into mainstream adoption.
- AI Integration: Artificial intelligence will play an increasing role, optimizing print settings, automating design processes, and even predicting potential print failures. AI is already transforming creative industries and will continue to streamline complex tasks in 3D printing.
- On-Demand Manufacturing: The ability to manufacture parts anywhere, anytime, will continue to grow, reducing supply chain complexities and fostering localized production.
- Multi-Material Printing: Imagine a single print with integrated electronics, multiple colors, and varying material properties – a true “all-in-one” manufacturing process.
Wrapping It Up: The Everyday Magic
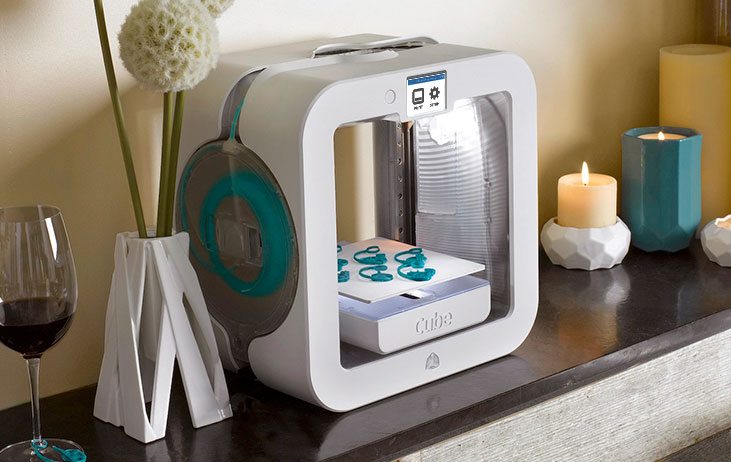
From a digital blueprint to a tangible object, the journey of a 3D print is a marvel of modern engineering and software. It’s a process of meticulous layering, guided by precise instructions, that transforms raw materials into intricate forms. We’ve explored the essential components, walked through the step-by-step process of how 3D printers work, and even touched upon the vast world of applications that extend far beyond what most people imagine.
Whether you’re an aspiring inventor, an artist, an engineer, or just someone fascinated by how things are made, 3D printing offers an incredible window into the future of manufacturing. It’s a technology that empowers creativity, accelerates innovation, and continues to surprise us with its versatility. So, the next time you see a 3D printed object, you’ll know it’s not just “magic” – it’s a testament to ingenuity, layer by incredible layer.
Ready to get started on your own 3D printing adventure? The tools and knowledge are more accessible than ever before. Dive in, experiment, and who knows what amazing things you’ll create!
- 32shares
- Facebook0
- Pinterest32
- Twitter0
- Reddit0


