Stepping into your daily routine should feel less like a scavenger hunt and more like a serene ritual, especially when it comes to getting ready. Yet, for many, the reality of a girls’ makeup cabinet is often a chaotic jumble of forgotten foundations, dried-up mascaras, and a tangled mess of brushes. If your makeup space sparks more stress than joy, it’s time for a change. This guide isn’t just about tidying up; it’s about transforming your beauty routine, saving you time, and ensuring every product you own serves its purpose. We’re diving deep into how to organize a girls’ makeup cabinet, turning that cluttered chaos into a beautiful, functional haven. Get ready to say “bye-bye clutter” and “hello gorgeous!”
Why Organization Matters: Beyond Just Pretty Shelves
Think of your makeup cabinet as the command center for your daily glow-up. When it’s disorganized, everything feels harder. You might spend precious minutes digging for that one perfect lipstick, only to find it’s expired or broken. An organized space isn’t just visually appealing; it brings a host of practical benefits:
- Time-Saving: No more frantic searching! Everything has its place, making your morning routine quicker and smoother.
- Hygiene & Product Longevity: Clutter often means dust, dirt, and expired products lurking. A clean, organized space helps you keep track of expiration dates and encourages better hygiene for your tools and products, extending their life.
- Reduced Stress: A calm, ordered environment can significantly reduce daily stress. Starting your day without fighting through clutter sets a more positive tone.
- Financial Savings: When you know exactly what you own, you’re less likely to repurchase items you already have. You’ll also be more likely to use up products before they expire, minimizing waste.
- Enhanced Creativity: When your products are visible and accessible, you’re more likely to experiment and enjoy your makeup application, unleashing your inner artist.
It’s about more than just aesthetics; it’s about optimizing your personal space for maximum efficiency and enjoyment.
Phase 1: The Grand Declutter – A Fresh Start
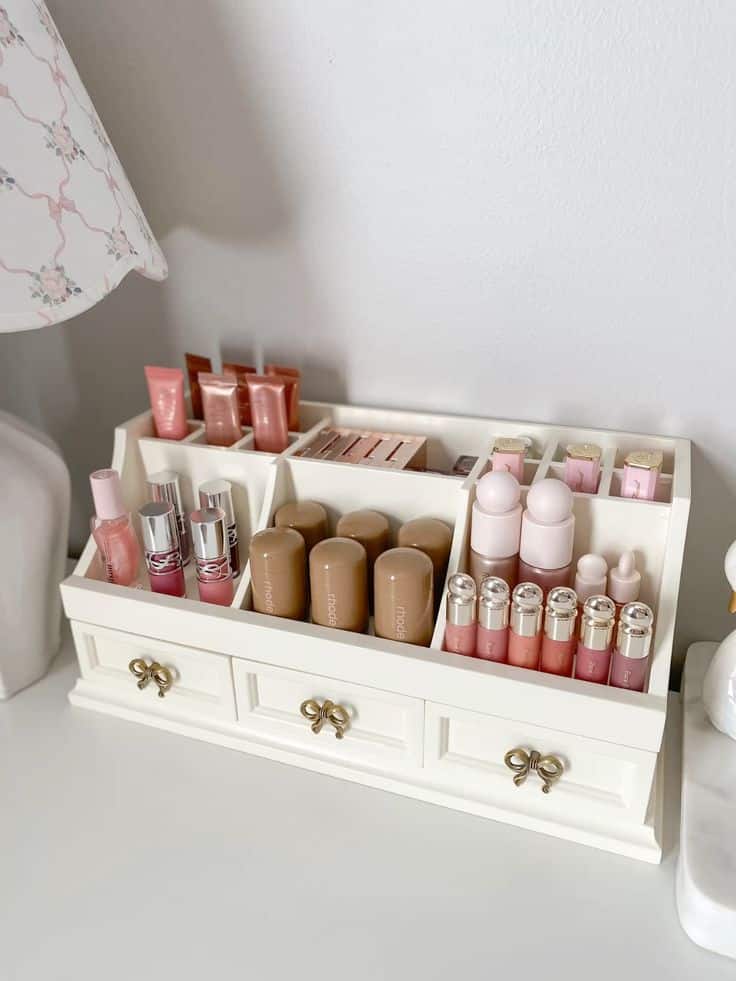
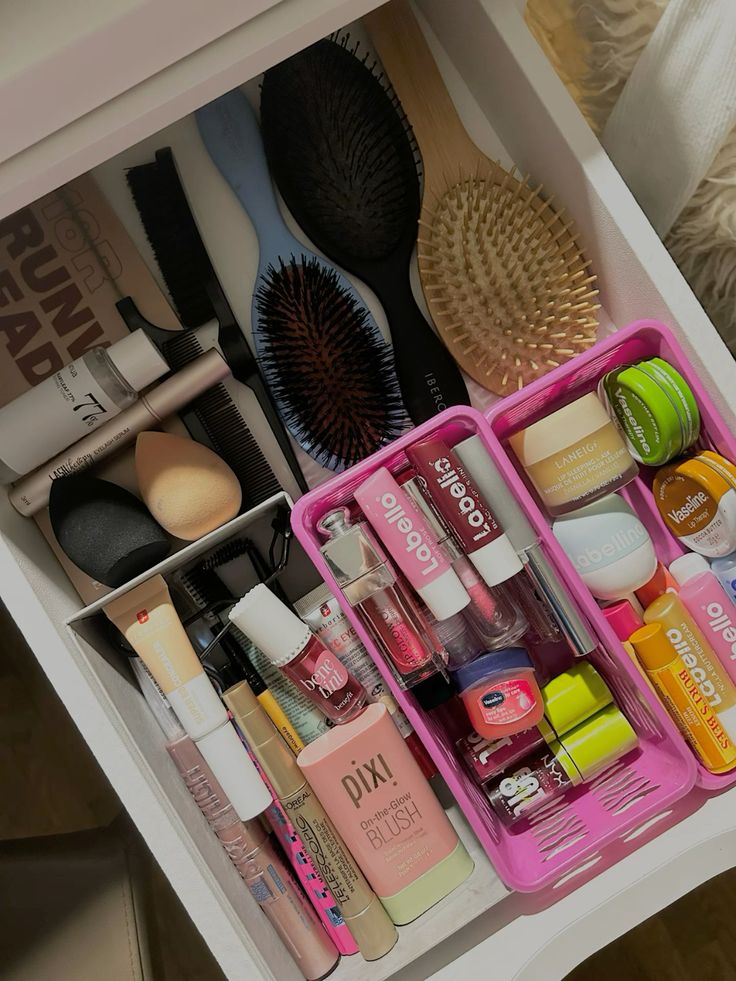
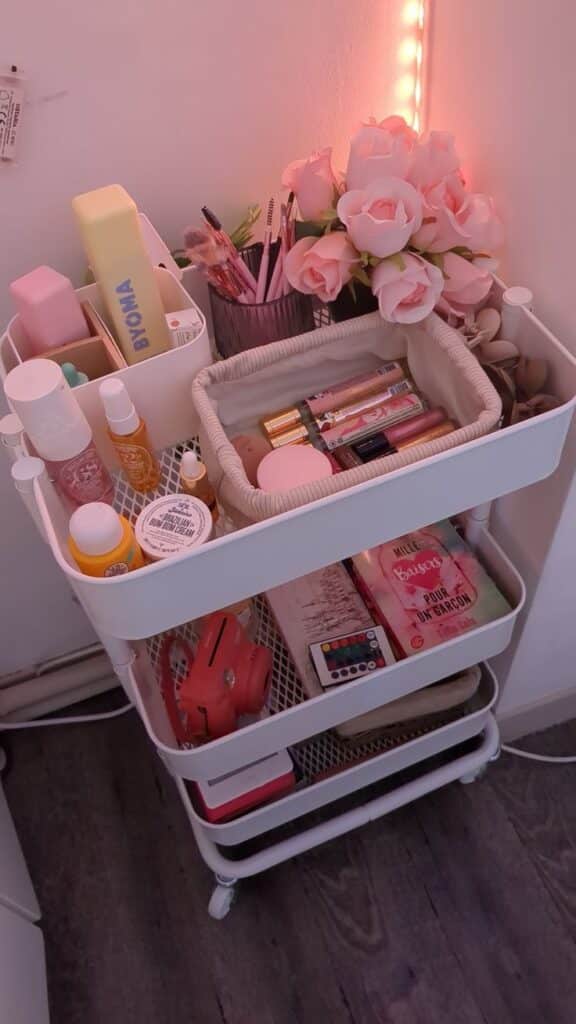
Before you even think about buying organizers, the absolute first step is the grand declutter. This is where you get real with your collection. It might feel overwhelming at first, but approaching it systematically makes it manageable.
Empty Everything Out
Seriously, every single item. Take it all out of the cabinet, off the shelves, out of the drawers. Lay everything out on a clean towel on your bed or a large table. Seeing the full scope of your collection is crucial for making informed decisions. This step mirrors the initial phase of organizing a larger space, like when you’re preparing to organize an apartment move – you need to see all your possessions before you can sort them.
Check Expiration Dates
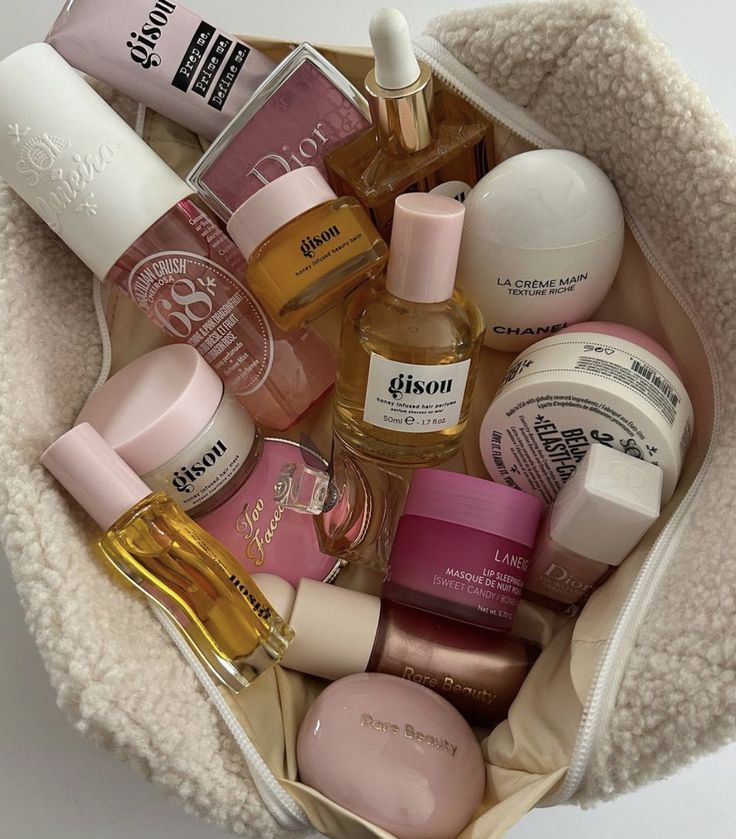
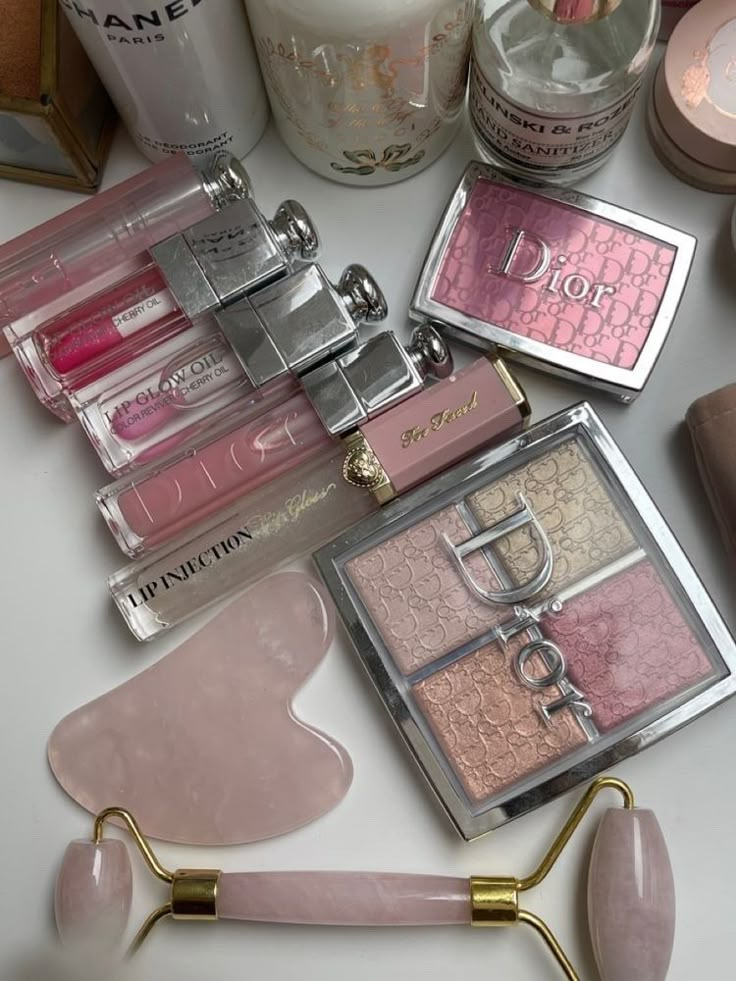
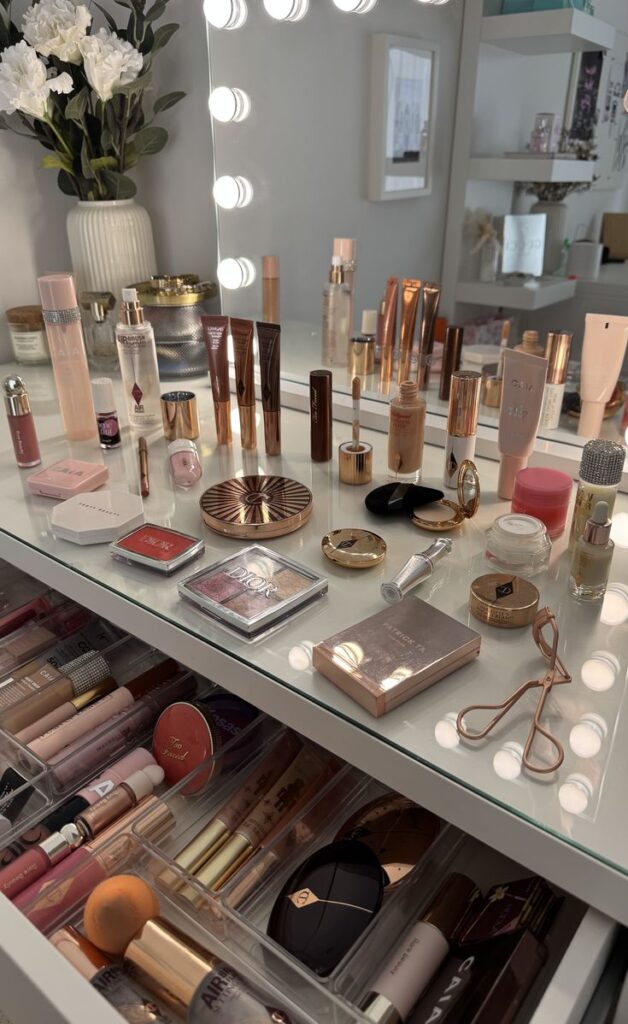
This is non-negotiable for makeup. Expired products can harbor bacteria, leading to skin irritation, breakouts, and even infections. Be ruthless!
- Mascara/Liquid Eyeliner: 3-6 months (These are notorious for bacterial growth due to repeated eye contact).
- Liquid Foundation/Concealer: 6-12 months.
- Cream Blushes/Eyeshadows: 6-12 months.
- Lipstick/Lip Gloss: 1 year.
- Powder Products (Eyeshadow, Blush, Bronzer): 1-2 years (If they look, smell, or apply differently, toss them sooner).
- Pencils (Eyeliner, Lip Liner): 1-2 years (Sharpening them helps extend their life).
- Sunscreen: Check the actual expiration date on the bottle.
If you can’t remember when you bought it, or if it smells off, has changed texture, or has separated, it’s safer to toss it.
Discard or Donate
Now, separate your remaining items into three piles:
- Keep: Products you love, use regularly, and are still good.
- Toss: Expired, broken, or unusable products.
- Donate/Give Away: Gently used, still-good products you no longer want. Many women’s shelters or specific non-profits accept gently used makeup (check local guidelines first). If not, offer them to friends or family who might appreciate them.
Be honest with yourself. Do you really need five identical nude lipsticks? Are you holding onto that eyeshadow palette from five years ago just “in case”? If it doesn’t make you feel good, it’s time to let it go. This phase is about making conscious choices about what deserves a spot in your rejuvenated cabinet.
Phase 2: Categorize Like a Pro – Grouping Your Treasures
Once you’ve decluttered, the next step is to group your remaining items into logical categories. This makes finding what you need incredibly easy and ensures your space stays organized long-term.
Logical Groupings
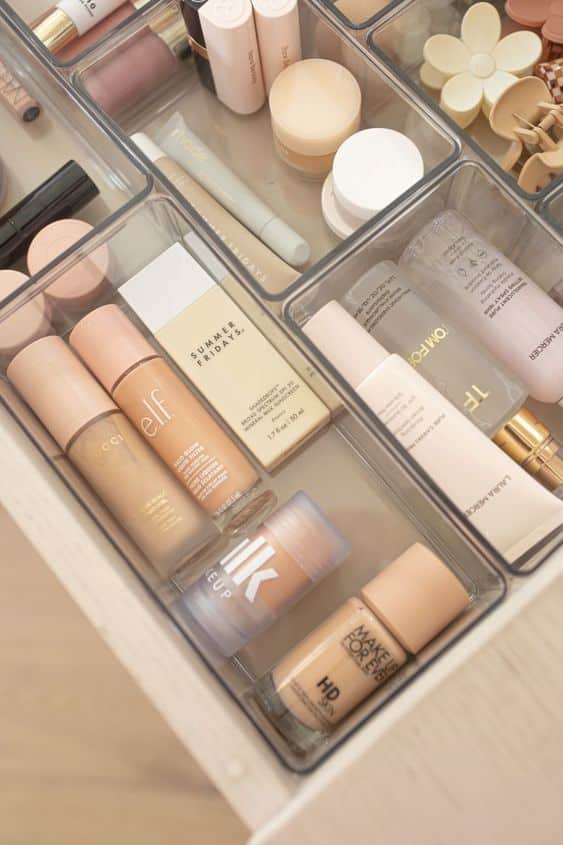
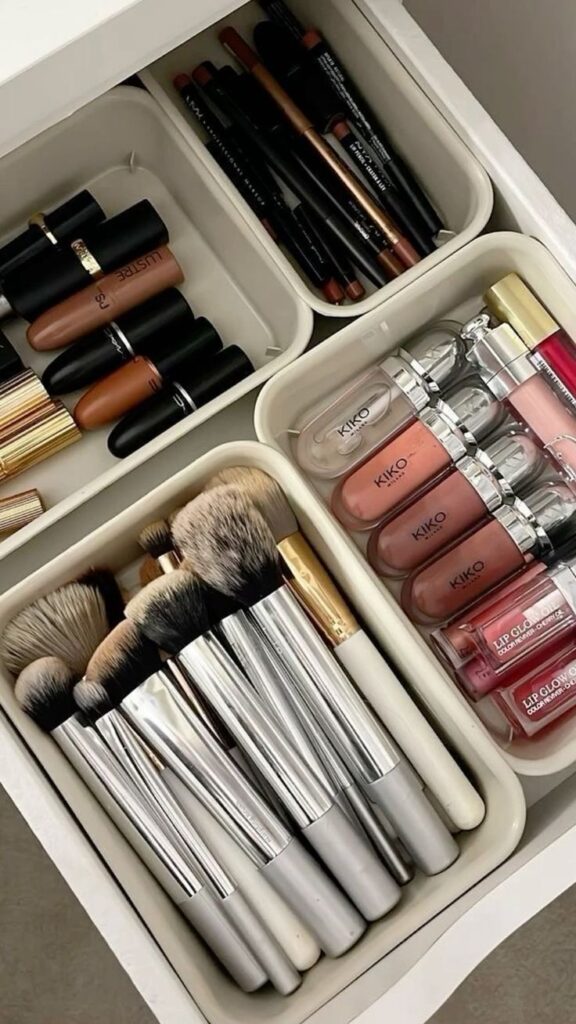
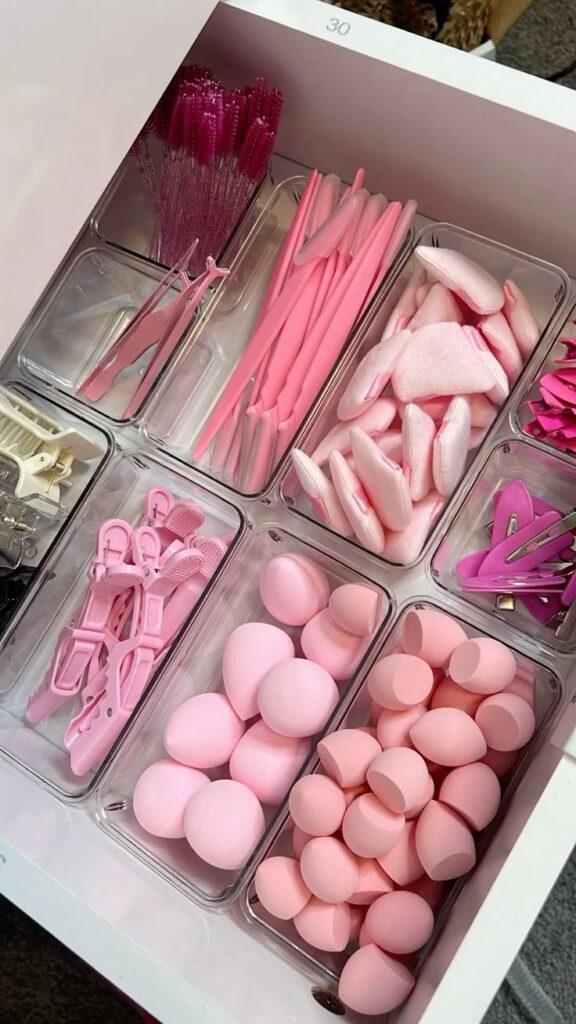
Think about how you apply your makeup. This will dictate your categories:
- Face: Primers, foundations, concealers, setting powders, blushes, bronzers, highlighters.
- Eyes: Eyeshadow palettes, single shadows, eyeliners, mascaras, brow products.
- Lips: Lipsticks, lip glosses, lip liners, lip balms.
- Tools: Brushes, sponges, lash curlers, sharpeners, tweezers.
- Skincare (if stored with makeup): Cleansers, toners, serums, moisturizers, SPF.
- Nails (if applicable): Polishes, removers, nail tools.
Daily vs. Special Occasion
Within your main categories, create sub-categories for everyday essentials versus items you use less frequently. Keep your go-to foundation, everyday mascara, and favorite lip balm in a prime, easily accessible spot. That dramatic glitter palette or the bold red lipstick you only wear for special events can be stored slightly further back or in a dedicated “special occasion” section.
New vs. Used
Do you have unopened backup products? Keep them separate from your in-use items. This prevents clutter and ensures you open products in a timely manner. You might have a small basket for “new, unopened” items so they don’t get mixed in with your daily rotation.
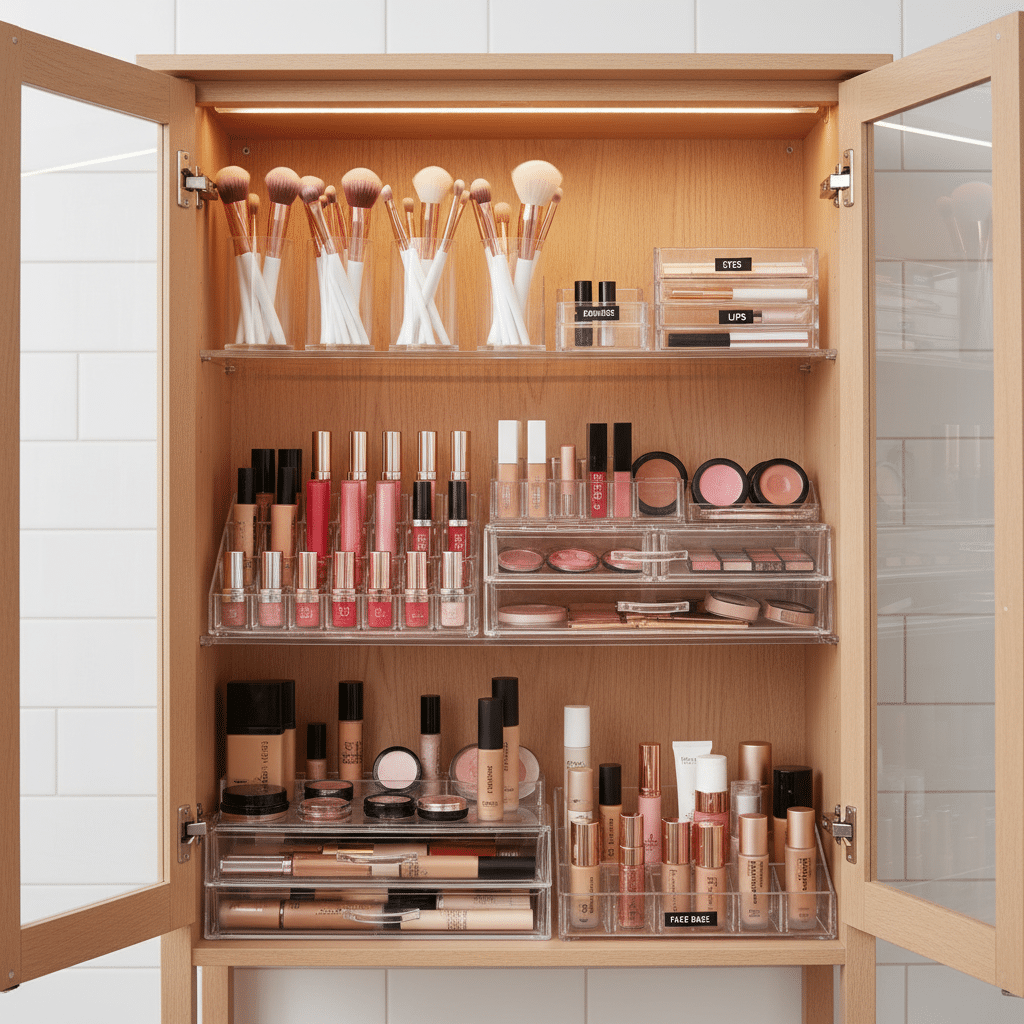
Phase 3: Smart Storage Solutions – Containers are Your Best Friends
Now that you know what you have and how it’s grouped, it’s time to invest in some smart storage solutions. These are the workhorses that will keep everything in its place and visible. Choosing the right tools is key to making your space not just tidy, but truly functional and harmonious, much like creating a cohesive look with interior spaces.
Acrylic Drawers and Organizers
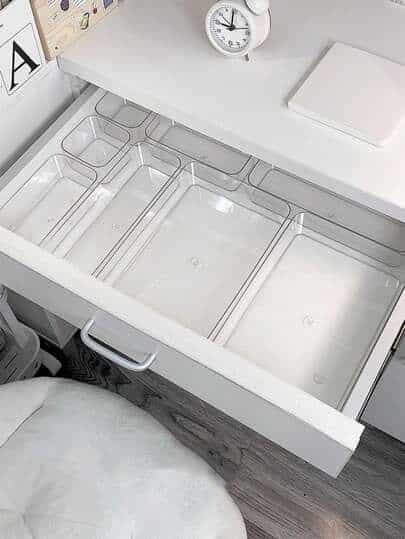
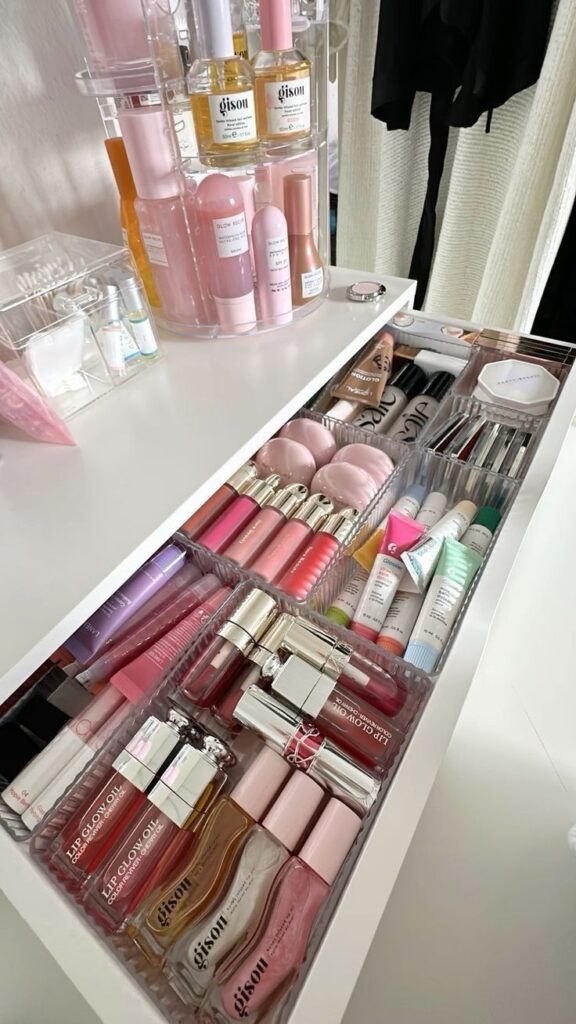
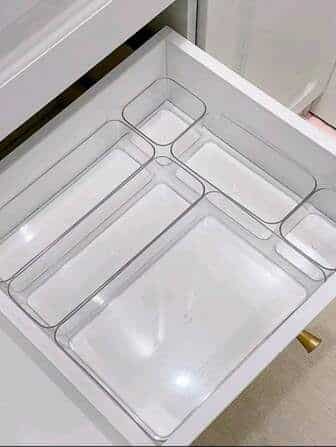
These are a game-changer. Their transparency allows you to see exactly what’s inside without rummaging.
- Stackable Drawers: Perfect for foundations, palettes, and larger items. They use vertical space efficiently.
- Divided Organizers: Great for smaller palettes, compacts, and blushes, keeping them upright and separated.
Drawer Dividers
If your cabinet has drawers, dividers are essential for preventing a chaotic jumble.
- Adjustable Dividers: Allow you to customize compartment sizes for different items.
- Fixed Dividers: Often come in sets and are great for organizing smaller items like single eyeshadows, individual blushes, or lip liners.
Makeup Brush Holders
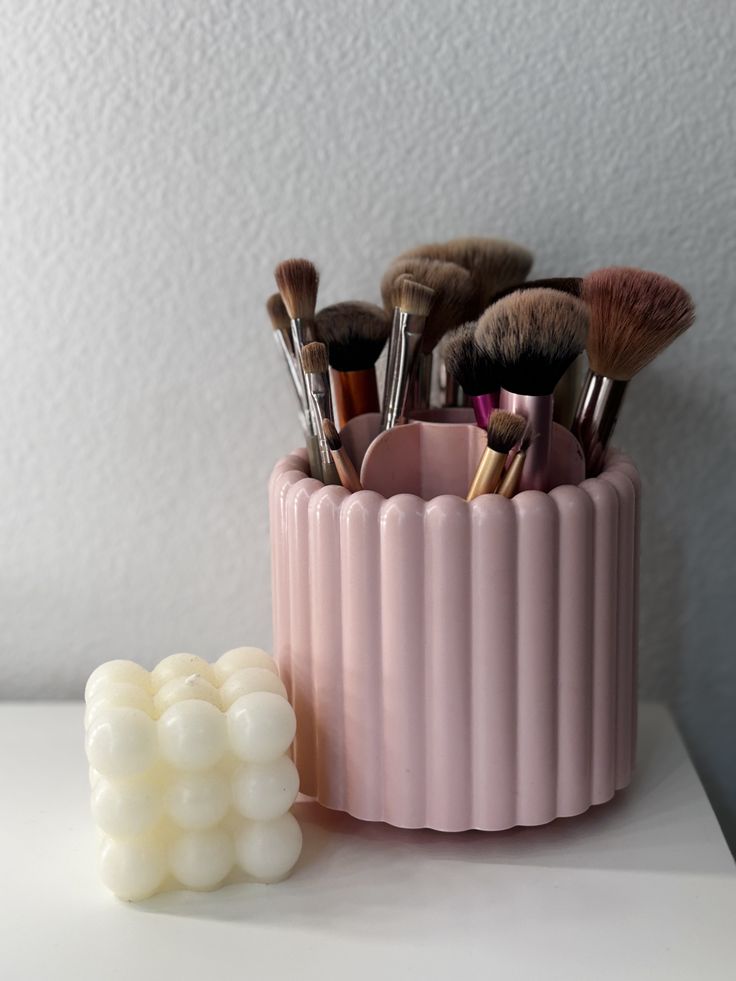
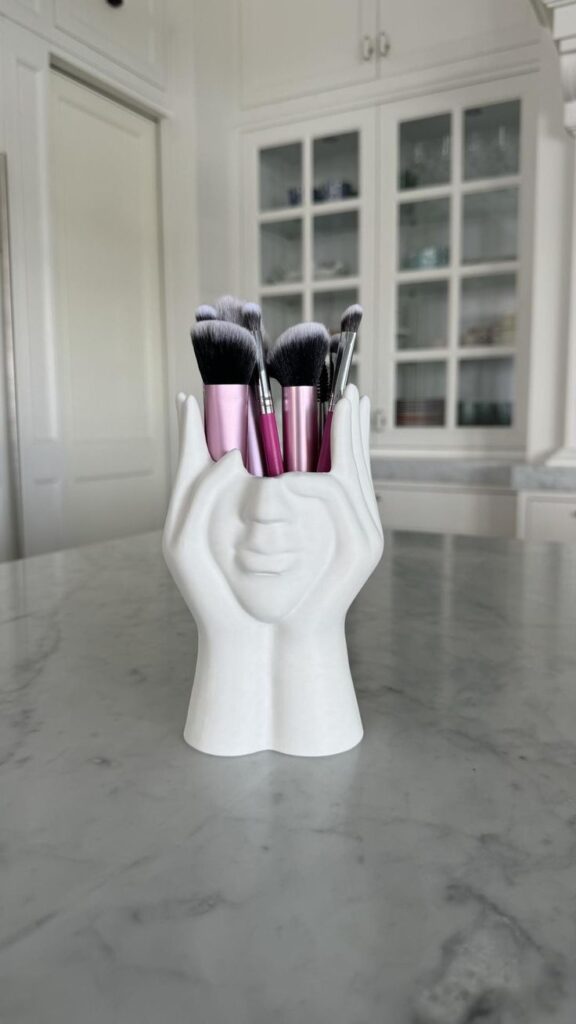
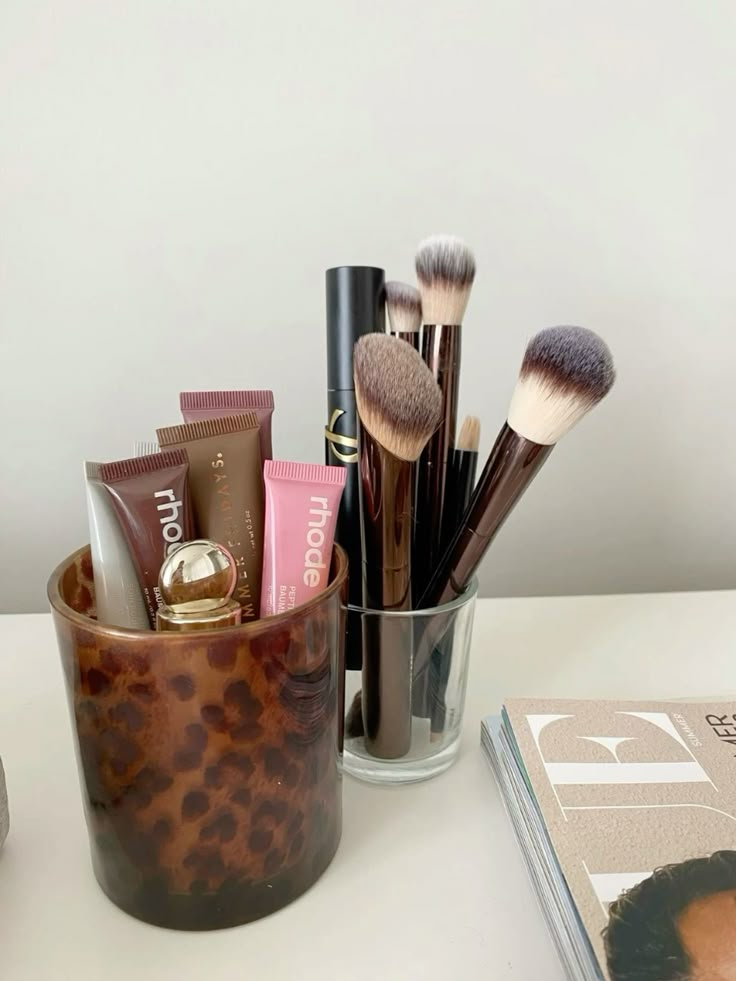
Keep your brushes clean, hygienic, and easily accessible.
- Acrylic Cylinders: Simple, elegant, and effective. You can fill them with coffee beans, decorative pebbles, or pearls to keep brushes upright.
- Brush Rolls/Bags: Good for travel or for brushes you use less frequently.
- Drying Racks: Essential for air-drying freshly washed brushes, preventing mold and maintaining brush shape.
Spinners/Turntables (Lazy Susans)
Excellent for maximizing space in deeper cabinets or on shelves.
- Tall Items: Perfect for taller bottles like setting sprays, toners, or foundations, making them easy to spin and grab.
- Often-Used Items: Keep your daily skincare or frequently used makeup items on a spinner for quick access.
Wall-Mounted Storage
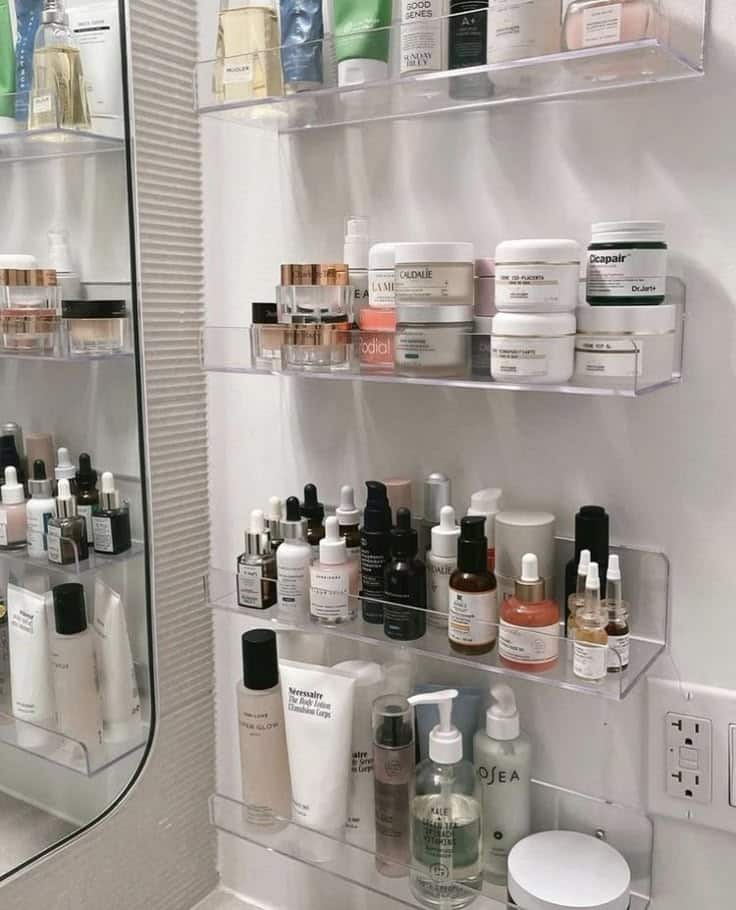
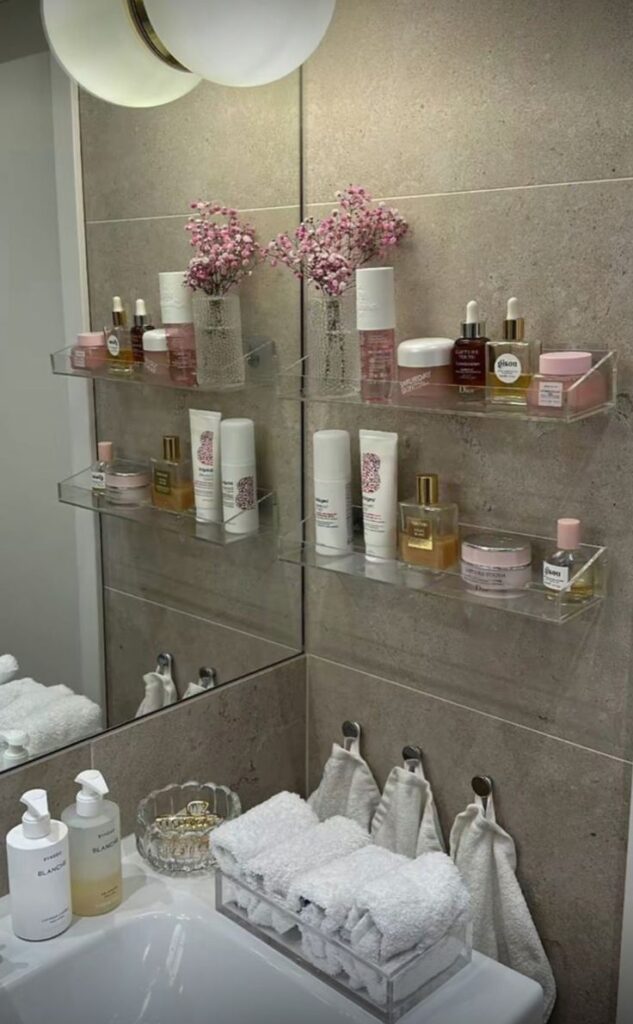
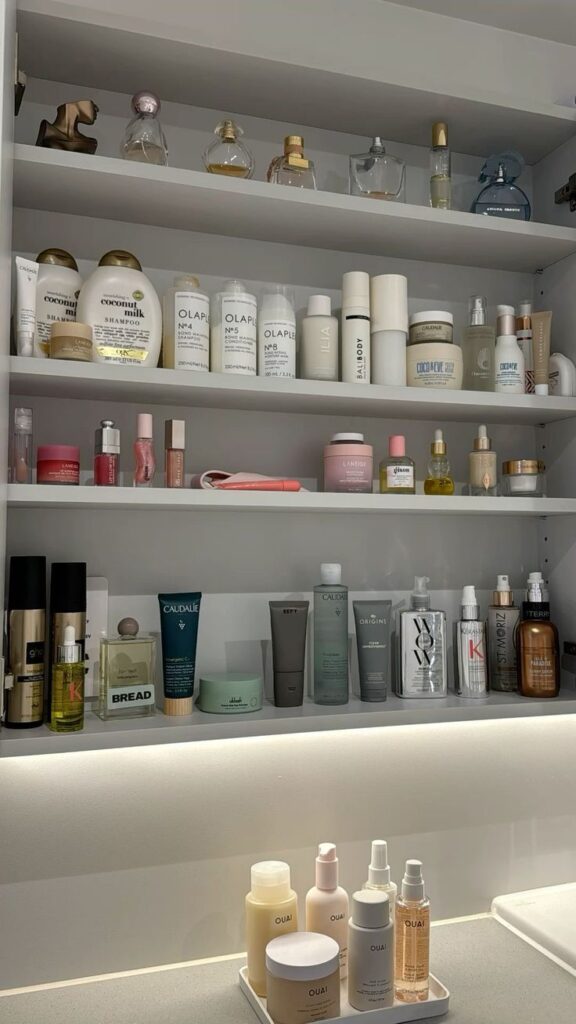
Don’t forget your cabinet doors or the wall space above your vanity!
- Magnetic Boards: Attach magnetic strips to the back of palettes or single eyeshadows for a cool, accessible display.
- Small Shelves/Racks: Great for storing perfumes, nail polishes, or smaller, decorative items.
- Clear Pocket Organizers: Hang over the back of the cabinet door for mascaras, eyeliners, lip pencils, or even hair ties and clips.
Small Bins/Baskets
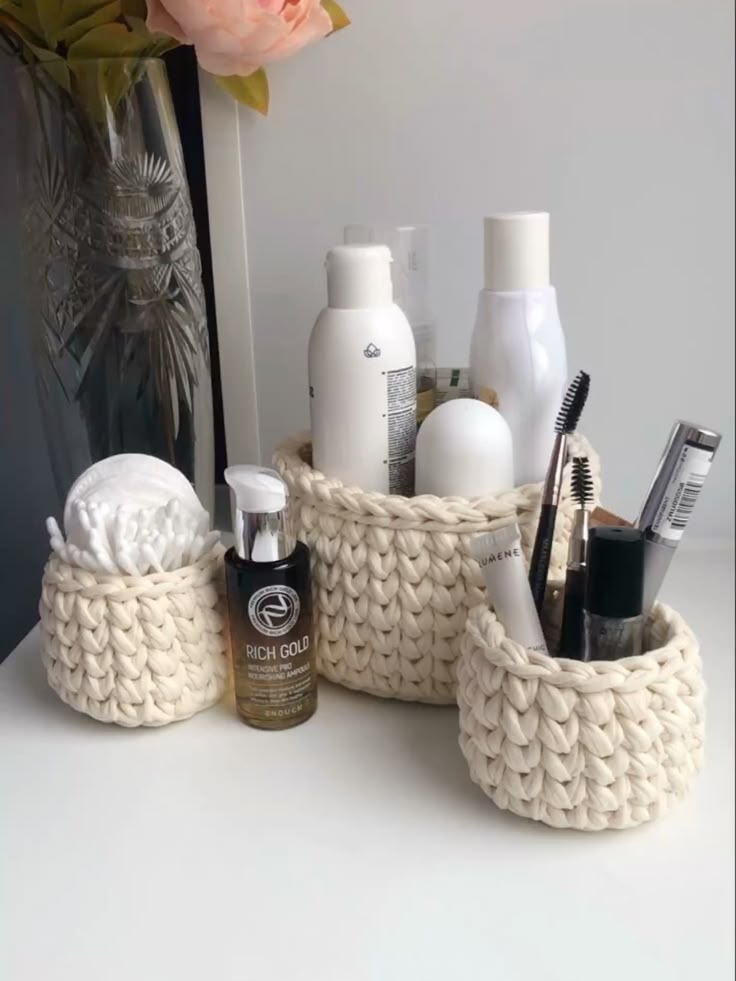
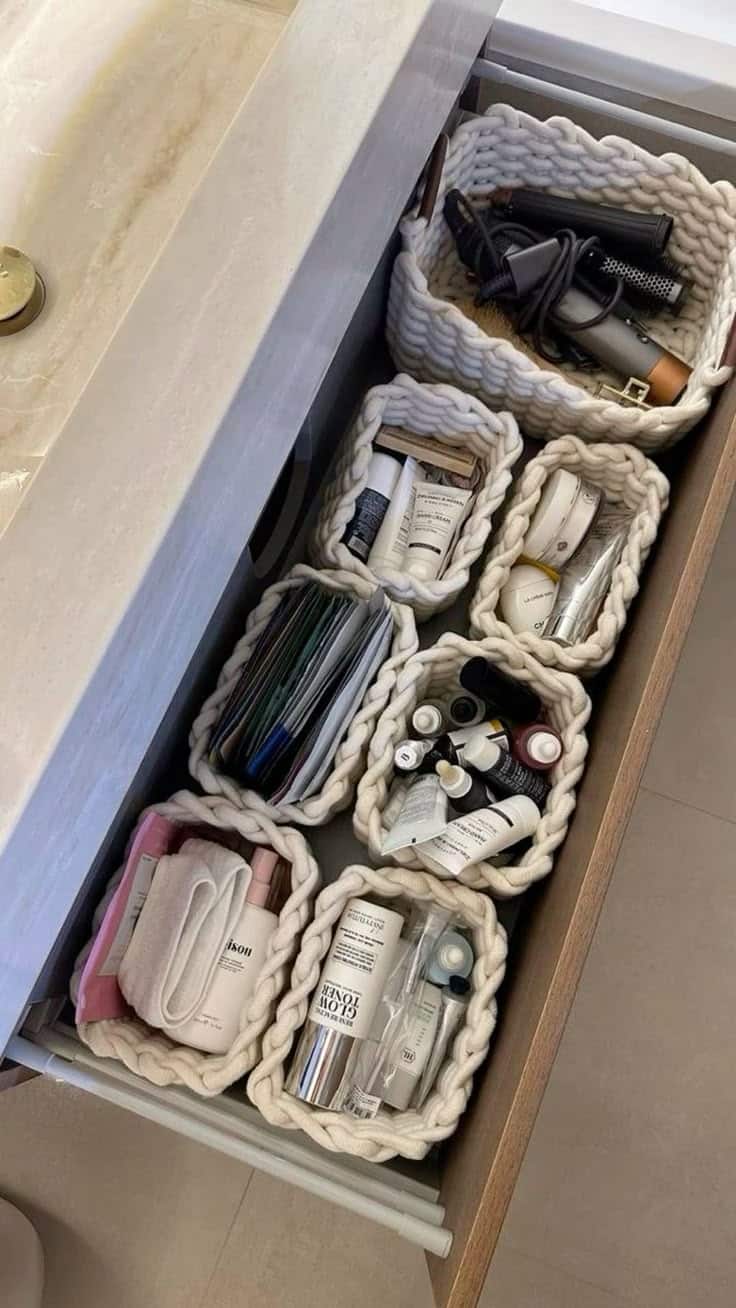
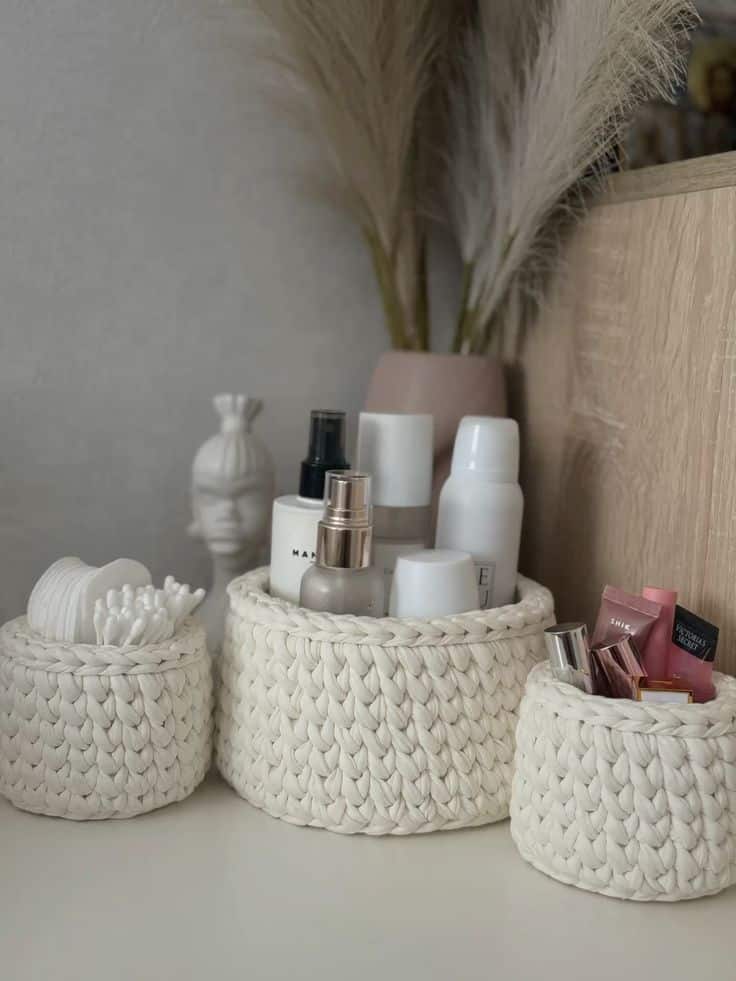
For those miscellaneous items or to contain a specific category.
- Woven Baskets: Add a touch of warmth and texture, great for storing hair accessories, cotton pads, or backup products.
- Plastic Bins: Easy to clean, perfect for items that might leak or for organizing smaller, less aesthetically pleasing items within a drawer.
Travel Bags/Pouches
Keep a dedicated bag for your travel-sized essentials or for your gym bag makeup. This prevents you from disrupting your main organization system when you need to pack for a trip.
Phase 4: Maximizing Cabinet Space – Every Inch Counts
An organized makeup cabinet isn’t just about what you put in it, but how you arrange it. Every cabinet, no matter how small, has untapped potential.
Vertical Space
This is your secret weapon. Most people only use the bottom of their cabinet shelves. Look up!
- Stackable Drawers: We mentioned these, but they truly transform vertical space, allowing you to create multiple “layers” of storage.
- Tiered Shelves/Risers: These elevate items in the back, ensuring everything is visible and accessible. No more digging behind tall bottles!
- Shelf Inserts: Double the usable surface area in taller cabinets.
Door Organizers
The inside of your cabinet doors is prime real estate that often goes unused.
- Clear Over-the-Door Organizers: Pockets are perfect for holding smaller items like lip glosses, eyeliners, or even small palettes.
- Adhesive Hooks/Caddies: Use these to hang headbands, hair ties, or small pouches.
- Magnetic Strips: Great for holding bobby pins, tweezers, or small metal compacts.
Under-Shelf Baskets
These clip onto existing shelves, creating extra “drawers” or storage compartments underneath, effectively utilizing dead space. They’re excellent for storing cotton balls, Q-tips, or other bulkier items.
Lighting
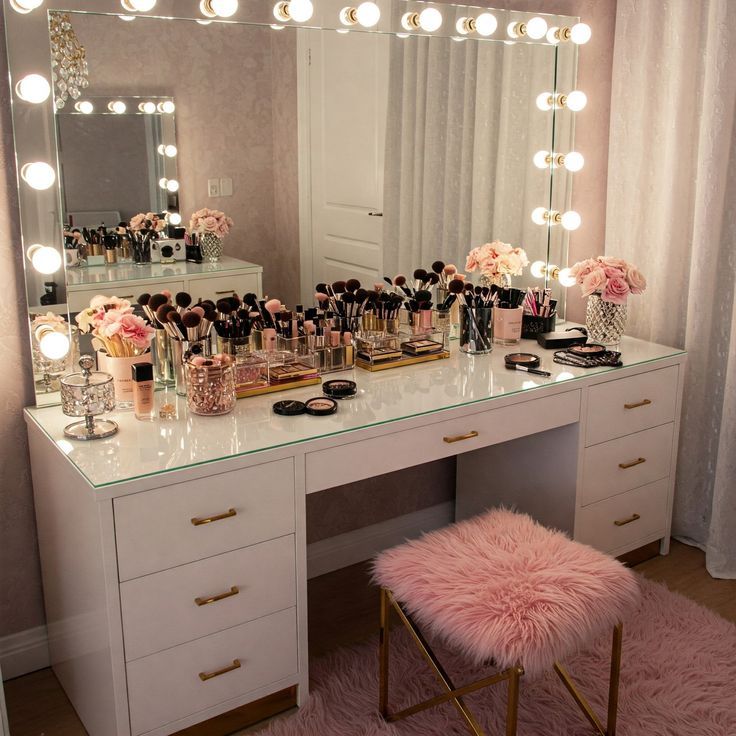
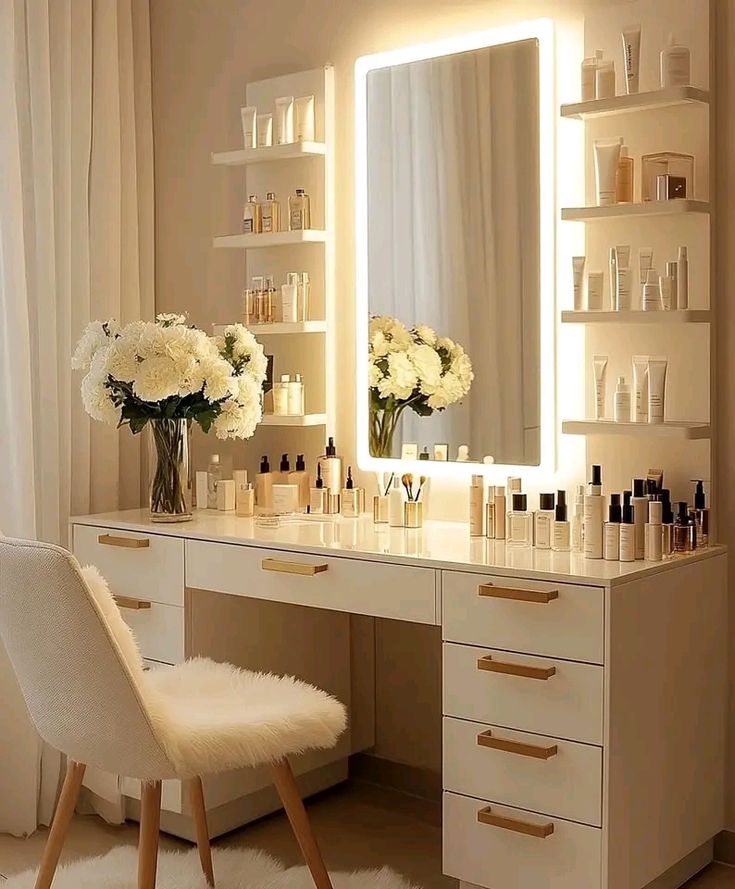
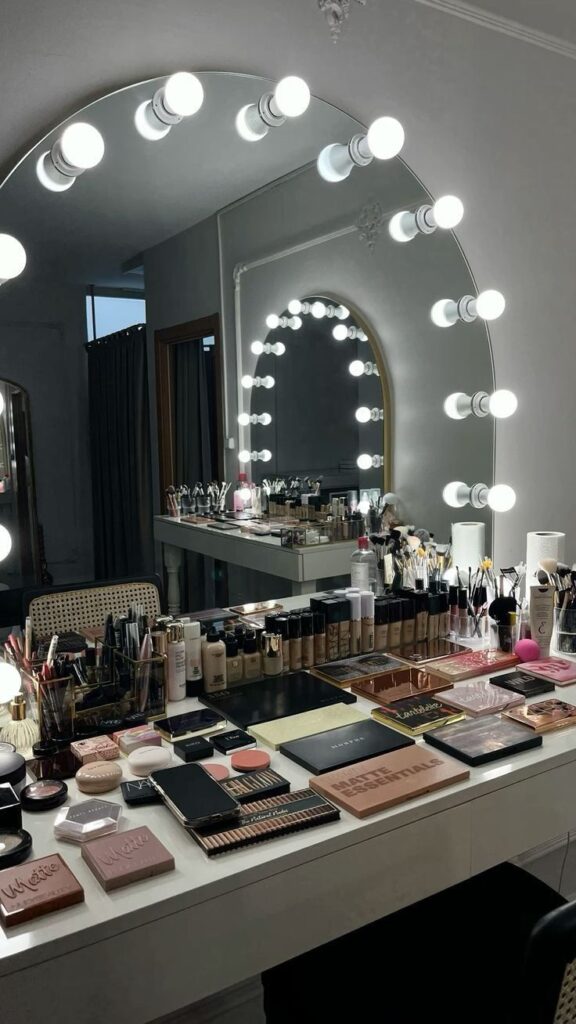
Often overlooked, good lighting inside your cabinet can dramatically improve visibility.
- Battery-Operated LED Strip Lights: Easy to install with adhesive backing, these illuminate dark corners and make it easier to find specific items, especially in deeper cabinets.
- Small Puck Lights: Can be strategically placed to highlight different sections.
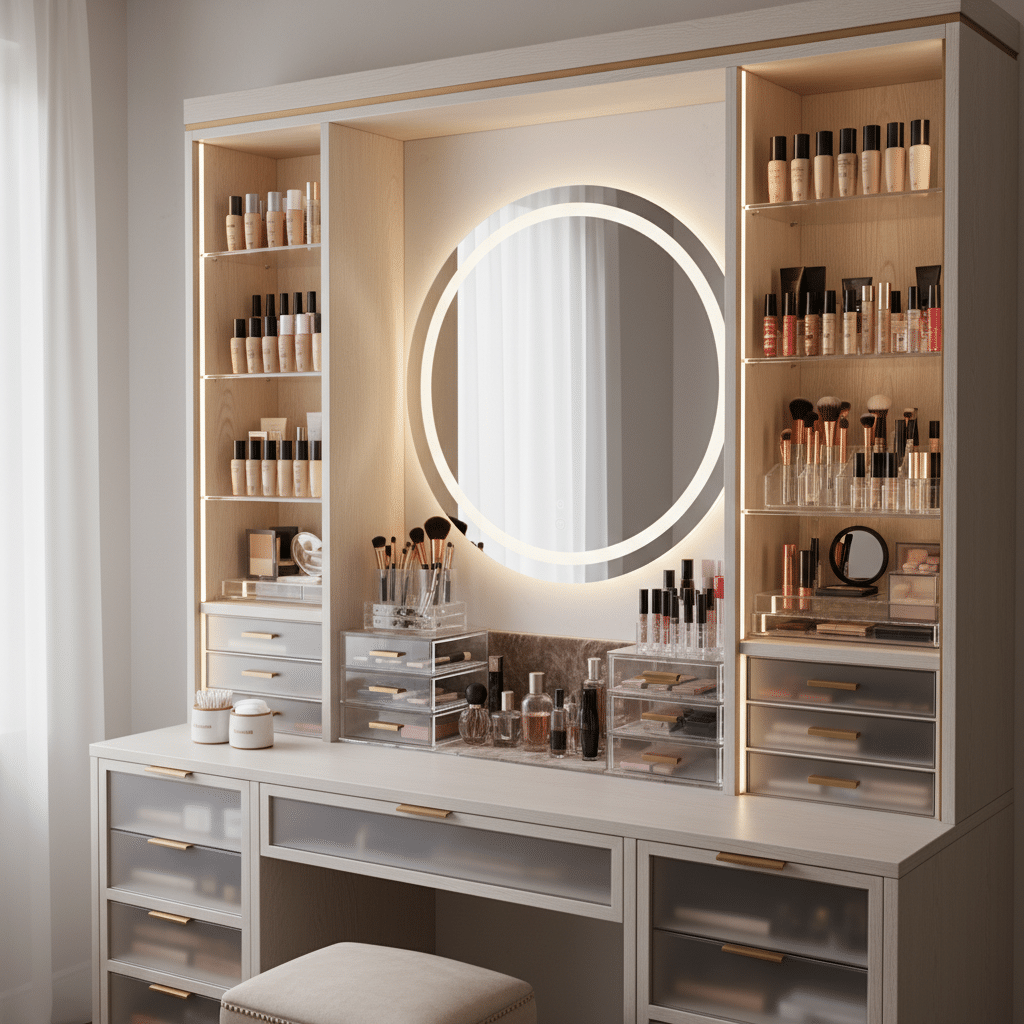
Beyond the Cabinet: Integrating Your Makeup Routine
Your cabinet is a vital part of your beauty station, but it works best when integrated with your overall routine and space.
The Vanity/Dressing Table
If you have a vanity or dressing table, think about how it connects to your cabinet. Your cabinet houses the bulk of your collection, while your vanity top is for immediate access.
- Keep Surfaces Clear: A clear vanity surface makes applying makeup more enjoyable and prevents new clutter from forming.
- Designated Spots: Assign specific spots on your vanity for products you use every single day during application, like your foundation, mascara, and a few go-to brushes.
Daily Essentials Tray
For those few items you reach for every morning without fail, a small, elegant tray on your vanity or dresser can be incredibly useful.
- Containment: It keeps these items from scattering and looks tidy.
- Aesthetic Appeal: Choose a tray that matches your room’s decor – marble, ceramic, or mirrored options can add a touch of luxury.
Cleaning Your Tools
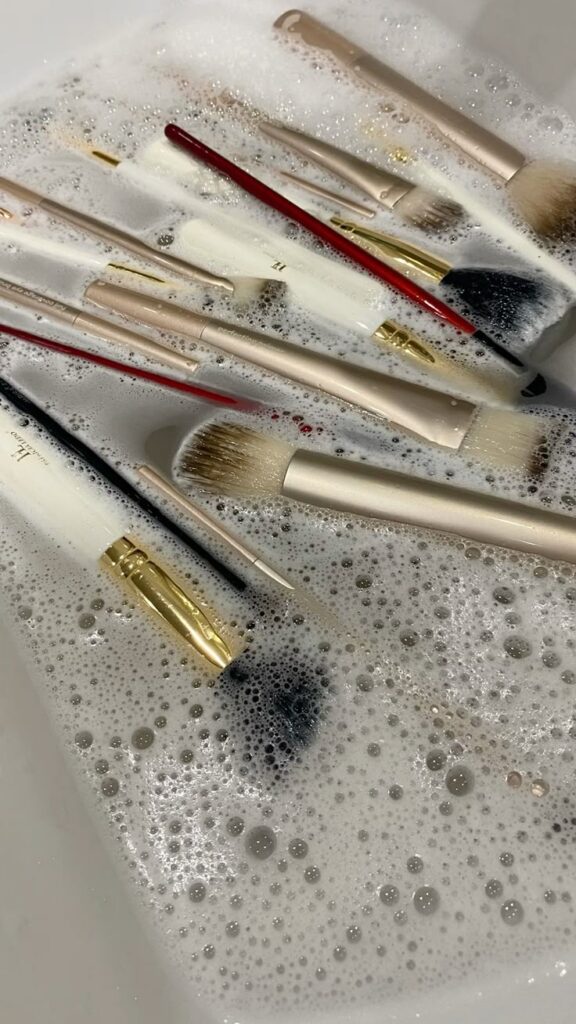
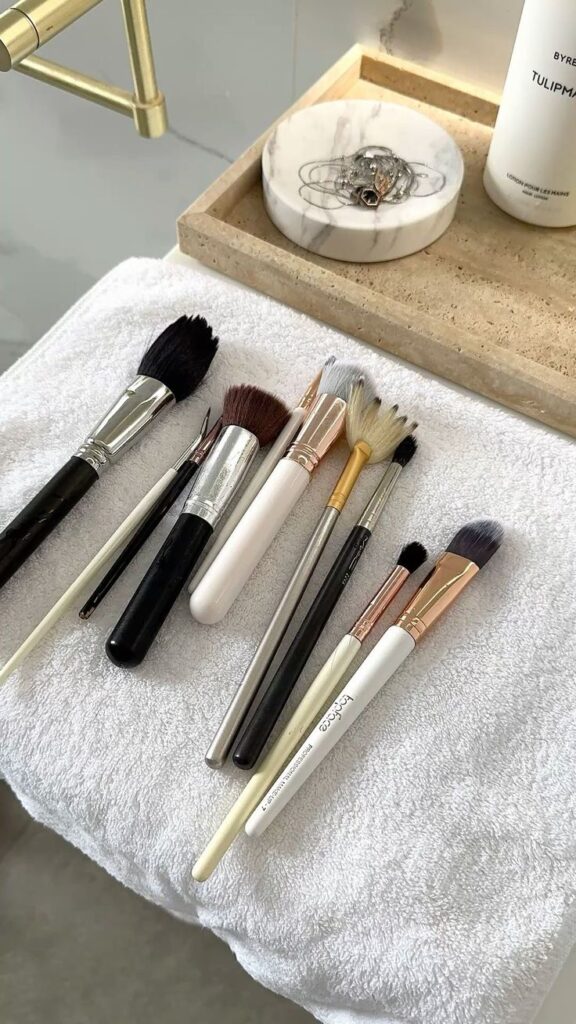
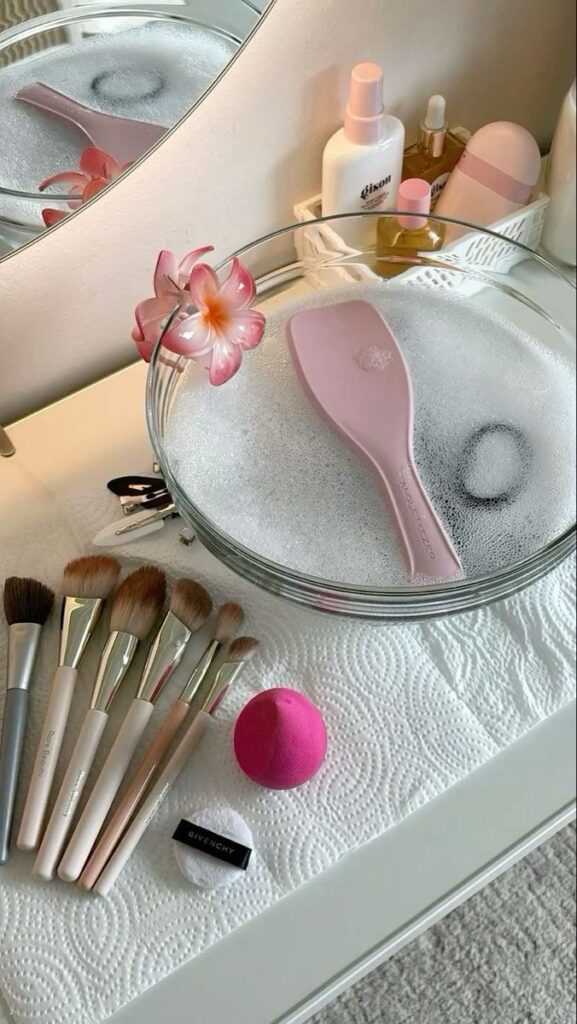
An organized space also means clean tools. Regularly cleaning your makeup brushes and sponges is crucial for hygiene and extending their lifespan.
- Weekly Brush Clean: Use a gentle brush cleanser or baby shampoo.
- Proper Drying: Lay brushes flat or hang them upside down to dry completely.
- Sponge Hygiene: Wash sponges after every few uses.
Just as a beautiful piece of jewelry for your girls completes an outfit, clean, well-maintained tools complete your makeup routine.
Maintaining the Magic: Keeping It Organized
The initial organizing session is a huge achievement, but the real test is keeping it that way. Maintenance is key!
The “One In, One Out” Rule
This is a golden rule for preventing new clutter. When you buy a new product, commit to getting rid of an old, similar one. For example, if you buy a new foundation, toss or use up your oldest one. This ensures your collection doesn’t grow beyond your organized capacity.
Regular Mini Purges
Don’t wait for a major overhaul.
- Weekly 5-Minute Tidy: Take a few minutes each week to put stray items back in their designated spots, wipe down any spills, and quickly check for anything that’s clearly expired or broken.
- Monthly Check-in: A slightly more thorough review of your categories. Are there any items that have migrated? Do any products need to be discarded?
Deep Clean Seasonally
About two to four times a year, schedule a deeper dive. This is like a smaller version of your initial grand declutter.
- Empty & Wipe: Take everything out, wipe down shelves and organizers.
- Re-evaluate: Check expiration dates again, assess what you’re actually using, and reconsider any items you’ve been holding onto “just in case.”
Labeling (Optional but Recommended)
For opaque containers or drawers, clear labels can be incredibly helpful, especially if multiple people share the space or if you have many similar-looking items.
- Simple Labels: Use a label maker or even pretty handwritten labels.
- Category-Based: Label drawers “Face,” “Eyes,” “Lips,” or “Tools.”
- Product-Specific: If you have many similar items, label with the product type, e.g., “Liquid Liners” or “Nude Lipsticks.”

Personalizing Your Space: Make It Yours
Organization doesn’t have to mean sterile or boring. Your makeup space should reflect your personality and make you feel inspired.
Aesthetic Touches
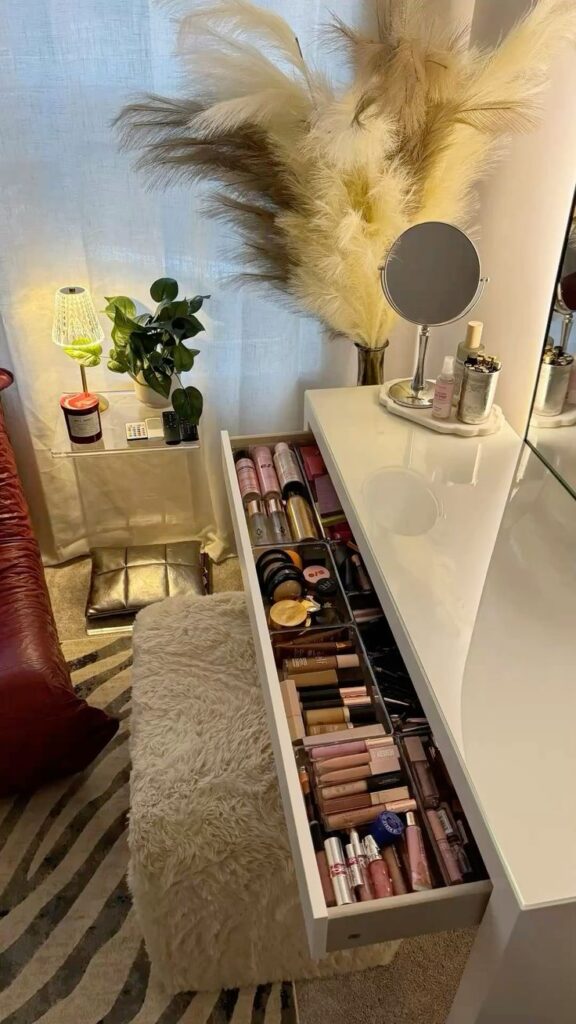
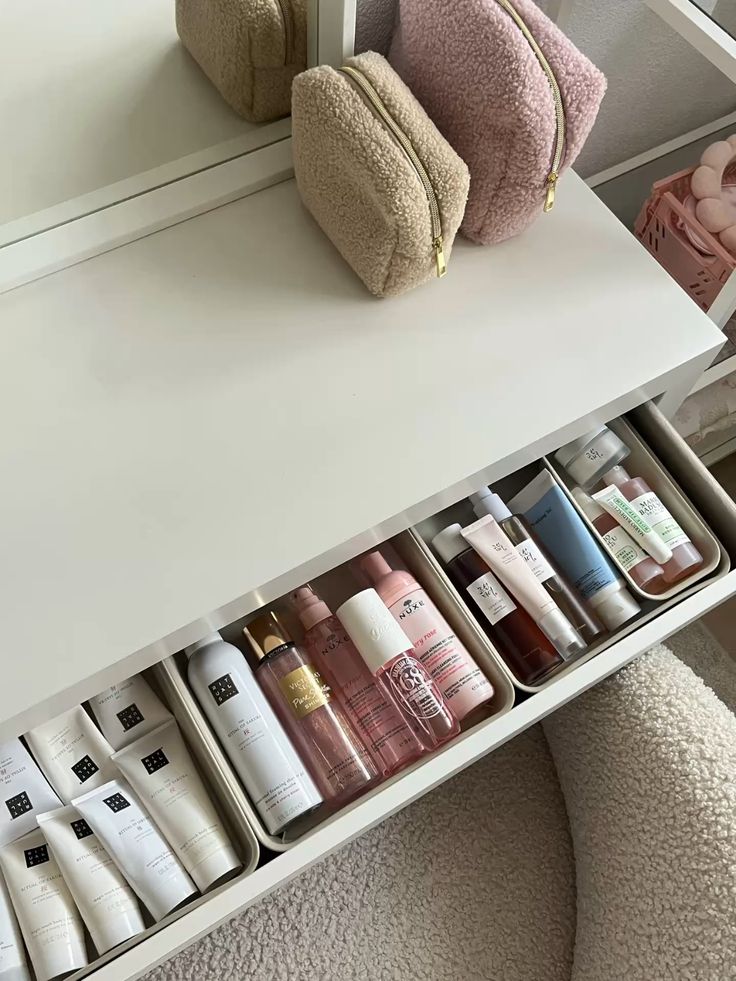
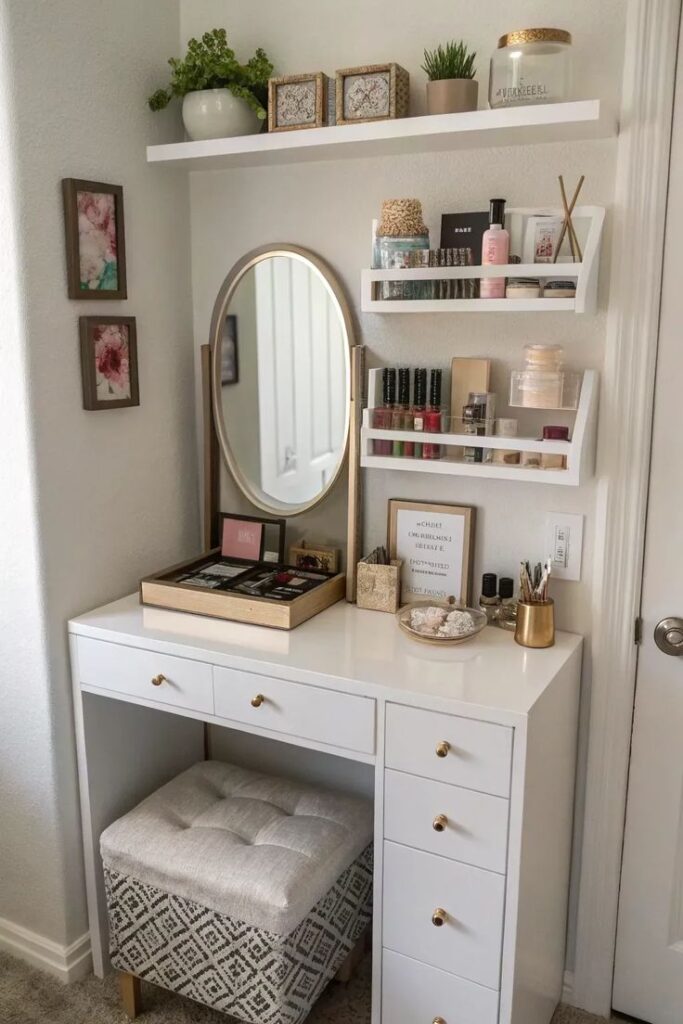
Once everything is tidy, add elements that bring you joy.
- Small Plants/Succulents: A touch of greenery can make a space feel fresh and alive.
- Decorative Trays: Use them to display perfumes or a few choice pieces of jewelry.
- Scented Candles/Diffusers: Create a pleasant aroma that enhances your morning routine.
- Art or Photos: Hang a small piece of art or a favorite photo nearby.
Reflect Your Style
Choose organizers that complement your room’s aesthetic.
- Modern & Minimalist: Opt for clear acrylic, white, or black organizers.
- Boho Chic: Look for wooden trays, woven baskets, or organizers with a natural texture.
- Glam: Consider mirrored trays, crystal-effect organizers, or metallic accents.
The goal is to create a space that is not only highly functional but also a beautiful reflection of you. When your makeup cabinet is organized and personalized, it transforms from a mere storage unit into a true beauty sanctuary, making your daily routine a delightful experience rather than a daunting task.

An organized makeup cabinet is more than just a pretty sight; it’s an investment in your time, sanity, and even your skin health. By taking the time to declutter, categorize, and implement smart storage solutions, you create a system that works for you, day in and day out. Remember, it’s not about perfection, but about creating a sustainable system that makes your life easier and your beauty routine more enjoyable. So, take a deep breath, gather your tools, and embark on this rewarding journey. Your future, calmer, more radiant self will thank you. Start your organizing journey today!
Frequently Asked Questions
How often should I declutter my makeup cabinet?
While a grand declutter is a big project, regular maintenance is key. Aim for a quick 5-minute tidy weekly, a more focused check-in monthly, and a deeper seasonal declutter (2-4 times a year) to check expiration dates and re-evaluate what you truly use and love.
What are the essential organizing tools I need?
Start with clear acrylic drawers or divided organizers, a good makeup brush holder, and some drawer dividers. These provide visibility and structure for most collections. Add specialty items like turntables or wall-mounted storage as needed for your specific cabinet and collection size.
How do I know when to throw away makeup?
Always check for expiration dates printed on the packaging (often indicated by a small open jar symbol with a number like “6M” for 6 months). Also, pay attention to changes in smell, texture, or color. If a product looks, feels, or smells different, it’s best to toss it to avoid skin irritation or infection. Mascara and liquid eyeliner should be replaced every 3-6 months.
What if I have a small cabinet space?
Maximize vertical space with stackable drawers and tiered shelves. Utilize the inside of cabinet doors with clear pocket organizers or magnetic strips. Small bins and drawer dividers are crucial for keeping tiny items contained. Consider a daily essentials tray on your vanity to keep frequently used items out of the cabinet, freeing up space.
How can I keep my makeup brushes clean and organized?
Store brushes upright in acrylic holders or cups, filled with coffee beans or pearls to keep them separated and dust-free. Wash your brushes weekly with a gentle cleanser or baby shampoo, and lay them flat or hang them upside down to dry completely to prevent mold and maintain their shape.
Is it really worth spending money on organizers?
Absolutely! Investing in good organizers saves you time and money in the long run. They help you see what you own, prevent repurchasing duplicates, reduce product waste by making items more accessible, and protect your products from damage. An organized space also reduces stress and makes your beauty routine more efficient and enjoyable.
How can I make my organized cabinet look aesthetically pleasing?
After organizing, add personal touches like a small plant, a decorative tray for perfumes, or a scented candle. Choose organizers that complement your room’s decor – whether it’s sleek acrylic for a modern look or woven baskets for a bohemian vibe. Good lighting, such as battery-operated LED strips, can also enhance the look and functionality of your space.
- 85shares
- Facebook0
- Pinterest85
- Twitter0
- Reddit0


