The holiday season gives you the perfect chance to slow down and enjoy creative projects that bring festive charm into your space. Whether you prefer drawing, painting, or experimenting with different styles, Christmas art lets you capture the warmth and spirit of the season in a personal way. You’ll discover simple yet fun ideas that help you create artwork worth displaying or gifting.
You can explore cozy winter scenes, cheerful characters, and classic holiday symbols while practicing techniques that fit your skill level. Each idea encourages you to try something new, from playful sketches to colorful paintings that brighten your home during the holidays.
1) Paint a cozy winter cabin scene
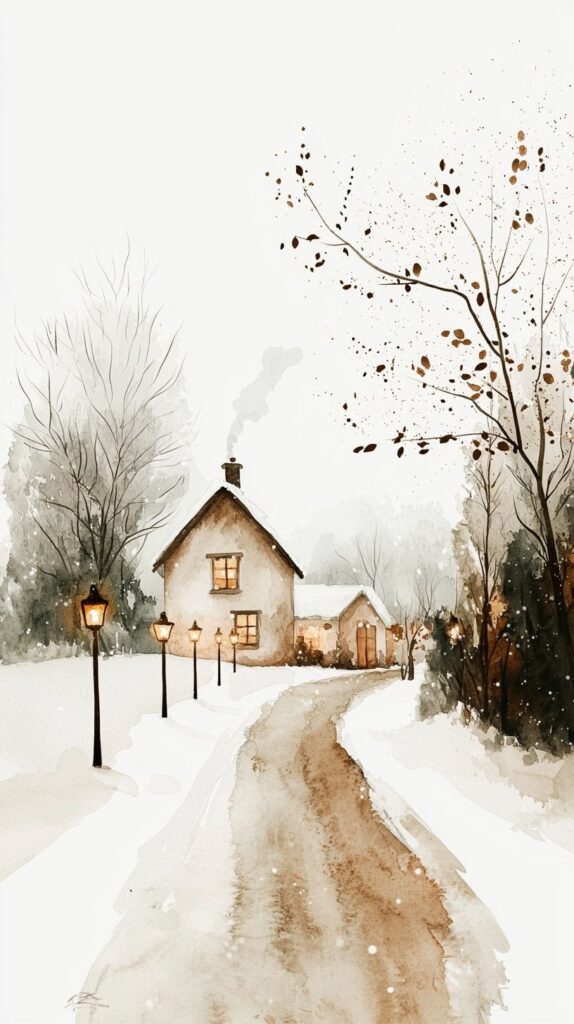
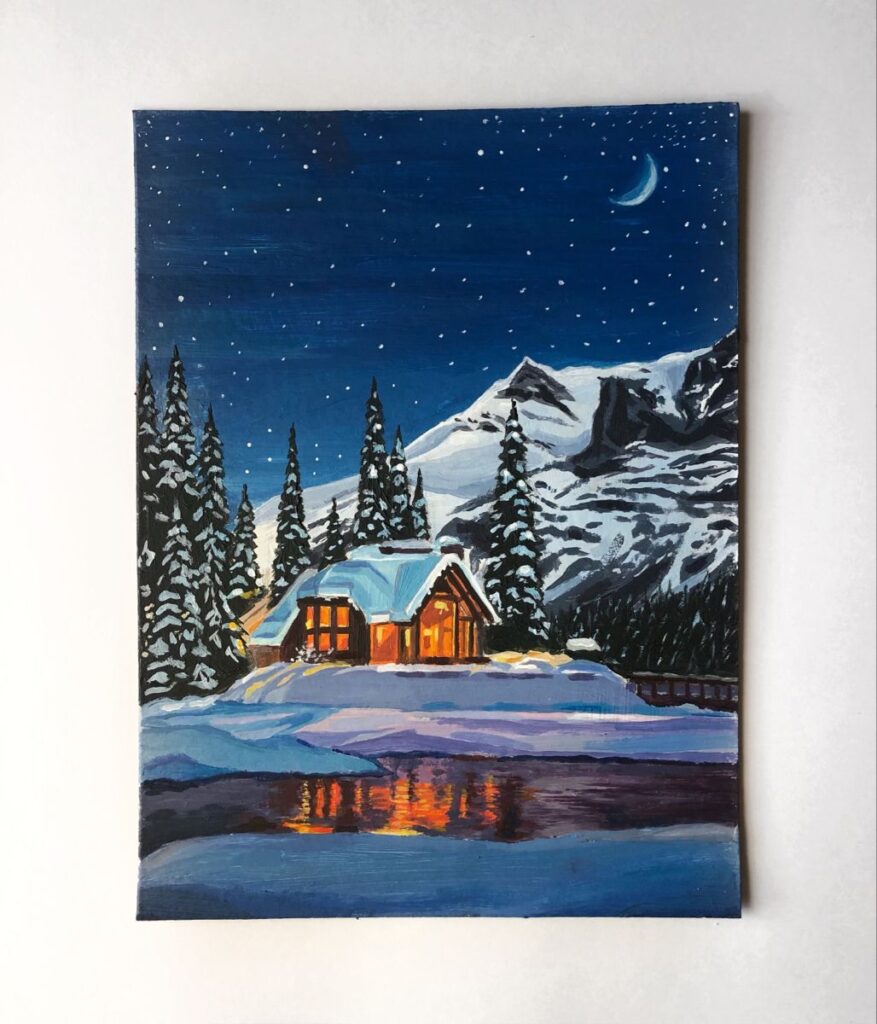
You can create a warm holiday feeling by painting a small cabin surrounded by snow. A simple cabin with smoke rising from the chimney instantly adds a welcoming touch. Pine trees and a snowy path can frame the scene to make it more inviting.
Start with a light background wash to set the winter sky. Soft blues or grays work well for a calm atmosphere. Then, add layers of white for snow, leaving space for shadows to give depth.
When painting the cabin, use earthy browns or reds to contrast with the snow. Small details like glowing windows or a wreath on the door make the scene feel festive. You don’t need complex techniques—simple shapes can still look charming.
You can also experiment with adding falling snow using a dry brush or splatter technique. This small step brings movement and life to the painting.
If you’re just starting out, keep your brushstrokes loose and focus on the overall mood rather than perfect details. The goal is to capture the cozy feeling of winter and the comfort of a holiday retreat.
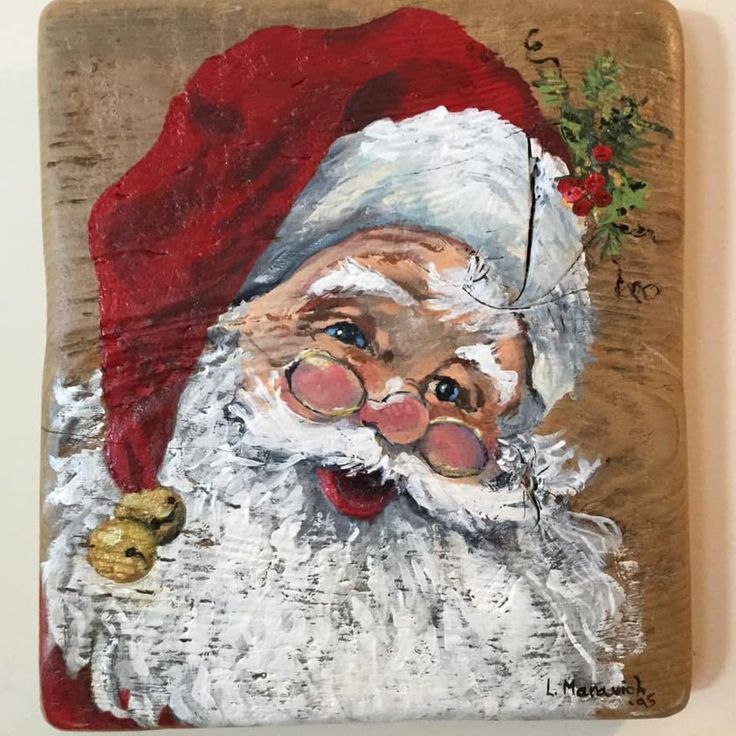
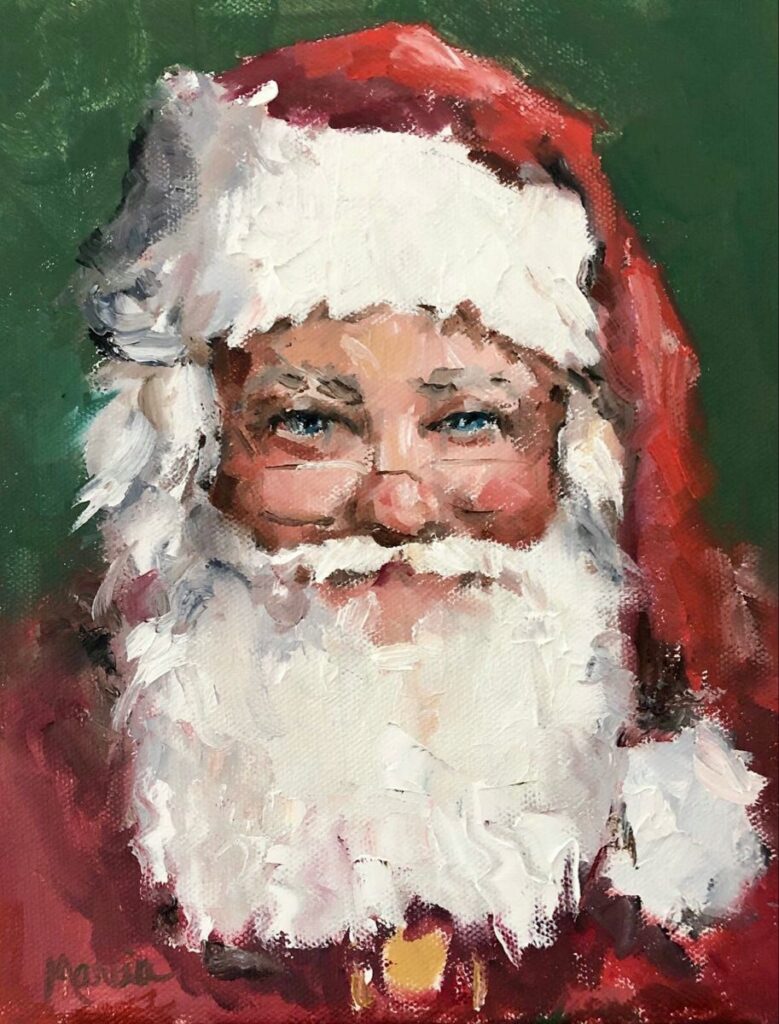
2) Create a Santa Claus portrait with acrylics
You can bring holiday cheer to your canvas by painting a Santa Claus portrait. Acrylics are a great choice because they dry quickly and let you layer colors easily. This makes it simple to adjust details as you go.
Start by sketching a light outline of Santa’s face and hat. Keep the shapes simple so you can focus on painting without worrying about perfect drawing skills. A pencil or chalk works well for this step.
Block in the main colors first, like red for the hat, white for the beard, and skin tones for the face. Once you have the base colors down, you can add shading and highlights to give Santa more depth.
Pay attention to small details such as rosy cheeks, twinkling eyes, and the fluffy trim on his hat. These touches help capture the warm and familiar look of Santa.
If you’re new to acrylic painting, you can follow a step-by-step tutorial online. Many guides walk you through the process slowly, making it easy to paint along at your own pace. This way, you can enjoy the experience while creating a festive piece of art.
3) Draw colorful Christmas ornaments
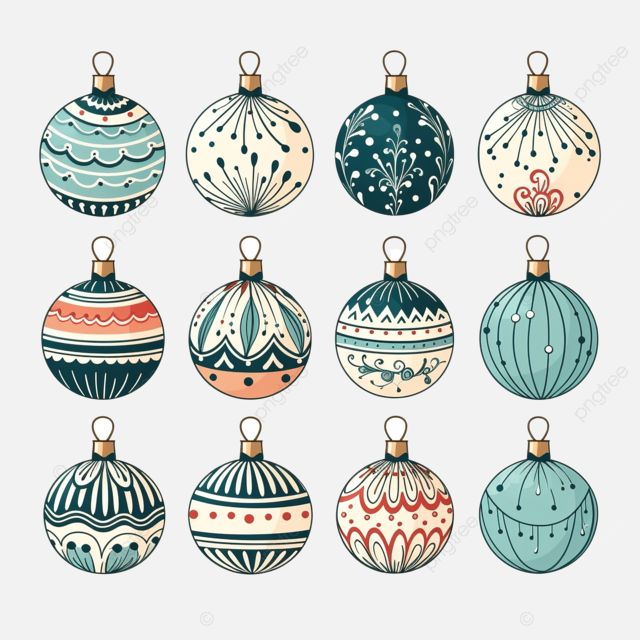
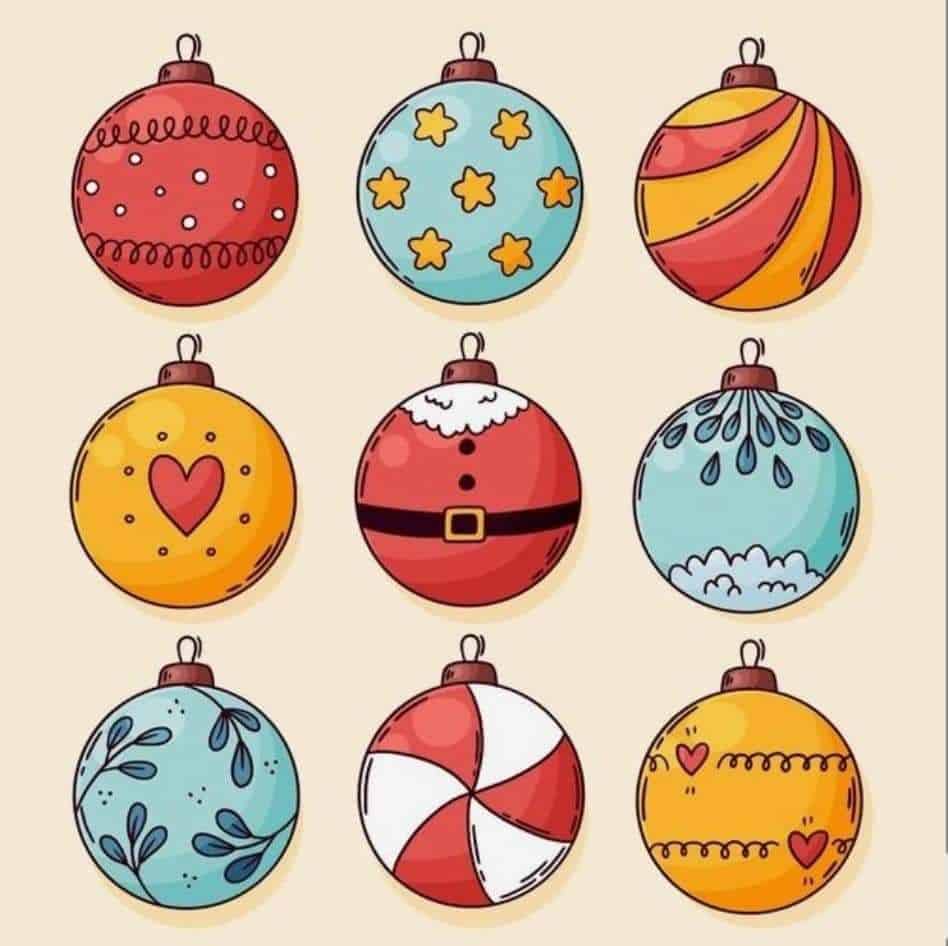
You can start by sketching simple round shapes, since most ornaments are based on circles. Use light pencil strokes so you can easily adjust the size or placement before adding details.
Add variety by drawing different styles like smooth shiny balls, patterned ornaments, or ones with stripes and dots. Mixing shapes such as teardrops or stars helps your drawing feel more festive.
Bring your ornaments to life with color. Try using bright reds, greens, golds, and blues, or experiment with pastels for a softer look. Colored pencils, markers, or digital tools all work well.
Shading makes a big difference. Add highlights to show where light hits the ornament and shadows to give it a round, reflective look. This small step helps your drawing appear more realistic.
You can also decorate your ornaments with tiny details like snowflakes, swirls, or geometric patterns. These designs let you personalize each one and practice your line work.
To finish, draw hooks or ribbons so the ornaments look ready to hang on a tree. This small addition ties the drawing to the holiday theme and makes your artwork feel complete.
The holiday season is a perfect time to decorate your house using custom art, adding a personal touch that makes your Christmas decor feel warm, unique, and truly your own.
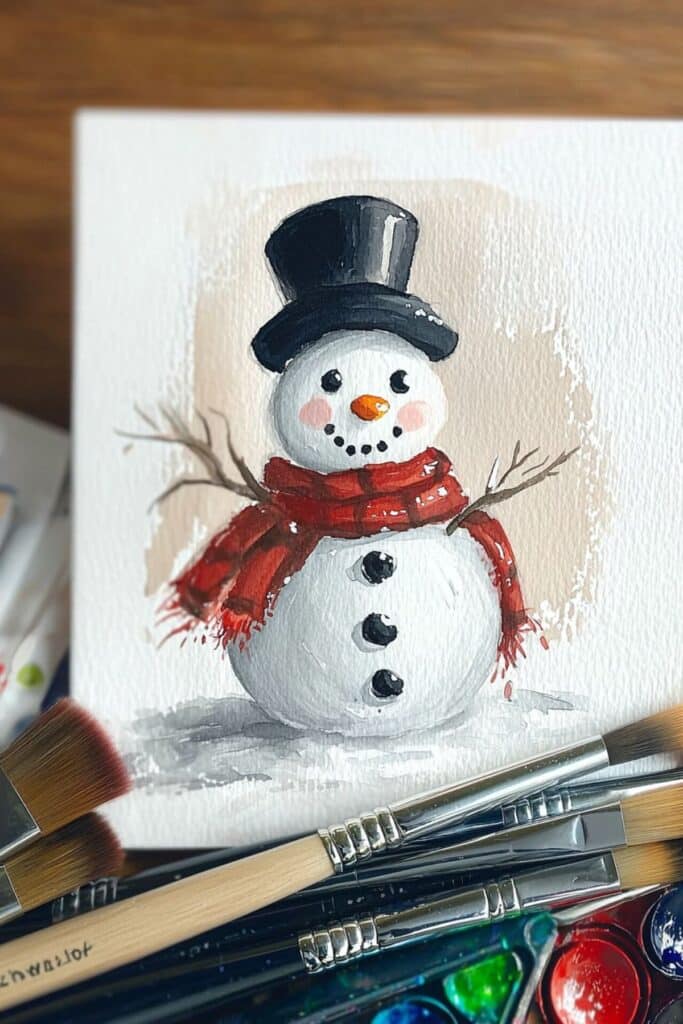
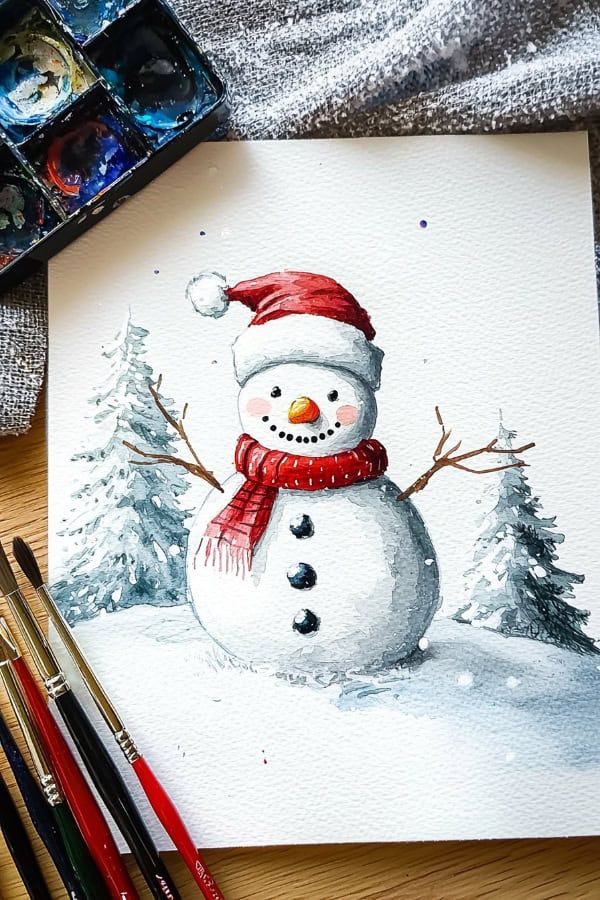
4) Make a festive snowman painting
You can create a cheerful snowman painting with just a few simple steps. Start by sketching a round snow figure on your canvas or paper, then add details like a carrot nose, scarf, and buttons. Keep the shapes simple so it feels approachable.
Use cool shades of blue and white for the snow, and add pops of red or green for accessories. This contrast helps your snowman stand out and adds a holiday feel. You can also paint a snowy background with falling flakes or trees.
If you want to make it more personal, give your snowman a hat, earmuffs, or even a small broom. You can also paint more than one snowman to create a family scene.
This project works well for beginners because you can keep the design playful and relaxed. Mistakes can easily turn into new details, and every snowman ends up looking unique.
5) Illustrate a reindeer in a snowy forest
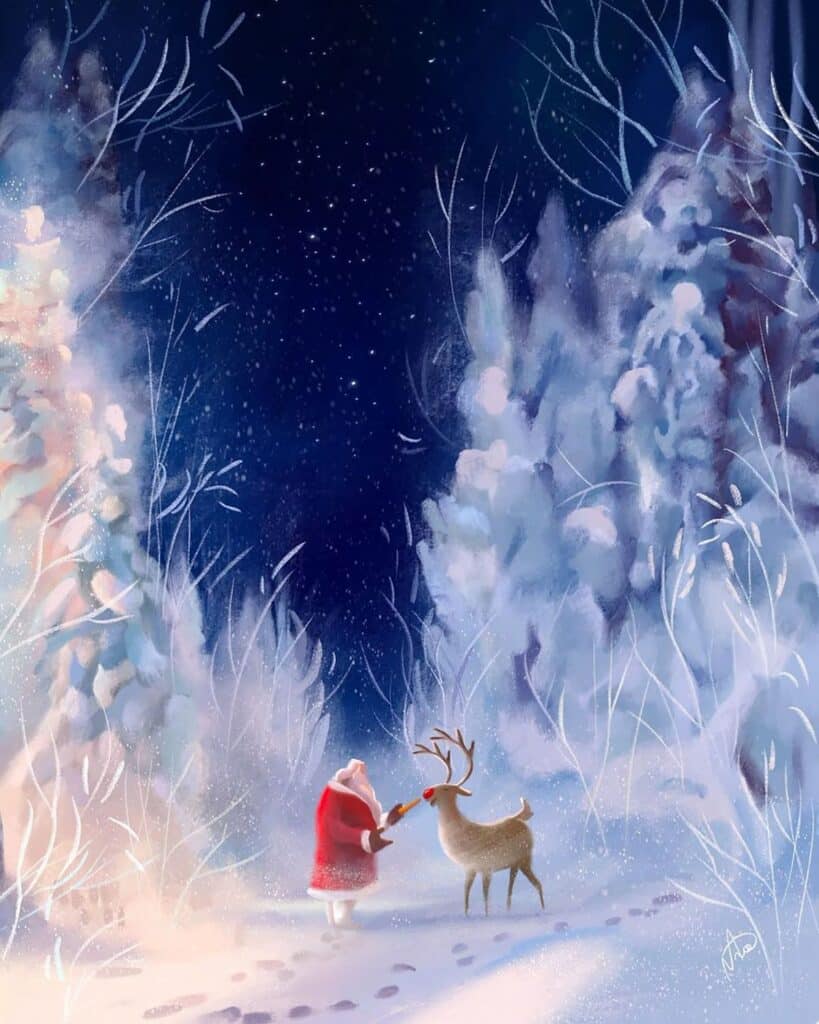
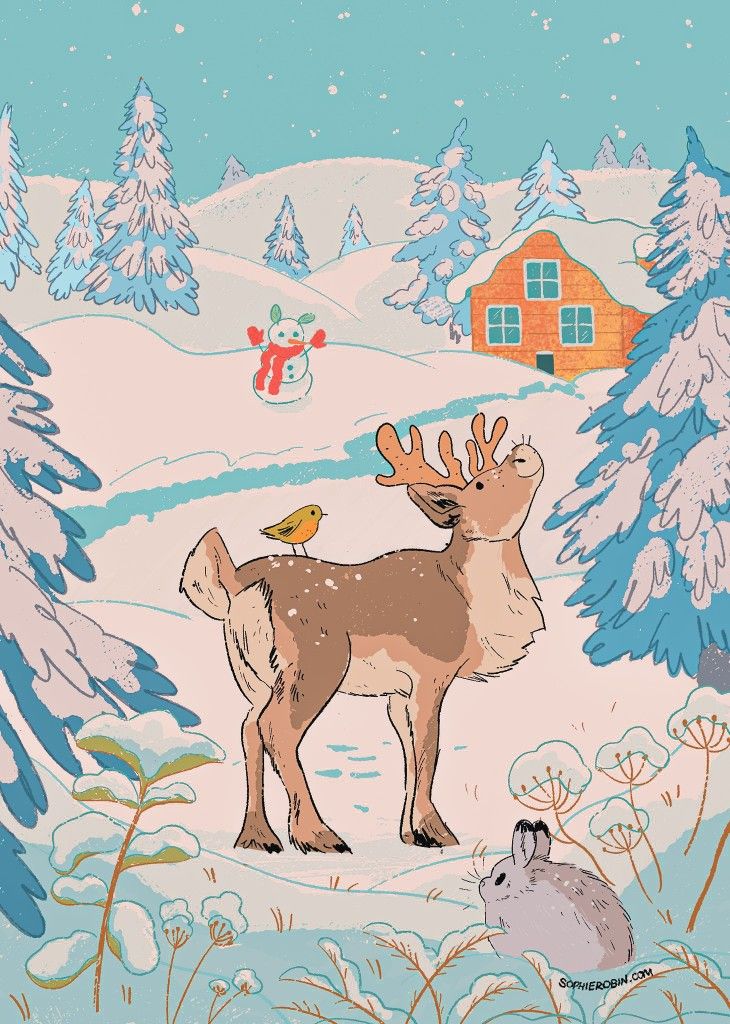
You can capture a calm winter scene by drawing a reindeer surrounded by snow-covered trees. The contrast between the animal’s warm tones and the cool shades of the forest makes the artwork visually balanced.
Start with simple outlines of the reindeer’s body and antlers. Once you have the shape, add details like fur texture and the curve of the antlers to bring it to life.
For the background, sketch tall pines or bare branches dusted with snow. Keeping the trees slightly blurred or less detailed helps the reindeer stand out as the main subject.
You might also include falling snow or soft light filtering through the forest. These small touches add depth and give the scene a more natural feel.
Experiment with colored pencils, watercolors, or digital brushes depending on your style. Each medium can highlight different aspects of the snowy atmosphere and the reindeer’s form.
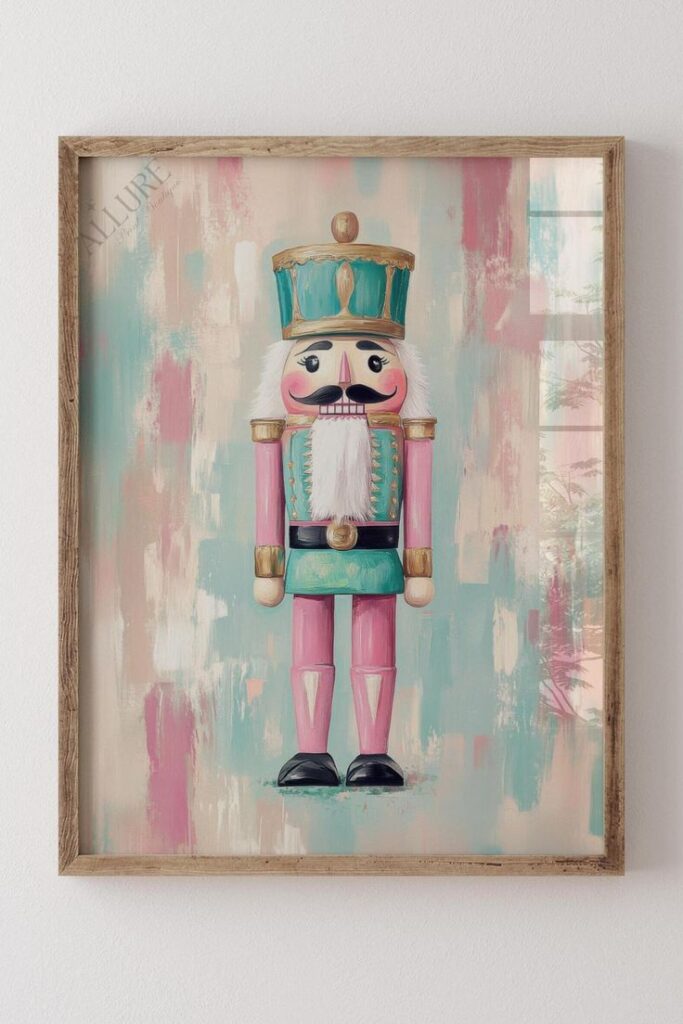
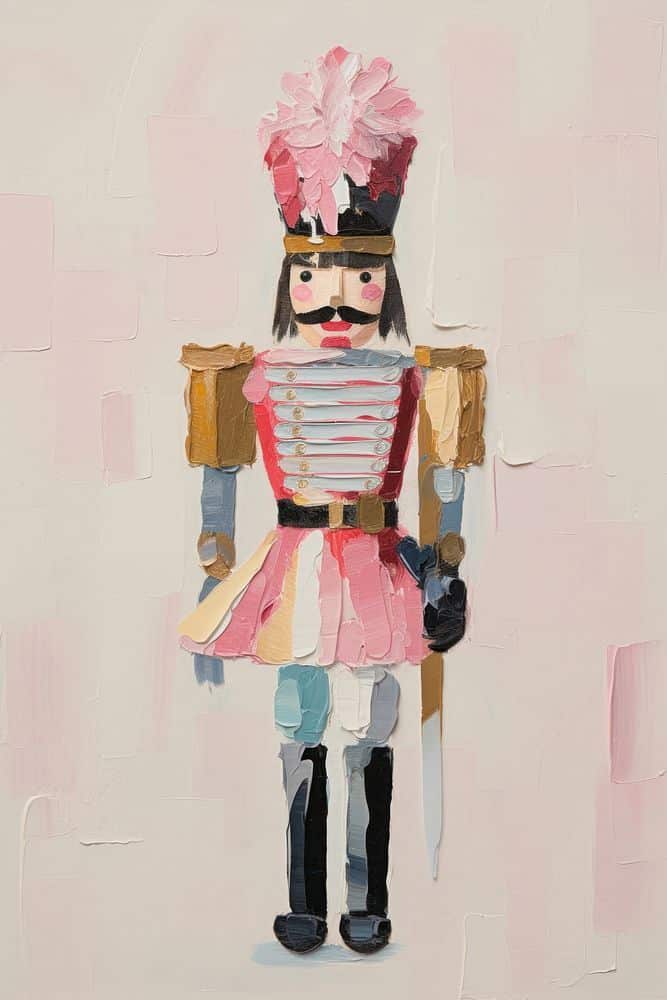
6) Design a nutcracker soldier on canvas
You can bring a festive touch to your wall by painting a nutcracker soldier on canvas. This classic holiday figure is instantly recognizable and makes a cheerful decoration for your space.
Start by sketching a simple outline of the soldier. Focus on the tall hat, square jaw, and uniform details that give the nutcracker its traditional look. Keep the shapes bold and clear so the design stands out.
Use bright colors like red, blue, and gold to capture the holiday feel. Acrylic paints work well on canvas and allow you to layer details such as buttons, boots, and facial features.
If you want a modern twist, try experimenting with patterns or color schemes that match your holiday décor. Stripes, checks, or even metallic accents can give your nutcracker a more personalized style.
This project works well for both beginners and experienced painters. You can keep it simple with solid colors or add intricate details if you enjoy fine brushwork.
7) Paint a Christmas wreath with watercolors
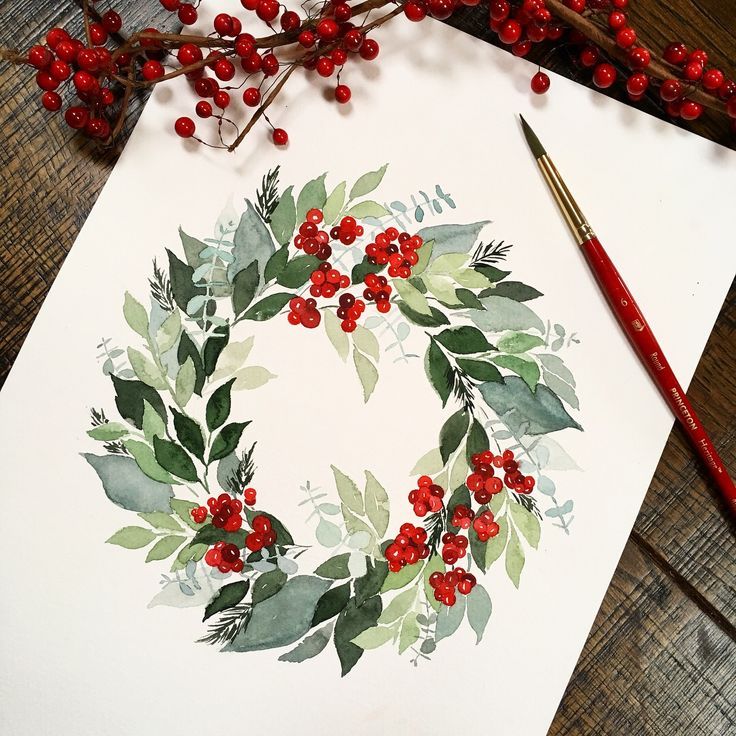
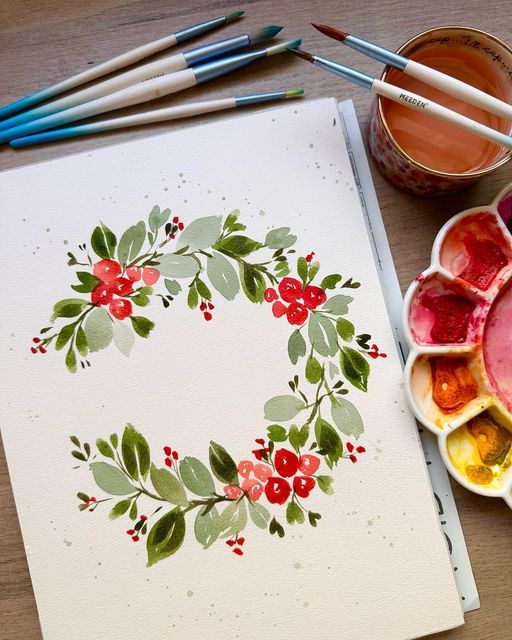
You can create a festive Christmas wreath with just a few watercolor supplies. Start by lightly sketching a circle in pencil to guide the shape of your wreath. Keep the outline soft so it blends naturally with your painting.
Use different shades of green to paint leaves and branches around the circle. Layering lighter and darker tones will give the wreath more depth and texture. Don’t worry about making every leaf identical—variation makes it feel more natural.
Add small details like red berries, pinecones, or even a bow to bring in classic holiday colors. A fine brush helps you paint smaller accents without losing definition.
If you want a looser style, let the colors bleed slightly into each other. For a sharper look, allow each layer to dry before adding the next. Both approaches work well, depending on the effect you want.
Once finished, you can scan or photograph your wreath to turn it into greeting cards or gift tags. It’s a simple way to share your artwork with friends and family during the season.
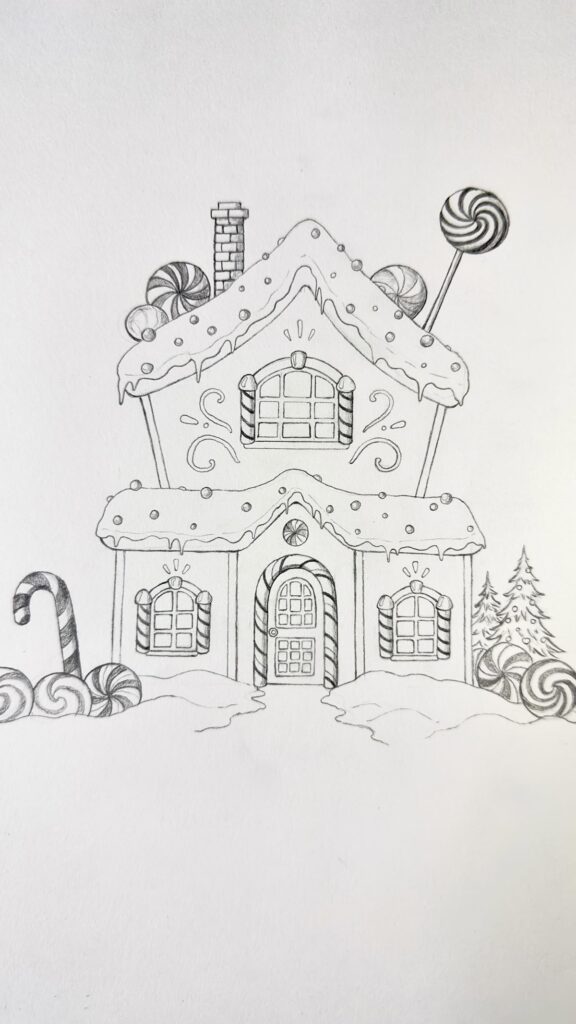
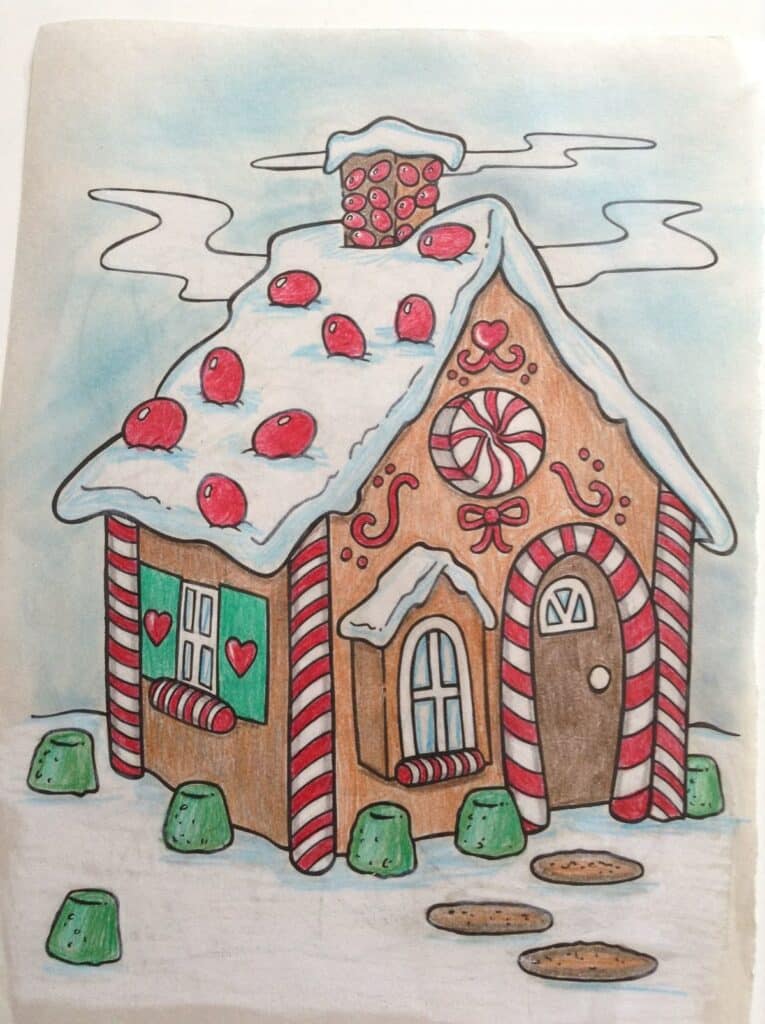
8) Create a gingerbread house drawing
You can bring holiday charm to your artwork by drawing a gingerbread house. This project works well for all ages and lets you experiment with fun shapes and colorful decorations.
Start with a simple house outline, like a square base and a triangle roof. From there, you can add candy canes, gumdrops, or icing details to make it look festive.
Try using colored pencils, markers, or crayons to give your design a bright and cheerful look. Mixing patterns, like swirls for frosting or dots for candy, makes your drawing more playful.
If you want a cozier feel, add small details such as windows glowing with light or a snowy path leading to the door. These little touches help your drawing feel more complete.
You don’t need to follow a strict design. Use your imagination to create a house that matches your own holiday style, whether it’s simple and cute or more detailed and decorative.
9) Draw elves decorating a Christmas tree
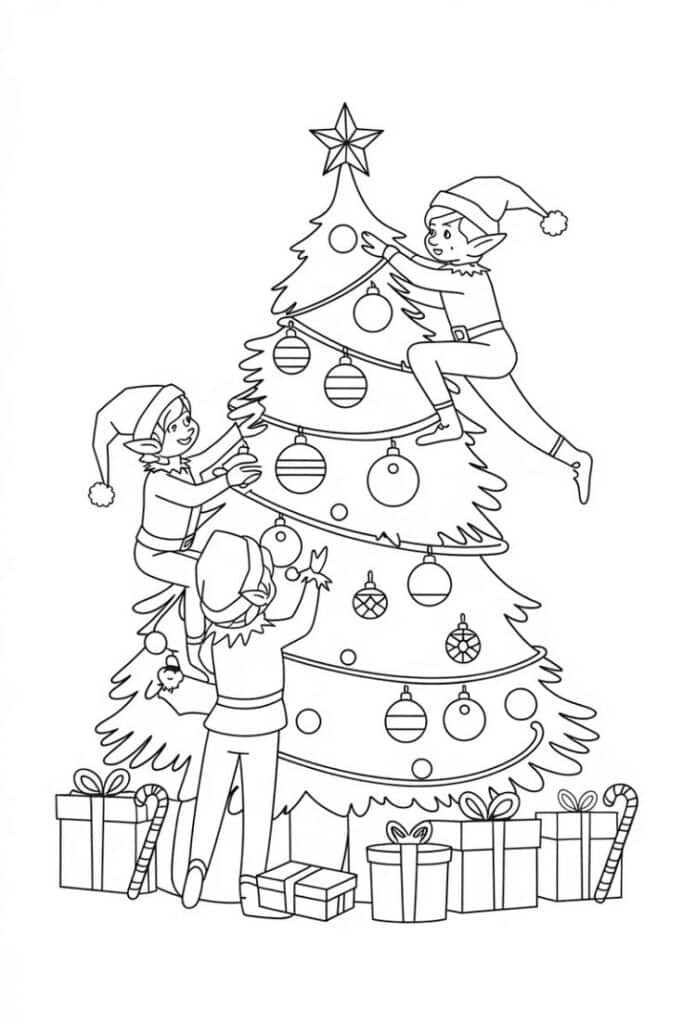
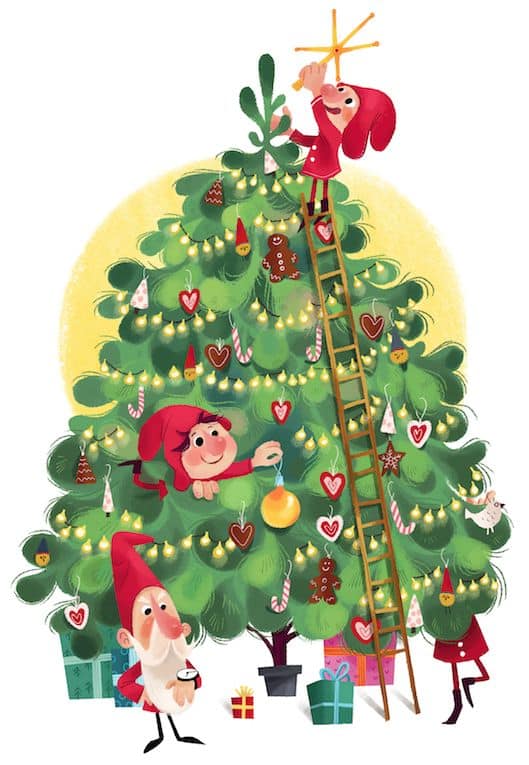
You can make your drawing more lively by sketching cheerful elves placing ornaments on a Christmas tree. Start with a simple tree shape, then add small figures climbing ladders or standing on stools to hang decorations.
Give each elf a pointed hat, curved ears, and a playful outfit in red, green, or striped patterns. You can vary their poses so one elf hangs a bauble while another strings lights. This keeps your scene dynamic and fun to look at.
Add small details like wrapped presents at the base of the tree or a star waiting to be placed on top. These touches help your drawing feel festive and complete without being too complicated.
If you enjoy coloring, use bright shades for the ornaments and softer tones for the tree. This contrast makes the elves and decorations stand out clearly.
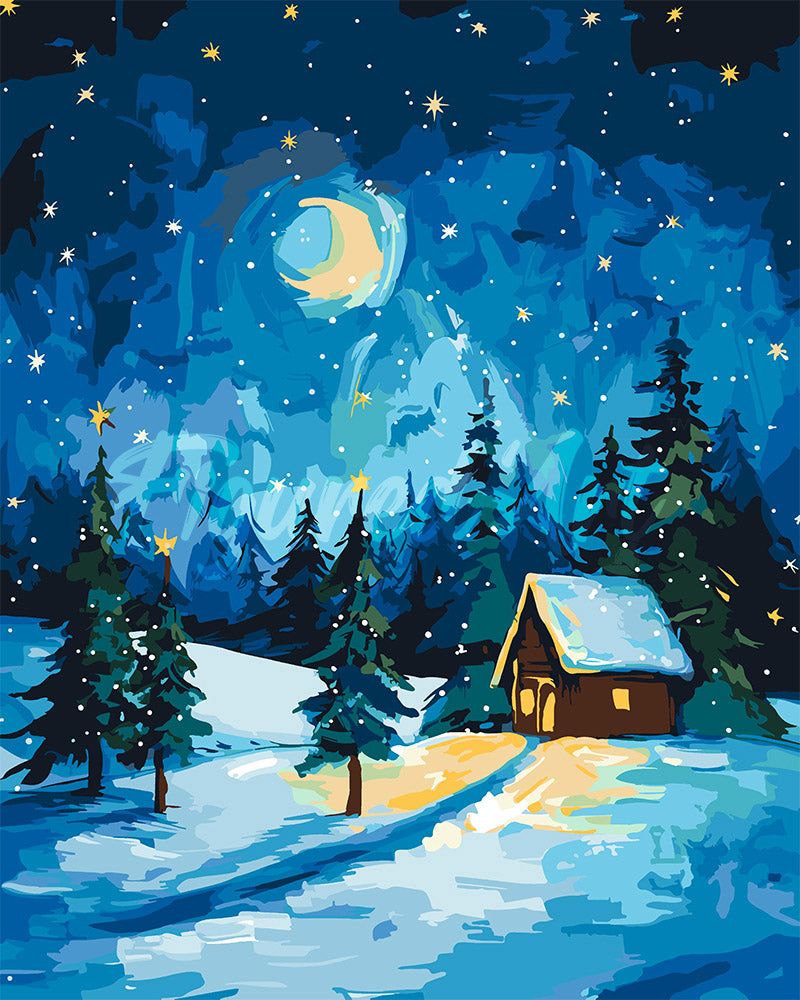
10) Paint a starry night with holiday lights
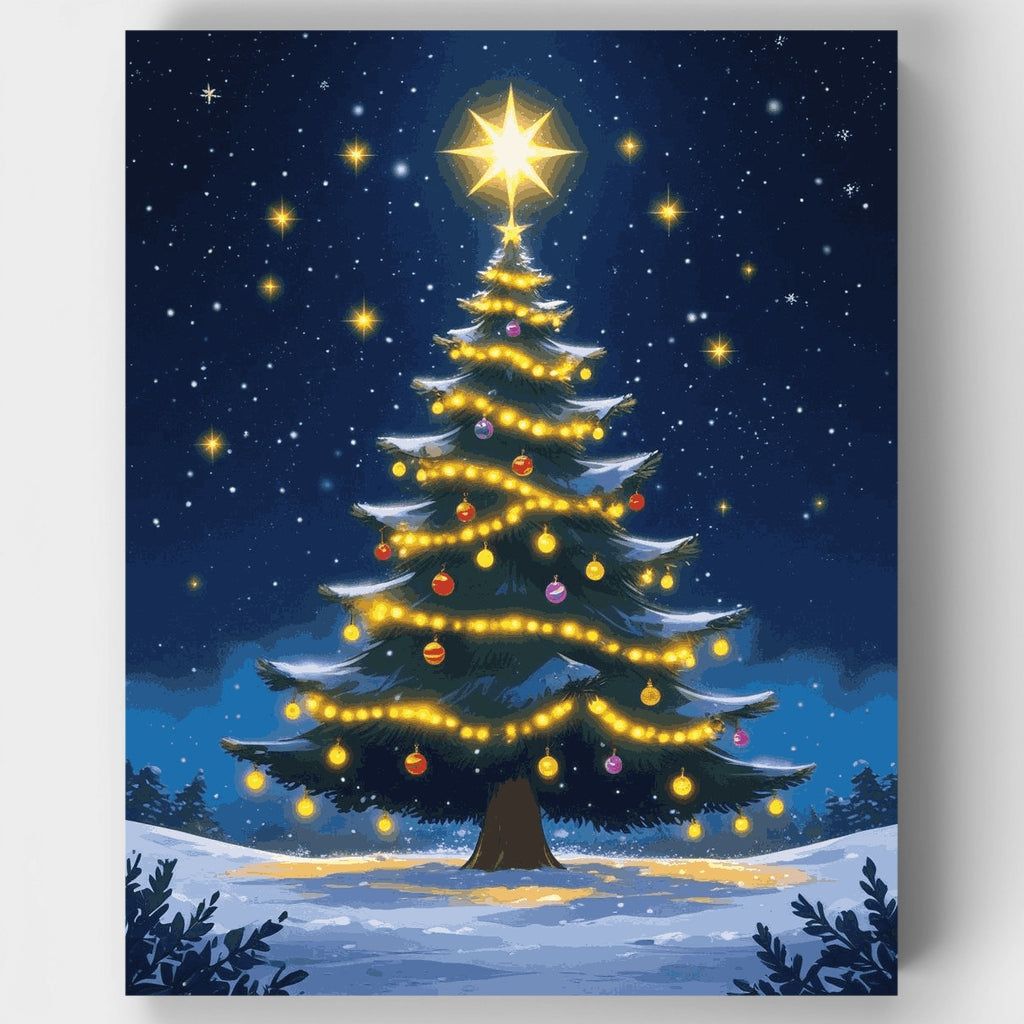
You can create a festive twist on the classic starry night theme by adding holiday lights to the scene. Start with a dark blue or black background to capture the night sky. Then layer in stars, swirls, or soft glowing effects with white and yellow paint.
Once the sky feels complete, add a row of trees, rooftops, or a snowy landscape at the bottom. This gives your painting a cozy winter setting. Keep the shapes simple so the focus stays on the lights and sky.
To bring in the holiday spirit, paint colorful string lights across the trees or houses. Use red, green, gold, and blue dots or strokes to mimic the glow of bulbs. Leave a little space around each one so they look like they’re shining.
You don’t need advanced skills for this project. Even small touches, like a glowing moon or snowy highlights, make the painting feel more festive. It’s a fun way to combine winter scenery with holiday cheer.
Choosing the Right Materials
The quality of your supplies directly affects how your Christmas art projects turn out. Using durable, safe, and creative-friendly materials helps you enjoy the process while producing artwork that looks polished and festive.
Essential Art Supplies
Start with a good set of drawing pencils for sketching and outlining. A range from HB to 6B gives you flexibility in shading. Pair them with a sturdy eraser and a reliable sharpener so you can keep your lines clean.
For color, you’ll want colored pencils, markers, and paints. Watercolor sets are great for soft backgrounds, while acrylics add bold, vibrant layers. Markers with fine and broad tips let you switch between detail work and larger color areas.
Paper choice matters too. Use thicker paper (90–140 lb) for painting to avoid warping, and smoother paper for colored pencils or markers. If you’re making ornaments or cards, cardstock works well and holds up better than regular printer paper.
Basic tools like scissors, glue sticks, and paintbrushes round out your kit. A small set of brushes in different shapes—flat, round, and angled—gives you more control over textures. Keeping these supplies organized in a box or caddy makes projects easier to start and clean up.
Eco-Friendly Options
If you want to reduce waste, you can swap some traditional supplies for sustainable alternatives. Recycled paper sketchbooks and cardstock made from post-consumer materials are widely available and work well for most projects.
Instead of plastic-based glitter, try biodegradable glitter or skip it in favor of metallic paints and gel pens. These give you sparkle and shine without leaving harmful microplastics behind.
For coloring, look for water-based, non-toxic paints and markers. Many brands now offer refillable markers, which cut down on plastic waste and save you money over time.
You can also reuse materials around your home. Brown paper bags, cardboard, and fabric scraps make excellent bases for ornaments, collages, or handmade cards. Even old magazines can be cut into colorful shapes for a mixed-media project.
By choosing greener supplies, you keep your art festive while making it more sustainable.
Tips for Displaying Christmas Art
You can make your holiday art stand out by choosing display methods that complement your space and keep your pieces safe for years to come. Simple adjustments in placement, lighting, and storage can make a big difference in how your decorations look and last.
Creative Home Decor Ideas
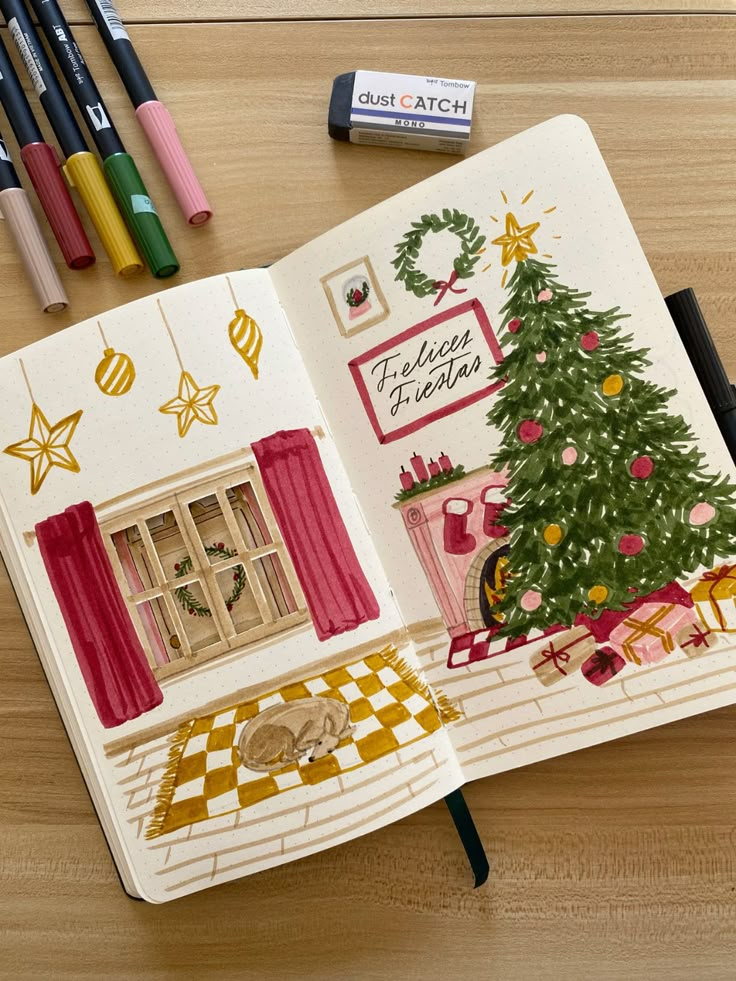
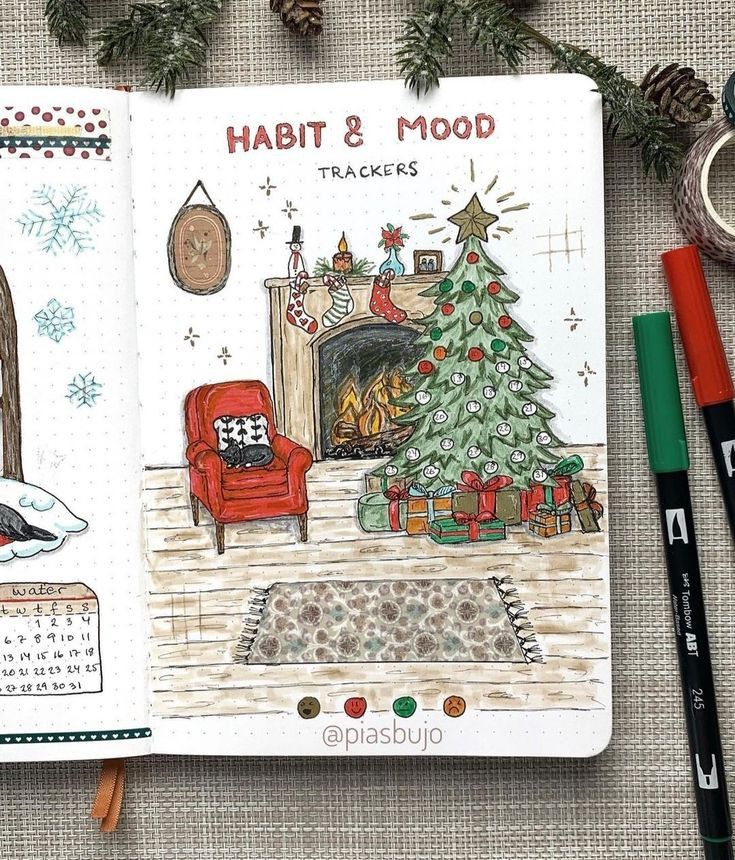
Place your Christmas art where it naturally draws attention, such as above a fireplace, along an entryway wall, or near the tree. Using ledges or floating shelves lets you rotate pieces easily without making extra holes in your walls.
Try grouping smaller artworks together to create a gallery effect. Mixing framed prints with handmade crafts or ornaments adds texture and visual interest. A balance of sizes and colors helps the display look intentional instead of cluttered.
Lighting makes a big impact. Soft white string lights or small spotlights highlight details without overwhelming the artwork. If you want a modern touch, display digital art on a Frame TV or tablet, which allows you to swap designs instantly.
When decorating tables or mantels, use stands or easels to give height to flat pieces. This prevents them from blending into the background and makes the display feel layered.
Preserving Artwork for Future Holidays
Proper storage ensures your Christmas art lasts beyond one season. Keep paper-based artwork, like prints or cards, in acid-free sleeves or folders to prevent yellowing. Store them flat in a cool, dry place away from direct sunlight.
For framed pieces, wrap them in bubble wrap or soft cloth before packing. Avoid stacking heavy items on top to prevent warping or broken glass. Labeling boxes with contents makes unpacking easier next year.
If you create art with children, consider photographing or scanning their work before storing it. Digital copies let you reprint or reuse designs in future decorations without risking damage to the originals.
Fabric-based art, like embroidered pieces or quilted wall hangings, should be stored in breathable cotton bags instead of plastic. This keeps moisture from building up and protects the fabric from mildew.
- 1.3Kshares
- Facebook0
- Pinterest1.3K
- Twitter0
- Reddit0


