Creating custom stickers from your artwork has become an accessible and affordable way to showcase your creativity. With numerous online printing services and DIY options available, you can transform your hand-drawn illustrations into professional-looking vinyl stickers without expensive equipment or technical expertise.
You can turn any drawing into a sticker by digitizing your artwork, selecting appropriate materials, and using either professional printing services or home printing methods. The process involves preparing your design, choosing the right paper or vinyl, and applying proper cutting techniques to achieve clean, durable results.
Whether you want to personalize your belongings, start a small business, or create unique gifts, converting your drawings into stickers opens up endless creative possibilities. The methods range from simple home printing solutions to professional-grade vinyl cutting, allowing you to choose the approach that best fits your budget and quality requirements.
Key Takeaways
- Transform drawings into stickers by digitizing your artwork and selecting proper materials for printing or cutting
- Choose between home printing methods or professional services based on your quality needs and budget
- Apply finishing techniques like proper cutting and backing removal to create durable, professional-looking stickers
Getting Your Art Ready for Stickers
Before transforming your artwork into professional-quality stickers, you need to select the right drawing, capture it digitally, and edit it for optimal printing results.
Choosing the Right Drawing
Select artwork with bold, clear lines and well-defined shapes. Simple designs with strong contrast work best for sticker design.
Avoid drawings with extremely fine details or intricate line work. These elements often become unclear when reduced to sticker size.
White backgrounds are ideal for custom cutout stickers. They make editing easier and create cleaner final products.
Consider the original scale compared to your desired sticker size. Large artwork with tiny details may not translate well to smaller formats.
Choose drawings with solid color areas rather than subtle gradients. Flat colors reproduce more accurately in sticker printing.
High contrast between your subject and background ensures your design stands out clearly.
Scanning or Photographing Your Artwork
Use a flatbed scanner at 300 DPI minimum for best quality. Higher resolution captures more detail and allows for larger sticker sizes.
Position your artwork flat against the scanner bed. Remove any wrinkles or creases that could create shadows.
For photography, use natural lighting or bright, even artificial light. Avoid shadows and glare on the paper surface.
Hold your camera or phone directly above the artwork. Keep it parallel to prevent distortion.
Take multiple shots at different angles. This gives you options during the editing process.
Save files in high-quality formats like PNG or TIFF. Avoid compressed JPEG files when possible.
Cleaning Up and Editing Your Art
Remove unwanted background elements using photo editing software. Clean white backgrounds create professional-looking stickers.
Adjust brightness and contrast to make your lines crisp and colors vibrant. Dark lines should be truly black, not gray.
Use the eraser tool to eliminate smudges, dust spots, or stray marks. Clean artwork produces better printing results.
Crop tightly around your design to remove excess white space. This helps determine the final sticker shape.
Convert to vector format if creating stickers for multiple sizes. Vector files maintain quality at any scale.
Check your final image at actual sticker size. Ensure all details remain visible and clear at the intended dimensions.
Digitizing and Enhancing Your Design
Converting your hand-drawn artwork to digital format gives you complete control over colors, outlines, and borders. These adjustments ensure your sticker design prints clearly and cuts accurately.
Converting Artwork to Digital Format
The first step transforms your physical drawing into a digital file. You have several effective methods to choose from.
Scanning produces the highest quality results for sticker design. Use a flatbed scanner at 300-600 DPI for crisp, detailed images. Place your artwork flat against the scanner bed to avoid shadows or distortion.
Photography works well when scanners aren’t available. Use natural lighting and position your camera directly above the drawing. Keep the camera parallel to avoid perspective distortion.
Phone apps offer convenient digitizing options. Many smartphones capture high-resolution images suitable for sticker production. Ensure good lighting and hold the phone steady.
After digitizing, save your file in a high-resolution format like PNG or TIFF. These formats preserve image quality without compression artifacts that could affect print results.
Adjusting Colors and Outlines
Digital editing software lets you refine your sticker design for optimal printing. Focus on enhancing contrast and clarity.
Color correction improves vibrancy and accuracy. Adjust brightness and contrast to make colors pop. Increase saturation slightly to compensate for printing limitations.
Outline enhancement creates cleaner edges. Use digital brushes to trace over faded lines or fill gaps in your original drawing. Bold, consistent outlines improve sticker durability.
Background removal isolates your design. Delete white or colored backgrounds to create transparent areas. This step is crucial for die-cut stickers that follow your design’s shape.
Most image editing programs offer automatic trace functions. These tools convert sketches into vector graphics with smooth, scalable lines perfect for any sticker size.
Adding Borders or Offsets
Professional sticker production requires specific design elements. Borders and offsets ensure clean cutting and proper printing.
White borders create visual separation from surfaces. Add a 2-3 pixel white outline around your entire design. This border prevents color bleeding and makes stickers stand out.
Cut lines define the sticker shape. Create a path slightly larger than your design for die-cutting. Most print services require this offset for accurate cutting.
Bleed areas extend colors beyond cut lines. Add 1-2mm of extra color around edges to prevent white gaps during cutting. This professional touch ensures consistent results.
Save your final sticker design with all borders and offsets included. Export as both high-resolution raster files for printing and vector files for scaling.
Selecting Sticker Paper and Materials
The right sticker paper determines how your artwork looks and performs as finished stickers. Different papers offer unique textures, adhesive strengths, and durability levels for various projects.
Exploring Different Types of Sticker Paper
Vinyl sticker paper provides the most durable option for your artwork. It resists water, fading, and scratching better than other materials.
Vinyl works well for outdoor use and frequently handled items. You can choose from removable or permanent vinyl depending on your needs.
Paper-based sticker sheets cost less and work perfectly for indoor projects. They print easily on home printers and offer good color reproduction.
These sheets work best for temporary applications like planners, notebooks, or gift decorations. They tear more easily than vinyl but provide a classic sticker feel.
Clear sticker paper lets your artwork’s background show through. This creates a professional look without visible borders around your designs.
Transparent materials work especially well for window applications or when you want your sticker to blend with the surface underneath.
Understanding Sticker Finishes and Effects
Matte finishes reduce glare and provide a smooth, non-reflective surface. They hide fingerprints well and give your artwork a sophisticated appearance.
Matte sticker paper accepts writing from pens and markers if you need to add details later.
Glossy finishes make colors appear more vibrant and saturated. They create a shiny, professional look that stands out.
Glossy surfaces show fingerprints more easily but offer better durability against moisture and handling.
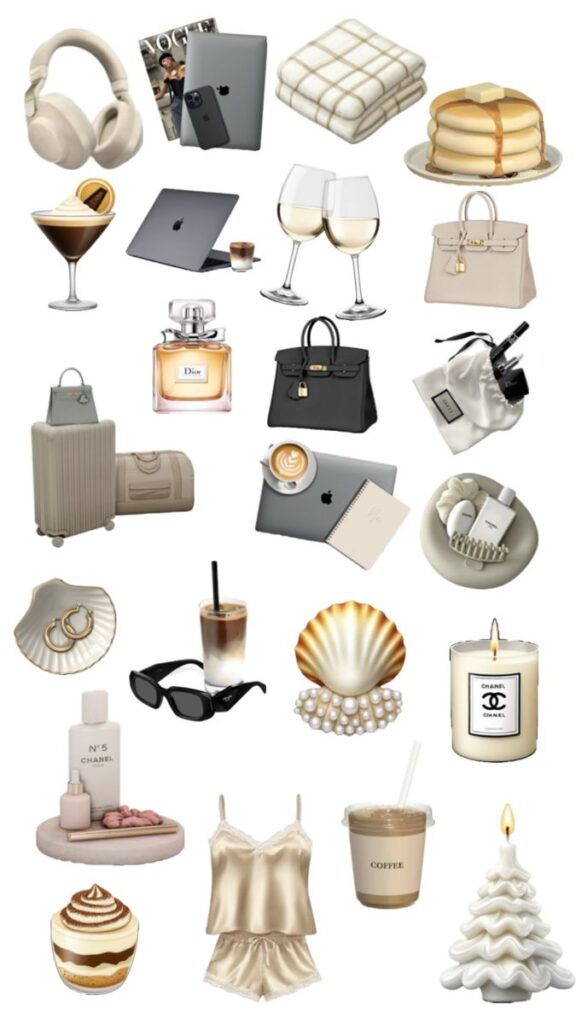
Specialty finishes include holographic, metallic, and textured options. These add unique visual effects to your artwork.
Holographic papers create rainbow reflections while metallic options provide gold or silver backgrounds for your designs.
Cutting and Creating Your Stickers
Once your artwork is ready, you need to cut it precisely to create professional-looking stickers. Using the right tools and techniques ensures clean edges and proper sizing for your final products.
Using a Cutting Machine
A cutting machine like a Cricut or Silhouette makes the process faster and more accurate. These machines cut through sticker paper and vinyl with precision.
Load your sticker material onto the cutting mat. Make sure the material adheres well to prevent shifting during cutting.
Import your artwork file into the machine’s software. Most cutting machines accept PNG, SVG, and JPEG formats.
Key software steps:
- Upload your design
- Adjust cut settings for your material type
- Add cut lines around your artwork
- Mirror the image if using transfer vinyl
Select the appropriate blade and cutting pressure. Sticker paper requires less pressure than thick vinyl materials.
Run a test cut on scrap material first. This prevents wasting your good sticker sheets and helps you fine-tune settings.
Manual Cutting Techniques
Hand cutting works well for simple shapes and small batches. Use sharp craft scissors or a precision knife for best results.
Print your stickers with a small border around each design. This gives you cutting room and prevents accidentally trimming into the artwork.
Essential tools for manual cutting:
- Sharp craft knife
- Metal ruler
- Self-healing cutting mat
- Fine-tip scissors
- Circle cutter for round stickers
Cut slowly and follow the outline carefully. Replace knife blades frequently to maintain clean cuts through the adhesive backing.
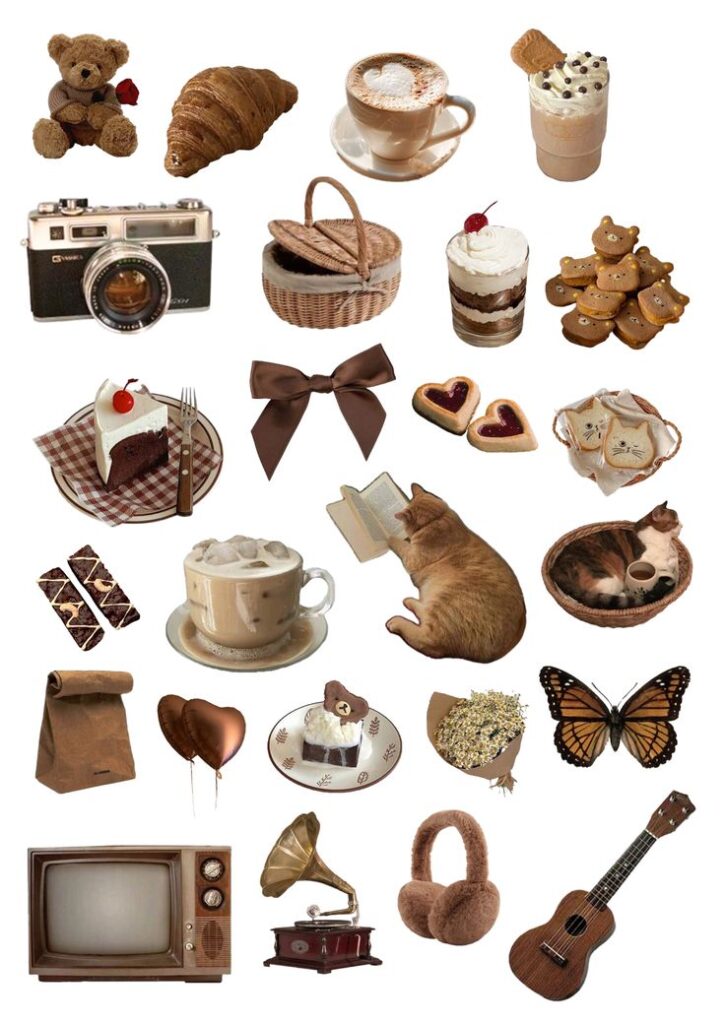
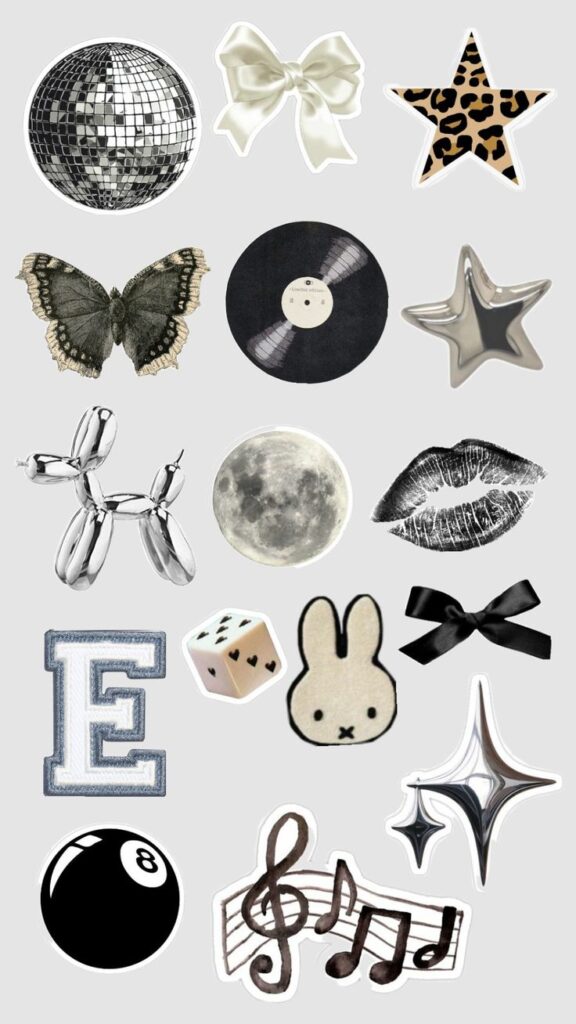
Arranging Sticker Sheets
Plan your layout before cutting to maximize material usage. Group similar-sized stickers together on each sheet.
Leave at least 1/8 inch between each sticker design. This spacing prevents cutting into adjacent stickers and makes weeding easier.
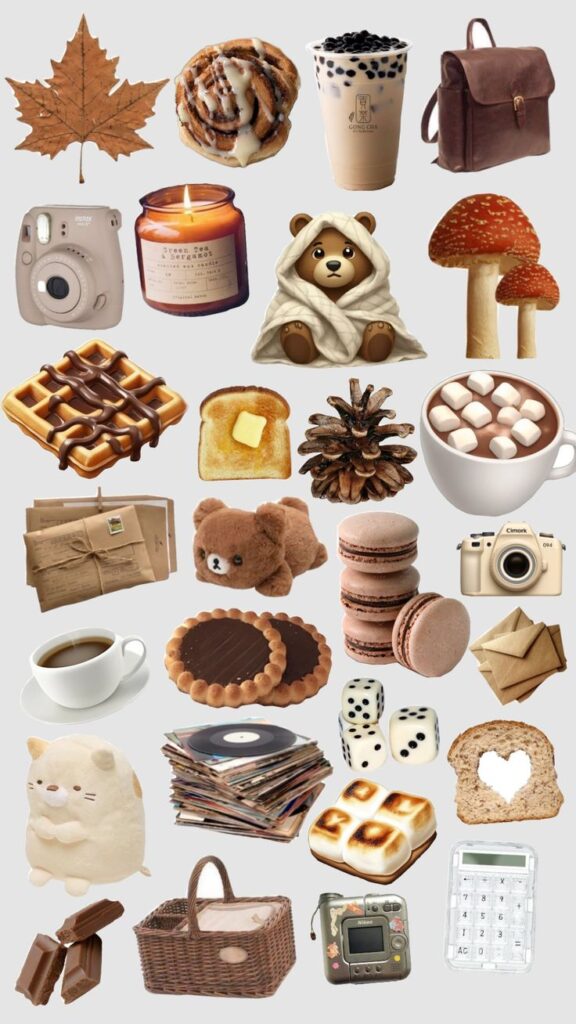
Consider creating variety packs by combining different designs on single sheets. Mix popular designs with new ones to introduce customers to your full range.
Use design software to create cutting templates. This ensures consistent spacing and helps you calculate how many stickers fit per sheet.
Creative Ideas and Personalization Options
Transform your basic drawings into unique sticker designs by adding quotes, combining text with artwork, and exploring non-traditional shapes that reflect your personal style.
Designing Quote Stickers
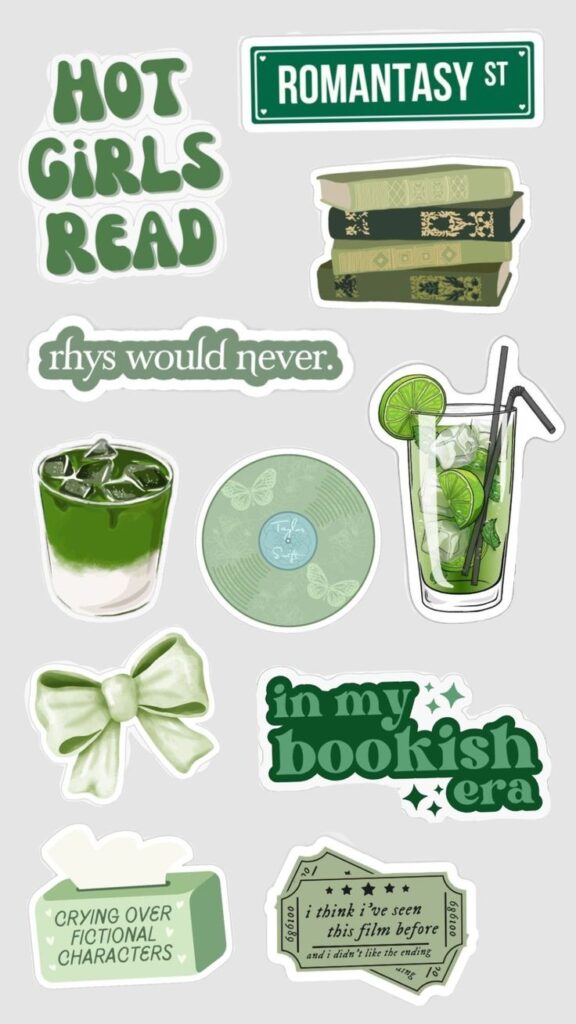
Quote stickers combine meaningful words with visual elements to create powerful designs. Start by selecting quotes that resonate with your target audience or personal brand.
Choose fonts that match your quote’s mood. Bold, sans-serif fonts work well for motivational quotes. Script fonts suit romantic or inspirational messages.
Create visual hierarchy by making key words larger or bolder. This draws attention to the most important parts of your message.
Add decorative elements around your text:
- Hand-drawn borders
- Small illustrations
- Geometric patterns
- Watercolor backgrounds
Consider the sticker’s final size when designing. Text should remain readable even when printed small. Test different sizes before finalizing your design.
Popular quote sticker categories include motivational phrases, song lyrics, book quotes, and personal mantras.
Mixing Drawings and Text
Combine your artwork with text to tell complete stories through your stickers. This approach creates more engaging and informative designs.
Text placement options:
- Overlaying text directly on drawings
- Creating separate text areas within the design
- Using speech bubbles or banners
- Integrating text as part of the illustration
Match your text style to your drawing technique. Hand-lettered text complements sketchy drawings. Clean digital fonts pair well with precise illustrations.
Use text to explain your drawing’s context or add humor. A simple drawing of a cat becomes more engaging with text like “Monday Mood” or “Cat Lady Life.”
Keep text concise for sticker applications. Short phrases work better than long sentences on small formats.
Experimenting with Sticker Shapes
Move beyond standard rectangular stickers by creating custom shapes that enhance your designs. Die-cut stickers follow your artwork’s outline for professional results.
Shape options to consider:
- Circular designs for badges or logos
- Star shapes for achievement themes
- Heart shapes for romantic designs
- Custom silhouettes matching your drawing
Plan your composition with the final shape in mind. Ensure important elements won’t be cut off during the die-cutting process.
Create shape templates in your design software to maintain consistency across multiple sticker designs. This helps when creating sticker sets or series.
Consider practical applications when choosing shapes. Complex shapes with thin extensions may not adhere well to all surfaces.
Finishing Touches and Ways to Use Your Stickers
Once your sticker design is complete, proper printing and storage techniques ensure quality results. Your finished stickers can serve multiple purposes from personal decoration to potential income sources.
Tips for Printing and Storage
Choose the right paper for your sticker project. Vinyl sticker paper works best for outdoor use and durability. Regular sticker paper suits indoor applications and costs less.
Print a test sheet first. Check colors and sizing before printing your final batch. Adjust printer settings to “high quality” or “photo” mode for crisp lines.
Storage methods protect your investment. Keep printed stickers in a cool, dry place away from direct sunlight. Humidity can affect adhesive quality over time.
Use backing sheets between sticker layers. This prevents them from sticking together accidentally. Clear plastic sleeves work well for organization.
Label your storage containers with creation dates. Adhesive strength can decrease after 2-3 years depending on materials used.
Cut carefully around your designs using craft knives or scissors. Leave small borders around detailed artwork to prevent tearing during application.
Decorating with Your Stickers
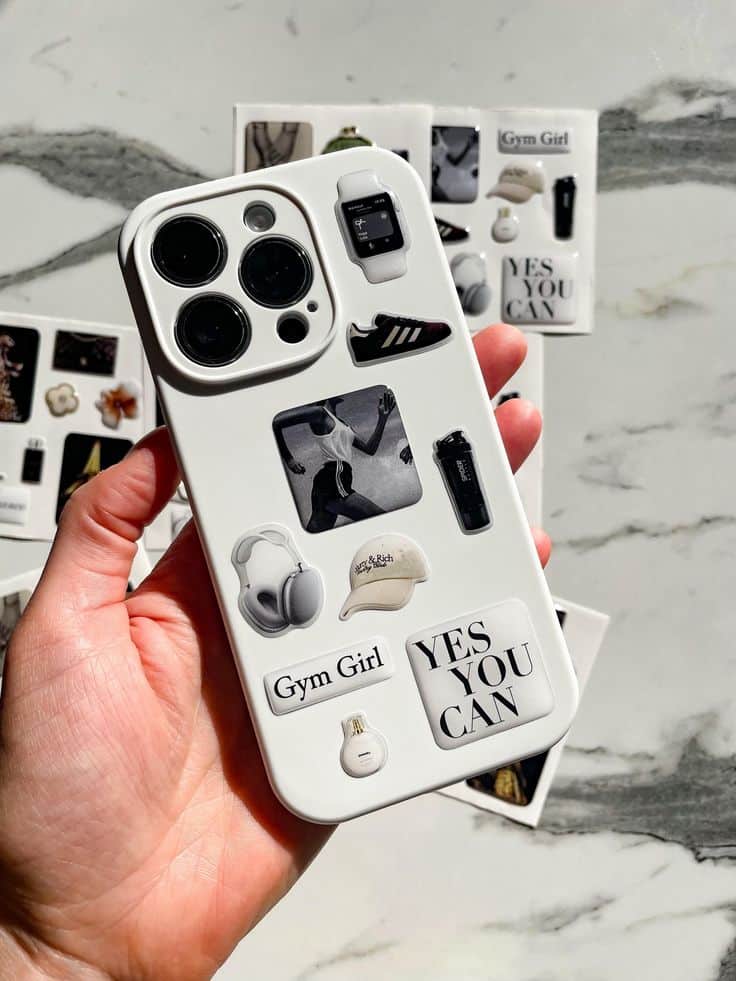
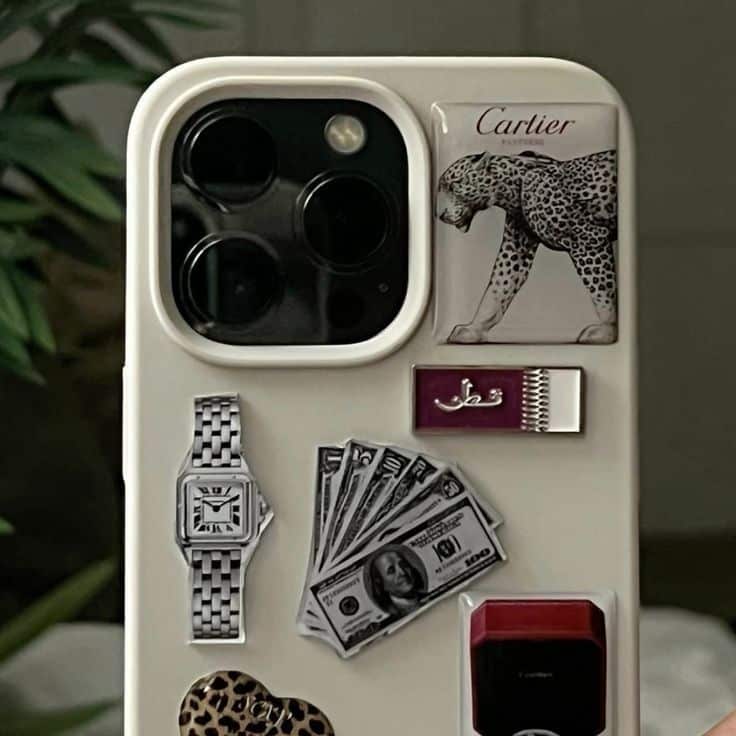
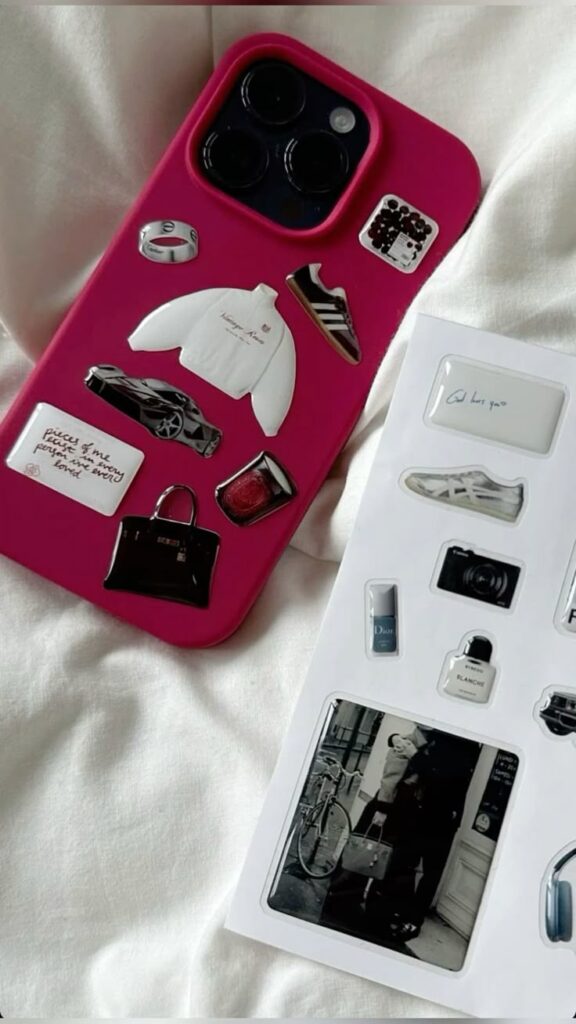
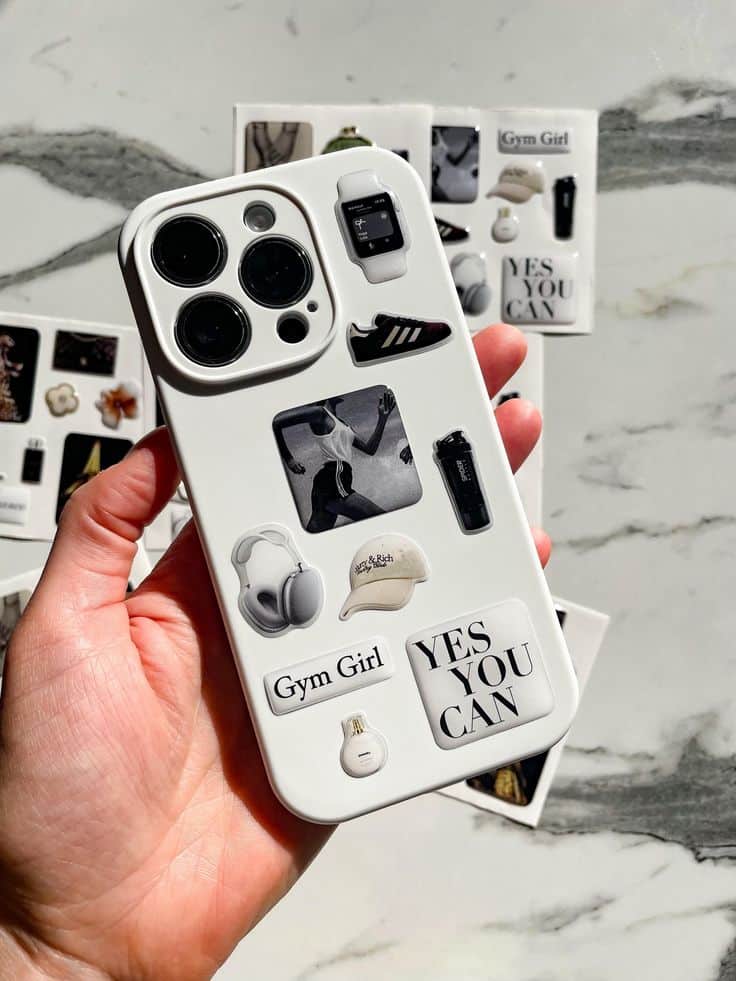
Your handmade stickers transform everyday items into personalized pieces. Laptops, water bottles, and phone cases become unique with your artwork.
Journaling applications add visual interest to diary pages. Use small stickers as bullet points or mood indicators. Larger designs work as monthly dividers or special event markers.
Furniture decoration creates custom looks without permanent changes. Apply stickers to picture frames, desk organizers, or storage boxes.
Gift wrapping becomes more meaningful with personal touches. Replace store-bought gift tags with your custom designs. Seal envelopes with small round stickers.
Children’s items benefit from washable sticker applications. Decorate lunch boxes, school supplies, or bedroom walls with removable options.
Create themed collections for holidays or seasons. Design sets that work together for coordinated decorating schemes.
Sharing or Selling Your Creations
Social media platforms showcase your sticker designs effectively. Instagram and Pinterest work well for visual content. Use relevant hashtags to reach interested audiences.
Online marketplaces like Etsy provide sales opportunities. Research competitor pricing and popular design themes before listing your products.
Local craft fairs offer direct customer interaction. Bring sample sheets and business cards to build relationships with potential buyers.
Friend and family networks often provide first customers. Word-of-mouth marketing builds naturally from satisfied personal connections.
Pricing strategies should cover material costs plus time investment. Factor in printing expenses, packaging, and shipping when calculating profit margins.
Consider offering custom design services. Many customers pay premium prices for personalized sticker creations that match their specific needs or branding requirements.
- 9shares
- Facebook0
- Pinterest9
- Twitter0
- Reddit0


