Multi-color 3D printing opens up exciting possibilities for creating vibrant, detailed models without the need for post-processing paint or assembly work. With the right designs and equipment, you can produce stunning functional items, decorative pieces, and artistic creations that showcase multiple colors in a single print run.
Whether you’re interested in practical accessories like keychains and phone stands or more complex artistic projects like wall art and chess sets, multi-color printing lets you explore new creative dimensions. These models demonstrate the versatility of modern 3D printing technology while providing you with engaging projects that highlight different techniques and design approaches.
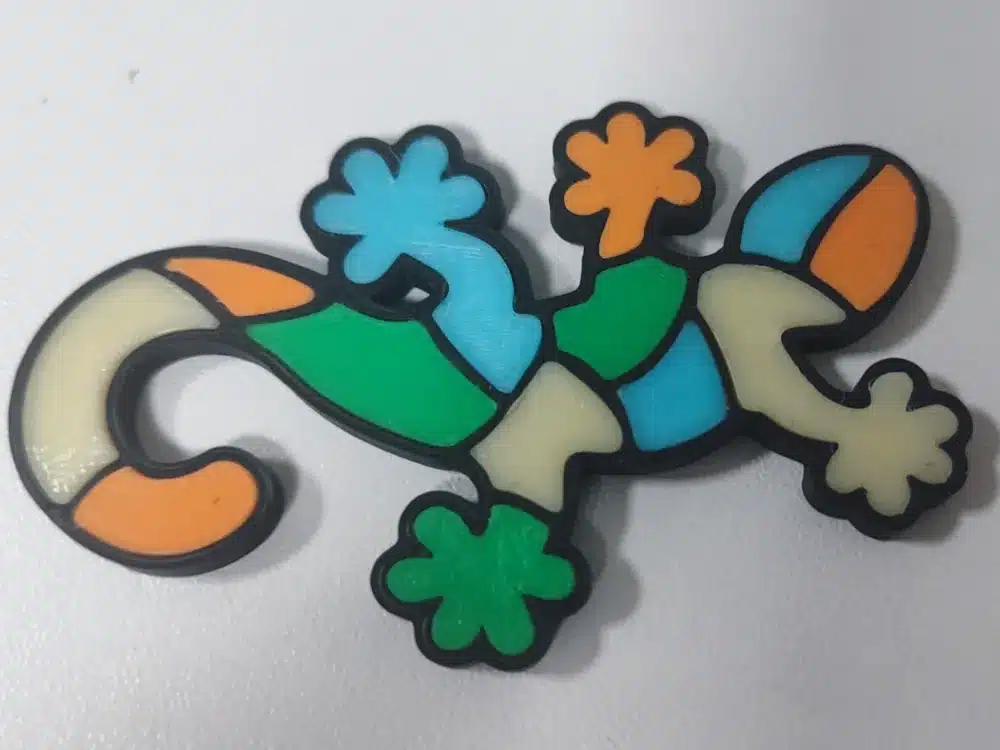
1) Multicolor Keychain Collection
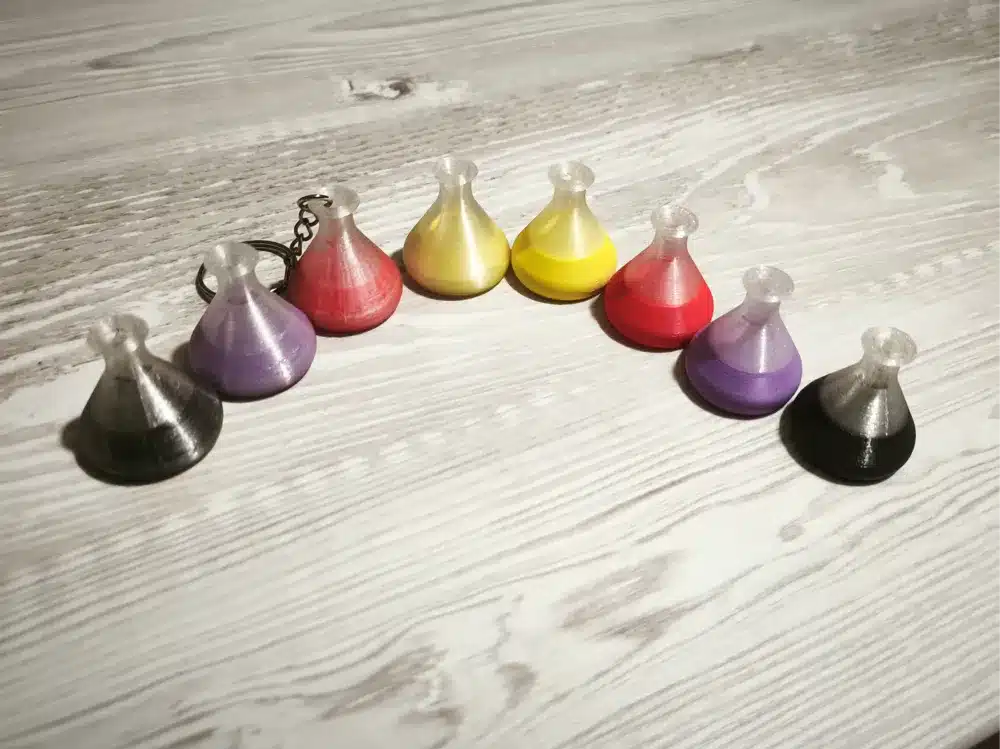
You can find thousands of multicolor keychain designs available for 3D printing. These models range from simple geometric patterns to complex animal shapes and themed collections.
Animal keychains offer some of the most popular multicolor options. You can print cute creatures that add personality to your keys while showcasing different colored filaments.
Many keychain files come pre-configured for specific printers like Bambu Lab models with AMS systems. These files include proper color separation and are ready to print without additional setup.
Single-nozzle printers can also create multicolor effects using height-based filament swapping. The butterfly keychain design uses varied layer heights to let you change colors at specific points during printing.
Multi-theme packs provide excellent value with collections containing 8-10 different keychain designs. These bundles often include multiple file formats and color configurations for different printer types.
Modern minimalist designs work well for testing your printer’s multicolor capabilities. These simple shapes help you practice color transitions without complex geometry.
You’ll find files in various formats including STL, 3MF, and pre-sliced options. Some designs separate colors into individual parts while others use single models with embedded color changes.
2) Dual-Extruder Flower Vase
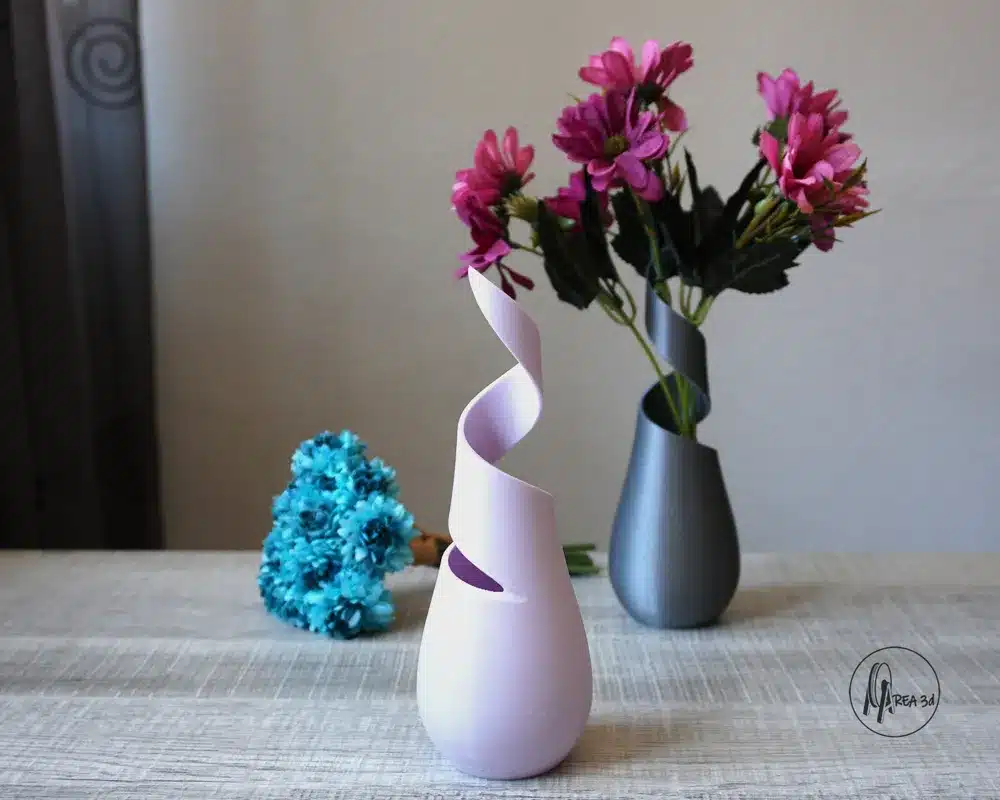
Dual-extruder flower vases showcase the beauty of multi-color printing through elegant design. These models combine two different filament colors to create stunning decorative pieces for your home.
You can find thousands of dual-extruder vase models available online. Popular designs feature cylindrical forms with two-tone color palettes that blend sophistication with modern minimalism.
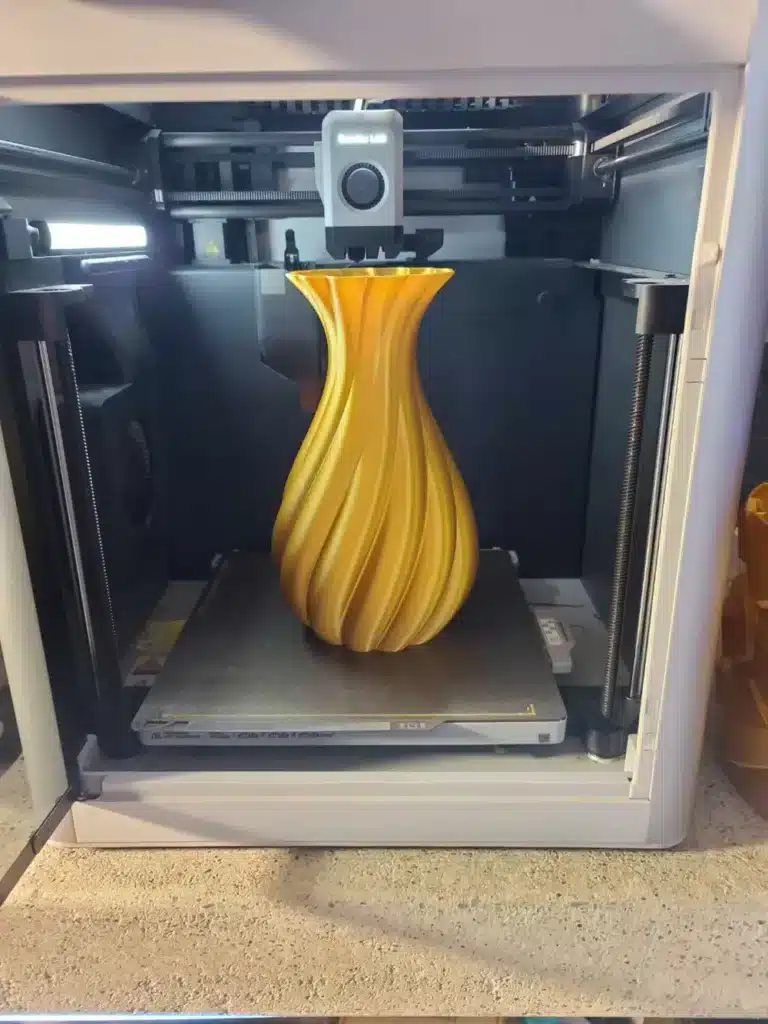
The printing process uses two separate extruders to deposit different colored materials. This creates clean color transitions and distinct patterns that single-color prints cannot achieve.
Many dual-extruder vase designs work with various printer setups. You don’t need specialized equipment like diamond hotends since designers create models compatible with standard dual-extruder systems.
These vases offer excellent practice for multi-color printing techniques. The simple geometry helps you master color switching without complex overhangs or support structures.
Color combinations are virtually limitless with dual-extruder vases. You might choose contrasting colors for bold statements or complementary tones for subtle elegance.
The cylindrical shape makes these models beginner-friendly for dual-extruder printing. They print reliably while demonstrating the visual impact of multi-color capabilities on your 3D printer.
3) Multi-Material Puzzle Cube
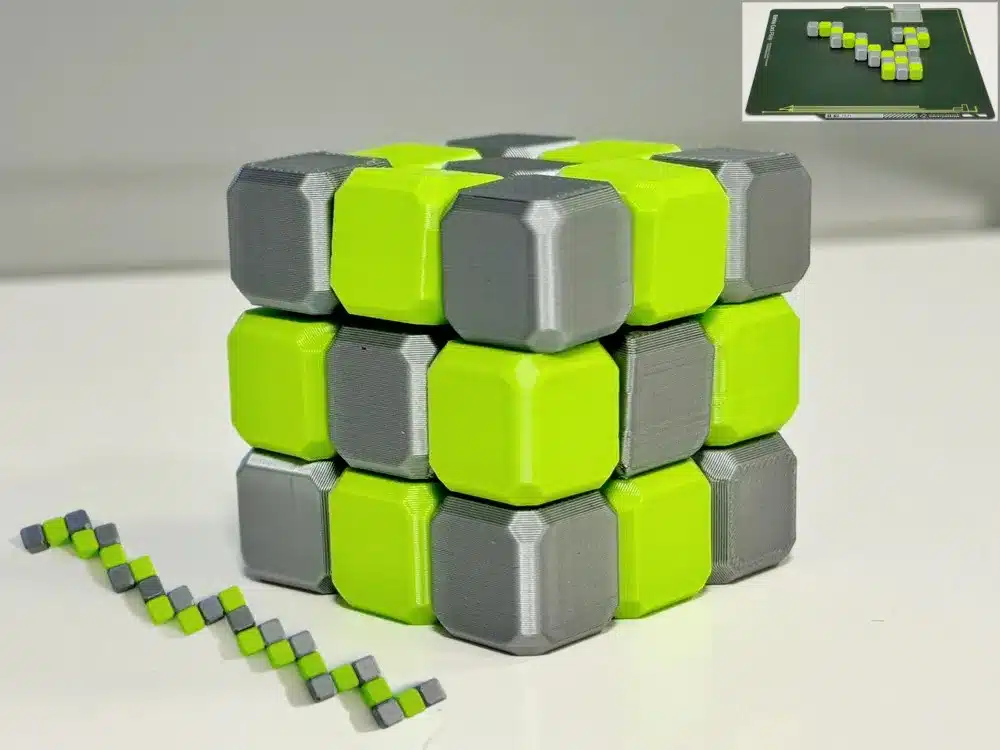
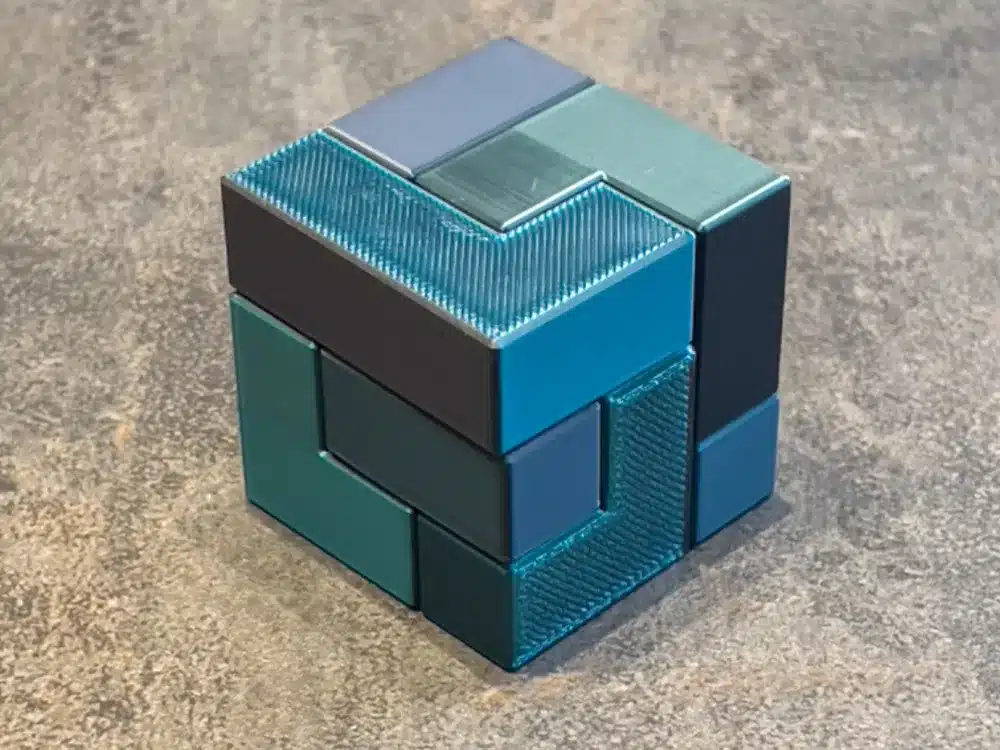
Multi-material puzzle cubes offer an exciting way to showcase your 3D printer’s capabilities. These designs combine different colors and materials to create engaging brain teasers that are both functional and visually appealing.
You can find various 8-piece puzzle cube models that work perfectly with multiple filament colors. Each piece typically requires a different color, making the assembly process more intuitive and the final result more striking.
The sliding piece puzzle format is particularly popular among makers. You’ll appreciate how the different colors help distinguish each piece during both assembly and solving.
Many designs include helpful features like QR codes linking to solution videos. This ensures you won’t get permanently stuck if the puzzle proves too challenging.
These puzzle cubes make excellent gifts for family and friends. They demonstrate your 3D printing skills while providing hours of entertainment for the recipient.
The printing process is straightforward since most pieces are designed with standard tolerances. You can experiment with different material combinations like PLA and PETG for varied textures and colors.
Consider printing extra sets in different color schemes. This creates multiple difficulty levels and adds variety to your puzzle collection.
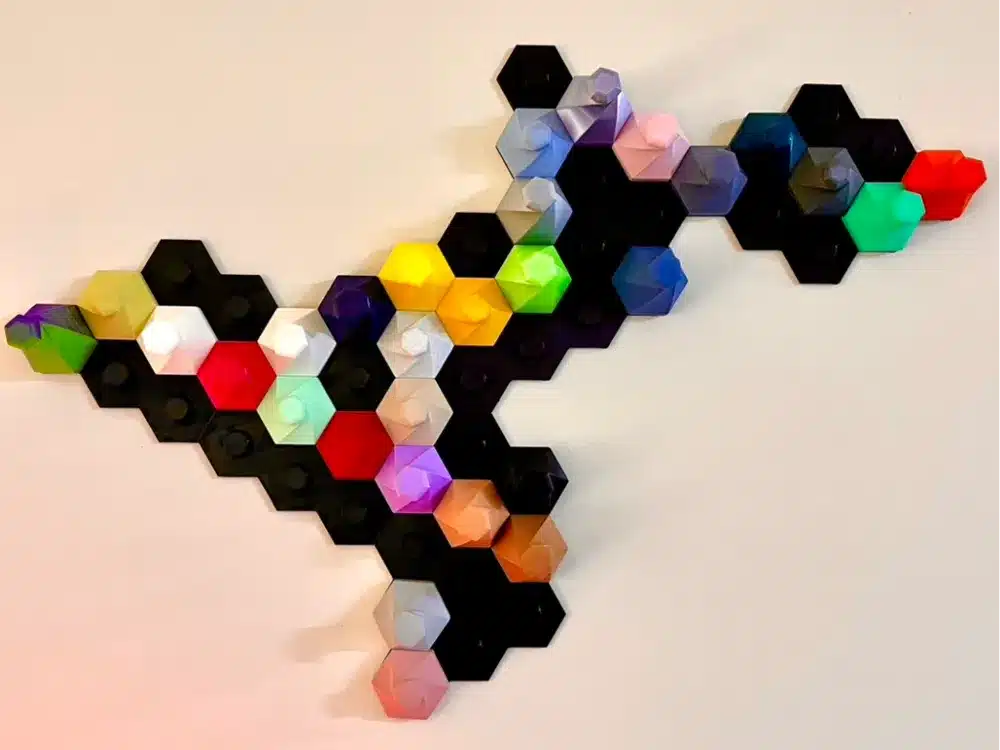
4) Colorful Abstract Wall Art
Abstract wall art brings artistic flair to your living space through vibrant multi-color 3D printing. These decorative pieces transform plain walls into eye-catching focal points.
You can choose from geometric patterns, flowing curves, and intricate designs that showcase multiple colors simultaneously. Each print creates depth and texture that traditional flat artwork cannot achieve.
The beauty of 3D printed abstract art lies in its customization options. You can scale models to fit your specific wall dimensions and select color combinations that match your interior design.
Popular designs include layered geometric shapes, wave patterns, and sculptural elements that cast interesting shadows. These pieces work well in modern homes, offices, and creative spaces.
Your printer can handle complex multi-material combinations for these projects. Different filament types create varying textures and finishes within a single piece.
Installation remains simple since most abstract wall art models include mounting features. You can create gallery walls by printing multiple coordinated pieces in different sizes.
The printing process typically takes 2-4 hours depending on size and complexity. Layer adhesion becomes crucial for pieces with overhangs and intricate details.
5) Multi-Color Chess Set
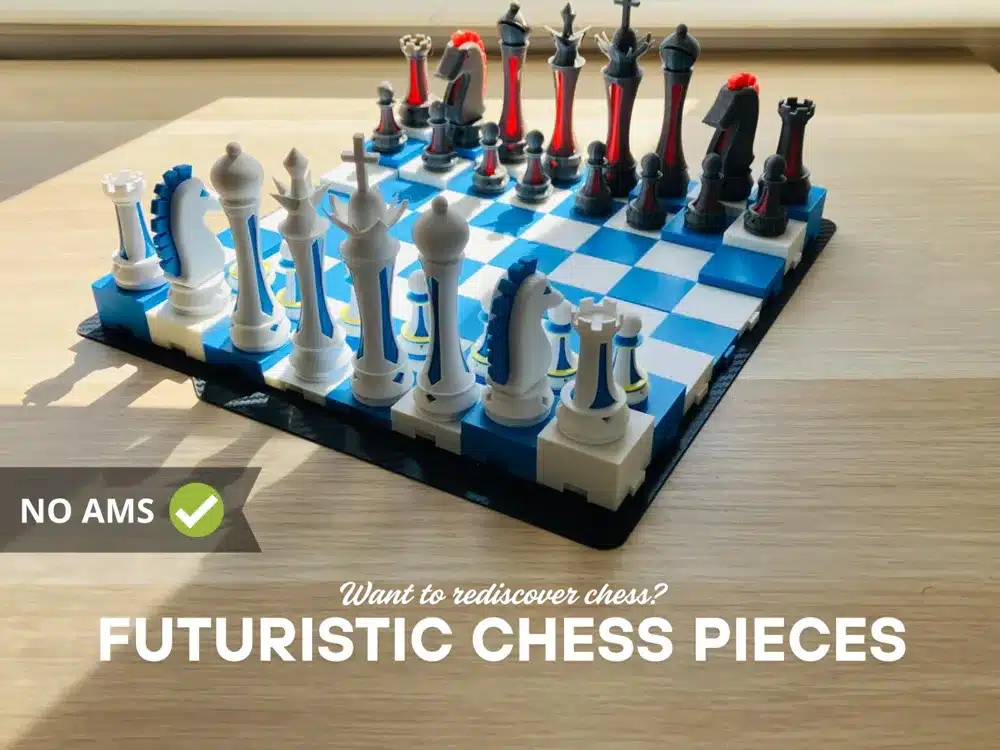
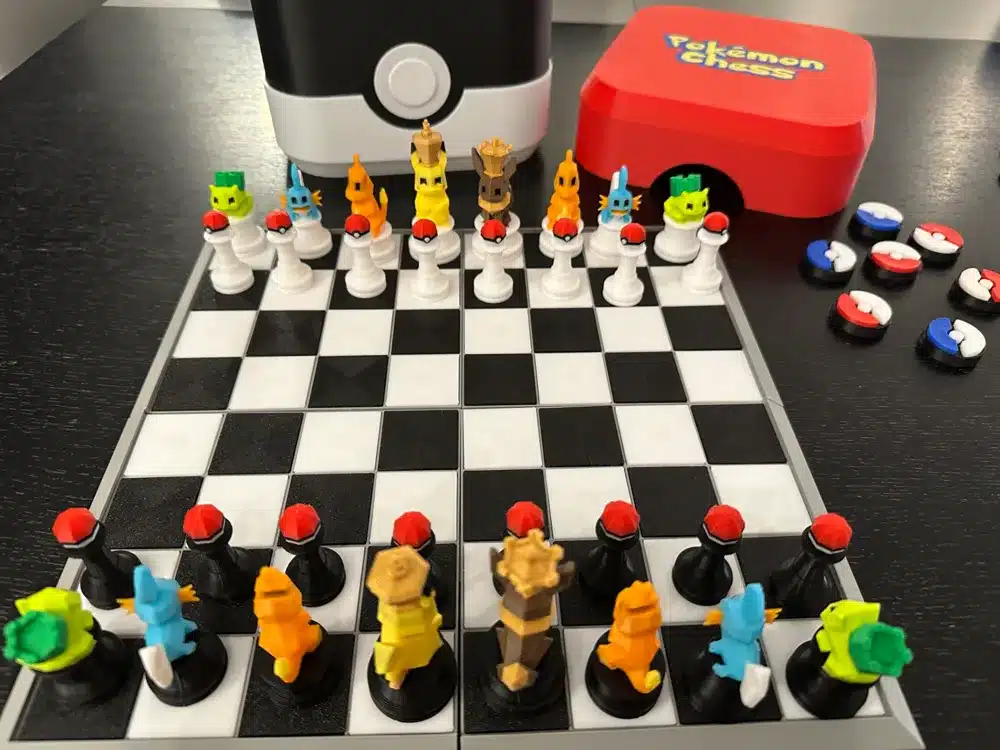
You can bring the classic game of chess to life with vibrant multi-color 3D printing. These chess sets offer a modern twist on the traditional board game while maintaining full functionality.
Multi-color chess sets typically include all 32 pieces plus a complete chessboard. You’ll find designs that feature different colors for each piece type, making them easier to identify during gameplay.
Many designs require minimal support structures during printing. The print profiles often include extra walls and increased infill percentage to give the pieces additional weight for better stability.
You can choose from various design styles, from minimalist modern sets to more elaborate traditional pieces. Some models are based on classic designs by renowned designers like Hermann Ohme.
The chessboard sections are usually designed to fit standard 3D printer build plates. Most designs split the board into four sections measuring around 145mm x 145mm each.
These sets work well with both multi-color 3D printers and single-color printers. If you have a single-color printer, you can print different pieces in separate colors and assemble them later.
Print settings typically recommend 0.20mm layer height with two walls and 15% infill for optimal results.
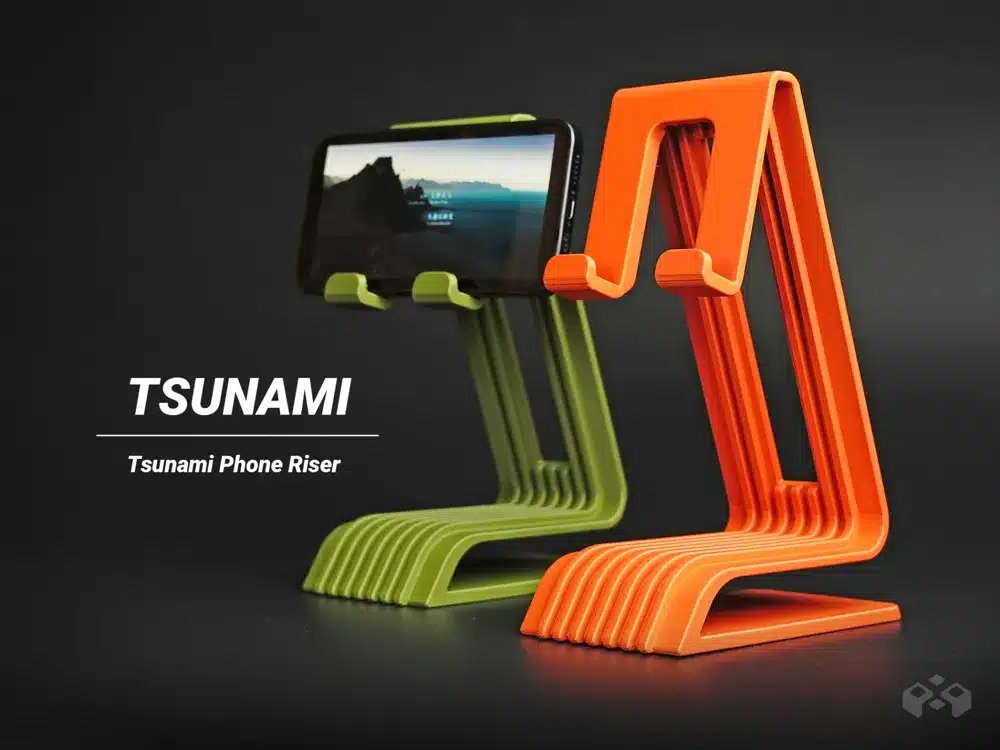
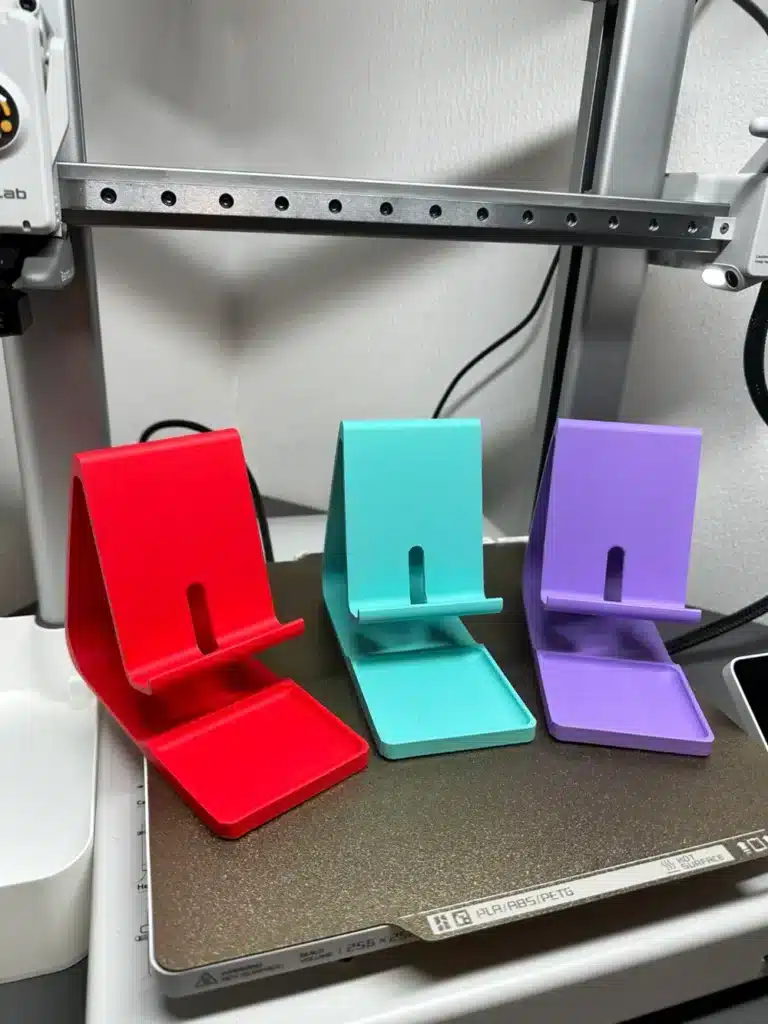
6) Rainbow Gradient Phone Stand
You’ll love this colorful desktop accessory that combines function with visual appeal. The rainbow gradient phone stand brings vibrant colors to your workspace while keeping your device perfectly positioned.
This stand holds your phone at an optimal viewing angle for video calls, watching content, or checking notifications. The rainbow design creates a cheerful atmosphere that brightens your desk throughout the day.
The gradient color scheme flows smoothly from one hue to the next, creating an eye-catching arc shape. You can print this model using multiple filament colors or post-process with paints for the rainbow effect.
Your phone stays secure thanks to the sturdy construction and thoughtful engineering. The stand accommodates most smartphone sizes, making it versatile for different devices you might upgrade to over time.
The compact footprint won’t clutter your workspace while still providing stable support. You can place it on your desk, nightstand, or kitchen counter for hands-free phone use anywhere you need it.
This project showcases how multi-color 3D printing can transform a simple utility item into decorative furniture. The rainbow gradient adds personality to an otherwise basic phone accessory.
7) Layered Color Coaster Set
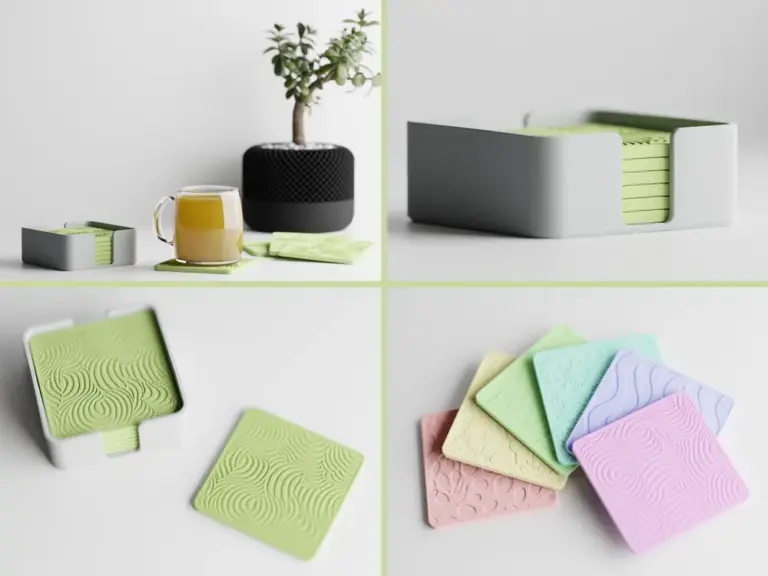
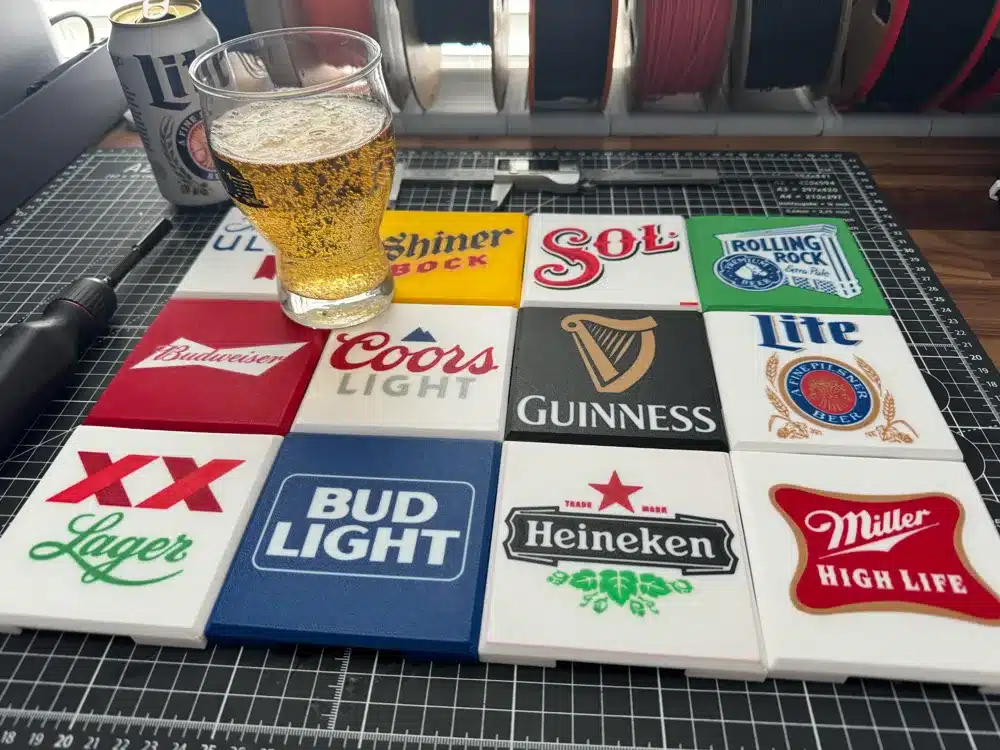
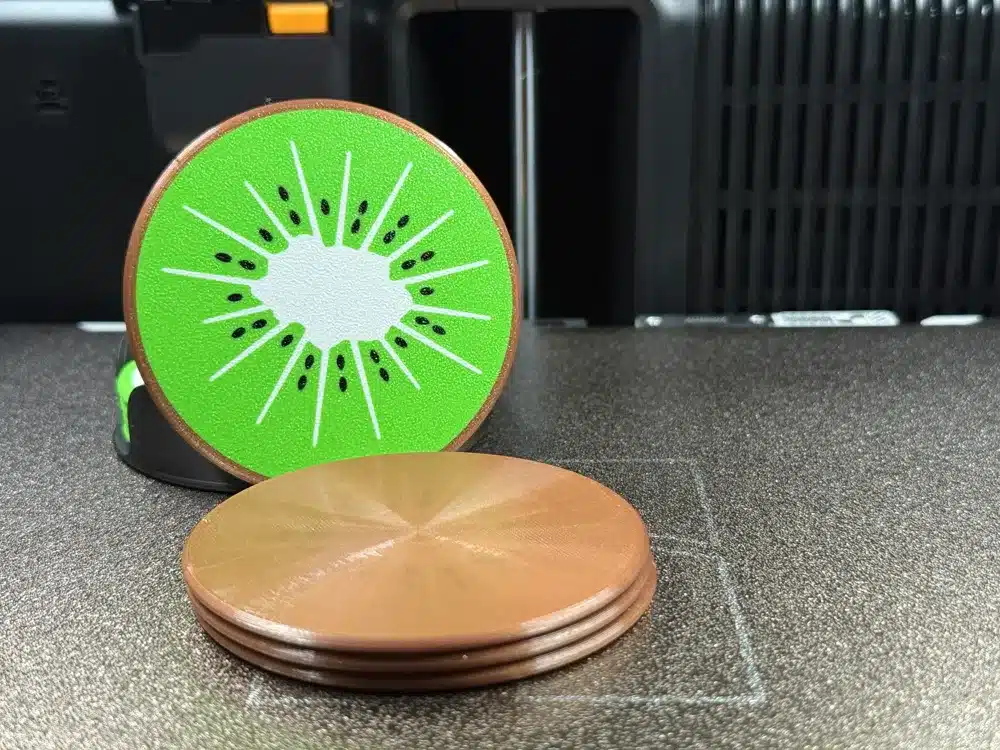
You can create stunning coaster sets that showcase multiple colors in beautiful layered patterns. These designs work perfectly with multi-material units like the Prusa MMU or Bambu AMS system.
Terrazzo-style coasters offer a modern aesthetic with speckled color combinations. You’ll find designs that mimic the popular patterns seen in contemporary home decor, creating sophisticated drink accessories.
The typical coaster measures around 96mm in diameter with a 4mm thickness. Print time runs approximately one hour per coaster at 0.2mm layer height, making them quick weekend projects.
Multi-color coasters let you test your printer’s capabilities while producing functional items. You can experiment with different filament combinations to match your home’s color scheme or create unique gifts.
Consider printing sets of four or six coasters with coordinating colors. Each coaster can feature different color arrangements while maintaining a cohesive design theme throughout the set.
These projects require minimal filament usage per color, making them ideal for using up partial spools. You’ll achieve professional-looking results that demonstrate the full potential of multi-color 3D printing technology.
8) Multi-Color Toy Robot
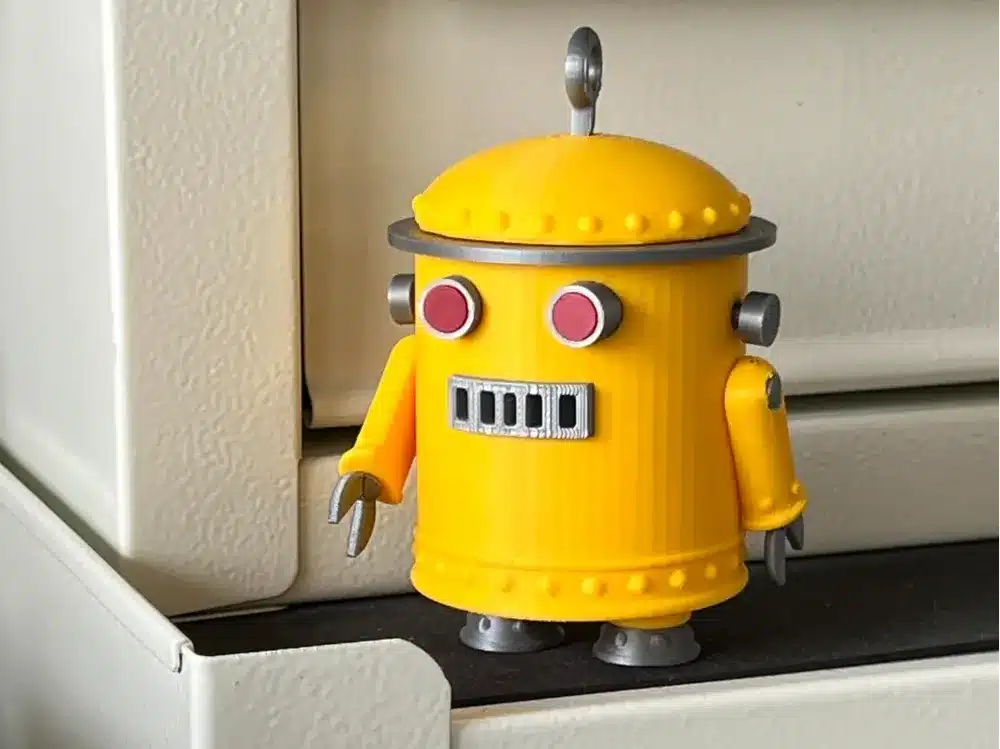
You can create an impressive multi-colored toy robot that brings personality to any space. These models typically feature separate parts designed for printing in different colored filaments.
Most toy robot designs stand around 70mm tall and include modular components. You print each section in your chosen colors, then assemble them using small screws or snap-fit connections.
The blocky, retro-inspired designs work perfectly for multi-color printing. You can customize the color scheme to match your preferences or create themed versions.
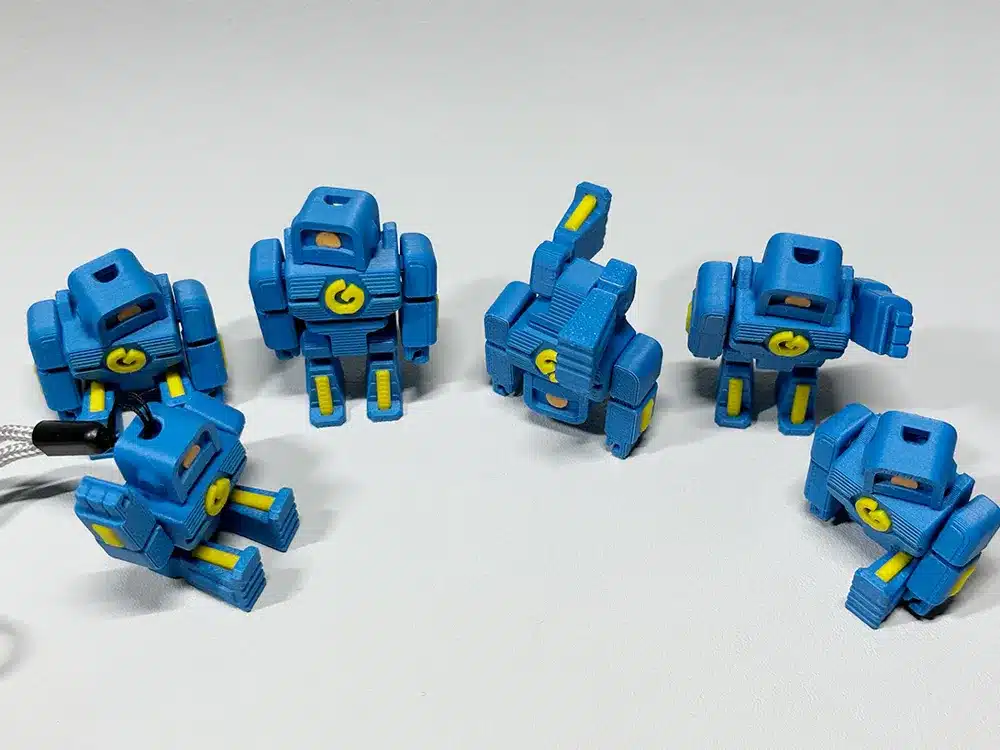
These robots often feature moveable parts like rotating heads or articulated limbs. The multi-part design makes assembly straightforward while allowing creative color combinations.
Your finished robot serves as both a display piece and functional toy. Children enjoy playing with the colorful characters, while adults appreciate them as desk accessories.
The printing process is beginner-friendly since each component is relatively simple. You avoid complex overhangs or support structures that might complicate single-piece designs.
Assembly typically requires basic tools like small screwdrivers. Most designs include clear instructions showing how parts fit together and which hardware you need.
How Multi-Color 3D Printing Works
Multi-color 3D printing transforms single-color objects into vibrant, detailed creations through specialized techniques and materials. The process relies on either multiple extruders, filament switching systems, or post-processing methods to achieve colorful results.
Overview of Multi-Material Printing
Multi-material printing uses several core approaches to create colorful objects. Dual or multi-extruder systems feature separate nozzles for different filaments, allowing simultaneous printing with multiple colors.
Single-nozzle systems work by pausing prints to manually swap filaments or using automated filament changers. These printers can create clean color transitions and detailed multi-color layers.
Print-and-assemble methods involve printing individual components in different colors, then combining them into the final object. This approach offers the most color flexibility but requires additional assembly time.
Some advanced printers mix colors directly in the nozzle, creating gradient effects and color blending. This technique produces smooth transitions between colors and marbling effects that aren’t possible with traditional methods.
Compatible Filament Types
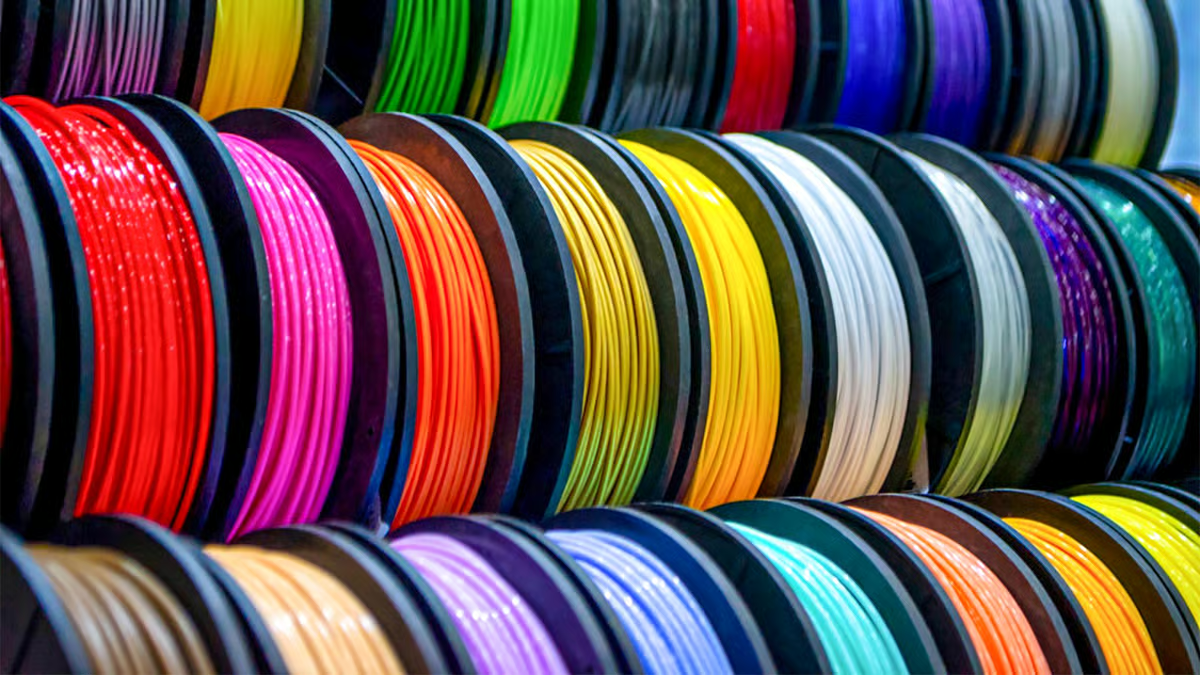
PLA filament works best for multi-color printing due to its low printing temperature and minimal warping. Different PLA colors bond well together and maintain consistent flow rates across color changes.
PETG filaments offer good multi-color compatibility with slightly higher strength than PLA. They provide excellent layer adhesion between different colors and resist chemical degradation during printing.
ABS filaments require heated beds and enclosures for multi-color success. Temperature consistency becomes critical when switching between ABS colors to prevent warping or poor layer bonding.
Specialty filaments like wood-filled, metal-filled, or glow-in-the-dark materials can combine with standard plastics. However, you’ll need to match printing temperatures and flow characteristics for successful multi-material prints.
Water-soluble support materials like PVA or HIPS enable complex multi-color geometries by dissolving away after printing completes.
Popular 3D Printer Technologies
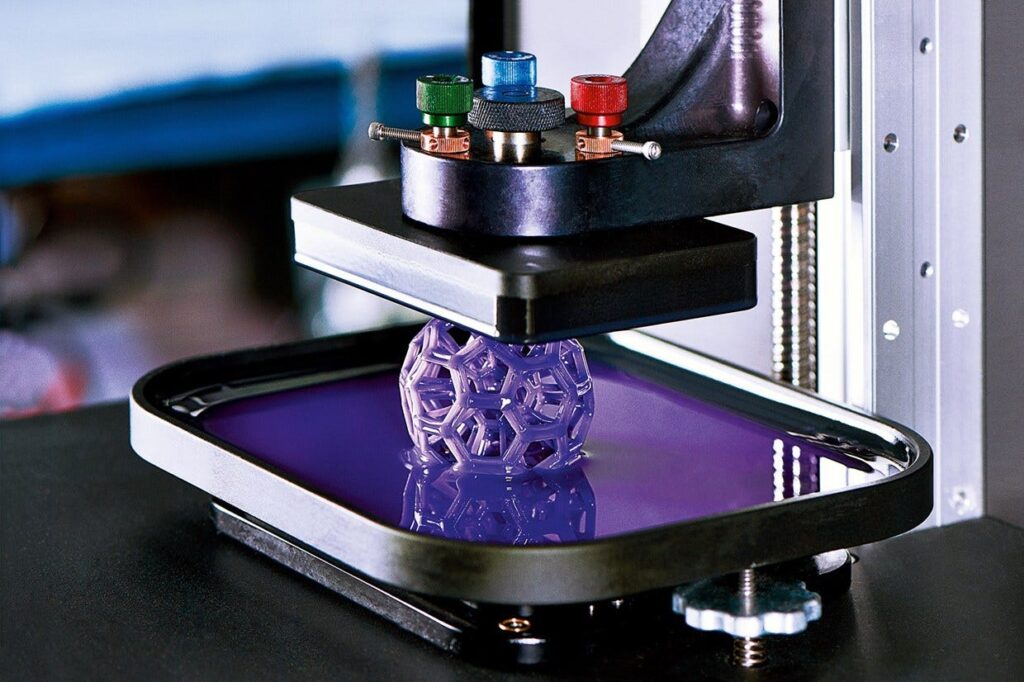
Fused Deposition Modeling (FDM) printers dominate multi-color printing through dual extruders or filament switching systems. Popular models include the Prusa i3 MK3S+ with MMU2S and Bambu Lab X1 Carbon with AMS.
Independent Dual Extruder (IDEX) systems feature two completely separate print heads. This technology eliminates oozing and cross-contamination between colors while enabling mirror and duplication printing modes.
Palette systems work with single-extruder printers by pre-splicing filaments into custom sequences. The Mosaic Palette creates continuous multi-color filament streams that feed into standard 3D printers.
Tool-changing printers like the E3D Tool Changer automatically swap entire hot ends for different materials. This approach provides the cleanest color separation but increases mechanical complexity and cost.
Tips for Designing 8 Multi-Color 3D Models
Successful multi-color 3D printing requires careful attention to model geometry, proper file preparation, and strategic color planning. These three elements work together to ensure your eight designs print cleanly with distinct color boundaries and professional results.
Optimizing Model Geometry
Design separate bodies for each color region rather than relying on surface textures or decals. This approach gives your slicer clear boundaries to work with when assigning different materials.
Keep color transitions at least 2-3 layer heights thick to prevent bleeding between filaments. Thin walls under 0.8mm often cause color mixing issues that blur your intended design.
Avoid overhangs exceeding 45 degrees in color transition zones. These areas are particularly prone to stringing and poor layer adhesion when the printer switches materials.
Create interlocking geometry between color sections when possible. This technique strengthens bonds at material interfaces and reduces the risk of delamination during printing.
Position small details and text elements as raised or recessed features rather than flush surfaces. This method ensures better definition and prevents colors from blending together.
Preparing Files for Slicing
Export each color component as a separate STL file with identical positioning and scale. Your slicer software needs individual files to properly assign materials to different printer extruders.
Use consistent 0.2mm layer heights across all components to maintain alignment between color changes. Mismatched layer settings cause visible seams and poor surface finish.
Import files simultaneously into your slicer to maintain proper spatial relationships. Loading components separately often results in misalignment issues that ruin the final print.
Set identical print speeds for all materials to prevent timing conflicts during color transitions. Speed variations create gaps or overlaps between different colored sections.
Enable prime tower generation in your slicer settings to ensure clean material transitions. This feature prevents contamination from previous colors affecting new sections.
Color Management Best Practices
Select filaments with similar printing temperatures to avoid thermal stress during material changes. Temperature differences exceeding 20°C often cause warping or poor layer adhesion.
Test color combinations on small samples before printing full models. Some material combinations create unexpected visual effects or bonding issues that aren’t apparent until printing begins.
Plan your printing sequence to minimize material waste during transitions. Start with lighter colors and progress to darker ones to reduce purge tower volume requirements.
Choose high-contrast color combinations for text and fine details. Subtle color differences often disappear under typical viewing conditions and lighting.
Consider translucent materials for special effects but account for their impact on underlying colors. These filaments can create unintended color mixing through light transmission between layers.
- 3shares
- Facebook0
- Pinterest3
- Twitter0
- Reddit0

