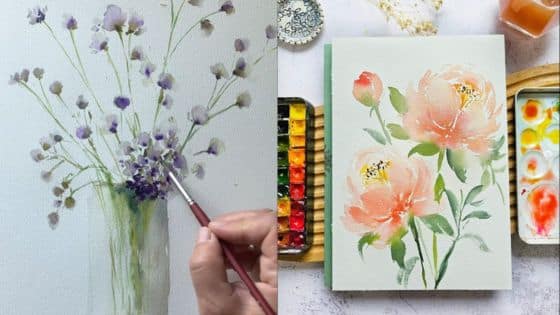
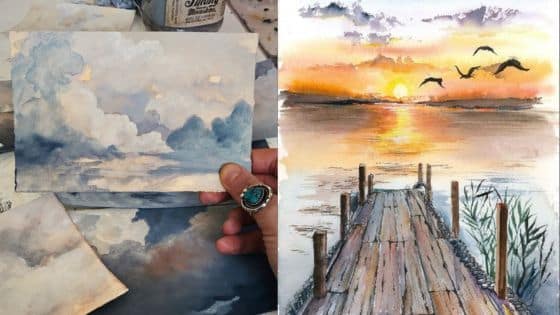
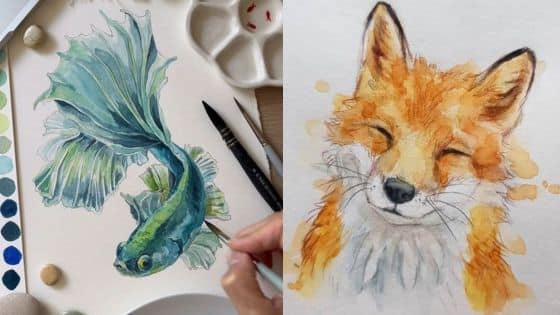
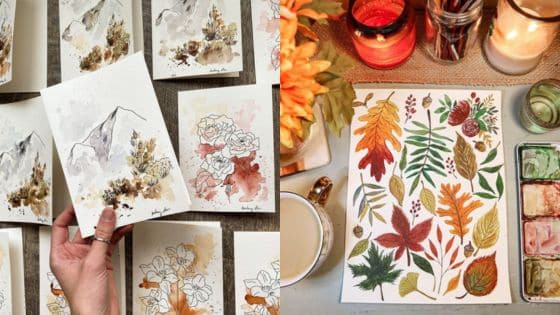
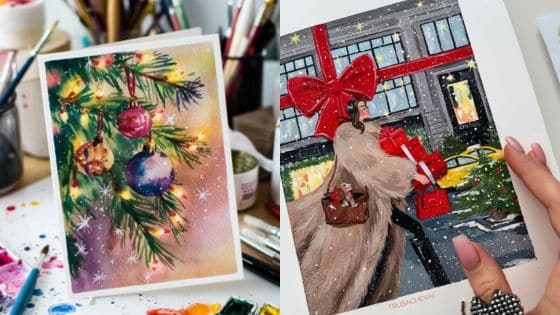
Watercolor painting offers a unique blend of spontaneity and control, making it a rewarding medium for artists of all levels. Mastering essential watercolor techniques like wet-on-wet, flat washes, and color blending will help you achieve a wide range of effects and enhance your artistic expression. These foundational skills form the base for creating both simple and complex pieces with precision and flair.
As you explore watercolor techniques, you’ll discover ways to add texture and special effects using tools like salt, sponges, or masking fluid. Layering and glazing methods allow you to build depth and richness in your work, while careful use of masking can preserve sharp details even in the most fluid compositions. Understanding these approaches will open new possibilities in your watercolour painting process and expand your creative options.
Key Takeways
- Learning key watercolor methods helps develop control and creativity in painting.
- Applying texture and special effects can add interest and variety to your artwork.
- Layering and masking improve depth and precision in your watercolour pieces.
Essential Watercolor Techniques
Mastering basic watercolor techniques is key to controlling your paint and achieving the effects you want. These methods focus on how you apply paint with varying water levels and brush control to create smooth or textured areas in your artwork.
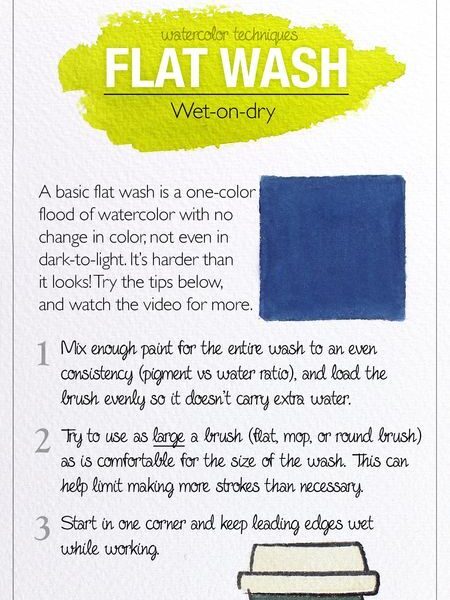
Flat Wash
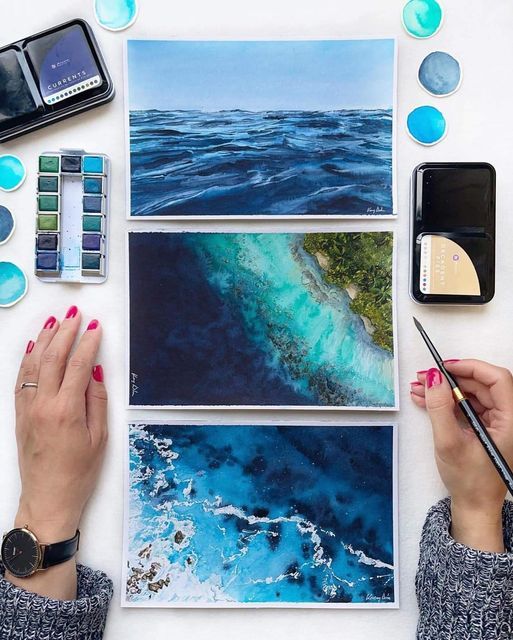
A flat wash produces an even, uniform layer of color across the paper. Start by wetting your brush fully and loading it with diluted paint from your palette. Work quickly in horizontal strokes, moving steadily from one side to the other.
Avoid stopping mid-stroke to prevent streaks or lines. Keep your brush consistently loaded with paint and water. This technique is useful for backgrounds and large color areas where you want smooth, consistent coverage.
Graded Wash
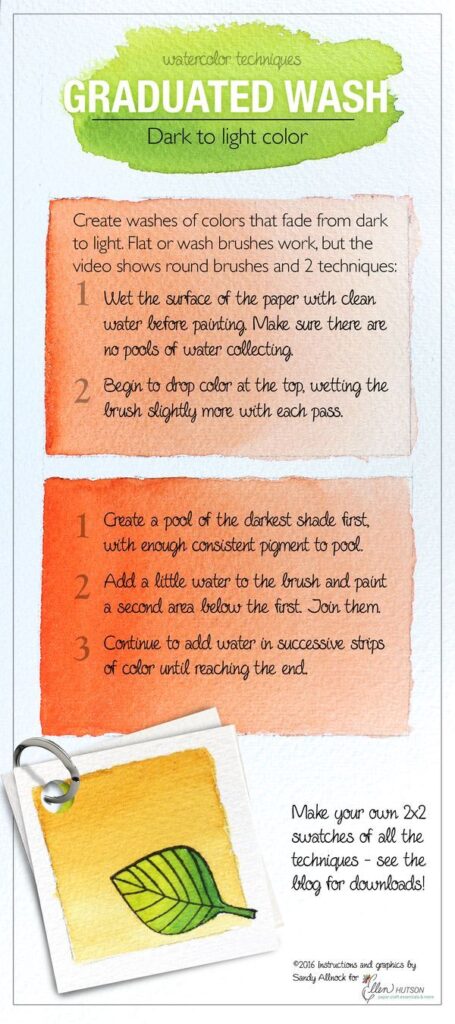
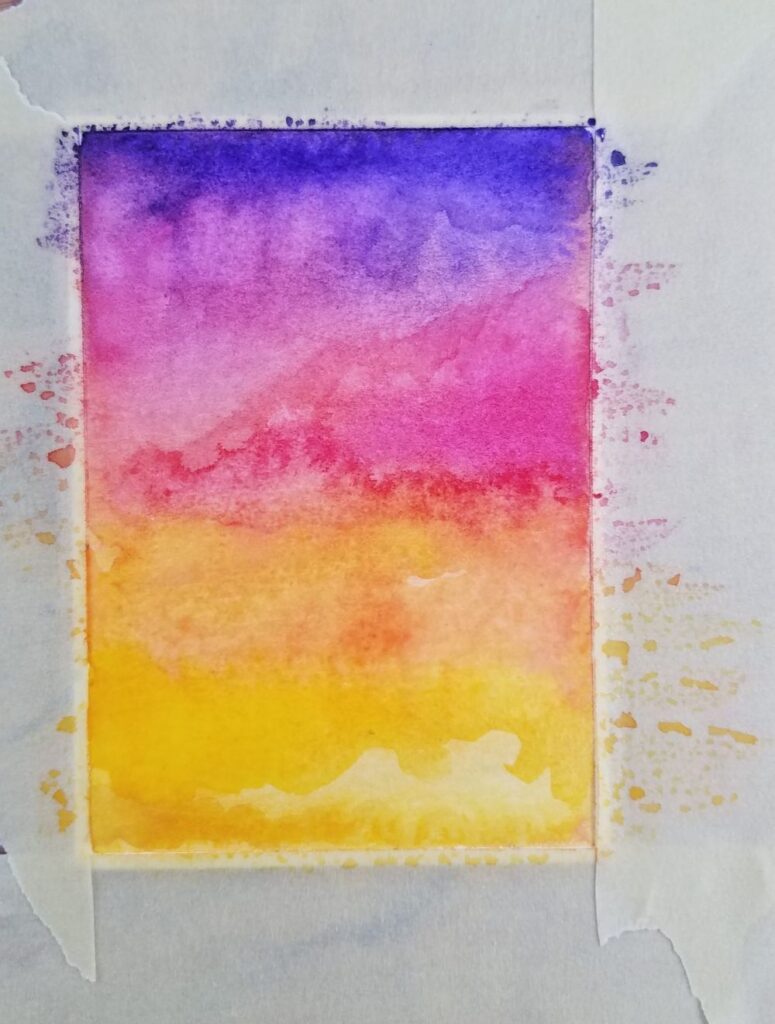
A graded wash transitions gradually from dark to light or from one color to another. Begin by applying a strong color concentration, then progressively add more water to your brush as you move across the paper.
This decreases pigment density, creating a fading effect. Tip: tilt your paper slightly downward to help the paint flow evenly. The graded wash is essential for skies, water, or any scene needing subtle tonal shifts.
Wet-on-Wet
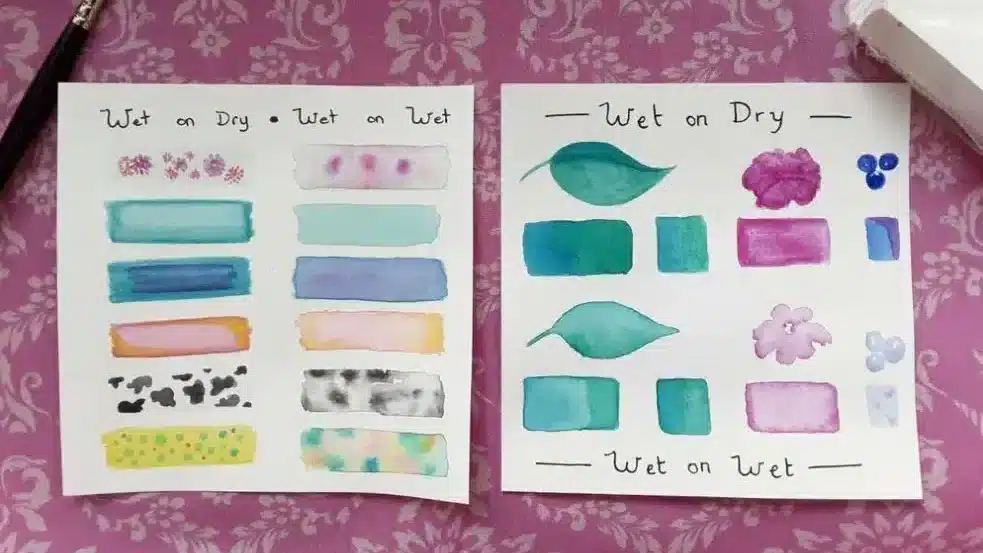
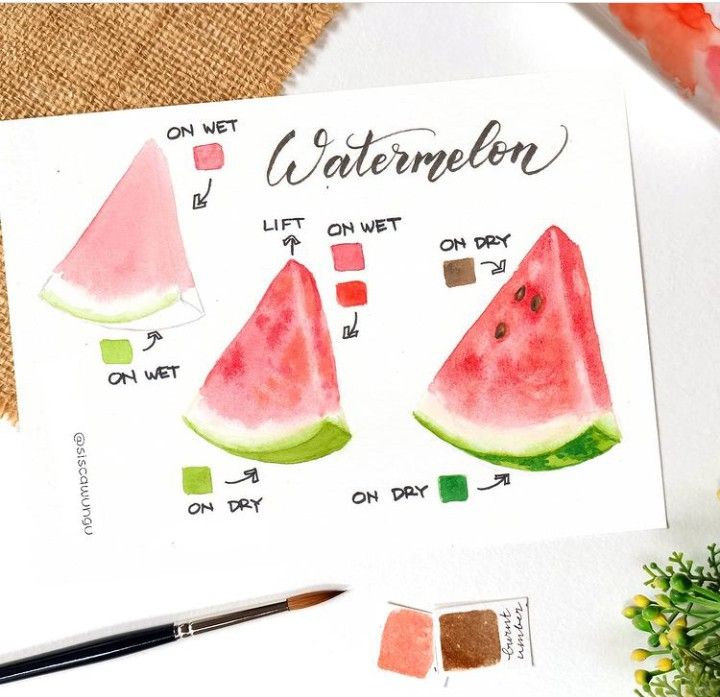
In wet-on-wet, you apply watercolor paint directly onto damp paper. First, moisten your painting area using clean water, then add paint while the paper is still wet.
This technique causes the paint to spread softly, creating diffused edges and organic blending. It’s ideal for creating backgrounds, clouds, or floral paintings where gentle color flow is desired. Control your water amount carefully; too much can create puddles.
Wet-on-Dry Technique
With wet-on-dry, you paint wet pigment onto dry paper. This gives you crisp, defined edges and precise shapes. Load your brush with paint from your palette and apply it onto the dry surface slowly and deliberately.
This method gives you maximum control for layering and detailed work. You can build up intensity in layers without colors bleeding into each other, which is important for texture and sharp lines in your watercolor painting.
Texture and Special Effects
Adding texture and special effects can significantly enhance the look and feel of your watercolor paintings. These techniques allow you to create varied surfaces, subtle light effects, and intricate details that bring depth and interest to your work.
Dry Brush Technique
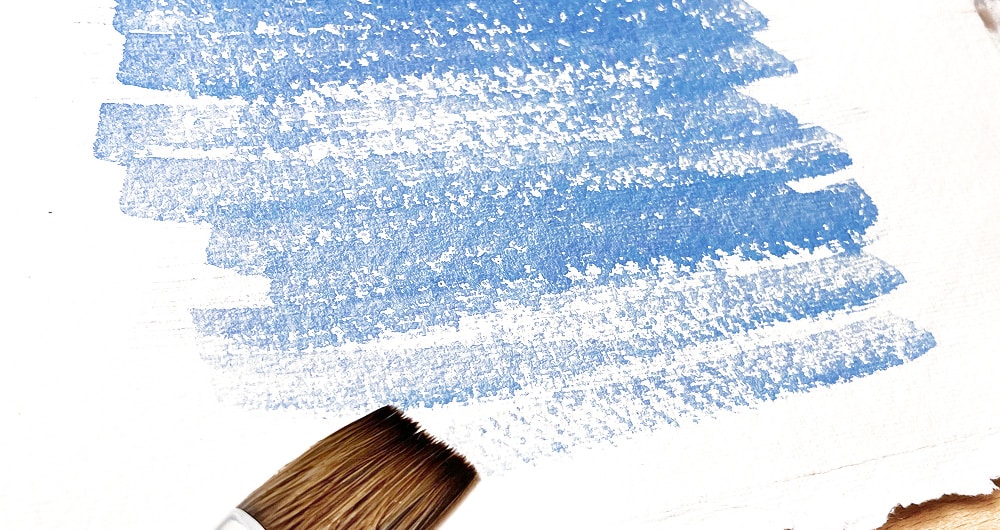
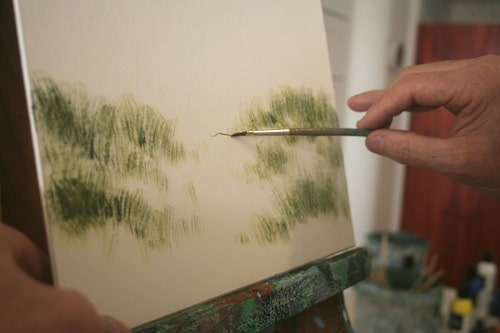
The dry brush technique uses a brush with minimal water to apply pigment onto dry watercolor paper. Because the brush is relatively dry, the paint lays down as broken, scratchy strokes.
This technique is ideal for adding detailed textures like fur, grass, bark, or fabric patterns. It allows you to build up rough, tactile areas without smooth gradients.
To use it, dip a brush lightly in pigment, then blot off excess water and paint. Use quick, directional strokes for best results. Adjust pressure for varied coverage. It works well on rough or cold-pressed watercolor paper that naturally accentuates texture.
Lifting
Lifting involves removing paint from your watercolor paper while it’s still wet, or after drying, to create light areas or correct mistakes.
You can lift color by gently blotting with a clean, damp brush, a paper towel, or a sponge. This technique lightens the pigment and adds highlights or softens edges.
Use lifting to create texture by blotting spots of paint to mimic patterns such as clouds, foliage, or surface reflections. Make sure to work carefully so you don’t damage the watercolour paper.
Textural Effects
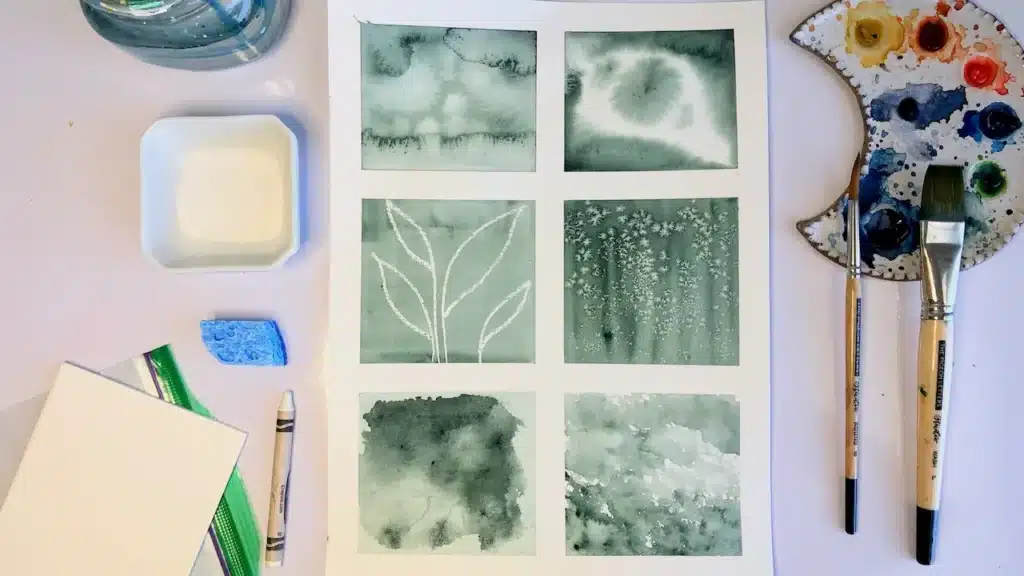
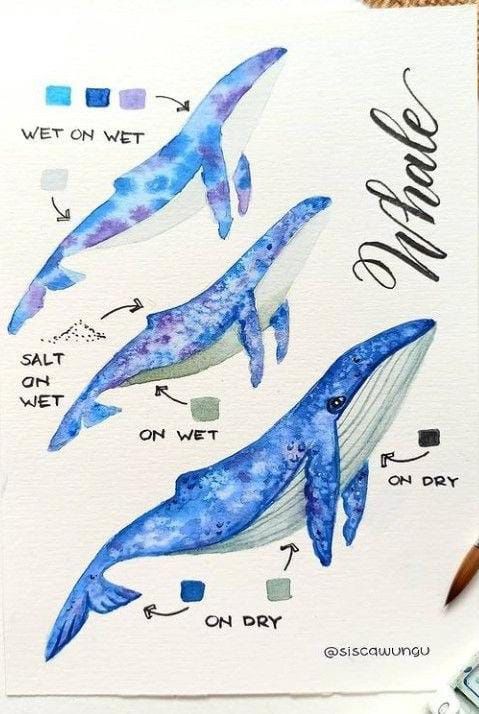
You can create a variety of texture effects using household materials and additives. For example, sprinkling salt onto wet paint causes pigment to disperse and creates granular textures.
Other texture tools include wax resist, where wax repels paint creating white patterns, or using gauze and crumpled paper to imprint irregular shapes onto the surface.
Alcohol drops can also push pigment aside on wet paint for interesting mottled effects. Experiment with different watercolour paper surfaces, as rough or cold-pressed paper will interact differently with these effects than smooth paper.
Layering and Glazing Methods
Both layering and glazing involve applying multiple transparent washes to build color and depth in watercolor painting. These techniques require control over drying times and paint consistency to avoid muddiness and maintain clarity. The use of quality paper and a well-prepared palette is essential for success.
Glazing
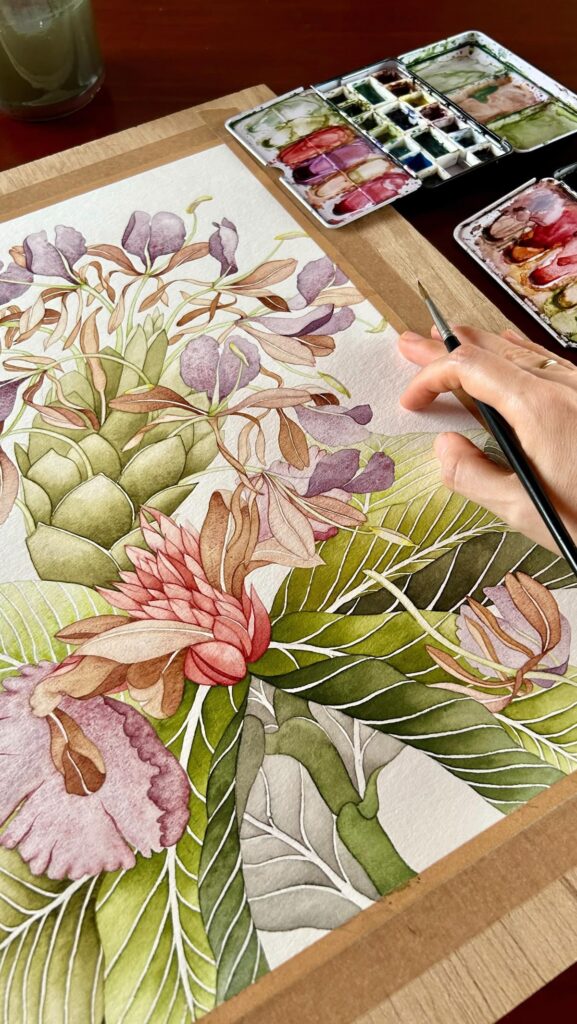
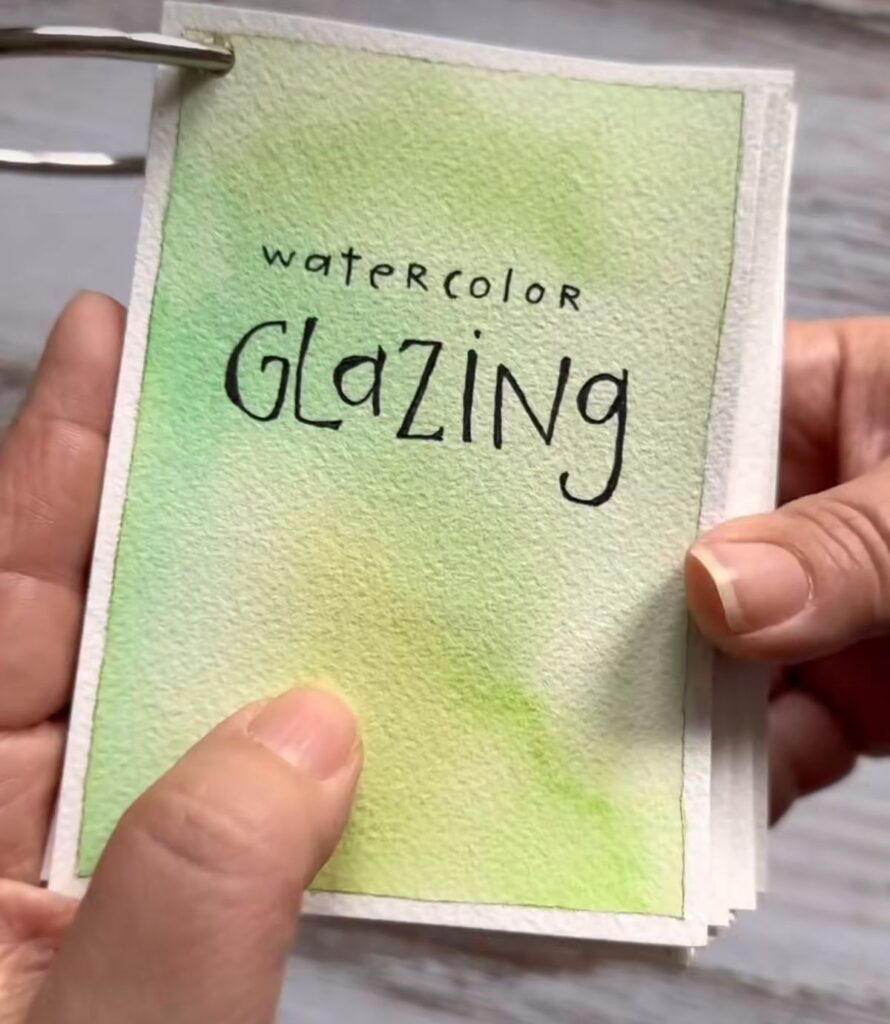
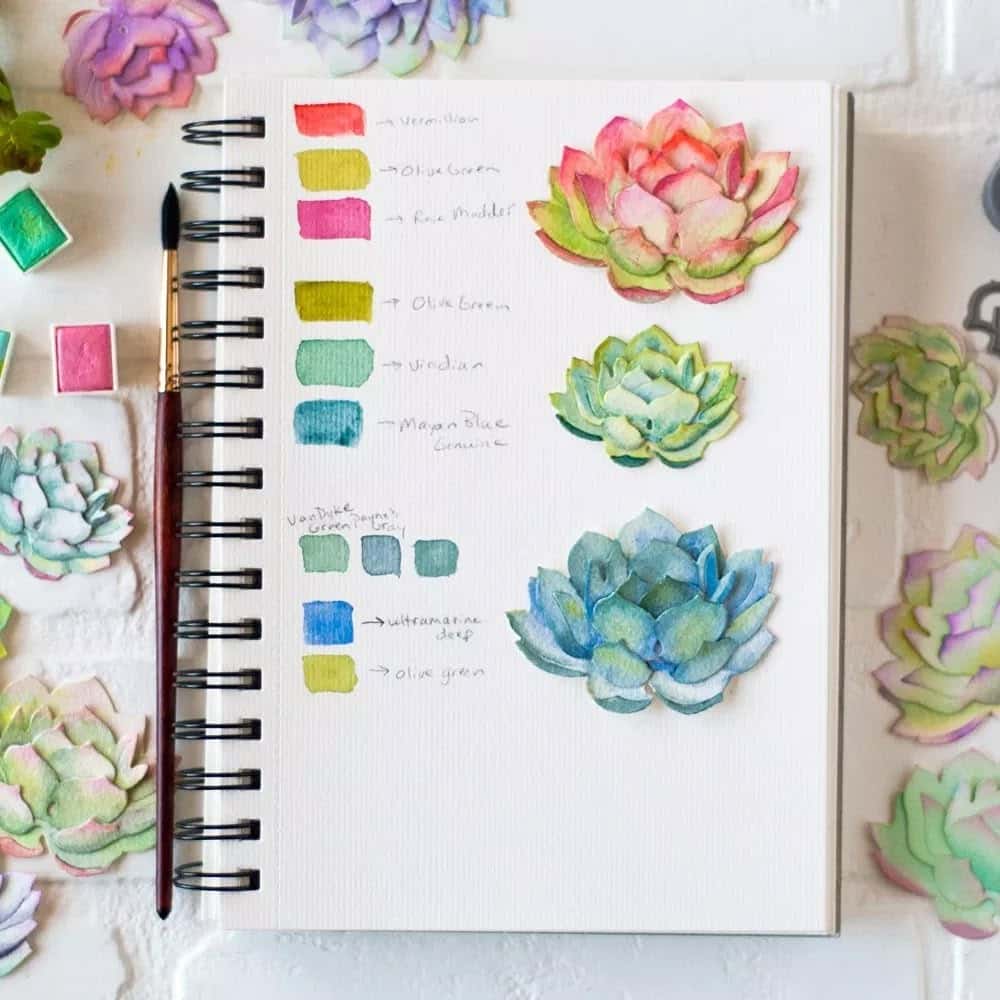
Glazing means applying thin, transparent layers of color over dry washes. Each layer must dry completely before adding the next. This approach allows you to adjust color intensity and tone incrementally without disturbing the layers below.
You use glazing to create luminosity and subtle color shifts. Because watercolors are transparent, light passes through the layers and reflects off the paper, enhancing vibrancy. Controlling the amount of water in your brush is key to maintaining the transparency needed for effective glazing.
Layering
Layering is similar to glazing but can involve both wet and dry layers. You apply a wash, let it dry, then add another wash over the top. This builds up the painting gradually, making complex color effects easier to manage.
You can focus on particular areas without altering others by working in layers. This method helps you refine the values and increase the depth of your painting step-by-step. Layering works best with transparent pigments and smooth, sturdy watercolor paper to avoid damage.
Building Depth with Color
Depth in your watercolor results from carefully combining glazing and layering techniques. By varying the saturation, temperature, and hue in each layer, you can simulate spatial distance and three-dimensionality.
Use cooler, lighter washes for distant areas and warmer, darker tones for closer objects. Multiple transparent layers allow for subtle gradations in color that create realism. Organizing your palette with complementary colors also helps you achieve harmony and richness throughout the painting.
Masking Techniques for Precision
Masking allows you to protect specific areas of your watercolor paper while applying washes around them. This control helps retain highlights and create sharp edges, improving the detail and structure of your painting.
Using Masking Fluid
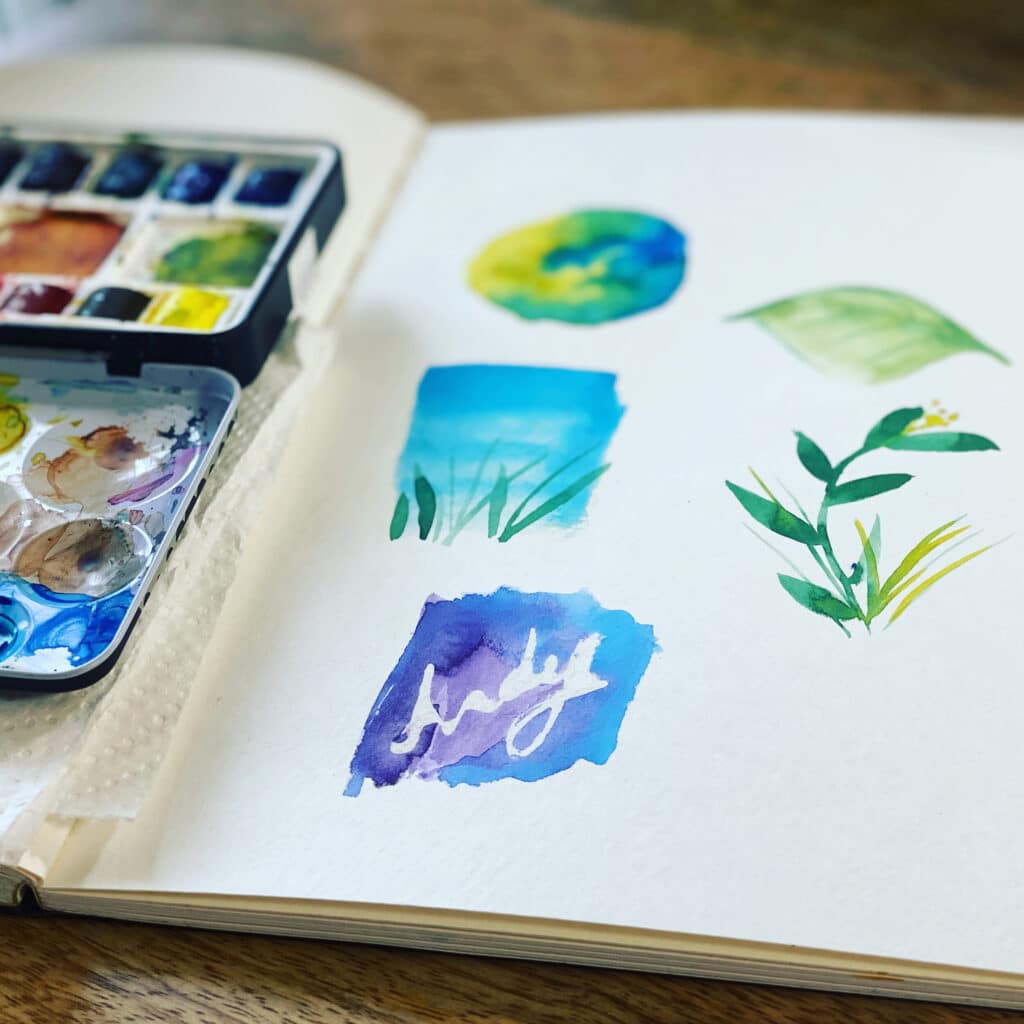
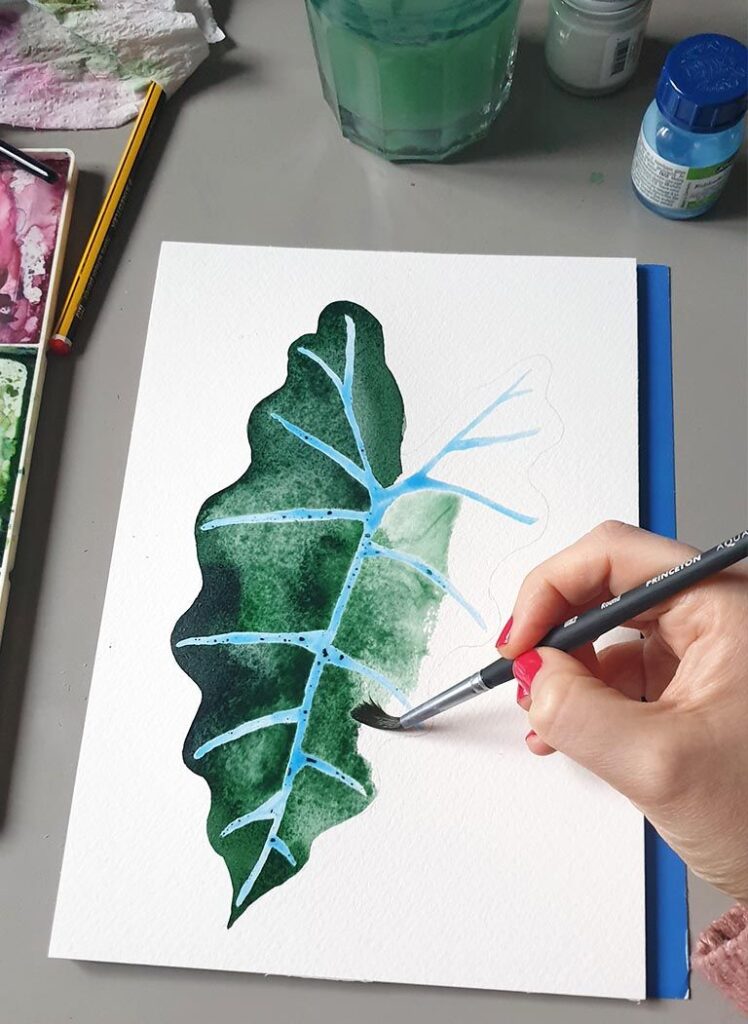
Masking fluid is a liquid latex applied to watercolor paper to block paint from reaching certain areas. You apply it with a brush or a ruling pen for fine lines, then let it dry completely before painting over.
When dry, the fluid creates a barrier that preserves the white or underlying color of the paper. After your washes are dry, you peel or rub off the masking fluid to reveal crisp, unpainted areas. Be careful removing it; avoid damaging the paper by peeling gently.
Use masking fluid to reserve intricate highlights or shapes, especially when negative painting—painting around the subject—is involved. It’s suitable for creating clean edges on delicate details like leaves or reflections. Avoid using masking fluid on sensitive, low-quality paper as it may tear when removed.
Masking Tape Applications
Masking tape is a straightforward tool for protecting larger, straight-edged sections of your watercolor paper. It helps you maintain clean edges when working with geometric shapes, borders, or architectural elements.
Apply the tape firmly along the area you want to protect. After painting and drying, remove the tape slowly at a 45-degree angle to avoid peeling paper fibers. Use low-tack tape designed for watercolor paper to reduce the risk of damage.
Masking tape works best on thicker, high-quality watercolor paper, which withstands the adhesive better. It is less suited for intricate detail but effective for broader masking needs where sharp, linear edges are essential.
Creative Watercolor Applications
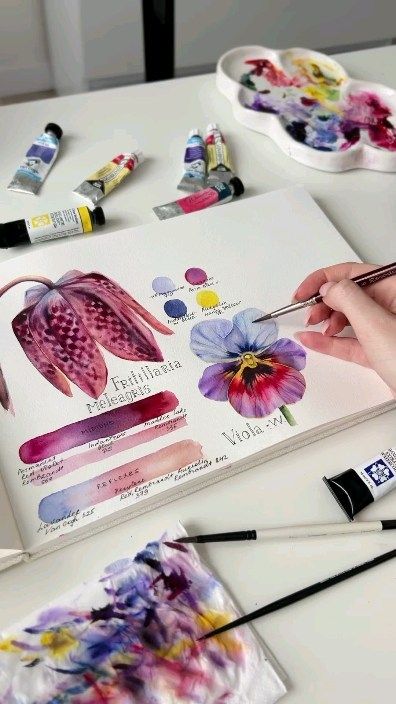
You can expand your watercolor skills by trying straightforward projects, adding texture for visual interest, and experimenting with color blends. These approaches help you use watercolour paints in new ways and improve control over your palette and brush.
Easy Watercolor Painting Ideas
Start with simple subjects like fruits, flowers, or everyday objects to build confidence. These items allow you to practice basic techniques such as washes and gradients without overwhelming detail.
Use a limited palette of 3-4 colors to keep your mixes manageable. Try layering transparent washes to create depth while maintaining the luminosity unique to watercolours.
Begin with wet-on-wet for soft backgrounds, then add sharper edges using dry brush techniques. This method balances softness with detail, making your paintings more dynamic while remaining accessible for any skill level.
Incorporating Texture
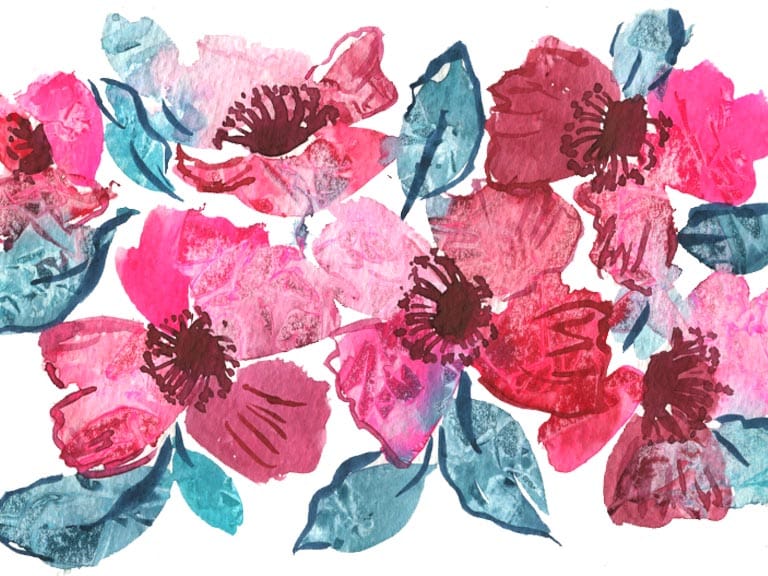
Texture adds dimension and interest to your work. You can achieve texture by varying brush pressure or using tools like sponges, salt, or crumpled paper.
Salt sprinkled on wet paint creates grainy patterns as it absorbs pigment. Sponges applied gently break up smooth areas with random texture. Crumpled paper can lift paint when pressed on damp areas, giving a mottled look.
Experiment with layering texture in controlled areas to avoid overwhelming the piece. Balance textured sections with smooth washes for contrast.
Exploring Color Mixtures
Understanding your palette is key to successful color mixing. Start by familiarizing yourself with primary colors and how to blend them to create secondary and tertiary shades.
Mix colors on your palette rather than directly on paper to control hue and saturation. Small amounts of complementary colors can mute or tone down overly bright sections.
Experiment with glazing by layering thin, transparent washes of different colors. This technique builds complex colors and subtle shifts that are characteristic of skilled watercolor painting.
- 26shares
- Facebook0
- Pinterest23
- Twitter3
- Reddit0

