Drawing outdoors opens up new inspiration and energy for your art by connecting you directly with your surroundings. Outdoor drawing allows you to observe real-life scenes, capture natural light, and practice sketching subjects ranging from landscapes to urban settings in real time. Whether you’re a beginner looking for simple sketches in the park or an experienced artist seeking challenging vistas, outdoor drawing provides endless opportunities to grow your skills.
Equipped with just a sketchbook and a few essential tools, you can turn any location into your personal studio. Quick studies, detailed landscapes, and urban scenes all come to life with techniques adapted for open-air creativity. If you’re eager to freshen your art practice and discover new perspectives, stepping outside with your sketchbook is the perfect place to start.
Key Takeaways
- Outdoor drawing boosts observation and creativity.
- Simple supplies make it easy to sketch anywhere.
- Practicing outside helps you develop new artistic techniques.
Understanding Outdoor Drawing
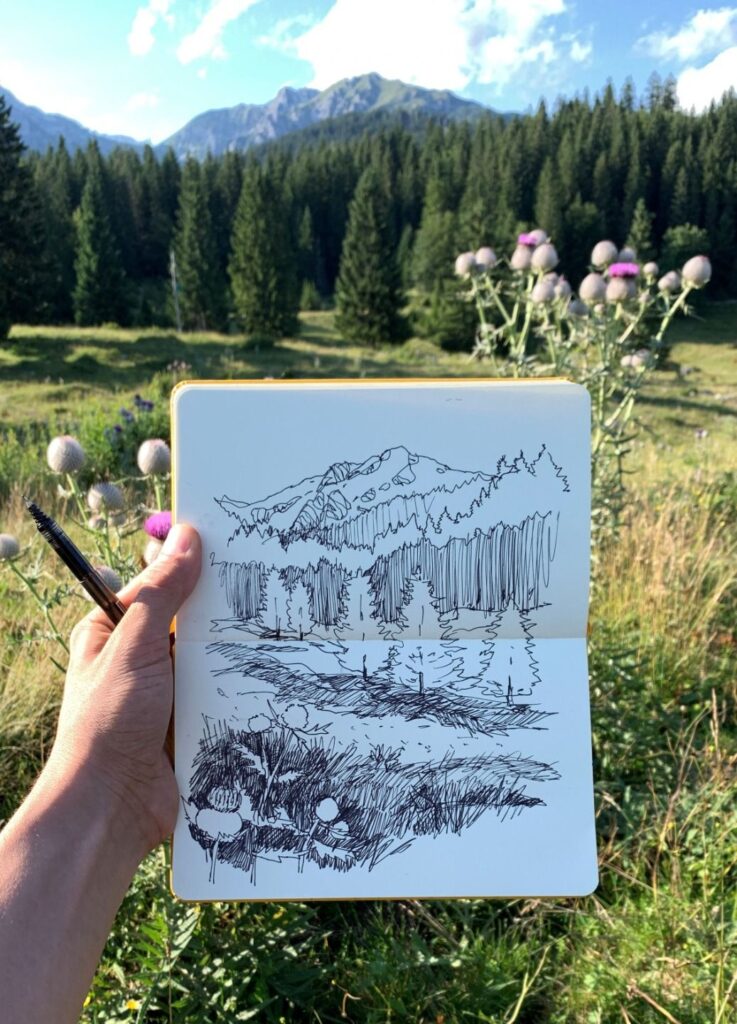
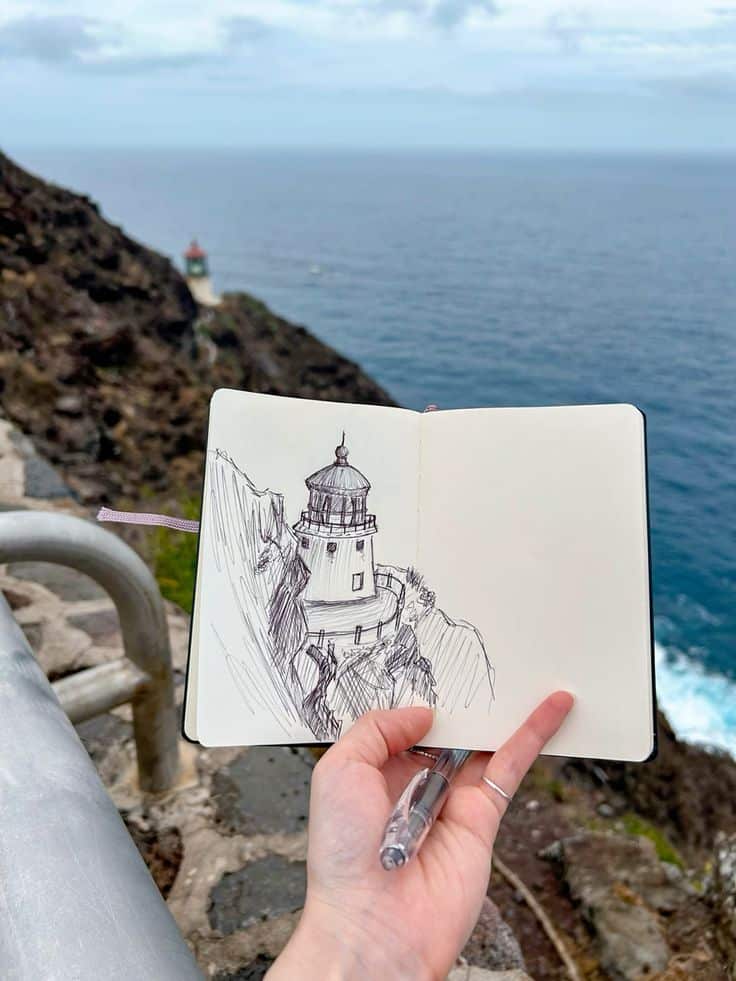
Outdoor drawing, often called plein air drawing, is the practice of creating art in an open environment. This activity involves careful observation of real-world subjects and environments while developing technical and creative skills. Engaging with this practice can deepen your perception of space, light, and composition.
What Is Outdoor Drawing?
Outdoor drawing refers to the act of making sketches, drawings, or sometimes paintings in an outdoor setting rather than a traditional indoor studio. You might use a sketchbook, pencils, pens, or portable paints as your tools.
Unlike drawing from photographs or imagination, this approach encourages direct observation of natural or urban landscapes, plants, architecture, and even people or animals in their environments. Drawing outdoors challenges you to interpret shifting light, weather, and movement, requiring quick adaptation and keen focus.
Common subjects for outdoor drawing include:
- Landscapes and gardens
- City streets and buildings
- Rivers, mountains, forests
- Wildlife and people
This practice can also help you build observation skills and increase your visual memory over time.
Brief History and Evolution
The tradition of drawing outside dates back centuries, but it became especially prominent with the rise of the Impressionists in 19th-century Europe. These artists, such as Claude Monet and Pierre-Auguste Renoir, sought to capture the fleeting effects of light and atmosphere, leading them out of their studios and into fields, gardens, and cityscapes.
Impressionists prioritized immediacy, spontaneity, and studying natural light, setting a standard for modern outdoor drawing. Over time, artists around the world adopted plein air techniques, using drawing as both a finished art and a preparatory step for larger works.
Today, outdoor drawing is practiced globally by artists of all skill levels. It’s more accessible due to portable materials and open public spaces, allowing anyone interested to participate, experiment, and learn.
Benefits of Drawing Outside
Drawing outdoors can sharpen your observational skills as you’re exposed to a wide range of subjects and lighting conditions. You develop a better understanding of perspective, proportion, and composition by working from real life. This environment encourages you to notice subtle color shifts, light, and atmospheric changes.
Drawing outside also offers practical benefits. It often leads to faster decision-making because changing conditions don’t allow for prolonged hesitation. This can improve your confidence in handling lines, shapes, and shading.
Many people find that outdoor drawing reduces stress and increases mindfulness by connecting you with your surroundings. It also fosters creativity through direct engagement with the world, helping you find inspiration in ordinary scenes, seasonal changes, and natural patterns.
Essential Art Supplies for Outdoor Drawing
When drawing outdoors, your experience and results depend heavily on the right materials. Selecting durable, portable, and versatile supplies is essential for adapting to changing weather and light conditions.
Choosing the Right Sketchbook
A sketchbook suited for outdoor work should be both sturdy and lightweight. Look for options that feature weather-resistant covers and paper, as sudden rain or wind is common outside.
Spiral-bound sketchbooks are often the most convenient, allowing you to fold the cover back or tear away sheets easily. Consider the paper thickness; at least 90gsm for dry media and 200gsm if you plan to use watercolors or ink.
Popular sizes for portability include A5 or A6, which fit easily in most bags. Some sketchbooks come with waterproof pages, which can be especially helpful when working near water or in humid climates.
A simple elastic band keeps your sketchbook closed during transport, keeping loose pages safe and clean.
Drawing Tools: Pencils, Charcoal, and More
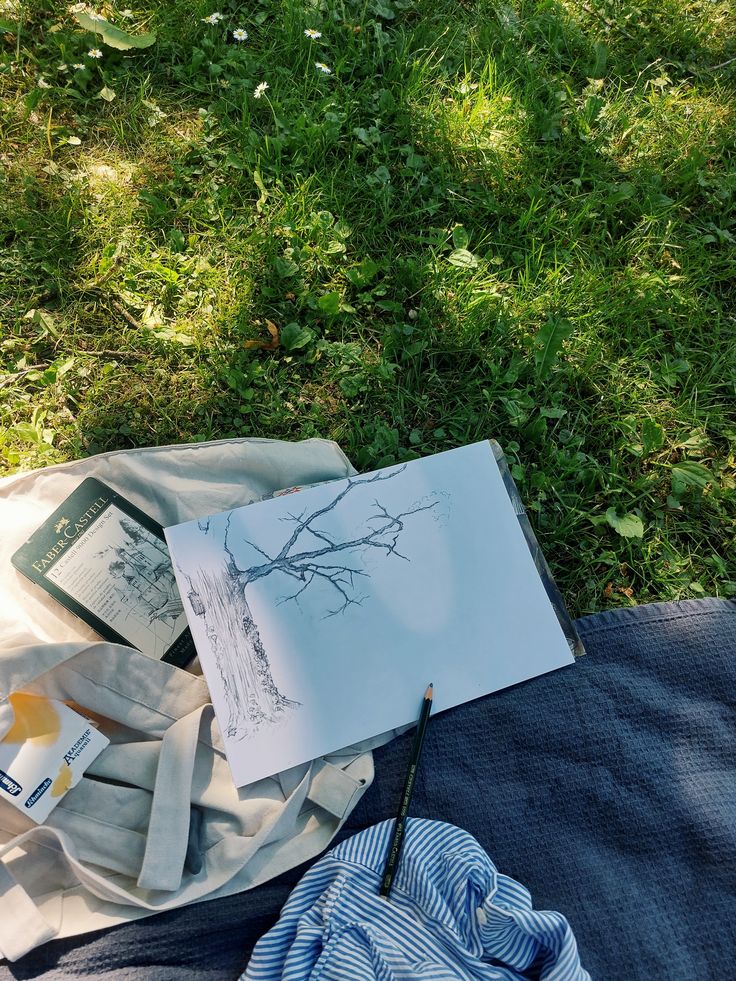
A reliable set of drawing tools forms the backbone of your outdoor kit. Graphite pencils in a range of hard (H) to soft (B) grades allow you to capture detailed lines and rich shading.
Charcoal sticks or Conte crayons are excellent for expressive sketches. They provide strong contrast and are quick to apply—but bring a small fixative spray to prevent smudging.
A kneaded eraser is essential for softening lines and lifting highlights without damaging the paper. Mechanical pencils are useful for fine details and don’t need sharpening, reducing mess in the field.
Other handy tools include a pencil extender, small sharpener with a shavings catcher, and a brush for sweeping away eraser crumbs.
Colored Pencils, Watercolors, and Alternative Media
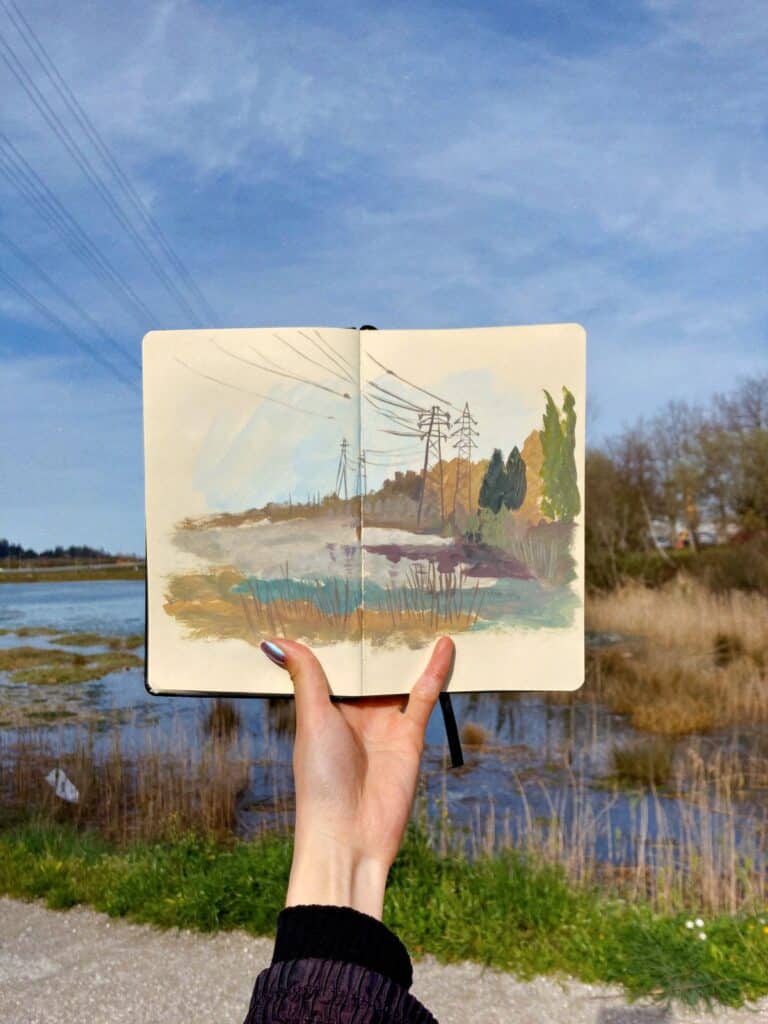
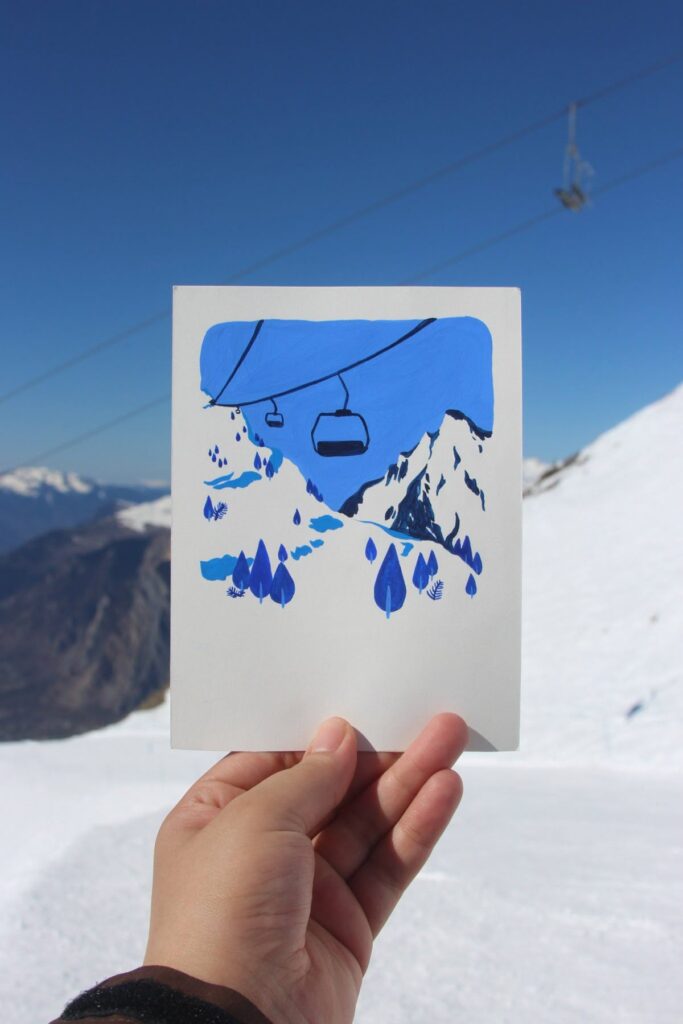
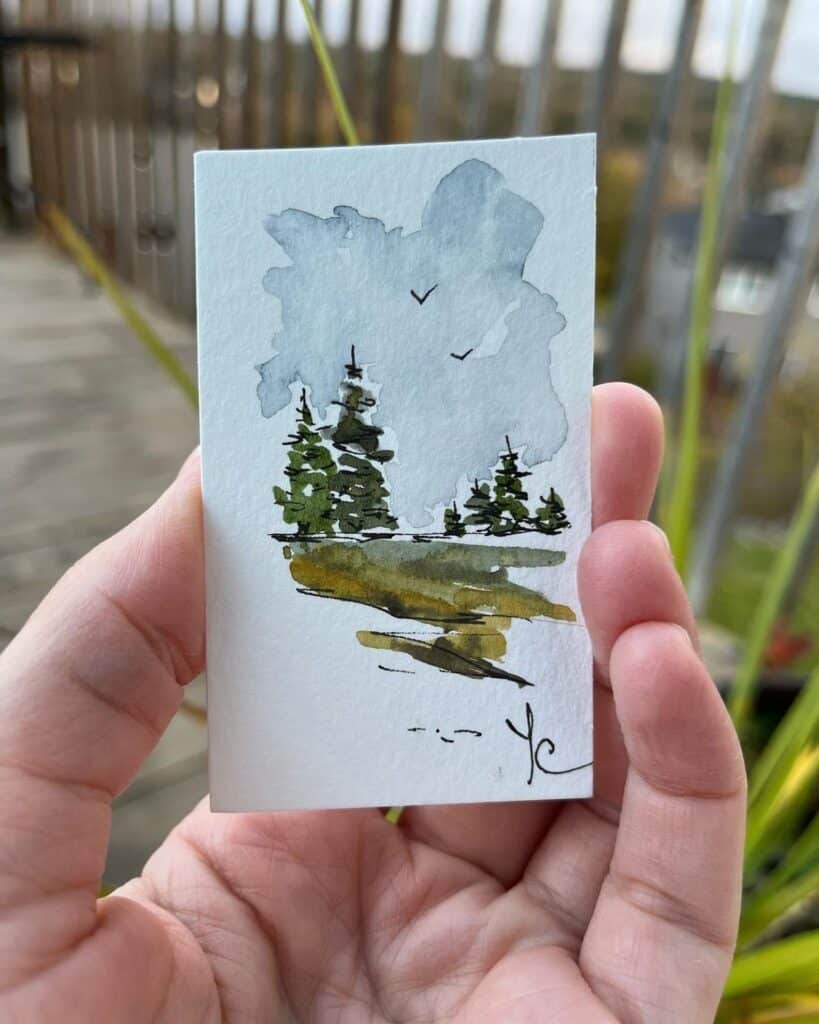
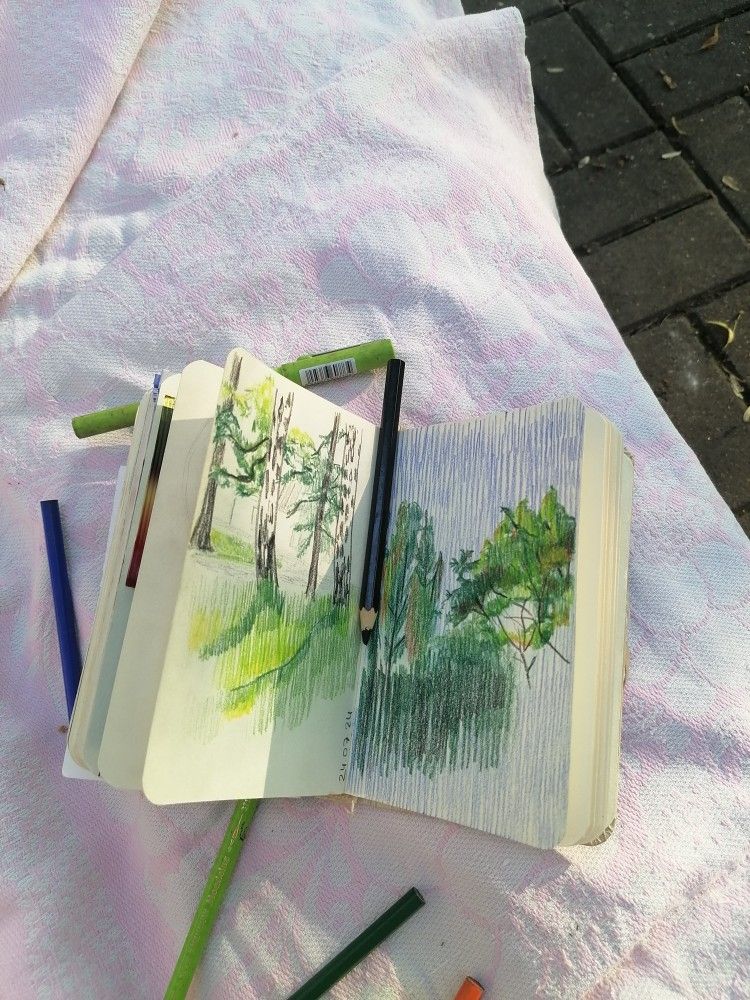
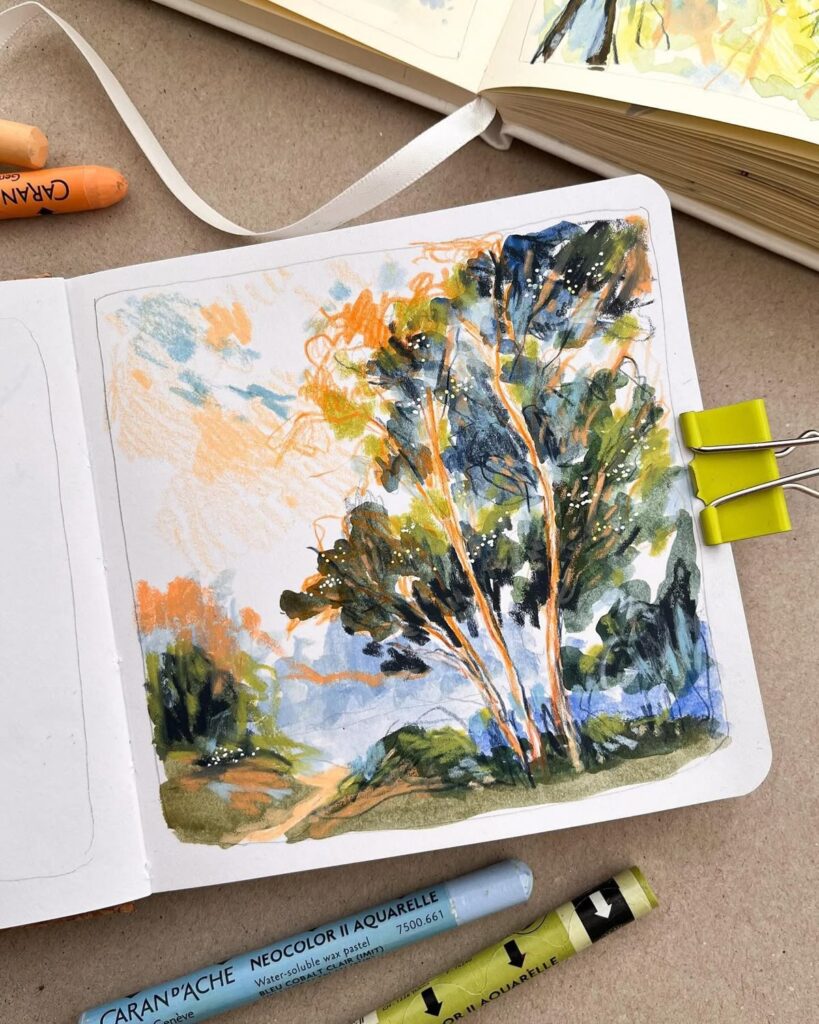
Adding color outdoors requires compact, easily transportable materials. Colored pencils are practical—choose wax- or oil-based varieties for smoother blending and minimal dust.
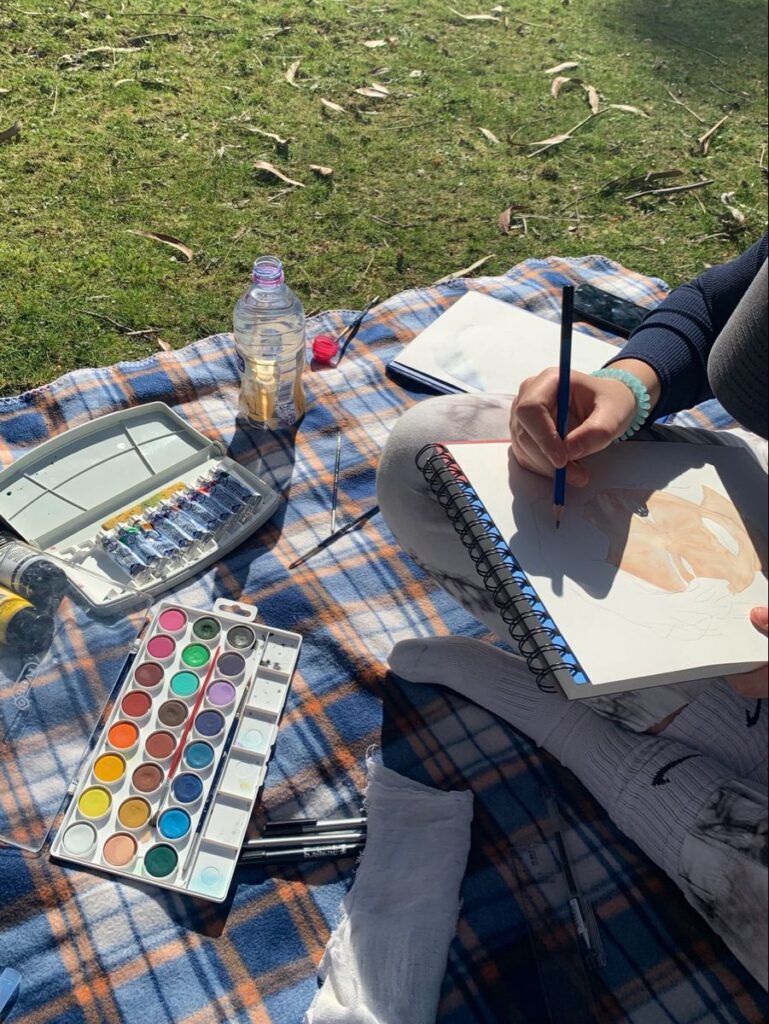
Portable watercolor sets with built-in mixing palettes are favored for their quick-drying qualities. Use a water brush pen so you don’t need to carry extra water containers.
Alternative media like crayons or watercolor pencils offer versatility, letting you sketch and add washes with a single tool. Select colors that mix well and work for most subjects, such as earth tones, blues, and greens.
Store your colored media in a compact case or wrap to keep them safe from breaking or melting in the sun.
Carrying and Maintaining Your Materials
A lightweight bag or backpack with dedicated pockets keeps your gear organized and easily accessible. Separate compartments prevent delicate items like sketchbooks and papers from bending.
A small, portable easel or clipboard gives you a steady surface in the field. For longer sessions, a folding stool is convenient for comfort.
Bring a zippered pouch or hard case for drawing tools, and pack soft cloths or wet wipes for cleaning up. If you’re using wet media, include a few paper towels and a small plastic bag for trash.
Protect your materials from direct sun, rain, and dirt. Simple strategies, like using an umbrella or sheet of plastic, can extend the life of your art supplies.
Techniques and Skills for Outdoor Sketching
When practicing outdoor sketching, you will build foundational drawing skills by learning to observe, record movement quickly, capture natural light, and create strong compositions. Focusing on these techniques will help you develop more accurate and expressive sketches of outdoor scenes.
Developing Observational Drawing Abilities
Outdoor sketching relies heavily on your ability to observe and interpret real-world subjects. Pay attention to proportion, perspective, and scale when sketching landscapes, architecture, or people in their environment. Use your pencil to measure relationships between key elements before committing to details.
Training your eye through regular practice allows you to notice subtle variations in line, texture, and form. Try to look at your subject more than your paper. This helps improve accuracy and prevents your drawing from becoming overly stylized or invented.
You may find it helpful to break complex forms into basic shapes. For example:
| Subject | Shapes to Use |
|---|---|
| Trees | Ovals and cylinders |
| Buildings | Rectangles and cubes |
| Rocks | Irregular polygons |
Return to your initial marks frequently to refine your observations and adjust your lines accordingly.
Gesture Drawing and Capturing Movement
Outdoor settings often include subjects that move, such as people, animals, or rustling foliage. Gesture drawing is a useful way to quickly record the action and flow of these subjects.
Start with loose, rapid lines to capture the general posture or movement rather than immediate detail. Limit each gesture drawing to 30–90 seconds; this trains you to focus on essence and flow instead of precision.
Use a range of line weight and direction. For moving figures, emphasize the spine or line of action first, and add limbs with sweeping motions. Sketching multiple overlapping gestures on the same page can also help you understand how motion progresses over time.
Practicing gesture drawing regularly will improve your speed and confidence, making your outdoor sketches livelier and more spontaneous.
Light, Shadow, and Natural Light Techniques
Natural light changes rapidly outdoors, which affects both the appearance and mood of your sketch. Observe how sunlight creates highlights, cast shadows, and subtle gradients across surfaces.
Start by blocking in the largest shadow shapes lightly with your pencil or pen. Squint to simplify values and spot the primary light source. Use hatching, cross-hatching, or shading with a soft pencil to suggest volume and form.
Pay special attention to the difference between hard-edged shadows on a clear day and the soft, diffused lighting on cloudy days. Use an eraser to pull out highlights or to refine the edges of shadows where needed.
A simple value scale can help organize the lights and darks in your outdoor scene:
| Value | Description |
|---|---|
| 1 | Brightest |
| 2–3 | Midtones |
| 4 | Deep shadow |
Adjust your approach as the light shifts throughout your session.
Mastering Composition in Outdoor Scenes
Strong composition is essential in outdoor sketching to guide the viewer’s eye and bring order to complex scenes. Consider using compositional tools such as the rule of thirds, leading lines, or grouping elements by value or shape.
Before drawing, use a viewfinder or frame with your fingers to isolate the most interesting section of your view. Sketch small thumbnail compositions to experiment with different layouts and focal points.
Balance empty and filled spaces by simplifying background elements and emphasizing your subject. Place major shapes off-center for a dynamic effect, and use foreground elements like tree branches or rocks to create depth.
When drawing from life, it can help to lightly indicate the horizon, vanishing points, or major diagonals first. This creates structure and keeps your work from feeling flat or cluttered. Continue adjusting your arrangement as you sketch to respond to the changing environment and your subject’s shifting position.
Popular Styles and Approaches
Outdoor drawing offers a range of techniques and traditions that suit various preferences, locations, and goals. Choosing the right style or method can influence how you capture scenes, record memories, and develop your drawing skills.
Urban Sketching
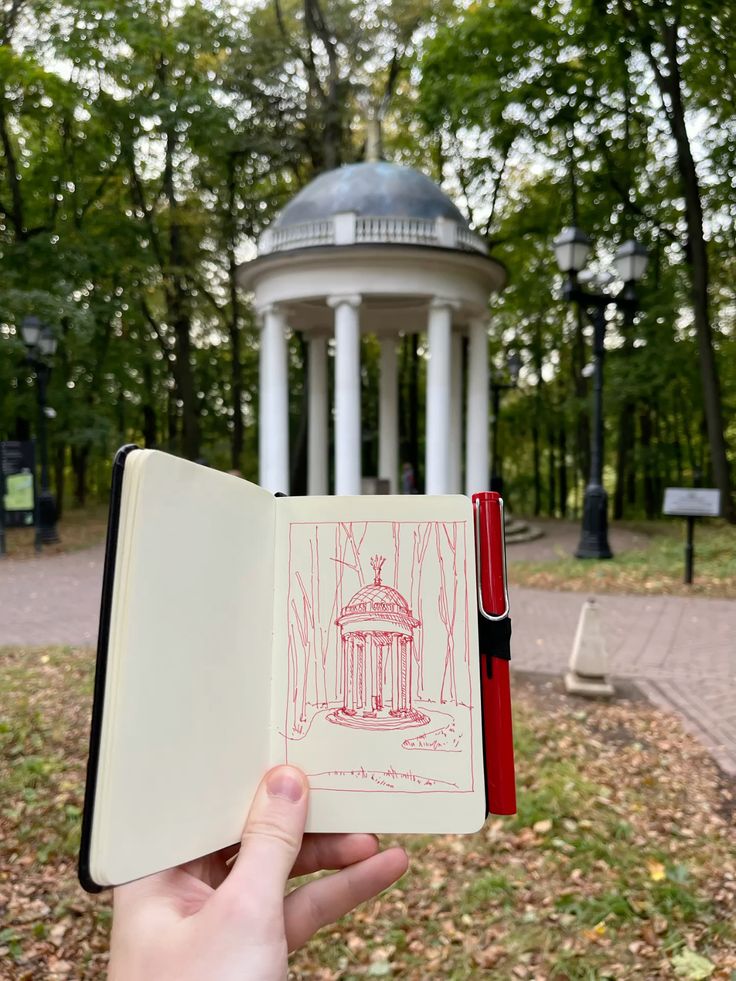
Urban sketching highlights the energy and structure of cities, towns, and built environments. You focus on capturing streets, skylines, people, and daily city life directly from observation. The goal is not photorealism, but to convey the atmosphere and unique character of a location.
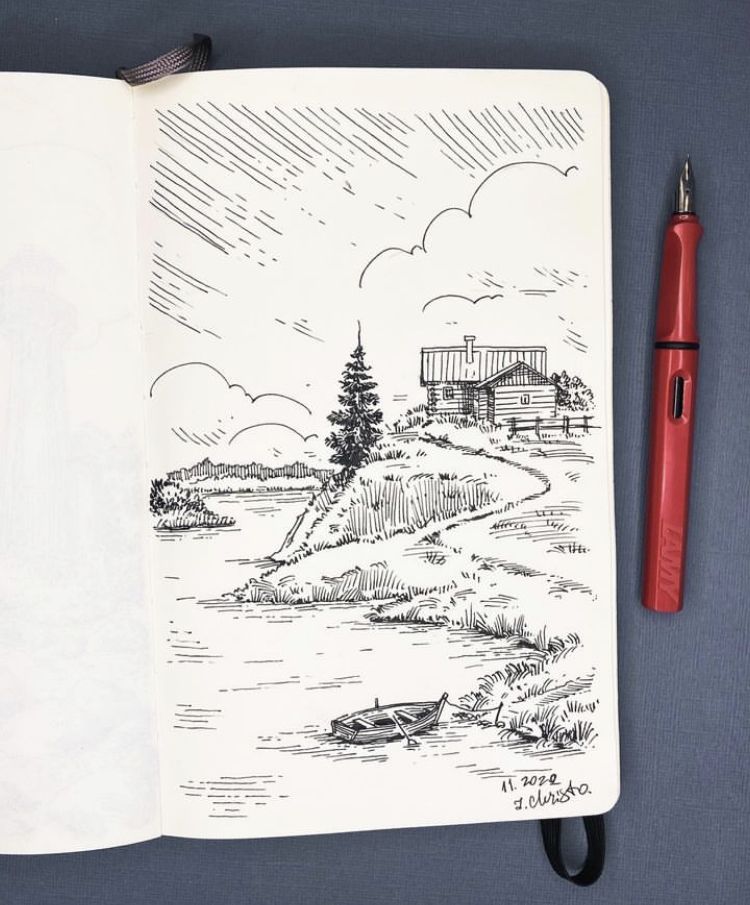
Urban sketchers often use compact tools like fineliners, watercolors, and sketchbooks for portability. Rapid line work and selective color are common, allowing you to work quickly and efficiently in bustling environments. Many practitioners share their art through dedicated communities, both online and at group meetups.
Key aspects:
- On-location drawing in urban spaces
- Emphasis on storytelling through visuals
- Quick techniques and economy of lines
- Community-oriented practice
Plein Air Drawing
Plein air drawing, translated as “open air,” centers on working outdoors to depict landscapes, seascapes, and rural views. The main goal is to respond directly to natural light, weather, and environment, leading to authentic and fresh results.
You work with the setting as it changes, so adaptability is important. Graphite, ink, colored pencils, and watercolors make frequent appearances due to their portability and immediacy. Plein air is about observing light, shadow, and atmosphere, often resulting in paintings and drawings that celebrate color and changing conditions in real time.
Key characteristics:
- Outdoor drawing of natural scenes
- Strong focus on lighting and atmosphere
- Adaptation to variables like weather and moving clouds
- Sketching as both study and finished work
Nature-Inspired Art
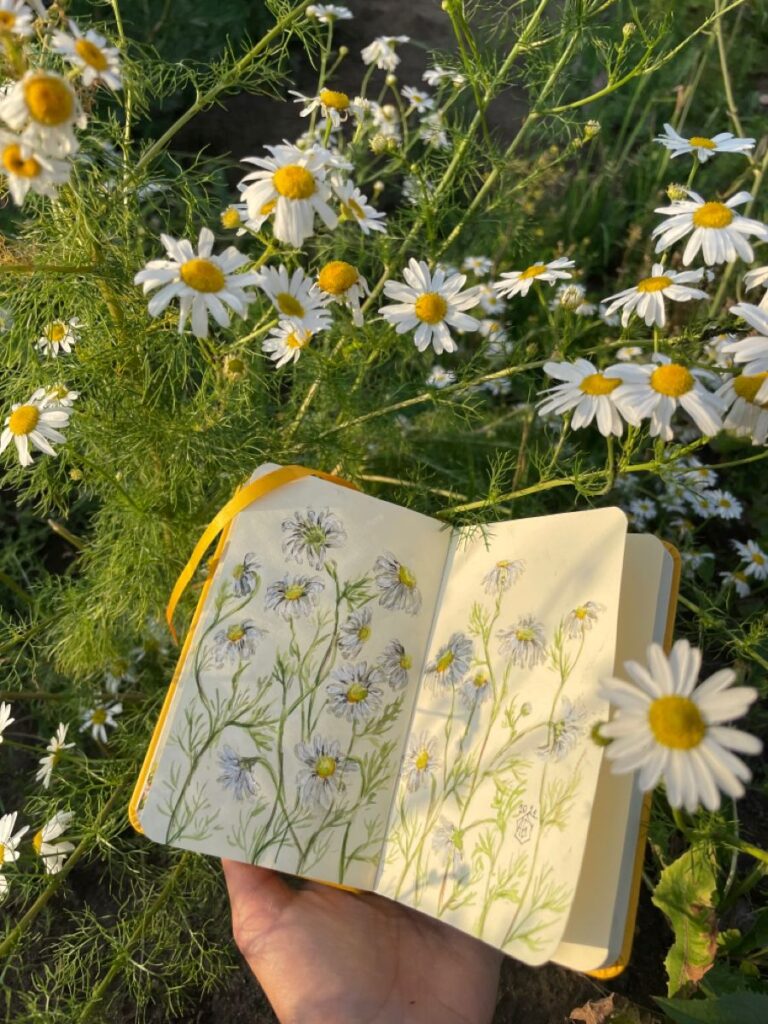
Nature-inspired drawing includes everything from detailed studies of plants and wildlife to interpretive or abstract representations of natural forms. You may choose to sit quietly, observing seasonal changes or intricate textures up close.
While some artists aim for botanical accuracy, others favor impressionistic or minimalist approaches, focusing on mood or essence rather than detail. This style suits those who appreciate slow observation and wish to improve their understanding of nature’s structures, rhythms, and diversity.
Common themes:
- Botanical sketches and wildlife illustration
- Abstraction of natural forms for mood or design
- Emphasis on observation and patience
- Media such as pencil, ink, pastel, or watercolor
Travel and Journal Sketching
Travel and journal sketching merges art with documentation, encouraging you to create a visual diary of places visited and moments experienced. This practice is more about recording memories and impressions than making polished works.
Compact sketchbooks, pens, and portable paints are the preferred tools, making it easy to draw wherever inspiration strikes. You may pair images with handwritten notes, found objects, or maps. The approach helps strengthen your memory and observational abilities, while preserving the rich details of trips for future reflection.
Notable features:
- Visual storytelling and recordkeeping
- Mixed-media pages with sketches, notes, and ephemera
- Focus on personal meaning and immediacy
- Encouragement to draw consistently and spontaneously
Choosing Subjects and Locations
Selecting your subject and drawing spot sets the stage for the entire creative process. Both the quality of natural light and the challenges of working outdoors play a direct role in the composition and outcome of your drawing.
Finding Inspiration in Nature and Urban Environments
Nature offers a range of subjects, from intricate plant life to varied landscapes. Parks, forests, and botanical gardens are especially suited for studying texture, organic shapes, and the effects of light and shadow on foliage. Observing wildlife or changing weather conditions adds further depth to your observational skills.
Urban environments also provide endless opportunities, such as architectural details, city parks, street scenes, and people in motion. Consider the interplay of built elements with natural light throughout the day, which will help you understand form and perspective. By exploring both settings, you expand your approach to composition and find new sources of inspiration.
Keep a small list or table of locations and subject types you find engaging:
| Location Type | Example Subject | Key Features |
|---|---|---|
| Park/Forest | Trees, wildlife | Varied light, organic forms |
| Beach/Lake | Water, reflections | Open sky, moving elements |
| City Street | People, buildings | Dynamic shadows, hard edges |
| Garden | Flowers, textures | Color, changing sunlight |
Selecting the Ideal Time of Day
The time of day significantly impacts your drawing because of changes in natural light, shadow length, and color temperature. Early morning and late afternoon—the so-called “golden hours”—often produce softer light and longer shadows. These conditions can highlight form and add warmth to your composition, making details stand out more clearly.
Midday sunlight is direct and harsh, often creating strong contrasts and flatter shadows. While this can be challenging, it may help emphasize lines and silhouettes in your subjects. Overcast days provide diffuse, even light, which reduces harsh shadows and helps you capture subtle shifts in tone, especially for detailed close-ups or botanical drawings.
When planning your session, consider how the natural light quality will affect not just visibility, but also the overall mood and clarity of your drawing. Always bring essentials like a hat, sunscreen, or an umbrella to help manage changes in sunlight and keep your materials protected.
Overcoming Outdoor Challenges
Drawing outdoors introduces unique challenges that require flexible solutions. Wind, humidity, shifting sunlight, and even unexpected crowds may affect your focus and the drawing process. Use weighted clips to secure paper, or choose materials like sketchbooks with sturdy covers that are easier to hold while standing or on uneven surfaces.
Prepare a compact kit with only the essentials: pencils, erasers, a compact drawing board, and tissues or a small towel for cleaning. Waterproof containers and zip bags can help protect your tools in sudden weather changes. Setting up in a location with both sun and shade nearby provides some flexibility as light shifts throughout the session.
Attention to practical details—such as comfort, safety, and weather—will let you focus more on art fundamentals like composition, working from direct observation, and capturing the nuanced play of light and shadow in your environment.
Creative Tips and Continuing Your Outdoor Drawing Journey
Taking your drawing outside expands your range of materials, subjects, and techniques. Adapting to the changing environment helps you observe more closely, sharpen your drawing skills, and discover new ways to express your experiences in art.
Experimenting with Different Media
Outdoor drawing gives you the chance to use a wide variety of materials. You can choose classic tools like pencils and charcoal for quick sketches or fine details. Crayons provide bold colors and broad strokes, while pens are great for clean line work.
If you prefer painting, watercolors are especially practical outdoors. They dry quickly, are lightweight to carry, and can capture subtle color changes in the natural world. Consider bringing a portable watercolor set and a small water container. Mixed media options, such as combining ink with watercolors or layering colored pencils, open new possibilities for texture and effects.
Tips for Working with Different Media Outdoors:
| Medium | Benefits | Considerations |
|---|---|---|
| Charcoal | Expressive, bold marks | Can be messy in wind or humidity |
| Crayons | Bright color, easy to handle | Limited blending range |
| Watercolors | Portable, fast-drying | Sensitive to wind/rain |
| Pens | Crisp lines, great for details | Not erasable |
Remember to test how your chosen materials react to weather and adjust your approach as needed.
Incorporating Outdoor Experiences into Art
Drawing outside lets you capture more than just visuals. You can record the way sunlight changes your view, how wind shapes the landscape, and the activities of people or animals around you. Observational drawing is key—notice subtle forms, shadows, and color shifts as you work.
Bring a sketchbook specifically for quick studies of what you see and feel. Jot down short notes about sounds, smells, or even your mood. These details help you create art that reflects the atmosphere of your location. Some artists use timelines, drawing one scene several times as light changes across the day.
Try these approaches:
- Sketch the same scene in different weather conditions.
- Include small vignettes on one page, capturing movement or passing clouds.
- Use colors to highlight mood or temperature—cool blues for early morning, warm tones for sunset.
Developing Your Unique Style
As you continue drawing outside, your personal style will evolve. Outdoor art encourages you to find new ways to interpret shapes, space, and colors. You might simplify details to capture fleeting moments or exaggerate certain features for emphasis.
Focus on the subjects or scenes that inspire you most. Over time, you may prefer quick gestural sketches or highly detailed observational drawings. Don’t hesitate to revisit favorite spots to track your progress and see how your interpretation changes.
Keep experimenting with different approaches. For example, alternate between abstract mark-making with charcoal and realistic watercolors of landscapes. Compare your work after several weeks; look for consistent choices in composition, color palette, or subject matter that reflect your unique perspective.
Making intentional choices, practicing regularly, and staying curious about your surroundings will help deepen your outdoor drawing practice and refine your individual voice as an artist.
- 3shares
- Facebook0
- Pinterest0
- Twitter3
- Reddit0


