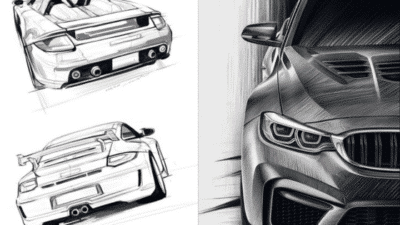
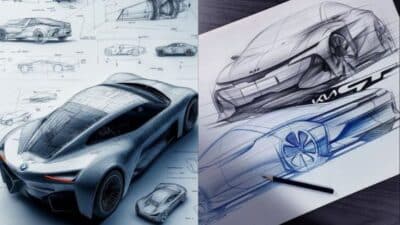
Drawing Formula 1 cars captures the essence of these high-performance racing machines, combining technical precision with artistic expression. These iconic vehicles feature distinctive elements like aerodynamic bodies, massive tires, complex wings, and sleek silhouettes that make them instantly recognizable. With the right approach and attention to detail, anyone can learn to draw a Formula 1 car that conveys both speed and engineering marvel.
The process begins with understanding the basic structure of an F1 car – from the central monocoque to the front and rear wings, sidepods, and the distinctive airbox above the driver’s cockpit. Starting with simple shapes and gradually adding details allows you to build a convincing representation step by step. Many artists find that focusing on the proportions first ensures the drawing maintains the authentic look of these specialized racing vehicles.
Use reference images of actual Formula 1 cars to understand their unique design features and technical characteristics. You can also use search functions or search bars on platforms like Pinterest or Google to find F1 drawing ideas, race car sketches, or driver art for inspiration.
Key Takeaways
- Start with basic shapes and proper proportions before adding detailed components like wings, tires, and aerodynamic elements.
- Use reference images of actual Formula 1 cars to understand their unique design features and technical characteristics.
- Experiment with different coloring techniques to bring your F1 car drawing to life, focusing on team liveries and sponsor details for authenticity.

Understanding Formula 1 Car Design
Formula 1 cars represent the pinnacle of automotive engineering with designs focused on maximizing speed, downforce, and handling precision. These vehicles combine cutting-edge technology with aerodynamic principles to achieve performance that exceeds conventional road cars by several magnitudes.
Key Features of Formula One Cars
F1 cars are purpose-built racing machines with distinctive elements that set them apart from other motorsport vehicles. The single-seat, open-cockpit design allows drivers to maintain visibility while experiencing forces up to 6G in corners.
The modern F1 car weighs approximately 798kg (including driver) due to FIA regulations. This lightweight construction relies heavily on carbon fiber composites for strength without unnecessary mass.
Power comes from hybrid powertrains consisting of a 1.6-liter V6 turbocharged engine paired with energy recovery systems. These units produce over 1,000 horsepower while operating at incredible efficiency.
The distinctive wide, low profile of F1 cars serves both aerodynamic and stability purposes. The cockpit is precisely engineered to protect drivers while allowing quick exit in emergencies.
Aerodynamics and Wings
Aerodynamics represents the most crucial aspect of Formula 1 design. The front and rear wings generate approximately 60% of the car’s total downforce, literally pushing the vehicle into the track.
The front wing splits airflow around the car, directing it toward specific components. Engineers design complex multi-element wings with adjustable flaps to fine-tune performance for different circuits.
Rear Wing Components:
- Main plane
- DRS (Drag Reduction System)
- Endplates
- Beam wing
Floor tunnels and diffusers create ground effect, essentially turning the entire car into a vacuum that sucks it to the track. This technology dramatically improves cornering speeds without increasing drag.
Bargeboards and turning vanes manipulate airflow around the sidepods, cooling the power unit while minimizing turbulence. Every surface of an F1 car serves an aerodynamic purpose.
The Importance of Body Structure
The monocoque chassis forms the core of an F1 car’s body structure. Made from carbon fiber layers bonded with honeycomb aluminum, it provides exceptional strength while weighing just 70kg.
Safety features include crash structures at the front, rear, and sides that absorb impact energy. The survival cell protects drivers from impacts exceeding 50G, with the halo device adding crucial protection against debris.
Sidepods house radiators and cooling systems while being shaped to optimize airflow. Their design represents a critical balance between thermal management and aerodynamic efficiency.
When drawing an F1 car, you should pay special attention to how the body tapers toward the rear. This “coke bottle” shape accelerates airflow toward the diffuser, enhancing downforce.
Body panels feature precision-engineered slots, vents and winglets that manage turbulence. These seemingly decorative elements serve critical functions in controlling vortices and pressure zones around the car.
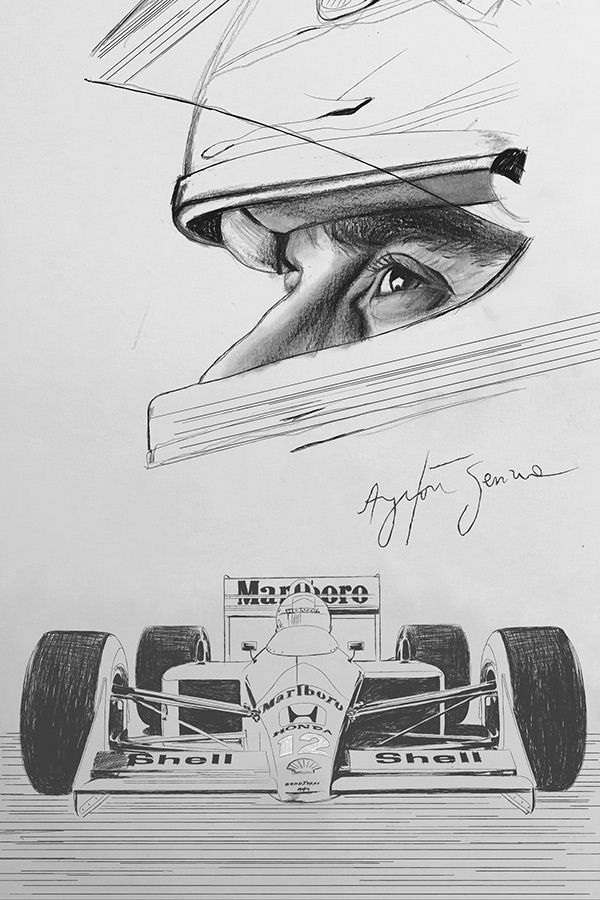
Essential Materials and Tools for Formula 1 Drawing
Creating detailed Formula 1 car drawings requires specific materials that enhance precision and visual appeal. Quality supplies make a significant difference in capturing the sleek aerodynamics and technical details that define these engineering marvels.
Choosing the Right Paper
Selecting appropriate paper is crucial for Formula 1 car drawings. Medium to heavyweight drawing paper (90-110 lb) provides the ideal surface to withstand multiple layers and revisions. Bristol board offers exceptional smoothness for technical details like suspension components and aerodynamic elements.
Sketch pads in A3 or A4 size give you adequate space to capture the long, streamlined proportions of F1 cars. For preliminary sketches, standard printer paper works well before transferring to higher quality stock.
Consider paper with slight texture if you’re working with pencils, as it helps with graphite adherence. For marker work, bleed-proof paper prevents color spreading and maintains crisp lines around crucial elements like wings and tire details.
Using Colored Pencils and Markers
Colored pencils offer excellent control for F1 car details. Professional-grade pencils like Prismacolor or Faber-Castell provide rich pigmentation for team liveries and sponsor logos. Layer colors gradually to achieve realistic metallic and carbon fiber textures.
For vibrant team colors, alcohol-based markers like Copics deliver smooth coverage on large surfaces. Water-based markers work well for beginners due to their affordability and forgiving nature.
Create depth by using darker shades in shadow areas beneath the car and wings. Light-colored pencils help add highlights to curved surfaces and reflective elements.
When drawing sponsor decals, fine-tipped markers ensure precision. Keep a white gel pen handy for adding highlights to tires, helmet visors, and reflective surfaces.
Recommended Drawing Equipment
Mechanical pencils (0.5mm and 0.7mm) provide consistent line weight for initial sketches and technical details. Include a range of graphite hardness from 2H (lighter) to 2B (darker) for varying line intensity.
A quality eraser set should include a kneaded eraser for lifting graphite and a vinyl eraser for cleaner removal. Rulers and French curves are essential for straight lines and perfect arcs on wing elements.
Circle templates help create precise wheels and various mechanical components. Consider a light box or tracing paper if you’re working from reference photos.
Digital tools like drawing tablets offer alternatives for those comfortable with technology. Programs like Procreate and Adobe Illustrator provide layers and precision tools ideal for technical F1 illustrations.
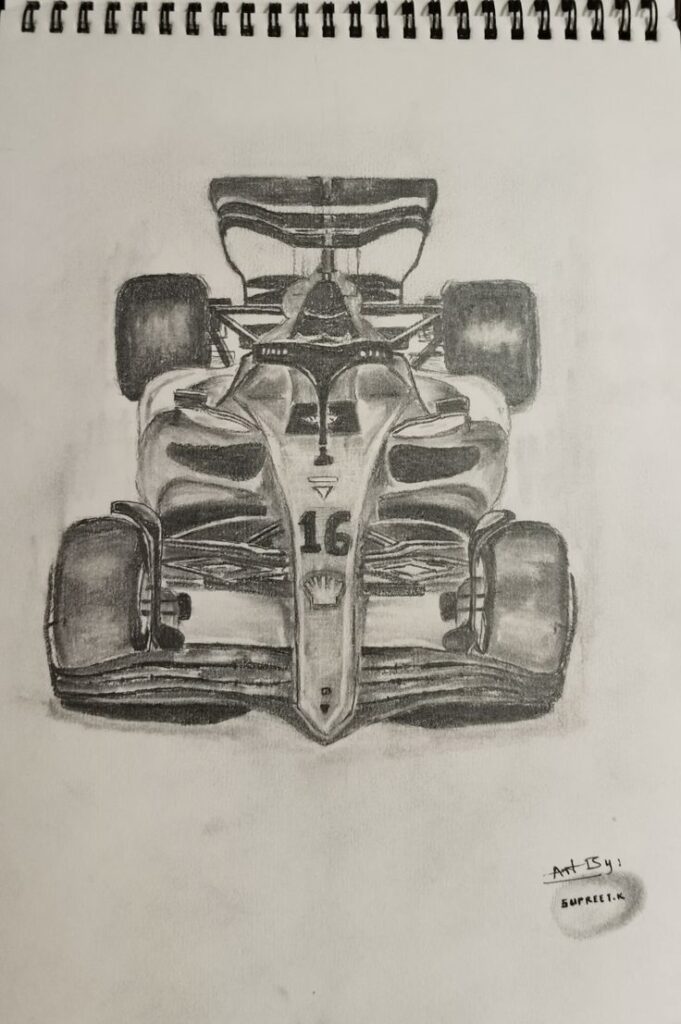
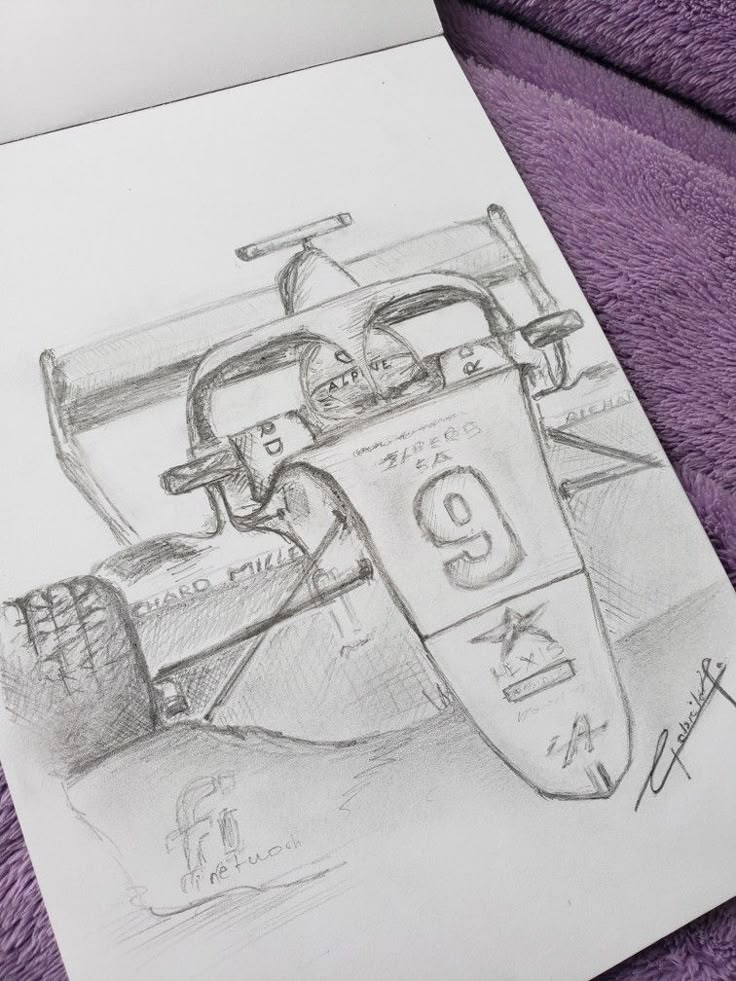
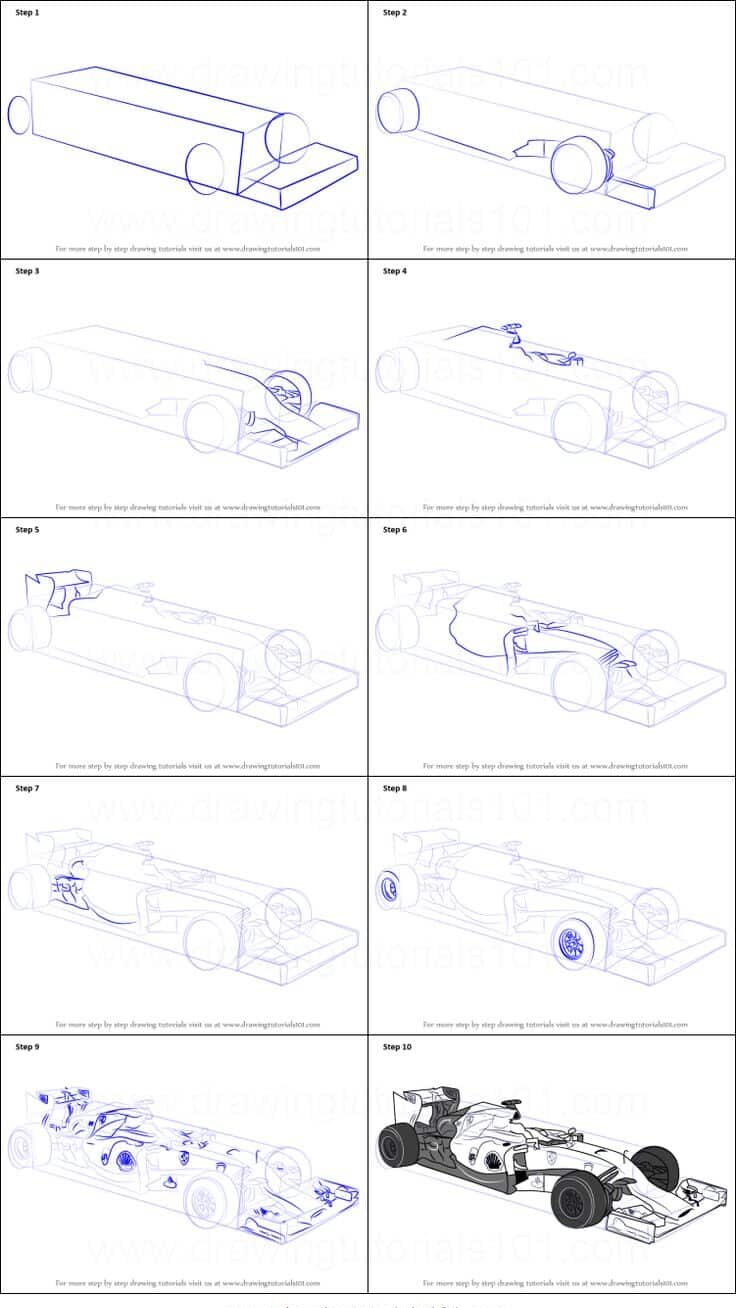
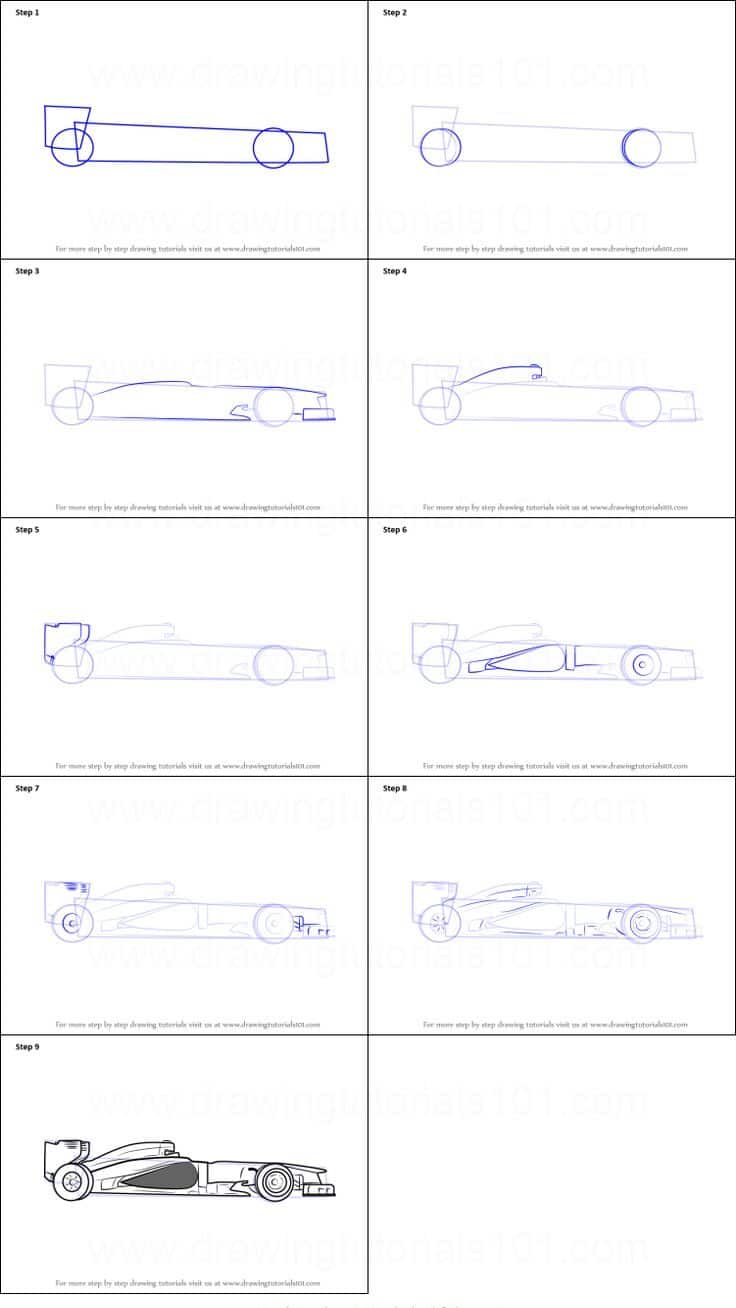
Step-by-Step Guide: How to Draw an F1 Car
Drawing a Formula 1 car requires attention to its unique aerodynamic features and technical details. Follow this guide to create your own realistic F1 car illustration with proper proportions and distinctive elements.
Sketching the Basic Outline
Begin with light pencil strokes to establish the fundamental shape of the F1 car. Draw a horizontal line across your paper to serve as your ground reference.
Sketch a low, elongated oval shape for the main body, making sure it’s slightly wider at the front than the rear. This forms the base of your car’s chassis.
Add a smaller, narrow rectangle at the front to represent the nose cone. F1 cars have distinctive pointed noses that extend forward from the main body.
Draw the outline of the sidepods extending from both sides of the cockpit area. These aerodynamic elements house crucial components and direct airflow around the car.
Drawing Wheels and Details
Add four circles for the wheels – two at the front and two at the back. F1 wheels are exposed and feature distinctive large, slick tires.
Draw the suspension arms connecting the wheels to the car body. These thin, angled lines show how the wheels attach to the chassis.
Sketch the front and rear wings. The front wing should be wide and low to the ground with multiple elements. The rear wing sits higher with a distinctive shape that includes the DRS flap.
Include the distinctive air intake box that rises behind the driver’s cockpit. This triangular structure channels air to the engine and is a hallmark of modern F1 designs.
Refining the Body and Cockpit
Define the cockpit area with a small, oval-shaped opening. This is where the driver sits, with only their helmet visible.
Add details to the cockpit such as the halo safety device – the curved protective structure that surrounds the driver’s head. This became mandatory in F1 since 2018.
Refine the sidepods by adding cooling vents and aerodynamic elements. These complex shapes help direct airflow around the car.
Draw the floor of the car and diffuser at the rear. These elements create crucial downforce and have distinctive shapes with channeled sections.
Adding Final Lines and Touches
Go over your sketch with darker, more confident lines once you’re satisfied with the basic structure. Erase unnecessary guide lines for a cleaner look.
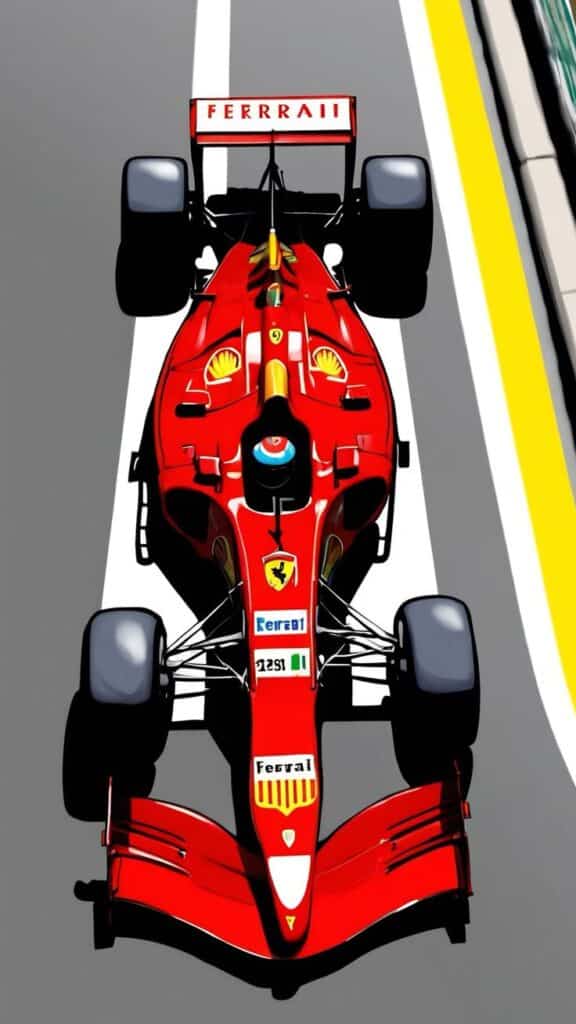
Add details like sponsor logos, car numbers, and team livery patterns if you’re depicting a specific team’s car. These give personality to your drawing.
Include technical details such as brake ducts, barge boards, and mirror housings. These small elements add authenticity to your F1 car drawing.
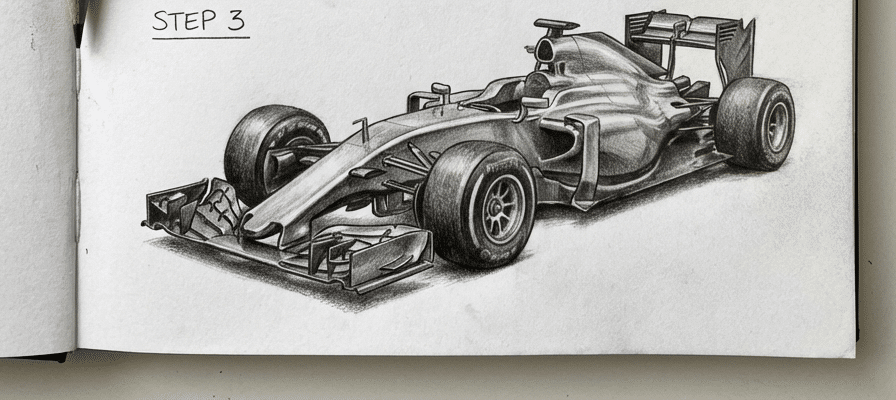
Finish with shading to create depth and dimension. Add shadows beneath the car and in recessed areas to make your drawing pop. Consider using colored pencils or markers to bring your F1 car to life with team colors.
Techniques for Realistic Formula 1 Car Renderings
Creating realistic Formula 1 car drawings requires attention to detail and specific techniques. The right approach to shading, perspective, and technical elements can transform a basic sketch into a dynamic representation of these high-performance vehicles.
Shading and Depth for 3D Effects
Proper shading is essential for giving your F1 car drawing a three-dimensional appearance. Start with identifying your light source and maintain consistency throughout your drawing. This decision will determine where highlights and shadows appear.
Use cross-hatching techniques for darker areas like wheel arches and underneath the chassis. This creates texture while adding depth to your drawing.
For metallic surfaces, incorporate reflective highlights with clean, sharp edges. The carbon fiber components found on modern F1 cars require a distinctive pattern of tight, uniform shading.
Gradual transitions between light and dark areas create the curved surfaces characteristic of aerodynamic elements. Pay special attention to the way light interacts with the front and rear wings.
Contrast is your ally – darker shadows near the ground create a grounding effect that makes the car appear to sit naturally on the track surface.
Working with Perspectives
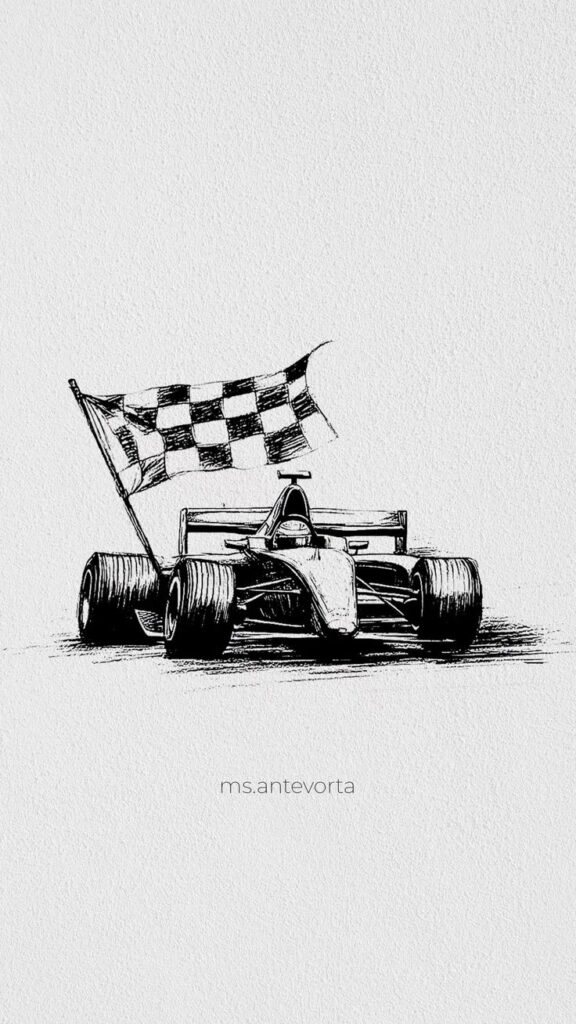
Choosing the right perspective dramatically impacts how dynamic your F1 car appears. Three-quarter views (showing the front and side simultaneously) often create the most dramatic and interesting compositions.
Start with basic perspective guidelines to ensure proper proportions. A slight low angle perspective makes the car appear more aggressive and powerful on paper.
Pay careful attention to wheel ellipses – they should be consistent with your chosen perspective. Incorrect wheel shapes are a common giveaway of amateur drawings.
Use vanishing points to guide the structural lines of the car. This technique ensures that parallel lines converge properly according to perspective rules.
Draw the car’s centerline first as a reference for symmetry. Remember that F1 cars have asymmetrical elements that must be accurately represented from your chosen viewpoint.
Incorporating Technical Drawings
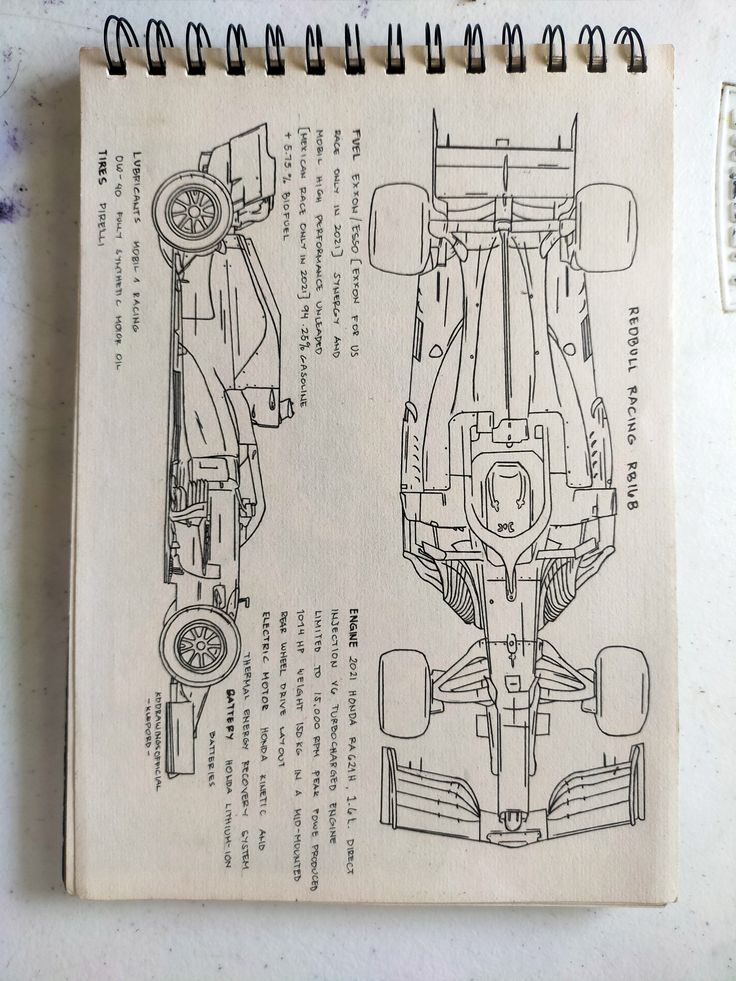
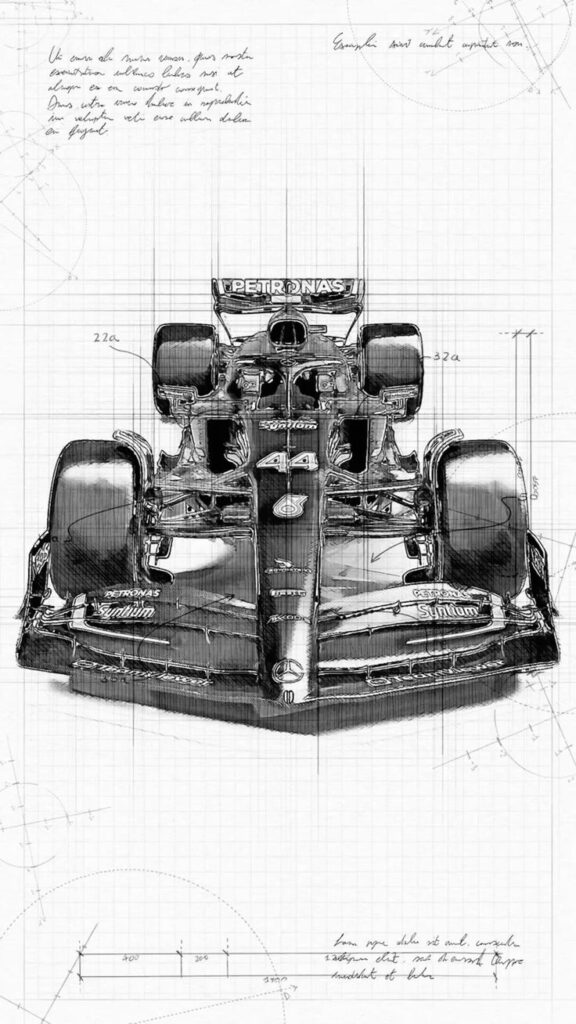
Technical drawings provide invaluable reference for accurate F1 car proportions. Seek out blueprint-style images that show top, side, and front views to understand the car’s true dimensions.
Study the engineering aspects of F1 cars to better represent their complex aerodynamic components. Each element serves a purpose, and understanding this helps create more authentic drawings.
Focus on getting key technical features correct: the monocoque structure, sidepods, bargeboard area, and complex front and rear wing assemblies. These define the car’s identity.
Reference team-specific design elements to accurately capture different cars on the grid. Each team’s approach to aerodynamics creates distinctive visual signatures.
Incorporate cutaway elements selectively to showcase internal components like the power unit or suspension geometry. This adds technical interest without overwhelming your drawing.
How to Draw an F1 Car Step by Step
Drawing a Formula 1 car can be a rewarding challenge that combines precision and creativity. Follow these steps to create a detailed and realistic F1 car illustration:

- Start with Basic Shapes: Begin by sketching simple shapes like ovals and rectangles to outline the main body, cockpit, and nose cone of the car. This helps establish the overall proportions and layout.
- Outline the Wheels: Draw four circles to represent the tires, making sure to position them correctly relative to the body. F1 tires are large and exposed, so pay attention to their size and placement.
- Add the Wings and Aerodynamic Elements: Sketch the front and rear wings, sidepods, and air intake. Use straight and curved lines to capture the complex shapes that contribute to the car’s aerodynamics.
- Refine the Body Shape: Smooth out the initial shapes, adding details like the cockpit opening, halo safety device, and cooling vents. Focus on the distinctive “coke bottle” tapering of the body.
- Draw Suspension and Technical Details: Include suspension arms, brake ducts, mirrors, and other mechanical components to enhance realism.
- Ink and Clean Up: Once satisfied with your pencil sketch, go over the lines with a darker pen or marker. Erase unnecessary guidelines to create a clean drawing.
- Add Shading and Color: Use shading techniques to give depth and dimension, highlighting the car’s curves and surfaces. Apply colors to replicate team liveries and sponsor logos for authenticity.
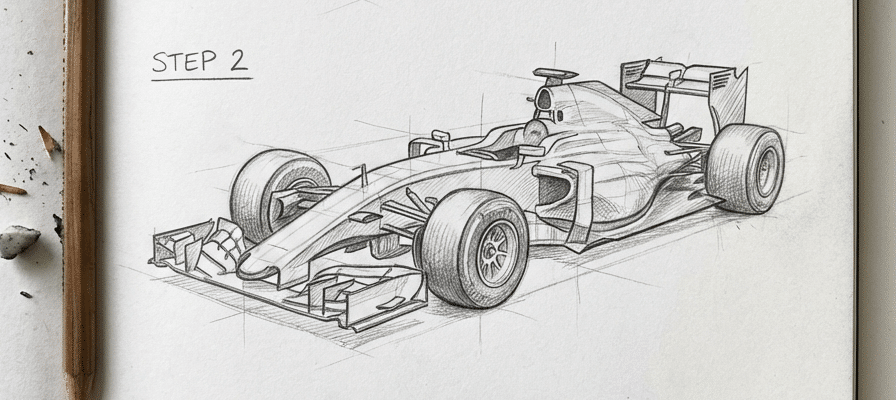
By following these steps, you can build your Formula One drawing from a simple sketch into a detailed and dynamic artwork.Use reference images of actual Formula 1 cars to understand their unique design features and technical characteristics. You can also use search functions or search bars on platforms like Pinterest or Google to find F1 drawing ideas, race car sketches, or driver art for inspiration.
Showcasing and Improving Your Formula 1 Art
Creating Formula 1 car drawings requires dedication to detail and continuous practice. The right references and consistent improvement strategies will elevate your artwork from basic sketches to impressive technical illustrations.
Selecting Reference Images
High-quality reference images are essential for accurate Formula 1 car drawings. Choose photos that clearly show the specific car model you want to draw, preferably from multiple angles.
Official F1 team websites and motorsport publications offer excellent high-resolution images that reveal important technical details. Consider using images of stationary cars for your first attempts, as they’re easier to study than cars in motion.
Blueprint-style technical drawings can provide precise proportions and measurements. These are particularly valuable when attempting cutaway illustrations that show internal components.
Historical archives offer fascinating references if you’re drawing classic F1 cars from previous eras. The evolution of design makes each period distinctive and recognizable to enthusiasts.
Tips for Continuous Improvement
Study the work of established F1 technical illustrators to understand different techniques and styles. Artists like Giorgio Piola have created thousands of detailed F1 drawings that demonstrate exceptional technical understanding.
Practice individual car components separately before attempting complete vehicles. Wings, tires, and cockpit details all benefit from focused practice sessions.
Join online communities where you can share your work and receive constructive feedback from fellow artists and F1 enthusiasts. This external perspective helps identify areas for improvement you might miss.
Try different mediums as you progress. While beginners might start with pencil sketches, experimenting with digital tools can help capture the sleek, technical nature of modern F1 cars.
Document your progress by keeping all your drawings. Reviewing earlier work helps you recognize how far your skills have developed.
- 3.3Kshares
- Facebook0
- Pinterest3.3K
- Twitter0

