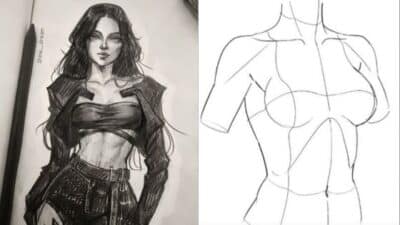
Drawing the human body can seem challenging, but understanding basic forms and movement simplifies the process. The key to effective body drawing is focusing on simple 3D shapes and how they connect, rather than getting lost in details. This approach helps you capture the figure’s volume and posture, making your sketches more dynamic and accurate.
Your shoulder movement plays a major role in creating fluid, natural poses. Instead of copying reference images directly, use them to understand anatomy and explore your own interpretation of form and gesture. This mindset will improve your confidence and skill as you draw bodies from imagination or observation.
Fundamentals of Body Drawing
Mastering body drawing requires a clear grasp of human anatomy, the right materials, and effective drawing methods. These fundamentals help you create accurate and proportionate human figures step by step.
Understanding Human Anatomy
To draw the human figure well, start by learning the basic structure of the skeleton and major muscle groups. Knowing where bones like the ribcage, pelvis, and spine sit guides your proportions. Muscles shape the surface and affect how limbs curve or stretch.
Focus on key landmarks such as shoulders, hips, and joints to keep your figure balanced. Use the head as a unit of measurement—typically, a well-proportioned adult figure is about eight heads tall. This helps maintain consistent size and posture in your drawings.
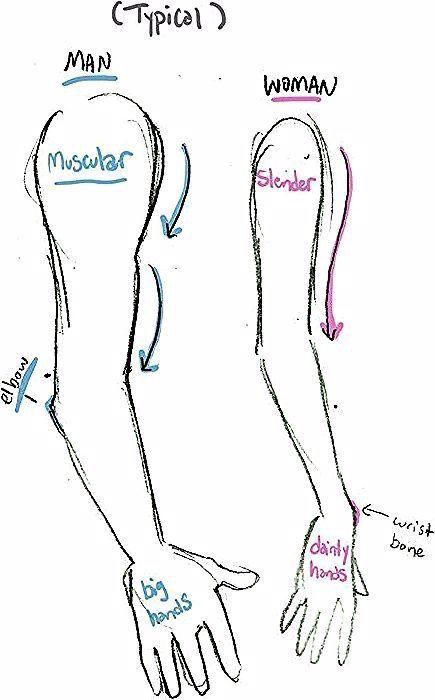
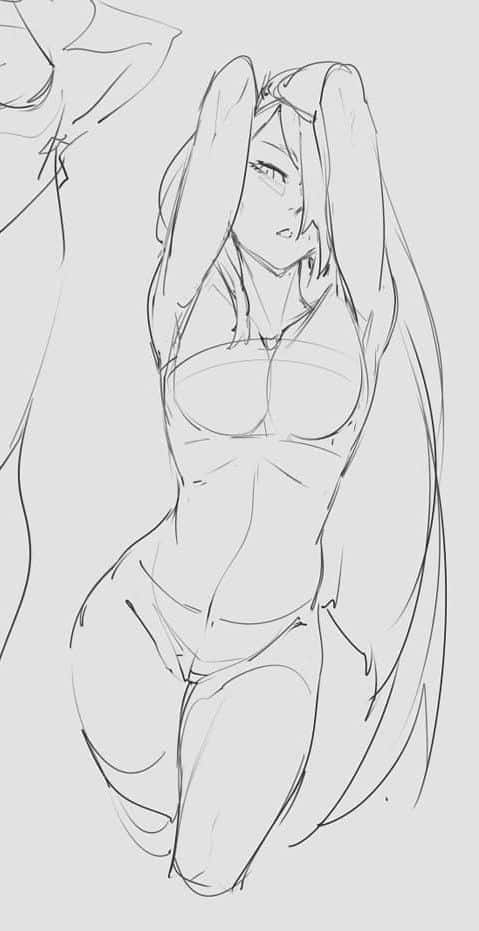
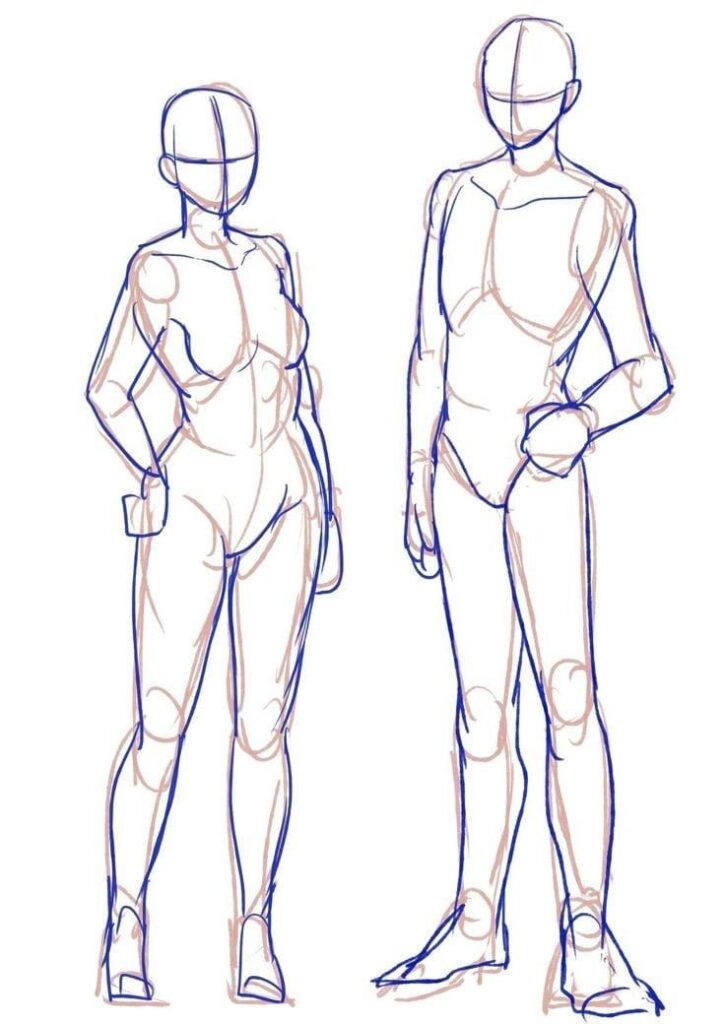
Understanding differences in male and female anatomy improves character variety. For example, females generally have wider hips and softer muscle definition, while males have broader shoulders and more pronounced muscles.
Essential Supplies and Tools
Choose tools that support detailed yet flexible work. Start with a range of pencils—hard (H) to soft (B)—so you can create both faint guidelines and bold outlines. A good eraser helps refine proportions without damaging your paper.
Paper quality matters; a smooth surface allows for clean lines and easy shading. Use sketchbooks or loose sheets with medium weight (around 80–120 gsm) to prevent bleed-through when layering pencil strokes.
Optional tools include blending stumps for smoothing, anatomical model references or figures for accurate poses, and digital tablets if you work digitally. Regardless of tools, practicing consistently with your chosen supplies improves your ability to capture the human body accurately.
Basic Drawing Techniques
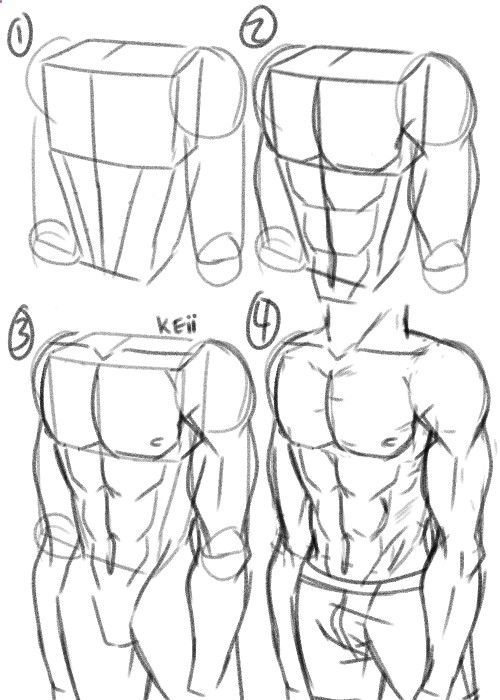
Begin body drawing with simple shapes—ovals for the head and torso, cylinders for limbs—to build your figure step by step. This method helps you focus on proportions before adding details.
Mark the spine and centerline to establish posture and balance. Sketch light construction lines to test poses and adjust limbs. Use repeated practice to develop muscle memory for limb angles and joint positions.
Apply contour drawing to capture outlines cleanly. Once proportions are set, add muscle blocks and skin folds. Shading is optional but can add depth by highlighting form and volume.
Use references or pose models frequently. Working from life or photos aids your understanding of natural human movement and improves reliability in drawing the human body.
Mastering Body Proportions
To draw the human body accurately, you must understand how different parts relate in size and position. This involves recognizing classic body proportions, applying units of measurement for consistency, and avoiding common mistakes that disrupt natural appearance.
Classic Proportions of the Human Body
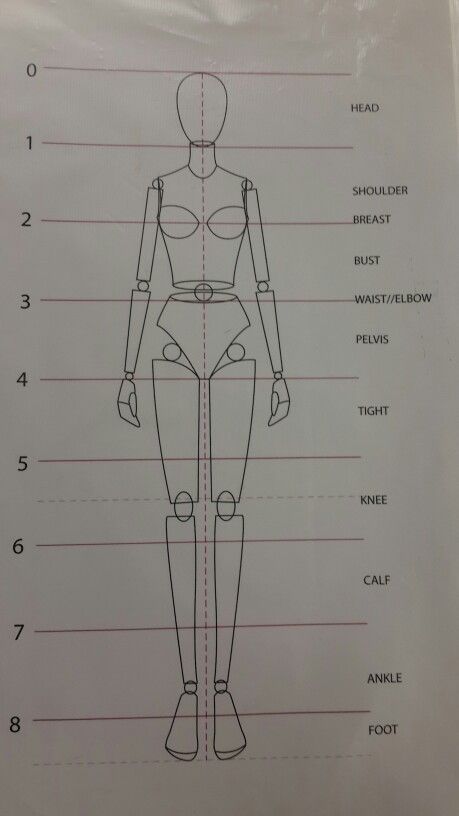
The standard figure drawing proportions use the head as a base unit. Typically, an adult’s height equals about eight heads tall. The torso spans roughly three heads, and the legs are about four heads in length.
Children’s proportions differ: they are usually closer to five to six heads tall, with shorter legs relative to their torso. Knowing this helps you adapt your drawing to different ages.
Key landmarks include the waist near the third head, knees around the sixth head, and feet at the eighth. These guide placement and scaling to maintain balanced proportions.
Using Units of Measurement
Using consistent units, like the head length, helps measure the entire figure systematically. Start by drawing a vertical line the length of your character and divide it into equal head units.
You can then mark key points—shoulders, hips, knees—using these divisions. This method simplifies proportion checks and adjustments as you work.
Remember, units can vary depending on the style or subject. Figure drawing proportions are flexible, but keeping measurements consistent keeps your figure believable.
Common Proportion Mistakes
One frequent error is misjudging leg length. Legs that are too short or too long disrupt the body’s balance and realism. Always compare leg height to the overall head units.
Another common mistake is placing the torso too long or too short. This changes the figure’s posture and age appearance. Using your measurement units helps prevent this.
Avoid drawing symmetrical body parts unevenly, such as shoulders or eyes, which can look unnatural. Consistent measurement ensures alignment and proportional accuracy throughout your figure.
Structural Drawing Techniques
When drawing the human body, focusing on the underlying framework and how it defines movement and volume is crucial. You’ll break down the figure into manageable parts, starting with the core structure, then refine posture, and finally capture the outer form with contour techniques.
Constructing the Human Skeleton
Begin by sketching the basic bone structure to create a solid foundation. Start with simple shapes representing the skull, ribcage, pelvis, and limbs. Use cylinders and boxes for arms and legs to maintain proper proportions and angles.
This stage helps you understand spatial relationships between body parts. The skeleton guides muscle placement and joint articulation, ensuring your figure stands and moves naturally. Pay attention to proportions: the torso is generally about three heads tall, and limbs must align correctly with body length.
Mapping out key bone landmarks such as collarbones, shoulder blades, and pelvis helps anchor your pose and improves accuracy.
Defining the Spine and Posture
The spine is the central axis that defines body posture and dynamic balance. Begin with a flexible line representing the spine’s natural curves: cervical, thoracic, lumbar, sacral.
This line dictates weight distribution, tilt, and twist in your figure. Adjust the spine’s angle to convey tension, relaxation, or motion. The shoulders and hips will align or counterbalance based on this curve.
Mark vertebrae positions loosely to show flexibility. Focus on how the spine affects the ribcage’s tilt and the pelvis’s position. Correct spine placement is key to making your drawing believable and lively.
Contour Drawing Methods
Once the basic structure is set, use contour drawing to define the external edges and surface forms of the body. Contours capture the outline and subtle shifts caused by muscles and skin over the skeleton.
Draw smooth, continuous lines to describe the body’s shape while varying line weight to indicate depth and volume. Use softer lines where the body curves outward, and sharper lines around joints or bone protrusions.
Avoid over-detailing; focus on essential contours that reveal posture and anatomy. Contour drawing enhances volume perception and adds clarity, allowing you to build on shading or texture later.
Advanced Figure Drawing Skills
Mastering advanced figure drawing involves capturing movement, texture, expression, and form with precision. You will refine your ability to depict complex poses, detailed clothing, nuanced facial features, and three-dimensionality through shading.
Drawing Dynamic Poses
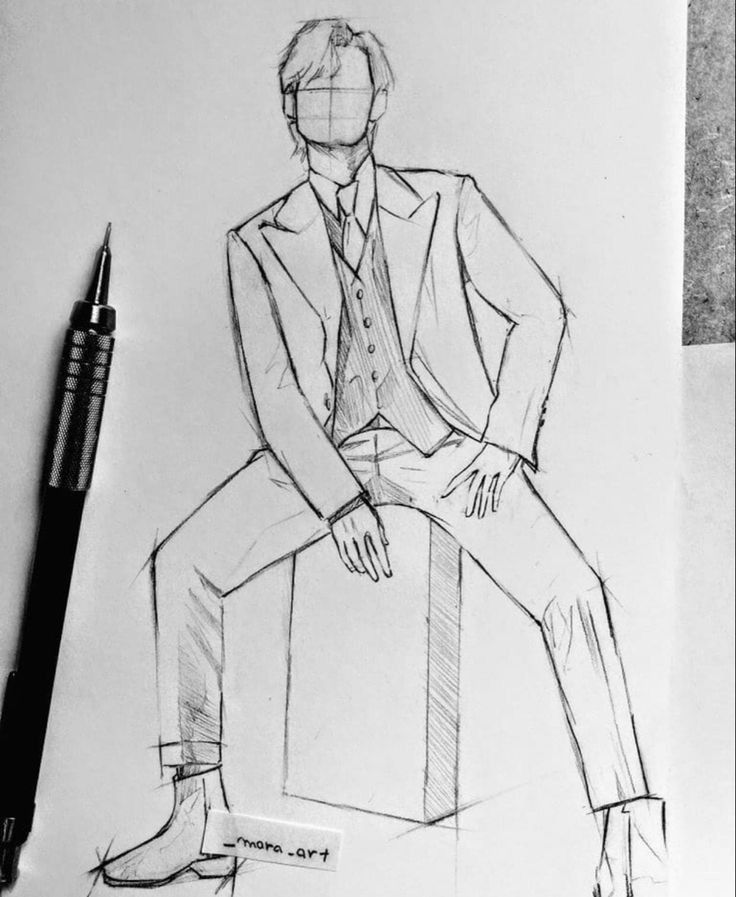
Focus on gesture and flow to create convincing dynamic poses. Start by sketching the action line, which represents the body’s primary movement and energy. This line guides the balance and rhythm of the figure.
Break the figure into simple shapes—ovals for joints, cylinders for limbs—to maintain proportion and structure. Pay close attention to weight distribution; observe how the body shifts and counterbalances in motion.
Use foreshortening to represent depth in limbs or torso when they extend toward or away from you. Avoid stiff outlines by keeping your strokes loose and fluid. Dynamic poses often rely on exaggeration of movement within realistic limits.
Rendering Clothing and Fabrics
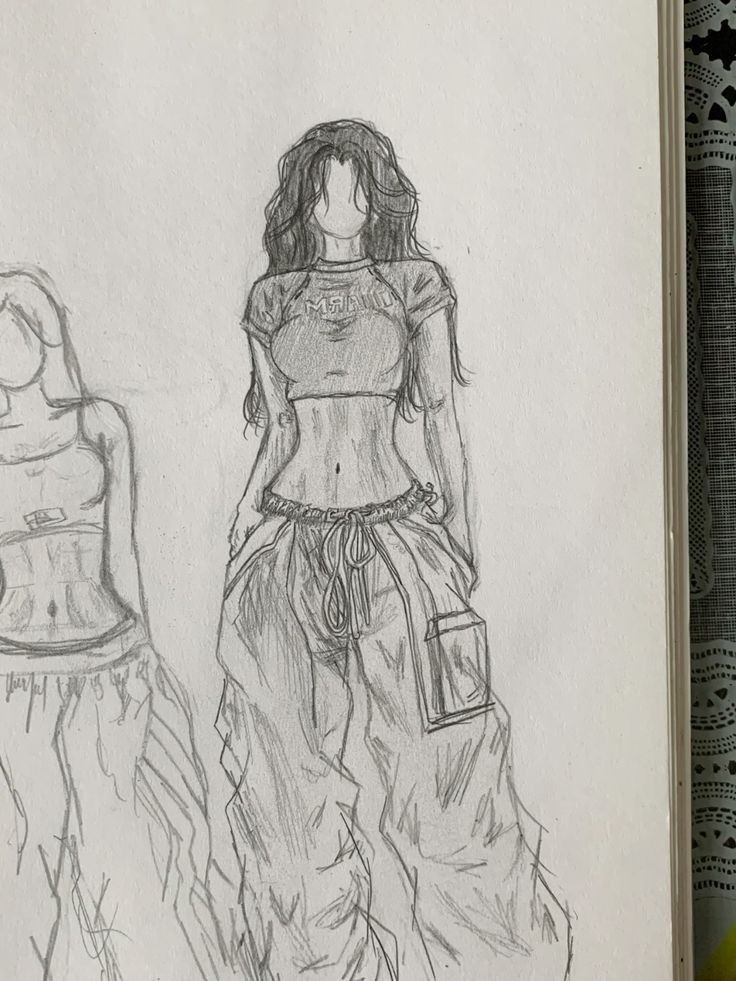
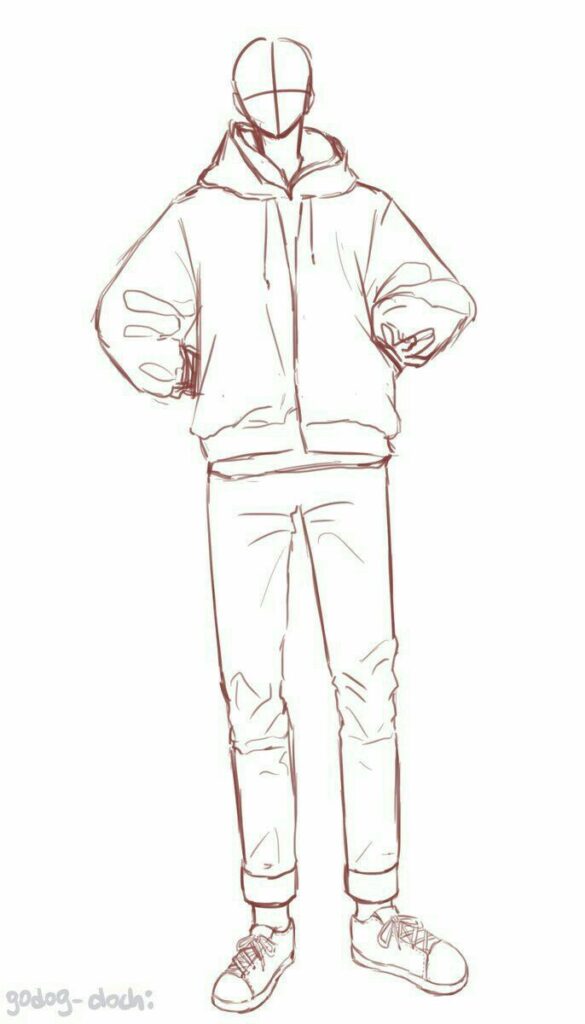
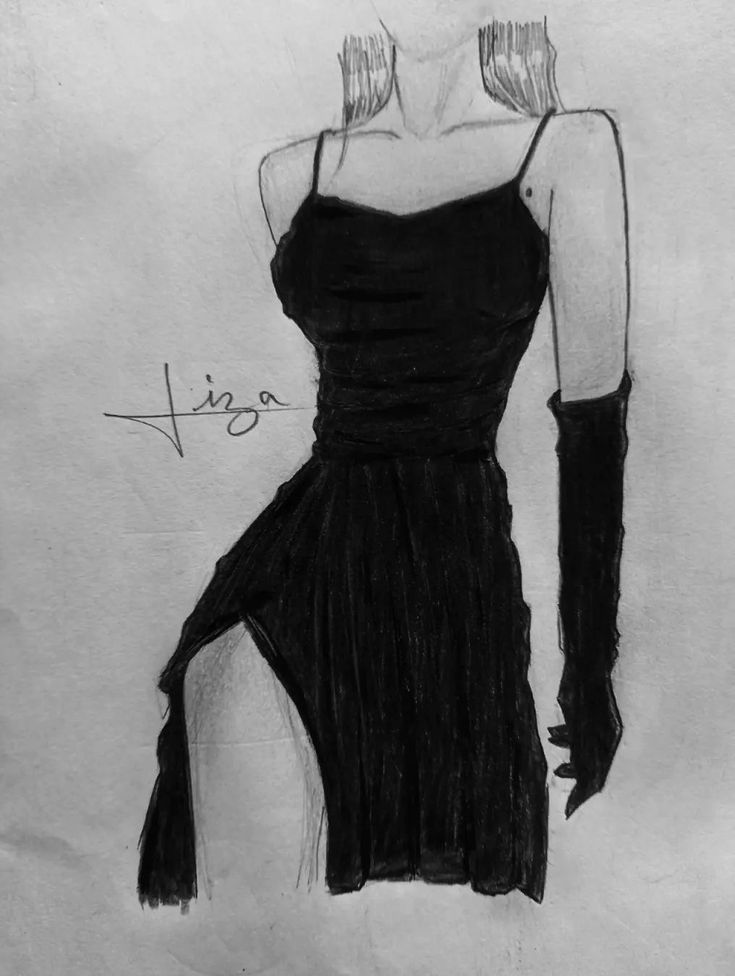
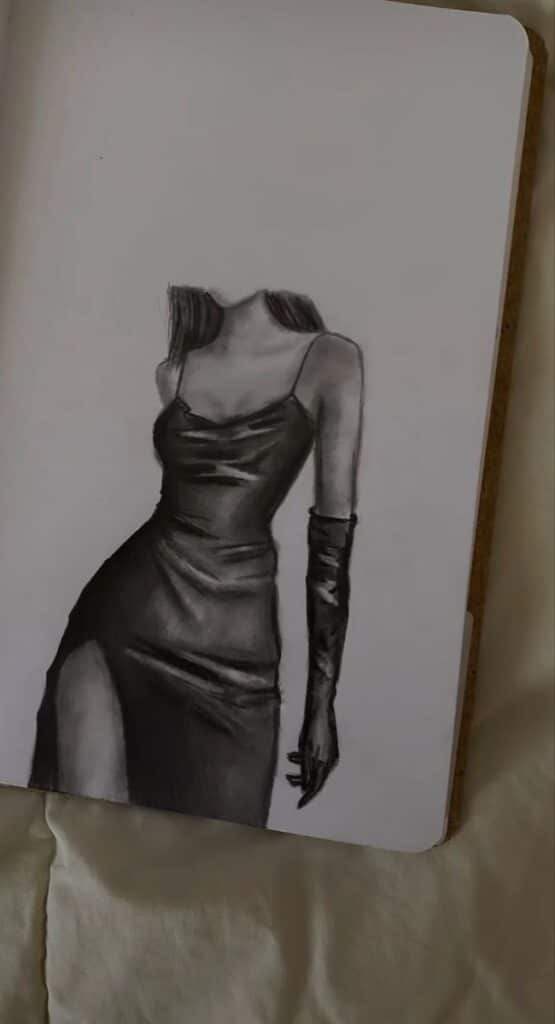
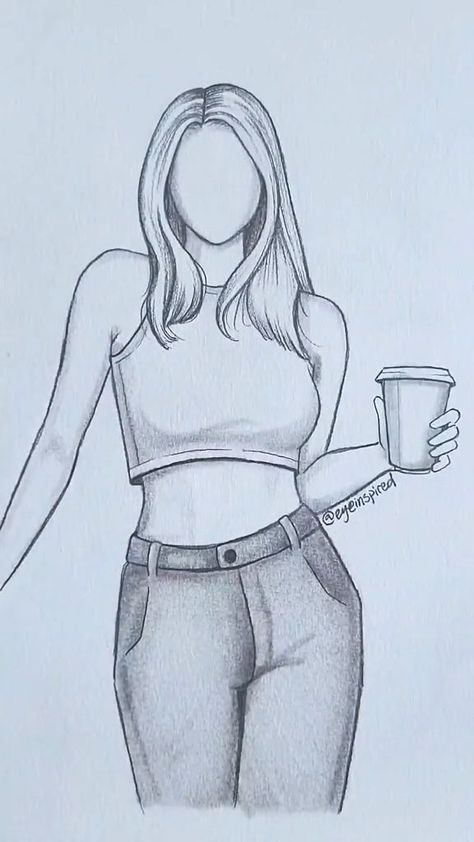
Clothing follows the body’s contours and reacts to its posture. Begin by understanding the underlying anatomy before adding garments. This ensures folds and wrinkles fall naturally on muscles and joints.
Observe fabric types closely—stiff materials create sharp creases, while soft fabrics show smooth, flowing folds. Identify tension points where the fabric stretches or bunches, like around elbows or waist.
Use overlapping lines to show layers or thickness, and adjust line weight to suggest fabric texture. Remember, gravity affects cloth differently depending on pose, so hanging garments will drape, while stretched fabrics tighten.
Capturing Facial Features
Break down the face into basic shapes to maintain accurate proportion. The key landmarks include eyes, nose, mouth, and ears, positioned using commonly accepted guidelines for alignment.
Focus on subtle variations in shape and spacing to convey likeness and expression. Pay attention to light and shadow to define planes of the face, such as cheekbones, brow ridges, and jawline.
Avoid over-detailing early on; start with broad shapes, then refine. Use soft lines and shading to build volume around the eyes and mouth, which are crucial for conveying emotion.
Adding Depth with Shading
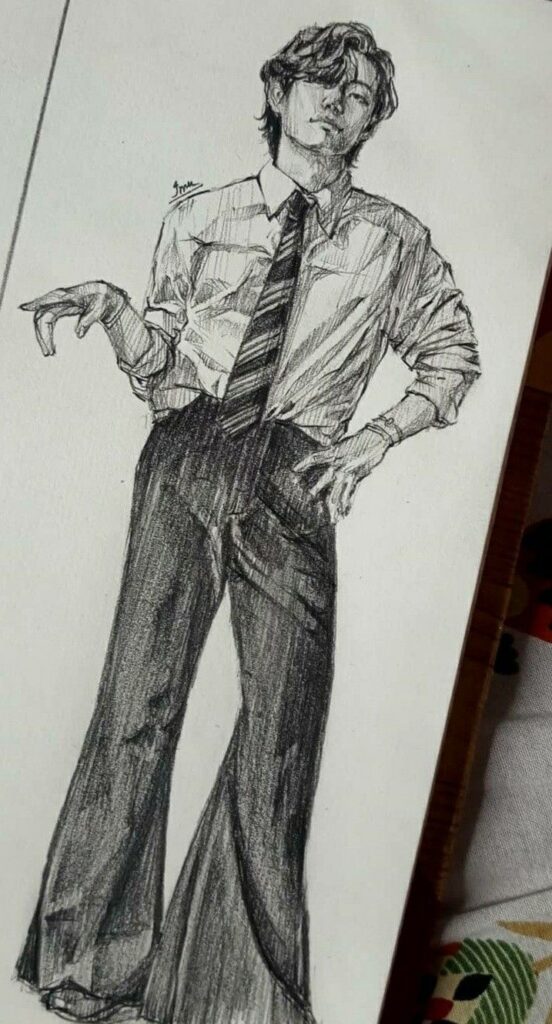
Shading creates the illusion of three dimensions, so understand your light source clearly. Use value changes to emphasize form, highlight curves, and suggest texture.
Apply shading techniques like hatching, cross-hatching, or blending depending on the surface you depict. Softer transitions work well for skin, while rougher textures suit fabrics or hair.
Consider cast shadows and reflected light to increase realism. Shadows under the chin, around joints, and inside folds add substantial depth to your figure drawing.
| Technique | Purpose | Application Tip |
|---|---|---|
| Hatching | Build volume and texture | Use parallel lines following form |
| Cross-hatching | Deepen shadows | Layer intersecting strokes for density |
| Blending | Smooth transitions | Use a stump or finger for gradual shifts |
Practice and Resources for Improvement
To improve your body drawing skills, focus on structured practice, use video resources effectively, and apply consistent progress techniques. Breaking down complex forms step by step and studying anatomy will strengthen your figure work.
Step-by-Step Practice Routines
Start with basic shapes and simple gestures to capture the overall posture quickly. Use timed sessions, such as 1- to 5-minute poses, to sharpen your ability to see proportions and movement.
Gradually add details by focusing on anatomy—bones, muscles, and joints—to give your figures structure. You can follow a routine that includes:
- Quick gesture drawings
- Constructive drawing of skeleton and muscles
- Refining outlines and shading
Using resources that allow you to customize session duration helps you target weaknesses. Aim to practice daily, mixing short and longer poses to develop both speed and detail accuracy.
Utilizing Video Tutorials
Videos provide visual demonstrations that guide you through figure drawing sequences clearly. Look for step-by-step figure drawing tutorials that explain anatomy, proportion, and posture in real time.
Follow tutorials that show live sketches or time-lapses, so you can see the decision-making process as it happens. Pause and replay sections to practice specific steps, such as foreshortening or hand placement.
Combine video tutorials with practice tools like Line of Action, which offers customizable timed sessions and tips. This approach strengthens your observational skills and helps you internalize anatomy.
Tips for Continuous Progress
Track your progress by regularly comparing your drawings to earlier attempts. Focus on mastering one skill at a time, like gesture or anatomy, before moving to the next.
Seek feedback through forums or social platforms to identify problem areas. Setting clear goals, such as improving hand drawing or facial proportions, maintains your focus.
Use diverse resources: combine books, videos, and online tools to avoid stagnation. Consistency matters more than duration—short, daily practice beats occasional long sessions.
- 285shares
- Facebook0
- Pinterest285
- Twitter0


