Lumion is a powerful tool for creating stunning architectural visualizations that can elevate your projects to the next level. By mastering Lumion, you can transform your architectural designs into immersive experiences that engage your audience and showcase your vision effectively.
In this article, you will discover five comprehensive tutorials that will guide you through various techniques and features of Lumion. These tutorials are designed to enhance your skills and help you produce breathtaking visualizations, making your presentations stand out.



1) “Creating Realistic Materials in Lumion” by Lumion Official
Creating realistic materials in Lumion is essential for achieving high-quality architectural visualizations. Start by selecting a model or surface that you want to enhance with materials.
Lumion provides a vast library of materials. You can easily drag and drop them onto your model. Adjusting properties such as glossiness, reflection, and transparency helps to refine the appearance.
Use the Material Editor to fine-tune textures. Import custom textures if the available options do not meet your needs. You can manipulate parameters like scale and rotation for a more tailored look.
Lighting plays a critical role in material realism. Experiment with different light settings to see how they interact with your materials. This can greatly affect the overall feel of your visualization.
You can also apply advanced features like displacement mapping for added depth. This technique can enhance surfaces, making them appear more realistic.
Lastly, preview your materials in various lighting conditions to ensure they perform well in different settings. With these steps, you can elevate your architectural renders significantly.
2) “Lighting Techniques for Stunning Visuals” by Lauren Dumstorff
Lighting plays a crucial role in architectural visualization. You can enhance the realism and mood of your scenes with proper techniques.
Begin by utilizing natural light sources. Position your buildings strategically to take advantage of sunlight. This can create dynamic shadows and highlights that add depth.
Consider the time of day when rendering. Morning and evening light can produce warm tones, while midday sunlight may lend a cooler look. Experiment with these variations to find the one that best suits your design.
Artificial lighting is equally important. Use spotlights and area lights to emphasize architectural features. Adjust their intensity to balance with natural light, ensuring the scene remains cohesive.
Don’t overlook color temperature. Warmer lights create a welcoming atmosphere. Cooler lights can evoke a modern or minimalist feel.
Finally, experiment with different lighting angles. This can drastically change the appearance of your model. Try lighting from below for dramatic effects or from the sides to highlight textures.
These techniques will help you achieve stunning visuals that showcase your architectural designs effectively.

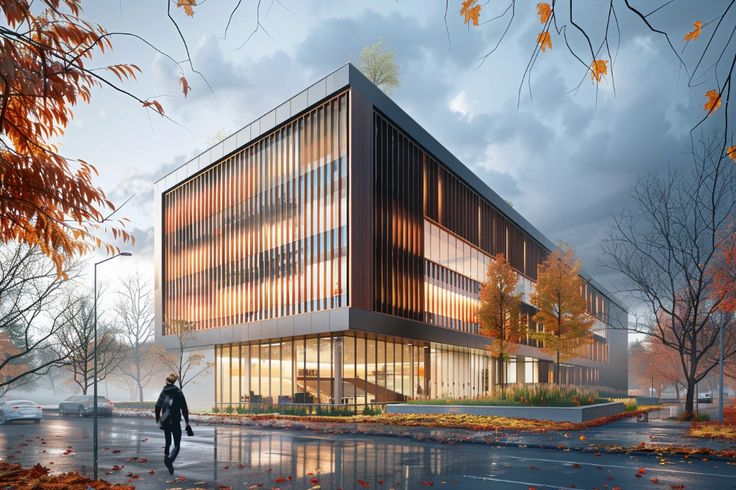
3) Mastering Terrain and Landscapes in Lumion by TEDx Talks
In “Mastering Terrain and Landscapes in Lumion,” TEDx Talks provides essential techniques to enhance your architectural visualizations. This tutorial focuses on how to create realistic terrains and landscapes that complement your designs.
You will learn how to use Lumion’s terrain editing tools effectively. The video walks you through transforming flat land into dynamic landscapes, featuring hills, valleys, and other geographical elements.
Adding vegetation enhances realism. The tutorial covers selecting and placing trees, plants, and shrubs that suit your project’s context. You’ll see how different species can affect the overall ambiance.
Lighting effects contribute to landscape realism. The discussion includes how to adjust sunlight and shadows, enhancing depth and dimension in your visualizations.
Additionally, water features play a critical role in landscape design. The tutorial highlights how to add lakes, rivers, or ponds that integrate smoothly with your terrain.
By following this tutorial, you gain practical insights that allow you to create visually striking landscapes that elevate your architectural projects.
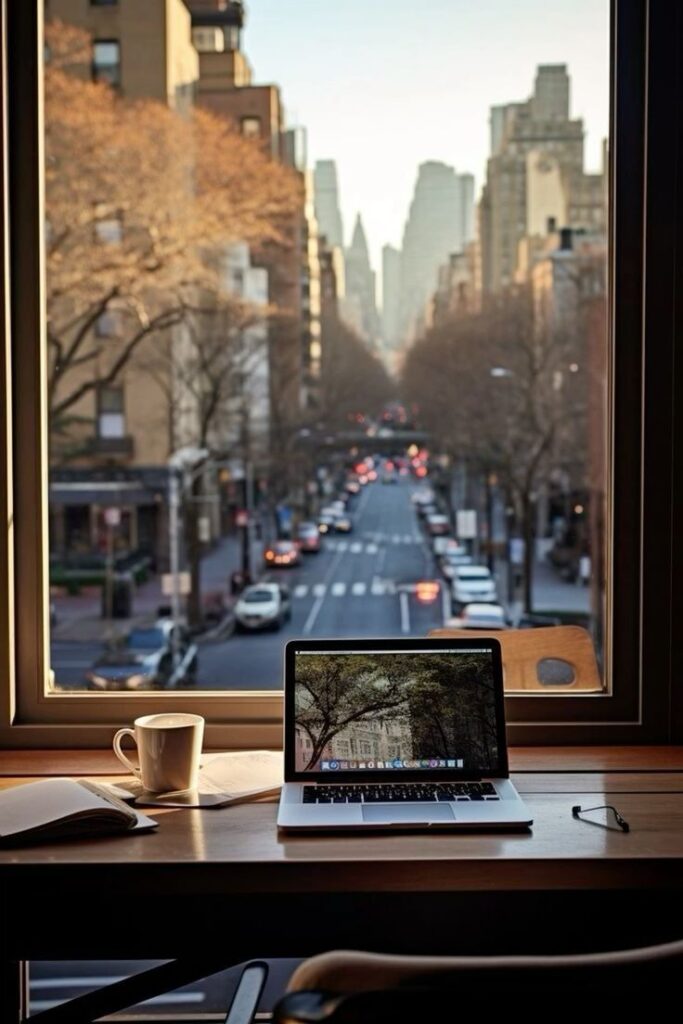
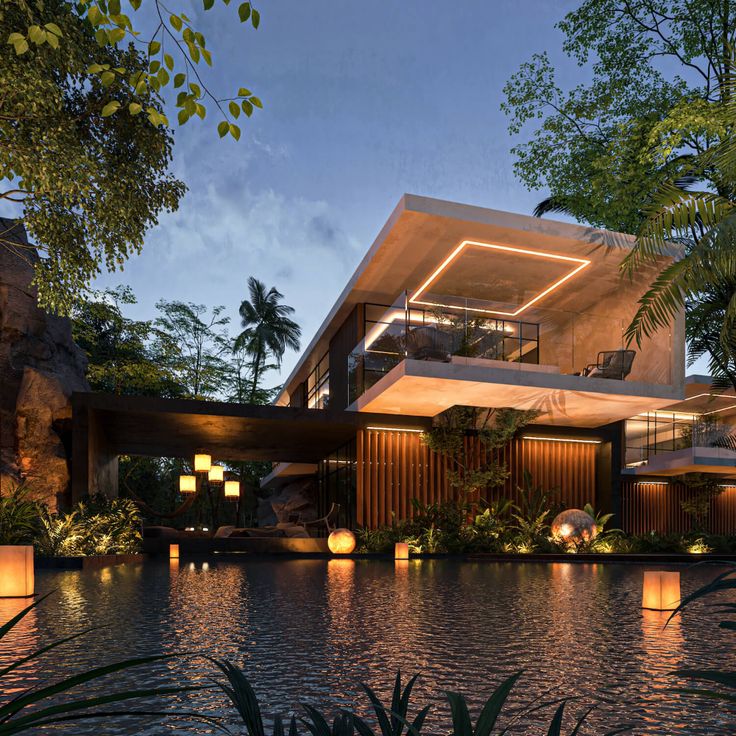
4) “Advanced Animation Techniques” by Lumion Livestream
In this tutorial, you will explore advanced animation techniques that enhance your architectural visualizations. The Lumion Livestream provides insights into creating dynamic scenes that captivate your audience.
You will learn how to use keyframe animations effectively. Adjusting elements such as objects, cameras, and even light settings transforms static images into animated sequences.
The tutorial demonstrates the importance of timing and movement paths. By carefully planning your animations, you can guide viewers through your project with intention.
Additionally, you’ll discover how to incorporate environmental effects. Techniques such as weather changes, plant movements, and dynamic lighting enhance realism in your animations.
Finally, you will get tips on rendering animated scenes efficiently. Understanding the settings in Lumion helps you achieve high-quality results without lengthy processing times.

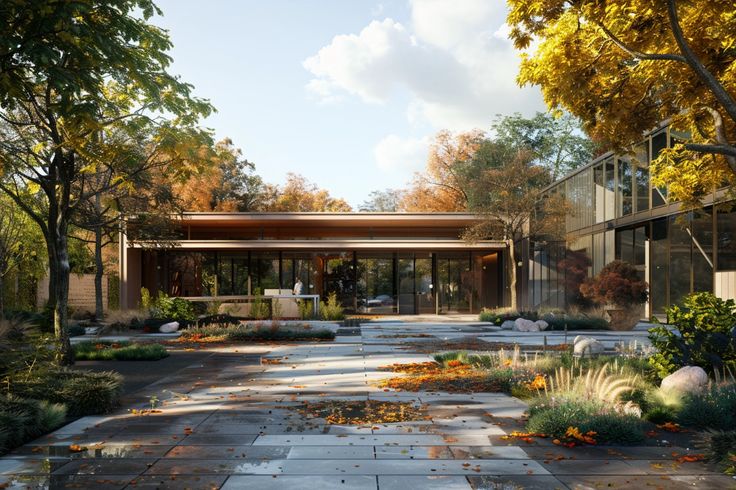
5) “Enhancing Architectural Details with Effects” by Architectural Digest
In this tutorial, you will explore various effects that can elevate architectural visualizations in Lumion. Architectural Digest provides practical tips to enhance details that make your projects stand out.
You’ll learn how to use light and shadow effectively. Adjusting these elements can create depth and realism in your renderings. You can manipulate the time of day to achieve specific lighting conditions that highlight your design’s strengths.
Adding atmospheric effects will also be discussed. Techniques like fog, rain, or sunlight glare can add drama to your scene while emphasizing the architectural features.
The tutorial emphasizes using materials and textures appropriately. You’ll see how different finishes can affect the perception of a space. Properly applied, they lend authenticity to your models.
Lastly, consider the role of greenery and water features. These elements add life and context to your designs. You will discover how to integrate them seamlessly into your visualizations to create more compelling presentations.
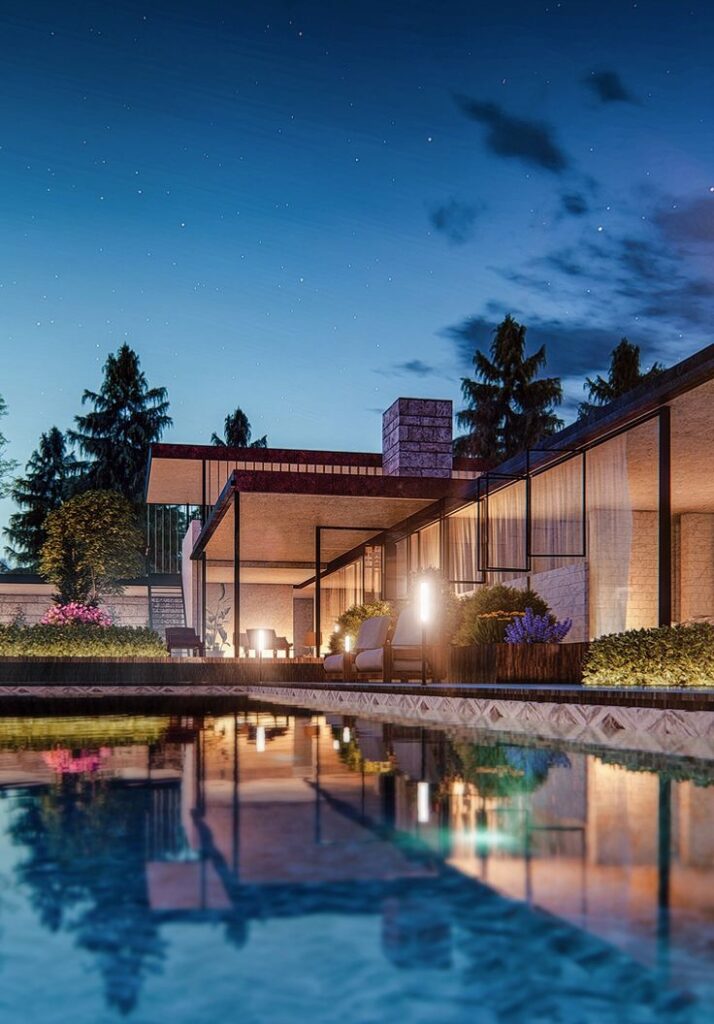
Understanding Lumion Rendering
Lumion Rendering is a powerful tool specifically designed for architects and designers. It enhances visual presentations through its intuitive features, making it easier to create impressive architectural renderings.
Core Features of Lumion
Lumion offers a variety of core features that streamline the rendering process. Key aspects include:
- Real-time Rendering: Quickly visualize designs with immediate feedback. This allows for faster decision-making and experimentation.
- Extensive Library: Access a rich collection of assets such as trees, furniture, people, and vehicles to populate your scenes and create realistic environments.
- Weather and Lighting Effects: Easily manipulate sun position, cloud coverage, and weather conditions to achieve desired atmospheric effects.
- 3D Materials and Textures: Apply realistic materials with detailed textures, including glass, metal, and natural elements, enhancing the authenticity of your visualizations.
These tools collectively enable you to create high-quality renderings effectively and efficiently.
Benefits for Architects
Using Lumion provides distinct advantages for architects. Here are some notable benefits:
- Faster Workflow: The user-friendly interface allows for quicker project completion. You can import models directly from popular CAD software, which saves time on model preparation.
- Enhanced Client Communication: High-quality visualizations help convey your design intentions clearly. Clients can better understand projects, leading to fewer misunderstandings and revisions.
- Creative Freedom: The variety of features lets you experiment with different design choices. You can customize scenes easily, which fosters creativity and innovation in your work.
These benefits contribute to a more productive design process and improved client interactions.
Enhancing Realism in Architectural Visualizations
Achieving realism in architectural visualizations involves meticulous attention to lighting and textures. These elements can significantly impact how viewers perceive a design, making it essential to master these techniques.
Lighting Techniques
Effective lighting is critical for creating lifelike architectural renderings. You can use natural light sources, like the sun, to enhance your scene. Adjust the sun’s position to simulate different times of day, considering the angle and intensity of light.
In addition, utilize artificial lights to illuminate interior spaces. Use spotlights, ambient lights, and area lights strategically to add depth. Make sure to pay attention to shadows, as they can improve the perception of space and structure.
Experiment with global illumination to enhance light distribution. This technique helps to simulate how light interacts with surfaces, creating a more realistic ambiance.
Texture and Material Application
Textures and materials play a fundamental role in realism. Choose high-resolution textures that reflect the true nature of materials like wood, concrete, and glass. Pay close attention to the scale of these textures; they should match the real-world dimensions.
Utilize material properties effectively, including reflectivity and roughness. Adjusting these properties can make surfaces appear shiny, matte, or even rough, closely mimicking their real-life counterparts.
Incorporate bump maps and normal maps to add depth and surface detail. These techniques create the illusion of texture on flat surfaces without adding extra geometry, enhancing realism without compromising performance.
- 118shares
- Facebook0
- Pinterest118
- Twitter0
- Reddit0
