Airplane drawing works best when you start with the big shape first: a long fuselage, two wings that match in angle, a tail, and a clear nose direction. Once that simple structure feels right, you can turn it into a cartoon plane, a biplane, a jet, a cockpit study, or a full takeoff scene.
- Airplane drawing ideas: what to sketch first
- How to draw an airplane step by step
- 1. Doodle a classic biplane
- 2. Sketch a futuristic jet
- 3. Draw a cartoon airplane
- 4. Illustrate a detailed cockpit
- 5. Create a fantasy-themed aircraft
- 6. Design an eco-friendly plane
- 7. Depict an airplane in flight
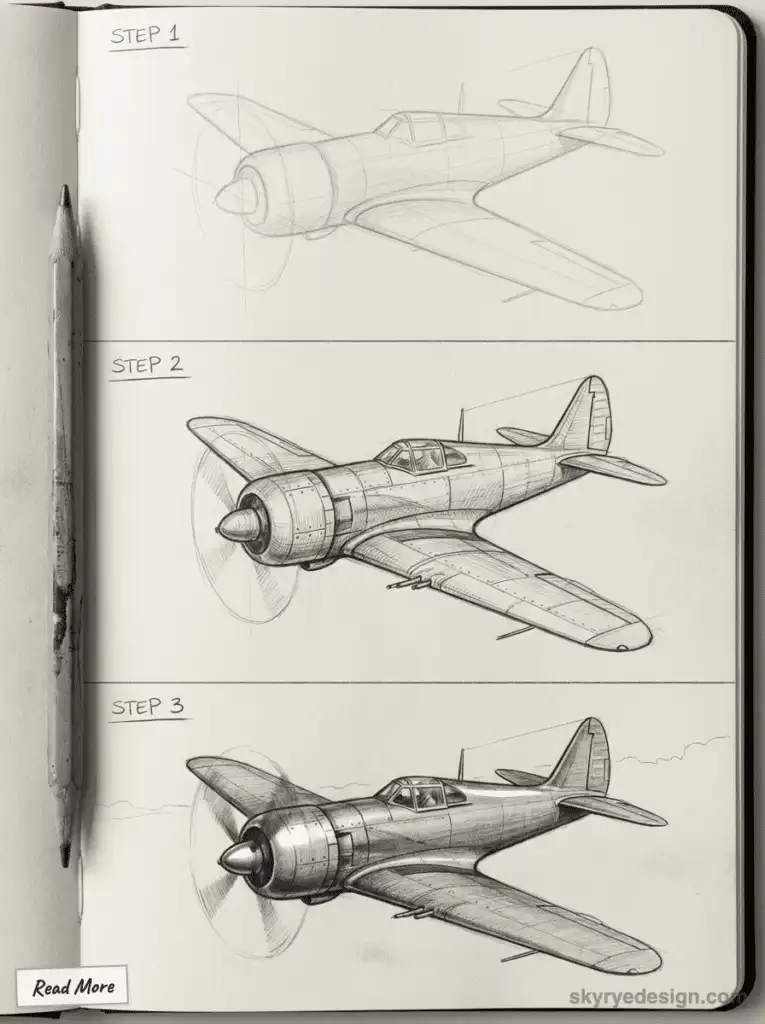
- 8. Sketch an airplane from the 1920s
- 9. Draw an airplane wing detail
- 10. Illustrate a plane taking off
- Basic airplane drawing techniques
- Choosing the right tools
- Understanding airplane anatomy
- More vehicle and sketching practice
- Common airplane drawing mistakes
- Frequently asked questions about airplane drawing
- Q: What is the easiest airplane drawing for beginners?
- Q: How do you draw an airplane step by step?
- Q: How do you make an airplane drawing look realistic?
- Q: What should I draw first on a plane?
- Q: What materials work best for airplane sketches?
- Q: How do you draw airplane wings evenly?
- Q: Are airplane drawings good practice for kids?
I like airplane sketches because they punish vague proportions in a useful way. If one wing sits a little too high, the whole aircraft feels tilted. If the tail is too large, the plane starts looking toy-like. Use these airplane drawing ideas as practice for symmetry, perspective, clean line weight, and mechanical detail.
Airplane drawing ideas: what to sketch first
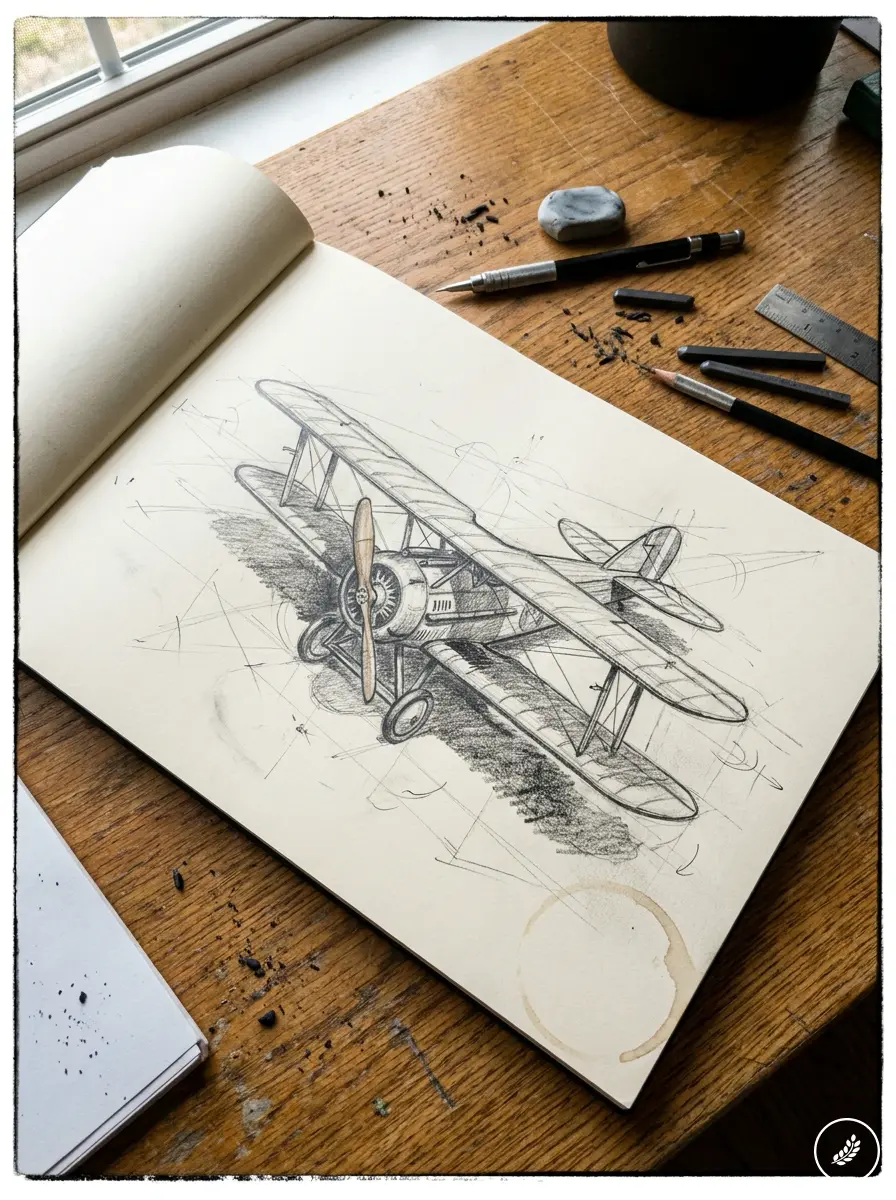
If you are new to airplane drawing, start with a side-view plane or cartoon airplane before trying a complex cockpit or banking jet. The easy versions teach the core aircraft anatomy without forcing you to solve perspective, reflections, and tiny panel details at the same time.
| Idea | Best for | Sketching note |
|---|---|---|
| Cartoon airplane | Beginners and kids | Use an oval body, triangle wings, and a friendly cockpit. |
| Biplane | Vintage aircraft practice | Keep the two wings parallel and connect them with simple struts. |
| Futuristic jet | Design sketching | Push the silhouette first, then add engines and panel lines. |
| Cockpit close-up | Detail practice | Block the window shape before adding instruments and seats. |
| Plane taking off | Perspective and motion | Use runway lines to make the aircraft feel like it is climbing. |
How to draw an airplane step by step
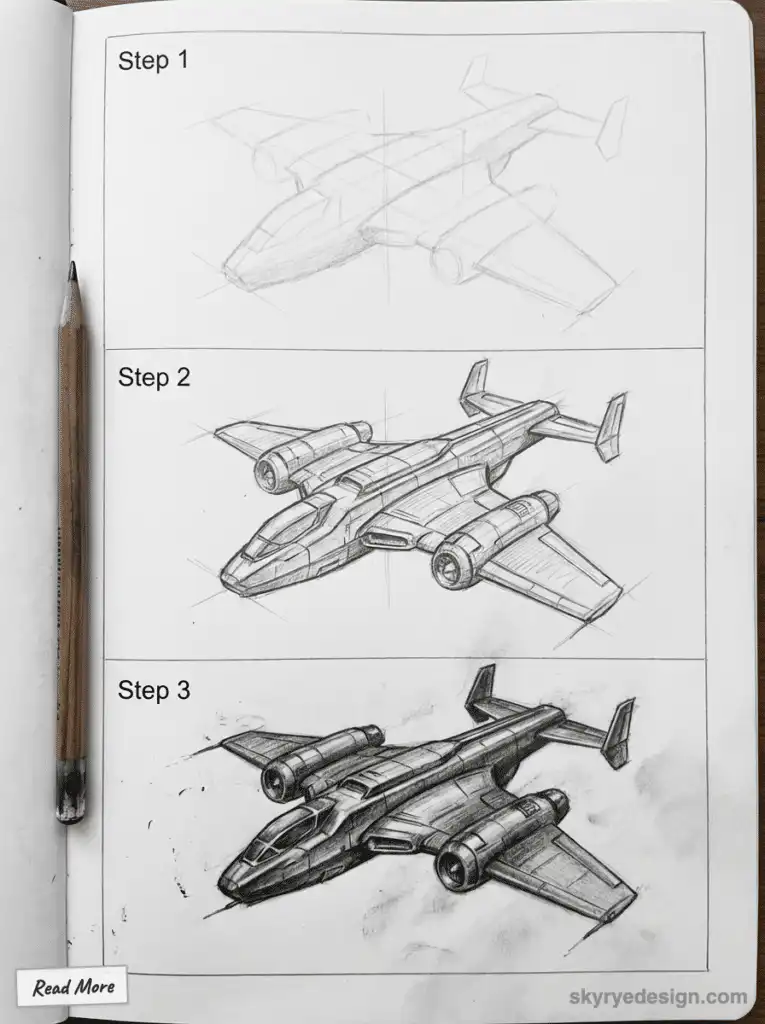
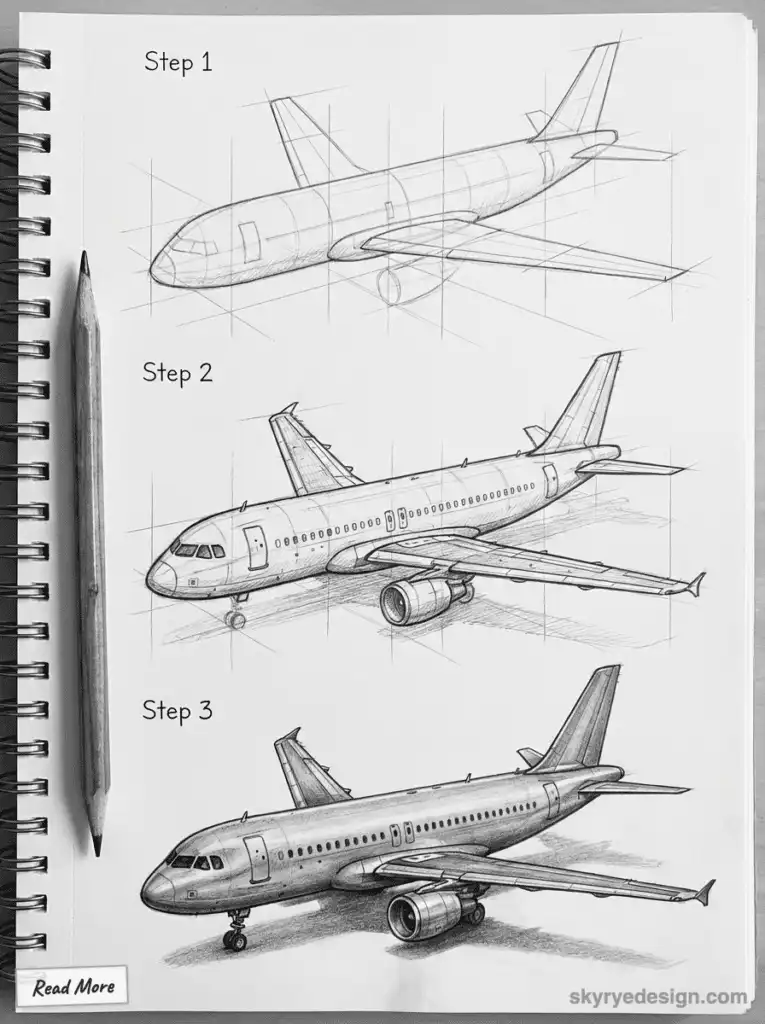
To draw an airplane, sketch a light centerline first, then build the fuselage as a long tube or tapered box. Add the main wings around the middle, place the tail fins at the back, and check that both sides line up before you add windows, engines, wheels, or panel seams. Keep the first pass pale so you can correct the wing angle without carving heavy eraser marks into the paper.
- Draw a centerline that shows the direction of the plane.
- Block in the fuselage with a rounded nose and narrower tail.
- Add matching wings, then compare their angles before darkening.
- Place the tail, cockpit, windows, engines, and landing gear.
- Finish with line weight, shadows under the wings, and small panel details.
1. Doodle a classic biplane
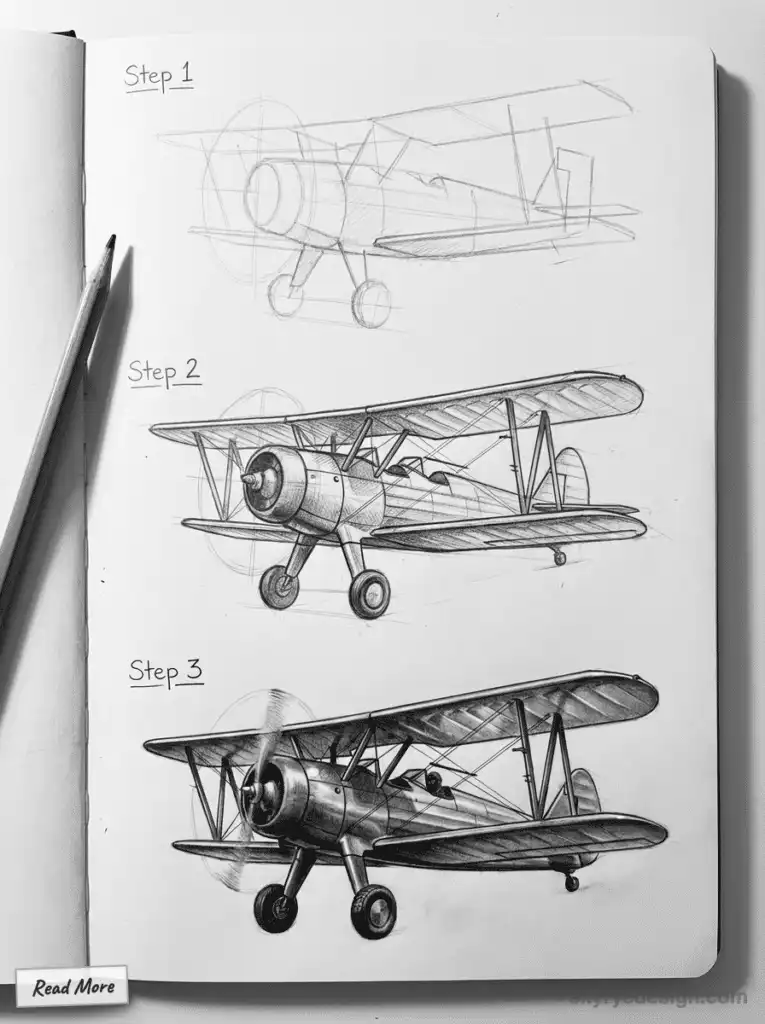
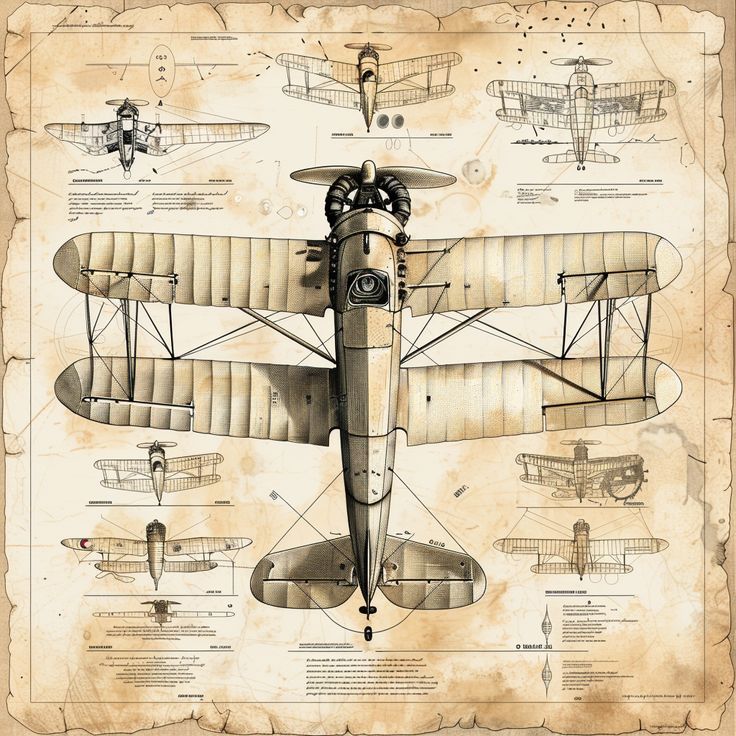
Drawing a classic biplane is a fun way to start your airplane sketching journey. Biplanes have a unique charm with their double wings and old-fashioned look.
Begin by sketching two long rectangles for the wings, one above the other. Connect them with small vertical lines to represent the struts.
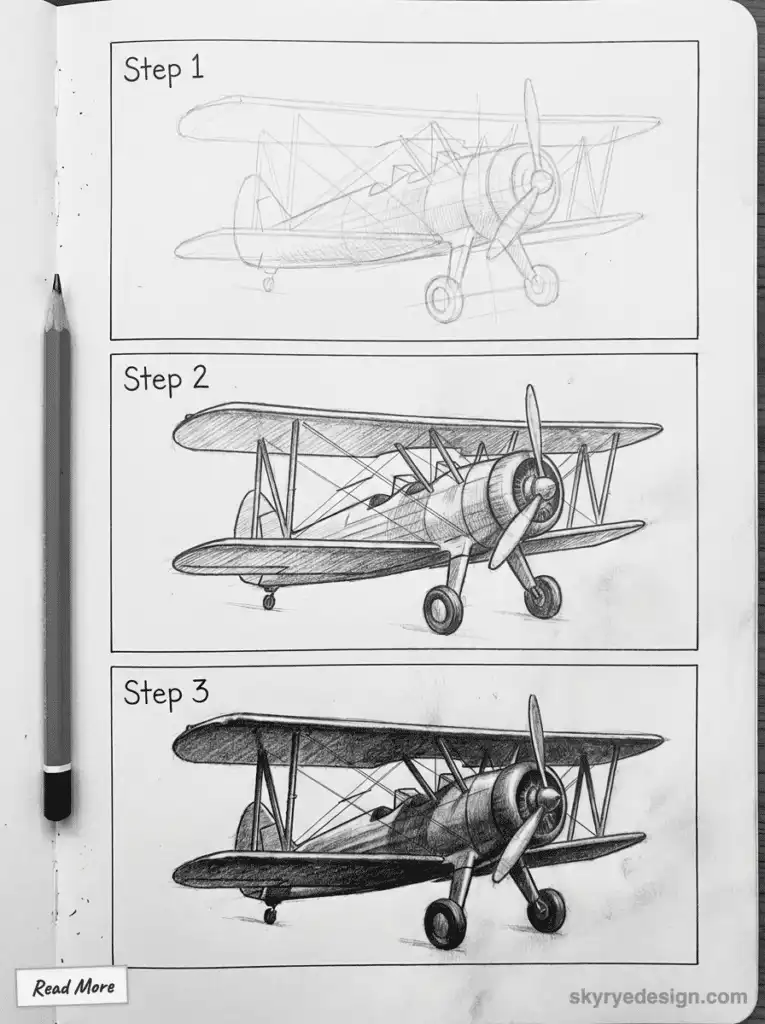
Next, add a small box-like shape for the cockpit between the wings. Draw a long, thin rectangle for the body of the plane, extending it past the wings.
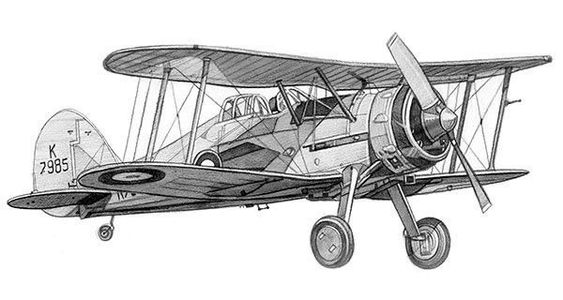
At the back, sketch a smaller set of wings called the tail. Don’t forget to add a vertical fin on top for the rudder.
Finish your biplane doodle with a propeller at the front and some simple wheels underneath. You can even add some fun details like a pilot or some clouds.
Remember, your biplane sketch doesn’t need to be perfect. The goal is to capture the essence of this classic aircraft design. Have fun with it and let your creativity soar!
2. Sketch a futuristic jet
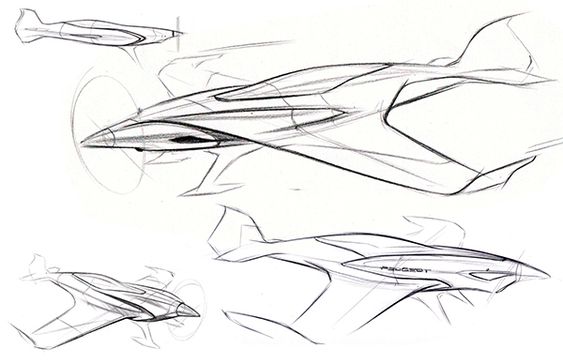
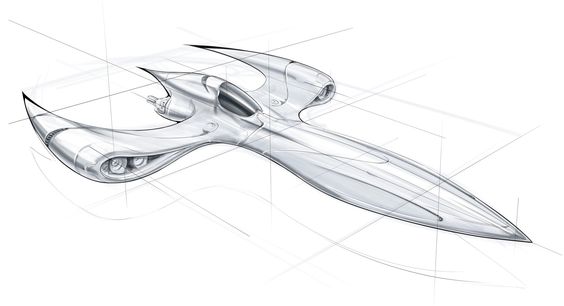
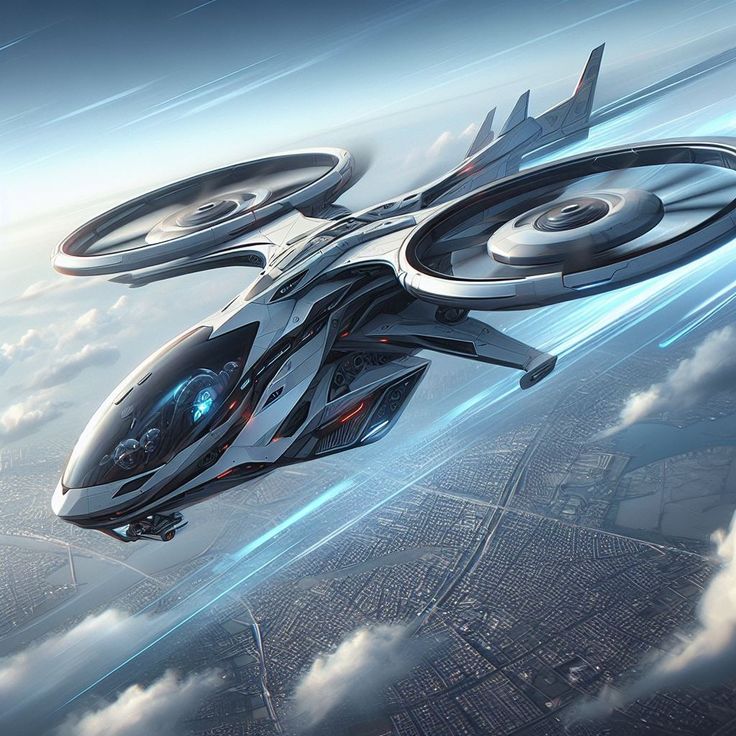
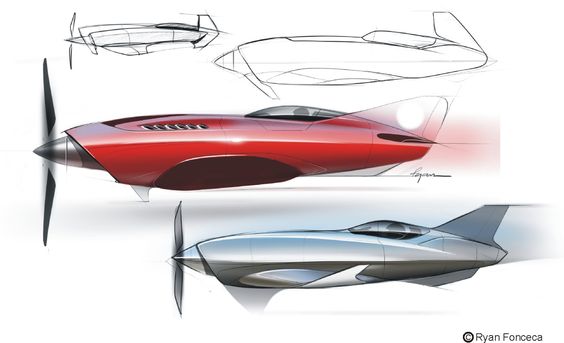
Drawing a futuristic jet can be an exciting way to let your imagination soar. Start with a sleek, streamlined shape that looks fast even on paper. Think about curved lines and smooth edges to create an aerodynamic look.
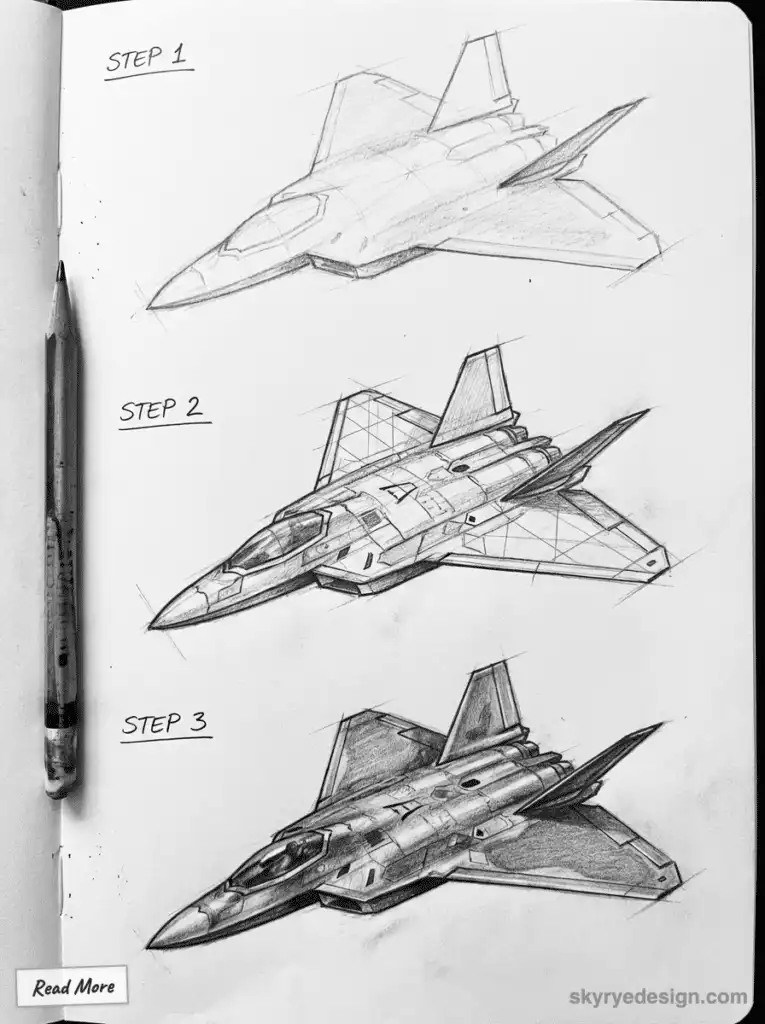
Add some unique features that set your jet apart. Maybe it has unconventional wing shapes or an extra set of smaller wings. Think about where the engines might be placed – perhaps they’re hidden inside the body for a smoother appearance.
Consider the cockpit design. A futuristic jet might have a bubble-like canopy or a sleek, pointed nose. Don’t forget to include some fun details like landing gear or weapon systems if it’s a military craft.
Color can bring your sketch to life. Cool metallic shades or bright neon accents can give it a high-tech feel. Remember, there’s no right or wrong way to draw a futuristic jet – let your creativity guide you!
3. Draw a cartoon airplane

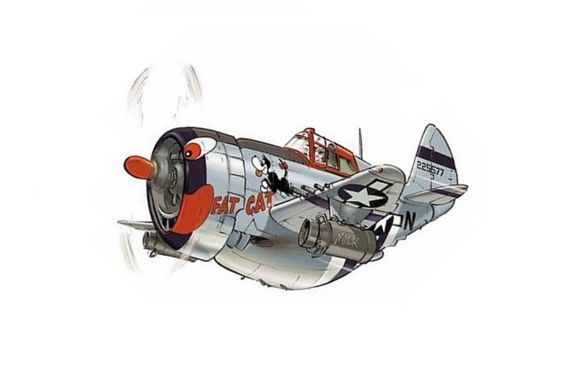
Drawing a cartoon airplane can be fun and easy. Start with a simple oval shape for the body. This will be the main part of the plane.
Add a smaller oval at the front for the cockpit. Make it look like a bubble on top of the plane’s nose.
Next, draw triangle shapes on each side for the wings. They don’t have to be perfect. Cartoon planes often have funny-looking wings.
Put a tail fin at the back. It can be a triangle or any shape you like. Some cartoon planes have really big, silly tails.
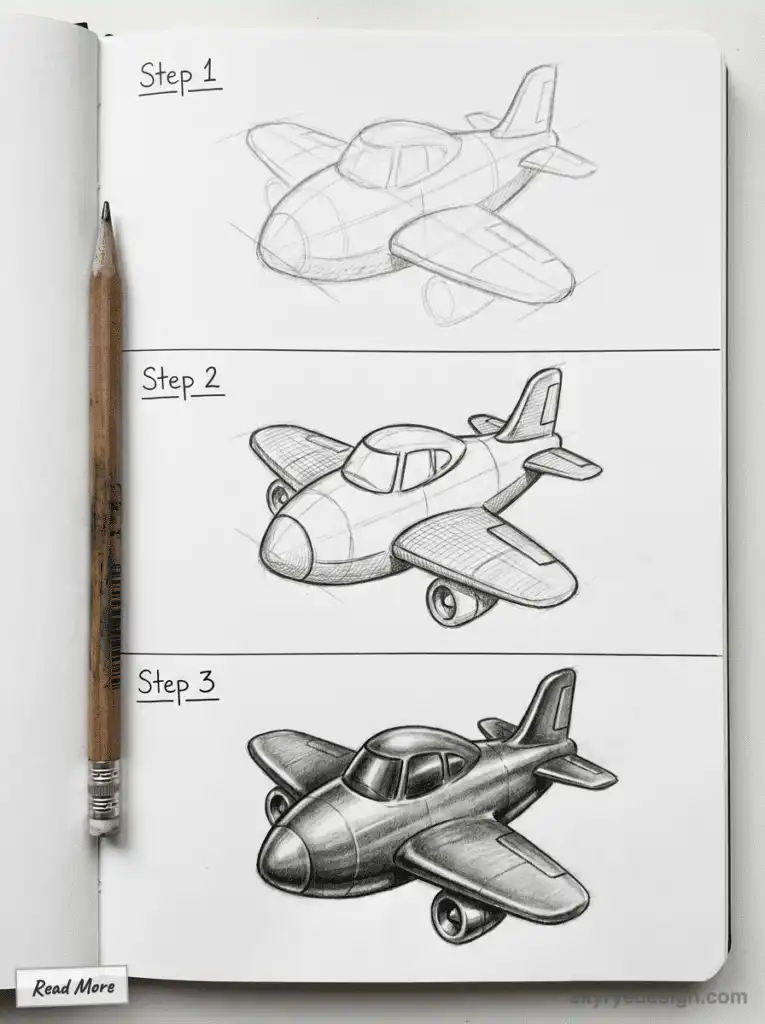
Don’t forget the propeller! Draw a circle at the front with some blades sticking out. You can make the blades wavy for a cool effect.
Add some simple details like windows, doors, or wheel bumps underneath. These little touches bring your plane to life.
Color your plane with bright, fun colors. Cartoon airplanes don’t have to look real. You can give them polka dots or stripes if you want!
Remember, there’s no wrong way to draw a cartoon plane. Let your imagination fly and have fun with it!
4. Illustrate a detailed cockpit
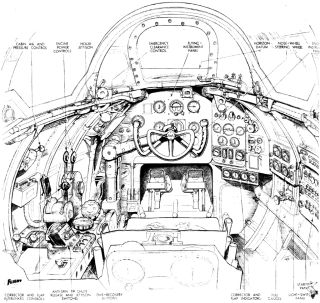
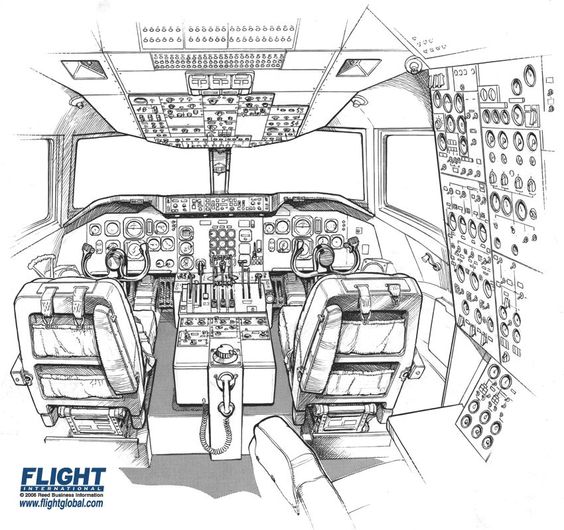
Drawing a detailed airplane cockpit can be an exciting challenge for artists. The cockpit is the heart of the aircraft, filled with instruments and controls.
Start by sketching the basic shape of the cockpit. Include the windows, control panel, and seats. Pay attention to the curves and angles of the cockpit’s structure.
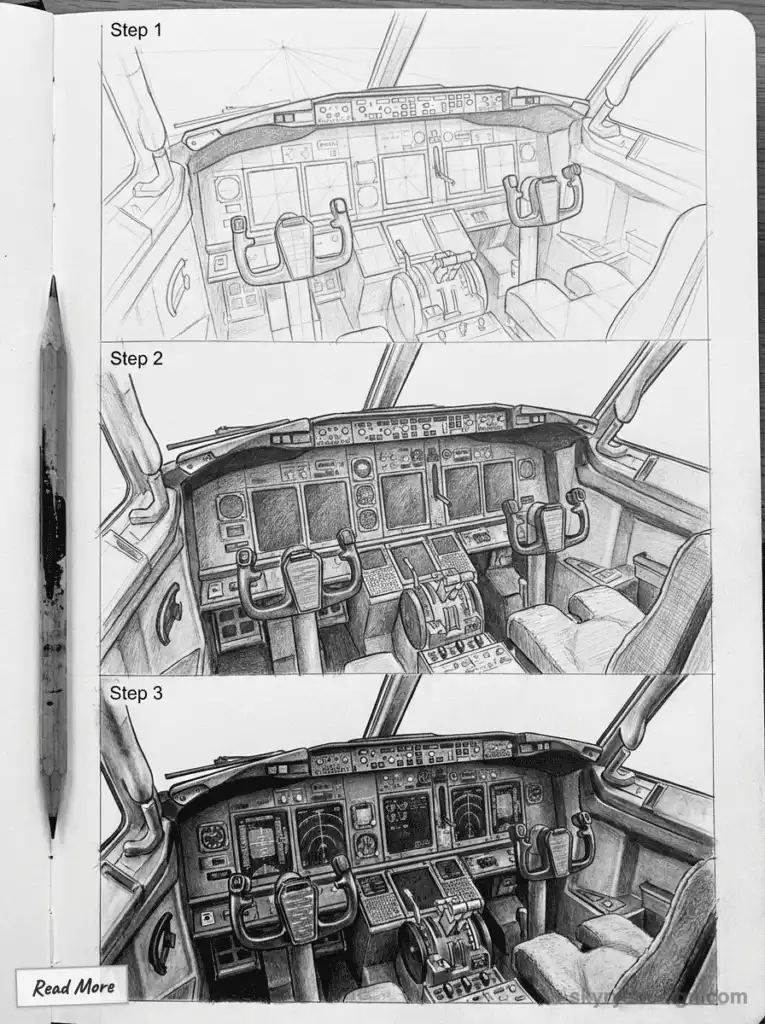
Next, add the main instruments. The flight deck typically contains displays showing speed, altitude, and other crucial information. Draw screens, gauges, and switches across the control panel.
Don’t forget the yoke or sidestick used to steer the plane. Include other controls like throttles and rudder pedals. These details bring the cockpit to life.
For realism, add texture to the seats and panels. Small labels on buttons and switches can enhance the authenticity. Consider adding reflections on the windshield for extra depth.
Remember to include the pilots in your drawing. Their presence can give a sense of scale to the cockpit. Showing them interacting with the controls adds action to the scene.
5. Create a fantasy-themed aircraft
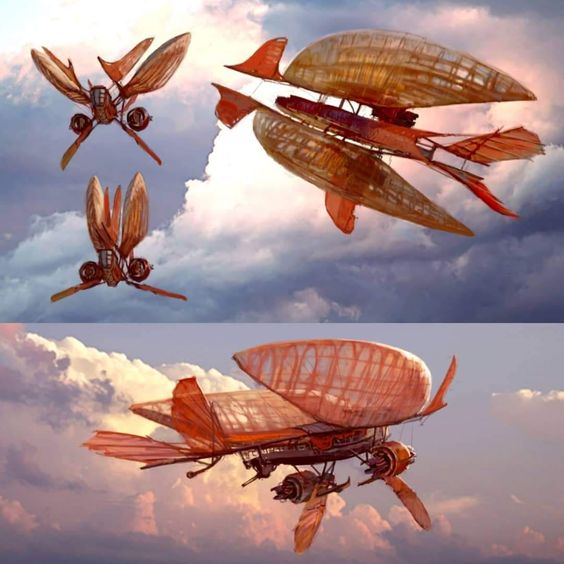
Fantasy-themed aircraft can spark imagination and bring magic to the skies. Artists can blend real airplane parts with mythical elements to create unique flying machines.
One idea is to draw a dragon-shaped plane. The body could be long and scaly, with wings that unfold like a dragon’s. The cockpit might sit in the dragon’s head, with eyes that glow.
Another option is a fairy-inspired aircraft. It could have delicate, butterfly-like wings and a body shaped like a flower petal. Sparkles and swirls of pixie dust could trail behind it as it flies.
For a more whimsical design, consider a flying castle. This aircraft could have turrets, flags, and even a drawbridge. Propellers or magical floating crystals might keep it aloft.
Artists can also mix fantasy creatures with airplane parts. A pegasus with jet engines or a phoenix with rocket boosters are fun ideas to explore.
When creating these designs, it’s helpful to study real aircraft plans for inspiration on basic shapes and structures. This knowledge can be combined with fantasy elements for a more believable result.
6. Design an eco-friendly plane
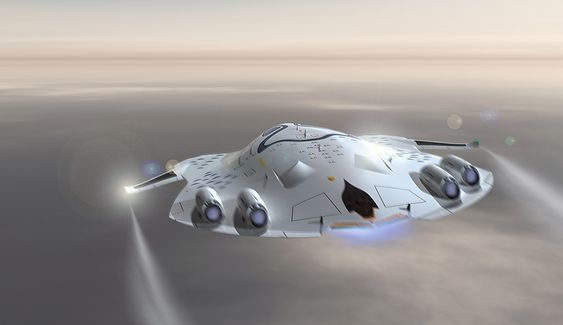
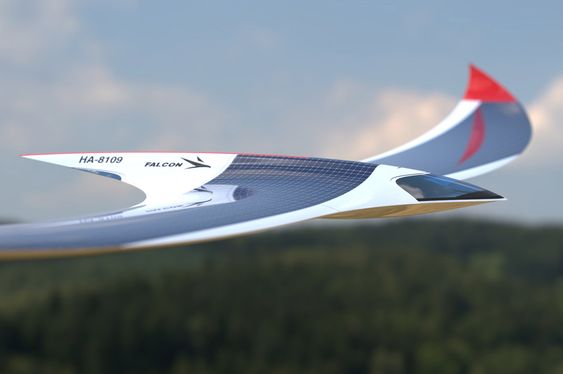
Drawing an eco-friendly plane can be a fun and creative challenge. Artists can explore new ideas for aircraft that are kinder to the environment.
Start by sketching a sleek, aerodynamic body shape. This helps reduce air resistance and improve fuel efficiency. Consider adding solar panels on the wings to harness clean energy during flight.
Electric engines – another eco-friendly innovation to pack into your design. Place them in the aircraft in a way that makes the most of their performance capabilities, not just tacking them on wherever seems easiest. Don’t neglect providing ample space for the batteries that’ll power these engines – that’s going to be a crucial part of the overall system.
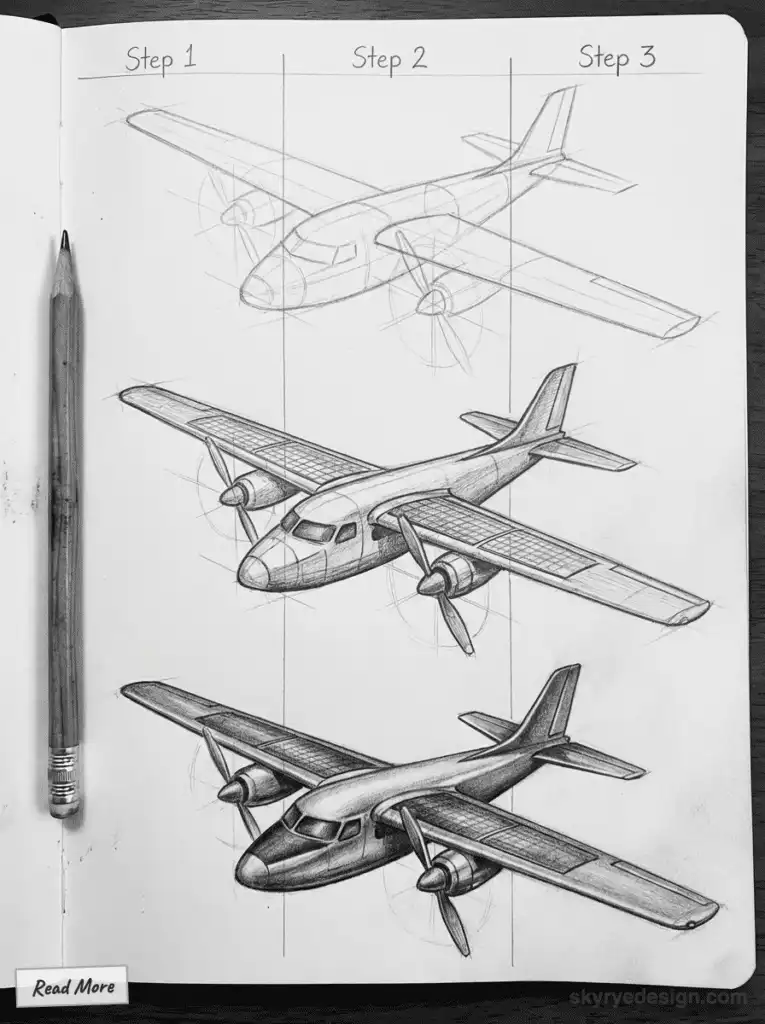
Key to making your eco-plane fly smoothly is using lightweight materials. Show how advanced composites or just plain sustainable materials can be used in your design to knock down that plane’s overall weight & cut fuel consumption – it’s a combination that’s a no-brainer.
Consider adding some features that’ll set your eco-plane apart from the pack. Maybe some vertical takeoff capabilities, or foldable wings that make it super easy to stash the plane in a tight space when it’s not in use. Let your imagination run free – create an aircraft that not only moves the ball forward for innovation , but also genuinely looks after the planet.
Make sure you incorporate soft, flowing lines in your design to give a sense that the plane is in harmony with the natural world. A green colour scheme wont hurt either – it’s a nice touch that helps hammer home the eco-friendly vibe you’re going for.
7. Depict an airplane in flight
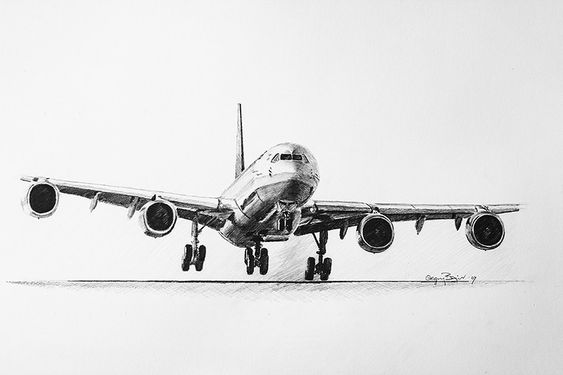
Drawing an airplane in flight can be an exciting challenge for artists. It allows them to capture the grace and power of these flying machines.
One approach is to show the plane soaring through clouds. This can create a sense of height and movement. Artists might add wispy cloud trails behind the wings to emphasize speed.
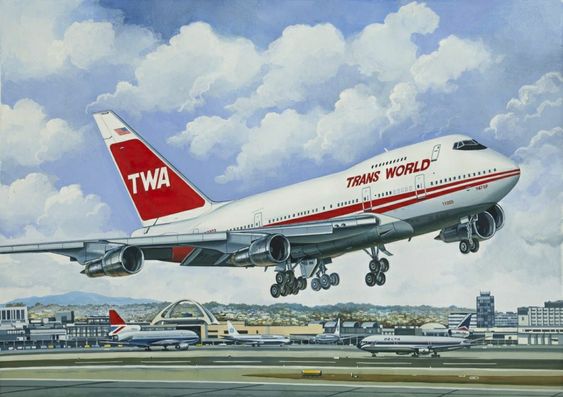
Another idea is to draw the airplane during takeoff or landing. This can showcase the dramatic angles of the plane as it climbs or descends. Adding runway lights or airport buildings in the background can set the scene.
For a more dynamic image, artists can depict the plane banking or turning. This shows off the aircraft’s sleek lines and aerodynamic shape. Streamlined shapes and inventive ideas can make the drawing more visually interesting.
Including details like sunlight glinting off the fuselage or contrails in the sky can add realism. These small touches can bring the scene to life and make the airplane feel like it’s really flying.
8. Sketch an airplane from the 1920s
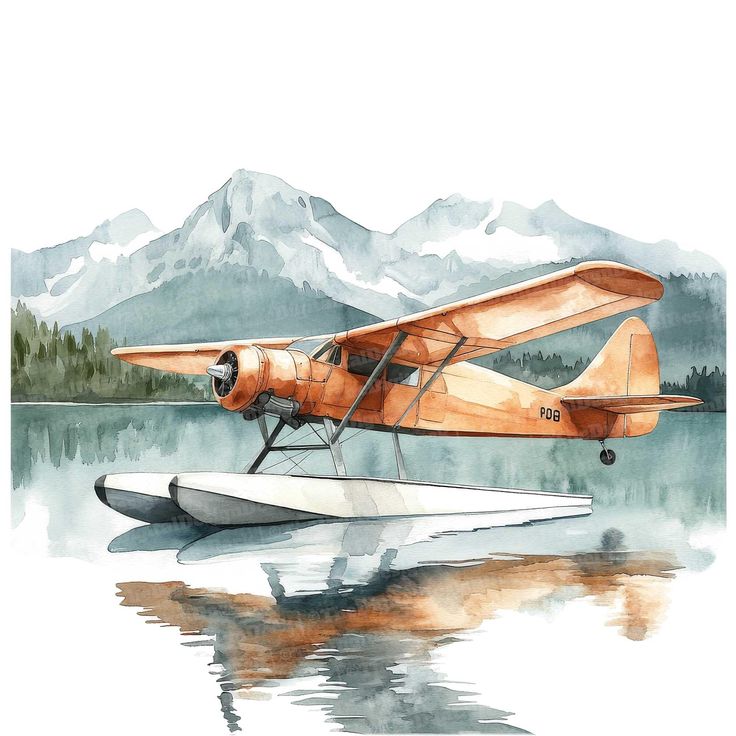
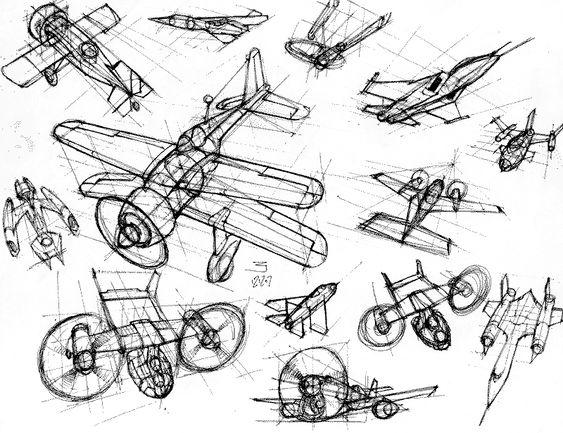
The 1920s saw big changes in airplane design. Planes from this era had a unique look that artists love to draw.
Most 1920s planes had two wings, one on top of the other. This is called a biplane. The wings were often held together by wires and struts.
The body of the plane, called the fuselage, was usually made of wood and fabric. It had an open cockpit where the pilot sat.
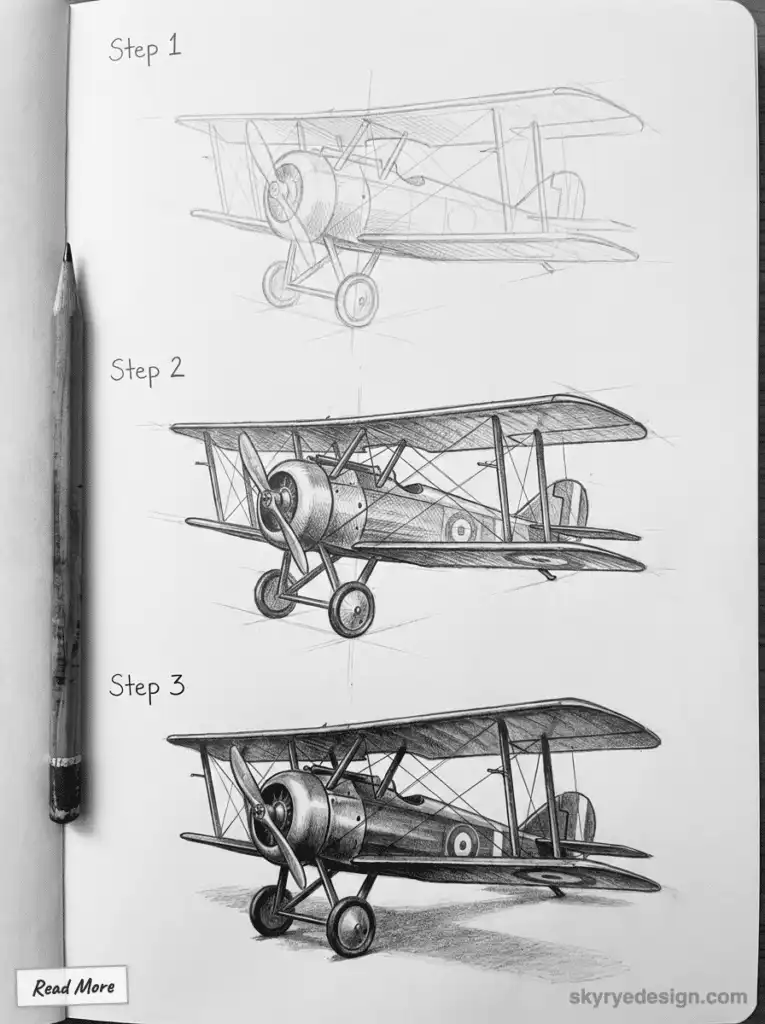
Propellers were common in 1920s planes. They were usually at the front, pulling the plane through the air.
When drawing a 1920s plane, focus on its boxy shape and many visible parts. Add details like the round engine cowling and tail rudder.
Don’t forget the landing gear! Most planes from this time had fixed wheels that didn’t fold up during flight.
Artists can have fun with the plane’s paint job. Many 1920s planes had bright colors and bold designs to catch the eye.
9. Draw an airplane wing detail
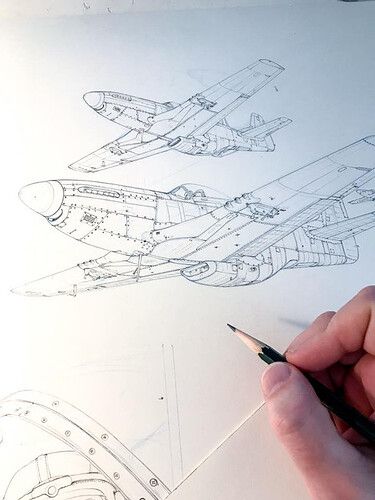
Drawing an airplane wing detail can be a fun and rewarding project. It allows artists to showcase the intricate design of aircraft wings.
To start, sketch the basic shape of the wing. Pay attention to its curve and taper. Add the leading and trailing edges, which give the wing its aerodynamic properties.
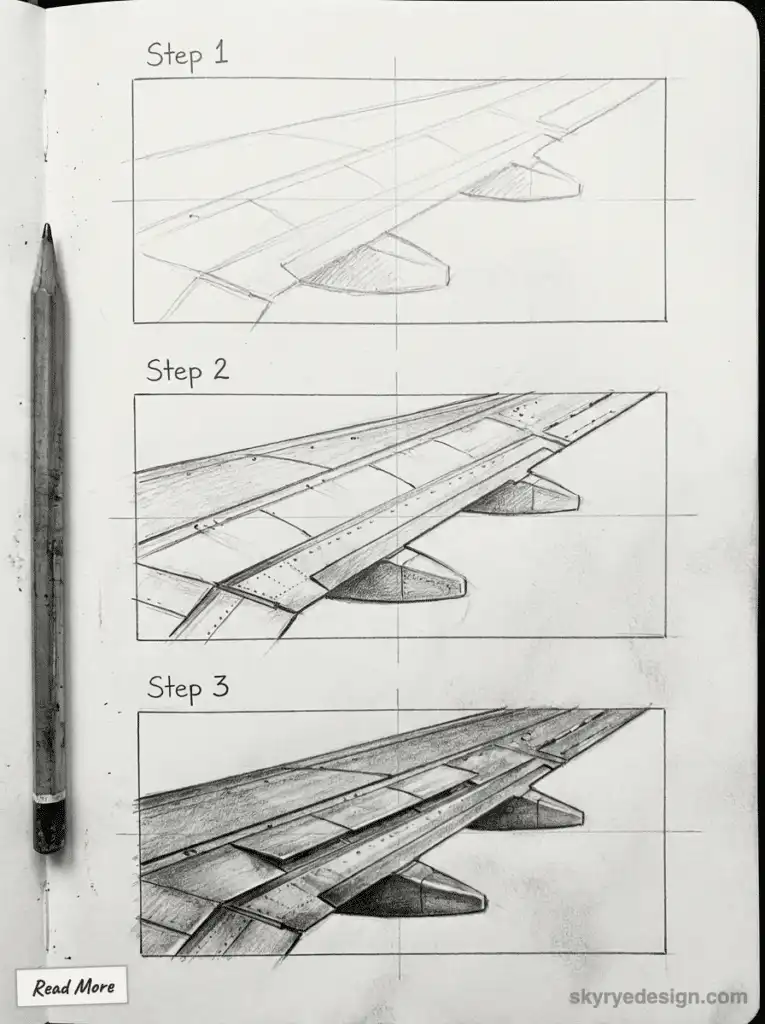
Next, focus on the wing’s surface details. Include panel lines, rivets, and access panels. These small touches make the drawing more realistic and interesting.
Don’t forget to add winglets if the aircraft has them. These vertical extensions at the wingtips improve efficiency.
Consider including control surfaces like ailerons and flaps. These movable parts help the plane maneuver and adjust its lift.
For a more technical drawing, add cross-section views. These show the internal structure of the wing, including spars and ribs.
Remember to use shading to give the wing depth and dimension. This helps bring the drawing to life and makes it more visually appealing.
10. Illustrate a plane taking off
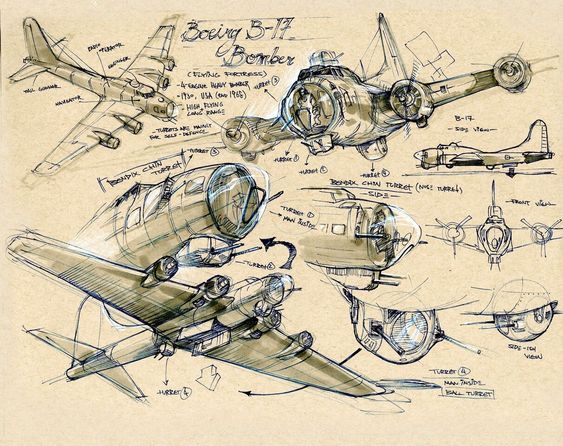
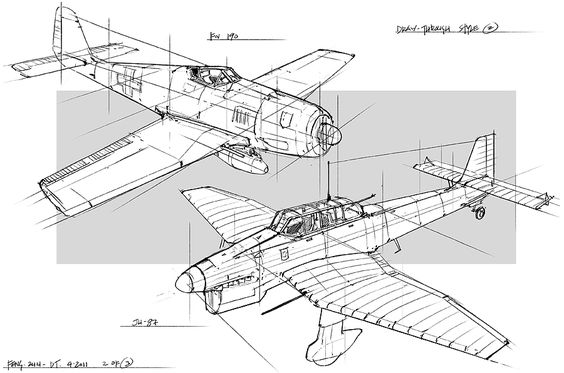
Drawing a plane taking off can be an exciting way to capture the thrill of flight. Start by sketching the runway, adding perspective lines to create depth.
Next, draw the plane’s body, wings, and tail. Position it at an upward angle to show it leaving the ground. Add details like wheels retracting and flaps extended.
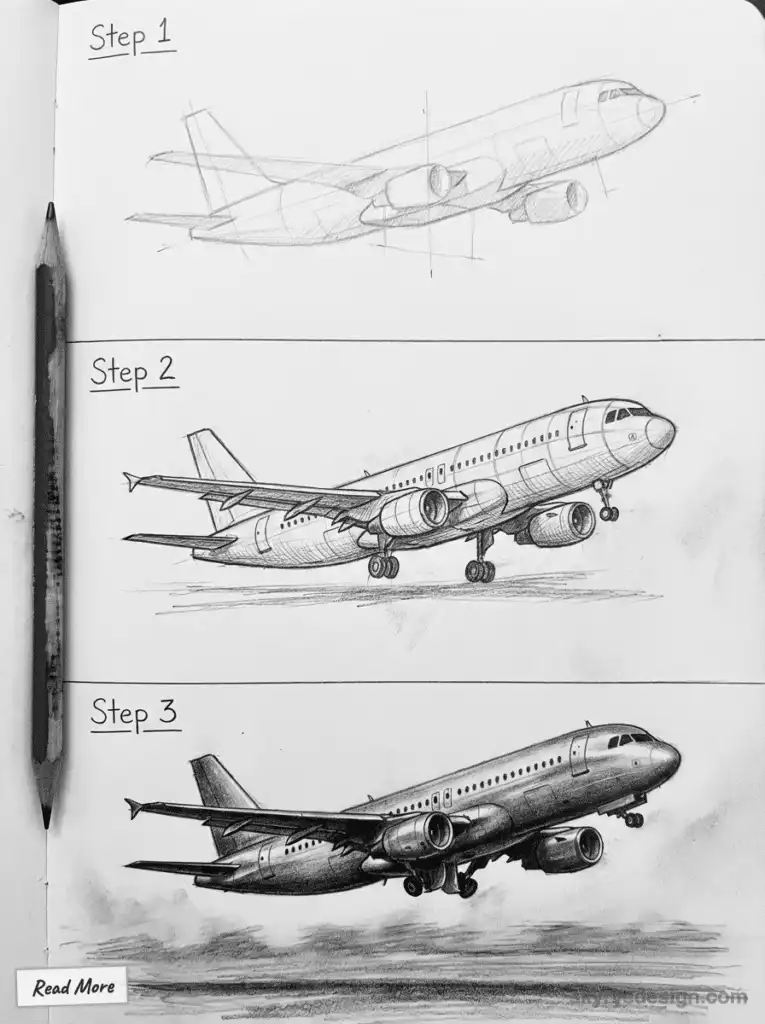
Don’t forget to include the sky and clouds in the background. This helps create a sense of motion and height.
Illustrating the fundamentals of flight can make your drawing more realistic. Show the lift forces acting on the wings as the plane rises.
To add drama, draw exhaust trails behind the engines. This emphasizes the power needed for takeoff. You can also include people or vehicles on the ground for scale.
Remember to pay attention to lighting and shadows. The sun’s position can create interesting effects on the plane and runway. With practice, anyone can create an exciting illustration of a plane taking off.
Basic airplane drawing techniques
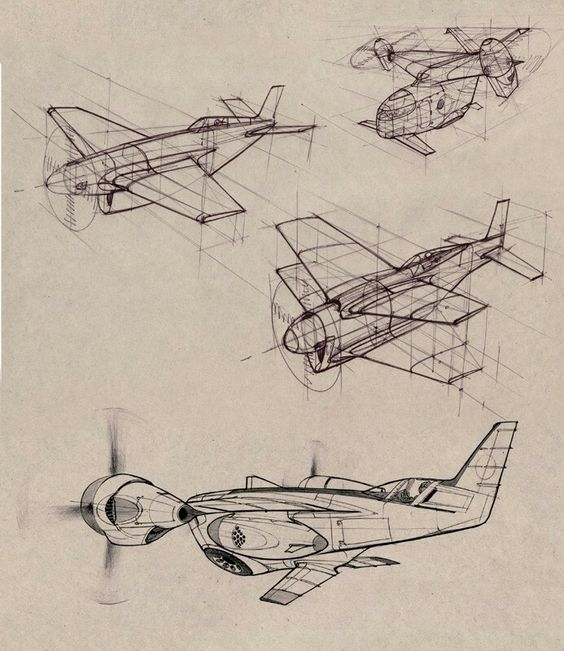
Before you dive into complex airplane illustrations, practice the basic shapes that hold the aircraft together: centerlines, ellipses, boxes, and long tapered forms. These simple marks make the difference between a plane that feels engineered and a plane that looks like random wings attached to a tube.
As you gain confidence, try the 3-view method: side, top, and front. It is slower than copying a single photo, but it teaches where the wings, fuselage, tail, and cockpit actually sit in space. That structure helps when you later draw a plane banking, landing, or taking off.
Choosing the right tools
You do not need expensive tools for airplane drawing. A light pencil, a clean eraser, and paper that can handle repeated corrections are enough for most sketches. Save ink, markers, or digital cleanup for the version where the proportions already work.
Pencils and paper
For sketching planes, artists often start with pencils and paper. Mechanical pencils work well for fine details. Regular pencils in different hardnesses are good for shading.
Smooth drawing paper or sketchbooks give a nice surface for airplane sketches. Some artists like graph paper to help with proportions.
Erasers are important too. Kneaded erasers can lift graphite without damaging the paper. Plastic erasers work for bigger areas.
Digital tools
Many artists now use digital tools for aircraft design. Drawing tablets let them sketch directly on a computer screen.
Software like Photoshop or Procreate offers many brushes and effects. These programs make it easy to edit and refine airplane designs.
3D modeling software helps create detailed aircraft models. Programs like Blender or SketchUp are popular choices.
For sharing work online, artists may use social media or portfolio sites. This lets them connect with other plane enthusiasts.
Understanding airplane anatomy
Airplanes have three main parts that work together to make flight possible. These key parts are the wings, fuselage, and tail. Each plays a vital role in keeping the plane stable and moving through the air.
Wings
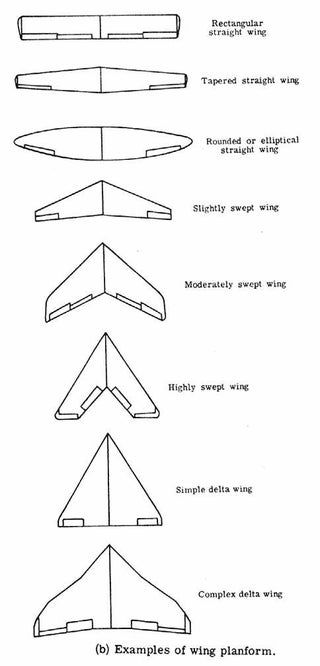
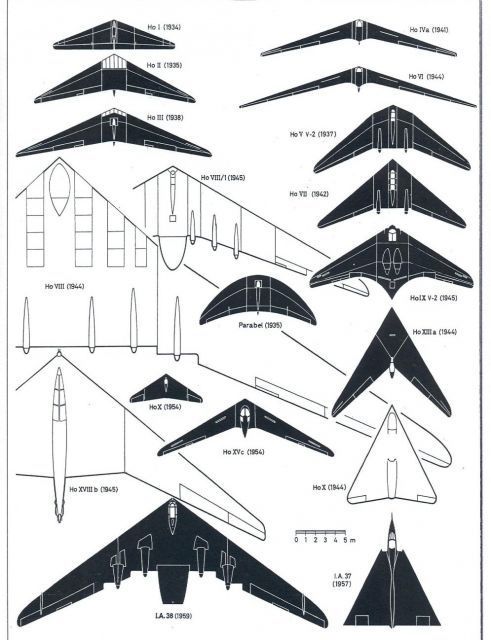
The wings are the most important part of an airplane. They create lift, which is the force that makes a plane fly. Wings produce most of the lift that keeps a plane in the air.
Wings come in different shapes and sizes. Some are straight, while others sweep back. The shape affects how the plane flies. Wings also have moving parts called flaps and ailerons. These help control the plane during takeoff, landing, and turns.
Inside the wings are fuel tanks. This is where most of a plane’s fuel is stored. The wings also house parts of the landing gear on many planes.
Fuselage
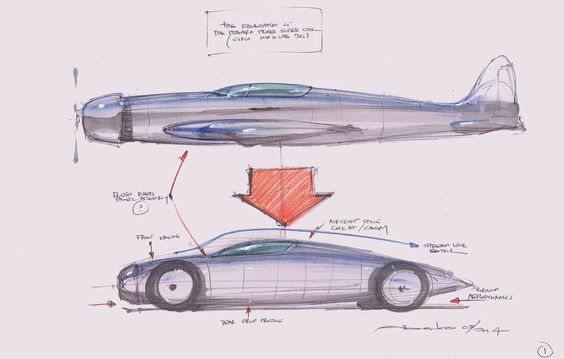
The fuselage is the main body of the airplane. In a drawing, think of it as a tapered tube or long box that connects the nose, cockpit, wings, and tail. If this part is too short or too thick, every other detail will feel off.
- It carries passengers, crew, or cargo.
- It holds the cockpit and gives the windows their rhythm.
- It ties the wings, tail, engines, and landing gear into one readable form.
For a believable airplane sketch, keep the fuselage smooth and directional. Real aircraft are shaped to reduce drag; on paper, that usually means fewer random bumps, cleaner curves, and a nose-to-tail flow that feels intentional. For a clear technical reference, NASA has a concise guide to the main parts of an airplane.
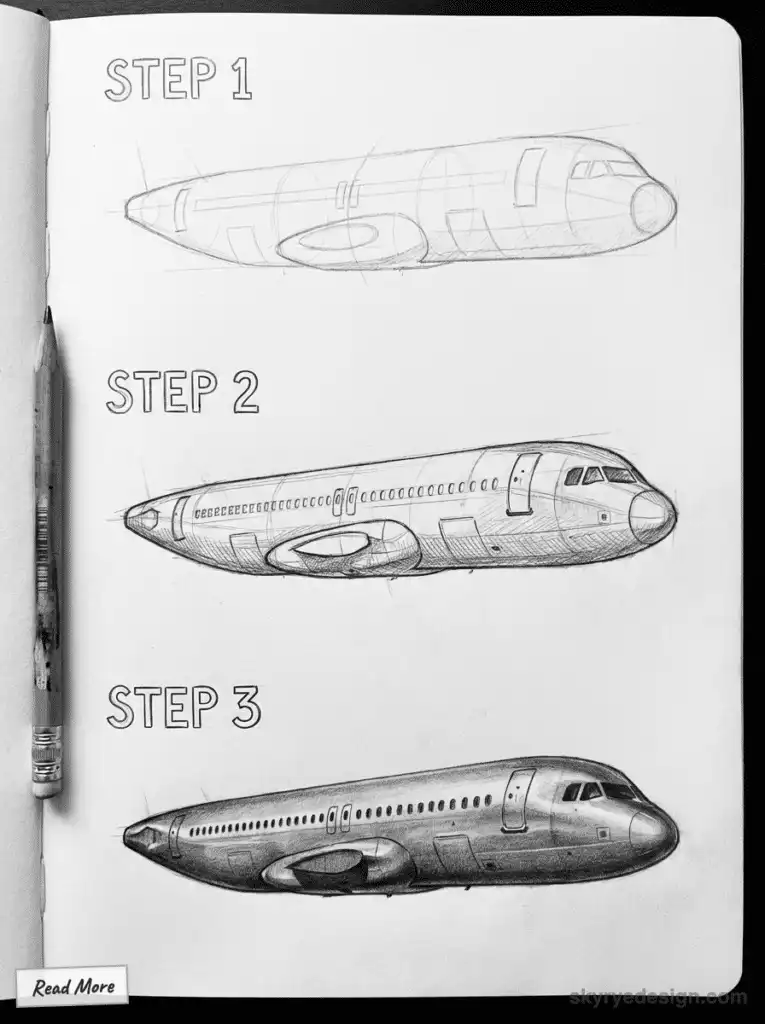
On larger aircraft, the fuselage can be divided into passenger, cockpit, cargo, and service areas. You do not need to draw all of that, but you should leave enough length for the windows and doors to feel spaced rather than squeezed.
Tail
The tail section sits at the back of the plane.
It usually has a vertical stabilizer and a horizontal stabilizer. In a sketch, these smaller wing shapes keep the aircraft from looking like a tube with wings pasted on the side.
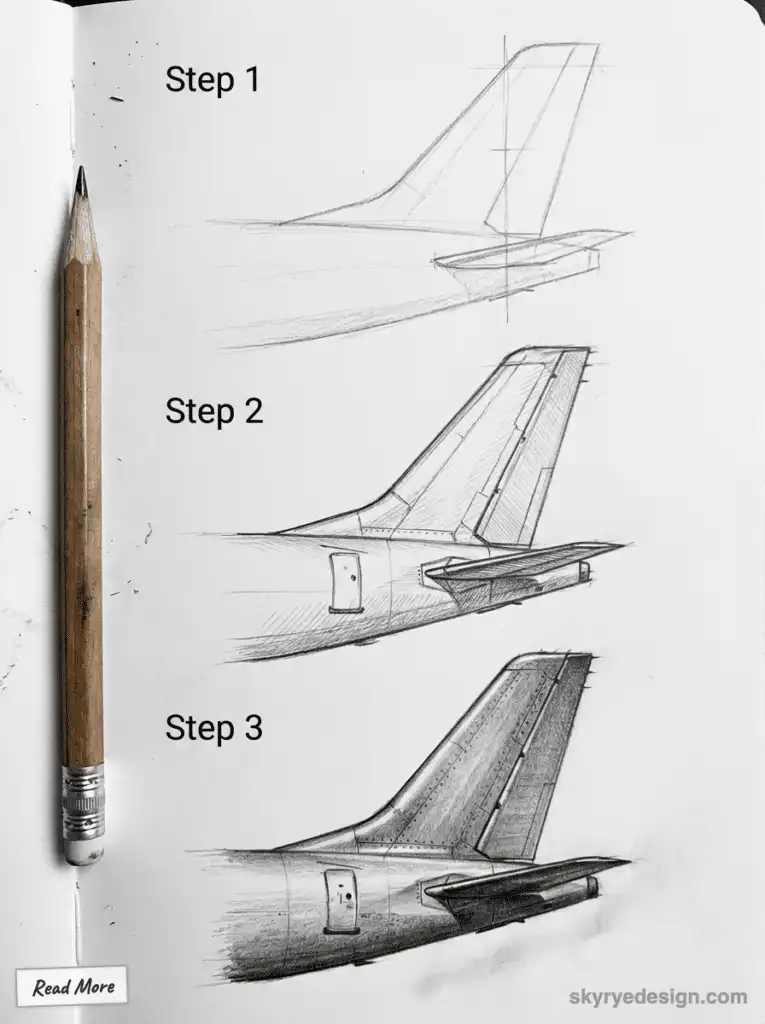
The horizontal stabilizer controls the up-and-down read.
Keep it smaller than the main wings and aligned with the fuselage. If it tilts accidentally, the whole airplane drawing can look twisted.
The vertical stabilizer gives the tail its recognizable silhouette.
Draw it as a clear fin, then add the rudder line only after the overall tail shape feels balanced.
Together, the tail shapes make the aircraft feel stable. They are also useful design cues: a small tail can make a jet feel fast, while a larger, boxier tail can make a vintage plane feel sturdy.
More vehicle and sketching practice
If you want to keep building the same mechanical drawing skills, practice how to draw a helicopter, how to draw cars, and SUV car sketch proportions. For shape design, compare the aircraft silhouettes here with sports cars to sketch, spaceship drawing, and product design sketches.
For broader warmups, keep perspective drawing, easy drawing ideas for kids, art drawing ideas, and 100 things to draw nearby. They help when you need a simpler subject before another detailed aircraft sketch.
Common airplane drawing mistakes
| Mistake | Why it looks wrong | Quick fix |
|---|---|---|
| Uneven wings | The plane feels twisted or unstable. | Compare both wing tips against the centerline before darkening. |
| Tail too large | The aircraft starts looking like a toy. | Keep the tail clearly smaller than the main wings. |
| Flat fuselage | The body has no volume. | Add a centerline, soft side shading, and a rounded nose. |
| Details too early | Windows and panel lines lock in bad proportions. | Finish the big silhouette first, then add small marks. |
| No ground or sky cue | Takeoff scenes feel static. | Use runway perspective, clouds, shadow, or exhaust trails. |
Frequently asked questions about airplane drawing
Q: What is the easiest airplane drawing for beginners?
A: The easiest airplane drawing is a side-view cartoon plane. Start with a long oval for the fuselage, add a rounded nose, draw one visible wing as a triangle or tapered rectangle, then place a small tail fin at the back. This version teaches the main aircraft parts without forcing you to solve hard perspective.
Q: How do you draw an airplane step by step?
A: Draw a light centerline, block the fuselage, add the wings, place the tail, then add cockpit windows, engines, wheels, and panel lines. Keep the early lines pale. Airplanes need symmetry, so check the wing angle and tail size before adding heavy outlines or color.
Q: How do you make an airplane drawing look realistic?
A: Use real aircraft references and simplify them into big forms first. A realistic airplane drawing needs correct wing placement, a tapered fuselage, believable cockpit shape, and shadows under the wings and body. Add panel lines, rivets, flaps, and landing gear only after the large proportions feel stable.
Q: What should I draw first on a plane?
A: Draw the fuselage and centerline first. That long body sets the direction, scale, and perspective of the whole aircraft. After that, add the wings around the middle and the tail at the back. If you start with windows or engines, it is much harder to correct the main shape later.
Q: What materials work best for airplane sketches?
A: A 2H or HB pencil works well for the construction lines, and a 2B pencil is useful for darker shadows. Smooth sketchbook paper helps with clean curves. A kneaded eraser is better than a harsh plastic eraser when you need to lift light construction lines without damaging the paper.
Q: How do you draw airplane wings evenly?
A: Mark the fuselage centerline, then compare the wing roots and wing tips on both sides. In perspective, the far wing may look shorter, but it should still follow the same angle logic. Light guide lines help you avoid one wing drifting higher or lower than the other.
Q: Are airplane drawings good practice for kids?
A: Yes. Airplane drawings are good practice for kids because they combine simple shapes with recognizable details. Younger children can draw cartoon planes with ovals and triangles, while older kids can add windows, engines, clouds, runway lines, and shading. The subject grows with the artist’s skill level.
- 3.3Kshares
- Facebook0
- Pinterest3.3K
- Twitter0
- Reddit0