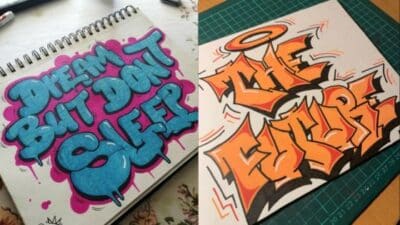
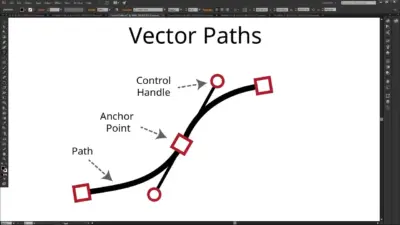
Car drawing is a thrilling art form that captures the essence of automotive design. Artists and car enthusiasts alike enjoy creating realistic car drawing to bring their ideas to life on paper. These drawings allow people to explore vehicle designs and showcase their creativity without the need for expensive materials or tools.

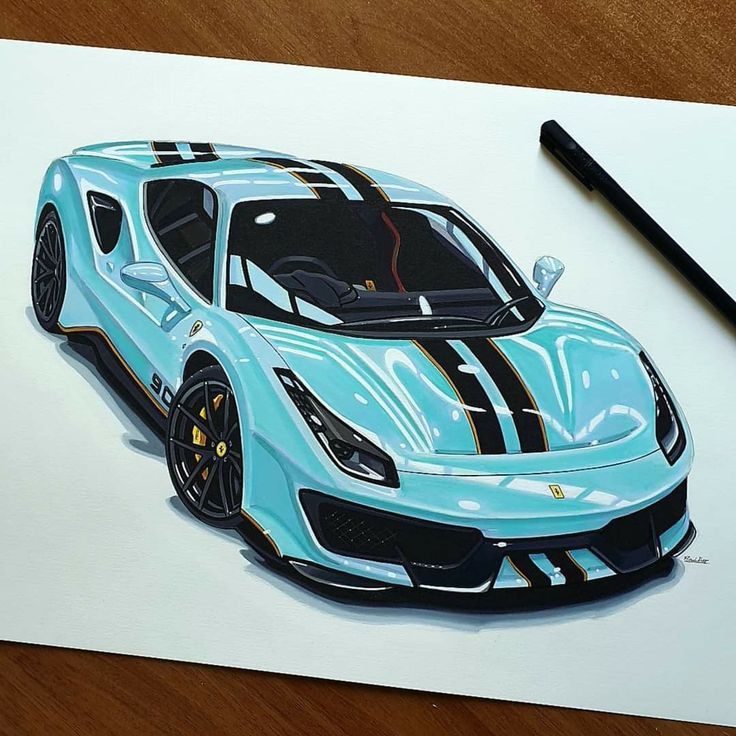
Realistic car sketches require attention to detail and a good understanding of car anatomy. Learning the basics of perspective, proportion, and shading can help artists create more lifelike drawings. With practice, anyone can improve their skills and produce impressive car sketches.
Car drawing is not just for professionals. It’s a fun hobby that can be enjoyed by people of all skill levels. Whether you’re dreaming up your own car designs or recreating classic vehicles, car sketching offers a way to express your passion for automobiles through art.
Key Takeaways
- Car drawing is an accessible art form for automotive enthusiasts
- Learning basic techniques improves the realism of car drawings
- Practice and attention to detail are key to creating impressive sketches
Understanding the Basics of Car Drawing
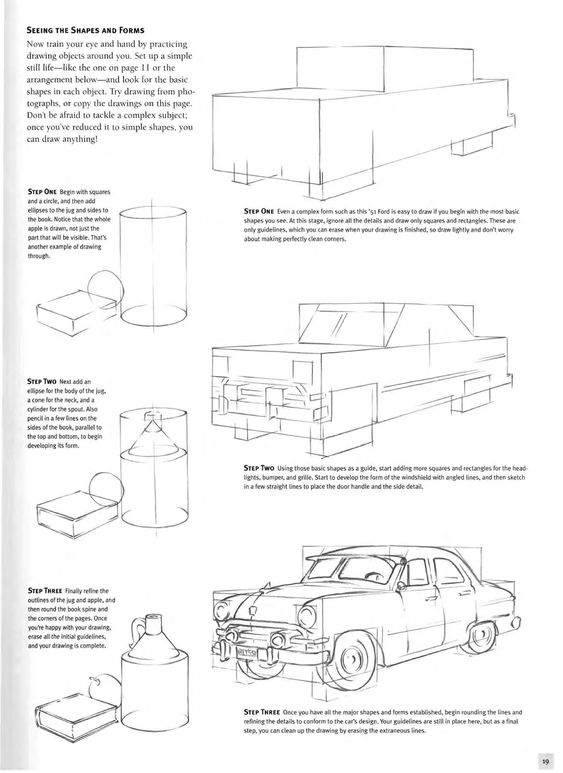
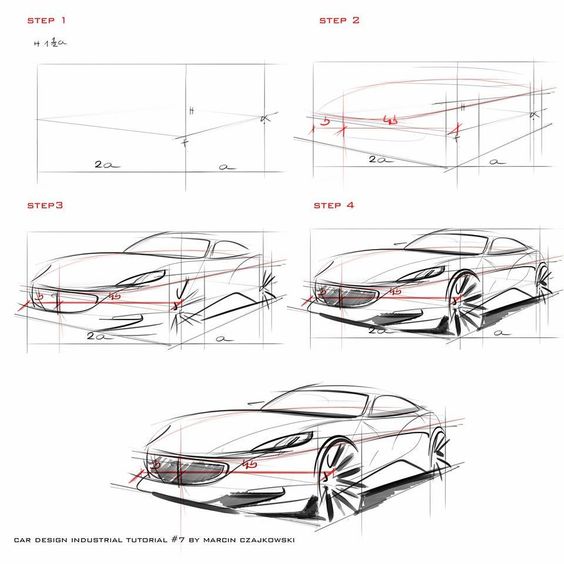
Drawing cars requires skill and practice. Mastering key techniques and tools can help artists create realistic car sketches. Let’s explore the essential elements of car drawing.
Essential Drawing Tools
To start drawing cars, you’ll need the right tools. Pencils are a must-have. Get a set with different hardness levels. Soft pencils make dark lines, while hard ones create light marks. Erasers help fix mistakes. A kneaded eraser works well for small areas. Sketch paper or a drawing pad gives you a good surface to work on. A ruler helps with straight lines and measuring. Some artists use markers or colored pencils to add details later.
The Role of Perspective in Car Sketching
Perspective is key in car drawing. It shows how cars look from different angles. One-point perspective works for front or rear views. Two-point perspective is good for side views. Three-point perspective helps with top-down or low-angle views. Use vanishing points to guide your lines. This makes the car look 3D on paper. Practice drawing simple boxes in perspective first. Then apply these skills to car shapes.
Mastering Basic Shapes and Proportions
Cars are made up of basic shapes. Start with simple forms like rectangles, circles, and triangles. Use these to outline the car’s main parts. The body is often a long rectangle. Wheels are circles. The roof might be a curved triangle. Get these shapes right, and the car will look more real. Pay attention to how big each part is compared to others. A car’s wheels usually line up with about 1/3 of its height. The windshield often starts near the middle of the car’s length. Learning these basic proportions will improve your sketches.
Getting Started with Your Car Sketch
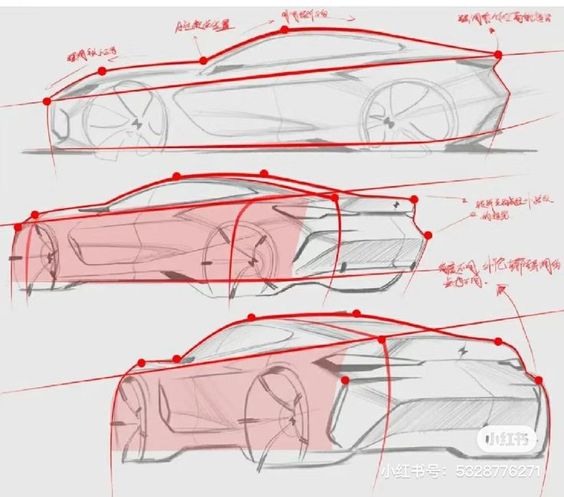
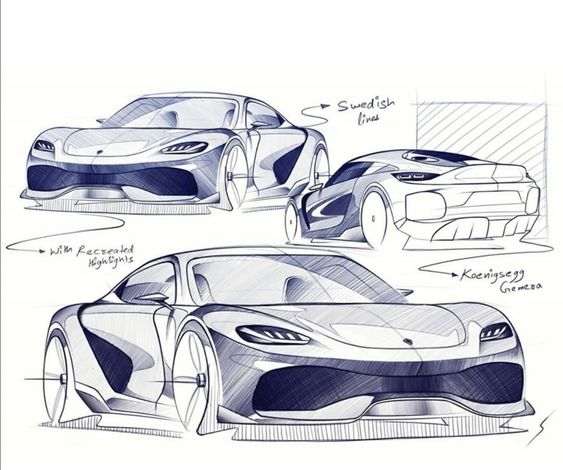
Drawing a realistic car sketch takes practice and the right approach. The key steps are picking good supplies, using a reference photo, and sketching the basic outline.
Choosing the Right Art Supplies
For car sketches, pencils are a great starting point. Use a set with different hardness levels, from 2H to 6B. Harder pencils (H) make light lines, while softer ones (B) create darker shades. Get a sketchbook with thick, smooth paper that won’t wrinkle. Erasers are vital too – pick up a kneaded eraser and a vinyl eraser.
Don’t forget blending tools. Paper stumps or tortillons help smooth out shading. A ruler comes in handy for straight lines on car bodies.
Lastly, grab some fine-point pens if you want to add crisp details or outlines to your finished sketch.
Working with a Reference Photo
A good reference photo is key for a realistic car drawing. Choose a clear, high-quality image of the car you want to draw. Make sure the lighting shows the car’s shape well.
Print out the photo or keep it open on a device near your drawing area. Look closely at the car’s lines, curves, and proportions. Notice how light and shadow fall on different parts.
It’s okay to simplify some details, but try to capture the main features that make the car unique. Focus on getting the overall shape and key elements right.
Sketching the Initial Outline
Start with very light pencil strokes to rough out the basic shape of the car. Use simple shapes like rectangles and ovals to block in the main parts.
Begin with the car’s body. Sketch the roofline, hood, and trunk. Add wheels in the right spots. Don’t worry about details yet – focus on getting the size and proportions correct.
Use your ruler for straight edges like the bottom of the doors or the hood line. Curved lines can be tricky, so take your time and make light, smooth strokes.
Step back often to check your work. Adjust lines as needed to match your reference photo.
Perfecting the Car’s Anatomy
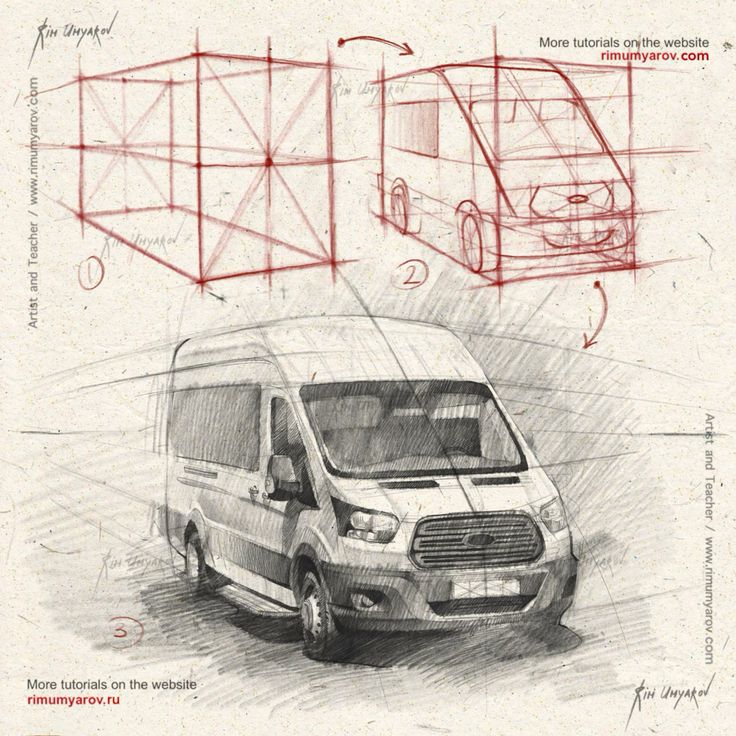
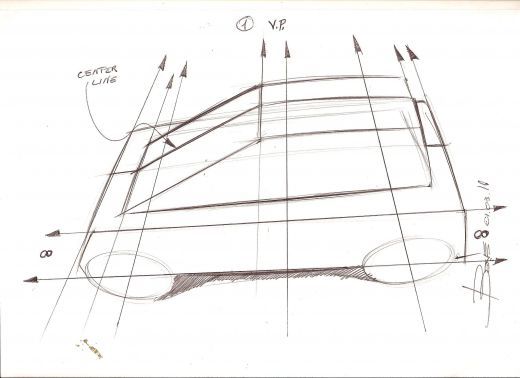
Creating a realistic car sketch requires careful attention to the vehicle’s structure and components. Key areas to focus on include the wheels, overall proportions, and distinctive features that bring the car to life on paper.
Drawing the Wheels and Tires
Car wheels are crucial for a realistic sketch. Start with perfect circles for the wheel rims. Add depth by drawing ellipses inside the circles. Sketch spokes or hub caps to match the car’s style.
For tires, draw thick rings around the rims. Add tread patterns to give texture. Don’t forget to show the tire walls curving inward.
Remember to align all wheels correctly. Front wheels may turn, while rear wheels stay straight. This adds realism to your sketch.
Capturing Accurate Car Proportions
Getting the car’s size and shape right is key. Use basic shapes as a guide. A rectangle can represent the main body. Add circles for wheels.
Measure the car’s length in “wheel units.” Most cars are 2.5 to 3 wheels long. The hood is often 1 wheel long. The trunk is about 0.5 to 1 wheel long.
Height matters too. A car’s roof is usually level with the top of the front wheel. Sports cars sit lower, while SUVs are taller.
Detailing the Car’s Features
Once the basic shape is right, add details. Start with the biggest parts first. Draw the windshield, side windows, and rear window. Sketch headlights and taillights.
Add the grille and bumpers. Include side mirrors and door handles. Don’t forget panel lines where body parts meet.
For extra realism, add small touches. These might include badges, exhaust pipes, or antenna. Shading can bring out the car’s curves and edges.
Advanced Drawing Techniques
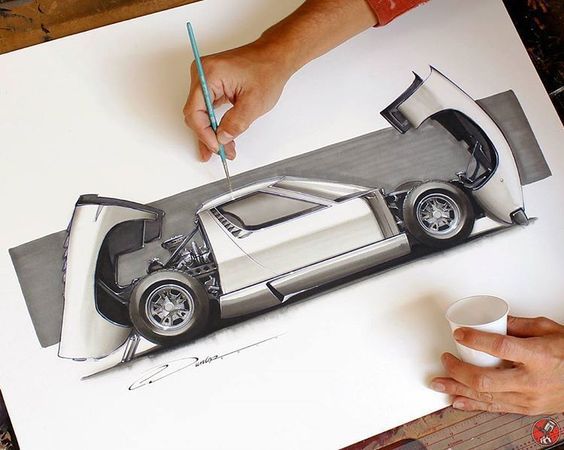
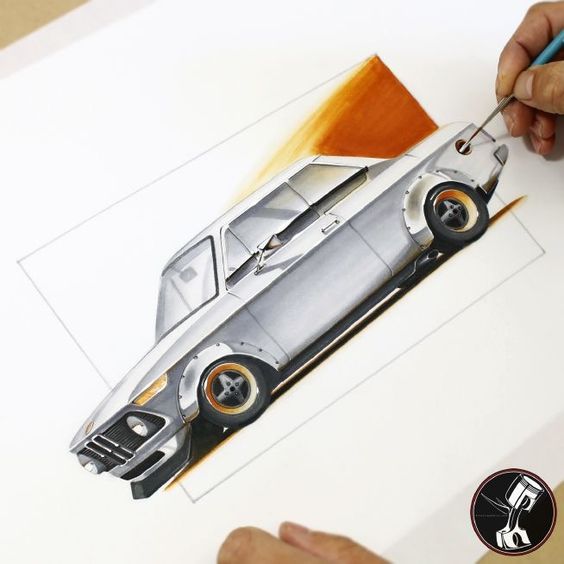
Mastering advanced techniques can take your car sketches to the next level. These methods help create more realistic and detailed drawings that capture the essence of the vehicle.
Applying Perspective Drawing Methods
Perspective drawing is key for realistic car sketches. It shows how objects look from different angles. Start with a vanishing point on the horizon line. Draw lines from this point to create the car’s basic shape. Use two-point perspective for side views. This method uses two vanishing points. Three-point perspective works well for unusual angles. It adds depth and dimension to your sketches.
Practice drawing simple shapes in perspective first. Then move on to more complex car parts. Pay attention to how lines converge towards vanishing points. This will make your car look more three-dimensional and realistic.
Utilizing the Grid Method for Precision
The grid method helps draw cars accurately. Start by placing a grid over a reference photo. Then draw a matching grid on your paper. Copy each section of the photo onto your grid, one square at a time. This breaks the complex car shape into smaller, manageable parts.
Use light lines for your grid. Make them easy to erase later. Focus on key points where lines intersect or curves change direction. The grid method is great for getting proportions right. It’s especially useful for tricky details like headlights or grilles.
Elevating Your Sketch with Shading and Coloring
Shading brings life to car sketches. Start with basic shapes and add shadows. Use different pencil pressures for various shades. Darker shades create depth, while lighter ones highlight raised areas. Pay attention to where light hits the car. This affects shadow placement.
For coloring, choose a palette that matches the car’s style. Use light layers to build up color gradually. Blend colors for a smooth finish. Add highlights to shiny surfaces like windows and chrome parts. Use darker tones in shadow areas. This creates contrast and makes the car pop off the page.
Exploring Different Types of Vehicles
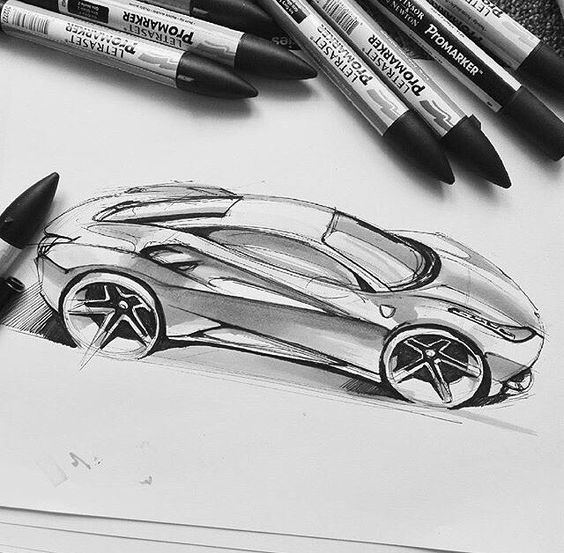
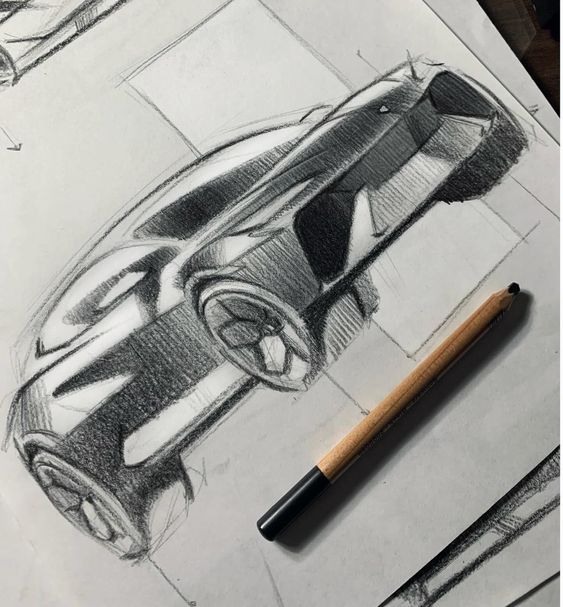
Car sketching covers a wide range of vehicle styles. Different types of cars have unique shapes and features to capture. Let’s look at how to draw some popular vehicle categories.
How to Draw SUVs and Trucks
SUVs and trucks have boxy, rugged shapes. Start with a large rectangular body. Add a smaller rectangle on top for the cab. Draw big wheel arches and large tires.
For SUVs, make the body taller and add windows along the sides. Trucks need a long bed behind the cab. Sketch sharp angles and flat surfaces to show strength.
Include details like big grilles, roof racks, and chunky bumpers. These help show the vehicle’s purpose and size. Use straight lines and sharp corners in your sketches.
Sketching Sports Cars and Sedans
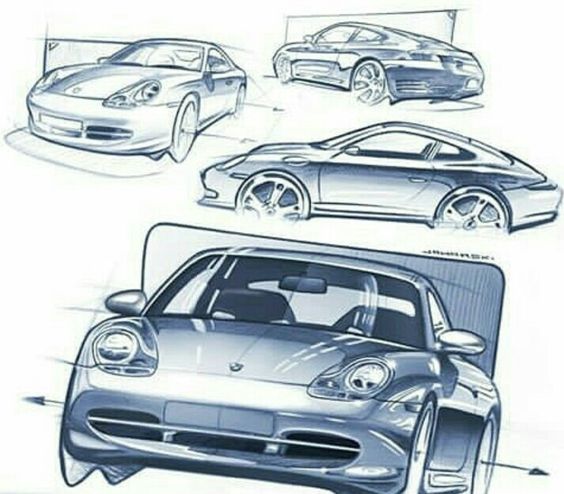
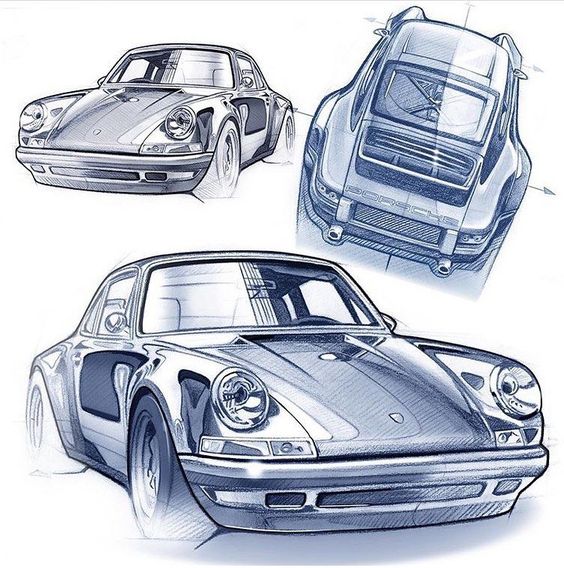
Sports cars and sedans have sleek, flowing lines. Begin with a low, wide body shape. Add a curved roof that slopes down at the back.
Sports cars have very low profiles. Draw them close to the ground with big wheels. Add swooping lines along the sides to show speed.
Sedans are taller with more cabin space. Sketch a longer body with four doors. Include smooth curves and subtle details.
Focus on aerodynamic shapes for both types. Use flowing lines and rounded edges in your drawings. This helps capture their elegant designs.
Finishing Touches for Professional Results
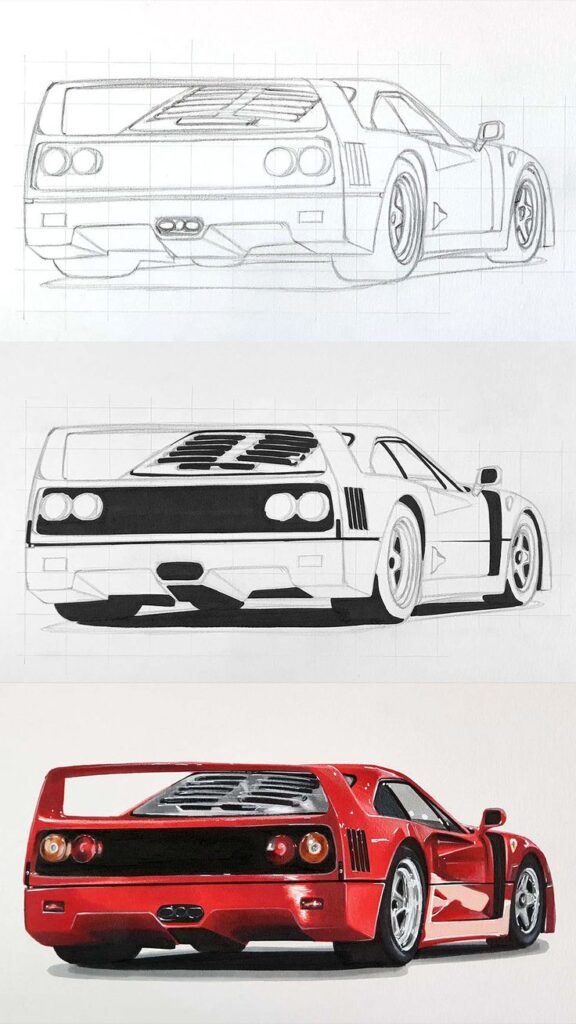
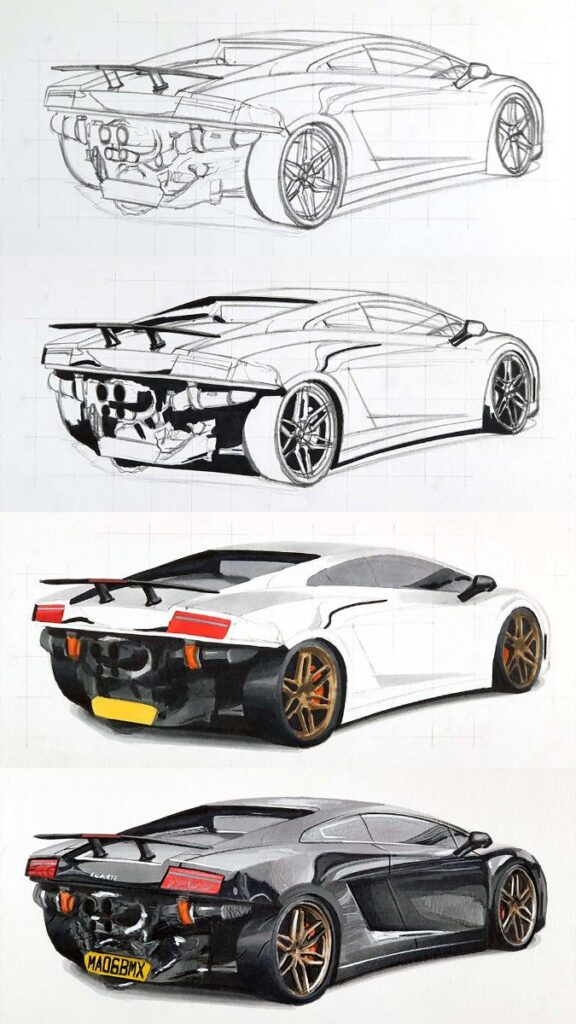
Adding final details and choosing the right colors can take your car sketches to the next level. These steps help create realistic and polished artwork.
Attention to Detail for Realistic Sketches
Focus on small details to make car sketches look real. Add reflections on windows and chrome parts. Draw tiny scratches or dents for an aged look. Include tire treads and rim designs. Put shadows under the car and in wheel wells. Draw headlights with clear lenses and bulbs inside. Add license plates, badges, and emblems. These small touches make a big difference in how realistic the sketch looks.
Texture is key for realism. Use different line weights to show depth. Thicker lines for close edges, thinner for far away parts. Vary shading to show curves and shapes. Light cross-hatching can create the look of paint grain or metal flake.
Choosing Colors and Mediums
Pick colors that match real car paint. Metallic shades add depth to the artwork. Use colored pencils for soft shades and blending. They work well for highlights and shadows. Alcohol markers give bold, smooth color. They’re great for large areas and sharp lines.
Test colors on scrap paper first. This helps avoid mistakes on the main sketch. Layer colors to create depth and shine. Start with light shades, then add darker tones. Leave white spaces for bright highlights. Use gray tones to make colors look more real.
Mix media for the best results. Colored pencils over markers can add texture and detail. Fine-tip pens work well for sharp lines and small details.
Displaying and Sharing Your Car Sketches
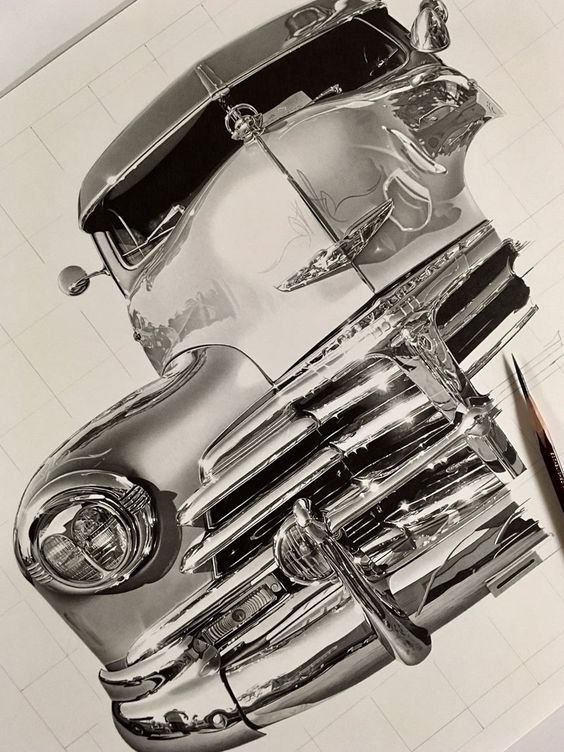
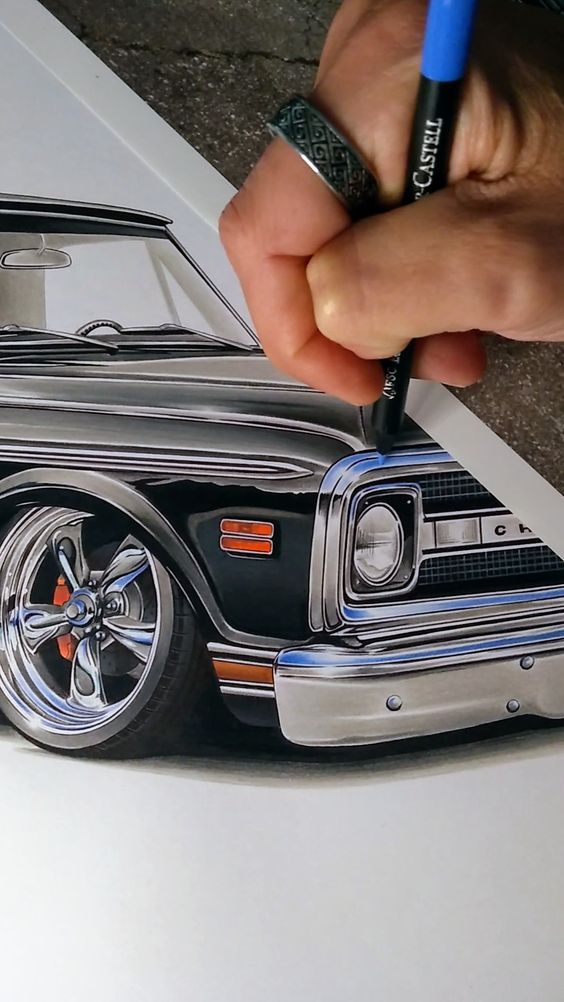
Showing off your car sketches lets others see your talent and creativity. Good presentation and sharing methods can make your work stand out and reach more people.
Best Practices for Presenting Your Sketches
Use clean, white backgrounds to make sketches pop. Good lighting is key – natural light works best. Take high-quality photos with a good camera or phone. Crop images to focus on the sketch.
Display sketches in matching frames for a professional look. Group similar styles or themes together. Add small labels with the car name and sketch date.
Create a physical portfolio book to show sketches in person. Use acid-free paper to protect the artwork. Include your best 10-15 sketches that show range and skill.
Tips for Online Sharing and Portfolio Building
Start an art account on Instagram or ArtStation to share car sketches. Post regularly and use relevant hashtags like #carsketches. Engage with other artists for feedback.
Make a simple website to showcase your work. Include an “About” page and contact info. Organize sketches into galleries by car type or style.
Join online car design forums to connect with other artists. Share your sketches and ask for critiques to improve. Follow top car designers for inspiration.
Enter online sketch contests to gain exposure. Many car companies host design challenges for concept cars.
Frequently Asked Questions
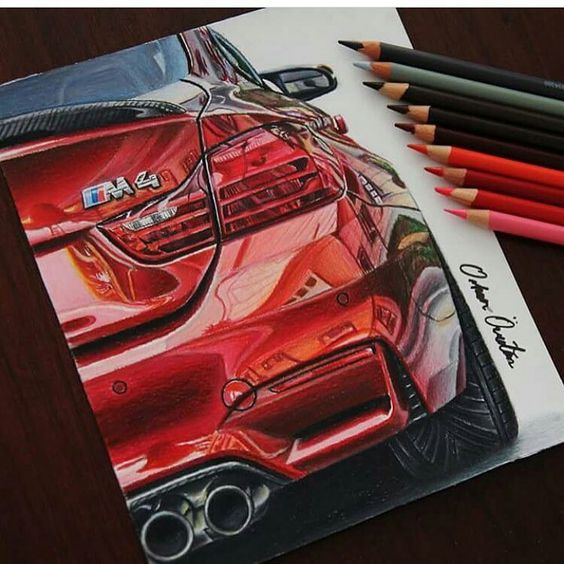
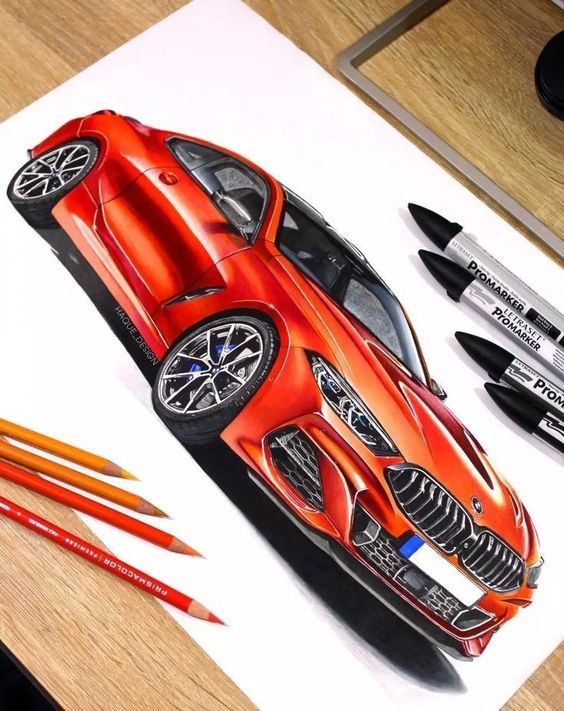
Creating realistic car sketches requires specific techniques and skills. These key methods help artists capture the details, form, and shading that bring car drawings to life.
What are the essential techniques for creating realistic car sketches?
Observation is crucial for realistic car sketches. Study real cars to understand their shapes and proportions. Use light guidelines to map out the basic structure. Pay attention to perspective and vanishing points. Add details gradually, starting with major features and moving to smaller elements.
How can you use pencils to add detail and depth in car drawings?
Different pencil grades create varied effects in car sketches. Hard pencils (H grades) work well for light outlines and details. Soft pencils (B grades) are great for shading and dark areas. Use a range of pressures to achieve different tones. Blend shading with a tissue or blending stump for smooth transitions.
What is the process for drawing a car step by step to achieve a realistic outcome?
Start with basic shapes to outline the car’s main form. Refine the silhouette and add major details like windows and wheels. Sketch in smaller features such as headlights and grilles. Add shading to create depth and dimension. Finish with highlights and reflections to enhance realism.
What tips can beginners follow to improve their car sketching skills?
Practice regularly to improve car sketching skills. Start with simple shapes and gradually add complexity. Use reference images or real cars as guides. Focus on one aspect at a time, like proportions or shading. Get feedback from other artists to identify areas for improvement.
How can shading be used to enhance the realism of a car drawing?
Shading adds depth and realism to car sketches. Use light and dark values to show the car’s form. Pay attention to where light hits the car and create shadows accordingly. Blend shading smoothly for a polished look. Add highlights to reflective surfaces like windows and chrome details.
What are some methods to accurately sketch the 3D form of a car?
Understanding perspective is key to sketching a car’s 3D form. Use vanishing points to create accurate angles. Draw through the car to show hidden lines and shapes. Break the car down into basic 3D forms like boxes and cylinders. Pay attention to how curves and surfaces wrap around the car’s body.
- 1.0Kshares
- Facebook0
- Pinterest1.0K
- Twitter0
- Reddit0
