A beautifully divided box can still be an awkward object to use. The cards fit only when they are perfectly aligned. The pencils slip below the tray, and the lid that closed for the product photograph refuses to close after an ordinary evening.
A DIY board game organizer has to survive that second packing. Design the interior around what people actually do: lift materials out, set them on a crowded table, find a fresh sheet, and put everything back with little attention left for sorting.
- 1. Choose the games before you design the box
- 2. Gather every real piece, including the easy-to-forget ones
- 3. Measure components in their used condition
- 4. Set a clear capacity limit
- 5. Build a disposable cardboard prototype of your DIY board game organizer
- 6. Test the open kit on a crowded table
- 7. Design finger access and loose return tolerance
- 8. Separate ready supplies from used materials
- 9. Ask someone else to pack it without instructions
- 10. Test carrying and cleaning before choosing the finish
- A quick return test checklist
- FAQ
- A box that stays ready for the next session
The steps below begin with what goes in the box and end with how it looks. A finish is easy to change later. A layout that fights the hand is much harder to rescue once it has been glued, lined and painted.
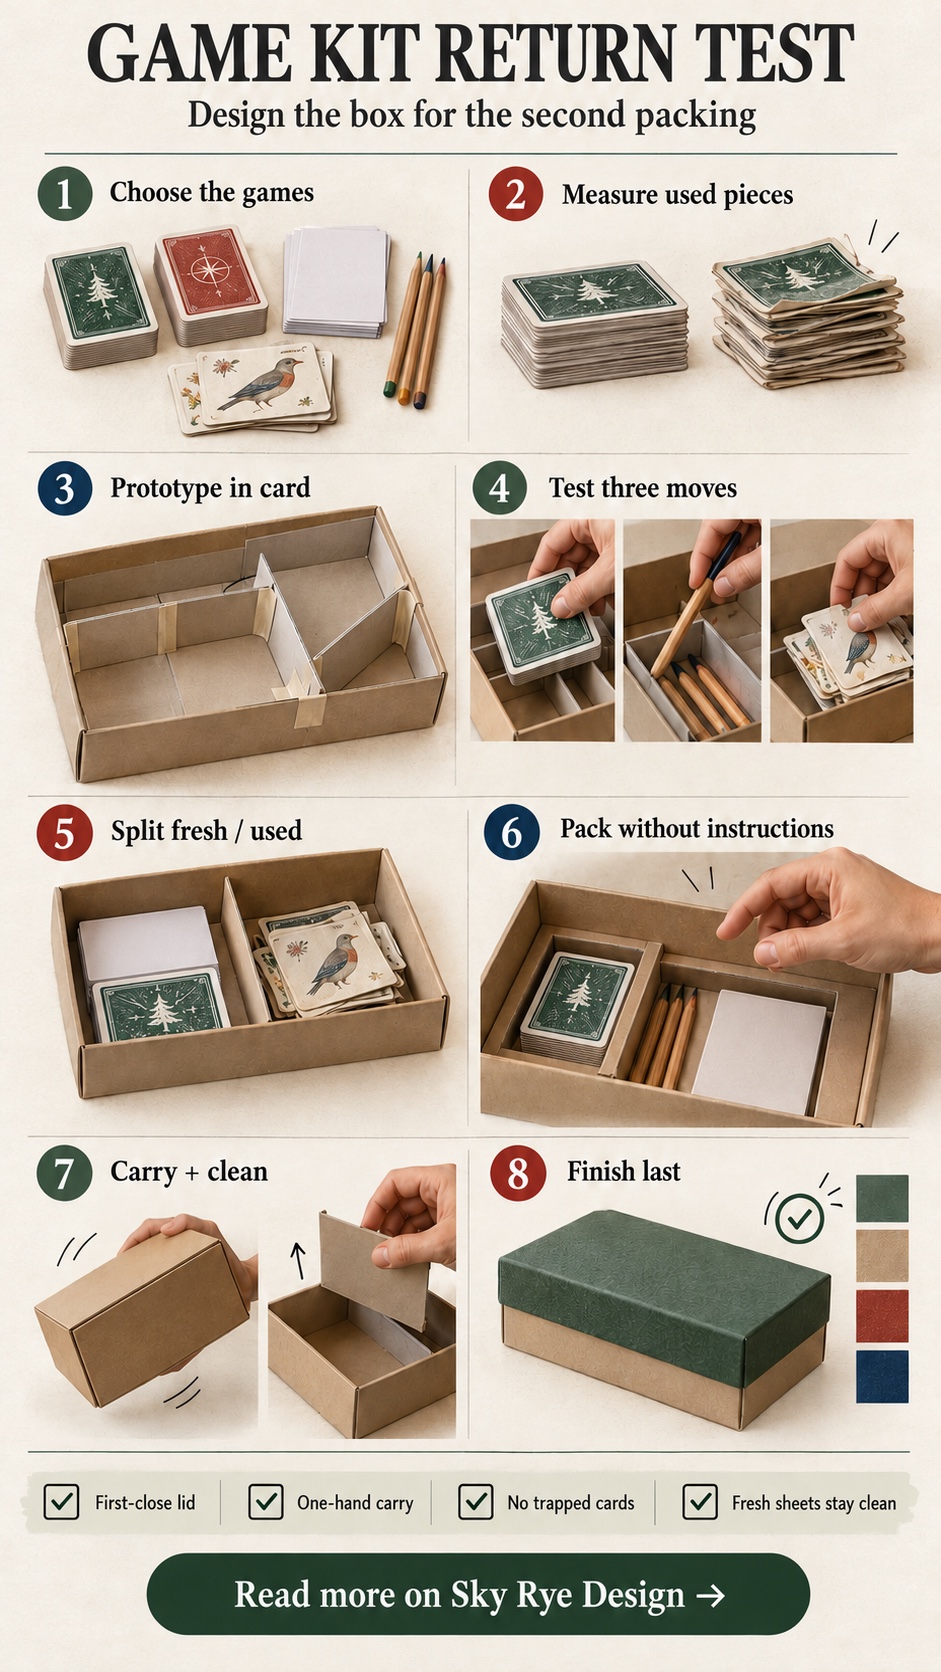
1. Choose the games before you design the box
The first decision is which games the kit will support. Settle that before sketching a single compartment. Equipment for games nobody has chosen only adds bulk, and every speculative pocket takes space from the things people will actually reach for.
The supply filter in the adult party-game planner at Palaura offers a useful way to narrow the brief. Choosing a pen-and-paper format gives the physical design a manageable set of materials. The site supplies game ideas. The storage object is your own prototype, sized by what you put inside it.
Write the chosen games on a card and keep it with the project. The failure signal is easy to spot. If you point at a compartment and cannot name the game it serves, it probably does not belong in the first version.
2. Gather every real piece, including the easy-to-forget ones
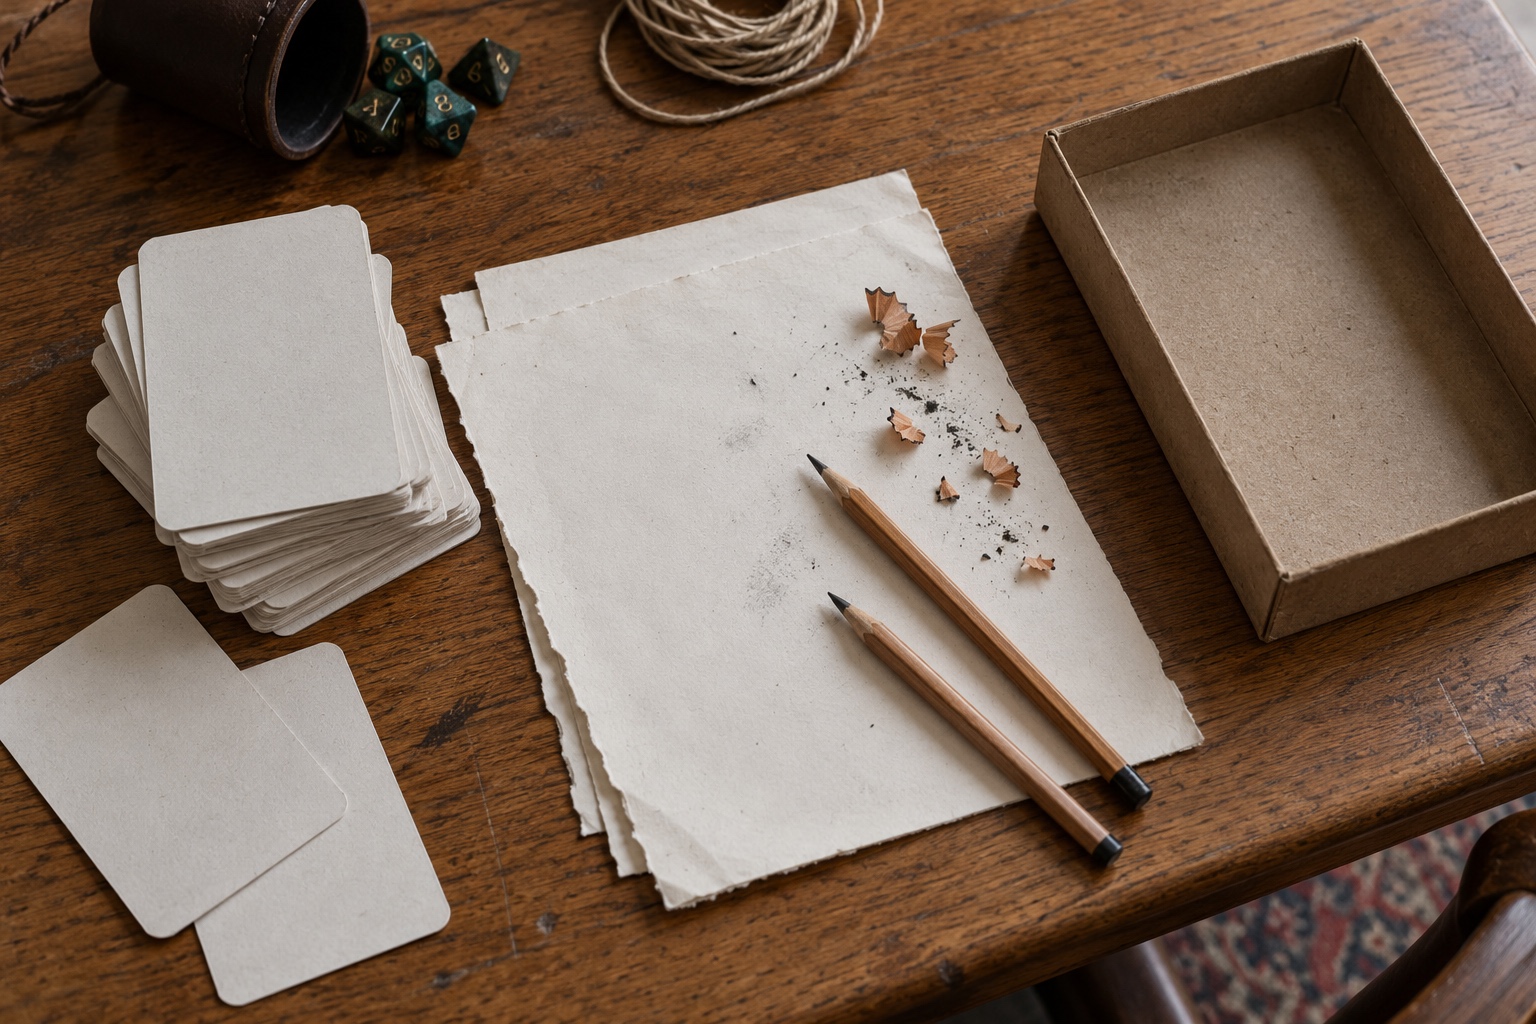
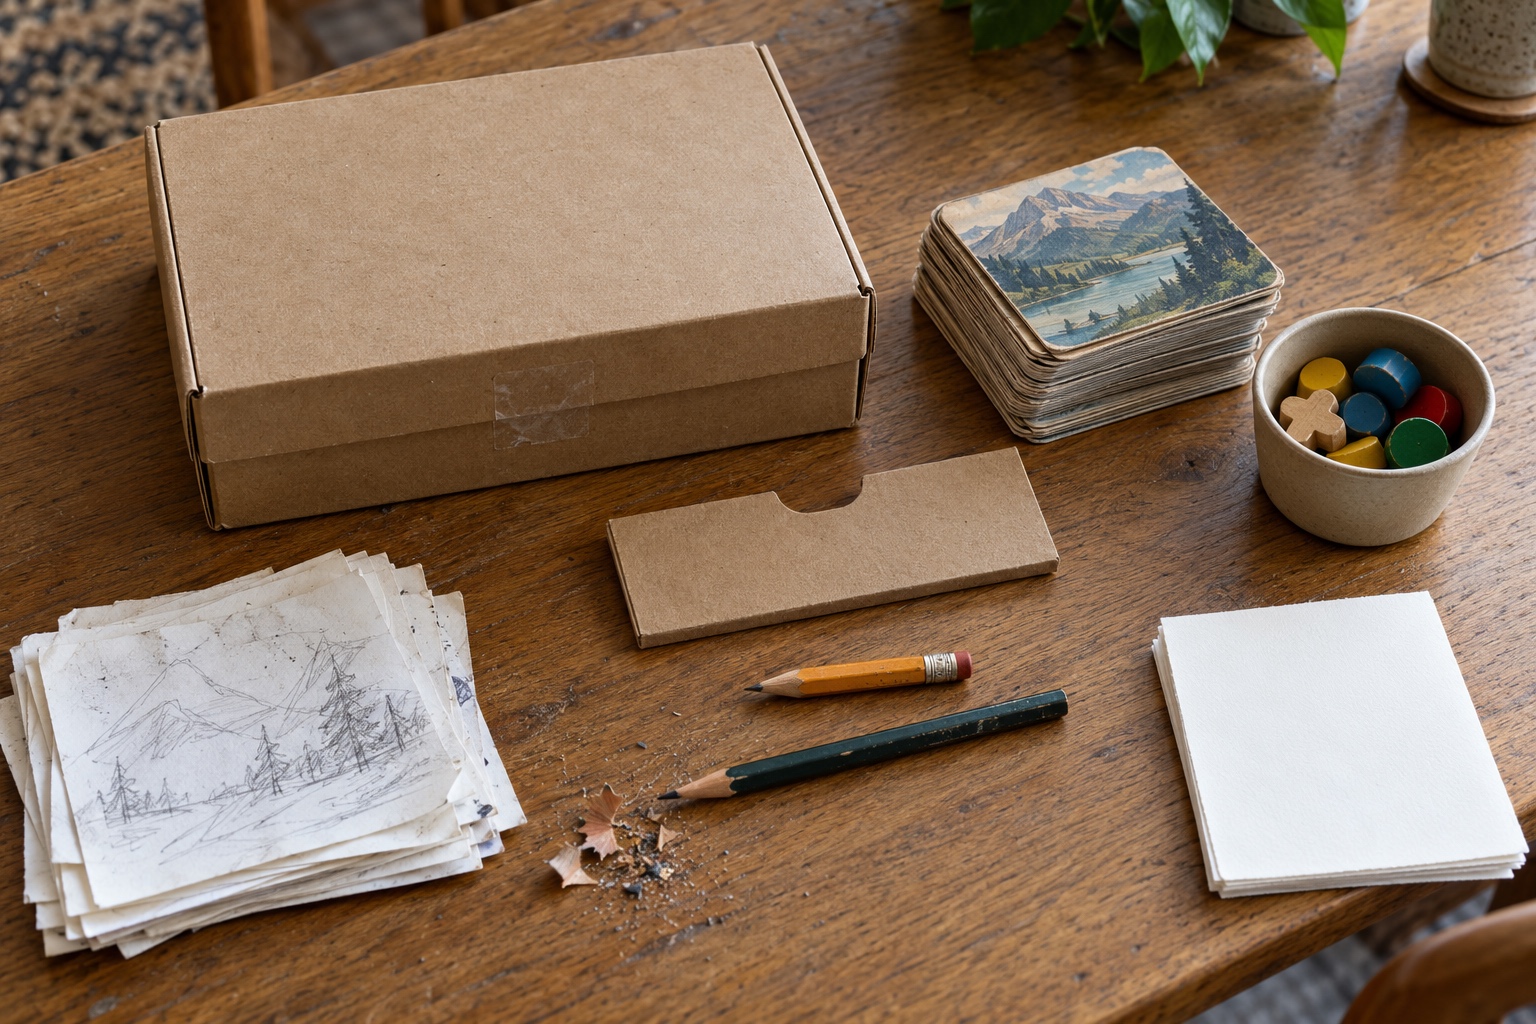
Lay the actual supplies on a table rather than working from memory. Include the objects people forget to count, such as spare paper, a pencil sharpener if one is needed, and whatever marks whose turn it is. A rubber band or clip that holds a stack together is also a component.
To test the list, play one short practice round using only what is on the table. Every time someone gets up to fetch something, add that item to the pile. Anything that stays untouched through the round deserves a second look before it earns a place.
Resist filling the remaining space. Empty capacity is more useful than a compartment whose purpose exists only in the designer’s sketch.
3. Measure components in their used condition
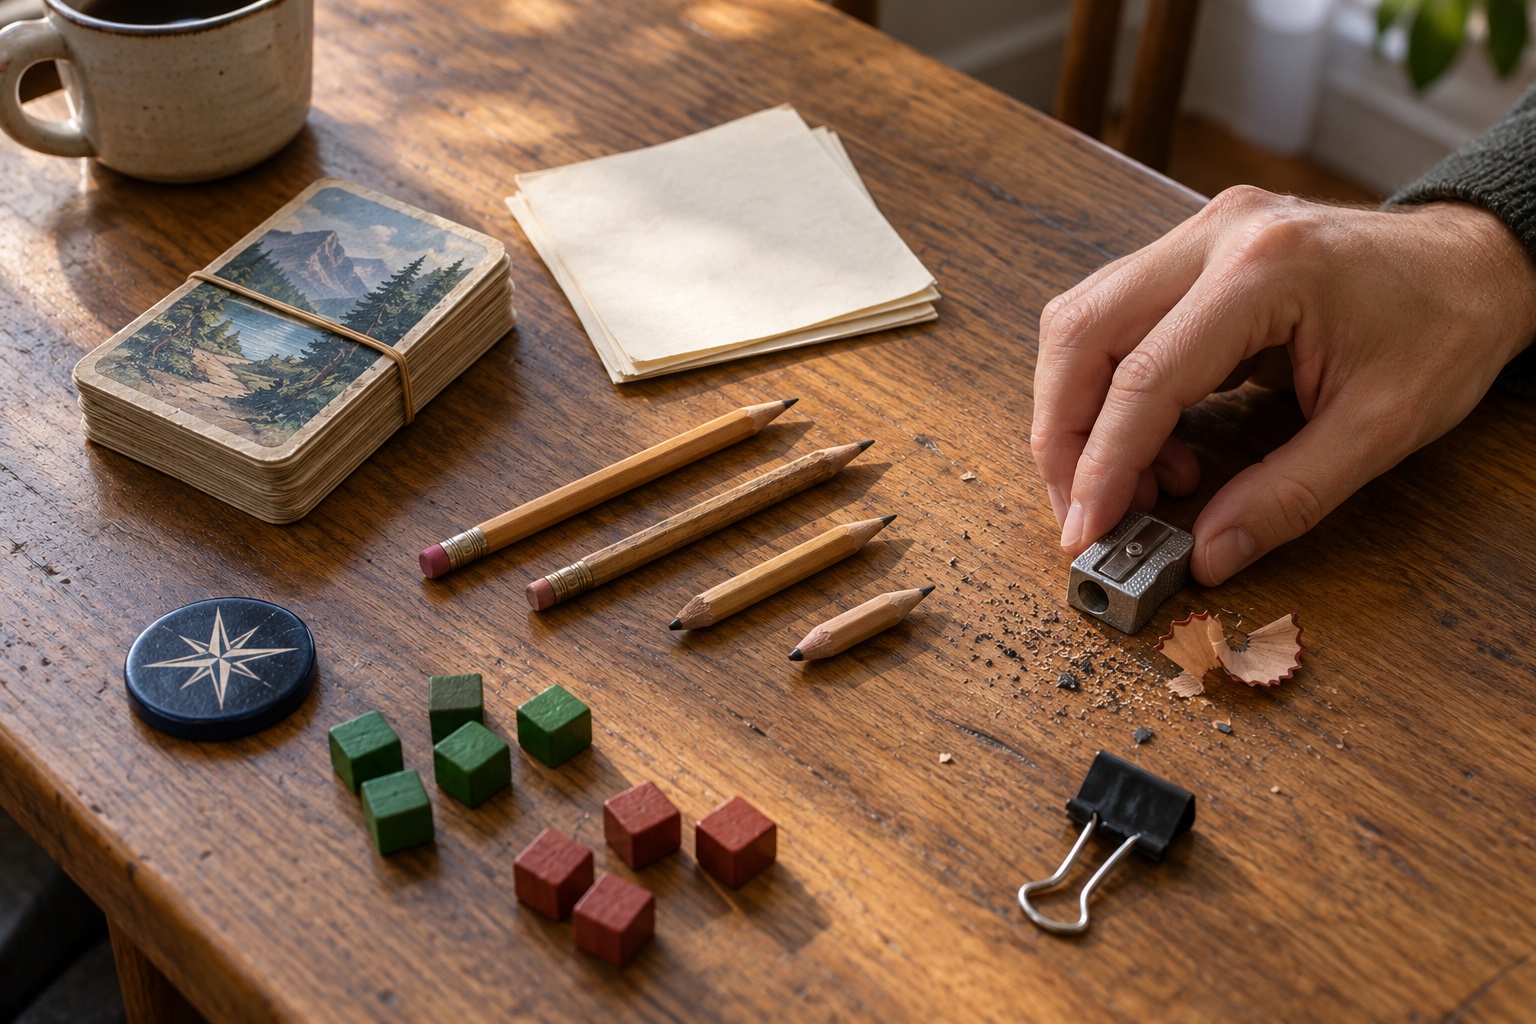
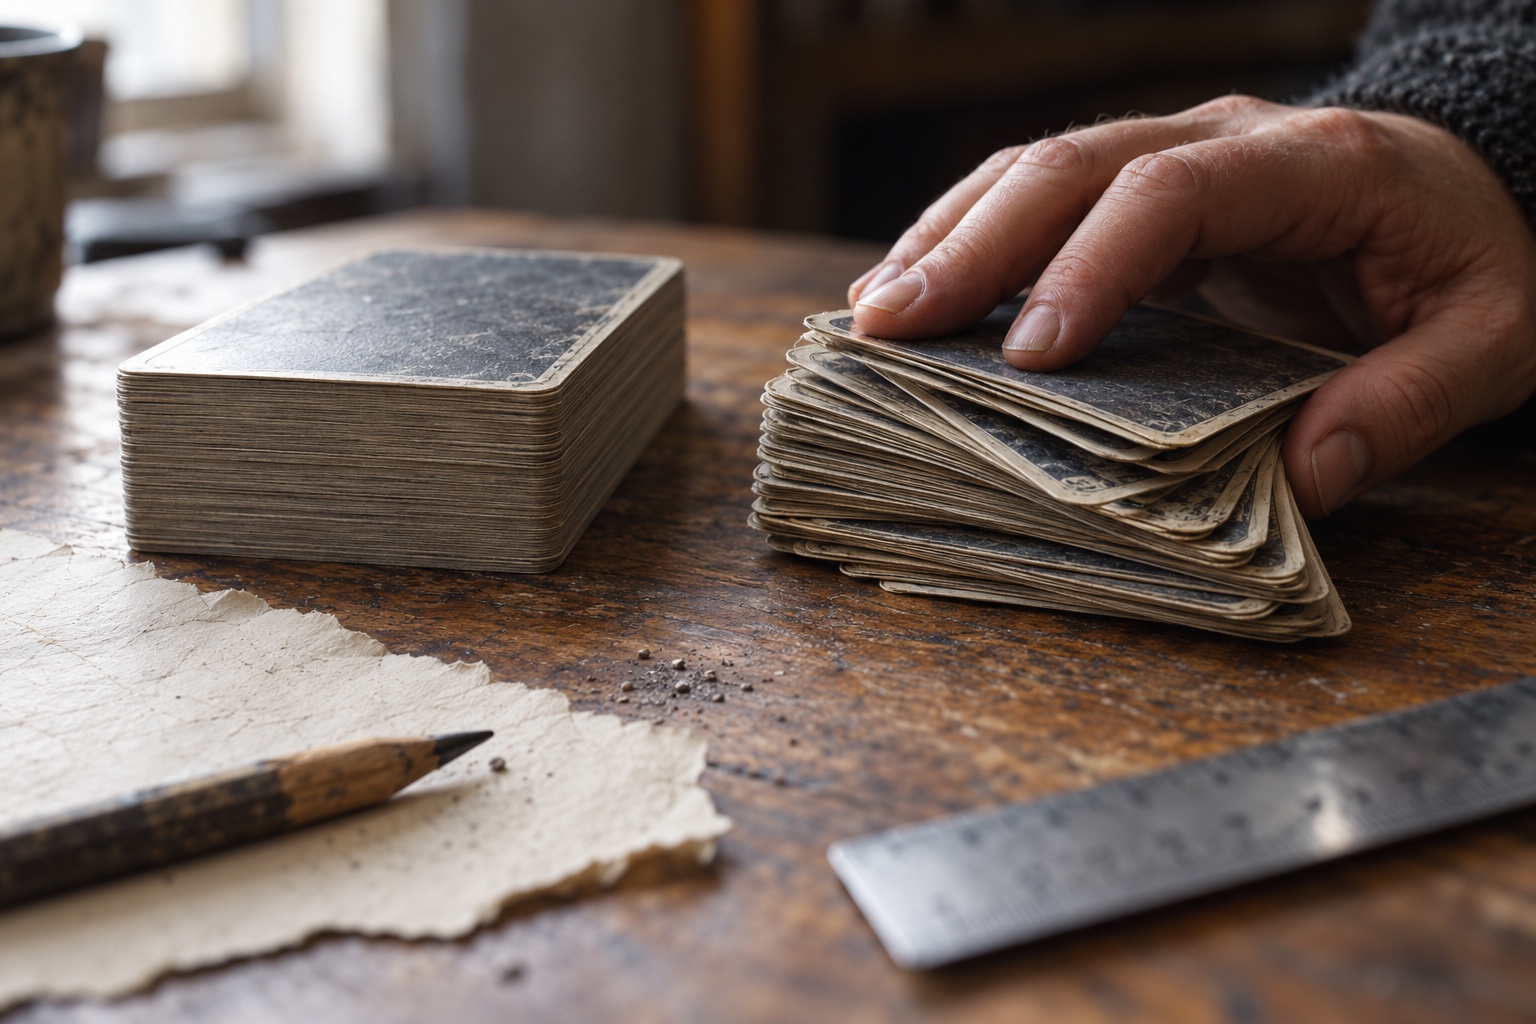
Measure the stack the way it will look after a few sessions, not the way it arrived. A handful of slightly curled cards takes up space differently from a new deck pressed flat under packaging. Paper torn by hand has an uneven edge, and a pencil gets shorter with every sharpening.
These changes affect how a finger reaches a piece and how easily it returns. Gather the cards casually after a shuffle, the way someone would at the end of an evening, and measure that pile. Compare it with the neat stack so you know how much variation the opening must accept.
A simple test is to drop the loosely gathered pile into a mock opening. If it needs squaring before it will go in, the space is designed around the neatest possible sample. Leave room for ordinary mess.
4. Set a clear capacity limit
Decide what the kit is for and stop there. A compact prototype might serve one table with cards, loose sheets and pencils. It does not also need to carry drinks, a speaker and every spare object in the house.
A clear limit makes the proportions easier to resolve. Room-scale questions about shelves and baskets belong to a different project, and there are good creative storage ideas for designers that handle that wider job. This kit only has to hold one evening’s worth of play.
During the first few sessions, keep a short list of anything people wished the box contained. Expansion should respond to an item that appears on that list more than once. If you catch yourself adding pieces “just in case,” the limit has started to slip.
5. Build a disposable cardboard prototype of your DIY board game organizer
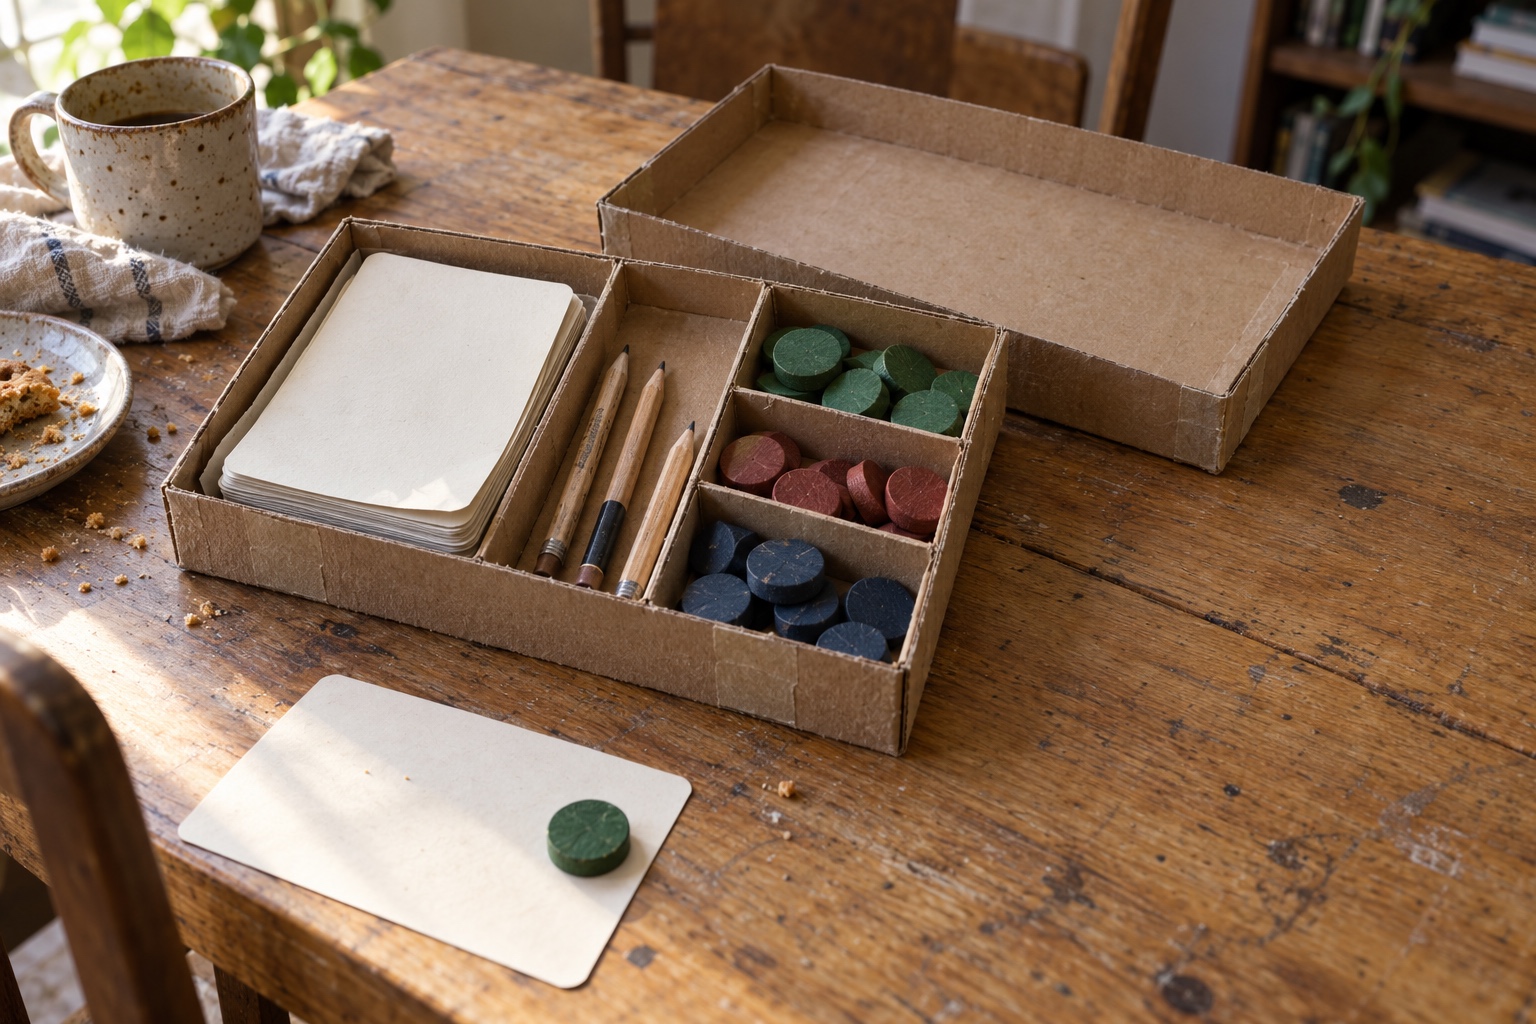
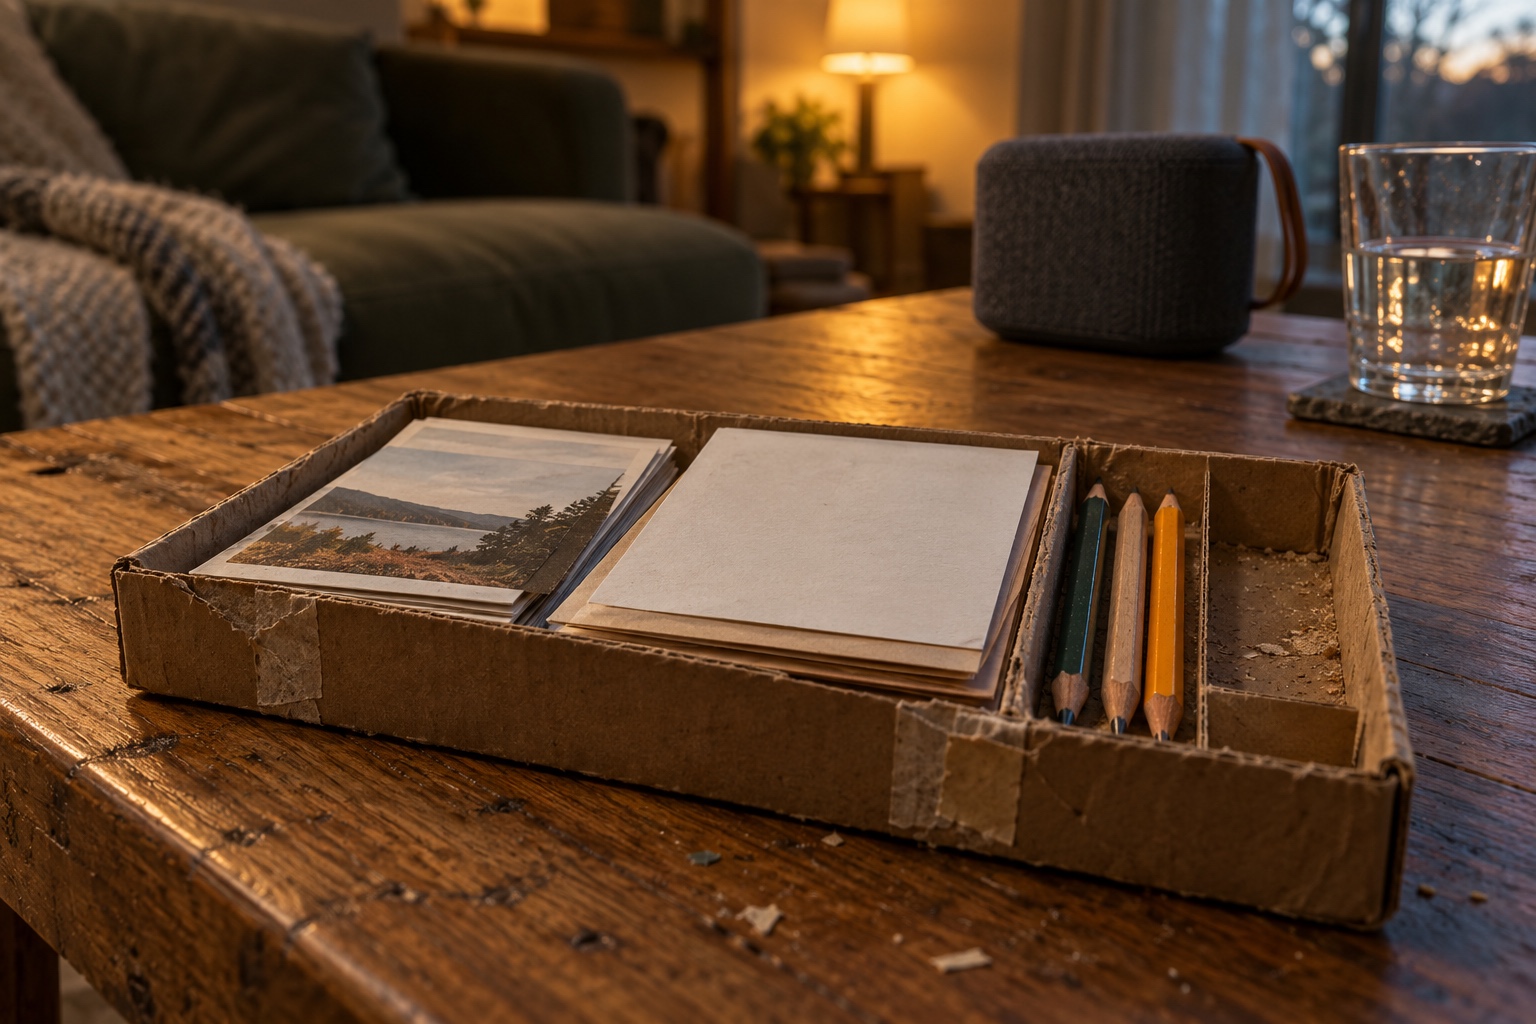
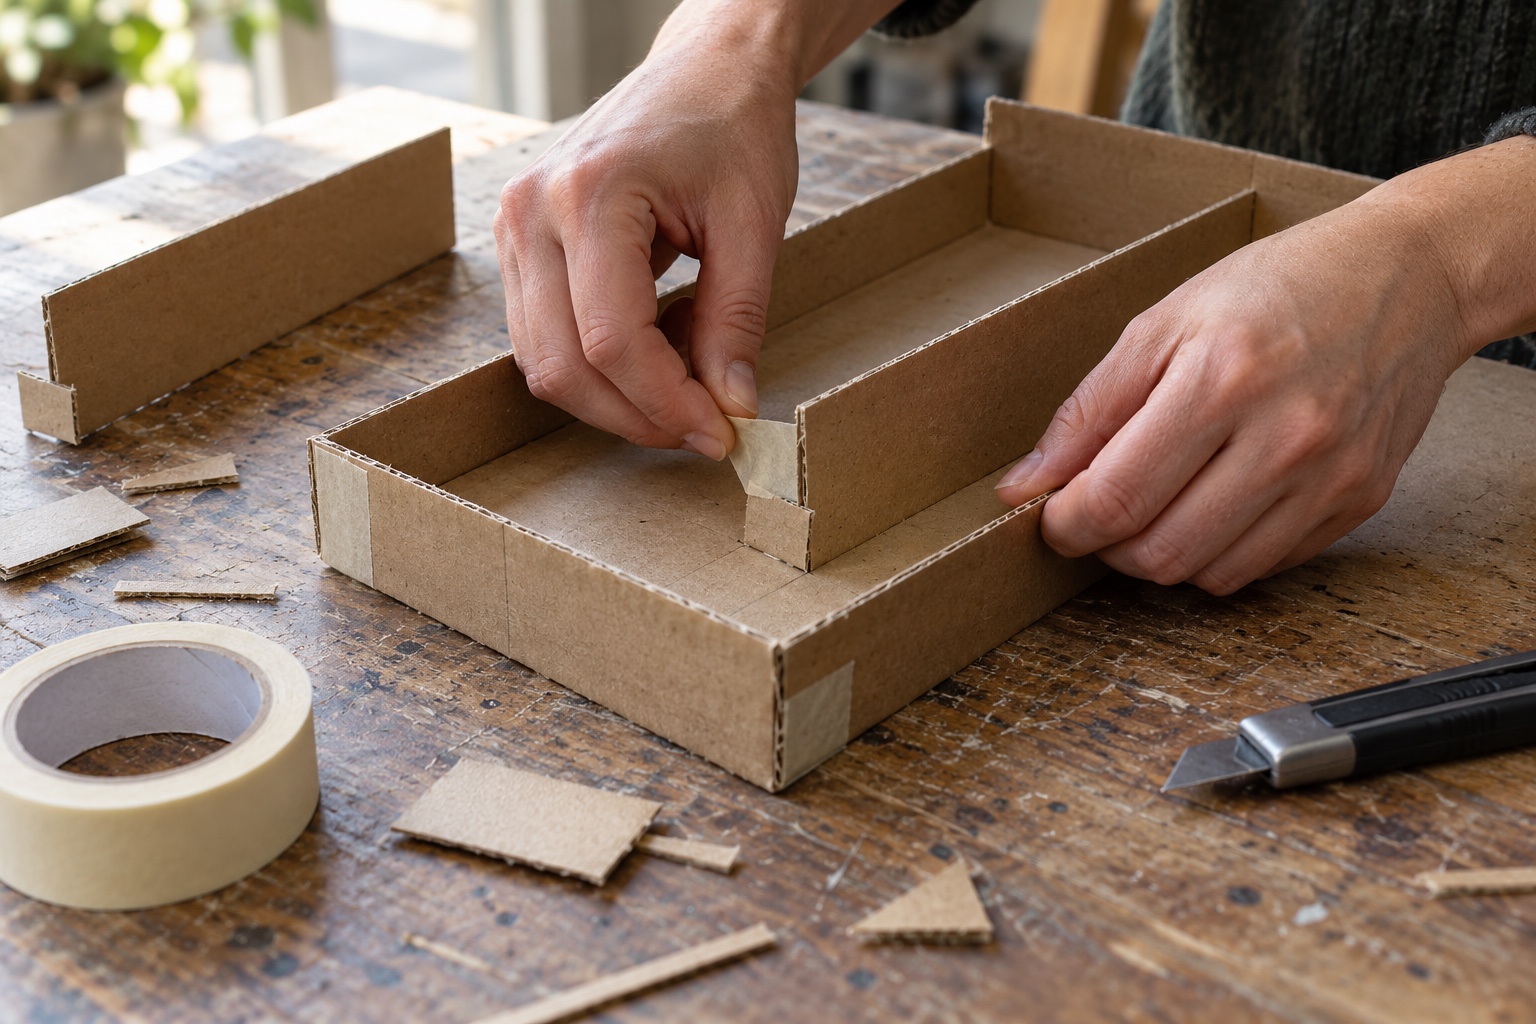
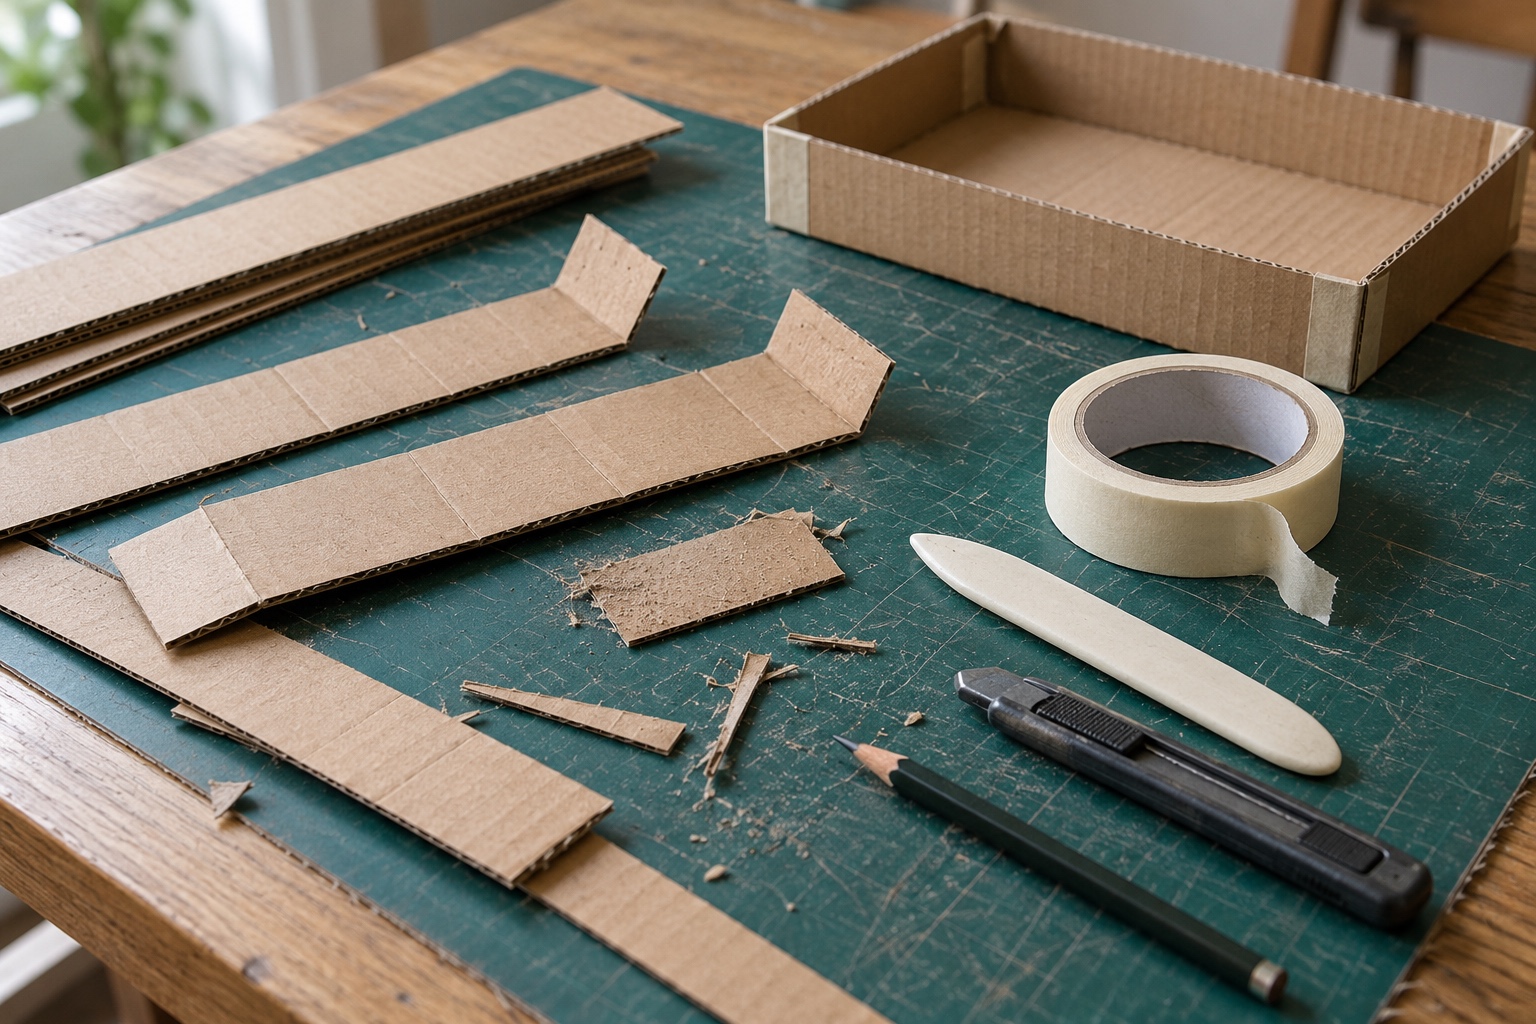
Build the inside before committing to a finished box. A shallow cardboard tray with temporary dividers will reveal whether the proposed compartments are usable. Keep the walls easy to move with tape and folded tabs rather than glue.
The point of this stage is cheap revision. A polished insert makes every change expensive, so people tend to live with its mistakes. Once the card version has survived several real cleanups, its dimensions can be translated into a more durable material, including the kind of 3D-printed organizers that suit repeated handling.
Watch your own reluctance as a failure signal. If you hesitate to cut a divider because it took too long to make, the prototype is already too precious. Rough it back down.
6. Test the open kit on a crowded table
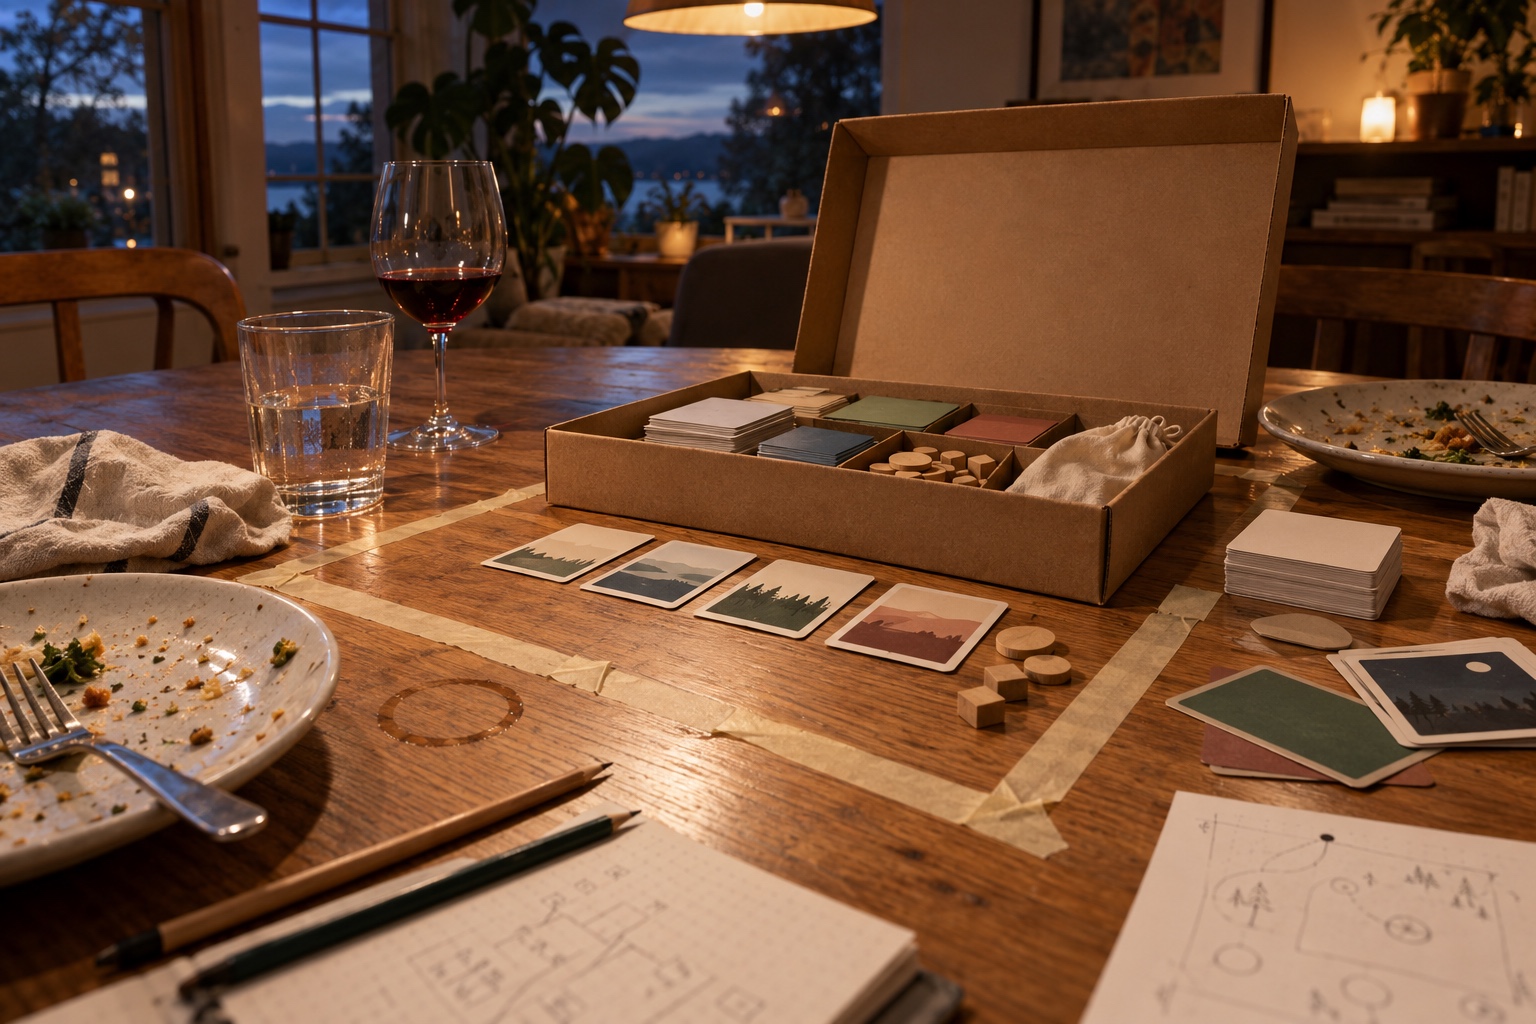
The open state deserves as much design attention as the closed one. A kit that opens comfortably on an empty desk may be troublesome beside plates and glasses. Put the prototype on the table where it will actually be used, with the usual clutter around it.
Check where the lid goes, whether a hand can reach the pencils from more than one side, and how much space the loose materials take once removed. Mark the open footprint with a strip of masking tape. If that outline crowds someone’s plate, the layout needs rethinking.
The table itself is part of the system. If you are planning a functional hobby room, the surface size and lighting will shape how much the kit can spread out. A common failure signal is the lid ending up on a chair or the floor because it has nowhere sensible to sit.
7. Design finger access and loose return tolerance
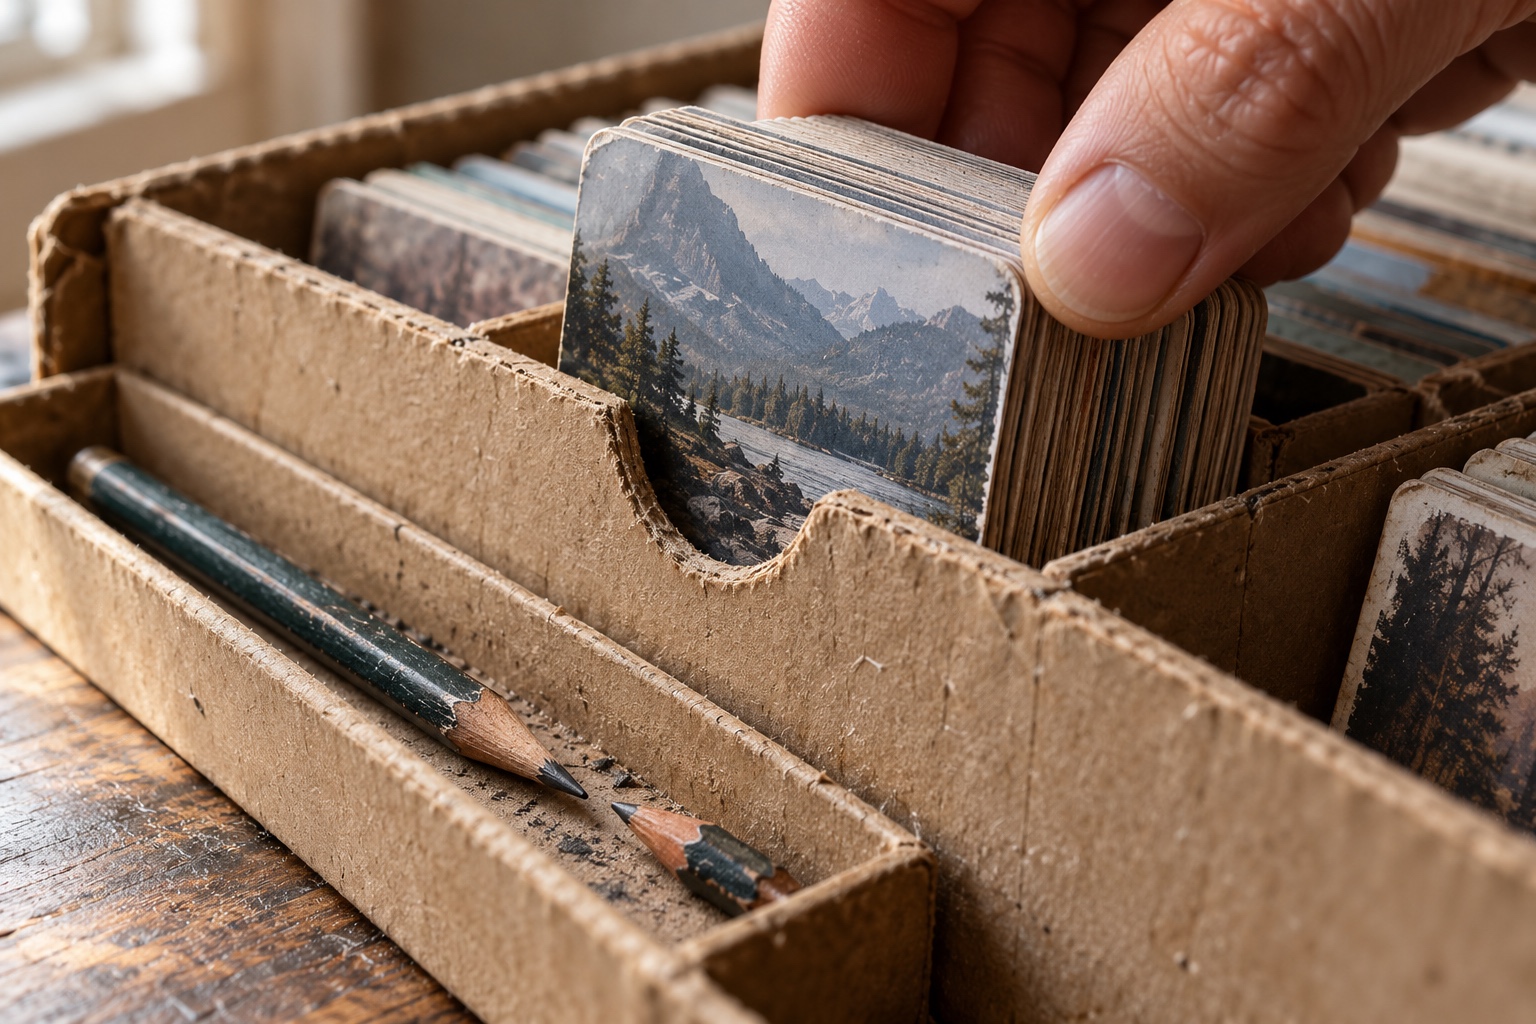
Try three ordinary movements in sequence. Lift the complete card stack without turning the box upside down. Take one pencil while leaving the others within easy reach, then return a loosely gathered pile of used materials and close the lid.
Watch for any movement that needs two attempts. A notch may help someone lift cards, but a very deep slot can still trap the last few. A pencil groove may look orderly while making a short pencil difficult to grasp.
One habit from my industrial design training has stayed with me: watch the hand rather than the object. The most useful moment in any rough model is when someone’s fingers stop and readjust, because that pause shows exactly where the shape is unclear.
Change one detail at a time and repeat the movement. Keep a note of each change beside the prototype. Otherwise, after several adjustments, it becomes hard to tell which one solved the problem.
8. Separate ready supplies from used materials
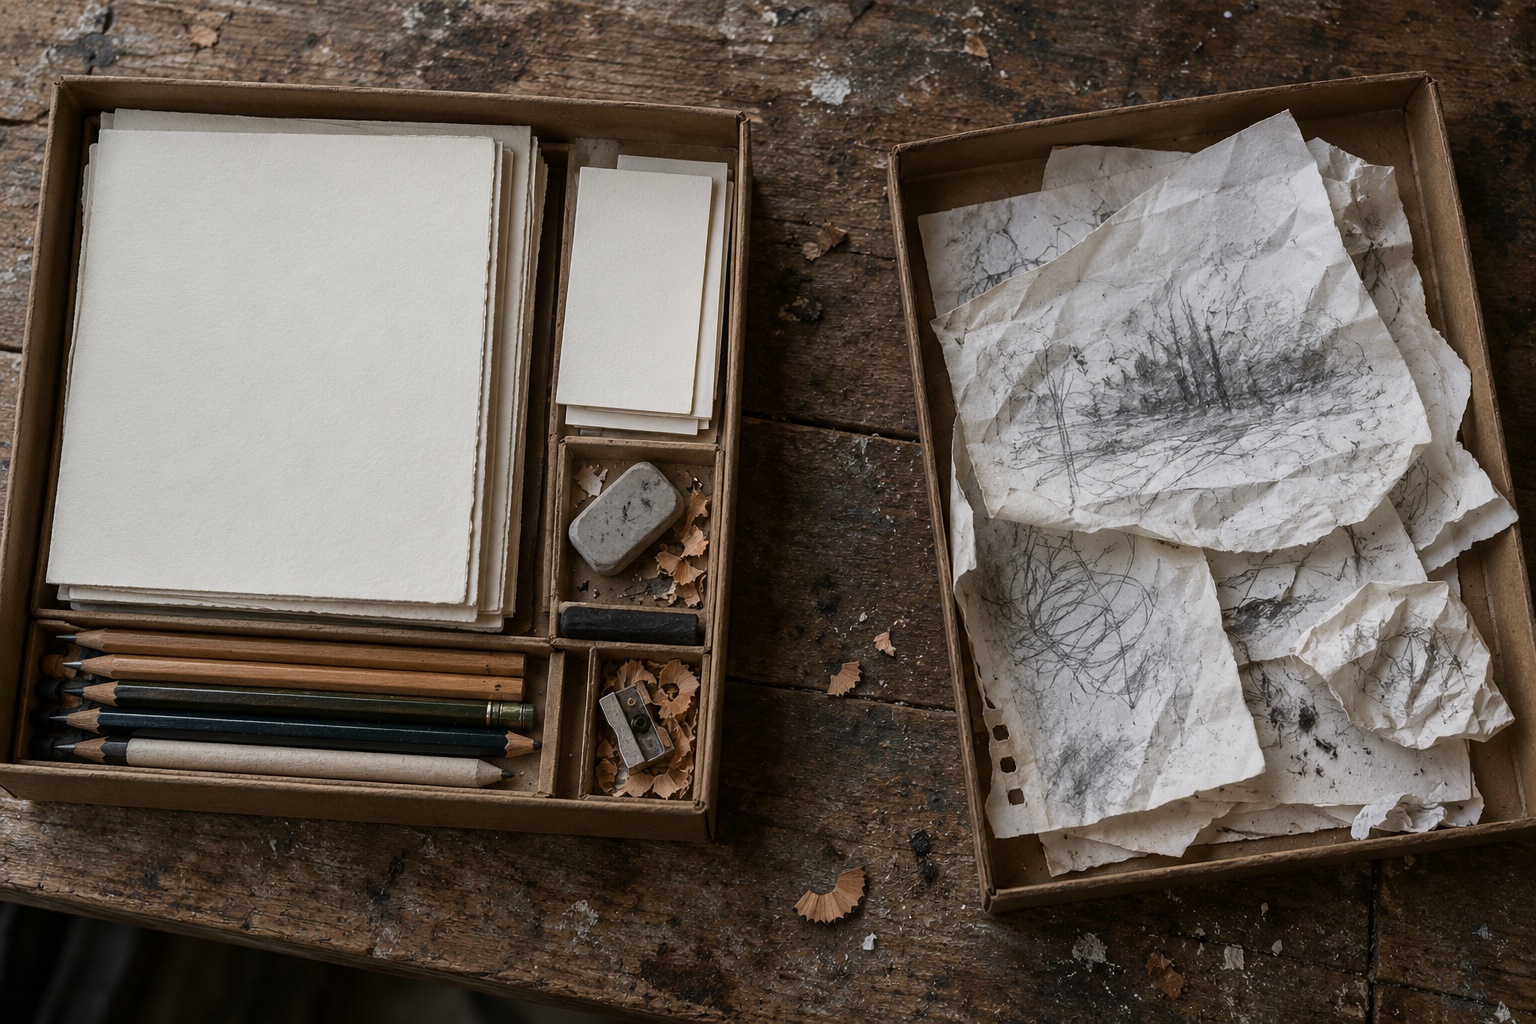
During play, a box often becomes a second table. Fresh sheets come out while used sheets need somewhere to go. A single tight compartment forces everyone to sort the two piles whenever they need another page.
Give used material a temporary landing place, even if that place is simply the underside of an open lid or a removable shallow tray. Base the split on what happens next. Reusable cards can return to their stack, sheets headed for recycling stay apart from the clean supply, and personal notes go back to their writer rather than joining the shared kit.
Once the physical brief is clear, Palaura can supply another game format using the same available materials. That is a better reason to extend the kit’s use than adding more compartments. Try a second activity with the existing supplies first, then decide whether a genuinely different object needs a place.
The failure signal here is someone flicking through a mixed pile to find a blank page. If that happens more than once in a session, the used and fresh materials need clearer separation.
9. Ask someone else to pack it without instructions
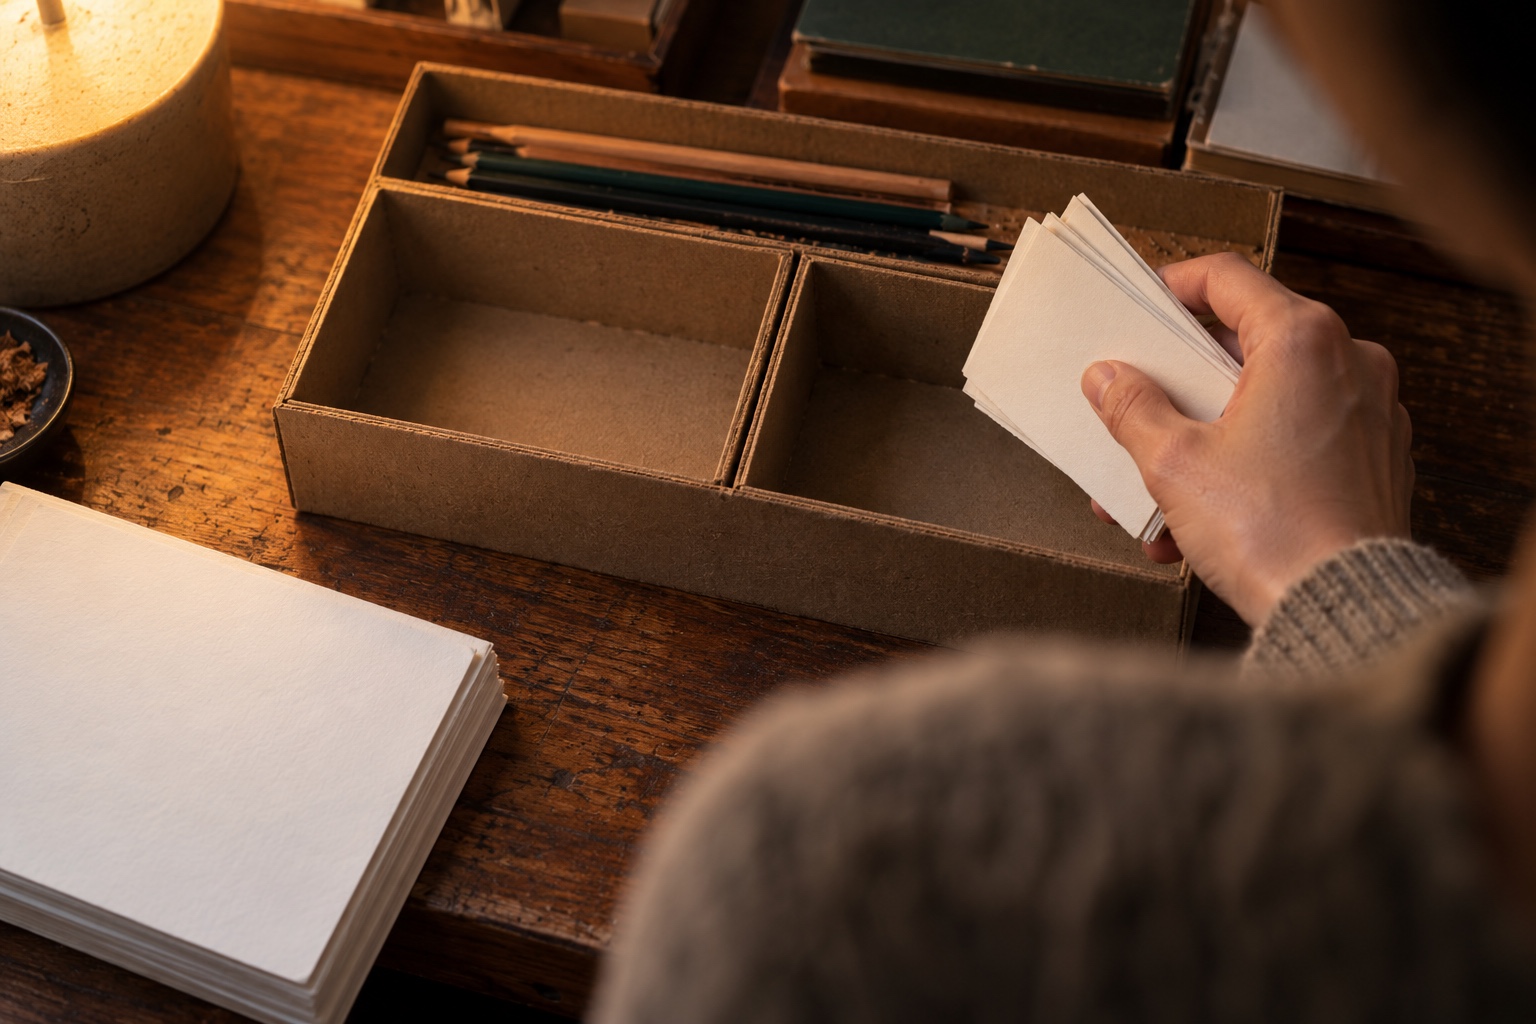
Ask another willing person to open the kit and return the materials without explaining the compartments. Watch where they hesitate rather than correcting each movement. Their uncertainty is more useful than your guidance.
If they repeatedly put the cards in a different recess, examine the shape or position of the intended space. A person should be able to infer the broad locations from form and use. A long shallow channel suggests pencils, while an open recess readily accepts a card stack.
Avoid making the intended arrangement depend on a photograph or a printed legend. If several nearly identical compartments need labels, the layout is asking people to memorize a sorting system for an activity meant to be relaxed. The prototype should survive an ordinary cleanup without its designer standing beside it.
10. Test carrying and cleaning before choosing the finish
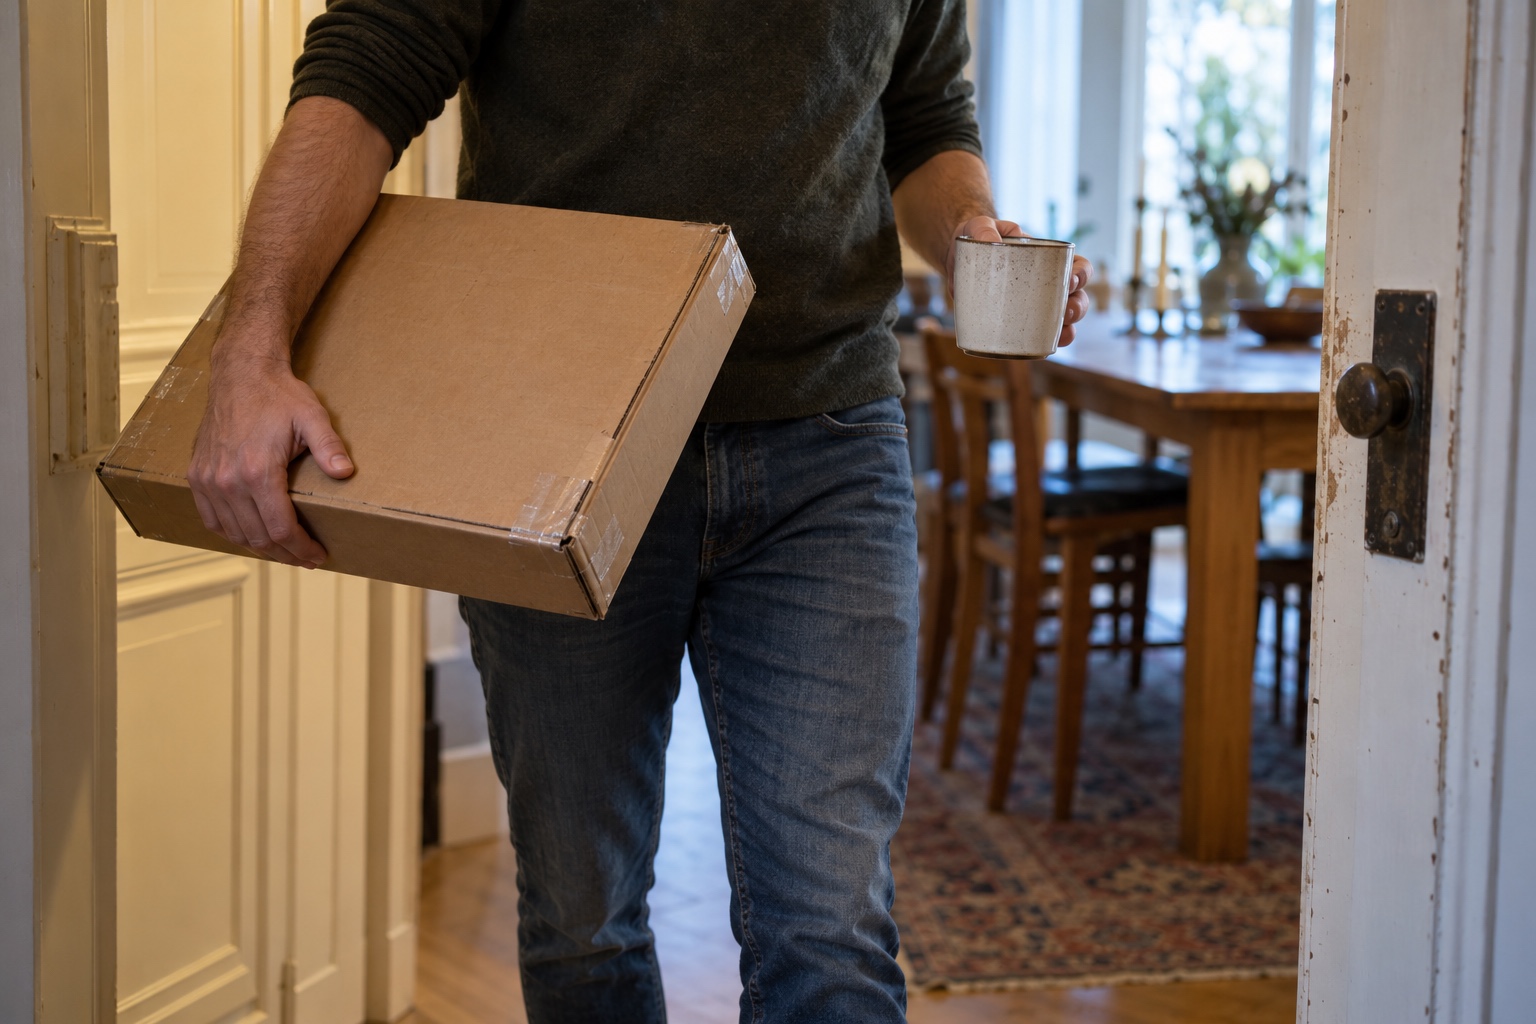
Consider how the kit travels between rooms. A loose tray may work on one table but spill when tilted. Carry the packed prototype the way someone would at the end of an evening, often one-handed and slightly at an angle, and see what moves.
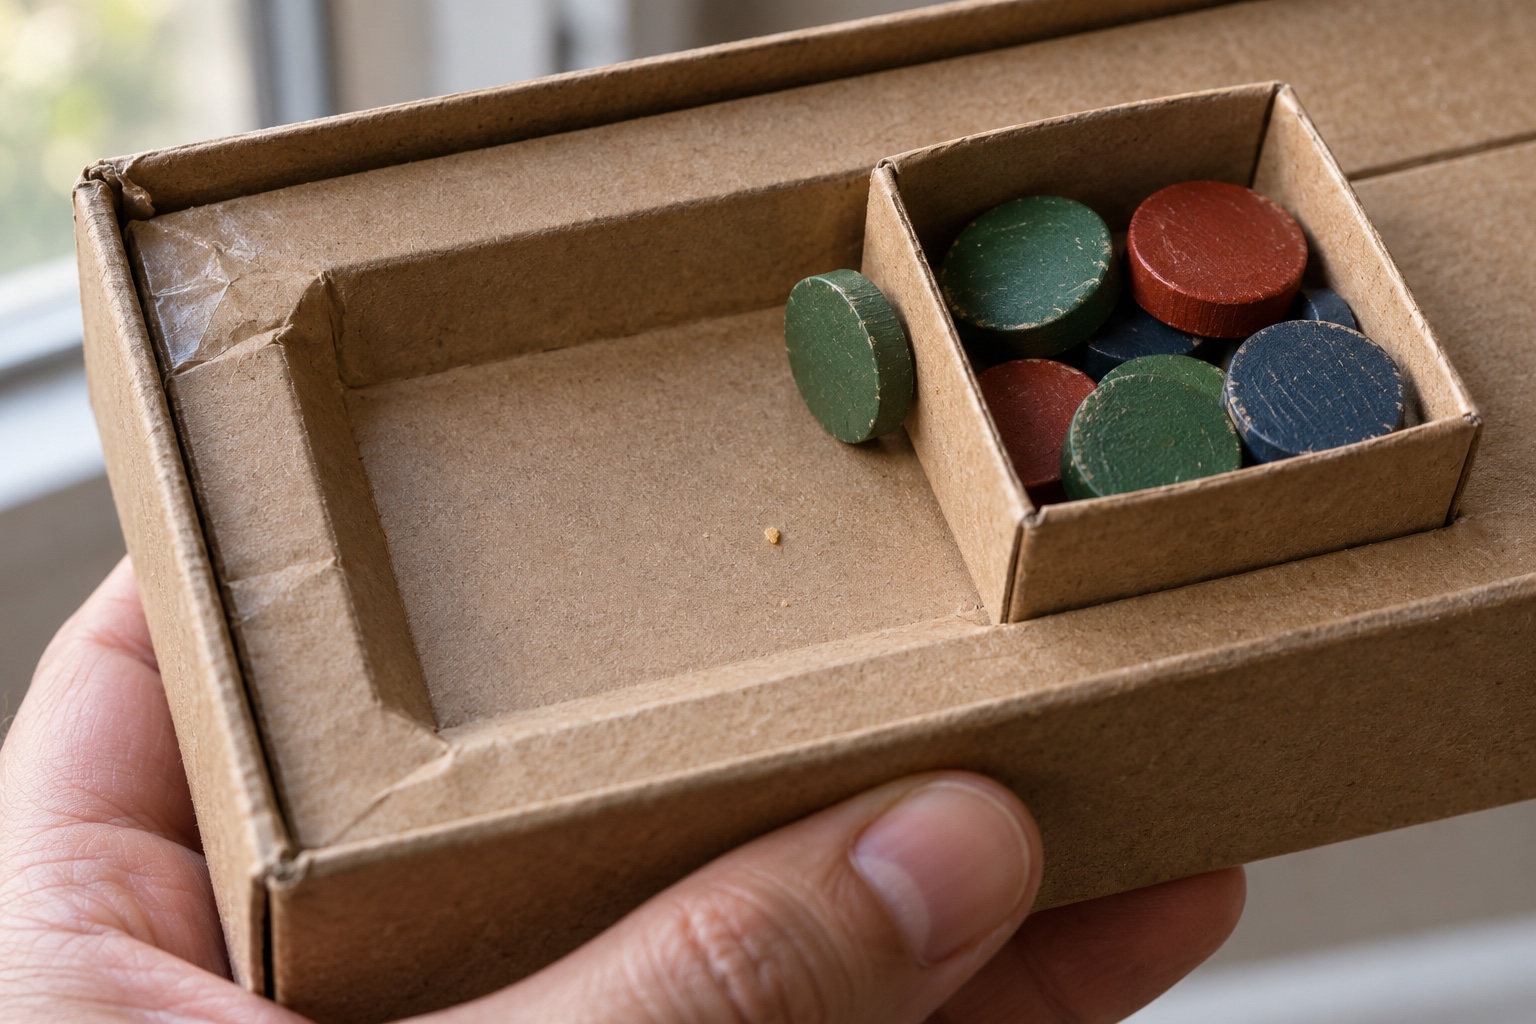
The lid might contain the contents when closed, or the insert may need a simple way to retain the smallest pieces. Cleaning matters too. Removable dividers make paper dust and crumbs easier to reach, while elaborate permanent pockets tend to hide debris.
Only after those checks should color and texture come in. Use the rough kit for an ordinary session and record specific physical problems, such as a divider that moved or a stack left beside its compartment because the opening was too tight. A general verdict like “make it more intuitive” does not tell you which piece should change.
The exterior still matters. A comfortable edge, a secure closure and a surface that suits the room make the object pleasant to keep nearby, and packaging design inspiration can help with that layer. Adding wall thickness or lining late can shrink usable space, so test the intended finish on a small sample before treating the internal dimensions as settled.
A quick return test checklist
Run through this list after each round of changes, using materials that have already been played with.
- Lift the full card stack out without tipping the box.
- Remove one pencil while the rest stay easy to reach.
- Drop a loosely gathered pile back in without squaring it first.
- Close the lid on the first attempt.
- Find a fresh sheet without sorting through used ones.
- Watch a second person pack the kit without instructions.
- Carry the closed kit to another room at a slight angle.
- Reach every corner for cleaning without removing more than one or two parts.
FAQ
How much extra space should a game-kit compartment have?
There is no single figure that suits every component. Measure a neat stack and a casually gathered one, then size the opening to accept the looser version with room for a finger. Confirm the result with the drop test from Step 3 rather than relying on the measurement alone.
What is the best material for a first game-box prototype?
Disposable card works well because it is easy to cut, fold and tape. The goal is to make revision cheap enough that you actually change things. Move to a more durable material only after the layout has survived several real cleanups.
How do you stop small game pieces from spilling?
Start by carrying the packed kit the way people really will and noting what moves. A lid that sits close over the insert, a shallow recess with a lip, or a small removable cup can all help. Choose the simplest fix that still allows easy cleaning.
Should every component have its own compartment?
Usually not. Separate items that are used differently, such as fresh sheets and used ones, but let similar objects share a space. Too many near-identical compartments make the return slower and harder to remember.
Can a DIY board game organizer work for more than one game?
Yes, if the games share materials. Test a second activity with the existing supplies before adding anything new. Add a compartment only when an object keeps appearing on the missing list.
A box that stays ready for the next session
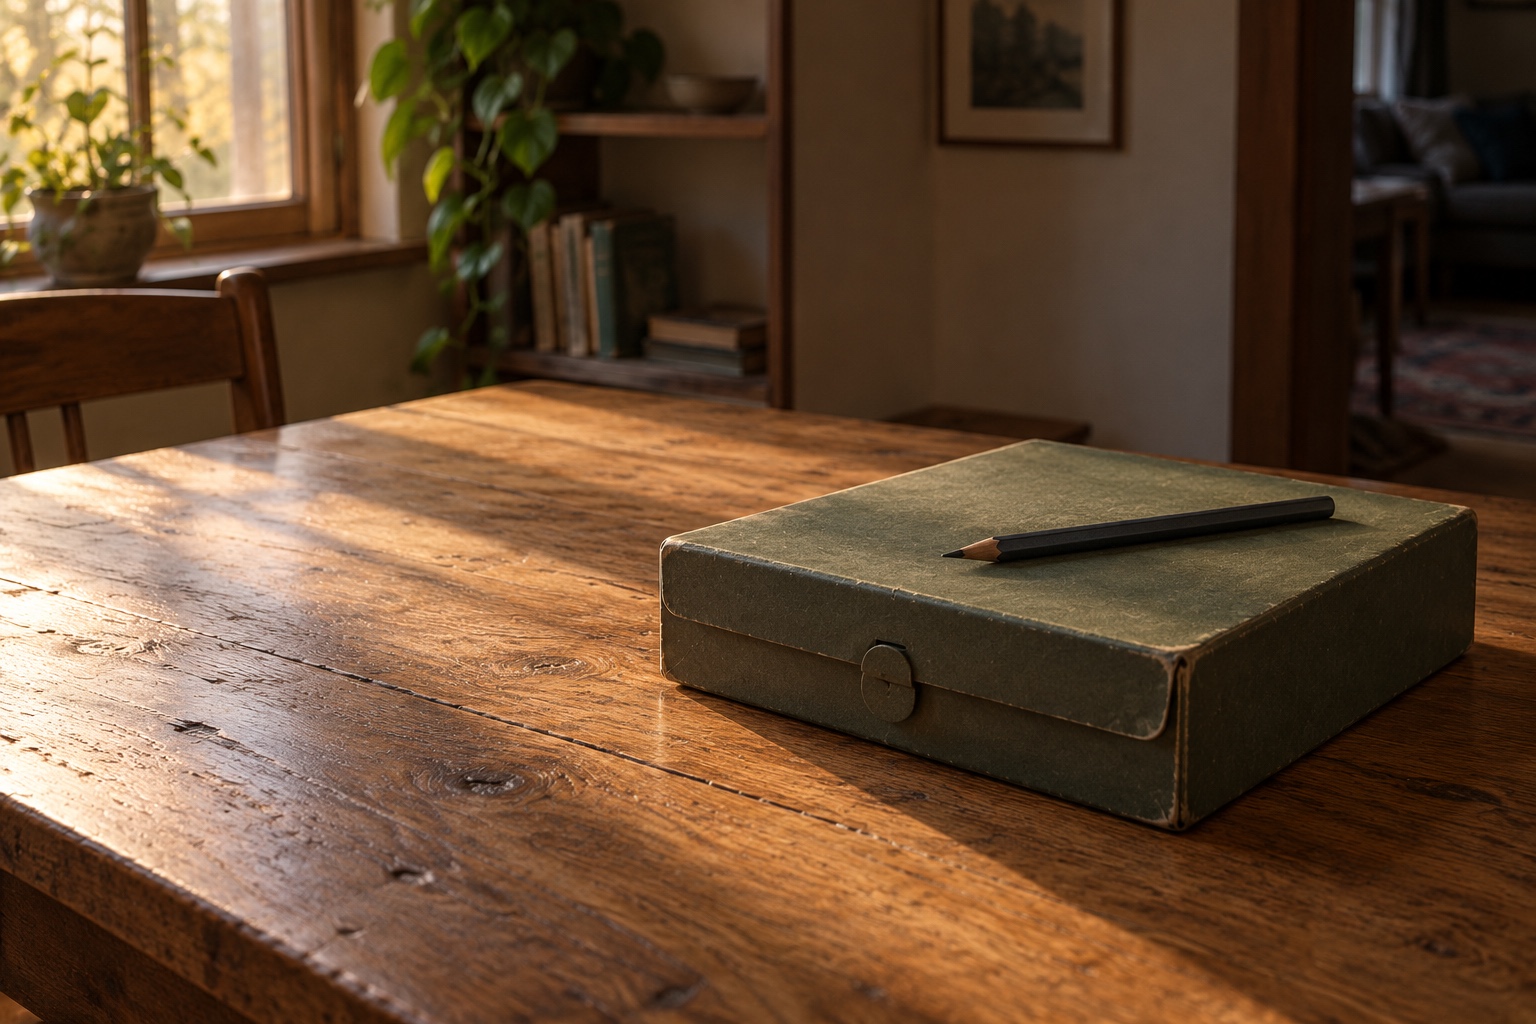
A good game kit is easy to leave ready for another evening. If its pieces can return without careful reconstruction, the object has a reason to stay within reach. Otherwise it risks becoming another attractive box at the back of a cupboard.
So build the rough version first, put it on a crowded table, and hand it to someone who has never seen your sketch. Wherever their hands pause is where the next revision should start.
- 0shares
- Facebook0
- Pinterest0
- Twitter0
- Reddit0