Your home’s air moves through pathways you rarely see until something goes wrong. An air duct inspection shows what those pathways look like right now: whether they’re connected, open, dry, and moving air where you expect.
If you’re about to close a ceiling, build a wardrobe wall, or lay new flooring, that information is worth having first. This guide covers the signs that suggest it’s time to book, what a professional visit includes, and how to use the report when you make design decisions.
- Why an air duct inspection matters before you redesign a room
- Signs it is time to schedule your air duct inspection
- How to schedule your air duct inspection and what to expect
- Turn the inspection report into better interior design decisions
- Inspection, cleaning, sealing, or repair: what is the difference?
- How to choose an air duct inspection specialist
- Key takeaways for homeowners
- FAQ

Why an air duct inspection matters before you redesign a room
Ducts run behind drywall, above ceilings, under floors, and inside soffits. Because nobody sees them, they rarely get a vote in the design. Then a ceiling closes, a wardrobe goes in, and any problem becomes expensive to reach.
A professional air duct inspection gives you a record of what’s actually there. The inspector may find dust or debris in supply and return runs, signs of moisture, evidence of pests, crushed or disconnected sections, or restrictions that limit airflow. None of these is a given, and none can be diagnosed from the sofa. Dust on shelves might point to a poor filter fit or a leaky return rather than dirty ducts. A musty smell might come from a damp crawl space, a drain problem, or something unrelated to the ductwork. The inspection sorts out which explanation fits.
Airflow restrictions matter for another reason. A system that can’t move air freely may run longer or work harder to keep rooms comfortable. How much depends on the equipment, the house, and the fault, so I won’t put a number on it.
Timing is the design issue. Ceilings, built-ins, flooring, paint, and decorative grilles all lock in vent positions and cover access points. Once they’re finished, a duct repair means cutting into new work. Before they’re finished, the same repair is a scheduling question.
I’ve spent more than 15 years across industrial and product design, architecture, web and app design, and visual communication, and my academic training is in composition and drawing. Every one of those fields taught me the same rule: check the hidden system before you cover it. I’m not an HVAC technician, and I don’t inspect ducts. I do know that a beautiful plan falls apart when it ignores what’s behind the surface. If you want the wider view of how air and interiors interact, read Designing for Air.

Signs it is time to schedule your air duct inspection
No single symptom proves a duct problem. The table below shows what each sign might point to, so you can decide whether a visit makes sense.
| Warning sign | Possible root cause | What the homeowner may notice | Why it matters before renovation |
|---|---|---|---|
| Excessive dust on surfaces | Dust entering through leaks, a loose filter fit, or buildup near registers | Frequent wiping, dust streaks around vents | Dust can settle on new finishes and textiles |
| Musty or stale odors | Moisture, a microbial issue, or a source outside the ducts | Smells when the system starts | Moisture near new millwork or flooring is hard to undo |
| Uneven temperatures | Leaks, disconnections, restrictions, or a balancing issue | One room hot, another cold | Room layouts may need different vent or return positions |
| Unexplained energy-use changes | Restricted airflow, damaged flexible duct, or equipment issues | A system that seems to run longer | Fixing the cause may change what you specify |
| Rattling or whistling | Loose sections, undersized openings, or high air velocity | Noise at certain vents | Noise is harder to fix once ceilings are closed |
| Visible damage or disconnected sections | Crushed, torn, or separated duct | Gaps seen in an attic, basement, or crawl space | Repairs are easier before finishes cover the route |
| Construction dust | Dust drawn into open returns or registers during work | Fine grit near vents after demolition | Debris may travel into the system and back out |
| A blocked return grille after a redesign | New furniture, cabinetry, or panels in front of the return | Doors that whistle, rooms that feel stuffy | The fix may need a design change, not a service call |
Treat these as reasons to look, not conclusions. A professional can confirm or rule out each possibility with the right tools.
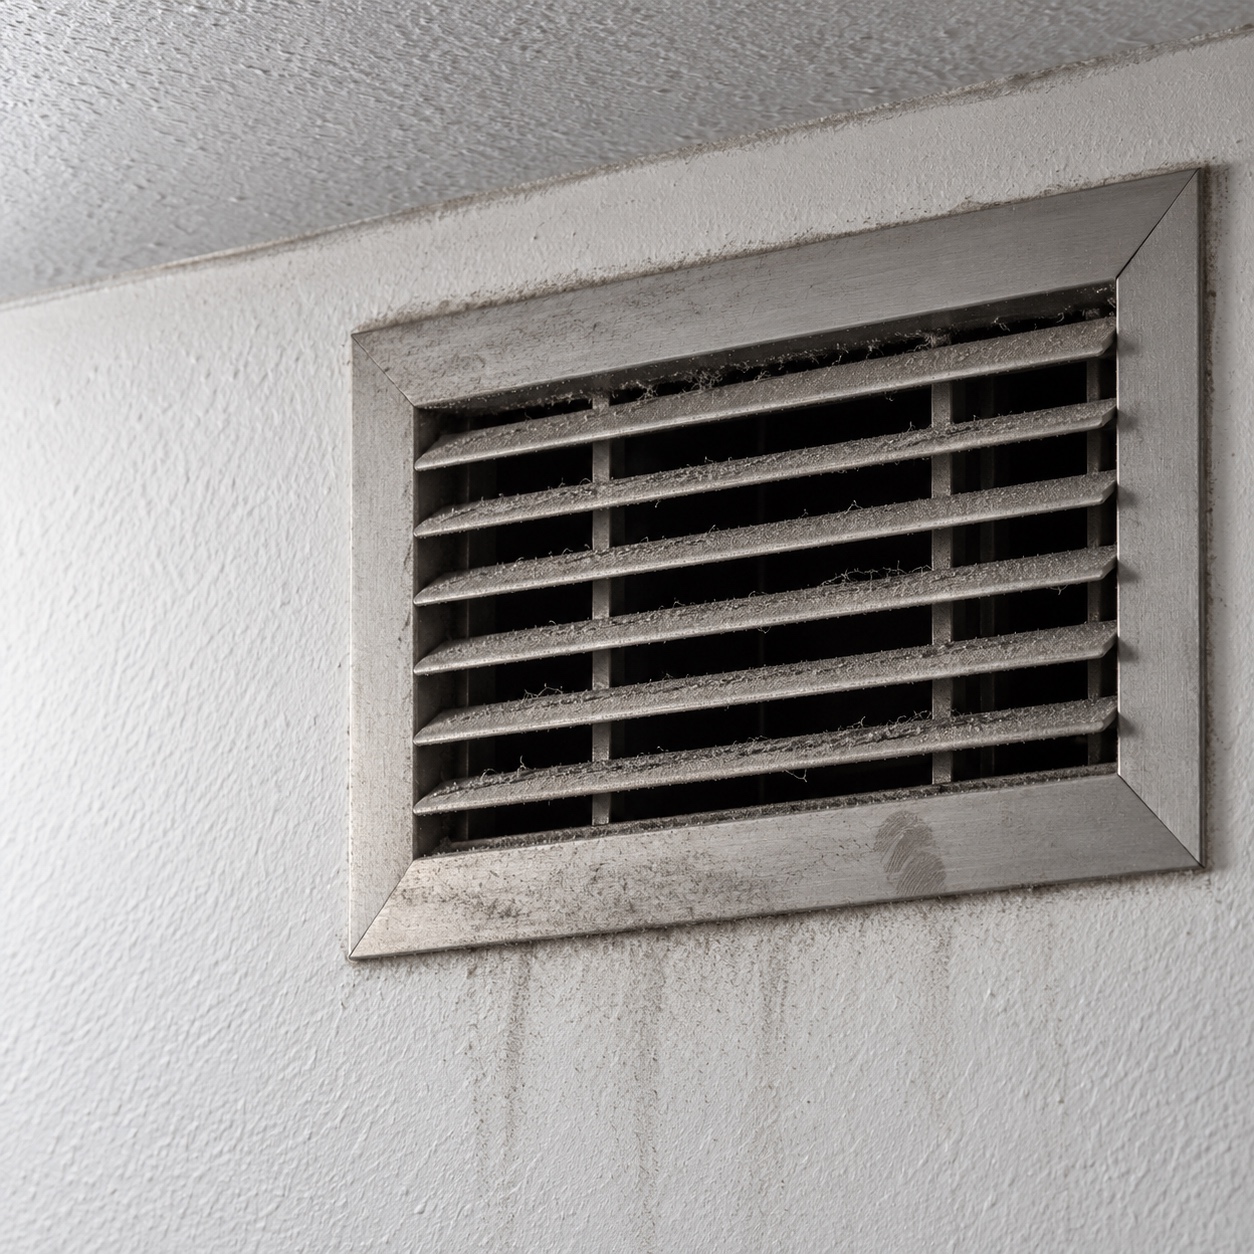
You can do a limited visual check yourself. Turn the system off, and remove a grille only if it’s designed to come off easily. Use a flashlight to look at the visible surface just inside the opening, and take a photo. Don’t reach into the duct, open the equipment, or touch anything that looks like mold, droppings, or nesting material. If you see any of that, stop and call a professional. A flashlight check is a way to gather notes for the inspector, and it doesn’t replace camera work or pressure testing.
People often ask how often air ducts should be inspected by a professional. There’s no single interval that fits every home, and the FAQ below explains why. For renovations, the better trigger is the project schedule: inspect before you commit to ceilings and cabinetry.
How to schedule your air duct inspection and what to expect
The process follows four steps. Providers name them differently, but the logic holds.
Booking and the initial consultation
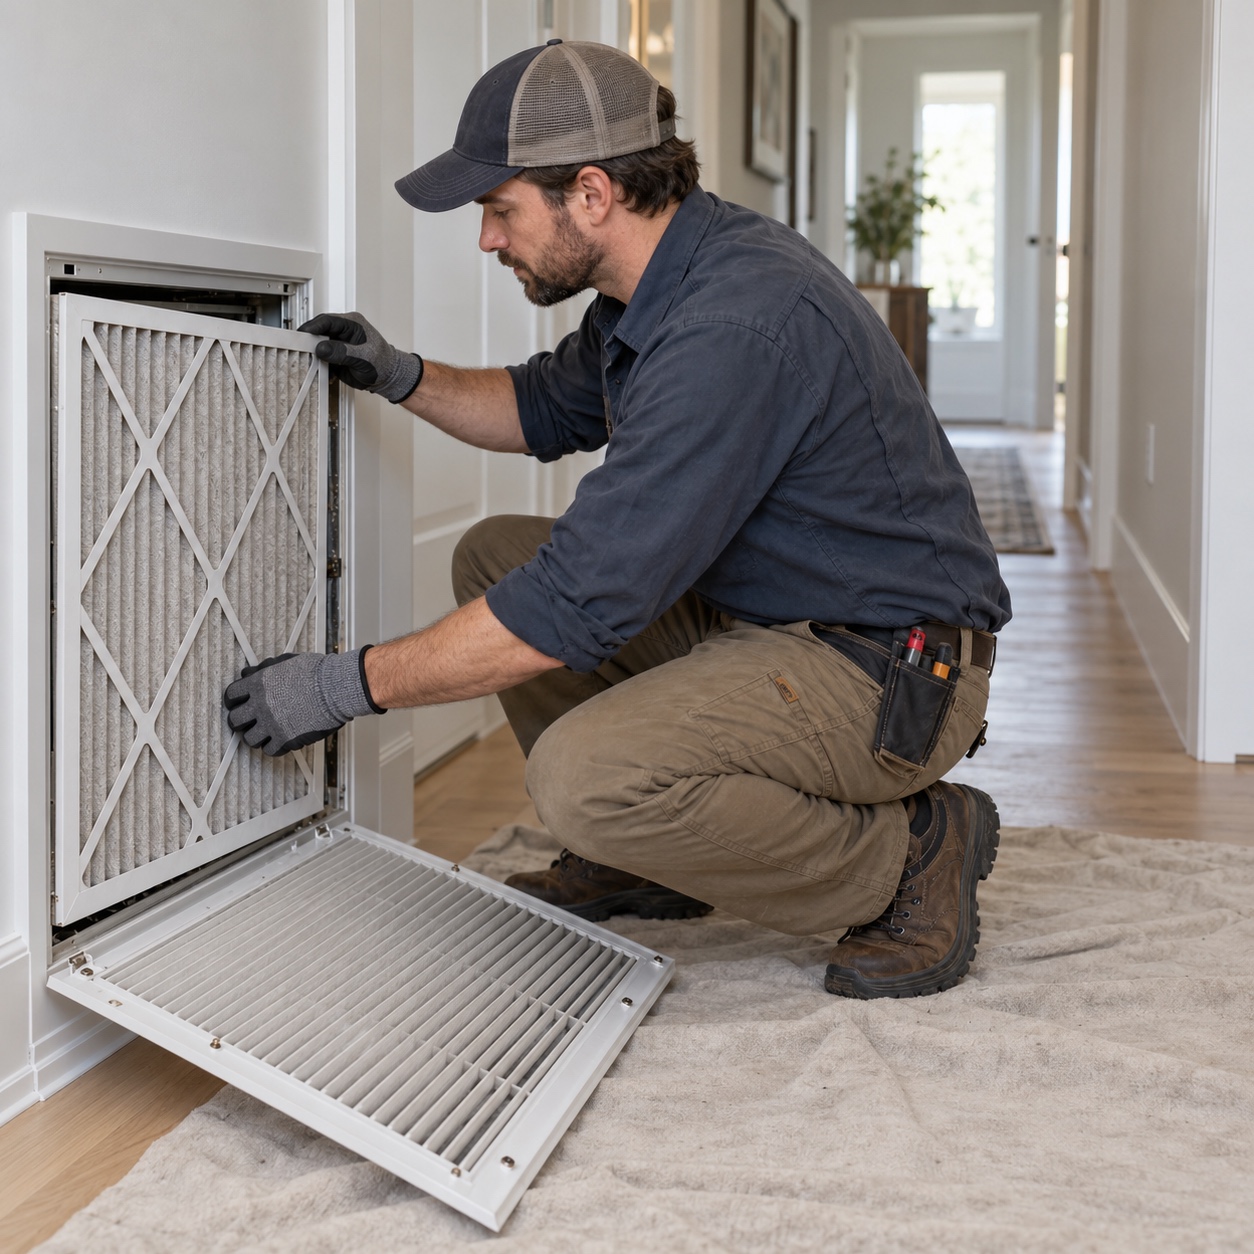
Start with a call or form. Expect questions about odors, comfort differences between rooms, changes in energy use, past water issues, pets, and any planned renovation. Tell them about the renovation early. It changes what they look for and how they document it.
Before the visit, gather a few things:
- Photos of rooms with comfort or dust problems
- Floor plans or reflected ceiling plans, if you have them
- The age and type of your heating and cooling equipment
- A note on when the filter was last changed
- Clear access to attics, basements, closets, and the equipment area
If a designer or contractor is involved, ask whether they can be present or receive the report. That saves a round of retelling later. When you’re ready to book, Talk with us!
Visual and camera inspection
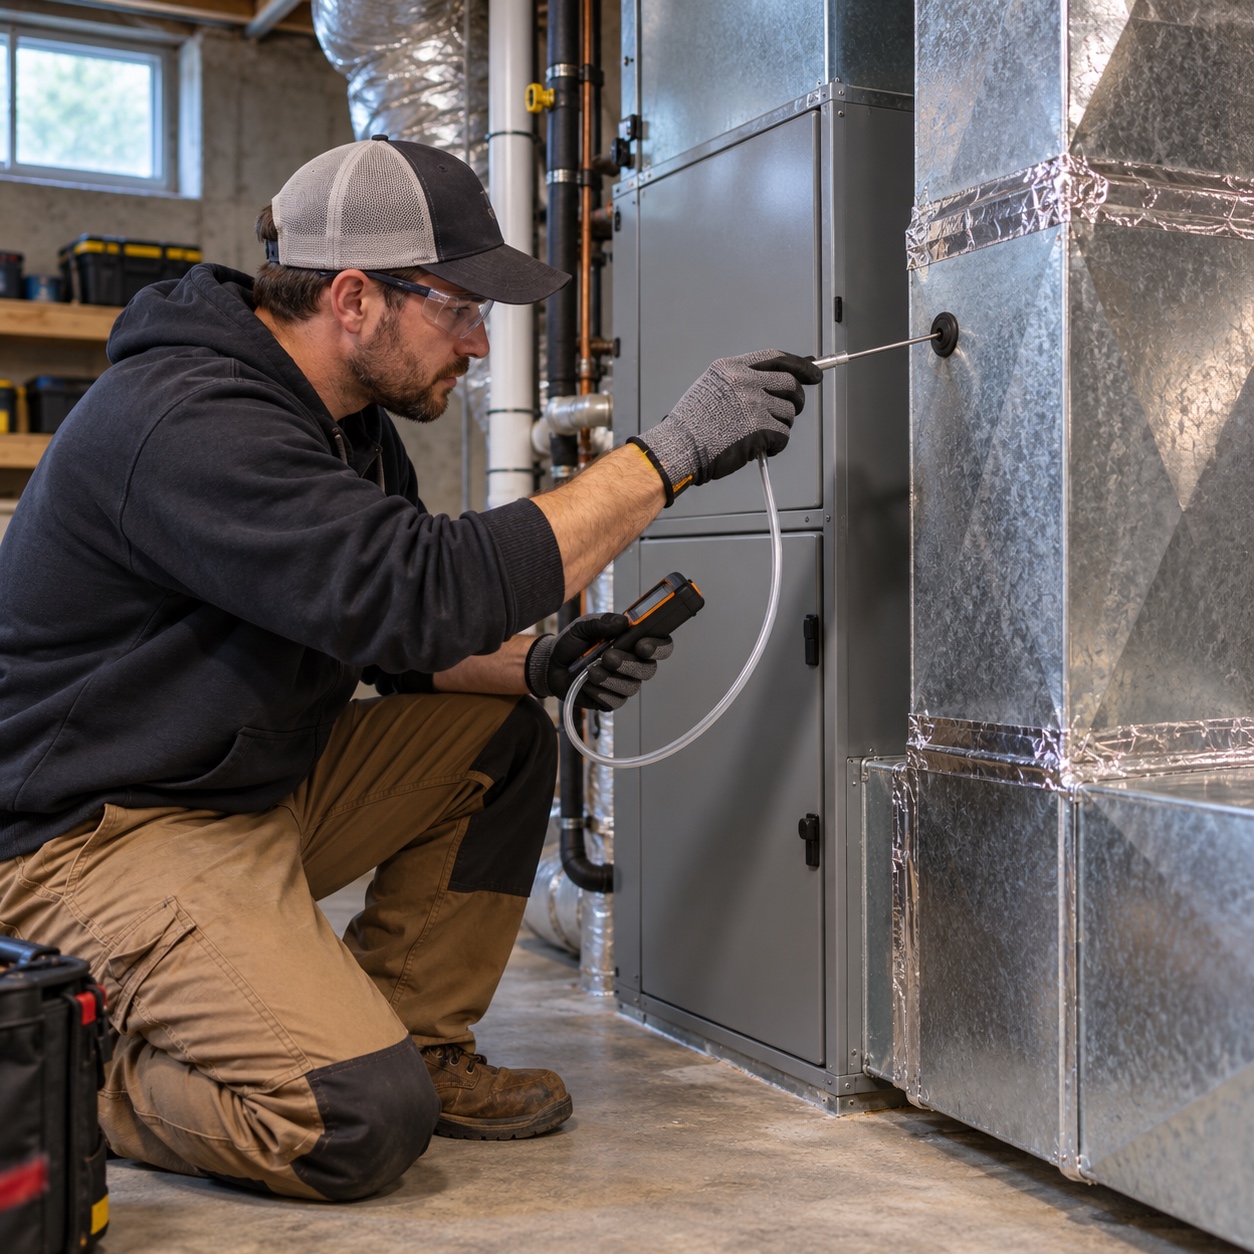
The inspector usually starts with what’s visible: supply registers, return grilles, filters, and any accessible duct sections. They look for dust patterns, damage, loose connections, moisture marks, and obstructions. This is also when they check whether furniture or finishes block openings.
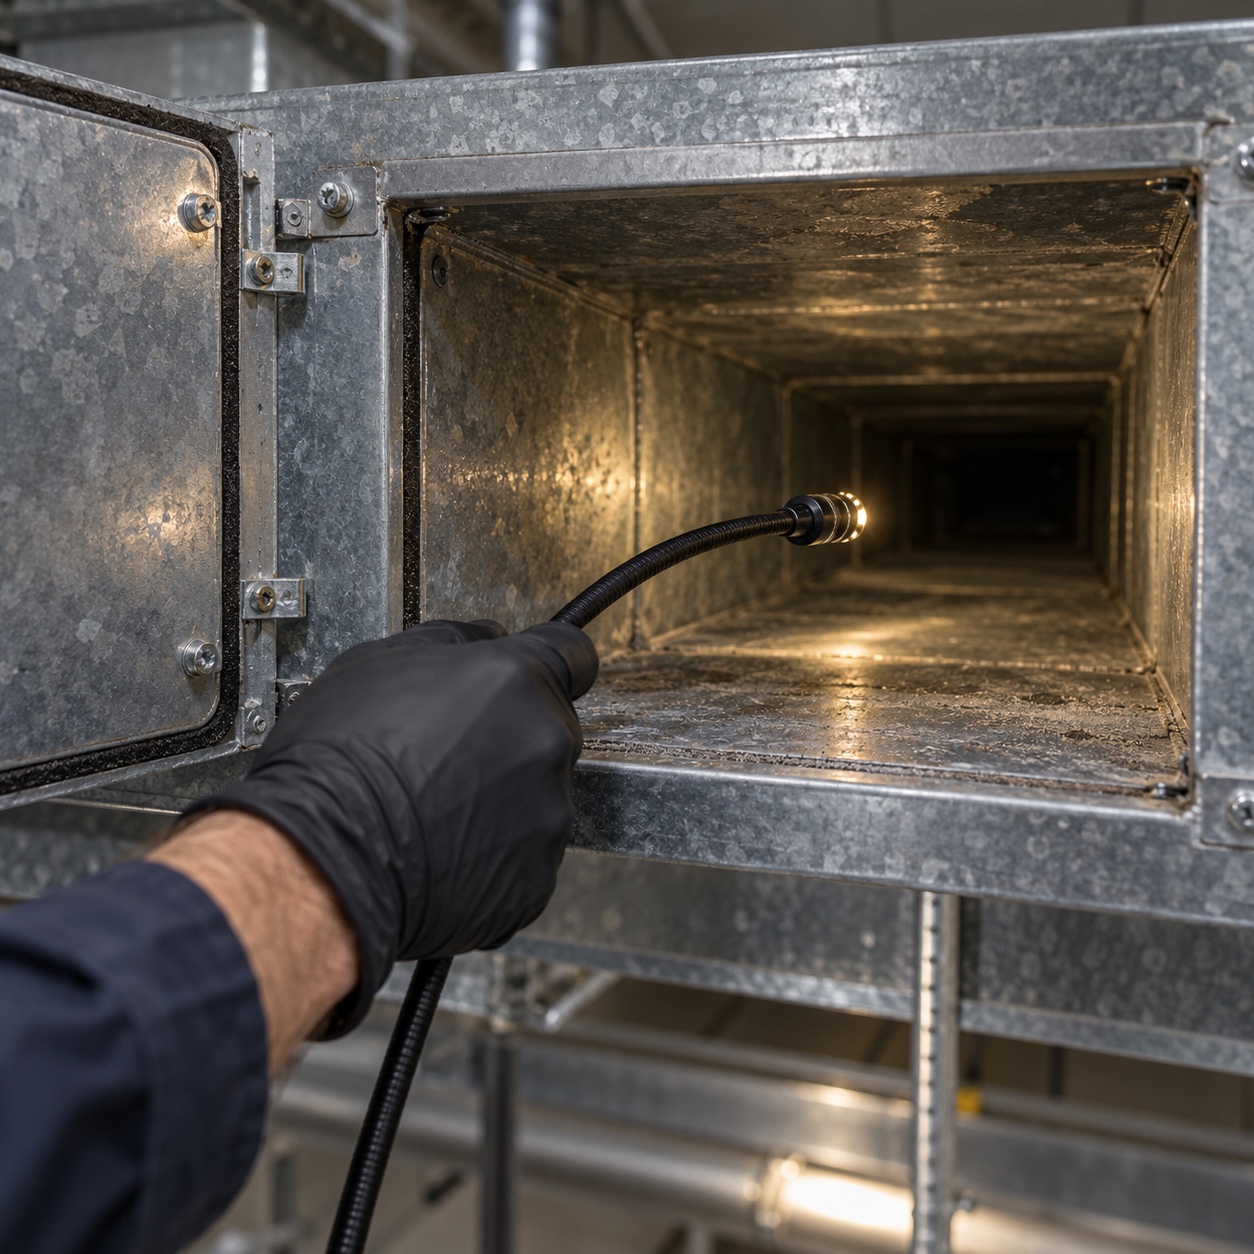
For channels you can’t see, a duct camera extends the view. An air duct inspection camera can show surface debris, visible damage, standing moisture, pest evidence, and some disconnections or crushed sections. It’s useful, and it has limits. It can’t measure airflow, and it can’t see everything. It may not reach through sharp turns, long runs, or sections behind finished walls. It also can’t prove that a stain is mold or that a smell has a particular source. A good inspector says so and notes which sections they couldn’t view.
Airflow, static pressure, and leak testing
Cameras show condition. Testing shows performance. Airflow testing measures how much air reaches individual registers, which helps identify weak or overloaded branches. Static pressure testing checks the pressure the system is working against, and unusual readings can suggest restrictions in filters, coils, or ducts. Leak testing looks for air escaping from the duct system, using methods that vary by provider and system.
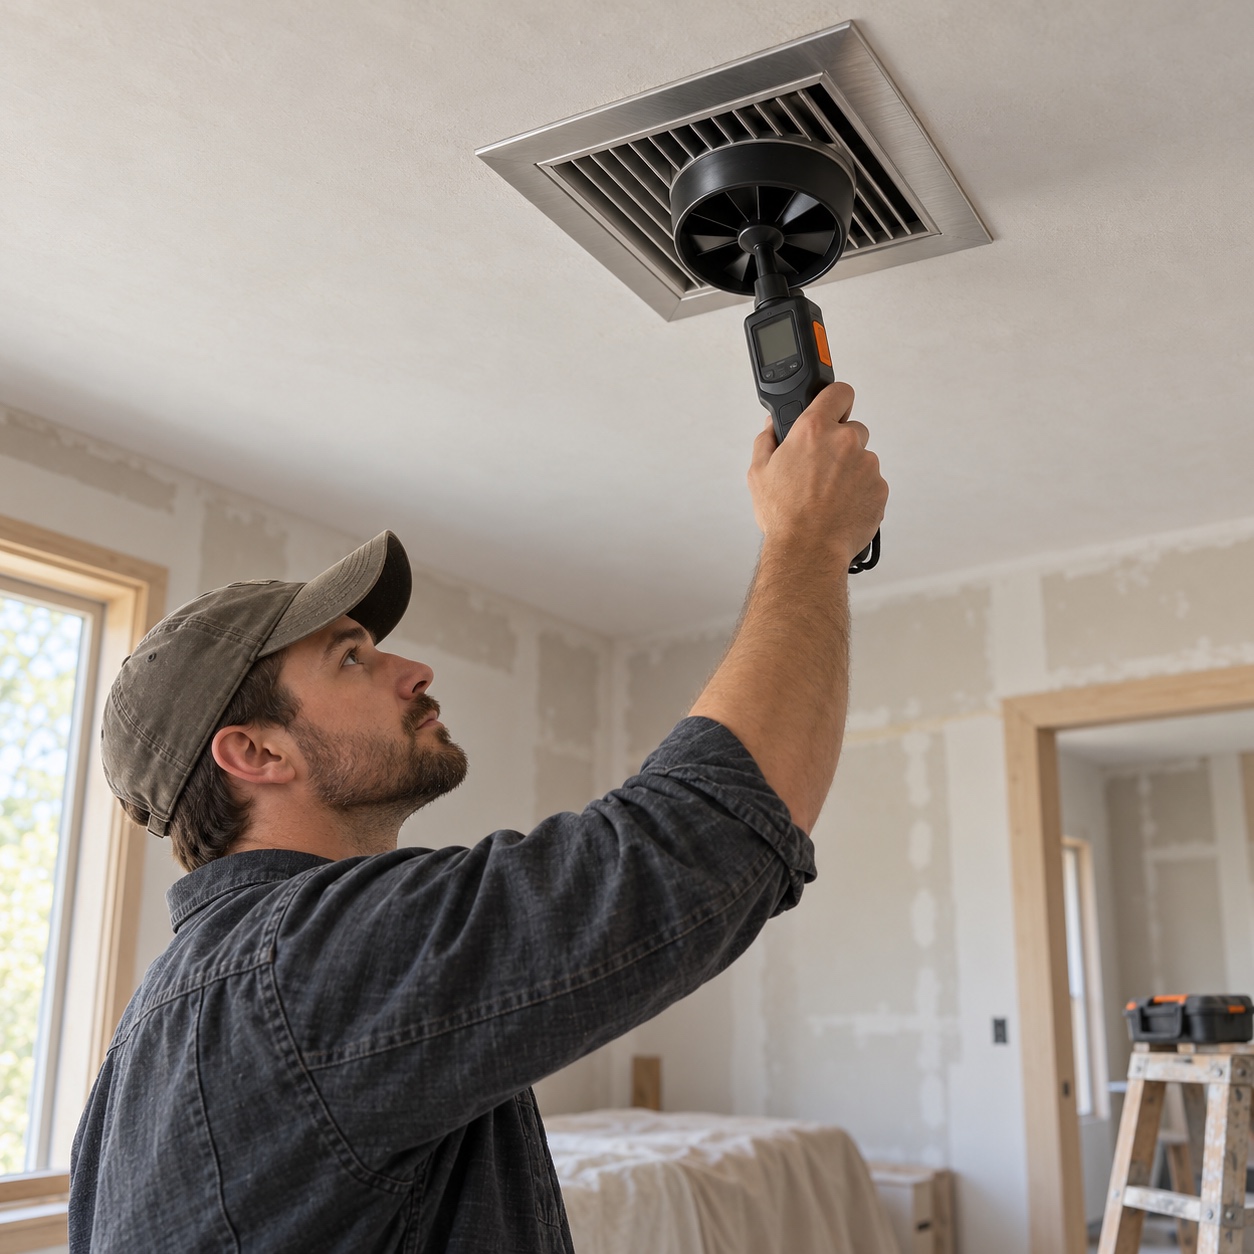
Not every inspection includes every test. Scope depends on the building, the equipment, and the provider, so ask what’s included before you book. If testing isn’t part of the visit, the findings are less complete, and you should know that going in.
The diagnostic report and next steps
The report is the part you carry into your project, so look for specifics. Useful documentation includes:
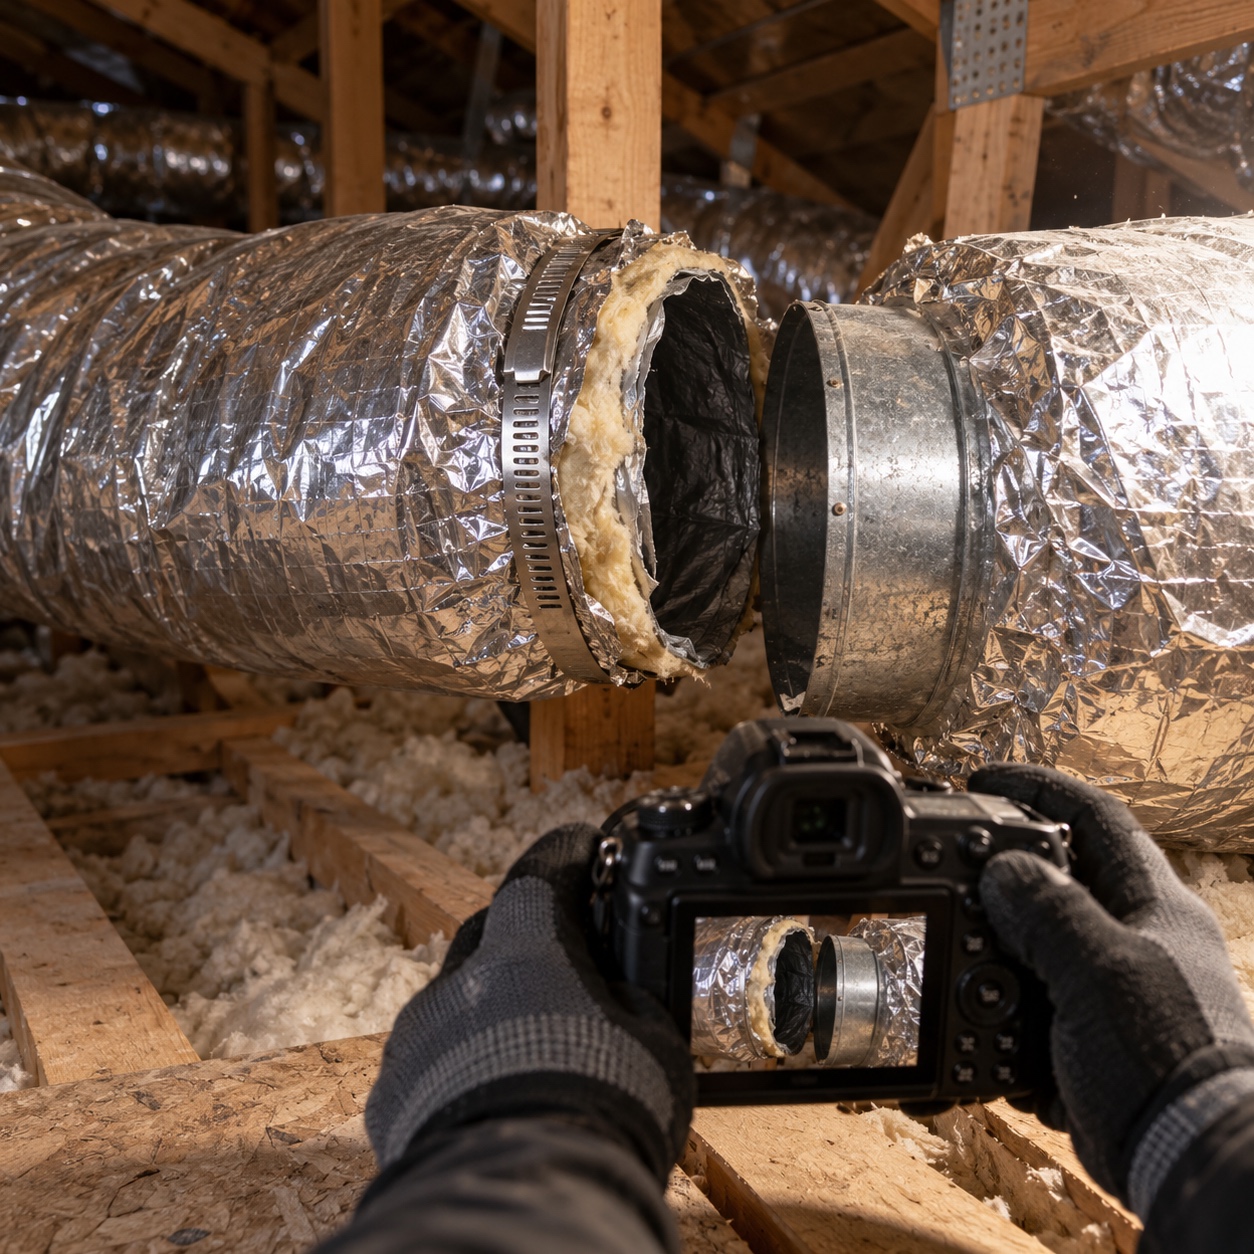
- Locations of each finding, tied to rooms or a simple sketch
- Photos or video clips of problem areas
- Measurements where tests were taken, with the test method named
- A priority for each item, separating urgent from can-wait
- The recommended trade, such as cleaning, sealing, repair, or an equipment specialist
- Notes on what could not be inspected
A vague summary like “ducts need work” isn’t enough to plan around. Ask for something your contractor can price from.
The report may recommend cleaning, sealing, repair, or nothing beyond routine maintenance. It may also suggest coordinating work with your renovation, which is where the design side comes in.
Turn the inspection report into better interior design decisions
Most articles about inspections stop at the service. This is where the report becomes a design document. For the full planning sequence, use our HVAC design checklist for interior designers. Here the focus is narrower: what the findings change about your layout, finishes, and access.
HVAC calculations belong to a licensed professional. Your job is to bring the report to that conversation early and design around what it says. For background on how the two disciplines fit together, see HVAC and Interior Design.
Coordinate supply vents with the ceiling and furniture plan
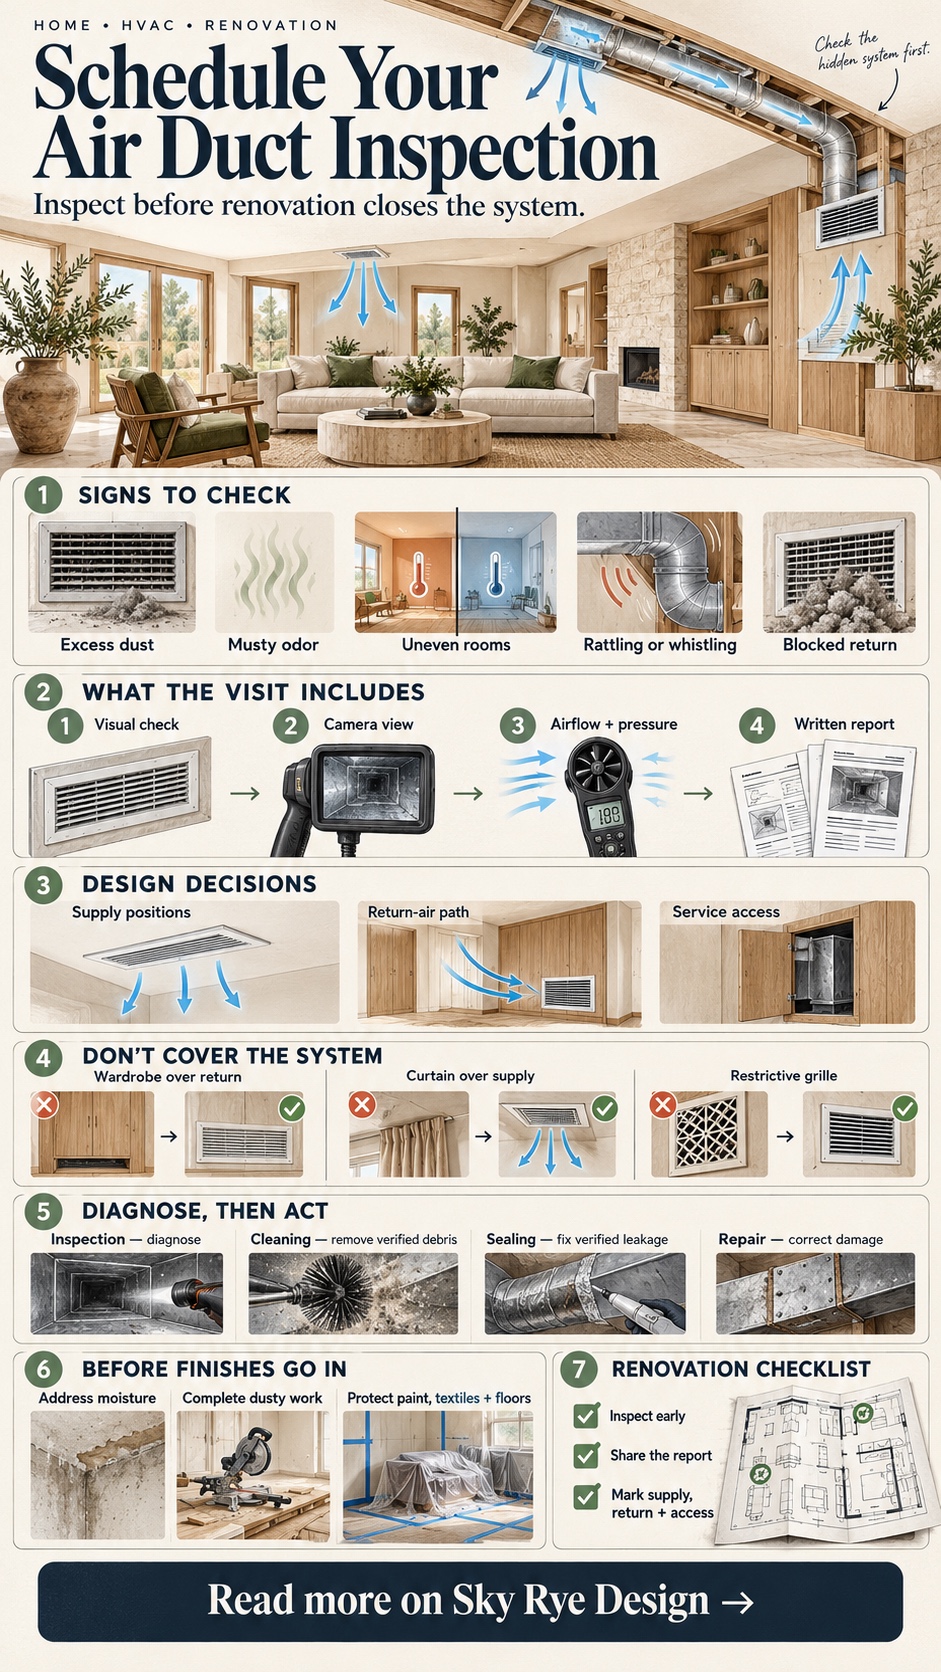
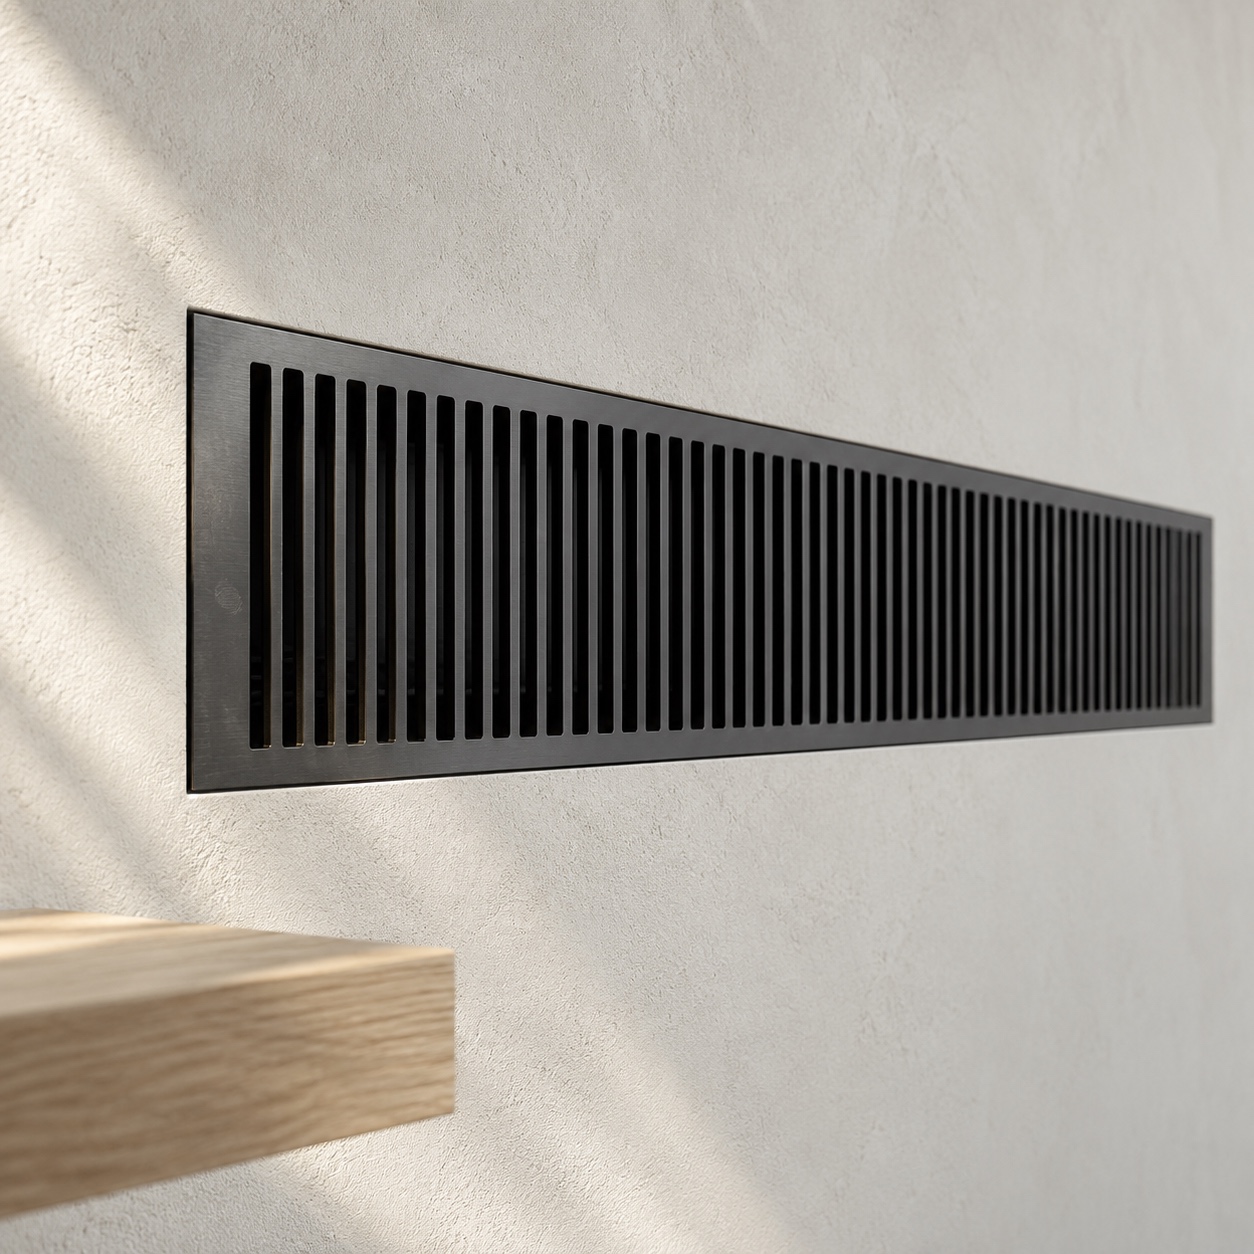
If the report shows weak airflow in one room or a damaged branch, the vent position may need to change. That’s much easier before you finalize the ceiling layout. A linear slot grille, a cove detail, or a flush panel all depend on where the duct actually runs.
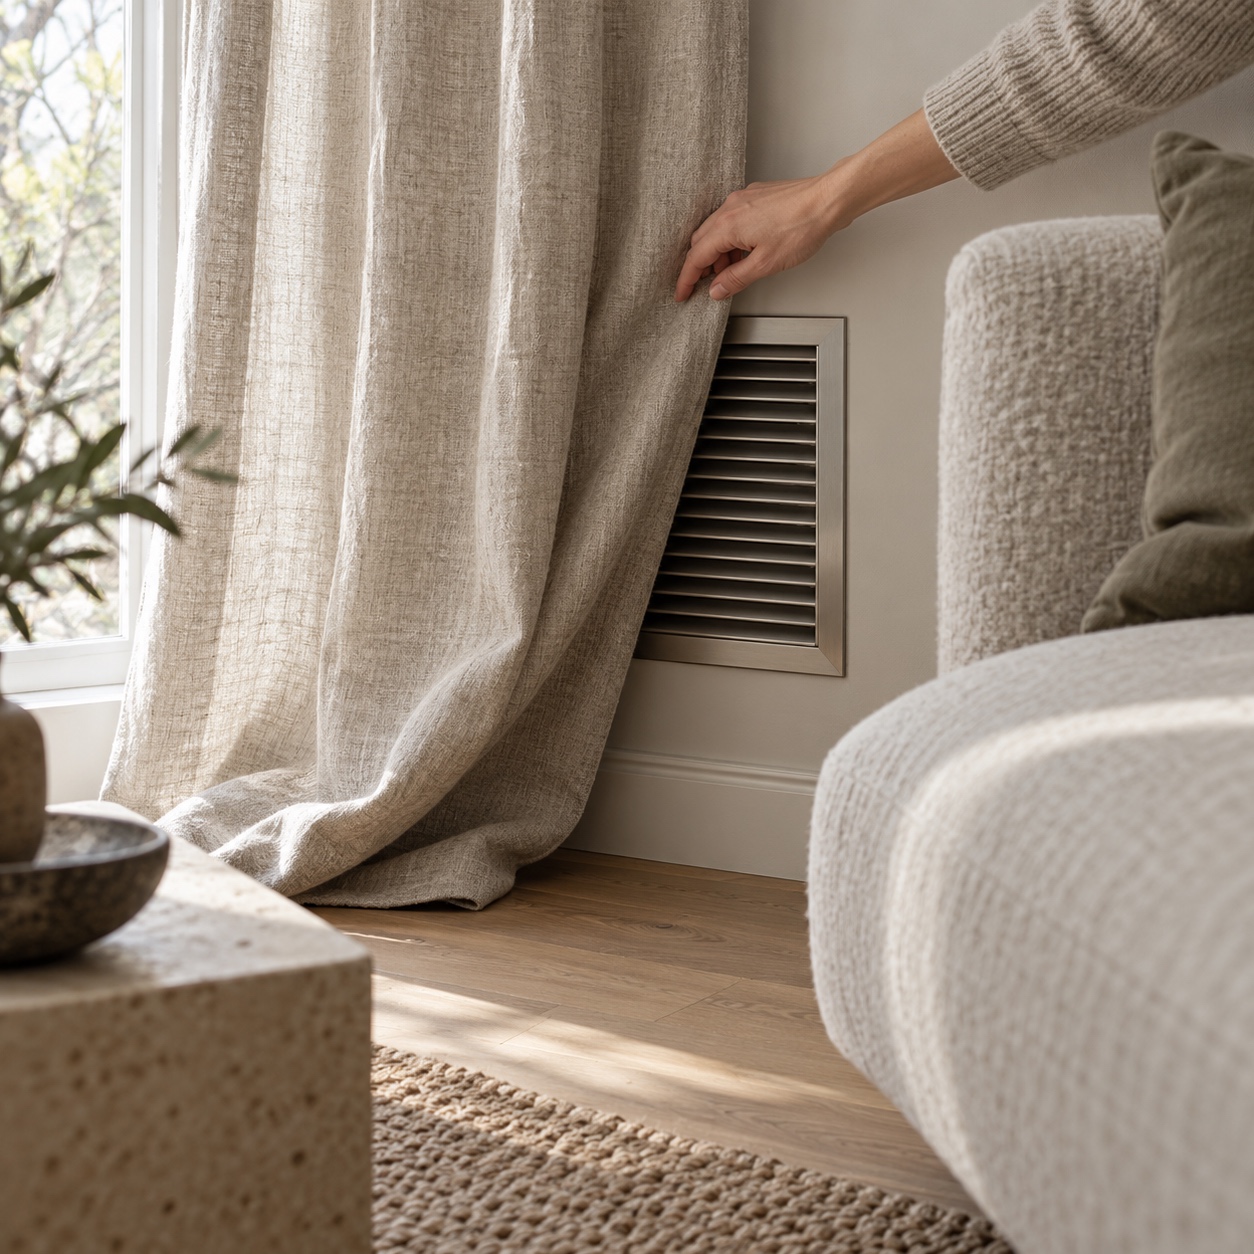
Two examples come up often. A curtain hung just below a supply vent can trap air against the wall and glass, so the room never feels the airflow you paid for. A sofa pushed against a floor register can do the same. Check where each supply discharges against the furniture plan, then adjust the plan or the vent. Ask the HVAC professional before moving a vent, because changing position affects how air reaches the room.
Decorative grilles need the same scrutiny. A beautiful perforated panel with too little free area can restrict flow and whistle. Ask the supplier for the open-area data and have the HVAC professional confirm it suits that opening.
Keep return-air paths and service access clear
Returns are the quiet half of the system. Air has to get back to the equipment, and a blocked return path can leave a room stuffy even if the supply is fine. A full-height wardrobe installed over a return grille is a classic case. The doors look flush, the room looks calm, and the return is gone. If a door is closed, check whether air has another way back. The return-air path may need a transfer grille, an undercut, or a relocated return, and a professional should decide which.

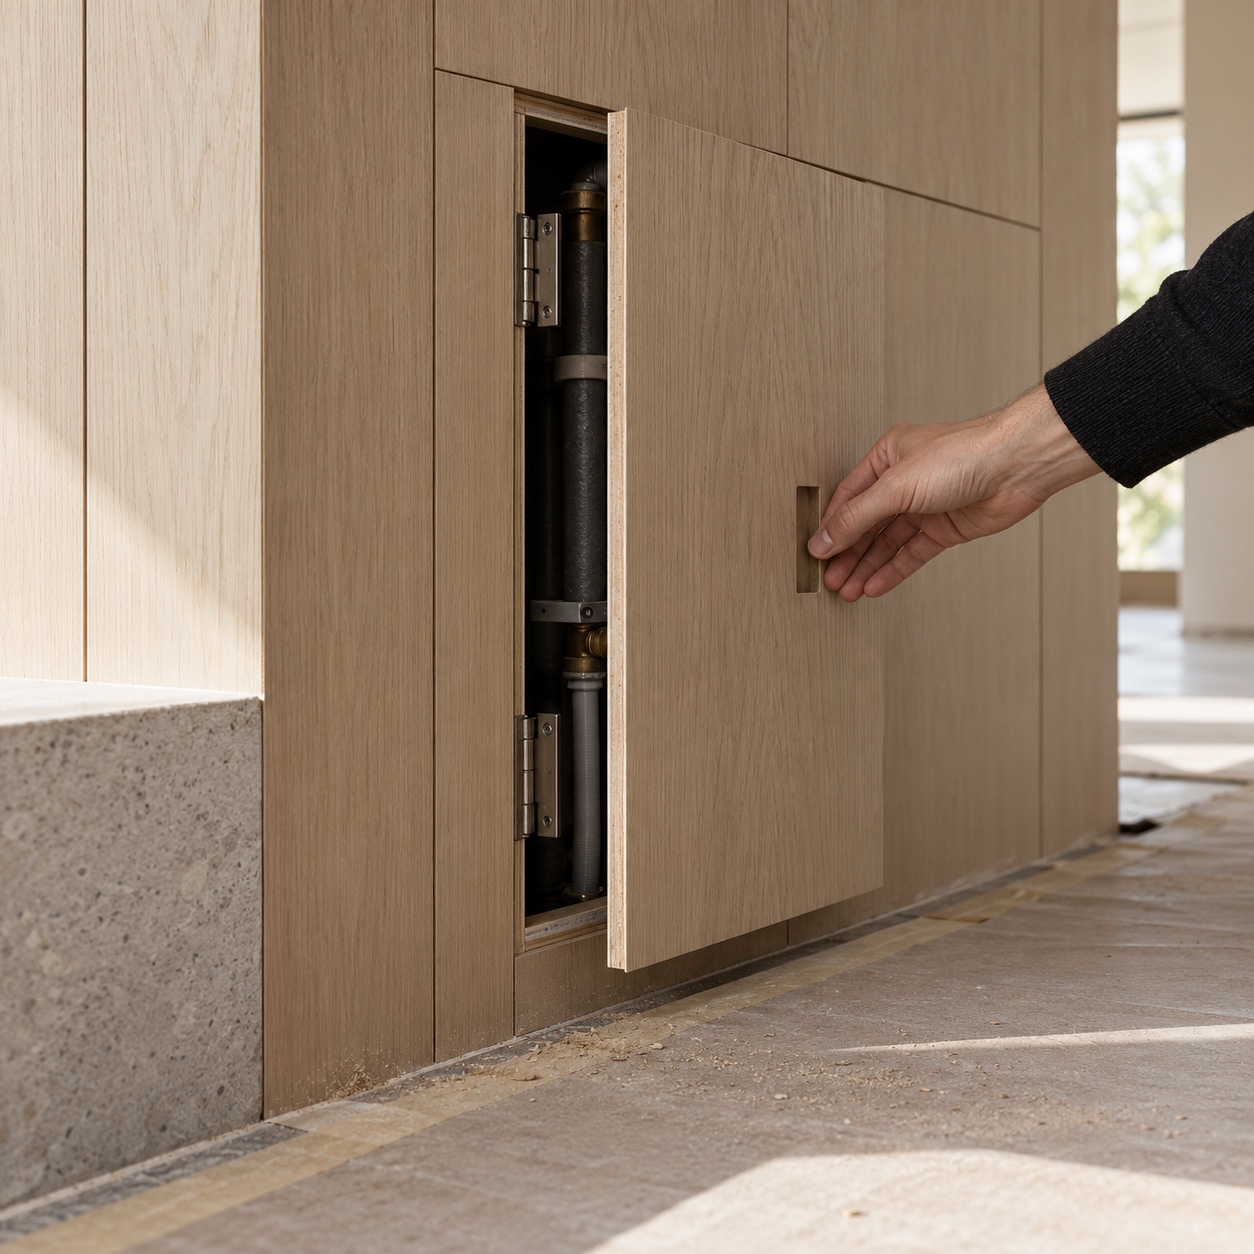
Service access is the other piece. Dampers, cleanouts, filter slots, and access panels exist so someone can reach them later. Millwork that hides them turns a small service call into a demolition job. Mark every access point on your drawings before the joiner starts. Then design a panel that opens, with a reveal that looks intentional, and keep it reachable without moving furniture.
Protect new finishes from moisture, dust, and condensation risks
If the report flags moisture, address it before anything absorbent goes in. Solid wood, upholstery, wallpaper, and soft furnishings all react badly to damp. A condensation-prone duct above a new plaster ceiling can stain it. Ask the inspector whether insulation or sealing is a concern near the planned finishes.
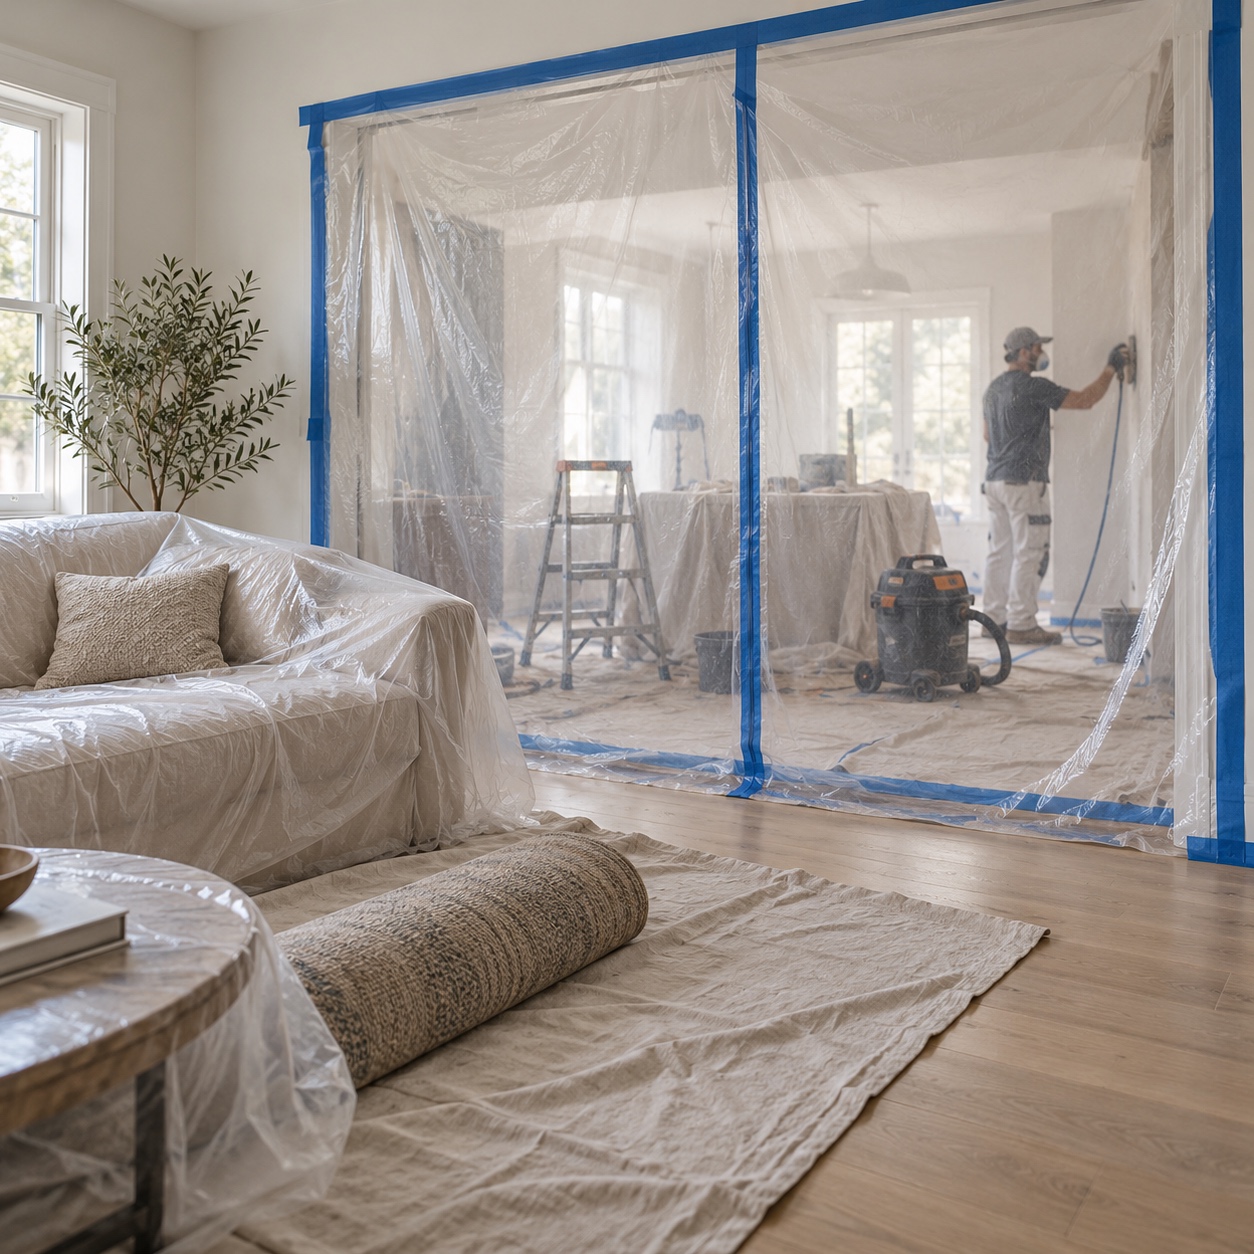
Dust is the other threat. Repair work stirs it up. Duct sealing, cleaning, or replacement should happen before final paint, textiles, and flooring, not after. If work can’t precede the finishes, protect them. Seal the work zone with plastic sheeting and tape, cover upholstery and rugs, shut off or cover returns in the work area as the contractor advises, and keep a clear path for debris out of the house. Confirm the sequence with your contractor so nobody paints a ceiling and then opens it.
Inspection, cleaning, sealing, or repair: what is the difference?
These terms get mixed up in sales calls, and the difference affects what you pay for. Inspection is diagnosis. The others are treatments, and not every inspection leads to one.
| Service | Main purpose | Typical trigger | What it does not automatically solve |
|---|---|---|---|
| Inspection | Diagnose condition, airflow, and leakage | Warning signs, renovation planning, unknown system history | It doesn’t fix anything by itself |
| Cleaning | Remove suitable contamination from the system | Verified debris, construction dust, or other contamination | Leaks, damage, poor layout, or an airflow imbalance |
| Sealing | Address verified duct leakage with appropriate methods | Leaks found by visual or pressure testing | Dirty components, crushed ducts, or poor design |
| Repair | Correct damage, disconnections, insulation, or layout problems | Torn, crushed, or separated sections, missing insulation | Surface dust or cosmetic problems elsewhere |
Cleaning removes contamination when it’s justified. It won’t fix a leak or a poorly placed return. Sealing treats leakage that’s been verified, and the method should match the problem. Repair corrects physical faults, including layout issues that limit airflow.
If you want more detail on cleaning specifically, read Everything You Need to Know About the Air Duct Cleaning. Just keep the order straight: diagnose first, then decide.
How to choose an air duct inspection specialist
A good provider makes your decisions easier, not faster. Look for these signals:
- Relevant experience. Ask how many duct inspections they’ve done in homes like yours, and whether they’ve worked around renovations.
- Clear scope. The estimate should say what’s included: visual checks, camera work, airflow testing, static pressure testing, leak testing, and a written report.
- Credentials as signals. NADCA membership or certification can be a useful sign for duct cleaning and inspection work, but it’s not a universal legal requirement. Licensing rules for HVAC work vary by region, so check what applies where you live.
- Insurance and licensing. Ask for proof where your jurisdiction requires it.
- Transparent estimates. Hidden fees and vague line items are a warning.
- Independent reviews. Read feedback on third-party sites, not only the provider’s own pages.
- Proper equipment. Duct cameras and pressure gauges should be part of the toolkit, not an upsell.
- A sample report. If they can’t show one, that tells you something.
Be wary of pressure. A provider who pushes same-day cleaning before diagnosing, or claims every home needs it, isn’t giving you an assessment. Vague threats about health, or promises of guaranteed results, are red flags too.
Questions worth asking:
- What does the inspection include, and what does it exclude?
- Will you use a camera, and in which parts of the system?
- Do you perform airflow, static pressure, and leak testing?
- Can I see a sample report?
- Will you document findings with photos or video?
- How do you separate urgent items from ones that can wait?
- Can you coordinate with my contractor and designer?
- What affects the final price?
Key takeaways for homeowners
An air duct inspection is a diagnostic step. It tells you what condition the system is in, where air is going, and what needs attention, without assuming the answer is cleaning.
The strongest reason to do it early is cost and control. Information gathered before ceilings, cabinetry, paint, and textiles are finished is cheaper and easier to act on than information gathered after. Move a vent in a drawing and it costs nothing. Move it behind a finished ceiling and it costs a lot more.
Before your next renovation phase, do three things. Book the inspection ahead of any closing-in work. Share the report with your designer, contractor, and HVAC professional. Mark every return, access panel, and supply on your plans so nothing gets covered by accident.

If you’re ready to find out what your system looks like, schedule an inspection before the next finish goes up.
FAQ
How often should air ducts be inspected by a professional?
There isn’t one interval that suits every home. The right timing depends on the system, the building’s age, past moisture or pest issues, pets, occupants’ sensitivities, and any recent construction. Many homeowners schedule an inspection when they notice warning signs, buy a house, or plan major renovation. Recommendations also vary by region and provider. Ask the specialist what they’d suggest for your home and why. If a company quotes a fixed schedule for every property without looking at yours, treat that as sales language, not evidence.
How much does an air duct inspection cost?
Prices vary, so I won’t quote a range. The factors that change a quote include home size, number of returns and supply registers, system type, duct accessibility, whether camera work is included, and whether airflow, static pressure, and leak testing are part of the visit. Travel distance, report detail, and local rates also matter. Ask for a written scope and compare what each estimate includes, not just the total. A low price that skips testing and documentation may cost more later.
What does an air duct camera inspection show?
A camera can show surface debris, visible damage, standing moisture, pest evidence, crushed or separated sections, and obstructions in reachable runs. It gives you a record in photos or video. It can’t measure airflow or pressure, and it may not reach every section, especially around tight turns or behind finished surfaces. It also can’t confirm what a stain or smell is without further testing. A good report notes what was seen, what wasn’t reached, and what needs follow-up.
Should ducts be inspected before or after a renovation?
Ideally both, but before matters most. A pre-renovation inspection shows problems you can address while walls, ceilings, and floors are still open, and it informs vent and return positions. After renovation, a follow-up check can look for construction dust or accidental damage, especially if returns were open during work. Your contractor and HVAC professional can advise whether a second visit makes sense. The point is to avoid learning about a duct problem after you’ve finished the surfaces covering it.
Does an inspection always mean the ducts need cleaning?
No. Inspection is diagnosis, and the result may be that nothing needs doing beyond routine filter changes and maintenance. It may also point to sealing, repair, airflow balancing, or a layout change instead of cleaning. Cleaning makes sense when the inspection shows contamination that warrants it. Be cautious with any provider who says every home needs cleaning, or who recommends it before looking. Ask the inspector to document what they found and explain why a service is recommended.
- 3shares
- Facebook0
- Pinterest3
- Twitter0
- Reddit0