A timber frame lives or dies at its joints. You can spec the most beautiful glulam beam in the catalog, but the moment it meets a post, a ledger, or a foundation, some piece of hardware decides whether that joint reads as a crafted detail or an afterthought bolted on to satisfy an inspector. Most people outside the trade never think about connectors at all. Architects and builders who care about timber design think about almost nothing else.
- Why Structural Connectors Matter in Wood Architecture
- Exposed vs. Concealed Hardware
- 7 Connector Systems Worth Knowing
- Simpson Strong-Tie: the honest industrial standard
- MiTek (USP/Pryda): industrial character on a budget
- Knapp MEGANT: the connector that disappears
- Rothoblaas: a coordinated system for tall timber
- Structural screws (SPAX & HECO): the connector you never see
- Connext post-and-beam nodes: exposed connection as ornament
- Tectonus RSFJ: structural hardware as long-term design insurance
- How Connectors Affect Fire, Seismic, and Moisture Design
- Choosing Hardware for Visible Timber Details
- Quick Comparison Table
- Final Takeaway for Architects, Builders, and Homeowners
I look at structural hardware the way I’d look at any joint in a designed object — a seam in a jacket, a weld on a bike frame, the hinge on a well-made cabinet. The connection is where craftsmanship either shows up or gets hidden, and that choice carries real aesthetic weight alongside the structural one. It’s made early, usually before anyone’s picked a paint color, and it shapes the finished room more than most people realize.

Mass timber and exposed-frame construction have both moved from niche to mainstream over the past few years, which means more architects and homeowners are running into this decision than ever before. A connector spec that used to live entirely in a structural engineer’s drawing set now shows up in design reviews, mood boards, and client conversations about what the finished ceiling should actually look like. That shift is overdue. The hardware was always part of the design; it just wasn’t being treated that way.
Why Structural Connectors Matter in Wood Architecture
Every timber connection has to move a load safely from one member to the next — that part is non-negotiable, and it’s the reason every connector on this list carries a code-recognized evaluation report behind its published numbers. But once a connector clears that bar, a second set of questions opens up that has nothing to do with load paths: does it disappear into the wood, or does it become part of the visual language of the structure? Does it fight the timber’s grain and warmth, or work with it?

This is where connector selection stops being a purely engineering decision and starts being a design one. A gang-nail plate and a concealed blade connector can carry similar loads in similar assemblies, but they produce entirely different rooms. One reads as a warehouse. The other reads as architecture. Knowing which systems exist, and what each one costs you in exposed hardware versus what it buys you in clean lines, is the actual skill here — more than memorizing load tables.
Exposed vs. Concealed Hardware
Every timber project eventually asks the same question: does the connector get to be seen, or does it need to disappear?
Exposed hardware isn’t automatically a compromise. Plenty of well-regarded timber buildings lean into visible steel — bolted plates, chunky brackets, exposed hangers — as an honest expression of how the structure actually works. Industrial and rustic-modern interiors often want that legibility; hiding the connection in those spaces would undersell the material story the architect is trying to tell.
Concealed hardware is the opposite bet: the joint should read as pure wood, with the steel doing its job invisibly inside the timber. This is where fabrication precision matters most. A concealed connector needs a CNC-routed pocket cut to tight tolerance, and a sloppy pocket doesn’t just look bad if it were visible — it actually reduces the connector’s real-world capacity, since the fit itself is part of how the joint transfers load.
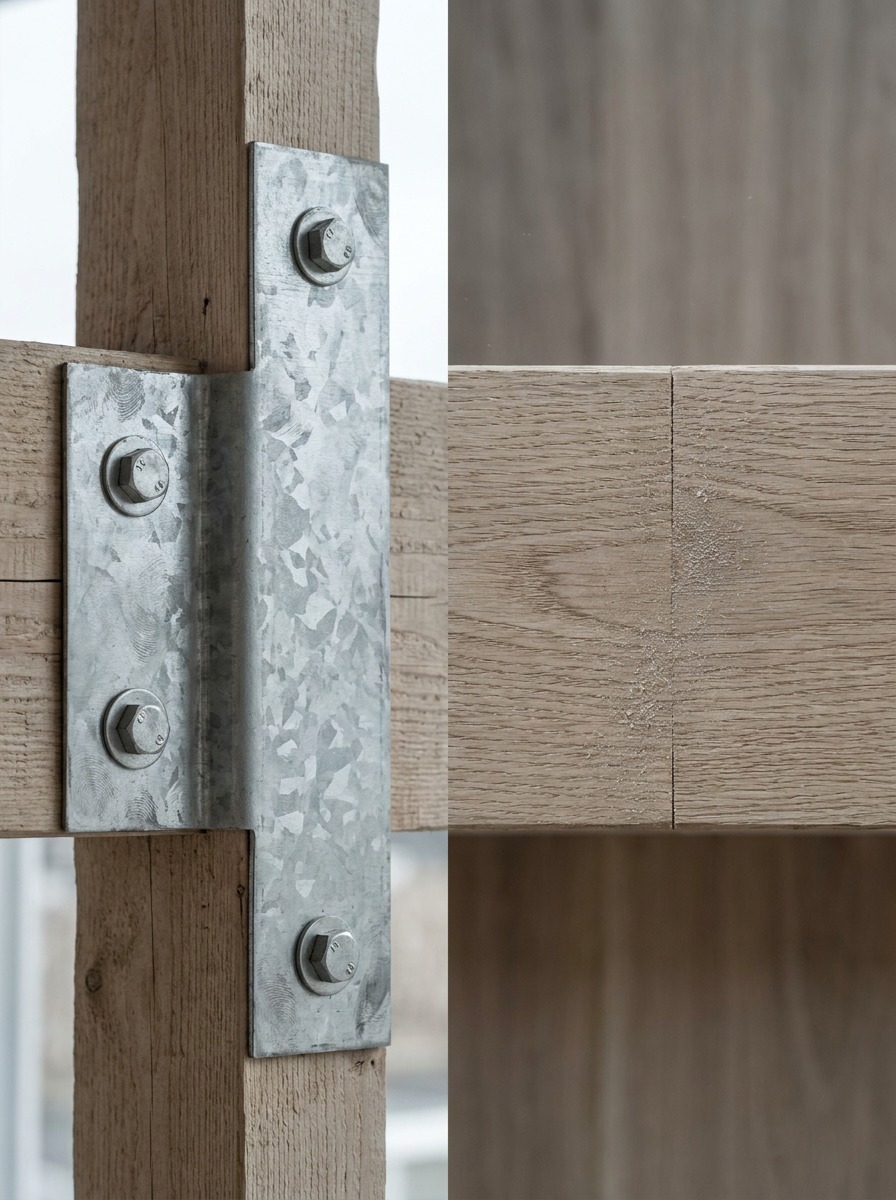
Neither approach is inherently better. The decision comes down to what story the ceiling or wall assembly is supposed to tell, and matching the connector system to that story rather than defaulting to whatever’s fastest to install.
I’ve seen this decision made badly in both directions. A concealed-hardware budget spent on a room that actually wanted the honesty of visible steel ends up looking oddly sterile, like the structure is hiding something it shouldn’t be ashamed of. The reverse happens too — exposed brackets bolted onto a design that was clearly meant to read as a single continuous timber surface, usually because concealed hardware got value-engineered out late in the process without anyone revisiting the ceiling design around it. Getting this decision right early avoids both failure modes, and it’s a genuinely cheap decision to get right compared to how expensive it is to fix after the timber is already up.
7 Connector Systems Worth Knowing
Simpson Strong-Tie: the honest industrial standard
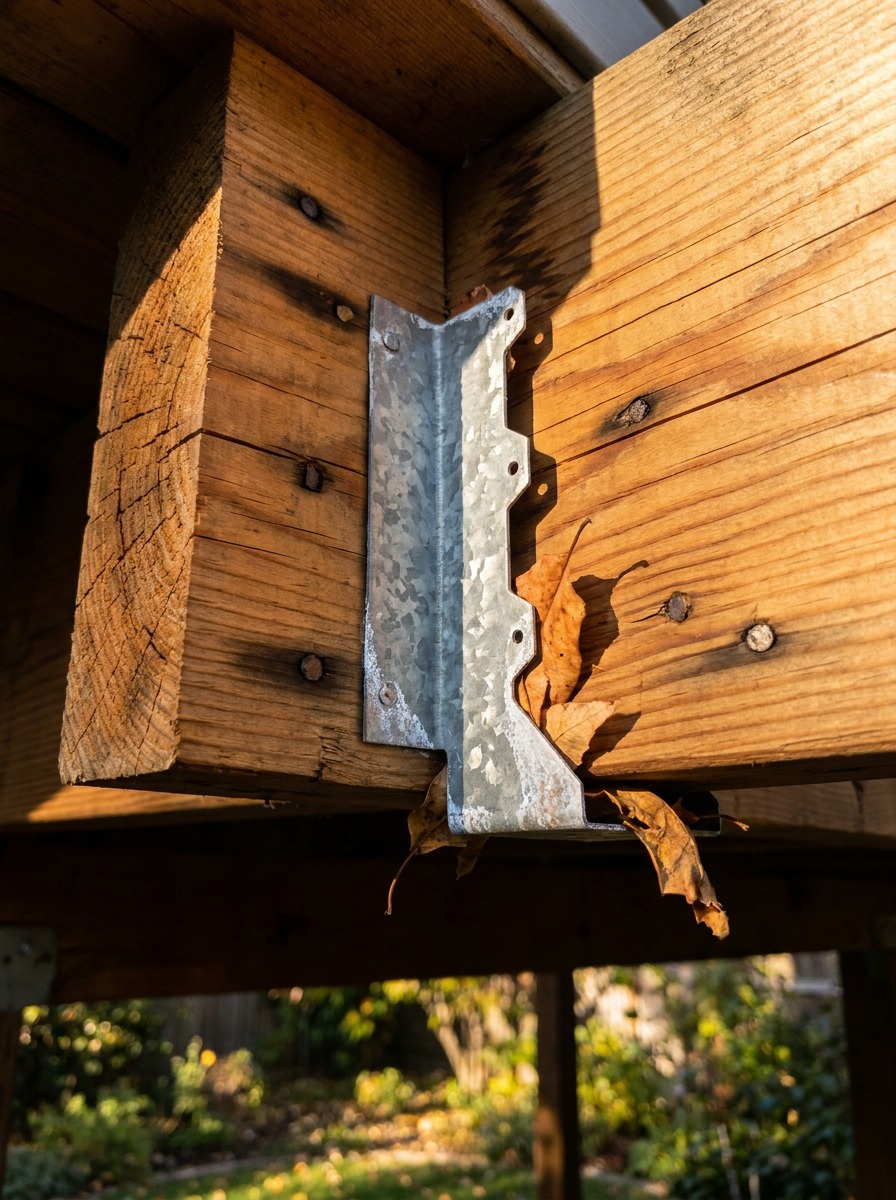
Simpson’s Wood Construction Connectors catalog is the reference point most architects already have bookmarked, and for exposed applications it’s hard to beat. The current holdown line publishes over seventeen thousand pounds of allowable tension, with capacities backed by code-recognized evaluation reports on nearly every part number.
The design value here isn’t subtlety — it’s honesty. A galvanized joist hanger or a visible holdown plate reads as confident, unapologetic structure, the kind of detail that suits exposed-beam interiors, covered porches, and any project where showing the mechanics is part of the aesthetic. Availability is the other reason this stays a go-to: the exact part on your drawing set is usually sitting on a shelf at the local lumber yard, which matters when a design decision needs to survive contact with an actual job site.
MiTek (USP/Pryda): industrial character on a budget
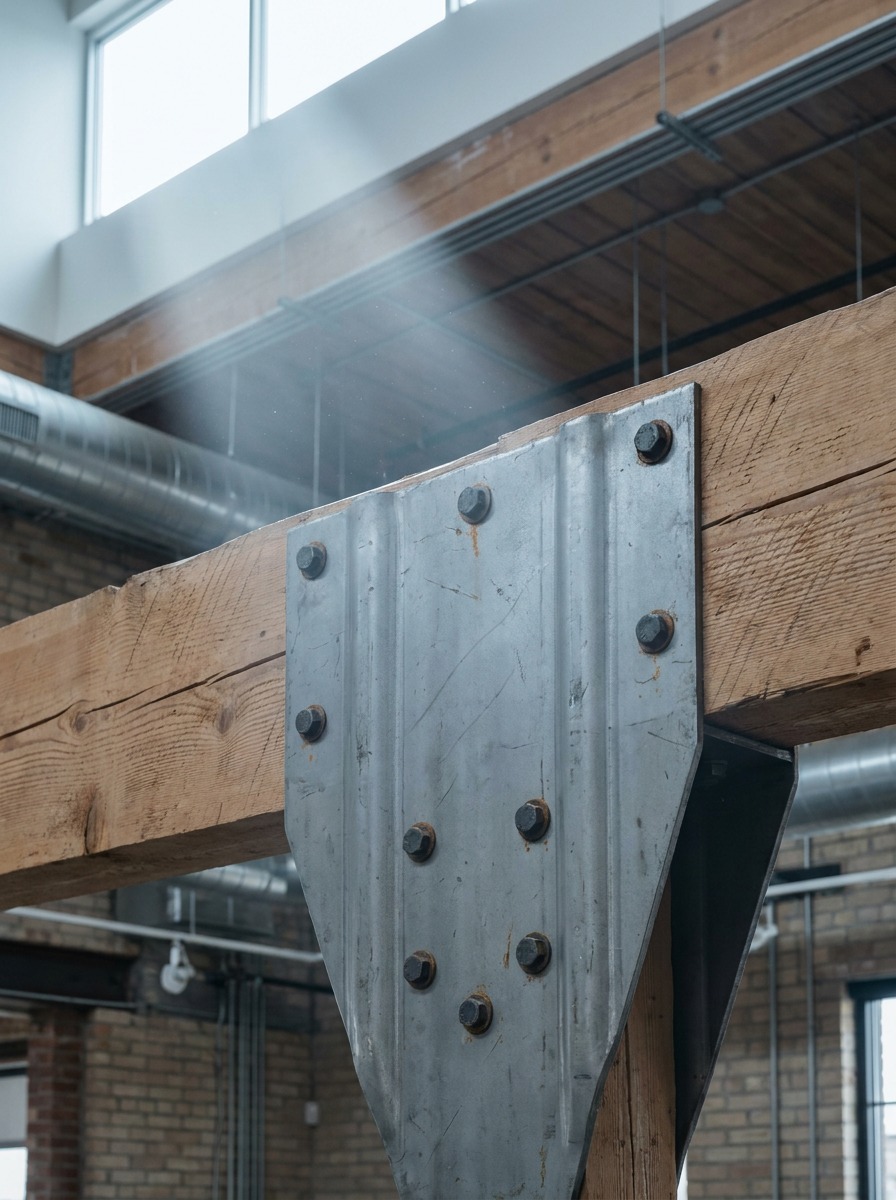
MiTek’s connector line shares engineering DNA with the gang-nail plates it’s known for in truss manufacturing, scaled up into heavy formed-steel hangers and holdowns reaching 15 to 17 kips. Visually, it lands in similar territory to Simpson — exposed, unapologetically mechanical — but usually at a friendlier price point on large jobs where dozens of hangers add up fast.
The design trade-off is the same as Simpson’s: this hardware wants to be seen or wants to be hidden behind soffits and gypsum wraps entirely. There’s not much middle ground, so it suits either fully industrial interiors or fully concealed assemblies, not the in-between spaces where a little hardware peeking through would look accidental rather than intentional.
Knapp MEGANT: the connector that disappears
For architects chasing that carved-from-a-single-block timber ceiling, the MEGANT blade-and-socket system from Knapp is the detail that makes it possible. One connector carries up to 341 kN in shear while leaving nothing visible but wood grain — the beam drops into place, the blade slides home under gravity, and the joint locks with bolts or screws hidden entirely inside the timber.
That invisibility pays off twice. Visually, the ceiling reads as pure, uninterrupted timber. Structurally, because the steel sits behind the char line in a fire event, many assemblies reach a one-hour fire rating with nothing more than a wood plug covering the connector — a detail that lets the design stay clean even in more heavily regulated construction types. The catch is lead time: specialty sizes can take up to eight weeks, so this is a detail to lock in early in design development, not value-engineer in at the last minute.
Rothoblaas: a coordinated system for tall timber
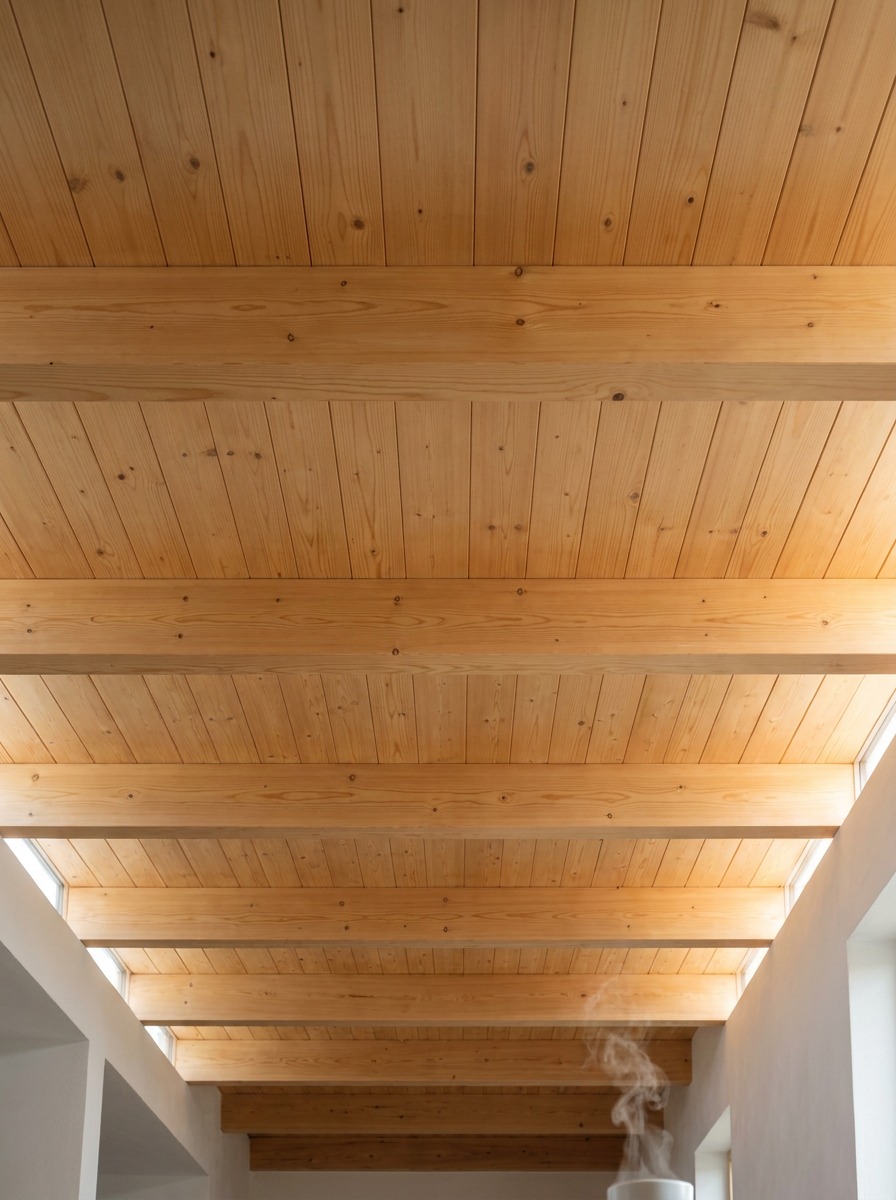
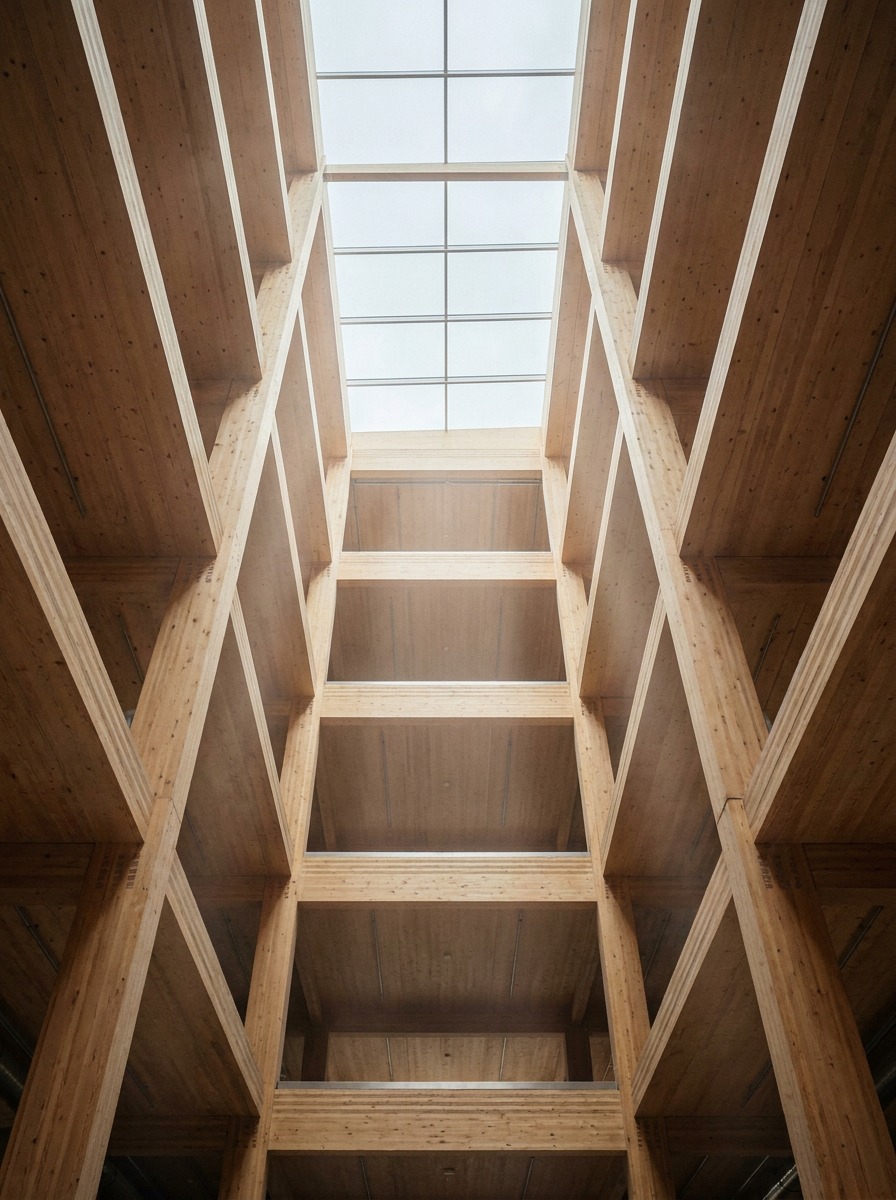
Multi-story timber buildings live or die on coordination, and Rothoblaas addresses that with a kit built to work as one system rather than a pile of separate parts — long-threaded VGZ screws, concealed Spider plates, angle brackets, and acoustic isolation pads engineered together from the start.
The architectural payoff is similar to Knapp’s: full moment capacity with the steel buried deep inside the wood, so multi-floor timber structures can stay visually quiet even as the engineering gets more complex. Most of the system sits behind the char layer as well, meaning a one-hour fire rating needs only standard cover trim rather than specialty coatings. Since Rothoblaas opened a North American distribution hub, lead times have dropped from months to around two weeks for common sizes, which matters on any project where the design intent depends on a single coordinated hardware system rather than a patchwork of substitutions.
Structural screws (SPAX & HECO): the connector you never see
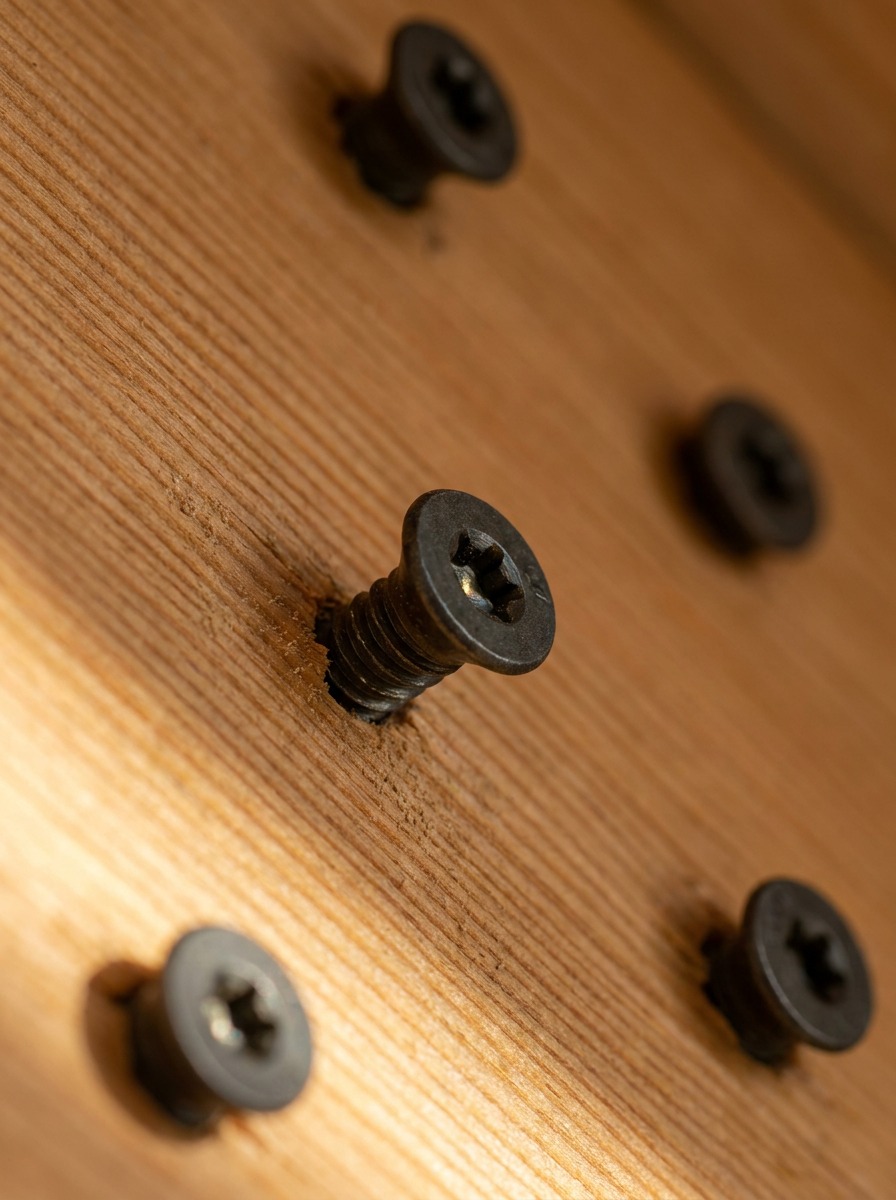
Sometimes the cleanest design move is skipping the connector object entirely. Drive a pattern of fully threaded structural screws at the right angles, and the timber itself becomes the plate — no bracket, no visible steel, nothing but a clean run of countersunk screw heads that most people will never notice.
A single 12 × 400 mm screw set at forty-five degrees resists roughly twenty kilonewtons in withdrawal, and crossing two screws in an X pattern creates a moment connection that rivals small steel plates while staying essentially invisible inside the member. For architects who want zero visual hardware — a splice, a ledger connection, a diaphragm — this is often the actual answer, not a fallback. Fire performance follows the same logic as the concealed systems above: buried threads sit behind the char layer without needing extra protection.
The trade-off is precision. Angle, torque, and edge distance all have to be exact, and there’s no forgiving a sloppy installation the way you might with a bracket that visually signals if something’s off. This is a detail worth specifying clearly and inspecting carefully, not leaving to field judgment.
Connext post-and-beam nodes: exposed connection as ornament
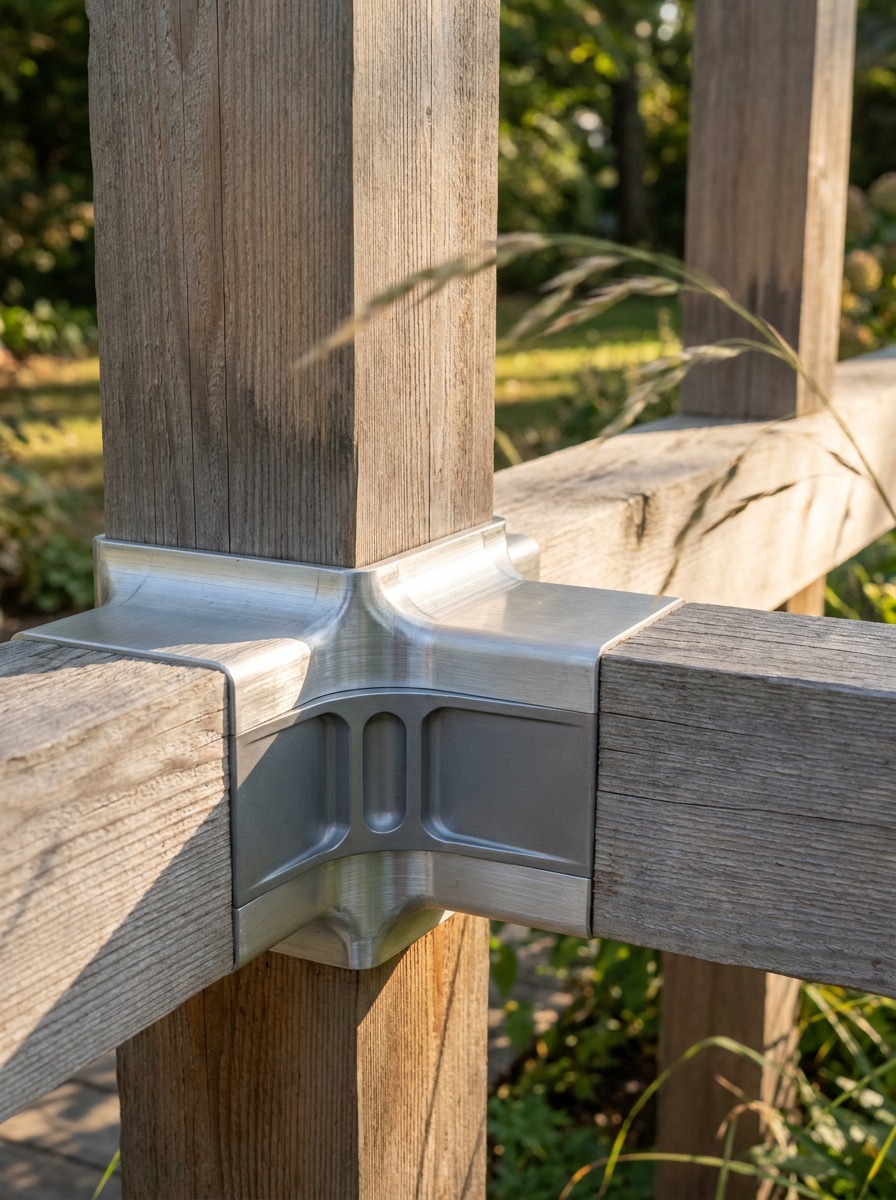
Where the systems above try to hide the connector, Connext does the opposite on purpose. Its CNC-milled aluminum nodes turn the joint itself into a visible, almost furniture-like detail — a clamp-on T- or L-shaped fitting that reads as a deliberate design element rather than a structural necessity being tolerated.
Published axial capacities sit around twenty-five to thirty kilonewtons, which suits pavilions, porches, mezzanines, and other low-rise timber structures rather than anything approaching a mid-rise building. The honesty of the exposed node is the whole appeal here — it’s a connector willing to be the star of the joint instead of hiding from it, which fits open-air structures, patios, and any project where the timber frame itself is meant to be read as architecture rather than background.
The trade-off is thermal: aluminum loses strength in fire well before steel does, so any rated assembly needs the node enclosed in gypsum or hidden behind cladding, which somewhat defeats the design purpose. For unrated or lightly regulated structures, that’s rarely an issue.
Tectonus RSFJ: structural hardware as long-term design insurance
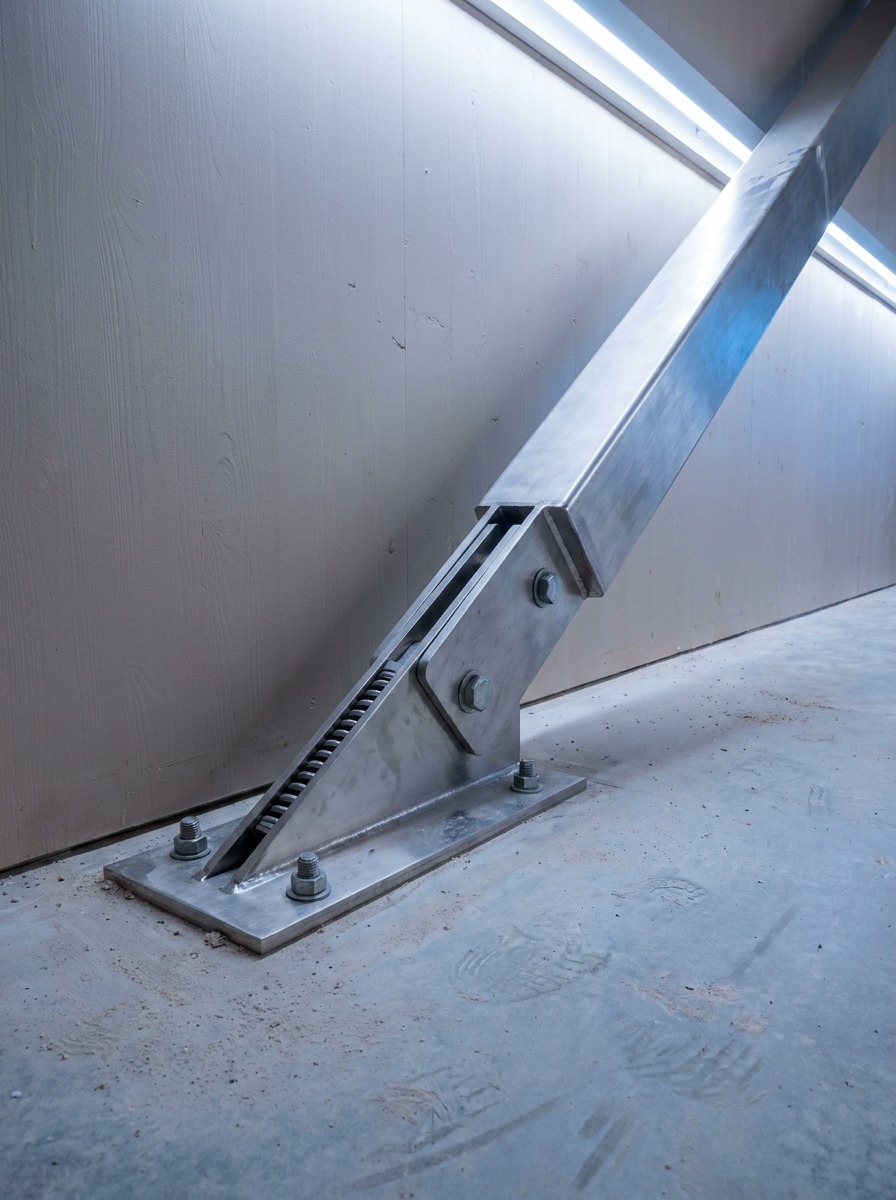
Standard holdowns anchor a wall and then sacrifice themselves in a serious seismic event. The Tectonus Resilient Slip Friction Joint takes a different design position entirely — it lets the structure move, dissipates energy through controlled friction inside its own housing, and recenters the wall once the shaking stops, rather than requiring a full teardown afterward.
For architects, the design implication isn’t really visual — the hardware itself is usually concealed the same way any holdown would be. The implication is about longevity: a building detailed with self-centering hardware can stay standing, level, and usable after an event that would otherwise mean months of repair and a very different relationship between the architecture and its structural bones. Lab testing in New Zealand recorded ductility ratios up to eight with near-zero residual drift — a genuinely different category of performance than a conventional strap, and the kind of detail worth specifying on any project where “still standing” isn’t a high enough bar.
How Connectors Affect Fire, Seismic, and Moisture Design
Every connector choice on this list carries downstream consequences that show up long after the design phase, and they’re worth understanding even at a conceptual level, because they shape which systems are even viable for a given project. None of this needs to live purely in the structural engineer’s binder — a working knowledge of how these three forces interact with hardware choice changes which details are realistic to draw in the first place.
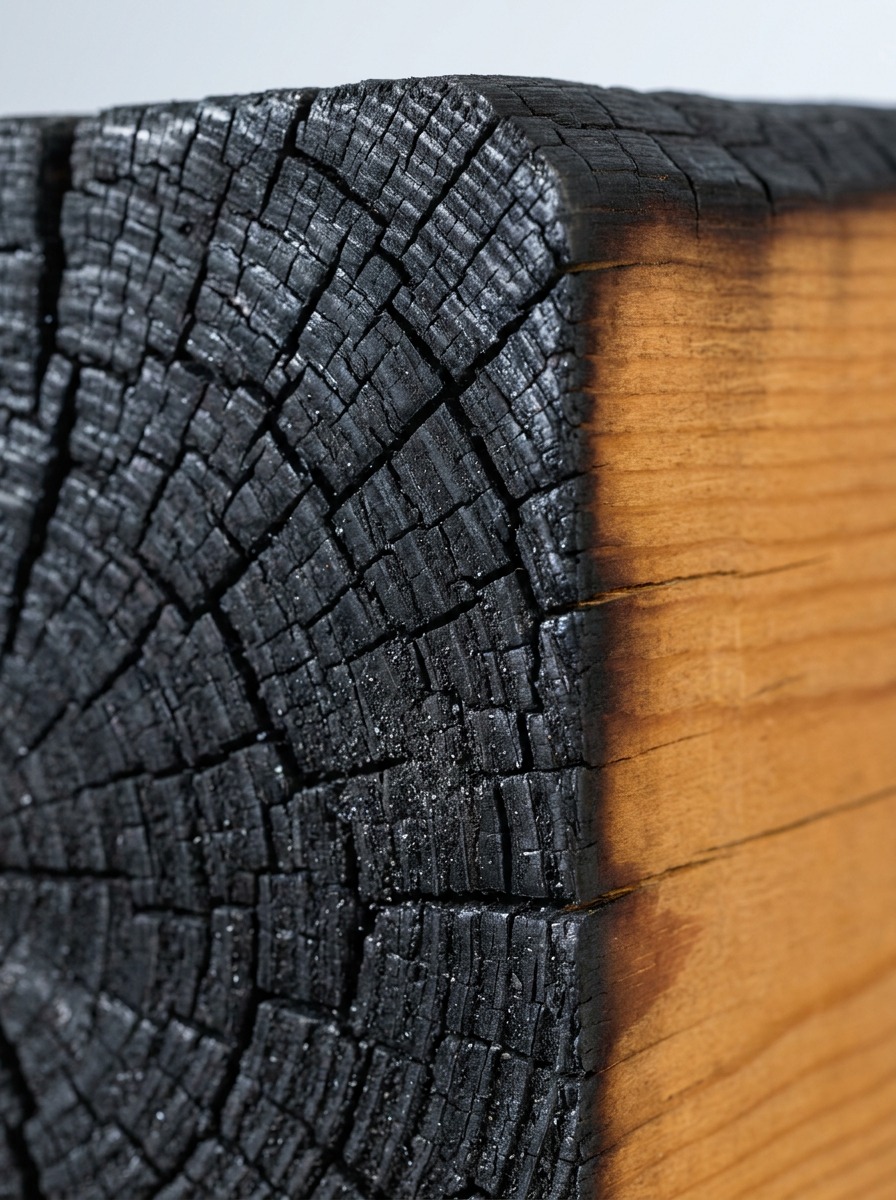
Fire performance almost always comes down to one question: is the steel exposed to the fire, or is it buried behind the char layer? Concealed systems — Knapp, Rothoblaas, structural screws — tend to reach fire ratings with minimal extra material because the timber itself protects the connector as it chars. Exposed systems like Simpson or MiTek can still hit fire ratings, but usually need additional wrap or cladding to get there, which is worth factoring into both the budget and the visual outcome.
Seismic performance is where the design conversation gets more complicated than “stronger is better.” A rigid, oversized connector can actually make a structure behave worse in an earthquake by concentrating force rather than distributing it the way the engineer intended — which is part of why systems like the Tectonus RSFJ, designed specifically to move and recenter, represent a genuinely different design philosophy rather than just a bigger number on a spec sheet.
Moisture and corrosion resistance is the detail most easily overlooked at the design stage and most expensive to fix later. Standard galvanized coatings hold up fine in a dry interior assembly, but treated lumber and coastal air both accelerate corrosion in ways that quietly reduce a connector’s real capacity over the building’s life. This is exactly where stainless or ZMAX-level coatings earn their higher price tag — mixing standard galvanized hardware with coastal humidity or treated wood is a slow-motion failure that won’t show up on a walkthrough, only years later when the connector has already lost capacity nobody’s tracking.
This is worth flagging at the schematic design stage, not the shop-drawing stage, because the coating upgrade is close to free when it’s still a line item on a spec sheet and genuinely expensive once it means tearing into finished construction. A five-dollar coating upgrade on a connector buried in a wall is a rounding error. The same upgrade, specified after the fact because a connector started rusting through a coastal client’s deck, means opening up finished work to get at it.
Choosing Hardware for Visible Timber Details
For any connection that will actually be seen — an exposed ceiling, a covered outdoor structure, an entry portico — the hardware decision deserves the same design attention as a light fixture or a door pull, not a value-engineering afterthought.
Start by deciding what story the joint should tell. An honest, exposed Simpson or MiTek bracket suits a structure that wants to read as confident and mechanical — a barn conversion, an industrial loft, anything leaning into visible construction logic. A concealed Knapp or Rothoblaas detail suits the opposite instinct: timber that wants to read as monolithic and quiet, where the engineering disappears and only the wood grain remains. A Connext node splits the difference by making the connector itself a piece of intentional design, which works well for open pavilions and semi-outdoor structures where the frame is meant to be admired, not hidden.
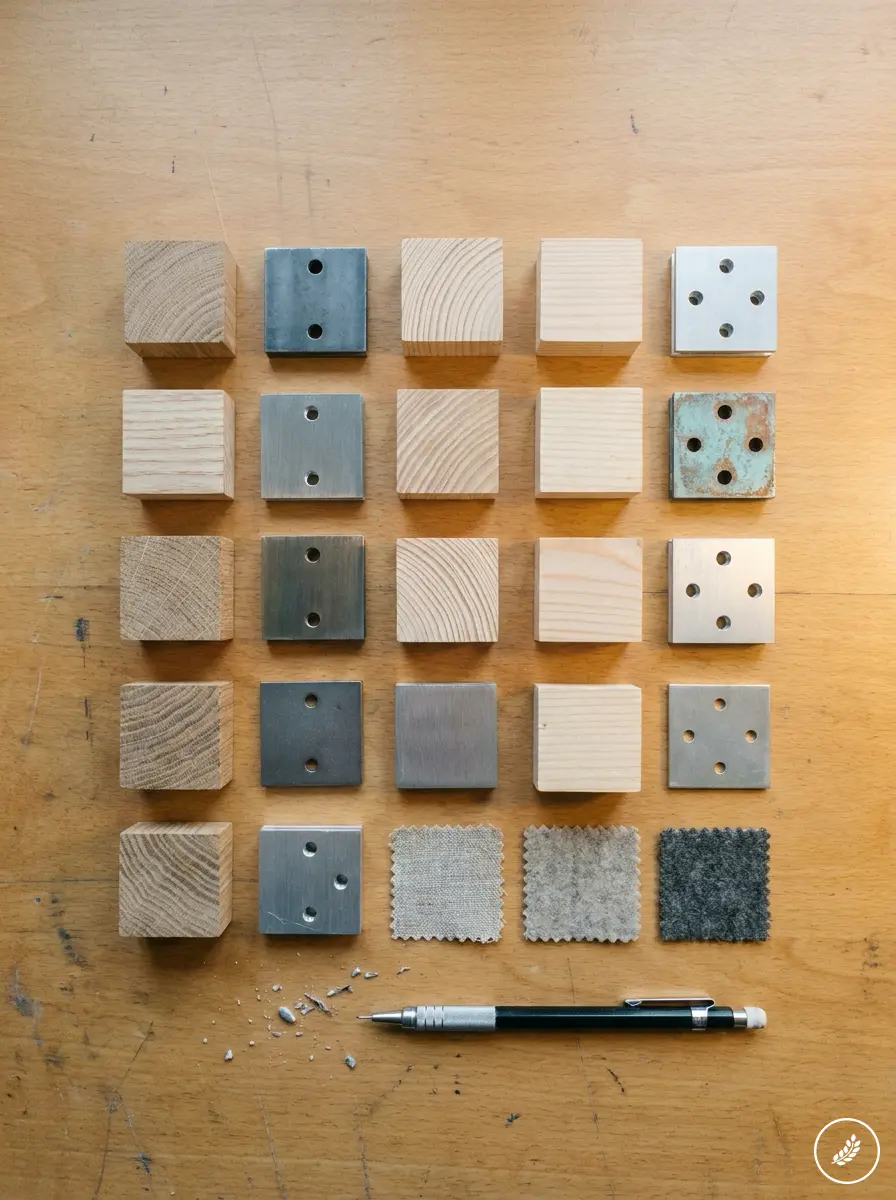
Match the finish to the environment next. A concealed connector in a humid or coastal climate still needs the right coating even though nobody will ever see it — corrosion doesn’t care whether the hardware is visible. And budget the installation skill required honestly: a CNC blade pocket needs a fabricator with real precision, while a standard bracket is within reach of most competent framing crews. Specifying beautiful hidden hardware that the build team can’t execute to tolerance defeats the entire purpose.
It’s also worth having this conversation with the structural engineer earlier than most design teams do. Engineers default to whatever connector satisfies the load case with the least friction, which is a reasonable instinct from a pure engineering standpoint but often means the aesthetic question never gets asked at all. Bringing the visual intent into that conversation at the same time as the load requirements — rather than after the engineer has already picked a part number — is usually the difference between a hardware schedule that supports the design and one that fights it.
Quick Comparison Table
| Connector | Visual Character | Max Published Capacity | Fire Behavior | Install Skill |
|---|---|---|---|---|
| Best Fit | Simpson Strong-Tie | Exposed, industrial | 17 kips+ (holdowns) | Needs added protection for rating |
| Basic | Exposed-beam, budget-conscious | MiTek / Pryda | Exposed, industrial | 17 kips (heavy hanger) |
| Needs added protection for rating | Basic | Large jobs, cost-sensitive exposed work | Knapp MEGANT | Fully concealed |
| 341 kN shear | Reaches 1-hr rating behind char layer | Advanced (CNC pockets) | Monolithic exposed-timber ceilings | Rothoblaas system |
| Fully concealed | 1,000 MPa screw steel, 250 kN joint | Reaches 1-hr rating behind char layer | Moderate | Multi-floor mass timber |
| SPAX / HECO screws | Invisible | 20 kN per screw | Buried threads, no added protection needed | Moderate, precision-dependent |
| Splices, ledgers, zero visible hardware | Connext nodes | Exposed, ornamental | 25–30 kN axial | Needs enclosure for rated assemblies |
| Basic | Pavilions, porches, open-air structures | Tectonus RSFJ | Typically concealed | 100 kN tuned hold-down |
Final Takeaway for Architects, Builders, and Homeowners
The connector you never notice is doing exactly as much design work as the one you can’t stop looking at. Both are decisions, made early, that shape whether a timber structure reads as considered architecture or as a kit of parts assembled to code minimums.

Start every connection detail with the same question: does this joint want to be seen, or does it want to disappear? Then choose the system that answers that question honestly, matches the fire and seismic demands of the project, and specifies a coating that will actually survive where the building sits. Get that sequence right, and the hardware stops being an engineering footnote and becomes part of why the building looks the way it does.
For architects, that means treating the connector schedule with the same design intent as the finish schedule. For builders, it means understanding that installation precision on a concealed system isn’t optional polish — it’s the difference between a detail that works and one that doesn’t. And for homeowners commissioning a timber project, it means asking the question most contractors never get asked: what will the joints actually look like, and is that the look you wanted in the first place.
Connector details are easy to overlook in a wooden house design, but they decide whether exposed beams, decks, roof edges, and posts age cleanly or start showing movement too soon.
- 95shares
- Facebook0
- Pinterest95
- Twitter0
- Reddit0