Finished basement ideas for a beautiful, storm-ready home — flooring, lighting, and storage tips that protect your investment.
A finished basement is one of the last rooms most homeowners actually plan on purpose. The kitchen gets a mood board. The living room gets a paint sample wall. Then the basement gets whatever furniture didn’t fit upstairs and a rug that’s seen better days.
That’s a waste of square footage, and honestly, it’s a waste of a genuinely useful room. I’ve walked plenty of basements over the years, and the ones that work — the ones people actually spend time in — treat the lower level as real living space, not overflow storage. A basement with the right flooring, the right lighting, and a laundry zone that doesn’t look like an afterthought can rival any room in the house for how much daily use it gets.
I come at basement design the way I’d approach any other spatial planning problem: figure out what the structure actually needs to do first, then decide how it should look. That habit comes from years working across architecture and product design, where you don’t get to skip the structural questions just because the finish samples are more fun to pick out. A basement is no different. The framing, the systems, and the moisture path all have to be settled before a single tile goes down.
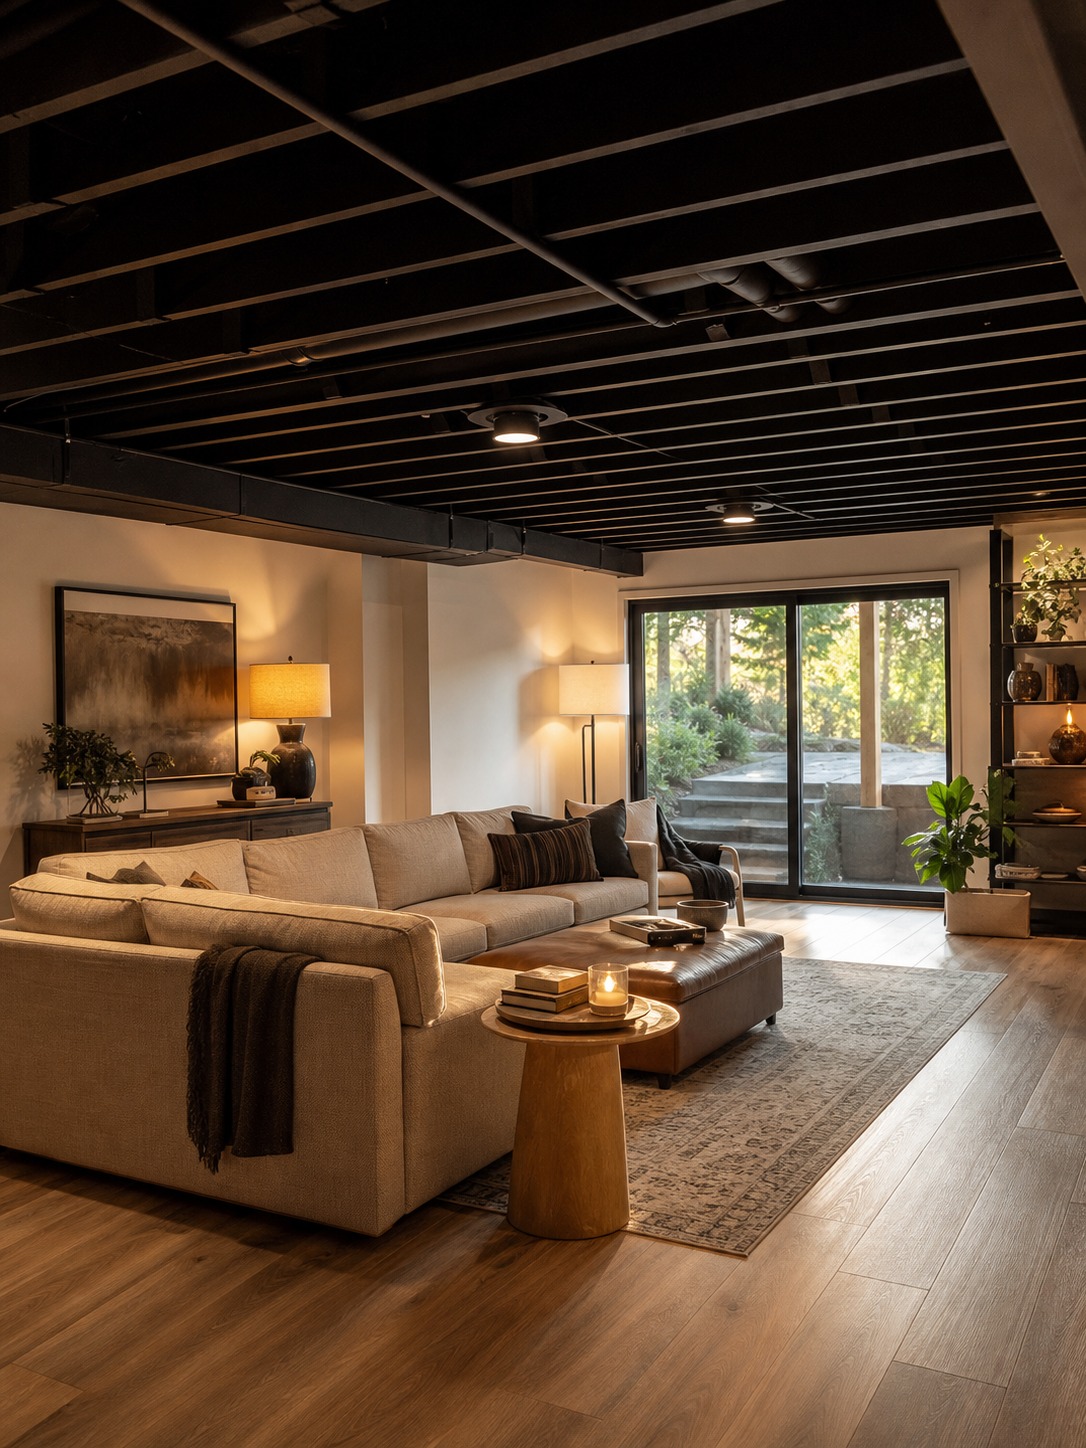
For 2026, the finished basements getting the most attention aren’t the ones chasing a theme — the “man cave” or the built-in bar wall that only gets used twice a year. They’re flexible, quietly well-detailed spaces: a laundry zone that looks considered, a reading corner with real lighting, storage that doesn’t look like storage. That shift toward everyday livability over novelty is the angle worth building toward.
But here’s the part almost nobody talks about in basement design content: none of it holds up if the room underneath is wet. You can spend four thousand dollars on engineered flooring and it won’t matter if water finds its way in every spring. Design and moisture control aren’t separate projects. They’re the same project, just handled in the wrong order most of the time.
Start With Moisture Before Materials
I learned this one the hard way on a project years ago — not personally, but watching a client redo a beautifully finished basement twice because nobody addressed the water table before laying down the flooring. New oak-look LVT, fresh drywall, a built-in media wall. All of it had to come out eighteen months later when a wet spring pushed groundwater through a hairline foundation crack nobody had noticed.
What to Check Before You Design Anything
Before you pick a single finish, figure out where the water is actually going. If your basement has ever taken on water after a heavy storm, or if you’ve noticed damp walls that stay cool and clammy for days after rain, that’s the problem to solve first, not something to design around later. A musty smell that shows up a day or two after rainfall is another sign worth taking seriously — it usually means moisture is sitting somewhere it shouldn’t, even if you can’t see standing water.
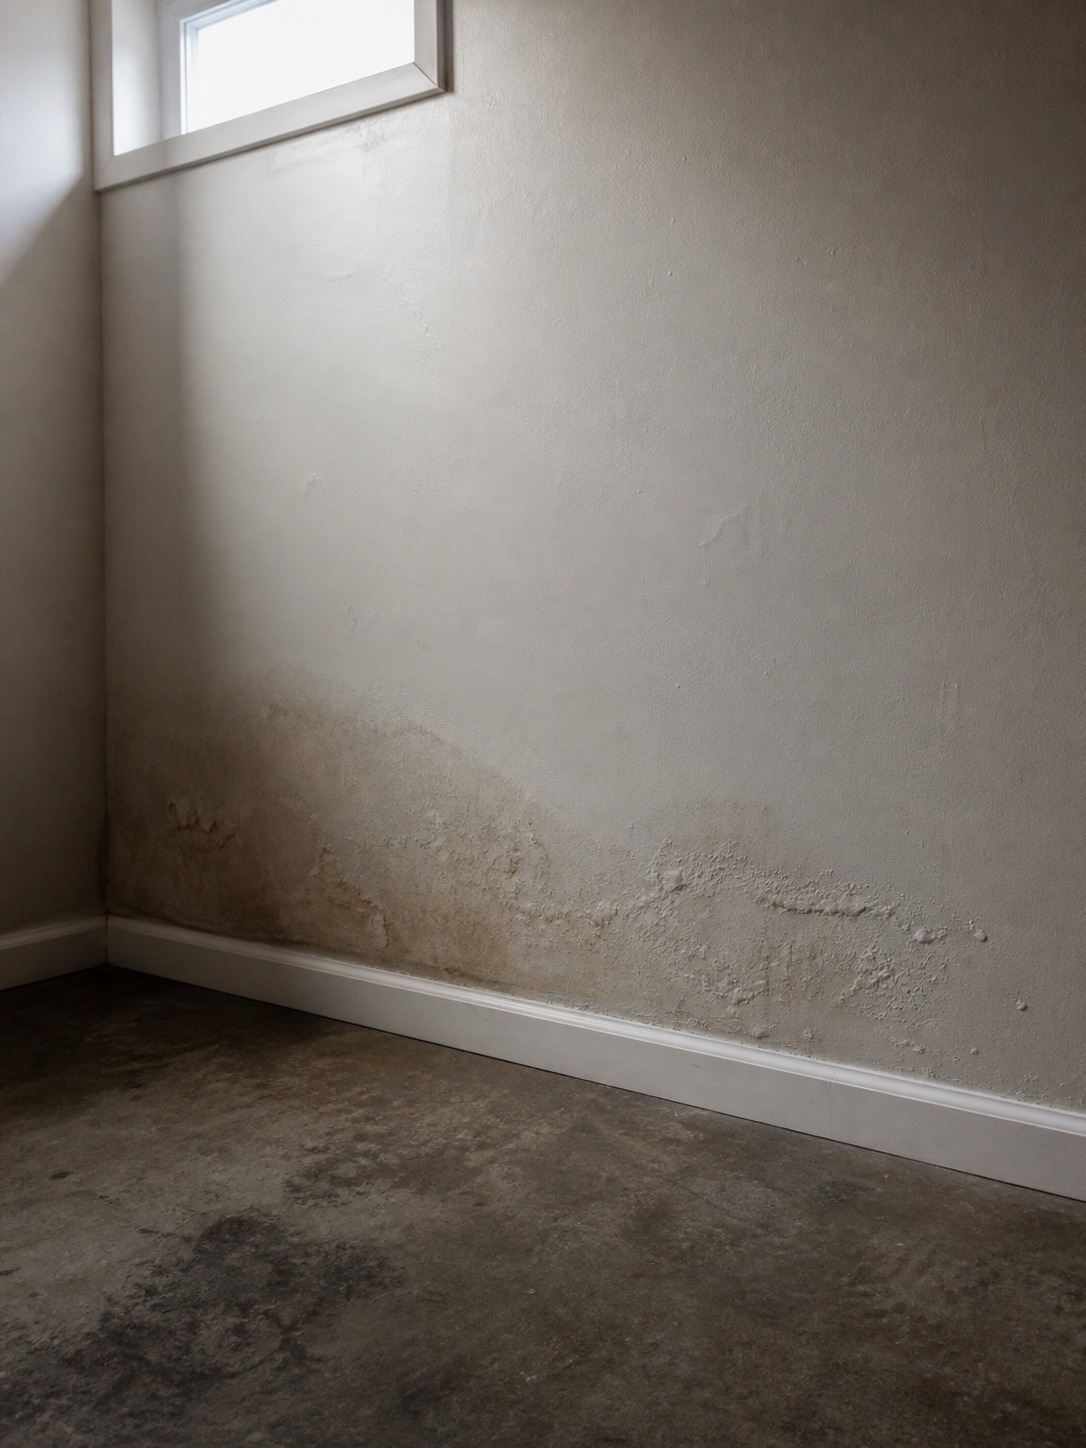
Look at the low points of the slab, too. Basements almost never have a perfectly flat floor, and water finds the lowest spot in the room the same way it finds the lowest spot in a yard. If there’s a corner that always feels slightly damp underfoot, or a section near an exterior wall where paint keeps bubbling, that’s telling you exactly where a drainage plan needs to focus.
What a Proper System Actually Involves
For most homes, that means a working sump pump and a drainage plan that actually moves water away from the foundation instead of just collecting it. A sump pit set into the lowest point of the slab, a pump sized for the volume of water your specific lot tends to produce, and a discharge line that carries water well away from the foundation — not just out the nearest wall — are the basics. An undersized pump is one of the most common issues I see in older homes; it was fine for the storms of twenty years ago and hasn’t kept pace with heavier seasonal rainfall since.
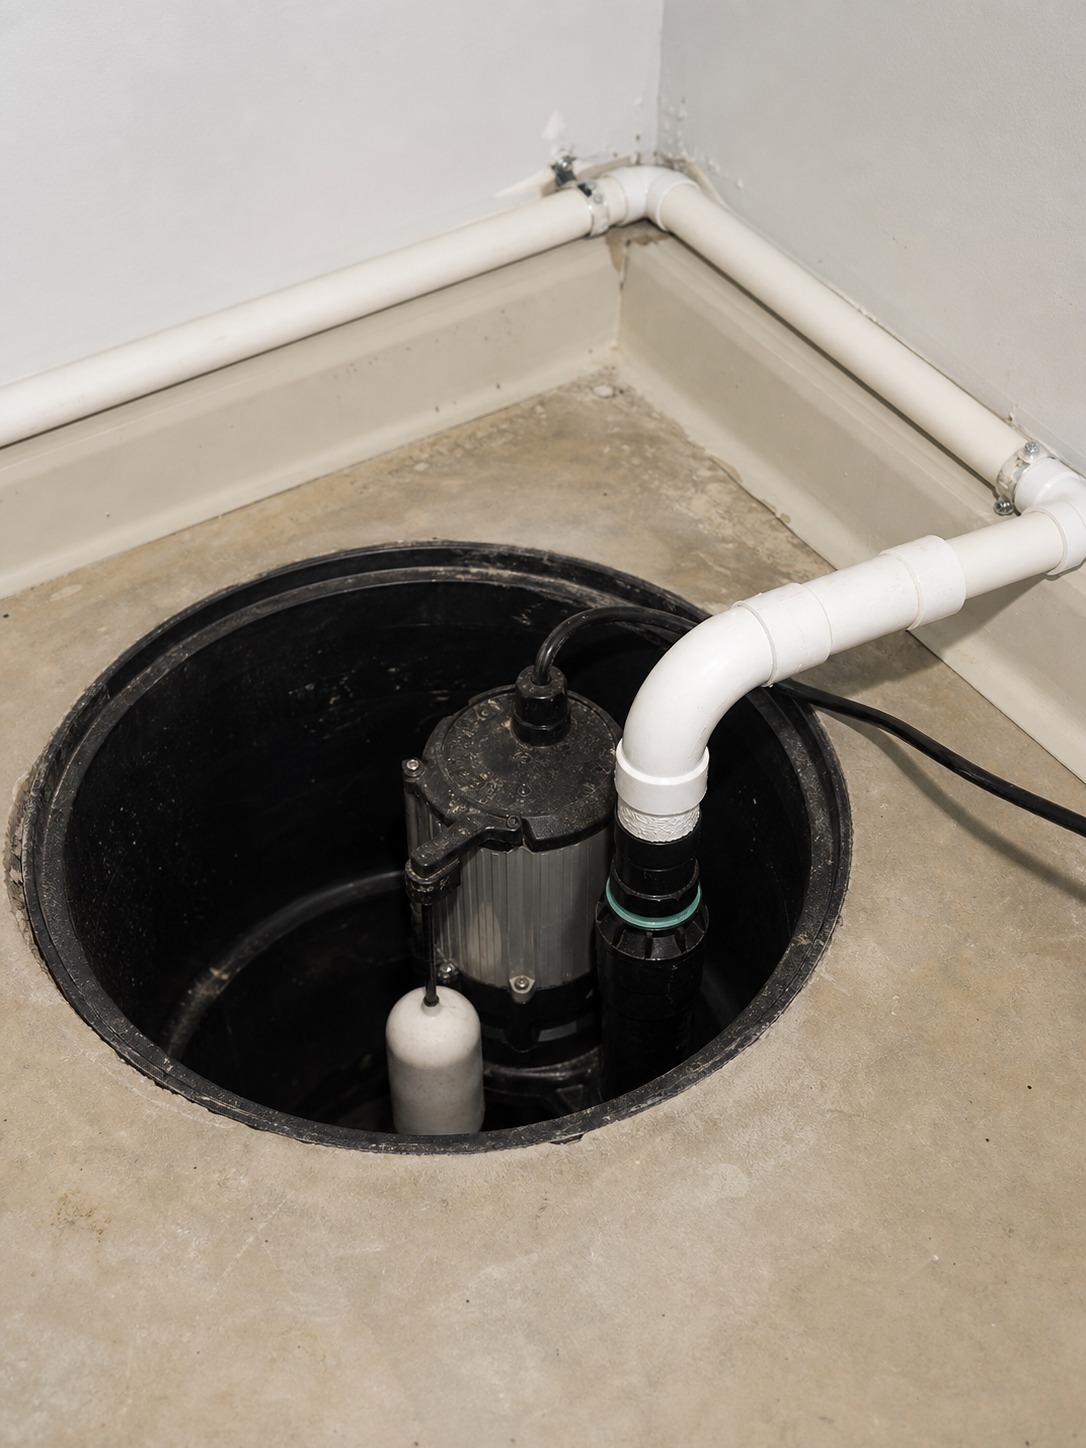
Homeowners who are starting from scratch, or upgrading an old, undersized unit, may need a Professional Sump Pump Installation Service before a single design decision gets made. Think of it as the invisible infrastructure behind the visible room — nobody compliments a sump pump, but everybody notices when the basement floods.
Once the water management side is handled, the design choices you make actually last. That’s the whole point. Every dollar spent on flooring, millwork, or lighting after that point is money that stays spent, instead of money you’ll spend twice.
Choose Finishes That Handle Real Life
Basements live a rougher life than the rest of the house. Even with a dry envelope, they sit closer to grade, closer to humidity swings, and closer to whatever gets tracked in from the yard. Materials need to look intentional and survive that.
Flooring is where I’d spend the design budget first. Luxury vinyl plank — something like COREtec or Karndean — handles minor humidity far better than solid hardwood and still reads as a real floor, not a basement floor. I priced a 900-square-foot basement job at roughly $6 per square foot installed last year, which put flooring alone around $5,400, and the client said it was the single upgrade that made the space feel finished rather than converted.

Walls don’t need to be standard painted drywall everywhere. Wall panels with a moisture-resistant core, or a washable paint like Behr Marquee in a satin finish, both hold up to the occasional splash or scuff far better than flat matte paint. If you’re set on drywall, keep it a few inches off the slab with a moisture-resistant baseboard detail — a small thing, but it saves a full wall replacement if there’s ever a minor water event.
Rugs are one of the easiest wins. Something washable and low-pile — Ruggable makes a version specifically built for this — gives you the warmth of a rug without the mildew risk of a thick wool piece sitting on a slab.
Raised storage matters more in a basement than anywhere else. Built-ins and shelving units should sit a few inches off the floor on a toe-kick base, the same detail you’d see in a well-designed kitchen. It’s a small architectural choice that protects everything stored underneath if water ever does show up.
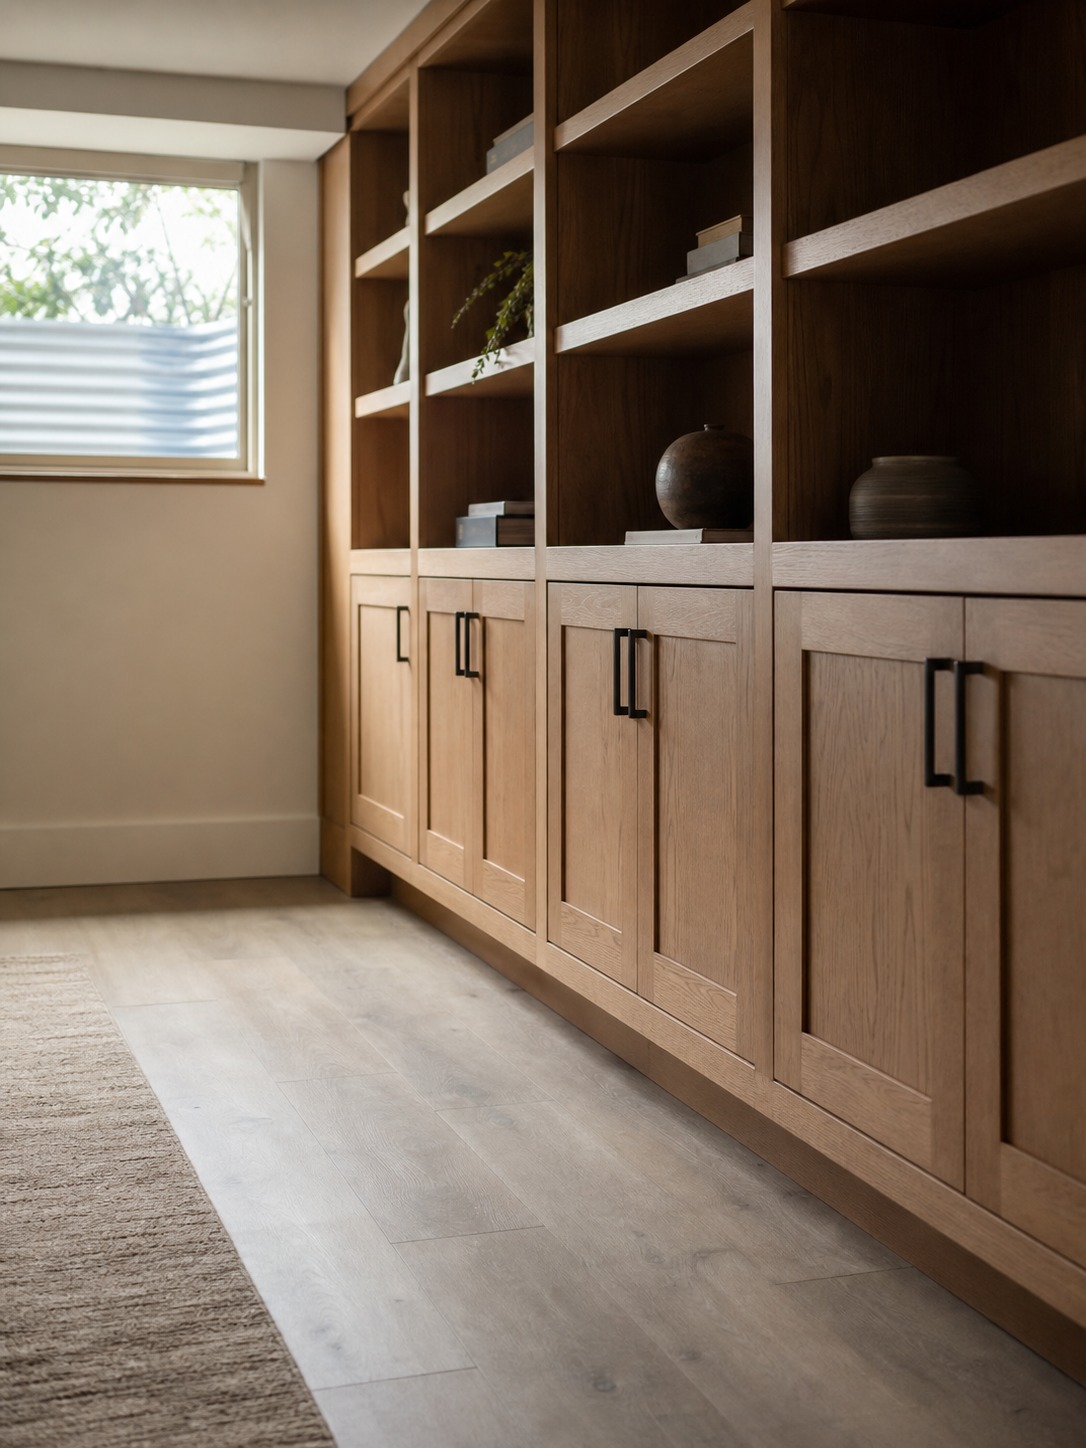
Ceilings are worth more attention than they usually get. An open joist ceiling painted flat black reads as intentional and adds a few inches of headroom compared to a dropped grid, which matters in a room that’s often shorter to begin with. If you’d rather have a finished look, a drop ceiling with removable tiles keeps every duct, pipe, and wire behind it accessible — you want to get back in there without demolition.
Trim and baseboard should be a material that shrugs off moisture, not just paint that resists it. PVC or composite baseboard costs a little more than standard MDF but won’t swell or delaminate if the room ever sees even minor humidity. I’ve swapped this detail into more than one basement remodel after a client’s original MDF trim started peeling at the seams within a year.
Hide Utility Systems Without Blocking Access
Every basement has a layer of infrastructure running through it — the sump pit, the discharge line, the water heater, the electrical panel, sometimes the furnace. The instinct is to hide all of it behind a wall and forget it exists. That’s a mistake I see a lot, and it usually costs the homeowner more later.
A well-designed basement hides the utility systems visually while keeping them fully accessible. A shallow utility closet with a real door — not a permanently screwed panel — lets you reach the sump pump, check the float switch, or clear the discharge line without tearing into finished drywall. I like framing these closets at the same depth as an adjacent built-in, so the door reads as part of the millwork rather than an obvious mechanical access point.
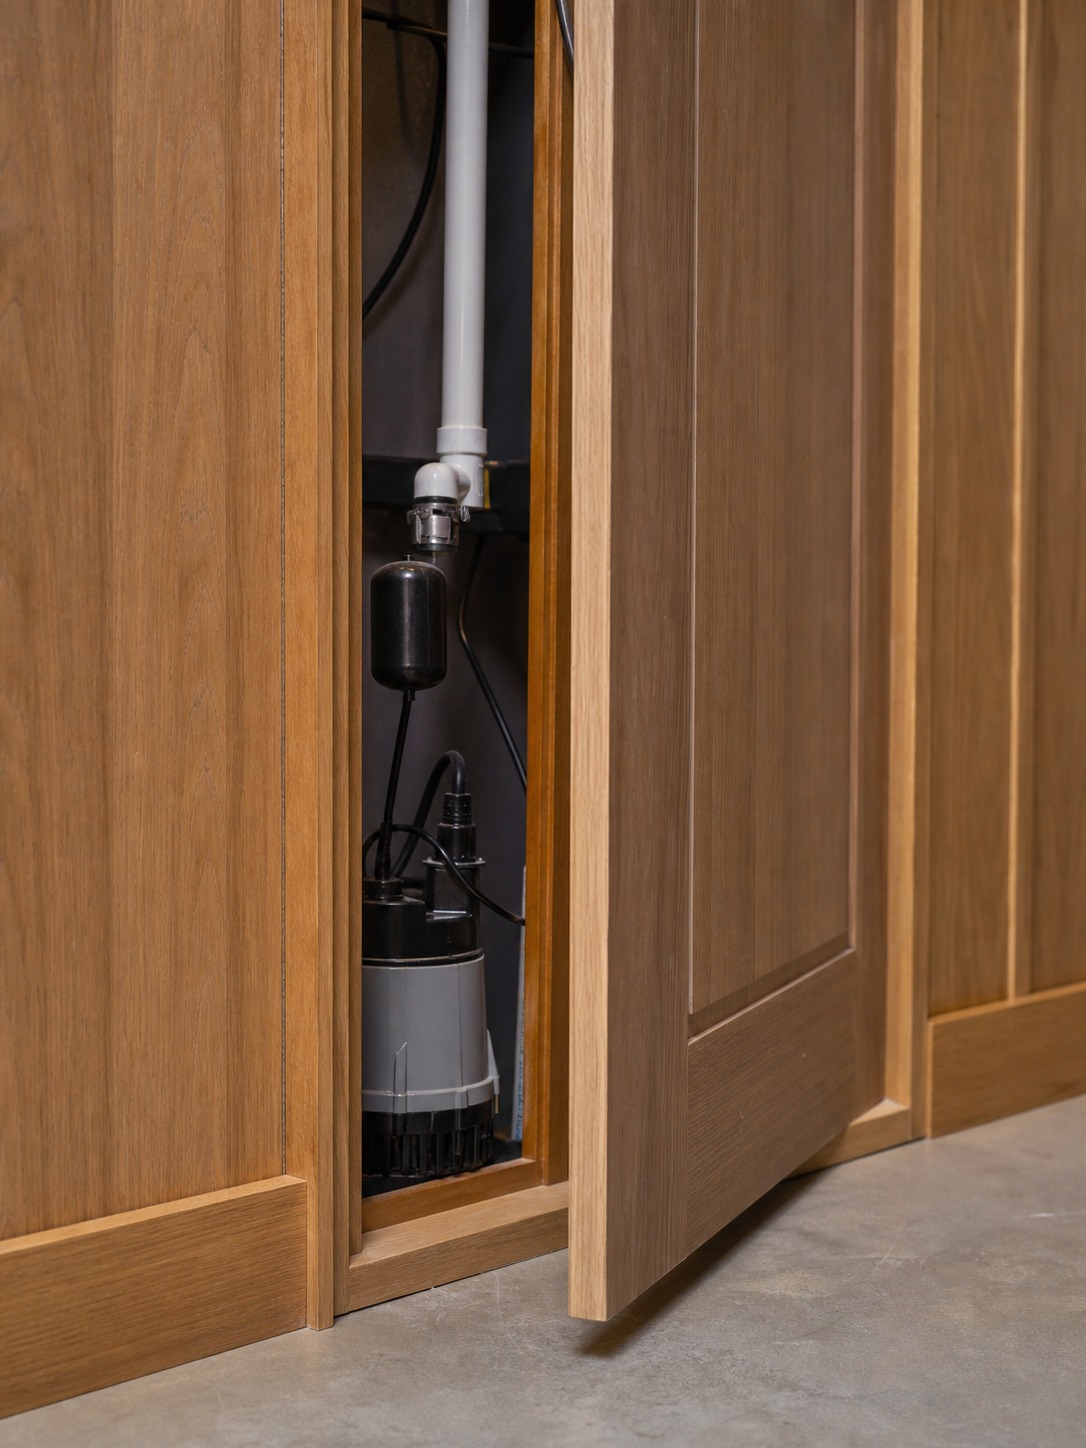
For a water heater or electrical panel that has to sit in an open area, a slatted wood screen or a set of bifold doors does the job without looking like a garage. Keep at least 30 inches of clearance in front of any panel — that’s a code requirement in most areas, not just a design preference, and it’s worth checking with your local inspector before you build anything permanent around it.
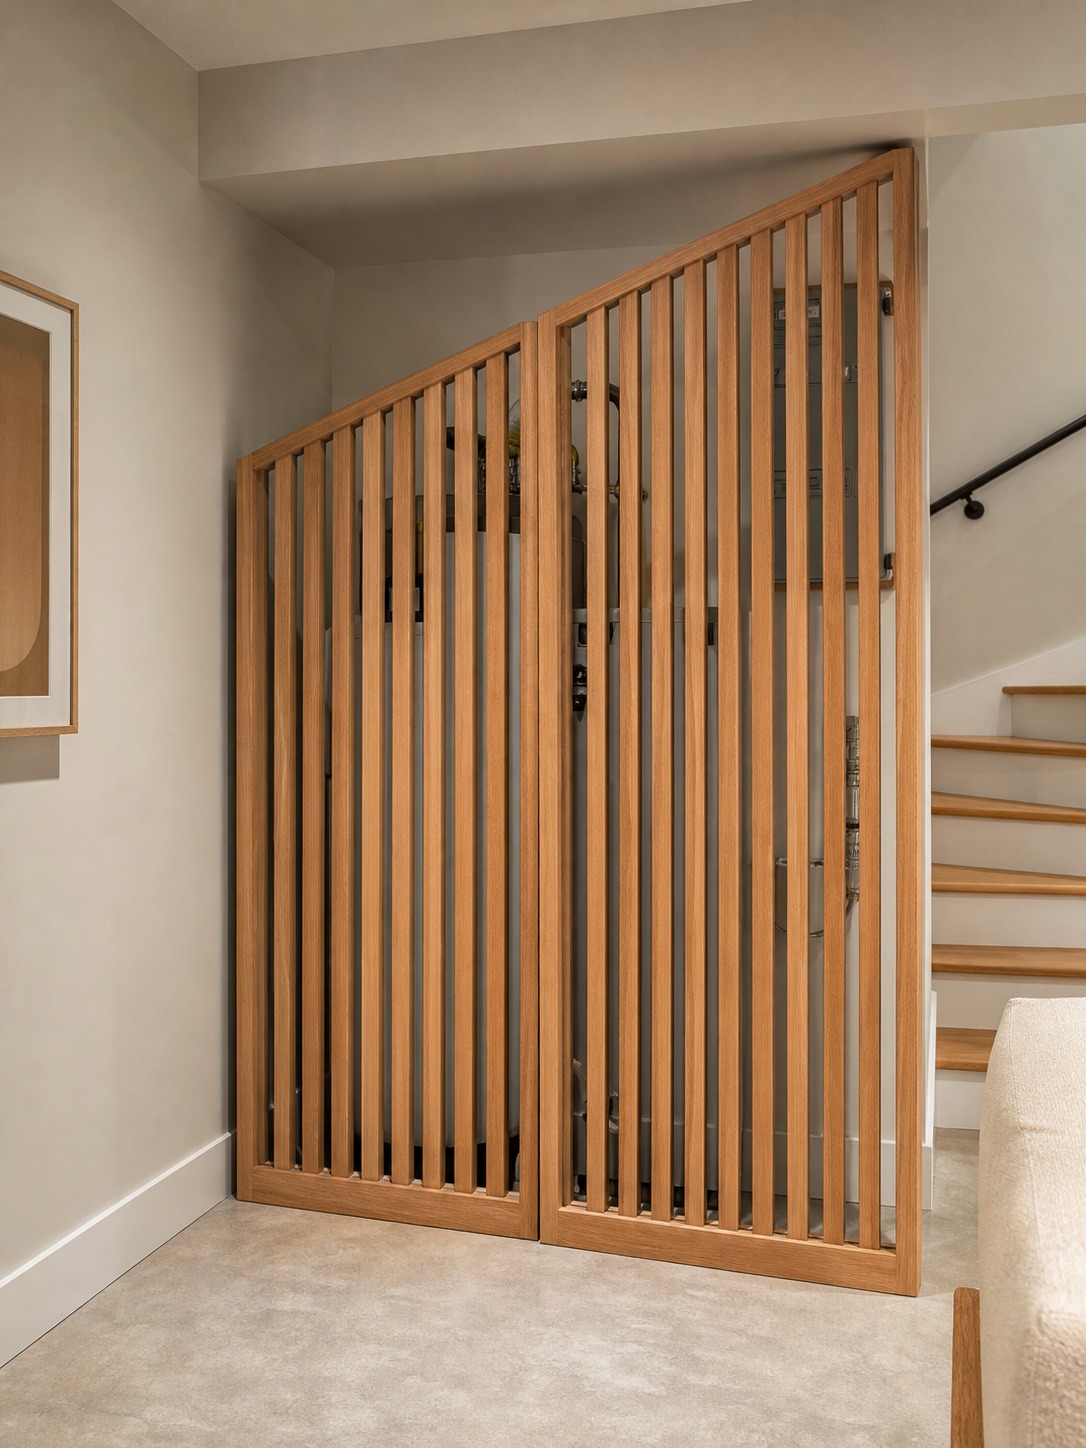
The space under a basement staircase is another spot worth claiming for this. Instead of leaving it as dead, awkward volume, I like framing it into a shallow utility nook or a wine and pantry storage wall, depending on what’s actually running through that section of the house. A slim door on that under-stair volume can hide a surprising amount of infrastructure while still giving the room a finished, custom-built feel.
Furniture can do some of this work too. A media console with a solid back panel can screen a low electrical panel in a family room corner; an open bookshelf backed with removable fabric panels can hide a cleanout access point without anyone noticing it’s there. The goal in every case is the same — access stays easy for you or a technician, and invisible for anyone else in the room.
Design Around Laundry, Storage, and Appliances
Basement laundry rooms get treated as pure function far too often — a washer, a dryer, a bare bulb, done. It doesn’t have to be that stripped down, and honestly, a laundry zone that looks considered gets used more, which sounds small until you’re the one folding towels in a room you actually like being in.
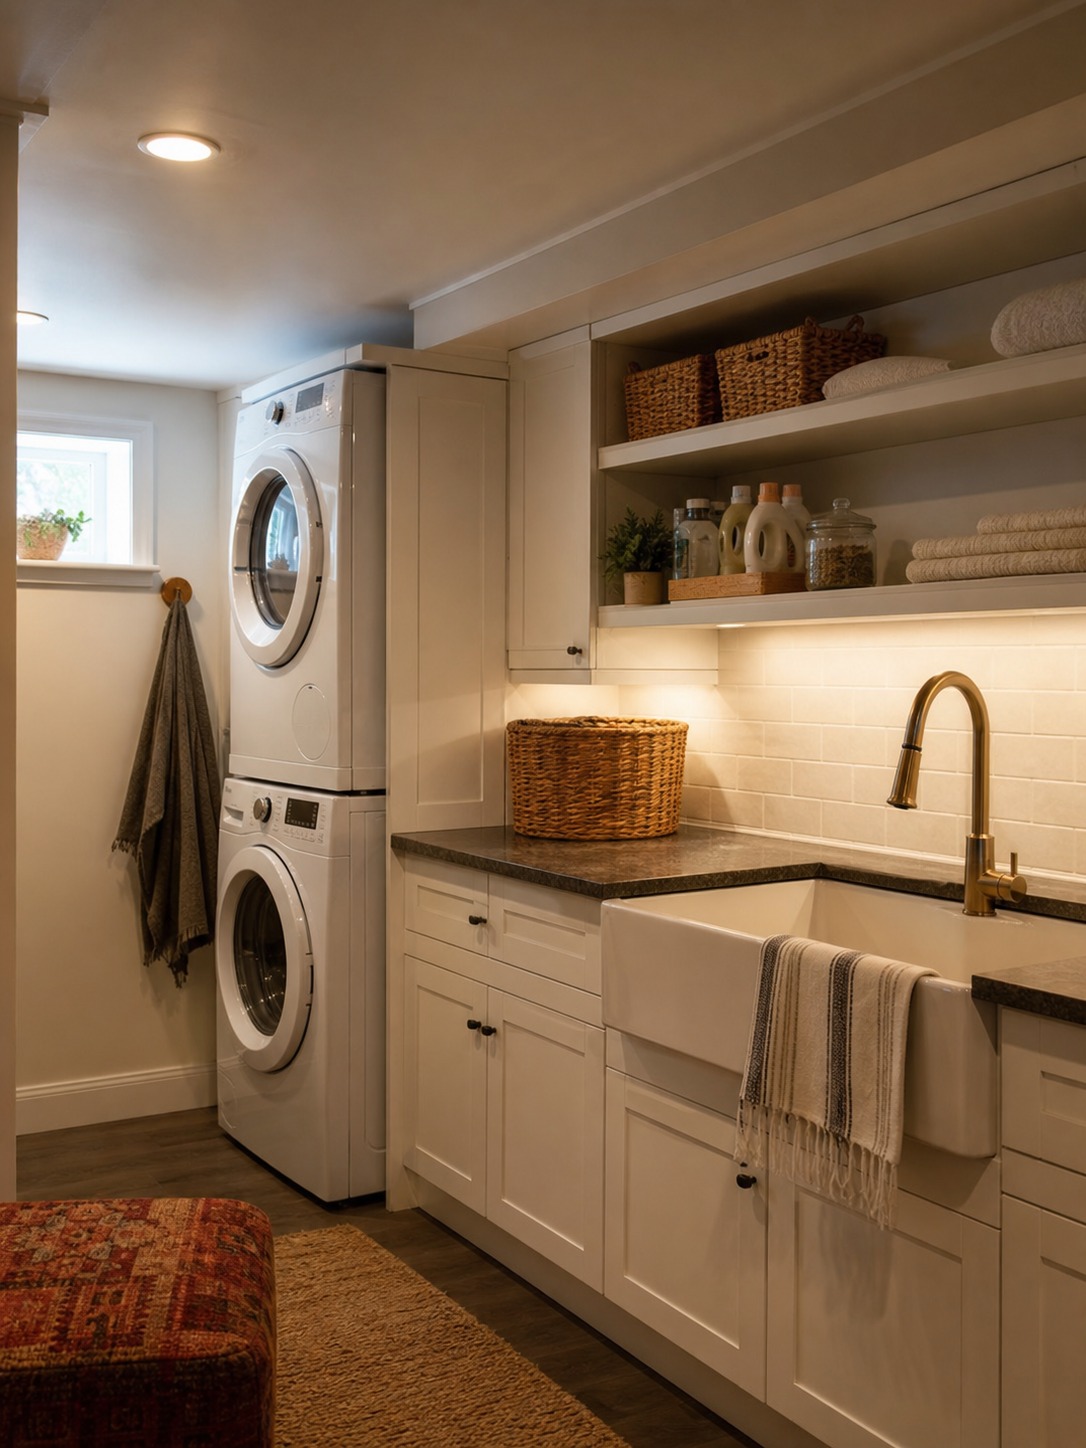
A stacked washer-dryer setup frees up floor space for a folding counter, which is worth more day-to-day than people expect. Open shelving above the machines for detergent and baskets keeps things visible instead of buried in a cabinet you forget about. If the laundry area sits near the sump pit, a simple painted line on the floor or a change in flooring material — polished concrete under the machines, LVT everywhere else — visually separates the utility zone from the living space without a wall.
This is also where a basement earns its keep for storage. Chest freezers, seasonal decor, extra pantry stock — all of it belongs down here, but it looks intentional when it’s contained. A run of tall cabinets along one wall, floor to ceiling, holds far more than open shelving and keeps the room looking like a finished space instead of a garage that got carpeted.
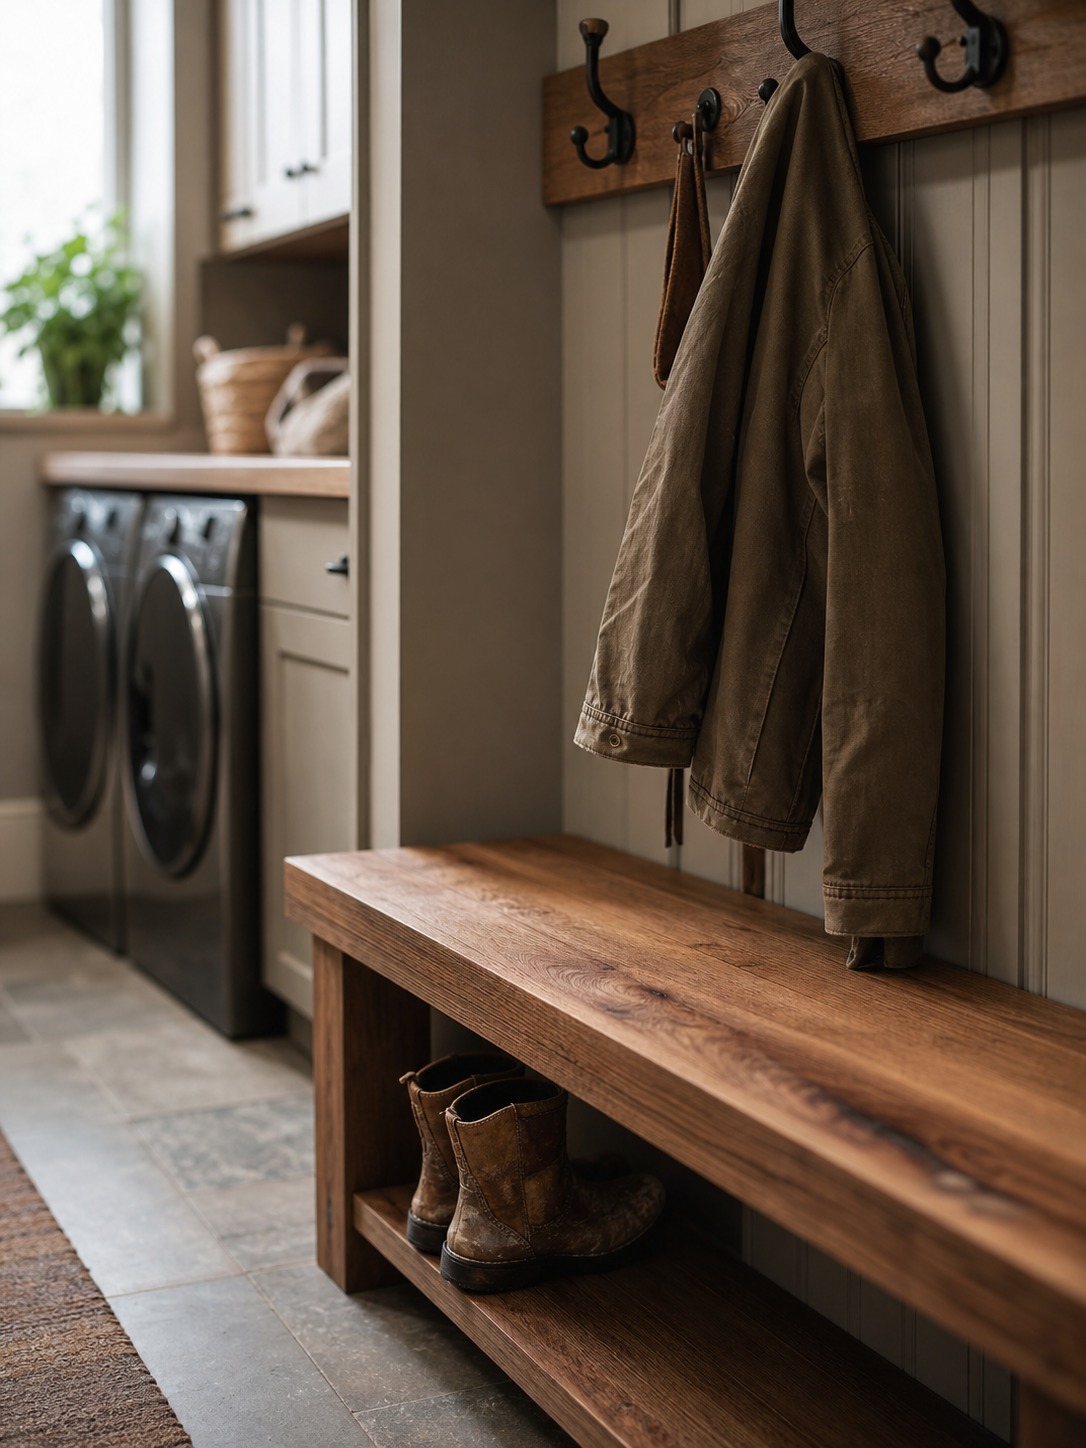
A lot of the basements I’ve worked on end up doing double duty around the laundry zone. A deep utility sink next to the machines handles muddy boots, a dog wash after a hike, or hand-washing delicates without anyone hauling a bucket up to the kitchen. If there’s room, a narrow bench with hooks above it near the laundry area gives the space a mudroom function too. None of this needs to be large — a four-foot run of bench and cabinetry does most of the work — but it turns a purely functional corner into a room that earns its square footage every single day, not just on laundry day.
If the basement also needs to hold a home gym corner or a guest sleeping area, keep those zones visually distinct from the laundry and storage side with a rug, a half-wall, or a change in lighting rather than a full partition. Basements read as more spacious when the zones are implied instead of boxed in.
Use Lighting to Make the Basement Feel Intentional
Basements fight against natural light by definition, so the lighting plan has to do more work than it would upstairs. A single centered ceiling fixture is the fastest way to make a finished basement still feel like a basement.
Layer it instead. Recessed cans on a dimmer handle general light — I usually spec warm 2700K LEDs down here specifically, because basements already read cooler and grayer than the rest of the house, and a cold white bulb makes that worse, not better. Add a floor lamp or a couple of table lamps in the seating area for a lower, softer layer at night. Task lighting matters too: under-cabinet LED strips over the laundry counter, a swing-arm lamp near a reading chair, a bright fixture directly over the utility closet so you’re not troubleshooting a sump pump alarm by phone flashlight at 11 PM.
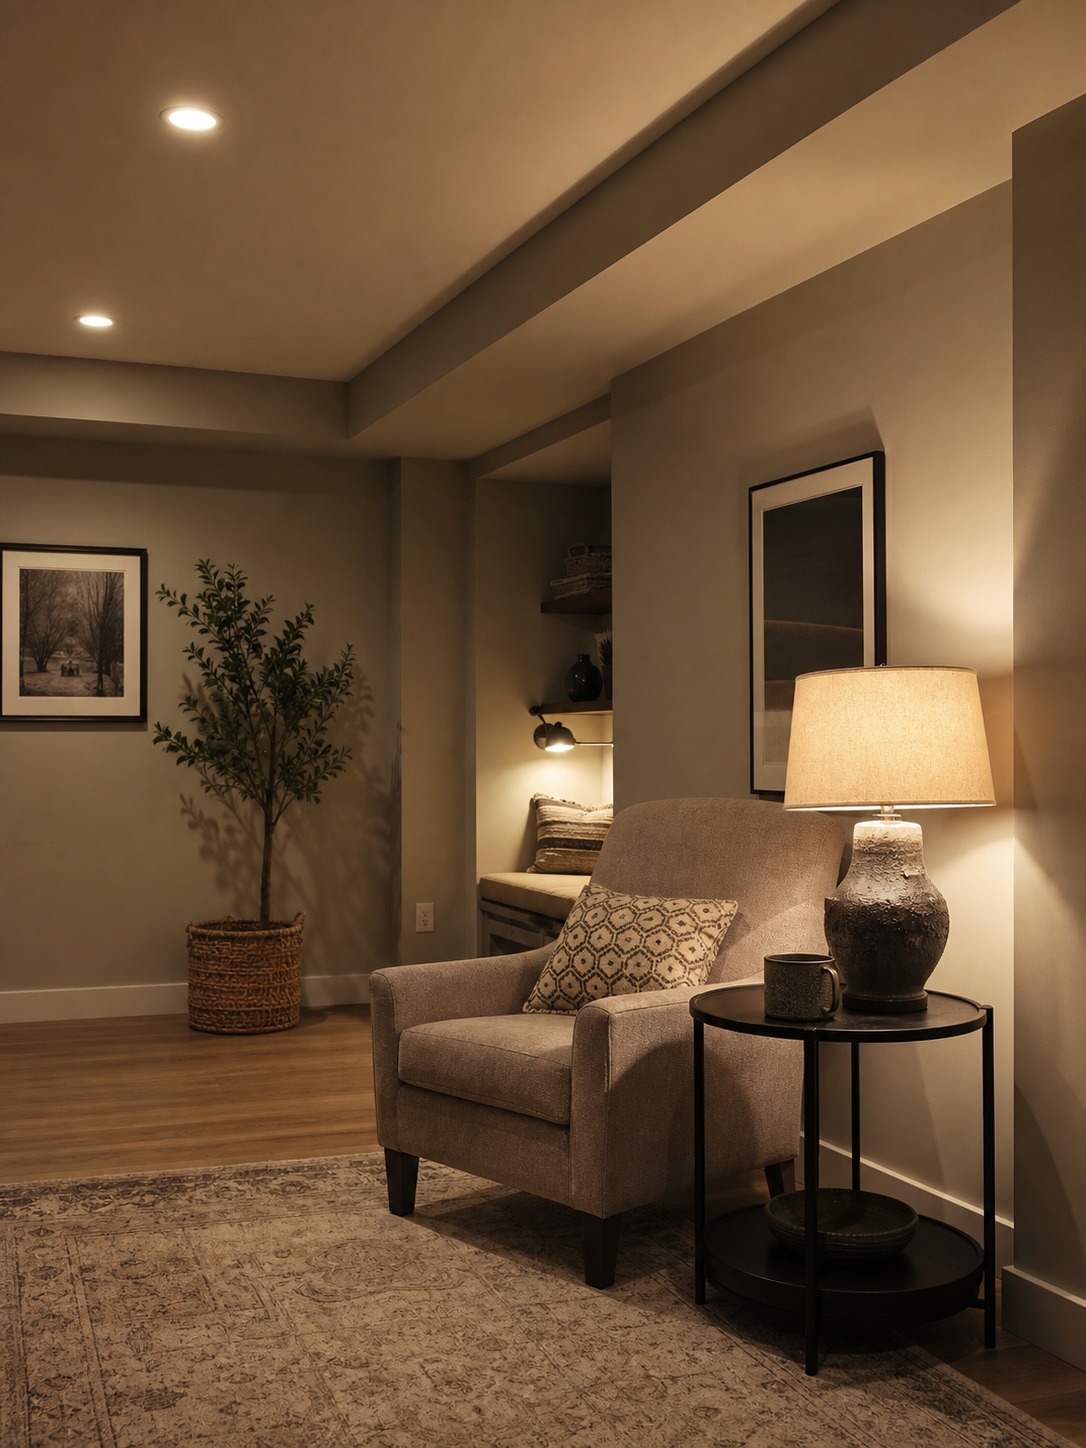
If the ceiling height allows it, even a shallow light well or a walkout door with a glass panel brings in real daylight and changes how the whole room feels. Existing window wells are worth the extra attention, too — a clean, well-maintained window well with a clear cover lets in more usable daylight than most homeowners expect, and it does double duty keeping debris and water away from a below-grade window.
Smart dimmers and scene-based lighting are worth the modest upgrade cost in a basement specifically, more than almost anywhere else in the house. Being able to switch instantly from a bright “doing laundry and vacuuming” setting to a dim “movie night” setting on the same fixtures means you don’t need two separate lighting plans for one room that serves several purposes.
Connect Outdoor Drainage to Interior Comfort
Everything inside the basement depends on what’s happening outside it. This is the part of basement design that has almost nothing to do with paint colors and everything to do with how water moves across your property.
Clean gutters first — a clogged gutter dumps water straight down the foundation wall instead of away from it, which undoes a lot of the interior moisture work before it even starts. Downspouts should extend at least four to six feet from the house, not just drop water a foot from the wall. Grading matters just as much: the soil around the foundation should slope away from the house, roughly six inches of drop over the first ten feet, so water runs off instead of pooling against the wall.
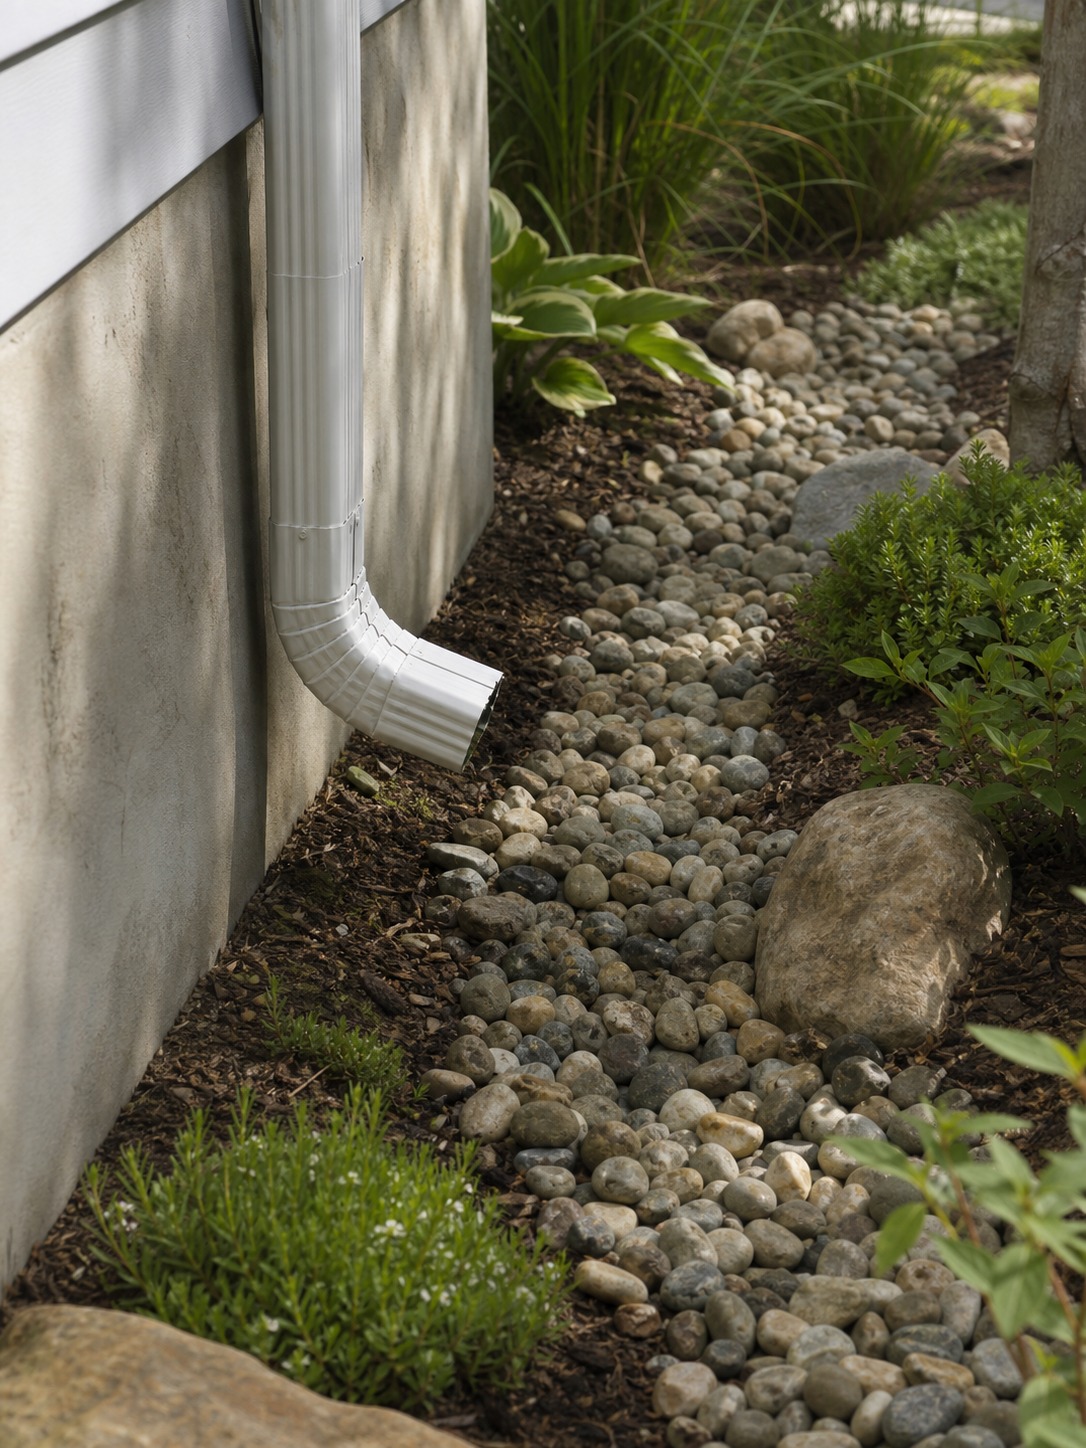
A rain garden or a simple dry creek bed along a downspout’s discharge point can turn a drainage necessity into an actual landscape feature — I’ve used this on a couple of residential projects where the client wanted the water management visible and attractive instead of buried and forgotten. It’s the same principle as the interior utility closet: the function stays, the ugliness doesn’t have to.
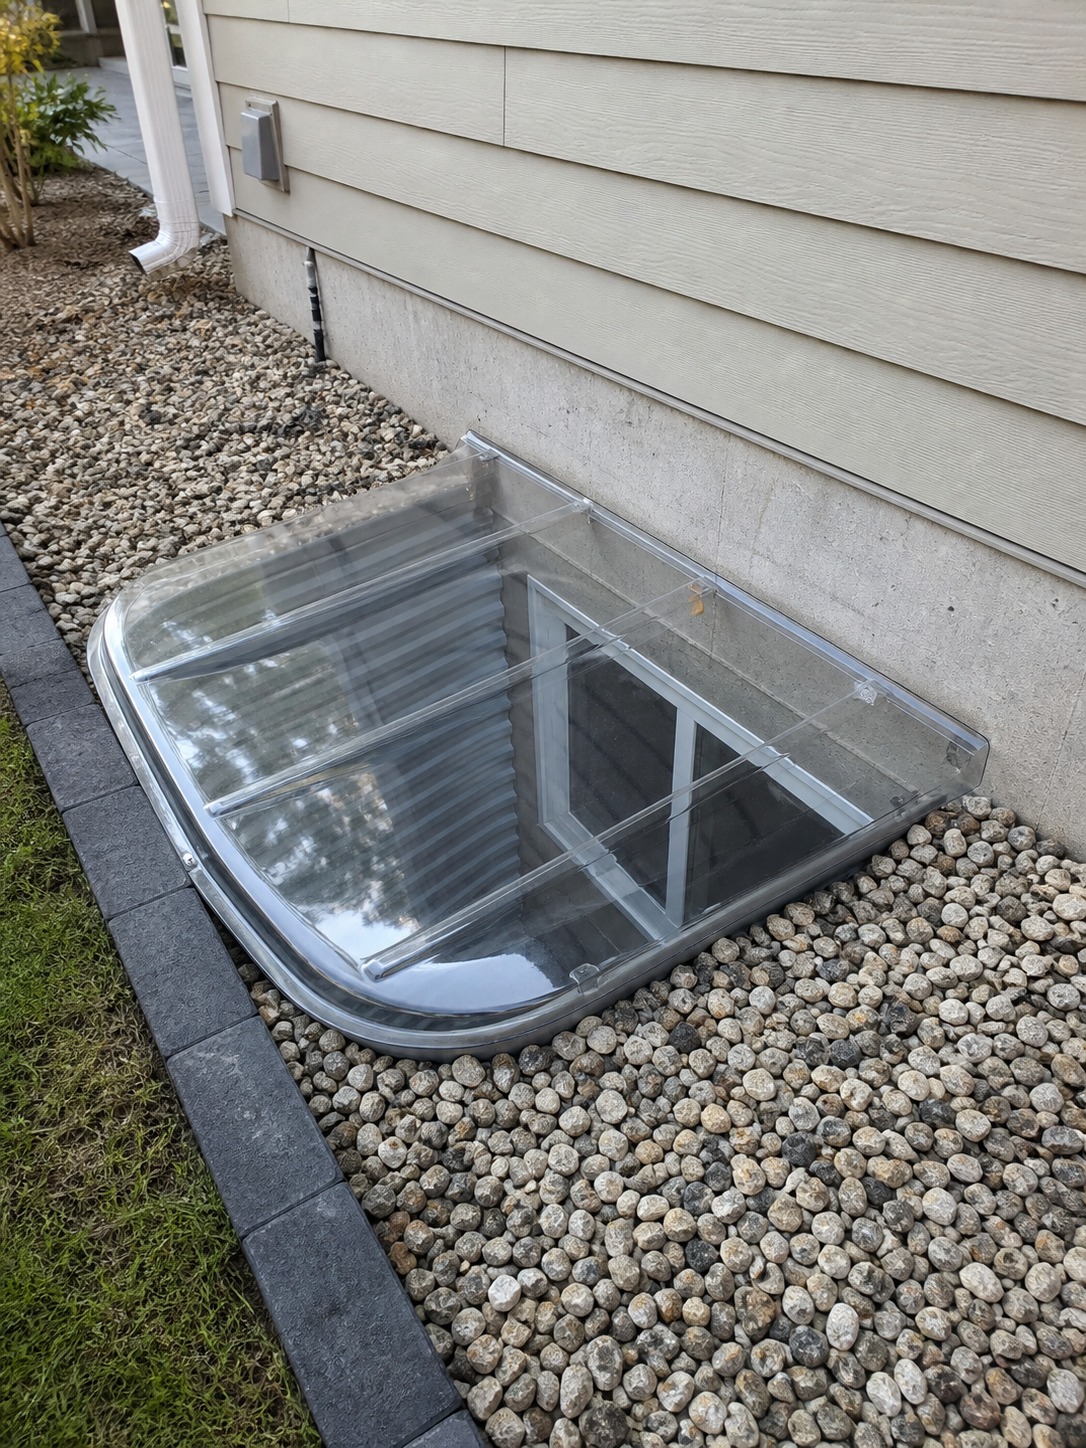
Window wells deserve the same attention outside that they get inside. A window well filled with gravel and fitted with a proper cover sheds water instead of collecting it against the foundation wall, right at one of the most common entry points for basement moisture. Mulch beds pushed right up against the foundation are worth reconsidering too — they hold moisture against the wall exactly where you don’t want it. Pulling mulch back a few inches and replacing it with gravel or stone along the foundation line is a small change that makes a real difference over a full rainy season.
A Beautiful Basement Starts With a Dry One
None of the design choices in this piece matter if the water problem underneath gets ignored. Flooring, lighting, a laundry zone worth spending time in — all of it depends on a basement envelope that’s actually managing water instead of just hiding evidence of it.
A finished basement only works as a design feature when the invisible systems behind it are planned properly. That’s the real lesson from every basement remodel I’ve watched succeed and every one I’ve watched fail — the beautiful ones and the flooded ones almost always come down to what happened before the flooring arrived, not after.
Handle the moisture and drainage side first. Then spend the design budget where it actually shows: the floors, the lighting, the built-ins, the small architectural details that make a lower level feel like part of the house instead of the space underneath it. Get that order right, and the basement stops being the room you apologize for and becomes one of the best rooms in the house.
- 88shares
- Facebook0
- Pinterest88
- Twitter0
- Reddit0