Waxing a car is a great way to protect its paint and keep it looking new. Knowing how to wax a car properly can enhance its appearance and provide a layer of defense against the elements. Many car owners may feel unsure about how to start, but with the right steps and tools, waxing can be an easy and rewarding process.

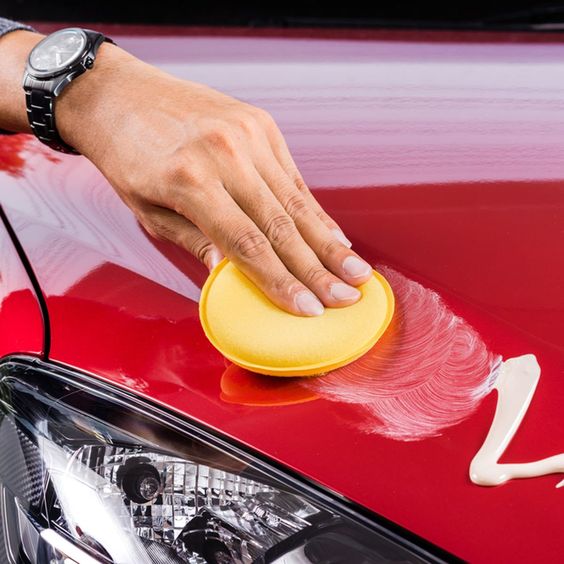
To begin, preparation is key. A clean surface ensures the wax adheres well and maximizes protection. Selecting the right type of wax is also important; there are various options available depending on personal preferences and the vehicle’s needs. The application and removal of the wax can greatly affect the final shine, so it’s essential to follow the correct techniques.
Understanding these steps can transform the car care routine. Regular waxing not only keeps the car looking sharp but also helps maintain its value over time.
Key Takeaways
- Clean the car before applying wax for best results.
- Choose the right wax for your vehicle’s needs.
- Regular waxing protects the car’s finish and appearance.
Preparing Your Car for Waxing
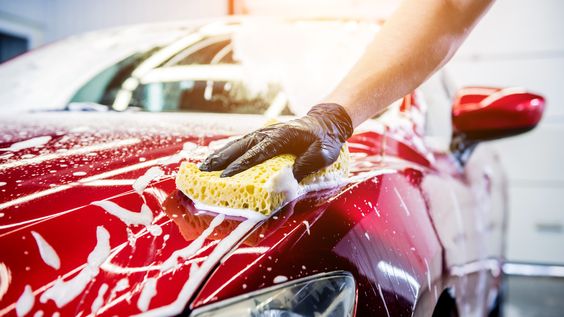
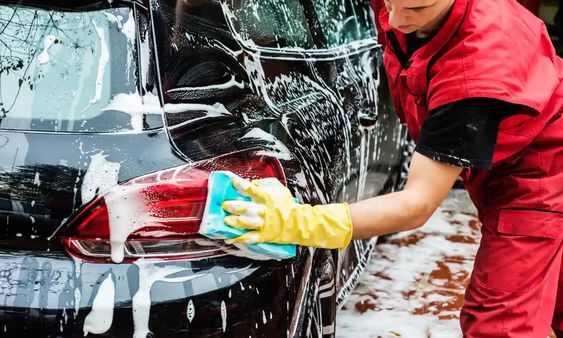
Before waxing, it is essential to get the car ready. Proper preparation involves cleaning, drying, and inspecting the car’s surface to ensure the best results from waxing.
Cleaning and Washing
Start by washing the car thoroughly. Use a quality car wash soap, as it is designed to lift dirt without harming the paint.
- Gather supplies: You’ll need a bucket, car wash soap, sponge or wash mitt, and a hose.
- Rinse the car: Spray down the vehicle with water to remove loose dirt.
- Wash from top to bottom: Start at the roof and work down to prevent dirt from moving to cleaner areas. Use a microfiber sponge for gentle cleaning.
- Rinse frequently: Rinse the sponge often to avoid scratching the paint with trapped dirt.
- Finish with a thorough rinse: Ensure all soap is removed to prevent streaking.
Cleaning the car properly sets the stage for effective waxing.
Drying the Vehicle
Once the car is clean, it’s time to dry it. A wet surface can trap contaminants and make the waxing process less effective.
- Use a microfiber towel: This type of towel absorbs water well and won’t scratch the paint.
- Pat dry method: Instead of rubbing, gently pat the towel on the surface to absorb water.
- Make sure to dry all nooks: Pay attention to areas like door handles and mirrors where water can collect.
Drying the car completely will ensure a smooth surface for waxing.
Inspecting the Paint for Contaminants
After drying, check the paint for any contaminants. This step is critical to achieving a smooth finish when waxing.
- Visual inspection: Look for spots, scratches, or blemishes on the surface.
- Use a clay bar if needed: A clay bar can help remove stuck-on contaminants such as sap or industrial fallout.
- Feel for roughness: Run your fingers over the paint. A rough surface may need further cleaning or claying.
Inspecting the paint ensures that the surface is as clean and smooth as possible before applying wax.
Choosing the Right Wax
Selecting the right wax is important for protecting the car’s paint and enhancing its shine. Different types of wax serve different purposes, with options like carnauba and synthetic wax. The form in which wax is applied also matters, as it can come in liquid, paste, or spray forms.
Carnauba vs Synthetic Wax
Carnauba wax is a natural product derived from the leaves of the Brazilian carnauba palm. It provides a deep shine and can last for several weeks. Many car enthusiasts prefer it for its rich finish and the ability to repel water.
Synthetic wax is made from synthetic polymers. It often offers longer-lasting protection than carnauba wax. Synthetic options can provide a shiny look as well, but they excel in durability. They are less affected by heat and can withstand harsh weather conditions better than natural wax.
Liquid, Paste, and Spray Formulations
Wax comes in three main forms: liquid, paste, and spray.
Liquid wax is easy to apply and is often preferred for quick jobs. It spreads easily and can cover large areas fast.
Paste wax is thicker and can provide a more durable finish. It typically takes more time to apply but offers high-quality protection.
Spray wax is the quickest option. It is ideal for maintaining shine between full wax jobs. It may not last as long as the other options but is convenient for quick touch-ups.
Choosing the right form depends on individual needs and preferences.
Applying the Wax
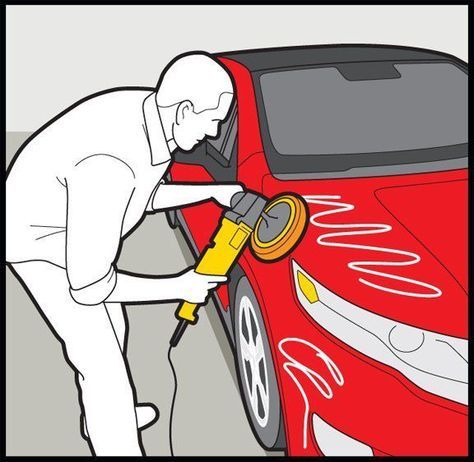
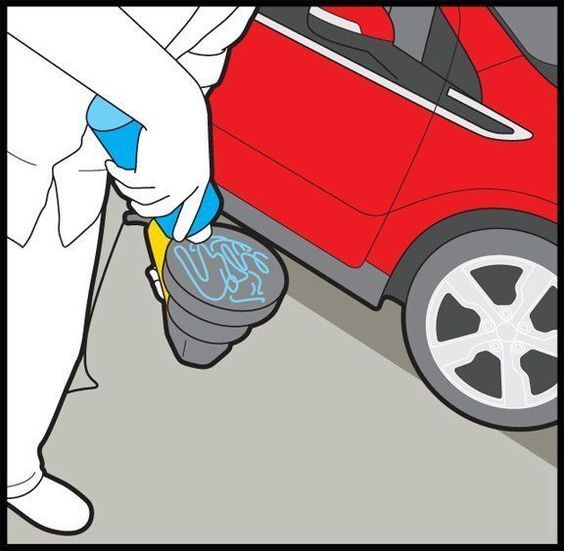
When applying wax to a car, it is important to choose the right method. Each method has its own advantages. Applying by hand allows for more control, while using a buffer can save time and provide an even finish.
Hand Application Method
For hand application, a foam applicator pad is recommended. This type of pad helps spread the wax evenly. It is best to start with a clean, dry surface.
Begin by applying a small amount of wax to the applicator pad. Then, use a circular motion to spread the wax on the car’s surface. Focus on one section at a time to ensure full coverage. Aim for thin coats of wax. Thick layers can take longer to dry and may not provide better protection.
After applying wax, let it sit for a few minutes. This allows the wax to bond with the paint. Once it has dried, use a microfiber towel to buff the area gently. This step enhances the shine and removes any excess wax.
Using a Buffer or Polisher
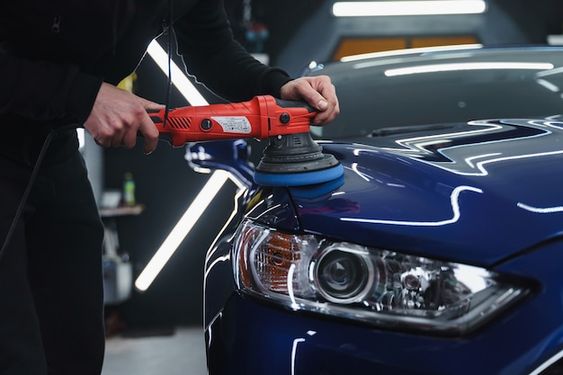
Using a buffer or polisher can speed up the wax application process. A dual-action polisher is a popular choice for this task. It combines both rotary and orbital movements, providing effective coverage without risking damage to the paint.
To use a buffer, first apply a small amount of wax directly to the wax applicator pad or the surface of the car. Turn on the buffer and set it to a low speed. Carefully move the buffer in overlapping circular motions. This helps to evenly distribute the wax.
It is essential to keep the buffer moving at all times. This prevents any heat buildup, which could harm the paint. After covering a section, allow the wax to sit for the recommended time. Then, use a microfiber cloth to buff the surface to a shine.
Removing the Wax and Buffing

After applying wax, it is necessary to remove the wax residue and buff the surface to achieve a glossy finish. This section discusses the key steps involved: waiting for the wax to haze and then buffing it out properly.
Waiting for Wax to Haze
Once the wax is applied, it needs time to dry and haze. This process is important because it allows the wax to bond with the paint. Typically, waiting about 10 to 15 minutes is sufficient.
During this time, the wax turns from a wet appearance to a dull finish. It’s essential not to rush this step. If the wax is wiped off too soon, it can leave behind streaks or a dull look.
He or she should check the wax by lightly touching it. If it feels tacky, it needs more time. If it feels dry and has a hazy look, it’s ready for the next step.
Buffing the Wax Residue
Buffing is critical to remove any remaining wax and to enhance the shine. To start, one can use a clean microfiber cloth or a buffing pad.
Start at one corner of the car and work in small sections. Use circular motions to gently buff the surface. This helps to prevent swirl marks and ensures an even finish.
He or she should apply light pressure, as too much force can damage the paint. Check the cloth or pad often to remove any wax residue, and switch to a clean section when needed.
Continue this process over the entire car until all the wax has been removed. The result will be a glossy finish that protects the paint and enhances the vehicle’s appearance.
Final Touches and Maintenance

After waxing the car, it’s essential to check the finish and maintain the wax for long-lasting protection. Careful inspection and ongoing maintenance will help keep the car’s shine and gloss.
Inspecting for Missed Spots and Evenness
Once the wax has dried, taking time to inspect the surface is crucial. He or she should look for any areas where the wax may have been missed or applied unevenly.
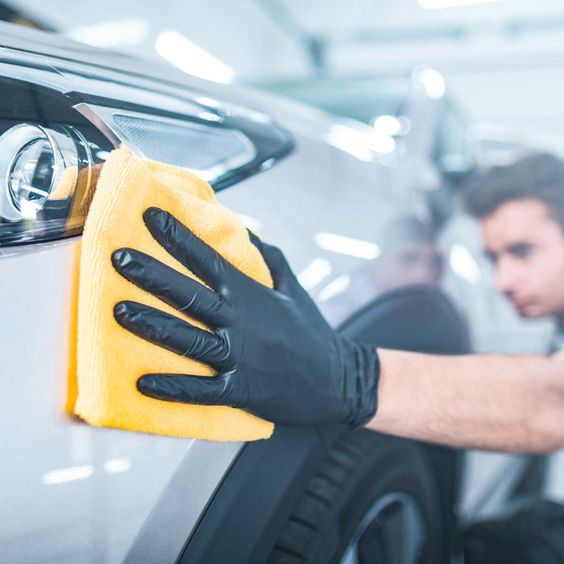
Using a good quality microfiber cloth, the person can gently wipe the car’s surface to reveal any dull spots. If any areas lack shine, reapplying wax is necessary.
Checking under bright light can help identify inconsistencies in the coating. Uneven areas can affect the car’s overall appearance, so it’s worth the effort to ensure a smooth, glossy finish.
Maintaining the Wax Coating
To maintain the wax coating, regular washing is important. A mild car shampoo will help keep the clear coat from degrading. Avoid using harsh chemicals that can strip the wax off.
He or she should wash the car every two weeks. This practice helps prolong the life of the wax. After washing, drying the vehicle with a microfiber towel reduces the chance of water spots.
Applying a spray wax or wax booster every few months can refresh the shine. This step adds another layer of protection without the need for a full waxing session. Following these maintenance tips will keep the car looking sleek and shiny for longer.
Additional Car Care Tips
Taking care of a car involves more than just waxing. Polishing, treating scratches, and protecting against UV damage are key steps for maintaining a car’s appearance and value.
Polishing for Extra Gloss
Polishing adds a shiny finish to a car’s surface. Using a polishing compound will remove light scratches and enhance the paint’s depth.
- Choose a Car Polish: Select a product like Turtle Wax Super Hard Shell for best results.
- Apply Properly: Use an applicator pad and work in small sections.
- Buff the Surface: After applying, buff it with a clean microfiber cloth for a high-gloss finish.
Polishing should be done every few months for optimal results. Make sure the car is clean and dry before starting.
Treating Scratches and Swirl Marks
Scratches and swirl marks can affect a car’s appearance. To fix these, a rubbing compound is useful.
- Assess the Damage: Identify the depth of the scratch. Light scratches can be fixed easily, while deep ones may need professional help.
- Use Rubbing Compound: For surface scratches, apply a small amount of rubbing compound with a microfiber cloth, working in circular motions.
- Smooth the Area: Follow with a coat of polish to blend with the surrounding paint.
Regular maintenance can prevent more serious damage down the line.
Protecting Your Car from UV Damage
UV rays can fade a car’s color and damage the exterior. Protecting against this is essential for upkeep.
- Use UV Protectants: Apply a good UV protectant to your car’s paint.
- Wash Regularly: Keeping the surface clean helps maintain the protectant’s effectiveness.
- Park in the Shade: Whenever possible, park in shaded areas to reduce exposure.
Using products like Turtle Wax can help keep the finish looking fresh, extending the lifespan of the paint. Regular care can prevent costly repairs later on.
- 103shares
- Facebook0
- Pinterest103
- Twitter0
- Reddit0


