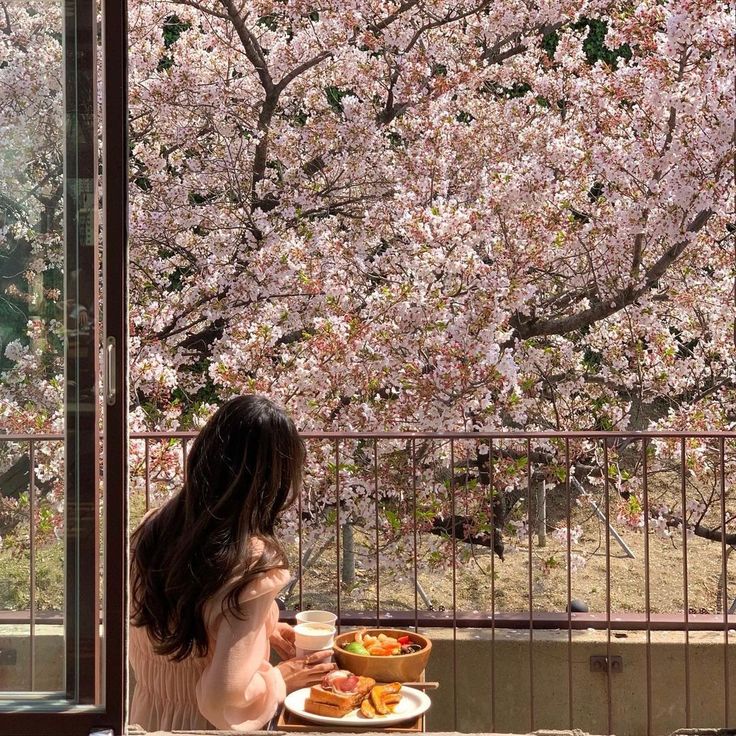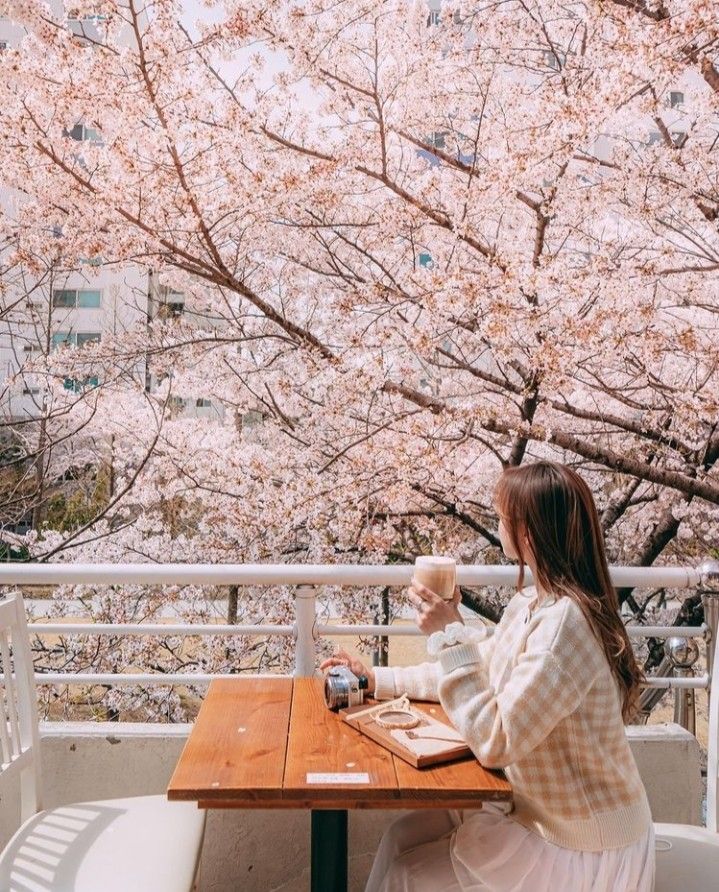

Cherry blossom photography captures the delicate beauty of blooming flowers, creating stunning images that celebrate nature’s brief but vibrant show. The best cherry blossom photos come from understanding how to work with light, angles, and timing to highlight their soft colors and intricate details.
Photographers often need to plan carefully to catch the blossoms at peak bloom and choose the right settings and lens to bring out the flowers’ charm. Paying attention to weather and background can make a big difference in creating memorable shots.
Creativity and respect for the environment also play a key role in capturing great photos while preserving the natural space. This guide will help readers take better cherry blossom pictures by covering simple techniques and thoughtful habits.
Key Takeaways
- Timing and light are crucial for capturing clear, beautiful cherry blossom photos.
- Using the proper equipment and angles enhances photo quality.
- Respect for nature and planning improve both the experience and the results.
Understanding Cherry Blossom Photography
Capturing cherry blossoms requires knowing what makes these flowers special, planning the best time to shoot, and choosing the right places. These factors guide photographers in getting clear, bright, and beautiful images.
What Makes Cherry Blossoms Unique in Photography


Cherry blossoms have delicate petals and soft colors that change quickly as they bloom. Their fragile nature means the window for perfect photos is short. The light around these flowers can make the pink and white petals glow softly, which adds a unique touch to each photograph.
Photographers often focus on the contrast between the blossoms and dark branches or backgrounds. Close-up shots show detail, while wide shots capture the full tree or entire groves. The petals’ round shape and texture also create interesting patterns and shadows.
Timing Your Photoshoot During Cherry Blossom Season


Cherry blossom season lasts only a few weeks, mostly in early spring. The best photos come when the flowers are fully open but not yet falling. This peak bloom usually lasts about one week.
Weather impacts timing. Sunny days help bring out colors, but overcast skies reduce harsh shadows and create even light. Photographers should check bloom forecasts and plan to arrive early in the morning to avoid crowds and make use of soft dawn light.
Popular Locations for Capturing Cherry Blossoms


Famous spots for cherry blossom photography include Washington D.C., Japan’s Kyoto and Tokyo, and South Korea’s Jinhae Festival. These places offer large numbers of trees and scenic views.
Local parks, botanical gardens, and riversides also provide good settings. Photographers can use paths, benches, or bridges to add elements to their composition. Urban backgrounds with blossoms give a mix of nature and city life in one frame.
Photographic Techniques for Cherry Blossoms
Capturing cherry blossoms well requires attention to light, color balance, and focus. The right exposure settings bring out delicate petals, while thoughtful composition frames the scene. Precise focus helps highlight the blossoms’ details.
Exposure Settings and White Balance


Cherry blossoms often reflect soft, natural light. It’s best to use a low ISO (100-200) to keep images sharp and reduce noise. Setting the aperture between f/4 and f/8 balances depth of field and sharpness.
White balance matters because cherry blossoms appear slightly pink or white. Using the daylight or cloudy preset can preserve their natural colors. Avoid automatic white balance, which may shift colors unnaturally.
Overexposure can wash out petals, so slightly underexposing by 1/3 to 1 stop helps keep details in the highlights. Checking exposure with the histogram ensures highlights don’t clip while shadows stay rich.
Composition and Framing Tips


Filling the frame with blossoms creates strong visual interest. Using the rule of thirds places key clusters off-center for a balanced look.
Including branches or sky adds context without cluttering the image. Look for patterns like repetitive petals or leading lines from branches to guide the viewer’s eye.
Shooting from different angles—below the blossoms or close-up—adds variety. Wide shots show the tree’s scale, while macro shots focus on individual flowers. Switching perspectives helps avoid flat images.
Focusing Techniques for Blossoms


Cherry blossoms have fine details that require sharp focus. Using single-point autofocus aimed at the closest cluster ensures the petals are crisp.
Manual focus can work well for macro or close-up shots where autofocus struggles. A tripod helps stabilize the camera for better control.
Using a narrow aperture (higher f-number) increases depth of field, so more blossoms stay in focus. However, too narrow an aperture may reduce sharpness due to diffraction, so testing settings is important.
Choosing the Right Equipment
Selecting suitable gear is key to capturing clear, sharp images of cherry blossoms. The choice of camera, lenses, filters, and support tools affects the final photo quality and ease of shooting.
Best Cameras and Lenses for Cherry Blossom Photography

DSLRs and mirrorless cameras with good resolution work best. A sensor size of APS-C or full-frame helps capture fine details in petals.
For lenses, a macro or a prime lens with a wide aperture (f/1.8 to f/2.8) is ideal. These lenses allow for sharp focus and a blurred background, making blossoms stand out. Telephoto lenses (70-200mm) help capture blossoms from a distance without disturbing the scene.
A zoom lens (24-70mm) offers flexibility to shoot wide shots and close-ups. Cameras with good autofocus speed assist in sharp photos when wind causes movement.
Using Filters and Tripods


Polarizing filters reduce glare on petals and enhance colors, making photos more vibrant. ND (neutral density) filters help control exposure in bright sunlight to avoid washed-out images.
Tripods provide stability, crucial for slow shutter speeds or macro shots. A sturdy tripod avoids camera shake and keeps the frame steady. Lightweight, portable tripods are best for walking through parks.
Using a remote shutter release or timer function on the camera further reduces vibrations during shooting. These tools improve image sharpness and overall quality.
Creative Approaches to Cherry Blossom Photography
Photographers can improve cherry blossom photos by using different angles and subjects. Focusing on fine details, combining flowers with natural or man-made scenes, and adding people or cultural elements creates unique images.
Close-ups and Macro Shots of Blooms


Close-up shots highlight the delicate texture and shape of cherry blossoms. Using a macro lens helps capture tiny details like the veins in petals or drops of dew. Soft lighting, such as early morning or overcast skies, reduces harsh shadows.
Focus on a few blooms or even a single flower to show the beauty up close. Blurring the background makes the flowers stand out clearly. Changing the angle—shooting from below or side—adds depth and interest.
Incorporating Landscapes and Water Reflections


Including landscapes helps place cherry blossoms within their environment. Trees along rivers, hillsides covered in pink flowers, or parks with paths full of blossoms add context to the photo.
Water reflections create symmetry and add another layer to the image. Calm lakes, ponds, or puddles near cherry trees can mirror the petals and branches. Time shots during the golden hour to get soft, warm light enhancing the colors.
Capturing People and Cultural Elements

Adding people to cherry blossom photos shows scale and human connection to nature. Photographers can capture visitors walking, taking photos, or sitting under the trees.
Including cultural items like lanterns, traditional clothing, or festivals links the blossoms to local traditions. These elements tell a story beyond just the flowers and give photos more meaning. Use candid or posed shots to fit the scene and mood.
Lighting and Weather Considerations
Lighting and weather play a big role in how cherry blossom photos turn out. Different light can change the mood and colors, while weather affects clarity and the overall scene.
Photographing in Different Lighting Conditions


Photographers often prefer early morning or late afternoon light. This golden hour light is soft and warm, making petals glow naturally. Harsh midday sun can create strong shadows and washed-out colors, so it’s best to avoid it unless using filters or shade.
Backlighting cherry blossoms can produce a glowing effect on petals. Position the sun behind the flowers to highlight their translucence. A reflector can help bounce light onto the darker parts of the flowers to balance exposure.
Low light situations, like dusk, need slower shutter speeds or higher ISO settings. Using a tripod helps keep photos sharp when light is limited.
Making Use of Overcast and Rainy Days


Cloudy skies create soft, even lighting that reduces shadows and highlights flower details. Overcast days make colors appear more saturated and less harsh than bright sunlight.
Rain can add interest by giving petals a fresh, shiny look. Water droplets also add texture and can make the photo feel more natural. Using a lens hood or umbrella helps protect equipment from moisture.
Even on dull days, cherry blossom photos can stand out by focusing on close-ups or using reflections from wet surfaces. This brings variety to a photographer’s work without needing perfect weather.
Post-Processing for Cherry Blossom Photos
Post-processing helps bring out the best details in cherry blossom photos. Adjusting color and contrast makes the flowers pop, while removing unwanted spots or distractions keeps the focus on the blossoms.
Enhancing Colors and Contrast


Adjusting color balance is key. Increasing the pink and white tones slightly can make cherry blossoms look more vibrant. Be careful not to overdo it, or the colors may look unnatural.
Boosting contrast helps add depth. Raising contrast makes the flowers stand out against the sky or background. Using the clarity or sharpness tool can emphasize petal details without creating noise.
Saturation should be adjusted carefully. A small increase can enhance colors, but too much can cause color bleeding or unnatural hues. Using local adjustments to enhance only the blossoms keeps the rest of the photo balanced.
Removing Distractions and Imperfections


Removing spots, dead petals, or dirt keeps the photo clean. Tools like the healing brush or clone stamp are useful for this. They allow removing small marks without affecting the flower’s natural texture.
Distractions like power lines, people, or trash should be removed or minimized. Cropping can help exclude unwanted parts, and the patch tool can replace distractions with nearby natural textures.
Attention to detail in cleanup improves the viewer’s focus on the blossoms. Keeping edits subtle preserves the natural look of the photo.
Ethics and Etiquette of Cherry Blossom Photography
Photographers must balance capturing beautiful images with respecting the environment and people around them. Being aware of how actions impact cherry trees, public spaces, and other visitors is essential.
Respecting Nature and Public Spaces


Photographers should avoid touching or damaging cherry blossoms and branches. Stepping off paths can harm roots or compact soil, which weakens trees.
Littering is unacceptable. All trash, camera gear, and accessories must be carried out. Using flash or artificial lighting should be limited to avoid disturbing wildlife and other visitors.
When setting up equipment, it is important not to block walkways or picnic areas. Public parks have rules to protect trees, such as no climbing or picking flowers, and these must be followed. Signs and barriers are there for a reason.
Interacting with Other Photographers and Visitors


Politeness helps everyone enjoy the scene. Photographers should share space and avoid monopolizing popular spots or blocking views. Waiting turns and communicating clearly prevents conflicts.
It is courteous to keep noise low and avoid sudden movements that distract others. Offering to take photos for groups or individuals is a friendly gesture that can enhance the experience.
When working in groups, photographers must keep equipment contained and avoid crowding smaller paths. Being aware of tourists who come for a brief visit helps maintain a welcoming environment for all.
Sharing and Showcasing Cherry Blossom Photos
Sharing cherry blossom photos well involves choosing the right platforms and presenting images clearly. Photographers should also consider ways to gain recognition by joining contests or exhibitions. Both approaches help build an audience and improve skills through feedback.
Social Media Best Practices


Photographers should post their best cherry blossom photos on popular platforms like Instagram, Facebook, or Twitter. Using relevant hashtags such as #CherryBlossom or #SakuraPhotography helps reach viewers interested in this subject.
Images should be clear and well-edited but avoid heavy filters that hide the natural look of the blossoms. Posting at peak times, like early mornings or evenings, can increase engagement.
Engaging with followers by replying to comments or following others who post similar content can grow the photographer’s online community. Consistency in posting new photos keeps the audience interested.
Entering Photo Contests and Exhibitions


Photo contests focused on nature or seasonal themes offer photographers opportunities to get noticed. They should carefully read contest rules and submit only their best, high-resolution cherry blossom images.
Exhibitions may be local or online. They often require a portfolio of work, so photographers should prepare a variety of photos showing different angles or conditions. Participation can lead to professional feedback and chances to exhibit in galleries.
Submitting to contests and exhibitions also helps photographers learn from others’ work and improve over time. Winning or being featured adds credibility, which helps when sharing future work.
Troubleshooting Common Challenges in Cherry Blossom Photography


One common challenge is dealing with bright sunlight. Harsh light can cause shadows and washed-out colors. To fix this, photographers should try shooting during the golden hours—just after sunrise or before sunset—when light is softer.
Wind is another frequent problem. It makes petals move, causing blurry pictures. Using a faster shutter speed helps freeze motion. If possible, waiting for calm weather or shielding the blossoms can improve sharpness.
Crowds often get in the way during peak bloom times. Photographers can visit early in the morning or on weekdays to avoid people. Being patient and arriving prepared to wait may lead to better shots.
Balancing the background is important. Busy or distracting backgrounds can take focus away from the blossoms. Using a wide aperture creates a blurred background, making the flowers stand out.
Here is a quick list of tips for challenges:
| Challenge | Solution |
|---|---|
| Bright sunlight | Shoot during golden hours |
| Wind | Use fast shutter speed |
| Crowds | Visit early or on weekdays |
| Distracting background | Use wide aperture for blur |
Photographers should also check their camera settings regularly. Adjusting focus and exposure can help capture the best images of cherry blossoms.
- 3shares
- Facebook0
- Pinterest0
- Twitter3
- Reddit0


