Candle making is a fun and simple craft that anyone can try at home. It only takes a few basic supplies like wax, wicks, and fragrance oils to create beautiful candles that bring light and scent to any room. Making candles yourself saves money and lets you customize colors and smells exactly how you want.
This beginner-friendly hobby is also a great way to relax and create thoughtful gifts. By learning some easy steps, anyone can make clean, fragrant candles without needing special skills or tools. The process is straightforward and rewarding, perfect for those who enjoy hands-on projects.
Essential Candle Making Supplies
Starting candle making requires a few key materials that actually affect how the candle burns, smells, and looks. Choosing the right wax, the right wicks, and suitable containers or molds helps create a product that is safe and attractive.
Choosing the Right Wax
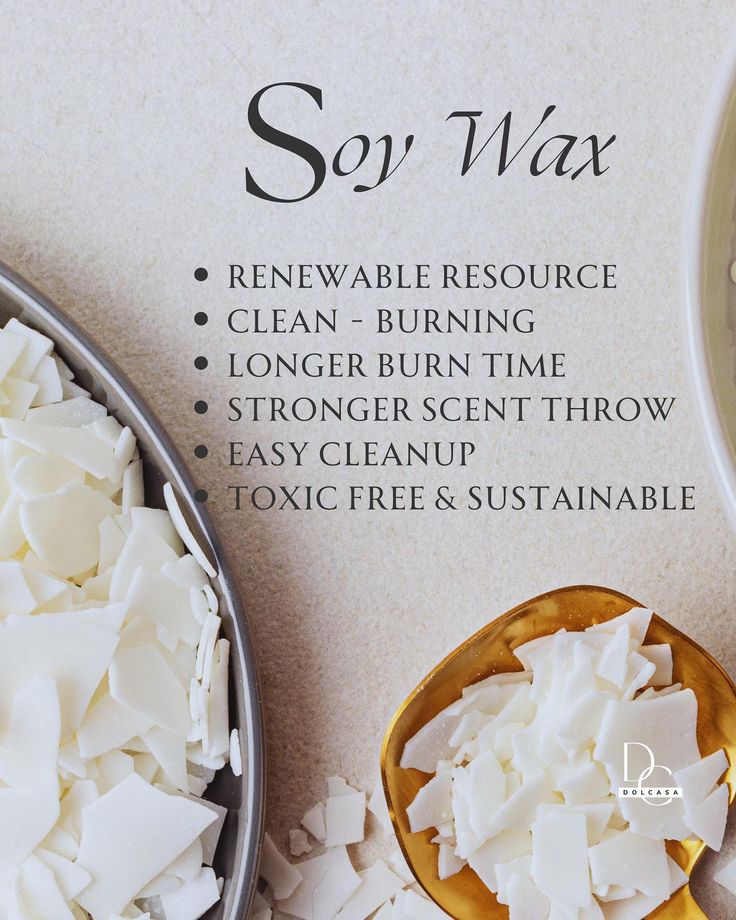
Wax is the base of every candle and comes in different types. Soy wax is popular because it burns cleanly and is made from natural soybeans. It holds fragrance well and works for container candles.
Paraffin wax is cheaper and widely available. It has a strong scent throw but is made from petroleum, which some avoid.
Beeswax is natural and burns longer with a nice honey scent. It’s a bit pricier and harder to scent with added fragrance oils.
The choice of wax depends on budget, scent preference, and candle style. For beginners, soy wax is easy to use and widely recommended.
Wicks and Their Types
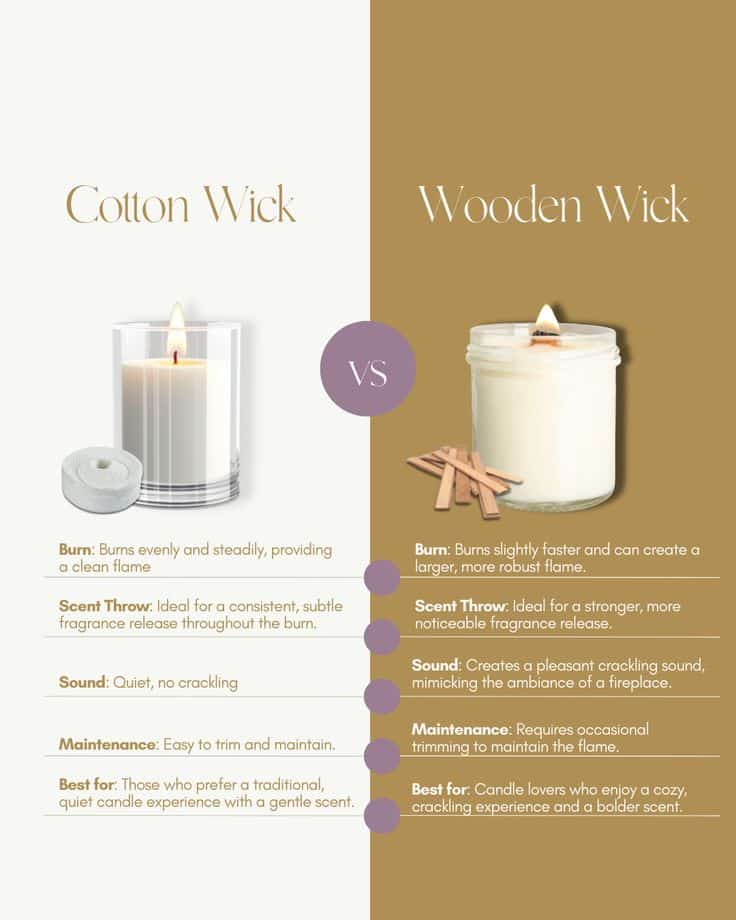

Wicks are important because they control how the candle burns. The right wick size depends on wax type and candle diameter.
Cotton wicks are common and work well with soy and paraffin wax. Some have paper cores for stiffness.
Wooden wicks give a crackling sound when burning but need special attention for trimming.
The wick should be centered and straight for an even burn. Using a wick too small causes tunneling, while one too big causes soot and smoke.
Beginners usually start with cotton wicks pre-sized to their container.
Candle Containers and Molds


Containers hold the candle wax safely. Glass jars, metal tins, and ceramic pots are popular for container candles because they contain melted wax well.
Using containers meant for heat prevents cracking or spills. The size affects wick choice and burn time.
Molds come in different shapes for making pillar or votive candles without containers. Silicone molds are flexible and easy to remove candles from.
For first-timers, containers are easier since the wax cools inside them and cuts down on spills. They also let makers create scented candles conveniently.
Step-by-Step Candle Making Process
Candle making involves a few clear steps. First, the wax must be melted carefully. Then, scents and colors get added. Finally, the liquid wax is poured into containers and left to set.
Melting and Preparing Wax
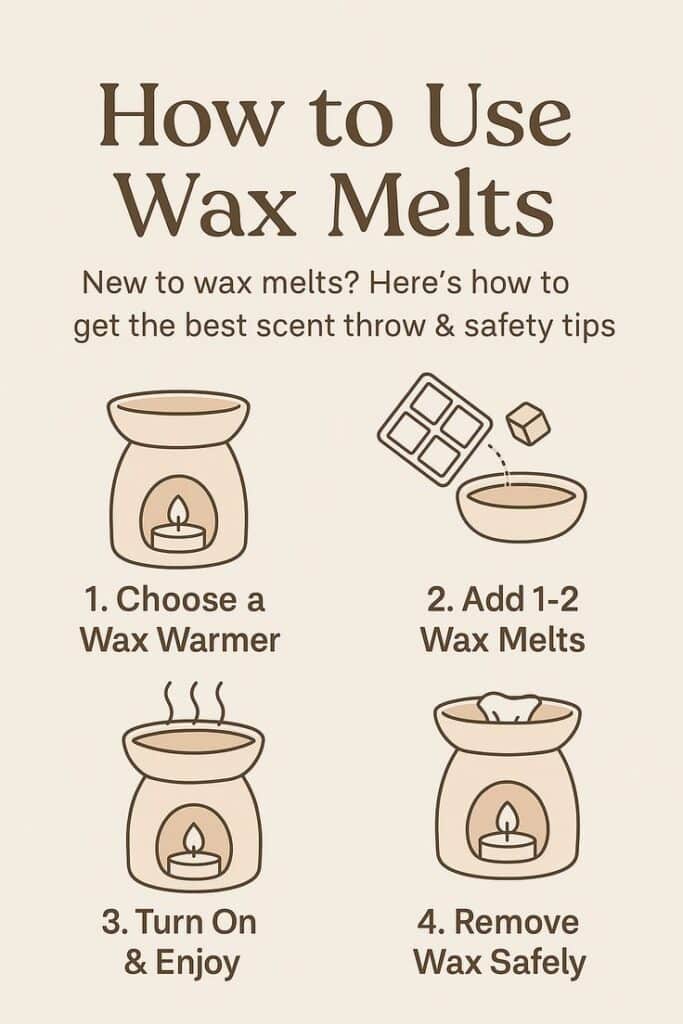

The first step is melting the wax. Beginners usually use soy or paraffin wax because they are easy to work with. The wax should be cut or broken into small pieces to melt evenly.
Heat the wax slowly using a double boiler or a heat-safe container inside a pot of hot water. This method prevents the wax from burning. The target temperature is usually around 170 to 180°F (77 to 82°C), but it depends on the type of wax used.
Before melting, make sure the workspace is covered with newspaper or a paper bag to catch spills. Have all supplies ready, like containers and wicks, before starting.
Adding Fragrance and Color
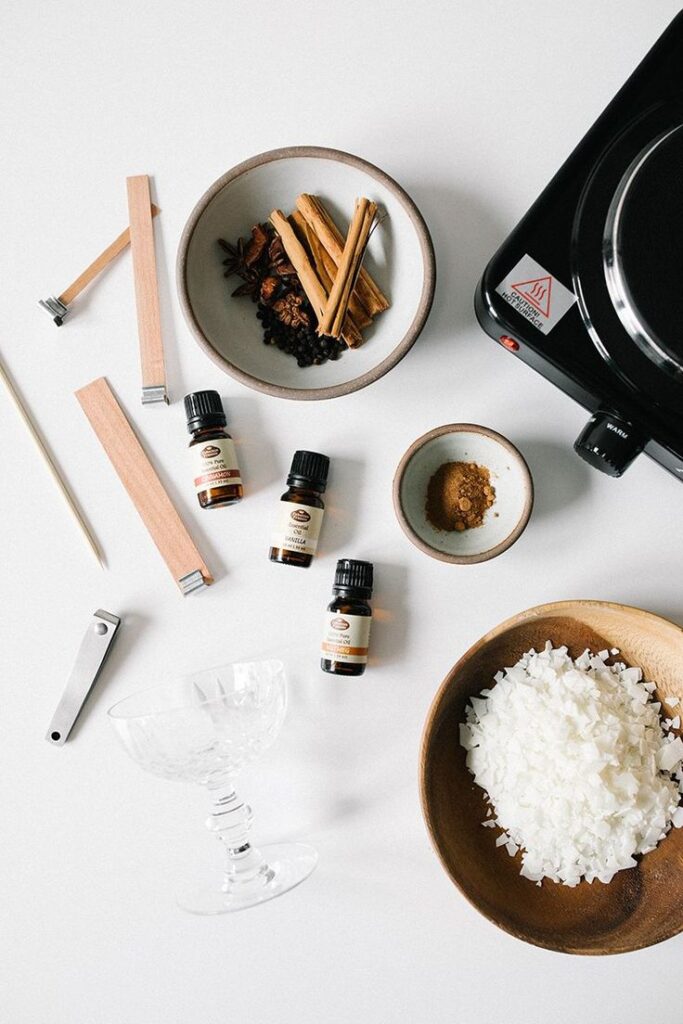

After the wax reaches the right temperature, it’s time to add fragrance oils. Use oils made for candles to ensure safety and good scent throw. The amount varies, but a typical range is 6-10% of the wax weight.
Stir gently but thoroughly so the fragrance blends evenly. Add color next. Liquid dye or color chips work well. Start with small amounts and increase to get the desired shade.
Both fragrance and color should be added off direct heat to avoid burning the scent or fading the color. Monitor the wax temperature closely during this step.
Pouring and Setting
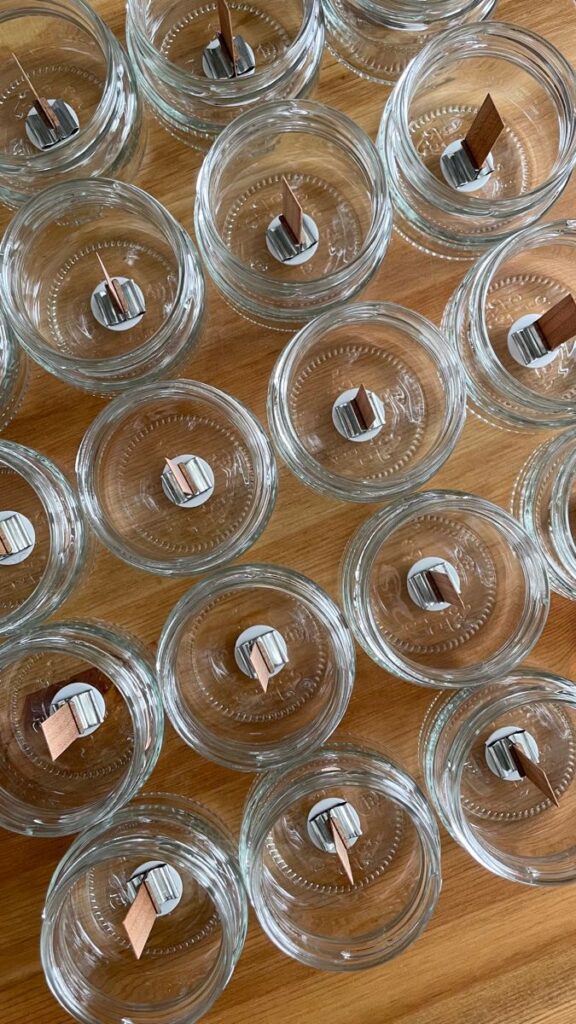
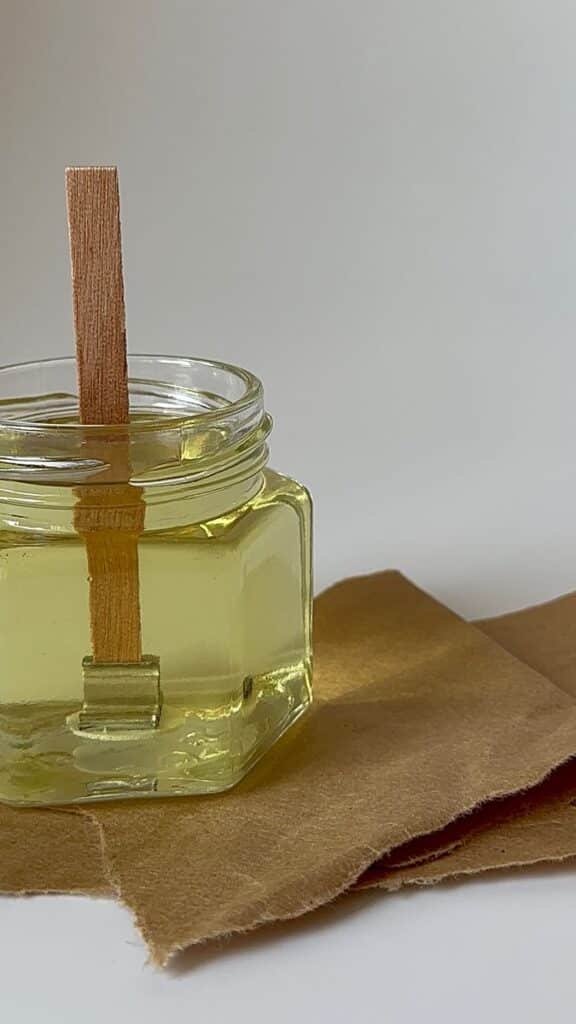
Pour the wax slowly into prepared containers with wicks centered and secured. Pouring at the right temperature (typically 130 to 160°F or 54 to 71°C) helps avoid cracks and uneven surfaces.
Leave some space at the top of the container. Allow the candle to cool and harden at room temperature. This can take several hours.
If needed, topping up with more wax after the first pour finishes can fix any sinkholes. Keep the candles out of drafts during setting for smooth surfaces. Once fully set, trim the wick to about ¼ inch before lighting.
Safety Tips for Beginners
Safety matters a lot when making candles. Keeping hot wax under control, ensuring fresh air, and cleaning up spills quickly helps prevent accidents. These simple steps make candle making more enjoyable and less risky.
Working with Hot Wax Safely
Hot wax can burn skin easily, so handling it with care is key. Always use a double boiler or a temperature-controlled wax melter to avoid overheating. Wax should never be heated above 200°F (93°C) because it can catch fire or release harmful fumes.
Wearing heat-resistant gloves and long sleeves helps protect hands and arms from splashes. Keep a metal or glass container nearby for melting wax since these materials don’t catch fire easily. Never leave melting wax unattended.
If wax spills on skin, cool the spot immediately with cold water and avoid using ice directly. Burning wax sticks tightly, so do not try to peel it off.
Proper Ventilation and Workspace
Good air flow is important. Candle making can release strong scents and tiny particles from wax and fragrance oils. Working near an open window or using a fan helps keep air fresh.
Keep the workspace clear of clutter and flammable materials, like paper or fabrics. Use a sturdy table with a heat-resistant surface to place tools and wax containers.
Organize all materials neatly to prevent knocking things over. Bright lighting helps spot small spills and keeps the work safe. Avoid working near pets or children to reduce distractions.
Handling Spills and Clean Up
Spills happen often but quick action stops them from causing injury or damage. If wax spills onto a hard surface, wait until it cools and hardens, then scrape it off gently with a plastic scraper.
For fresh spills, use paper towels to blot up liquid wax carefully. Avoid rubbing as it may spread the mess. If the wax touches fabric, place the fabric between layers of paper and iron on low heat to lift out the wax.
Keep a small fire extinguisher nearby just in case. Wash hands thoroughly after cleaning to remove any oils or residues from fragrance materials. Clean all tools immediately to prevent wax from hardening on them.
Creative Candle Design Ideas
Candle makers can use different tools and materials to make their candles stand out. Adding layers or decorative pieces gives candles a unique look. Choosing the right scent mix helps create a mood or theme for the candle.
Decorative Embeds and Layers


Using decorative embeds means placing small objects inside the candle wax. These can be dried flowers, herbs, or small beads. Embeds add texture and interest inside the candle that shows as it burns.
Layering is another way to design candles. Different colors of wax are poured one at a time, creating stripes or patterns. This technique can make the candle look bright and colorful or soft and gentle.
Both methods need careful cooling. If layers cool too fast, they may crack. Embeds must be placed carefully to avoid interfering with the wick.
Scent Combinations


Blending scents is like making a recipe. You can mix floral, citrus, or spicy scents to make something fresh or cozy. For example:
| Base Scent | Added Scent | Result |
|---|---|---|
| Lavender | Vanilla | Relaxing |
| Lemon | Eucalyptus | Refreshing |
| Cinnamon | Orange Peel | Warm and spicy |
Using essential oils or fragrance oils gives control over how strong the smell is. Testing small batches helps find the best mix. Good scent combos make candles more enjoyable and perfect for gifts or home use.
Troubleshooting Common Candle Making Issues
Many beginners face problems like uneven wax surfaces or candles that don’t burn properly. Fixing these issues often involves simple steps that improve how the candle looks and burns.
Fixing Sinkholes and Cracks
Sinkholes and cracks happen when the wax cools too quickly or the wick burns unevenly. To fix this, warm the candle’s surface carefully with a heat gun or hairdryer. This helps the wax melt slightly and fill in the holes or cracks.
Pouring the wax at the right temperature also matters. If it’s too hot or too cold, the wax won’t settle smoothly. Pour wax between 130°F and 140°F for best results.
If cracks form while cooling, try adding wax in small layers instead of one big pour. This helps the wax cool evenly and reduces sinkholes.
Correcting Frosting and Tunneling
Frosting looks like a white dusty layer on soy candles and is normal but unwanted. To reduce frosting, store candles away from cold temperatures and avoid rapid cooling.
Tunneling happens when the wick is too small or not trimmed properly. This makes the candle burn down the center, leaving wax on the sides.
To fix tunneling:
- Use the right wick size for the candle diameter
- Trim the wick to about ¼ inch before lighting
- Let the candle burn long enough during the first use to melt the entire top layer
These steps help candles burn evenly and maintain a smooth surface.
- 0shares
- Facebook0
- Pinterest0
- Twitter0
- Reddit0


