Looking for DIY wall art ideas that instantly refresh your space without breaking the bank? Creating your own wall art is one of the easiest and most creative ways to add personality, color, and character to any room. Whether you love modern minimalism, bold textures, or handcrafted details, DIY wall art allows you to turn blank walls into meaningful design statements.
DIY wall art is more than just a craft project; it’s a way to personalize your space, express your creativity, and save money all at once. Imagine the satisfaction of pointing to a stunning piece on your wall and saying, “I made that!” Whether you’re a seasoned crafter or just starting your journey into beginner-friendly DIY projects, these ideas are designed to be accessible, affordable, and incredibly rewarding. From natural elements to abstract expressions, let’s turn those blank canvases into statements of your style.
1. Pressed Flower Art: Nature’s Delicate Beauty
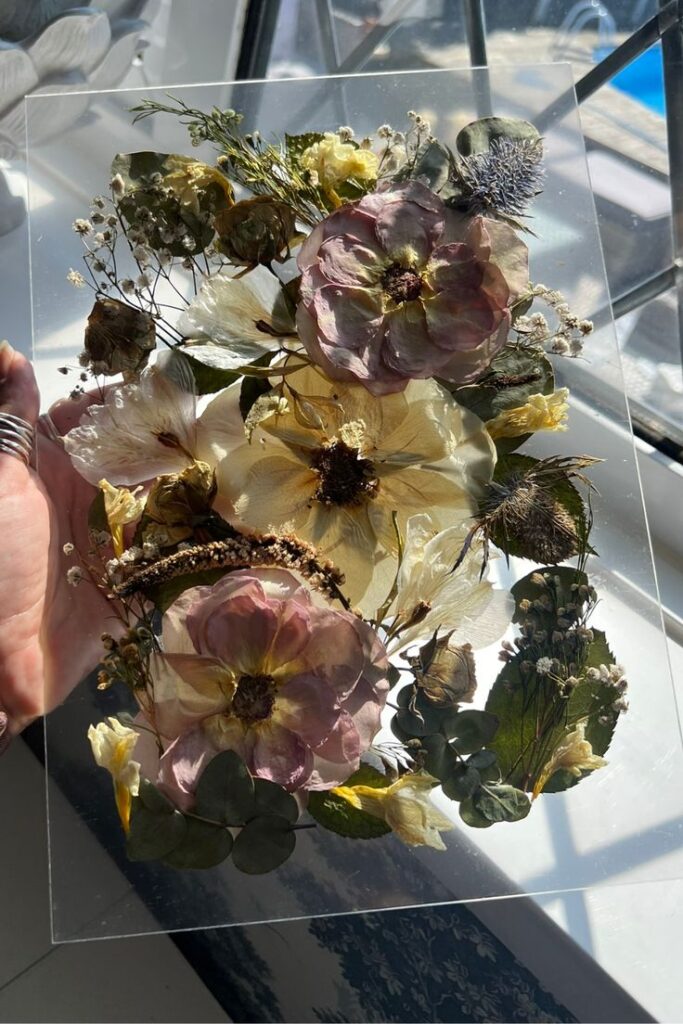
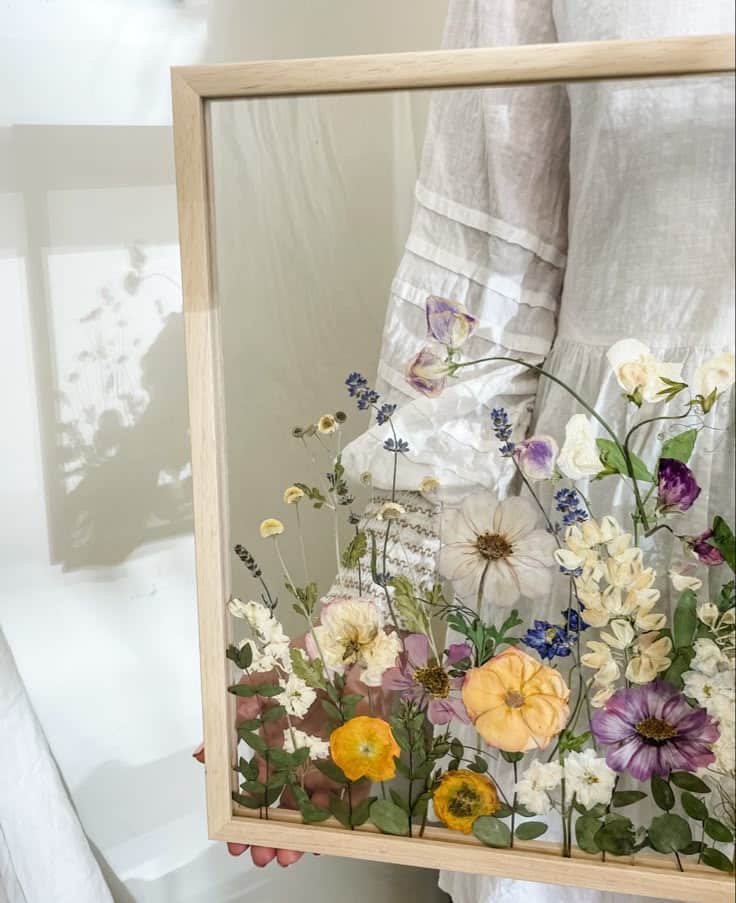
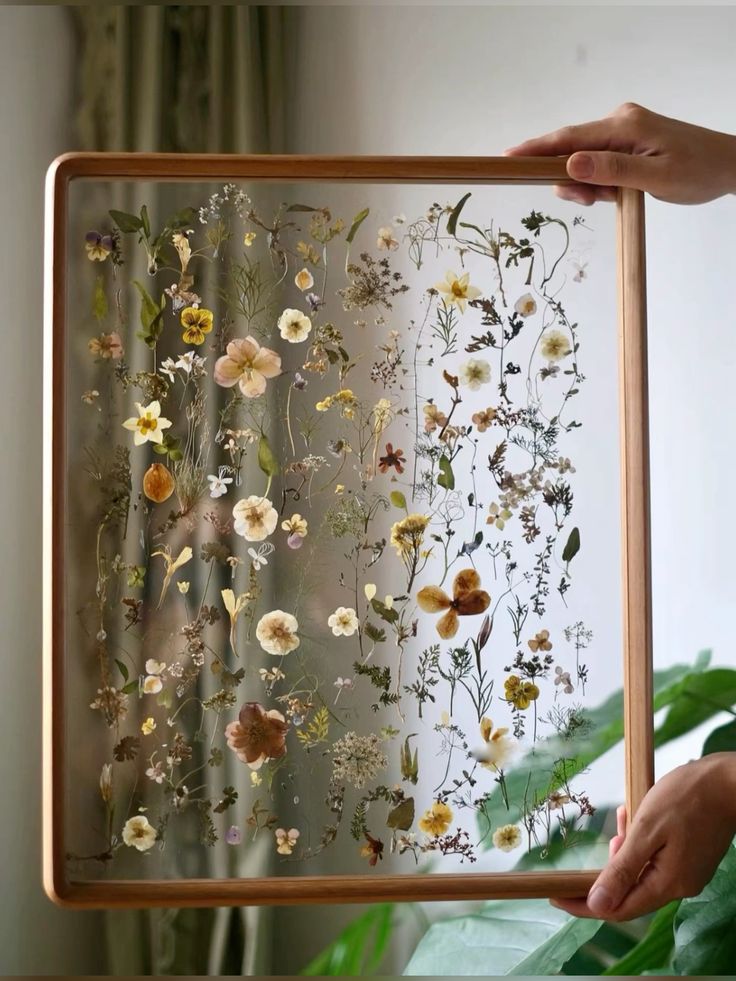
There’s an undeniable charm in bringing the outdoors in. Pressed flower art is a timeless, elegant, and surprisingly simple way to capture the delicate beauty of nature and display it as stunning wall decor. It’s perfect for adding a touch of vintage romance, bohemian flair, or even minimalist botanical elegance to any room.
The Charm of Botanical Pressings
Imagine tiny petals and leaves, perfectly preserved, showcasing their intricate details against a crisp background. Pressed flower art offers a unique blend of natural beauty and artistic arrangement. It’s a wonderful way to commemorate special occasions, like a wedding bouquet, or simply to enjoy the fleeting beauty of seasonal blooms all year round. Beyond their aesthetic appeal, pressed flowers carry a sense of nostalgia and serenity, making your space feel more calming and personal. This art form also aligns beautifully with nature-inspired interior decor, creating a cohesive and harmonious environment.
Materials You’ll Need
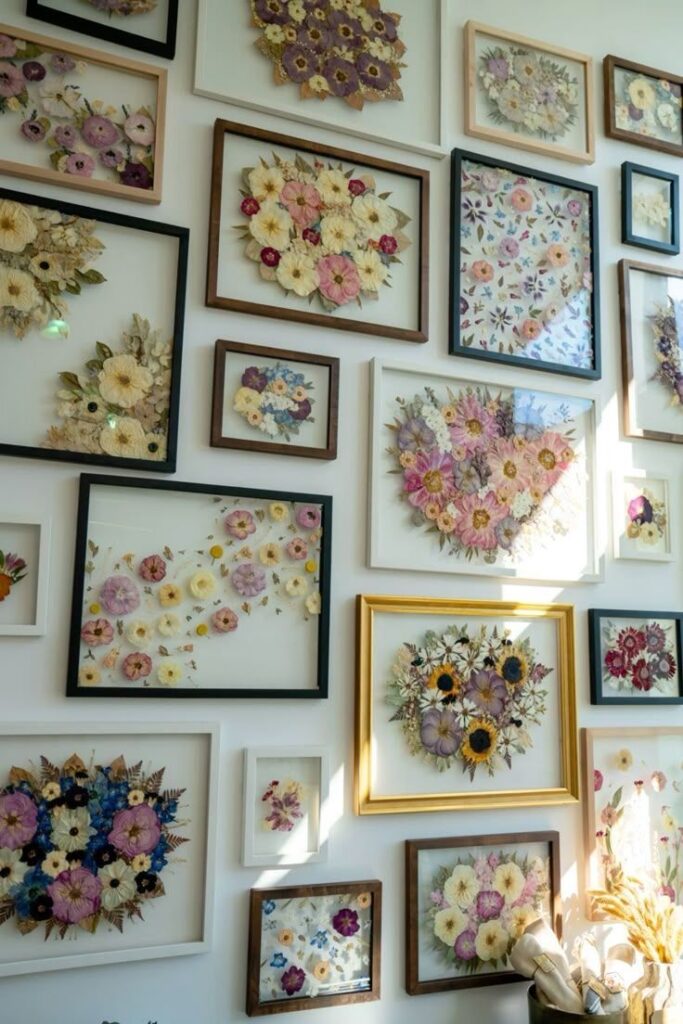
The beauty of this project lies in its simplicity and reliance on readily available materials:
- Fresh Flowers and Leaves: Choose flat, relatively thin flowers like pansies, violas, ferns, cosmos, or single-petal roses. Avoid very thick flowers like traditional roses or lilies as they can be difficult to press evenly and may mold.
- Flower Press or Heavy Books: A traditional flower press is ideal for even pressure and air circulation. If you don’t have one, heavy books (like encyclopedias or phone books) work perfectly.
- Absorbent Paper: Blotting paper, newsprint, or even coffee filters are excellent for wicking away moisture. Avoid glossy paper.
- Tweezers: For delicate handling of pressed botanicals.
- Acid-Free Glue or Adhesive Spray: To secure your pressed pieces to the backing.
- Frames: Clear glass floating frames or traditional picture frames with a mat board.
- Cardstock or Art Paper: As the backing for your arrangement.
Step-by-Step Guide to Creating Your Masterpiece
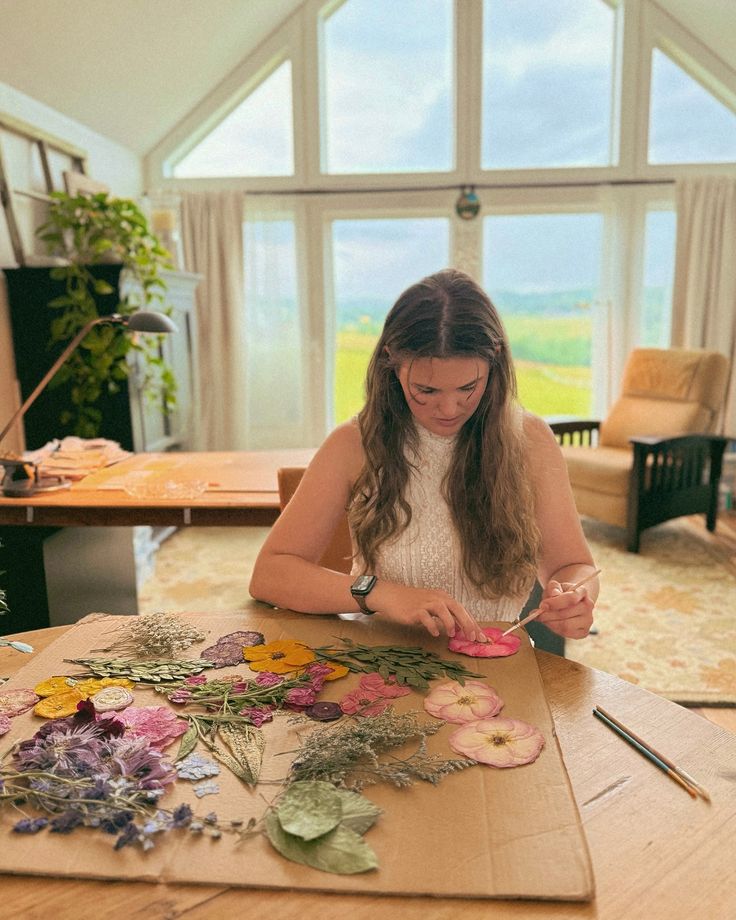
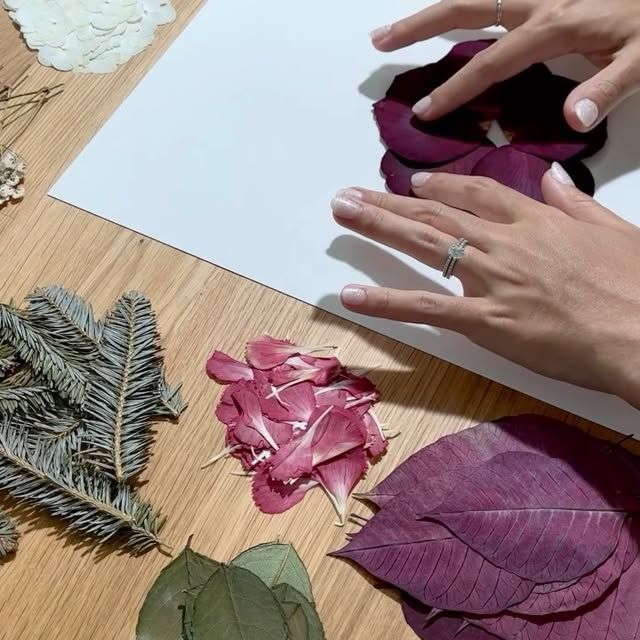
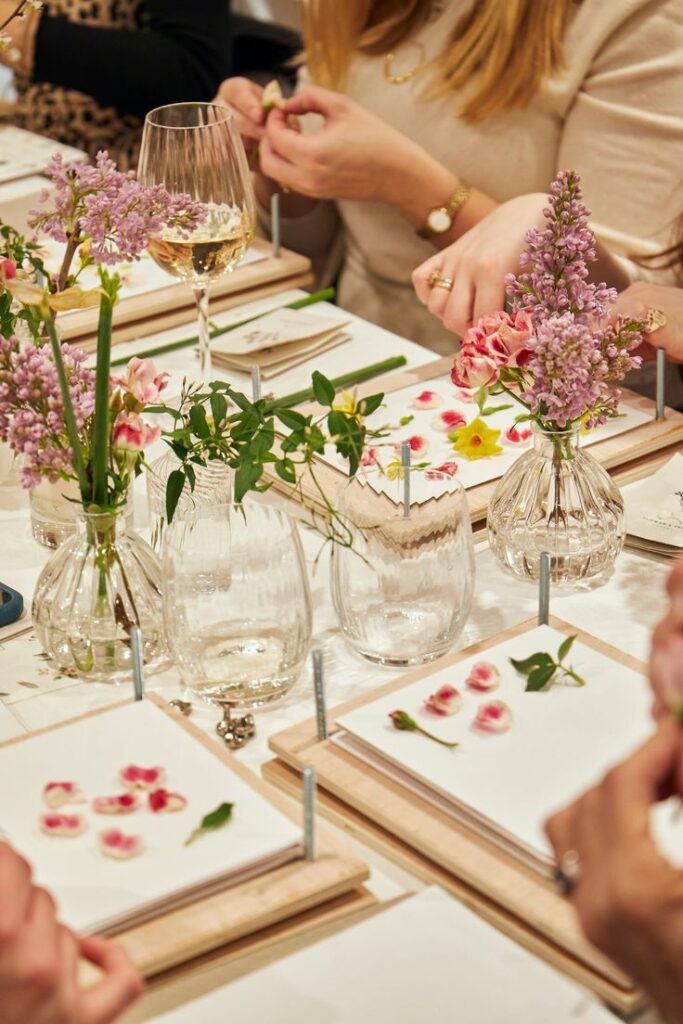
- Gather Your Botanicals: Head outdoors to your garden, a local park (with permission!), or a flower shop. Collect flowers and leaves at their peak freshness, ideally in the morning after the dew has dried.
- Prepare for Pressing: Open your heavy book or flower press. Lay a sheet of absorbent paper down. Arrange your flowers and leaves flat on the paper, making sure they don’t overlap. Place another sheet of absorbent paper on top.
- Press Away: Close the book or press firmly. If using books, stack more heavy books on top to ensure consistent pressure. Store in a dry, cool place.
- Patience is Key: The pressing process takes time – typically 2-4 weeks. Resist the urge to check too often, as disturbing the flowers can cause damage. Replace the absorbent paper after the first few days if it feels damp.
- Design Your Layout: Once fully pressed and dry (they should feel papery and brittle), carefully remove your botanicals with tweezers. Experiment with different arrangements on your cardstock backing. Play with symmetry, asymmetry, clusters, or sparse designs. Consider using a pencil to lightly mark your desired placement.
- Secure and Frame: Apply a tiny dab of acid-free glue to the back of each pressed botanical and gently place it onto your chosen background paper. For very delicate pieces, a light mist of adhesive spray can also work. Once everything is secured, place your finished art into your chosen frame.
Tips for Success
- Vary Your Collection: Gather a variety of flower shapes, sizes, and leaf types for more dynamic compositions.
- Consider Color Retention: Some flowers retain their color better than others. Blues, purples, and yellows often hold up well, while reds can darken.
- Experiment with Frames: Floating frames offer a modern, airy look, allowing light to pass through the pressed flowers. Traditional frames with a mat can give a more classic feel.
- Create a Series: Instead of one large piece, consider making several smaller pressed flower frames to create a beautiful gallery wall.
[GENERATE_IMAGE: “A beautifully arranged collection of dried, pressed flowers and leaves in various shapes and colors, delicately glued onto a white cardstock and framed in a clear glass floating frame.”]
2. Abstract Canvas Painting: Unleash Your Inner Artist
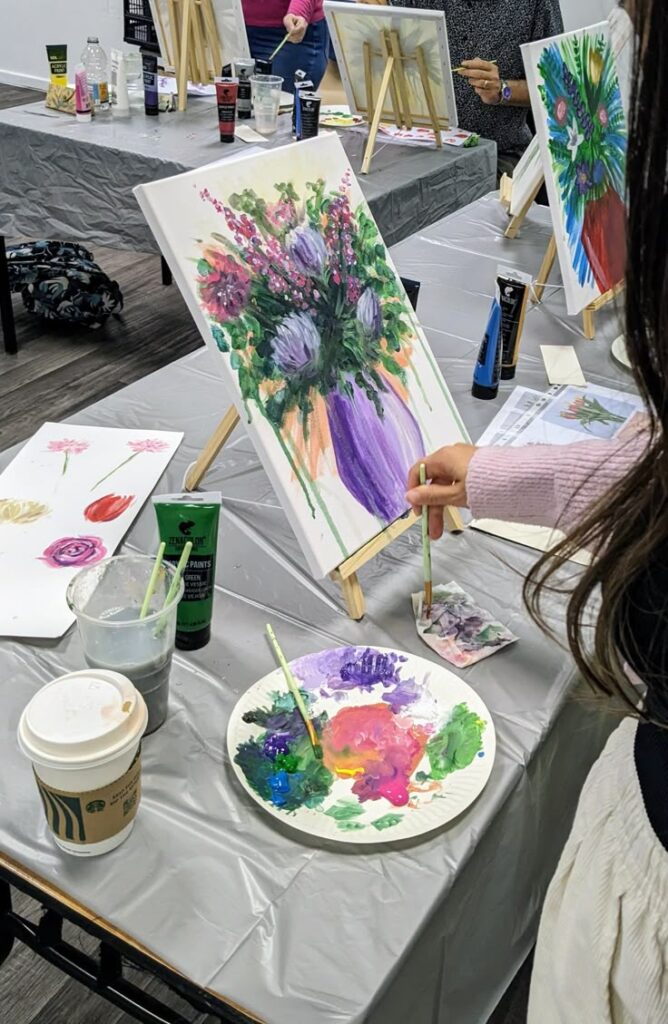
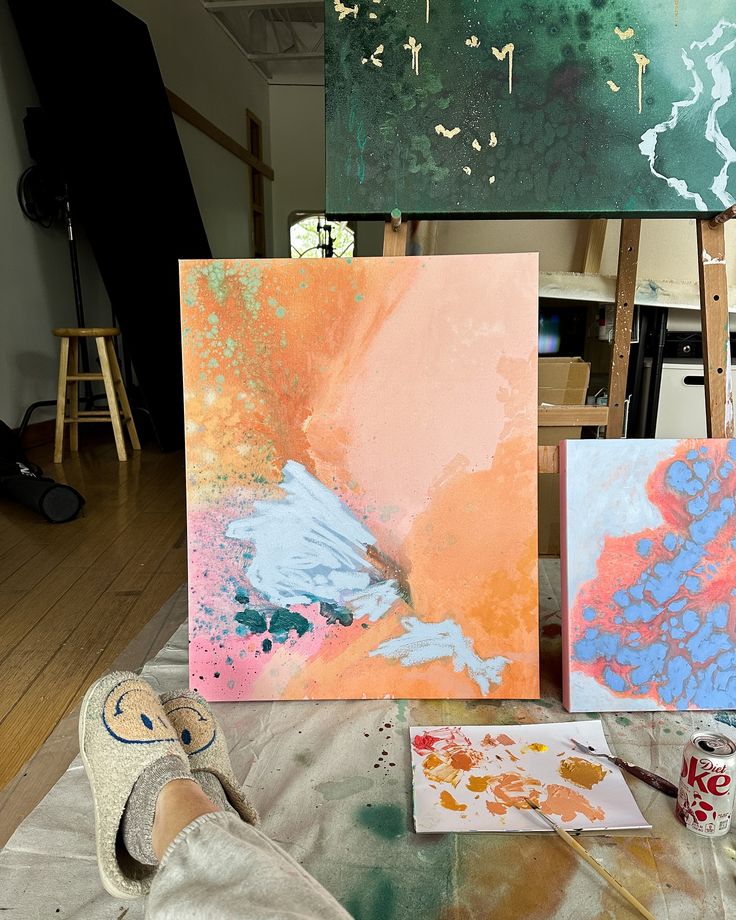
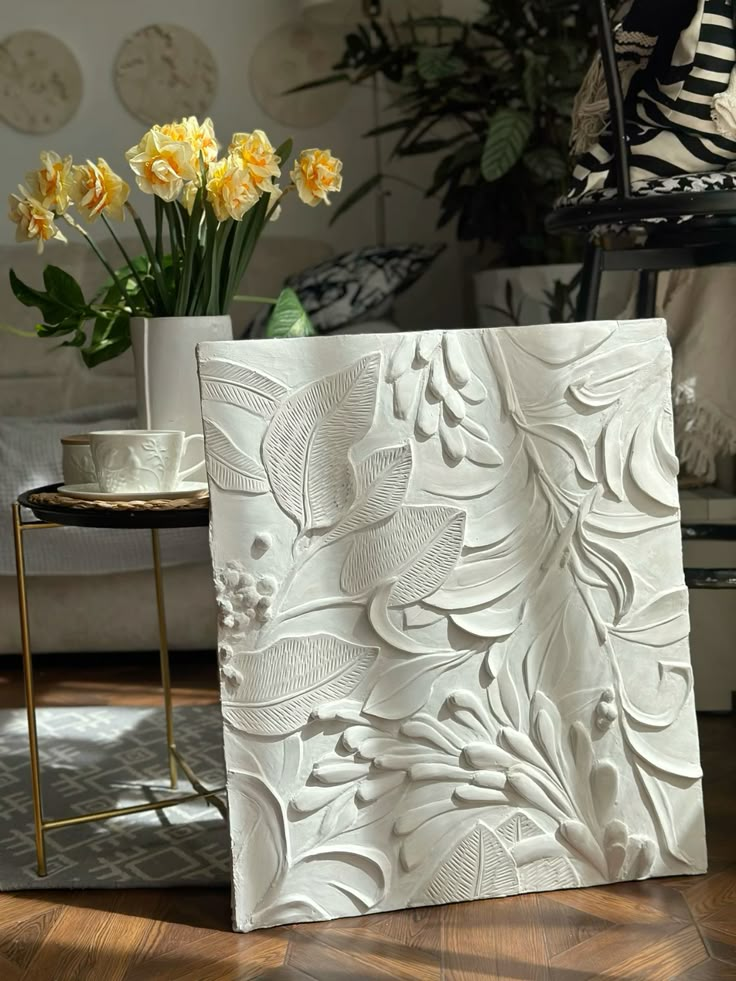
Think you need years of art school to create stunning paintings? Think again! Abstract art is incredibly liberating because it prioritizes expression and feeling over realistic representation. It’s a fantastic entry point for beginners and a wonderful way to add a modern, vibrant, and deeply personal touch to your walls. Plus, it’s a brilliant DIY home improvement project that can completely transform a room’s vibe.
Why Abstract Art is Perfect for DIY
Abstract painting is all about intuition, emotion, and the interplay of color, shape, and texture. There are no “mistakes” – only unexpected discoveries. This means you can experiment freely, play with different techniques, and create something truly unique that reflects your mood or aesthetic. It’s also an excellent way to introduce specific color palettes into your room, tying together existing decor or setting a new tone.
Essential Materials
The beauty of abstract painting is that you don’t need fancy supplies. Basic art materials are more than enough to get started:
- Canvases: Available in various sizes at craft stores. Stretched canvases are ready to hang.
- Acrylic Paints: Choose a selection of colors that appeal to you or match your room’s decor. Acrylics are water-soluble, fast-drying, and vibrant.
- Brushes and/or Sponges: A few different sizes of brushes, or even household sponges, can create different textures.
- Palette: A plastic plate, old cutting board, or even parchment paper works.
- Water Container: For rinsing brushes.
- Paper Towels or Rags: For cleaning and dabbing.
- Optional Additions: Masking tape (for geometric patterns), palette knives (for texture), pour medium (for fluid art), old newspaper or a drop cloth to protect your workspace.
Techniques to Try
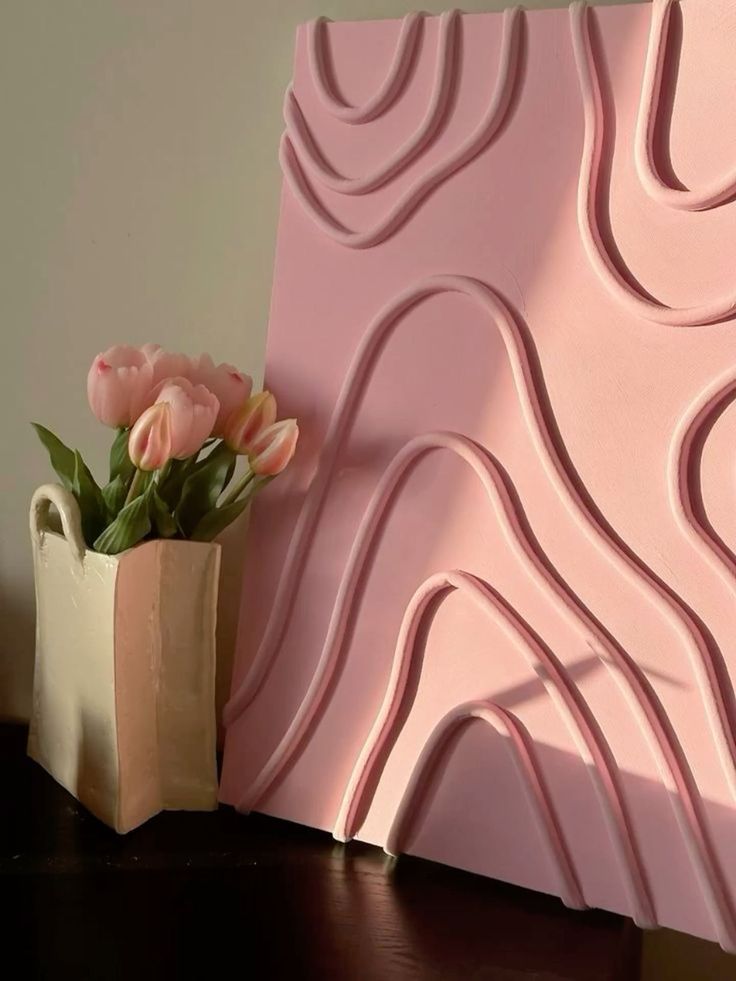
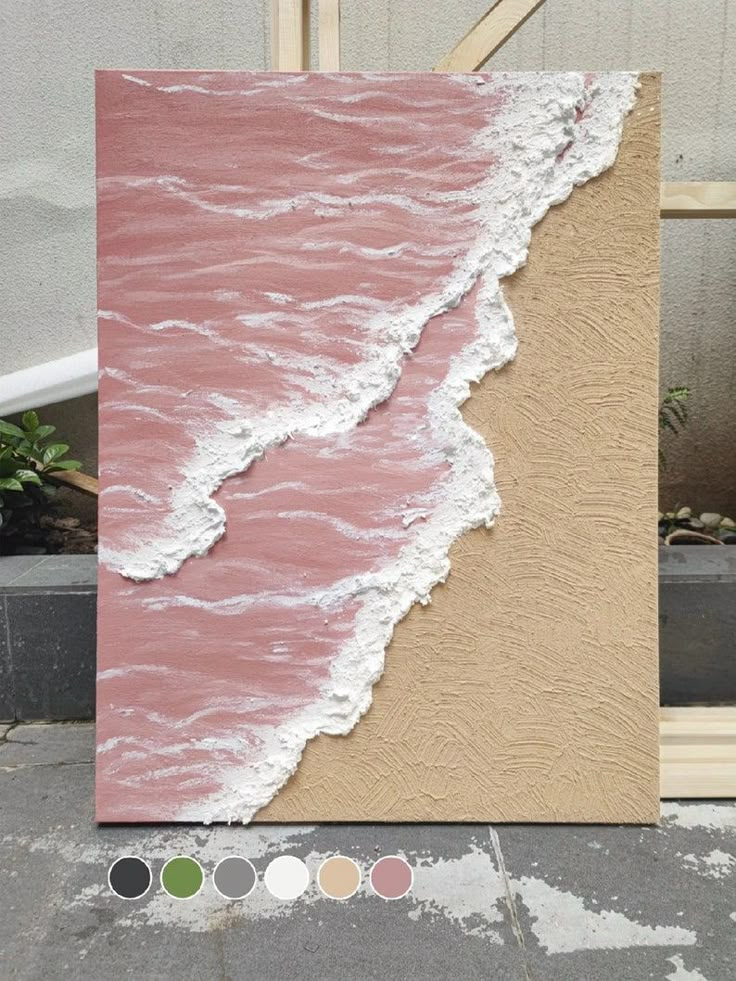
- Color Blocking: Start by sectioning your canvas with masking tape into geometric shapes. Paint each section a different color. Once dry, carefully peel off the tape for crisp lines. This is great for a minimalist or industrial design aesthetic.
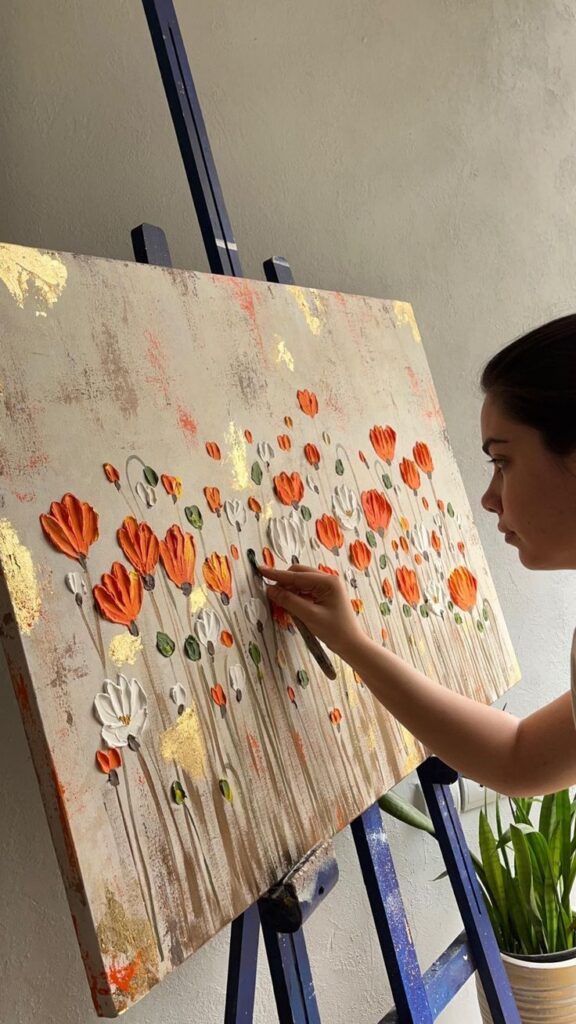
- Layering and Texturing: Apply a base color, then, once dry, add layers of different colors. Use a palette knife or even your fingers to add texture. Don’t be afraid to scrape away paint or layer thin washes for depth.
- Dabbing and Stippling: Use a sponge or the end of a brush to dab paint onto the canvas, creating a mottled, textural effect.
- Pour Painting (Fluid Art): Mix acrylic paints with a pour medium (and a little water if needed) to a runny consistency. Pour different colors onto the canvas and tilt it to let the colors flow and mix organically. This creates mesmerizing, cell-like patterns.
- Brushstroke Exploration: Experiment with different brushstrokes – long, sweeping motions; short, choppy marks; swirling patterns. Let the movement of your hand guide the art.
Tips for a Stunning Abstract Piece
- Start with a Color Palette: Choose 2-4 main colors that you love and a neutral (white, black, or grey) to ground them. This helps create a cohesive look.
- Don’t Overthink It: The beauty of abstract art is its spontaneity. Let go of the need for perfection and just enjoy the process.
- Embrace Layers: Work in layers, allowing each one to dry partially before adding the next. This creates depth and interest.
- Step Back Often: Periodically step away from your canvas to view it from a distance. This helps you assess the composition and identify areas that might need more color or texture.
- Consider Scale: A large abstract piece can be a dramatic focal point, while a series of smaller ones can create a dynamic gallery.
[GENERATE_IMAGE: “A modern living room with a large, vibrant abstract canvas painting hanging on a light-colored wall, adding a pop of color.”]
3. Gallery Wall: Curated Memories and Style
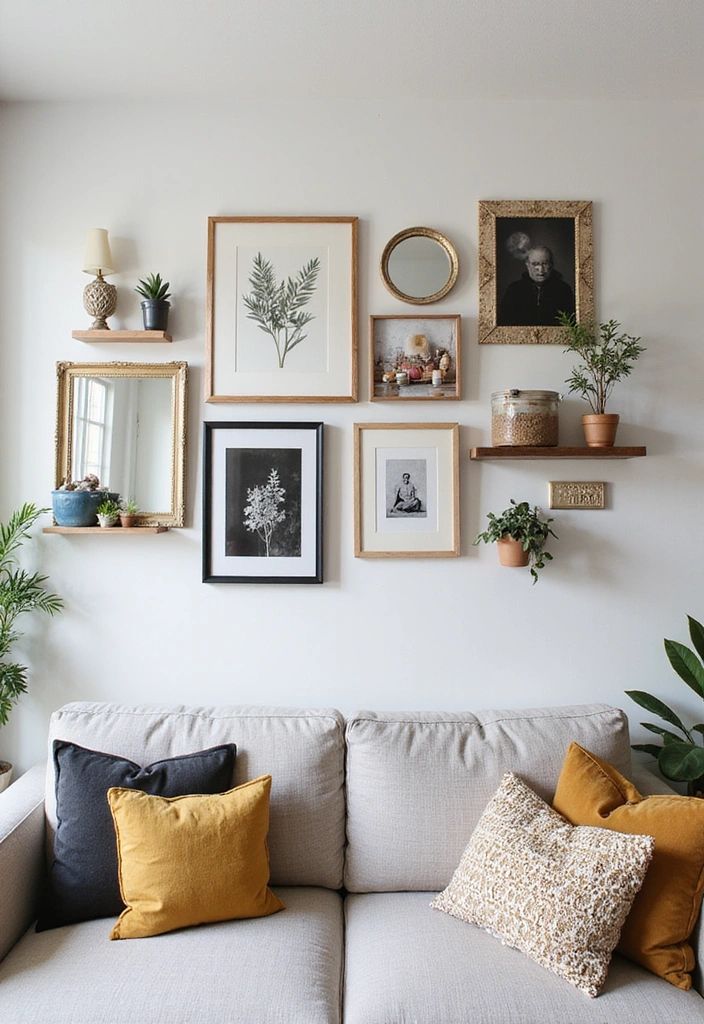
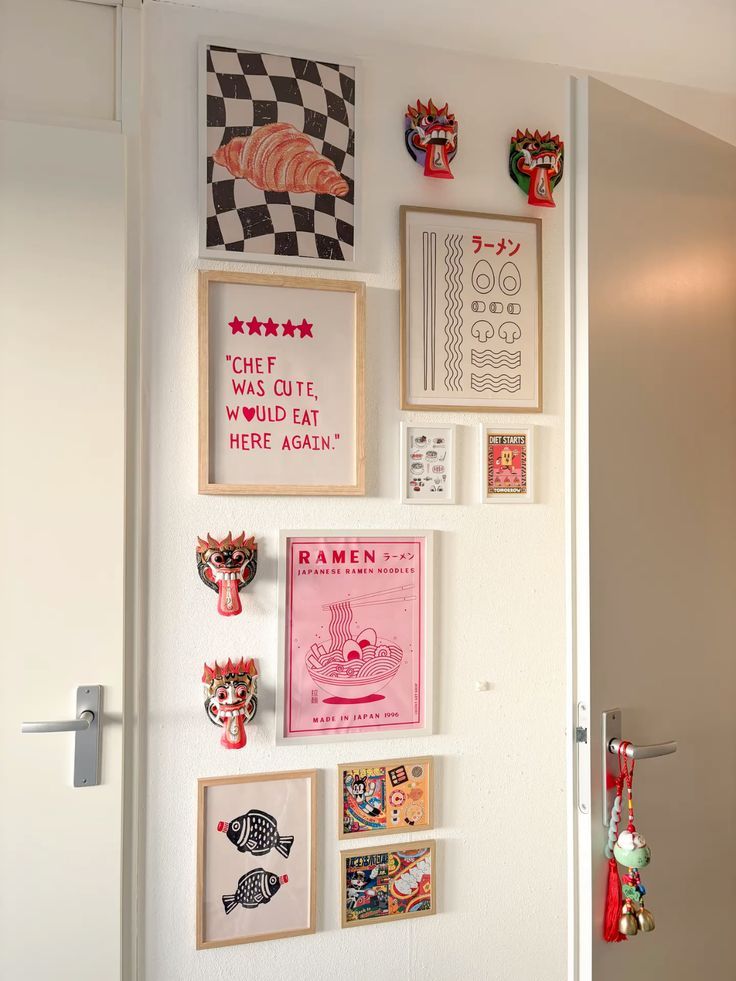
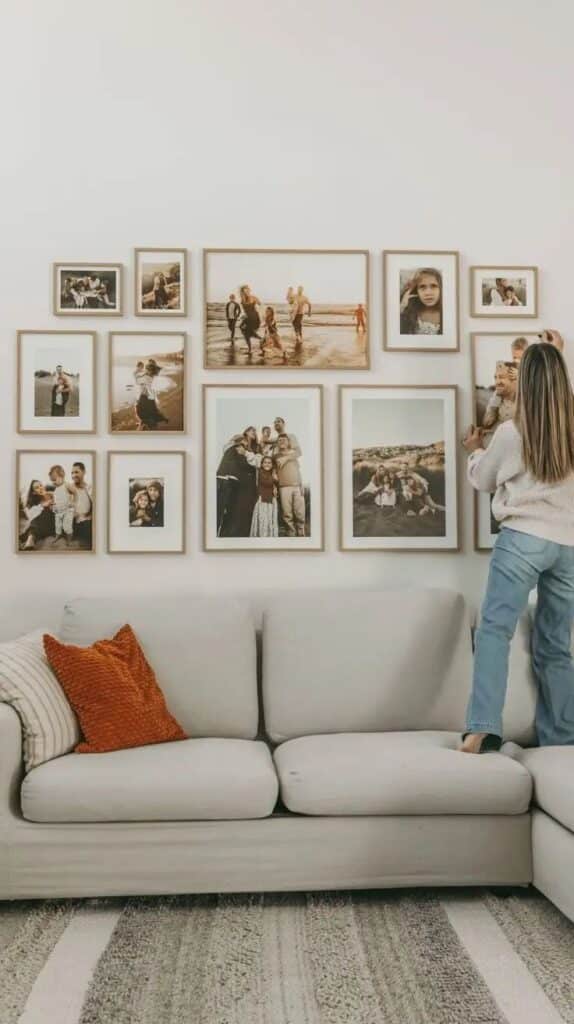
A gallery wall is arguably one of the most versatile and personal ways to decorate a blank space. It allows you to display a collection of your favorite photos, art prints, postcards, mementos, or even small objects, all artfully arranged to tell a story. It’s an opportunity to create a dynamic visual narrative that reflects your personality and experiences. A well-designed gallery wall can truly anchor a space, whether it’s in your living room, bedroom, or even enhancing entryway and hallway design essentials.
The Power of a Curated Collection
Unlike a single piece of art, a gallery wall offers layers of interest. It’s a conversation starter, inviting viewers to explore each component. The beauty lies in the combination – how different sizes, frames, and subjects interact to form a cohesive whole. It can be a vibrant burst of color, a sophisticated monochrome display, or an eclectic mix that defies categorization.
What You’ll Need

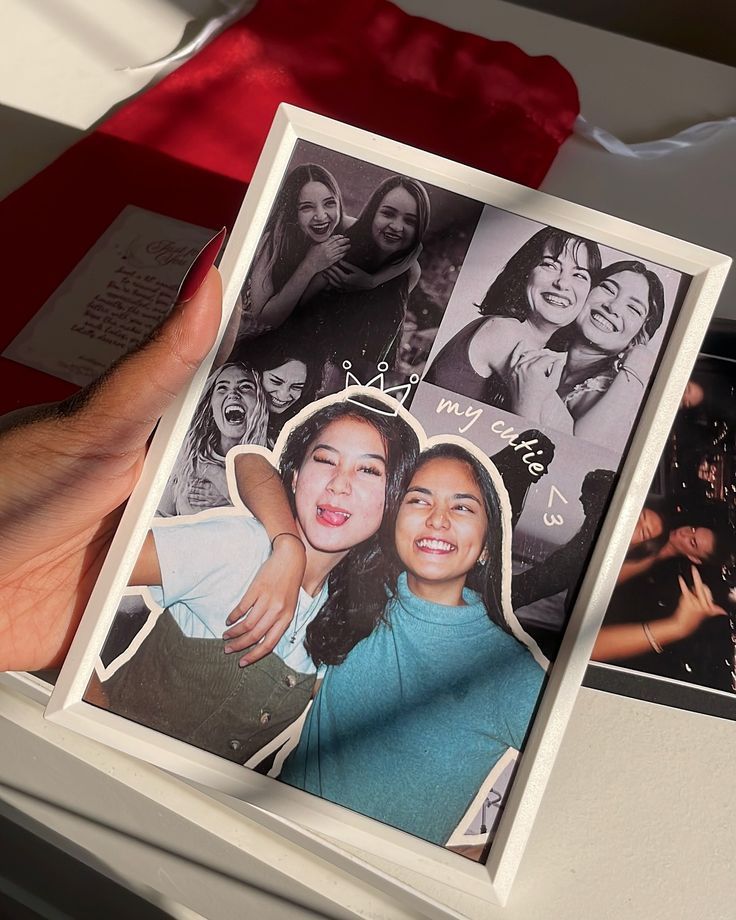
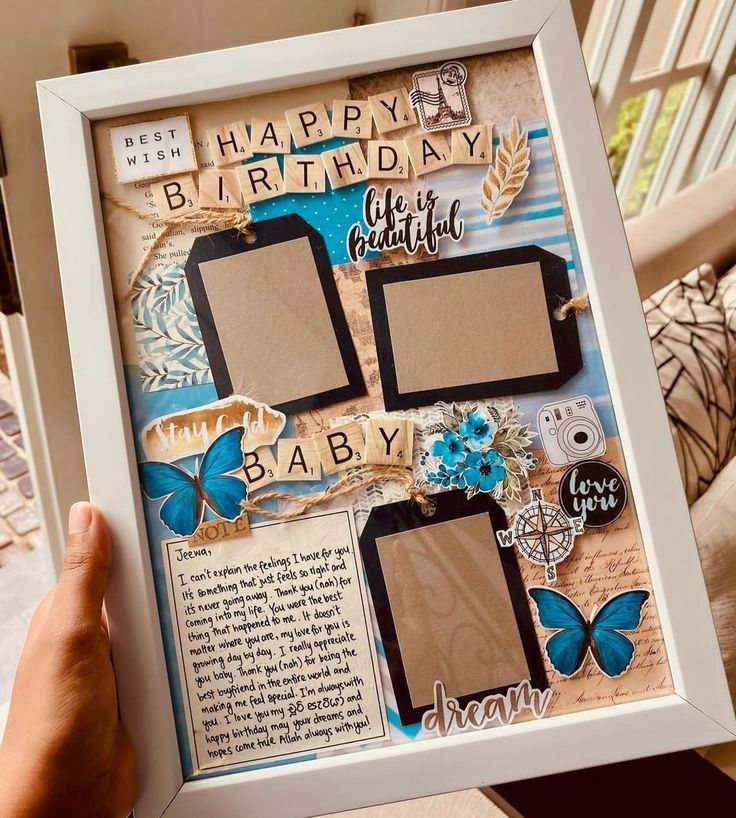
- Photos and Prints: A mix of personal photos, downloaded prints (free or affordable from sites like Unsplash, Etsy), postcards, children’s artwork, or even fabric swatches.
- Frames: A variety of sizes, shapes, and styles. You can go for uniformity (all black frames) or an eclectic mix of wood, metal, and painted frames. Thrifting for frames is a great budget-friendly option!
- Hanging Hardware: Nails, picture hooks, Command strips, or picture hanging wire.
- Measuring Tape and Pencil: For planning and marking.
- Level: To ensure straight lines.
- Kraft Paper or Newspaper: For planning your layout.
- Scissors and Masking Tape: For creating templates.
Designing Your Gallery Wall
- Gather Your Elements: Start by collecting all the pieces you want to include. Don’t be afraid to mix photos with typographic prints, illustrations, or even small mirrors.
- Choose a Theme (Optional but Helpful): A theme can be anything from a color palette (e.g., all black and white photos with one pop of color), a subject (travel photos, nature scenes), or a feeling (cozy, inspiring). This helps create cohesion.
- Plan Your Layout on the Floor: This is crucial! Lay out your frames and art pieces on the floor in front of your chosen wall. Experiment with different arrangements. Consider the size of your wall and the space you want the gallery to fill.
- Grid Layout: Symmetrical and orderly, with equal spacing between frames.
- Organic/Free-Form: More eclectic, with varying distances and frame orientations.
- Centered: Arranging pieces around a central, larger piece.
- Along a Line: Aligning the bottom or top edges of frames for a semi-structured look.
- Create Templates: Once you’re happy with the floor layout, trace each frame onto kraft paper or newspaper and cut out the templates. Label each template with the frame’s content.
- Tape Templates to the Wall: Using masking tape, affix your paper templates to the wall exactly as you laid them out on the floor. Step back and assess. Is the spacing right? Is it visually balanced? Adjust as needed. This step saves you from unnecessary nail holes!
- Hang Your Art: Once the templates are perfect, nail your picture hooks or apply Command strips directly over the marked hanging points on the templates. Carefully remove the paper templates and hang your framed art. Use a level for each piece to ensure it’s straight.
Tips for a Cohesive Gallery Wall
- Mix and Match: Don’t be afraid to combine different frame styles, art mediums, and sizes. The contrast often adds more visual interest.
- Leave Breathing Room: Don’t overcrowd your frames. Leaving some space between pieces allows each one to stand out. A general rule of thumb is 2-4 inches between frames.
- Incorporate a Focal Point: Sometimes, a larger piece or a particularly eye-catching item can serve as the anchor for the entire arrangement.
- Add Dimension: Include a small shelf with a plant, a decorative object, or even a small mirror to break up the flat surface of frames.
- Consider the Wall Color: Your wall color is part of the composition. Choose art that complements or intentionally contrasts with it.
4. Textured Yarn Wall Hangings: Boho Chic and Cozy Vibes
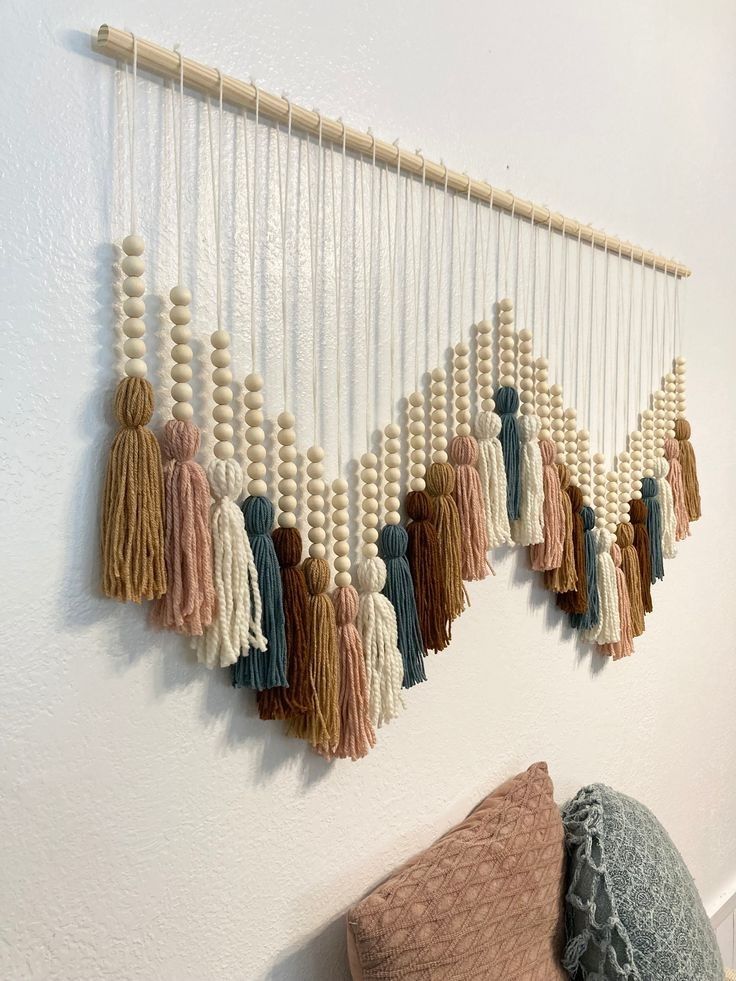
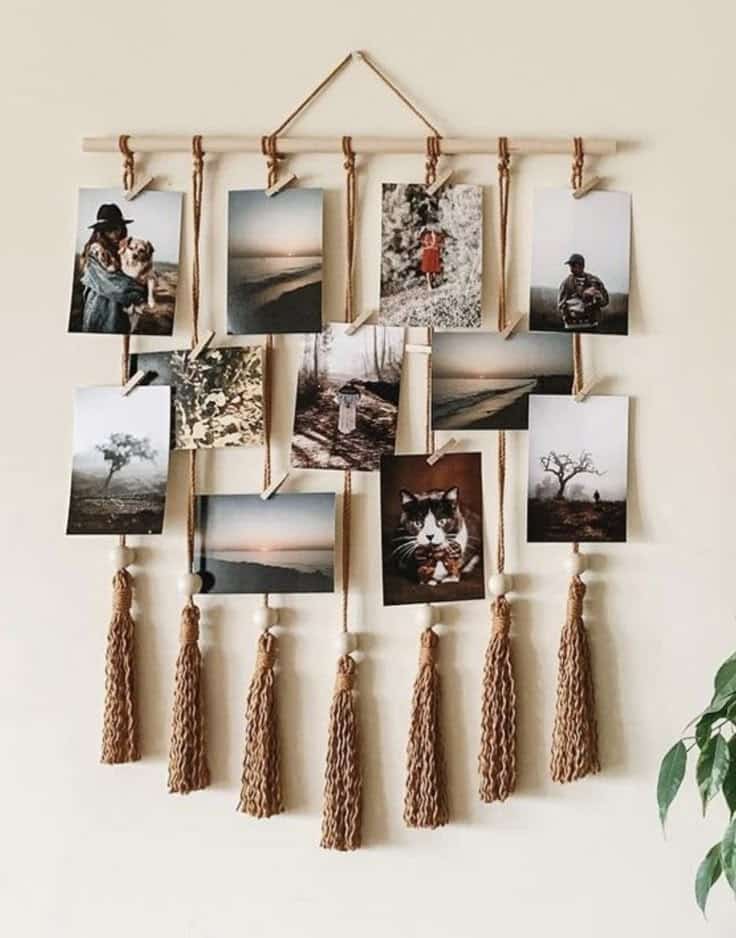
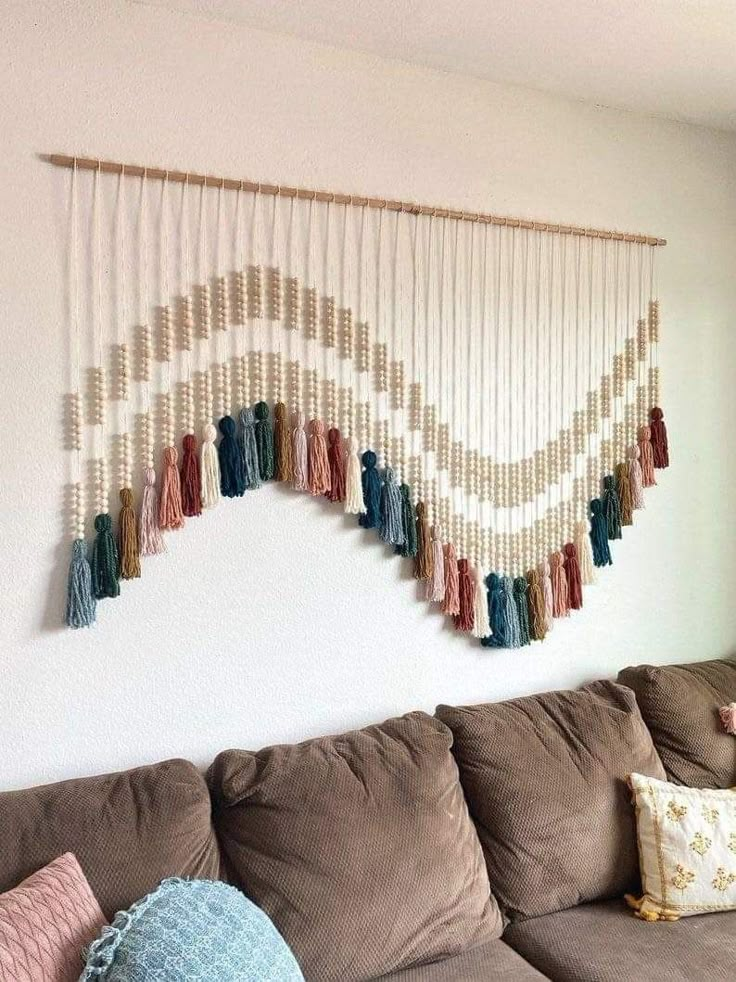
If you’re looking to add warmth, texture, and a touch of bohemian elegance to your space, a DIY yarn wall hanging is the perfect project. These pieces are incredibly versatile, fitting seamlessly into various decor styles from Scandinavian minimalist to eclectic boho. Plus, the tactile nature of yarn makes them visually appealing and provides a comforting, soft element to hard walls.
The Appeal of Yarn Art
Yarn wall hangings, often inspired by macrame and weaving techniques, bring a unique dimensionality to a room. They introduce softness and warmth that painted canvases or framed prints might not. With an endless array of yarn colors, textures, and thicknesses available, you can customize a piece to perfectly match your decor. From chunky knits to delicate fibers, the possibilities for creating a unique, handmade statement are boundless. They’re also wonderfully forgiving projects, making them ideal for beginners. You might even find yourself exploring creative laser-cut home decor ideas to complement your new textile art.
What You’ll Need
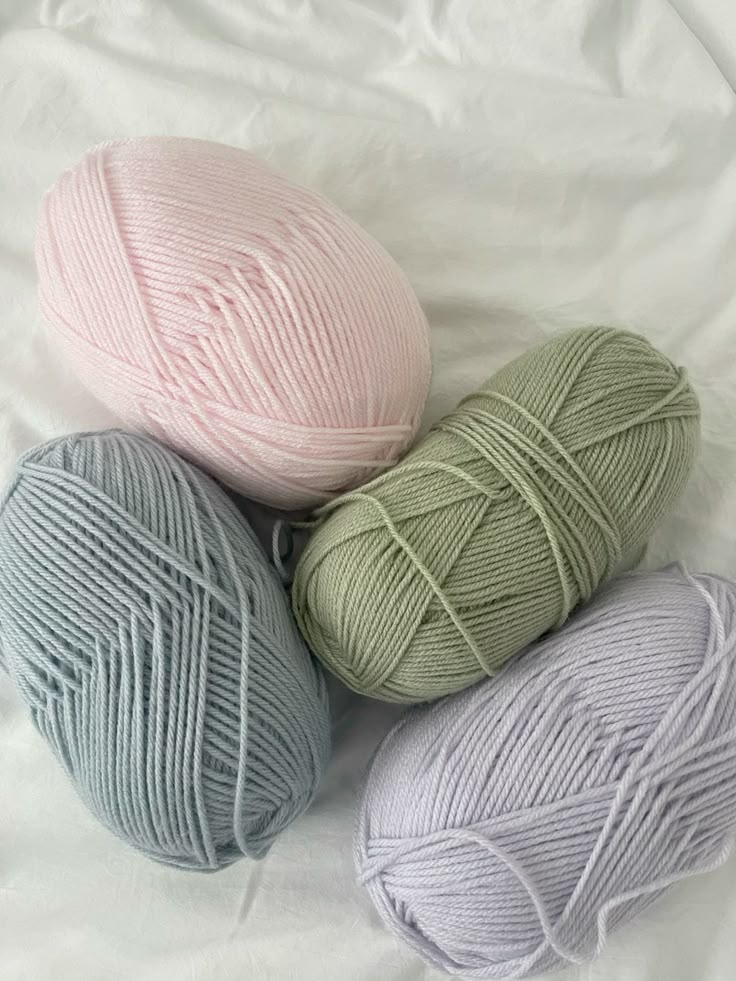
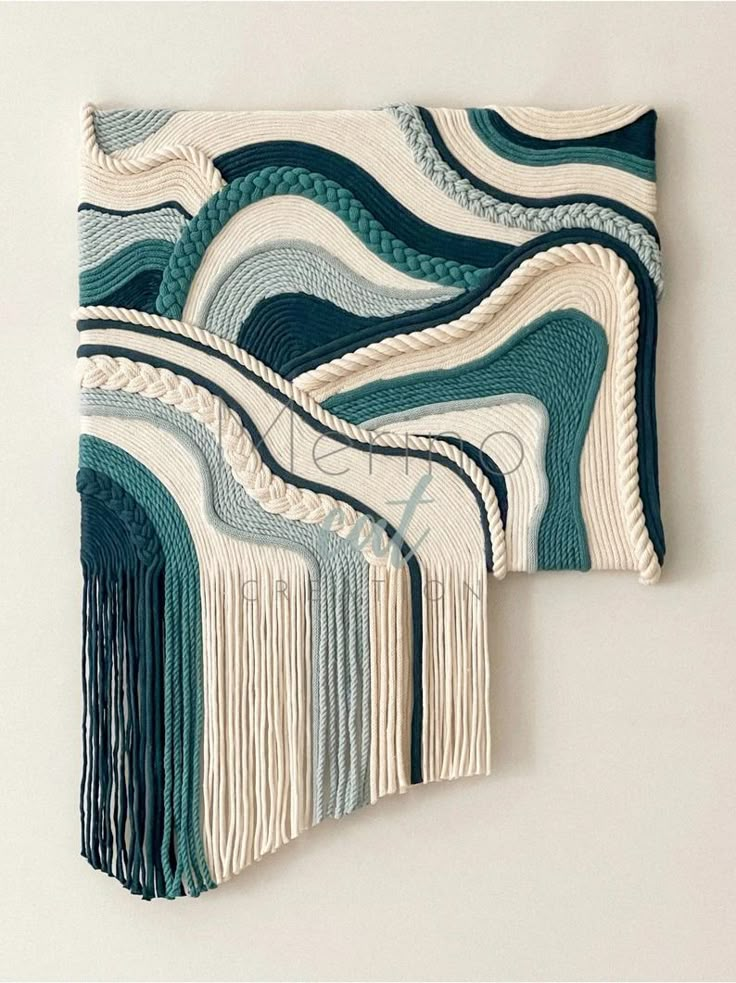
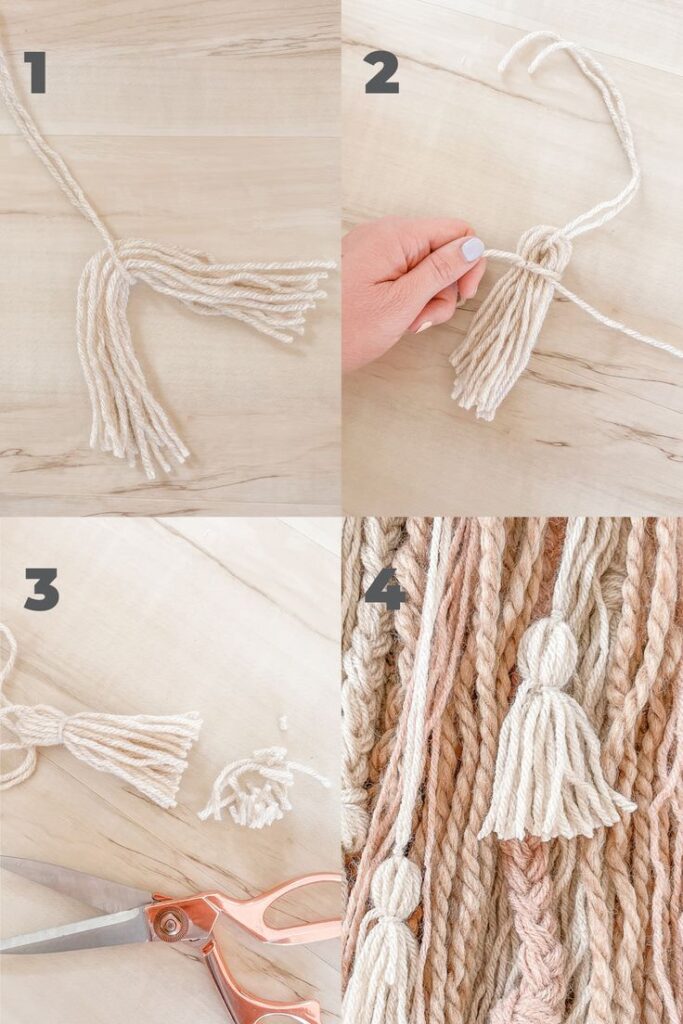
- Yarn: This is where you can get really creative! Choose a variety of colors, textures (chunky, fluffy, smooth), and weights. Cotton, wool, acrylic, or even jute twine all work beautifully.
- Wooden Dowel or Natural Branch: A straight stick or dowel will serve as the top bar of your hanging. The length depends on how wide you want your piece to be.
- Scissors: Sharp ones for cutting yarn cleanly.
- Measuring Tape or Ruler: To ensure consistent yarn lengths.
- Optional: Wooden beads, feathers, fabric scraps, or small bells for embellishments.
Creating Your Yarn Wall Hanging
- Cut Your Yarn Strands: Decide on the desired length of your wall hanging. Remember that when you fold the yarn in half to attach it, the length will be halved. Also, you’ll likely trim the bottom for a clean finish. So, cut your yarn strands to approximately twice your desired finished length, plus a few extra inches for trimming. Cut many strands in varying lengths if you want a layered or uneven bottom edge.
- Attach Yarn to Dowel (Lark’s Head Knot):
- Take one strand of yarn and fold it in half.
- Place the looped end over the top of the dowel, with the two loose ends hanging down behind it.
- Bring the two loose ends up through the loop.
- Pull tight to secure the knot. This is called a Lark’s Head knot, and it’s the most common way to attach yarn to a dowel.
- Repeat and Vary: Continue attaching yarn strands across your dowel. You can space them closely together for a dense look or leave gaps for a more open, airy feel. Experiment with different colors and textures of yarn.
- Ombre Effect: Attach dark colors at one end, gradually moving to lighter shades, or vice-versa.
- Patterned Sections: Group colors together in blocks or create striped patterns.
- Alternating Textures: Mix chunky yarn with thin strands for visual interest.
- Add Embellishments (Optional): If you’re using beads, thread them onto some of the yarn strands before tying them to the dowel, or after if they have large holes. Secure them with an overhand knot below the bead.
- Trim and Shape: Once all your yarn is attached, hang your piece on the wall or a temporary hook. Use your scissors to trim the bottom edges. You can create a straight line, a V-shape, a rounded curve, or a playful fringe with varying lengths. Don’t be afraid to snip and shape until you’re happy with the overall silhouette.
- Create a Hanger: Tie a strong piece of yarn or twine to each end of the dowel to form a loop for hanging.
Tips for a Beautiful Textile Piece
- Mix Materials: Don’t limit yourself to just yarn. Incorporate strips of fabric, ribbon, or even small pieces of dried grass for added texture.
- Consider Volume: For a fuller, more luxurious look, use thicker yarn or double up thin strands when tying them to the dowel.
- Play with Layering: Create multiple layers by cutting some strands shorter than others, or even by attaching a smaller dowel with yarn below the main one.
- Beyond the Dowel: You can also use a sturdy piece of driftwood for a more rustic, natural vibe.
[GENERATE_IMAGE: “A close-up of hands tying colorful yarn onto a wooden dowel to create a textured wall hanging, with various yarn colors scattered around.”]
5. Geometric Tape Art: Modern Lines and Bold Statements
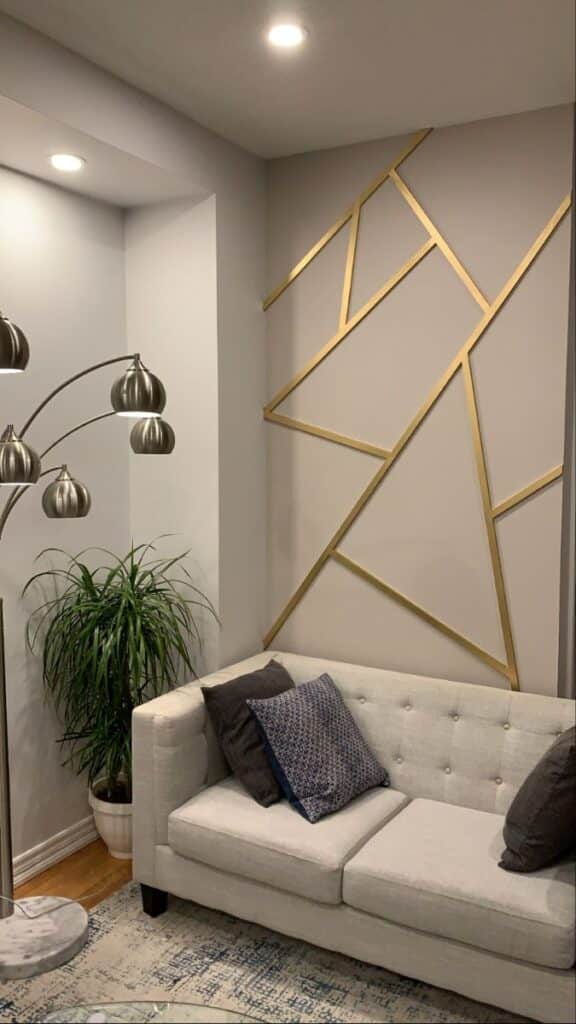
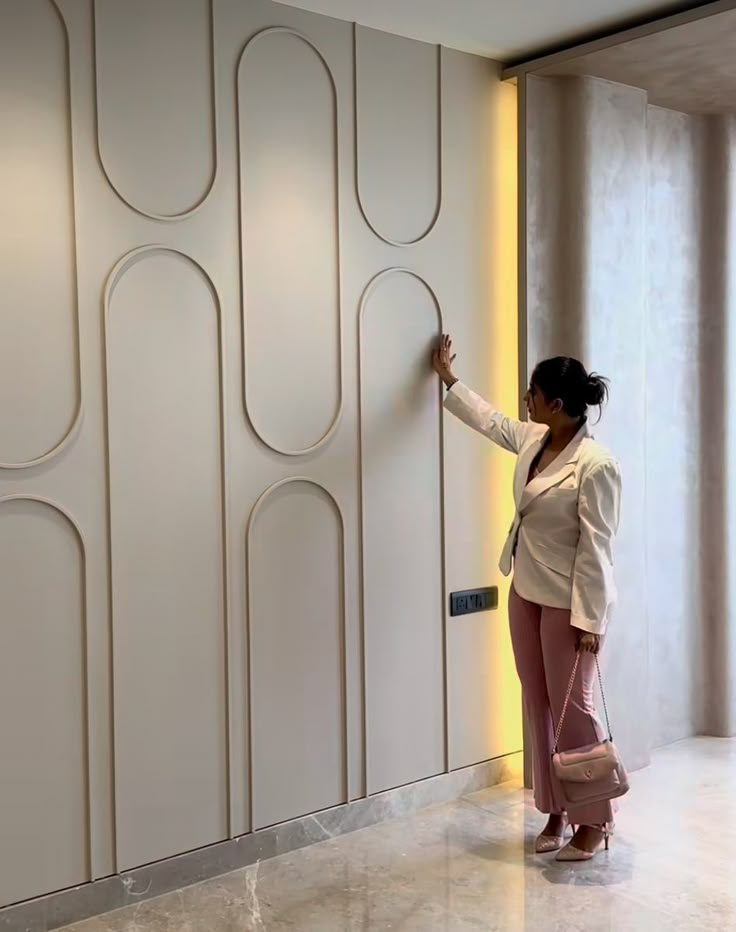
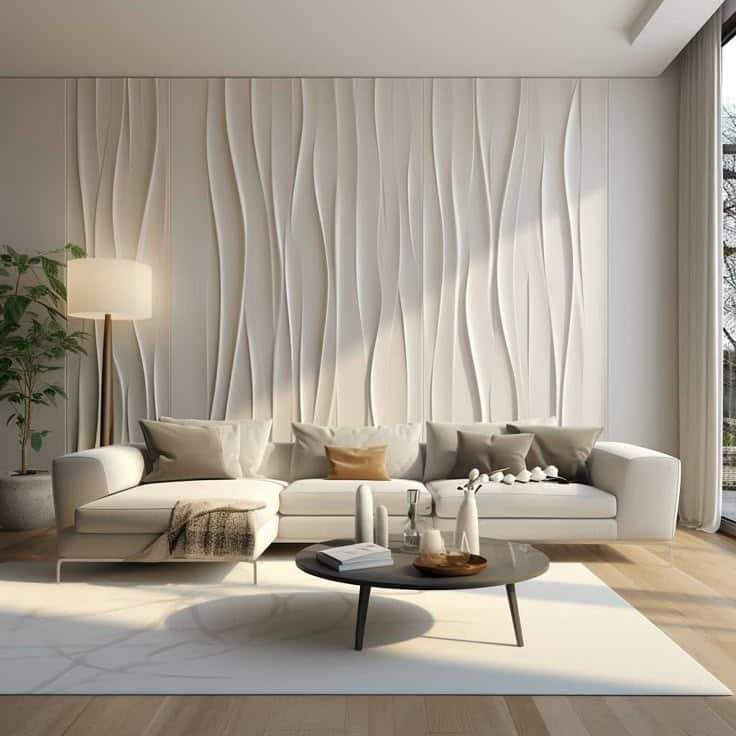
For those who love clean lines, modern aesthetics, and a graphic punch, geometric tape art is an absolute game-changer. This DIY project is incredibly effective at transforming a plain wall into a dynamic focal point with minimal effort and cost. It’s a fantastic way to introduce architectural interest and bold design without committing to permanent wallpaper or expensive art.
The Impact of Geometric Design
Geometric patterns are inherently appealing, offering a sense of order, balance, and contemporary style. Tape art leverages this by creating intricate or minimalist designs directly on your wall using just tape and, optionally, paint. The result can be anything from a subtle textured effect using only tape to a vibrant, multi-colored mural. It’s a bold way to make a statement and define a space, perfect for adding a modern edge to a living room, office, or kids’ room design.
What You’ll Need
- Painter’s Tape: This is key! Choose high-quality painter’s tape for clean lines and easy removal without damaging your paint. Different widths can create varying effects. Colored electrical tape or washi tape can also be used if you’re not painting.
- Pencil: For light marking of your design.
- Ruler or Straight Edge: Essential for precise, straight lines.
- Optional: Wall Paint: If you want to create painted geometric shapes, choose colors that complement your existing decor or make a bold contrast.
- Optional: Craft Knife/Exacto Knife: For cutting tape cleanly, especially at corners.
Creating Your Geometric Tape Art
- Clean Your Wall: Ensure your wall is clean and dry. Dust or grime can prevent the tape from sticking properly or leave residue.
- Plan Your Design: This is the fun part! You can go freehand, but a little planning goes a long way for a polished look.
- Minimalist Lines: Simple intersecting lines, forming large triangles or rectangles.
- Complex Grids: A network of lines creating a mosaic of smaller shapes.
- Dimensional Look: Using varying widths of tape or overlapping lines to create an illusion of depth.
- Color Blocked: Designing sections to be painted different colors.
- You can sketch your ideas on paper first, or even use a projector to cast a design onto the wall for tracing.
- Apply the Tape:
- Start with Main Lines: Begin by taping the longest, most dominant lines of your design.
- Use Your Ruler: Place the ruler against the wall and carefully lay down the painter’s tape along its edge. Press firmly to ensure good adhesion, especially along the edges. This prevents paint bleed if you’re painting.
- Form Shapes: Continue adding tape to create the geometric shapes you envisioned. Make sure all tape edges are pressed down securely. If using a craft knife, trim corners precisely for sharp angles.
- Paint (If Desired): If you’re using paint, apply it carefully to the sections you want colored. Apply thin coats to prevent pooling, which can lead to bleed under the tape. Allow each coat to dry according to paint instructions.
- Remove the Tape: This is the most satisfying step! While the paint is still slightly tacky (but not wet), or once you’ve finished with your tape-only design, carefully and slowly peel off the painter’s tape. Pull at a 45-degree angle. The goal is to reveal crisp, clean lines. If you wait until the paint is fully dry, it might tear or lift with the tape.
- Admire Your Work: Step back and enjoy your newly transformed wall!
Tips for Sharp Lines and Stunning Results
- Seal the Edges (for Painting): For extra crisp lines when painting, after applying the painter’s tape, paint a very thin layer of your base wall color over the edges of the tape. Let it dry. This essentially seals any tiny gaps under the tape with the existing wall color, so if any paint bleeds, it’s the invisible wall color, not your new bold color. Then apply your desired paint color.
- Test Tape First: Always test a small, inconspicuous area of your wall with the painter’s tape first to ensure it won’t damage your paint when removed.
- Consider Color Combinations: For painted tape art, think about how your chosen colors interact. Complementary colors (opposites on the color wheel) offer high contrast, while analogous colors (next to each other) create a more harmonious look.
- Embrace Negative Space: The wall color itself becomes part of the art. Think about how the empty spaces within your geometric design contribute to the overall aesthetic.
- Go Big or Go Home: Geometric tape art often looks best when it’s a large-scale statement piece. Don’t be afraid to dedicate an entire accent wall to your design.
[GENERATE_IMAGE: “A stylish minimalist room featuring a large geometric tape art design on a wall, using contrasting colors to create a bold statement.”]
Conclusion
Transforming your home doesn’t have to be an expensive or overwhelming endeavor. As you’ve seen, with a little creativity, some basic materials, and a dash of DIY spirit, you can craft stunning, personalized wall art that elevates your space and speaks volumes about your unique style. From the delicate charm of pressed flowers to the bold statements of abstract paintings, the cozy textures of yarn hangings, and the modern flair of geometric tape art, these projects offer accessible ways to infuse your walls with character and warmth.
Each of these 5 DIY wall art ideas provides not just a piece of decor, but also a rewarding experience. You’ll gain a sense of accomplishment, save money, and end up with truly one-of-a-kind pieces that perfectly suit your home. So, gather your materials, clear a workspace, and get ready to turn those blank walls into captivating canvases of your own making. Your home is a reflection of you – make it an inspiring one!
Frequently Asked Questions
What are the benefits of making DIY wall art?
DIY wall art allows for complete personalization, ensuring your decor perfectly matches your style and color scheme. It’s significantly more budget-friendly than buying store-bought art, offers a rewarding creative outlet, and can be a fun way to spend your time.
How can I ensure my DIY wall art looks professional?
Planning is key! For projects like gallery walls, lay out your design on the floor first. For painting, use quality artist tape to get crisp lines. For all projects, take your time, pay attention to detail, and don’t be afraid to step back and assess your work throughout the process.
What kind of frame is best for pressed flower art?
Clear glass floating frames are excellent as they allow light to pass through the delicate flowers, creating a translucent effect. Traditional frames with a mat board also work well, offering a more classic look and protecting the botanicals.
Do I need artistic skill to create abstract canvas paintings?
Absolutely not! Abstract art is perfect for beginners because it emphasizes expression over realistic representation. There are no “right” or “wrong” ways to do it, allowing you to experiment with colors, textures, and brushstrokes intuitively.
How do I choose the right colors for my wall art projects?
Consider your room’s existing color palette. You can choose colors that complement your current decor for a harmonious look, or introduce contrasting colors for a bold statement. Looking at a color wheel for complementary or analogous color schemes can also be helpful.
Can I use regular tape for geometric wall art?
It’s highly recommended to use painter’s tape. Regular tape, especially masking tape or Scotch tape, might not provide clean edges for painting and can damage your wall paint upon removal, leaving residue or peeling off existing paint.
How long do pressed flowers last in art?
When pressed and stored correctly, away from direct sunlight and humidity, pressed flowers can last for many years, even decades, retaining much of their color and form. UV-resistant glass in frames can also help preserve their vibrancy.
- 856shares
- Facebook0
- Pinterest853
- Twitter3
- Reddit0
