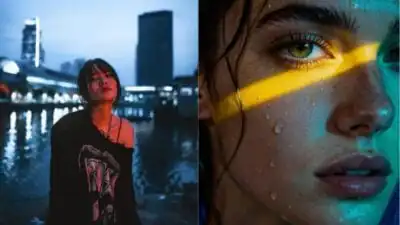
Photography has become an essential skill for content creators looking to stand out in today’s digital landscape. Whether you’re an influencer, YouTuber, or social media enthusiast, knowing how to capture eye-catching images can significantly elevate your content and help you connect with your audience. These photography hacks can transform your content creation process, saving you time while producing more professional results.
As you embark on your content creation journey, remember that great photography doesn’t always require expensive equipment or years of technical training. The right techniques and creative approaches can make a substantial difference in the quality of your visual storytelling. These practical hacks will help you feel more confident behind the camera and enable you to create images that truly speak to your audience.
1) Master the ‘Rule of Thirds’ for balanced shots
Ever wonder why some photos just look more visually appealing than others? The secret might be the Rule of Thirds, a simple yet powerful composition technique that can instantly elevate your photography.
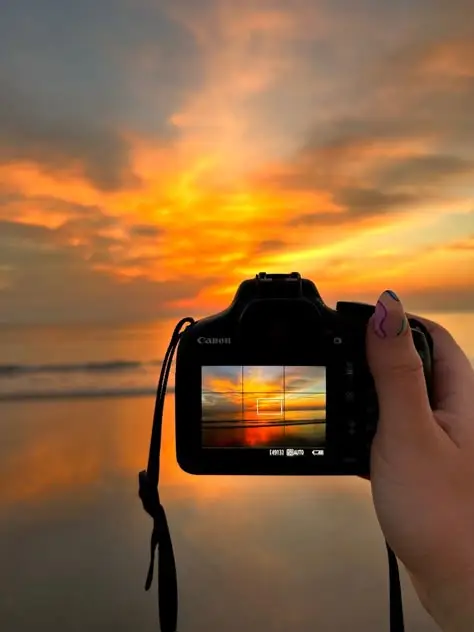
Imagine dividing your frame into a 3×3 grid with two horizontal and two vertical lines. The Rule of Thirds suggests placing your main subject along these lines or at their intersections rather than centering everything.
This creates a more balanced, natural-looking image that guides the viewer’s eye through your composition. For landscapes, try aligning the horizon with the top or bottom horizontal line instead of cutting your image in half.
Most smartphones and cameras have a grid overlay option you can enable in settings. This makes it super easy to practice this technique while shooting.
Remember, this is more of a guideline than a strict rule. Once you’ve mastered it, you can intentionally break it for creative effect. Try experimenting with different placements to see what works best for your specific shot.
Using the Rule of Thirds will make your content more visually engaging and professional-looking, even if you’re just shooting with your phone.

2) Use natural light for soft, appealing photos
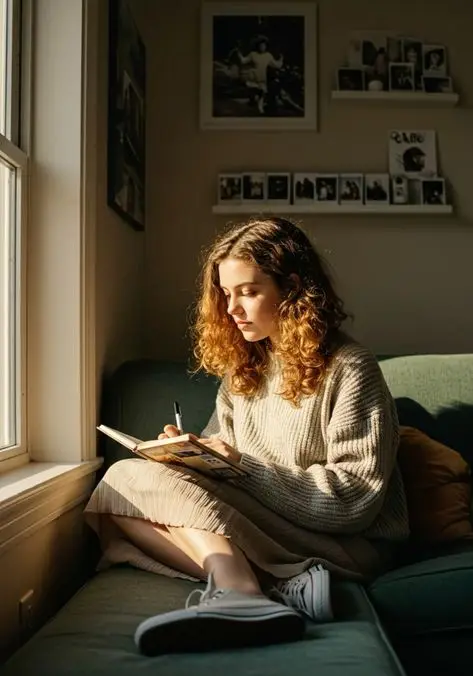
Natural light is a content creator’s best friend. It creates soft, flattering images without expensive equipment, making your photos look professionally shot even on a tight budget.
Position yourself near windows where diffused light streams in. This creates that gorgeous soft light that makes skin glow and products shine without harsh shadows or blown-out highlights.
Avoid direct sunlight which can create unflattering shadows and make subjects squint. Instead, look for open shade or shoot on slightly overcast days for beautifully even lighting.
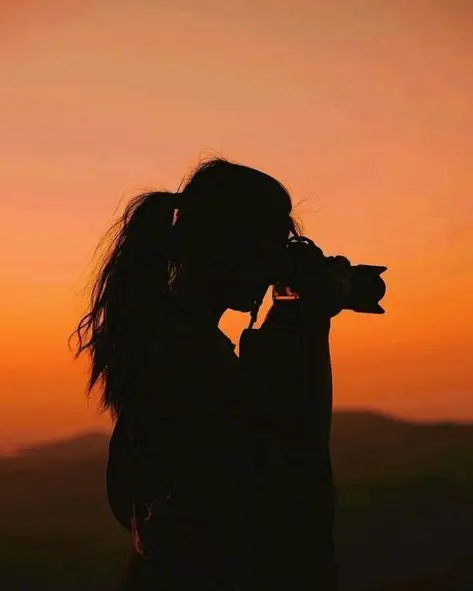
Golden hour—the period shortly after sunrise or before sunset—offers magical lighting with warm, golden tones. This time provides gentle, directional light that adds dimension to your photos.
For indoor shots, move your subject closer to windows and turn off artificial lights to prevent color casting. A simple white foam board or sheet can bounce window light back onto shadowed areas.
Bad lighting doesn’t mean bad photos. You can diffuse harsh light using sheer curtains or a white sheet to create a softer effect, giving you more flexibility with shooting times.
3) Experiment with perspective to create unique images
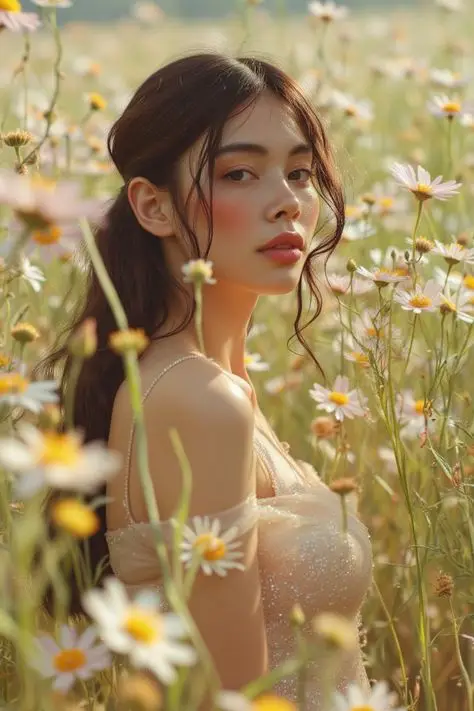
Playing with perspective can transform ordinary photos into extraordinary visual stories. By simply changing your shooting angle or position, you can create images that stand out in a crowded social feed.
Try shooting from extremely low angles to make subjects appear larger than life. This technique, known as forced perspective photography, creates optical illusions that can make viewers do a double-take.
You can also experiment with reflections using mirrors, puddles, or glass surfaces to add depth and intrigue to your compositions. These surfaces create fascinating duplications that add visual interest to otherwise standard scenes.
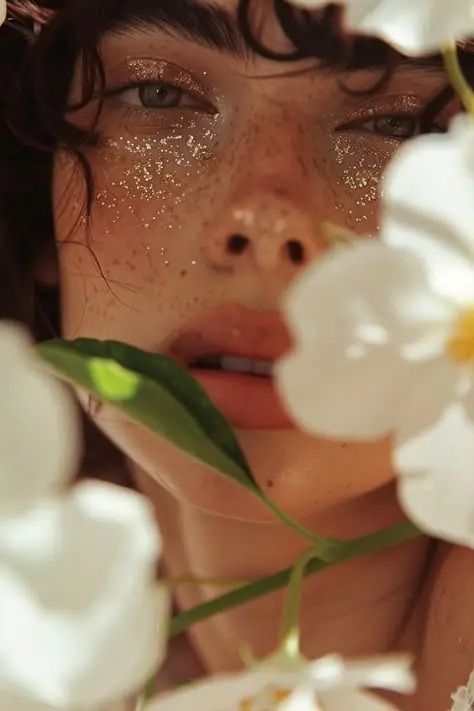
Don’t forget about the power of foreground elements. Placing objects close to your camera while focusing on a distant subject creates depth and draws viewers into your image.
Professional photographers recommend adjusting your aperture settings when working with forced perspective. A narrower aperture (higher f-number) helps maintain focus throughout the image when working with subjects at different distances.
Next time you’re shooting, try positioning yourself in unexpected places—climb higher, crouch lower, or move to the side to discover fresh viewpoints that your audience hasn’t seen before.


4) Try shooting in RAW format for greater editing flexibility
RAW format is like having a digital negative of your photo with all the original image data intact. Unlike JPEG files that compress and discard some information, RAW preserves everything your camera sensor captures.
This preservation gives you incredible flexibility when editing. You can adjust exposure, recover highlights and shadows, and fine-tune white balance with minimal quality loss.
For content creators, this means salvaging photos that might otherwise be unusable. That slightly underexposed image from your brand collaboration? You can likely rescue it when working with RAW.
The editing process might take longer, but the results are worth it. You’ll have greater control over color grading, which helps maintain consistency across your content.
Most modern cameras, including many smartphones, now offer RAW shooting capabilities. Check your device settings to enable this feature if available.
Remember to allocate more storage space for these larger files. RAW images take up significantly more room than JPEGs, but the editing freedom they provide is invaluable for creating polished, professional-looking content.
5) Use reflections for creative compositions
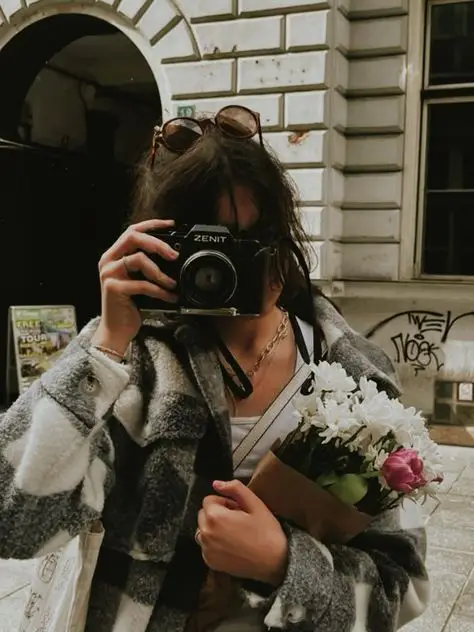
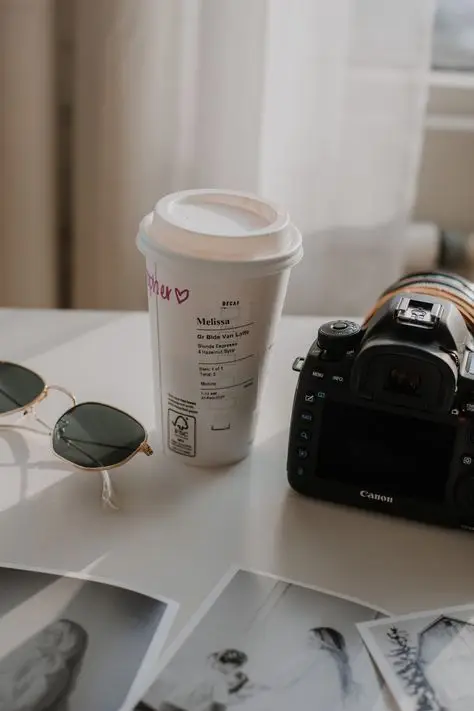
Reflections offer a fantastic way to add depth and intrigue to your content without expensive equipment. Look for reflective surfaces all around you—mirrors, windows, puddles, and even polished metal can become your creative tools.
Try capturing your subject through a reflection to add a unique perspective to your composition. This technique creates layered, multi-dimensional images that draw viewers in and make them look twice.
Water reflections work brilliantly for outdoor content. After rainfall, seek out puddles that can mirror your subject and the sky above, doubling the visual impact of your shot.
Glass buildings in urban environments provide endless opportunities for interesting reflections. Position yourself to capture both your subject and the reflected cityscape for a compelling visual story.
Don’t forget about everyday items like sunglasses, car mirrors, or even your phone screen. These small reflective surfaces can create intimate, unexpected compositions that feel fresh and original.
Experiment with angles when working with reflections. Sometimes the most interesting composition comes from an unexpected viewpoint that captures both the subject and its reflection in a harmonious way.
6) Incorporate leading lines to guide viewers’ eyes
Leading lines are powerful compositional tools that naturally direct your audience’s attention to the focal point of your image. These lines can be straight, curved, or even implied, creating visual pathways through your content.
Look for natural leading lines in your environment like roads, fences, railings, or even rows of trees. Urban environments offer plenty of opportunities with architectural elements like staircases, hallways, and building lines.
When setting up your shot, position these lines to draw attention to your main subject. The lines don’t need to be obvious—subtle leading lines can create an even more sophisticated composition.
Try experimenting with different angles to maximize the impact of your leading lines. Shooting from a lower or higher position can dramatically change how these lines guide the viewer through your image.
Remember that leading lines work in video content too! As you pan or track, consider how movement interacts with the linear elements in your frame.
Don’t be afraid to get creative with leading lines. Shadows, patterns, or even the arrangement of subjects can create implied lines that subtly direct attention where you want it.

7) Capture candid moments for authentic content
Candid photography adds a refreshing layer of authenticity to your content that staged photos simply can’t match. Moving in closer to your subjects helps create more intimate, natural-looking images that resonate with your audience.
Try shooting from the hip without looking through the viewfinder. This technique often results in unique perspectives and genuine moments that might otherwise be missed when people notice your camera pointed at them.
Use a longer focal length lens to capture subjects from a distance without them becoming aware. This works especially well at family gatherings, street photography, or public events where natural behavior creates the most compelling content.
Anticipate moments before they happen by observing people’s interactions and movements. The best candid shots often come when you’re ready just before the perfect smile, laugh, or reaction occurs.
Keep your camera settings prepared in advance. Having your exposure and focus ready means you won’t miss fleeting moments while adjusting settings.
Don’t be afraid to take multiple shots in succession. Candid photography is about capturing that perfect split-second of genuine emotion, which might require several attempts to get just right.
Understanding the Basics of Photography Lighting
Good lighting is the secret ingredient that can transform your photos from amateur to professional. Mastering light fundamentals will help you create depth, mood, and visual interest in your content.
Natural Light vs. Artificial Light
Natural light is free, abundant, and creates authentic-looking photos. The golden hours (shortly after sunrise and before sunset) provide warm, flattering light that’s perfect for portraits and landscapes. During midday, look for shaded areas to avoid harsh shadows on your subject’s face.
Artificial lighting gives you more control over your shooting environment. A three-point lighting setup—consisting of a key light, fill light, and backlight—is the standard arrangement for professional results. The key light is your primary light source, placed higher than your subject’s eye line. The fill light reduces shadows created by the key light, while the backlight separates your subject from the background.
When choosing between natural and artificial light, consider your content goals. Natural light works best for authentic, lifestyle content, while artificial lighting is ideal for product photography and consistent branding.
Using Reflectors to Enhance Photos
Reflectors are affordable tools that can dramatically improve your photography without expensive equipment. They bounce existing light onto your subject, filling in shadows and creating more balanced exposure.
White reflectors provide soft, natural fill light. Silver reflectors create a brighter, more dramatic effect. Gold reflectors add warm tones, making them great for sunset simulations or adding a healthy glow to skin tones.
When using reflectors, experiment with positioning. Hold them at different angles to see how the light changes on your subject. For selfies or solo shooting, try leaning the reflector against a stable object or using a reflector holder.
You can even make DIY reflectors using household items. White poster board, aluminum foil on cardboard, or even a white sheet can effectively bounce light. Practice moving around with your reflector to ensure you don’t cast unwanted shadows on your subject.
Mastering Composition Techniques
Composition can transform an ordinary photo into something extraordinary. Understanding how to arrange elements within your frame creates more engaging and professional-looking content.
The Rule of Thirds
The rule of thirds divides your frame into nine equal segments using two horizontal and two vertical lines. Place your subject at the intersections of these lines rather than centering everything.
This simple technique instantly improves the visual appeal of your photos. When shooting landscapes, try aligning the horizon with either the top or bottom horizontal line instead of cutting the image in half.
For portraits, position your subject’s eyes near an intersection point. This creates a more natural, balanced composition that draws viewers in.
Most smartphones and cameras have a grid option you can enable to help visualize these lines while shooting. Practice this technique until it becomes second nature!
Leading Lines and Framing
Leading lines guide your viewer’s eye through the image toward your main subject. Look for natural lines in your environment—roads, fences, buildings, or even tree branches can create powerful directional elements.
Try positioning these lines to start from the corners of your frame and lead inward. This creates depth and takes viewers on a visual journey through your photo.
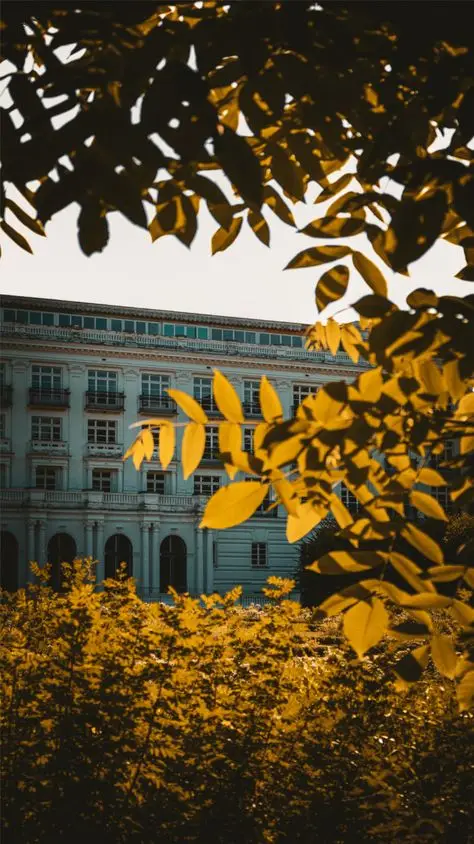
Framing involves using elements in your scene to create a “frame” around your subject. Doorways, windows, arches, or tree branches can add context and focus attention on what matters.
When using framing elements, ensure they complement rather than distract from your subject. Sometimes partial frames work better than complete ones. Experiment with different angles to find the most compelling composition.
- 1.6Kshares
- Facebook0
- Pinterest1.6K
- Twitter3
- Reddit0
