Starting with photography can feel a bit overwhelming, especially when you first look at all the buttons and settings on your camera. It’s normal to wonder which controls actually matter and how they affect your photos.
Knowing a few key camera settings will help you take clearer, more creative pictures right from the start. Understanding what these settings do gives you more confidence as you practice and experiment with your camera. With just a little guidance, you’ll be ready to start taking photos you’re proud of.
1) Understand the exposure triangle: ISO, aperture, and shutter speed
If you’re just getting started with photography, learning the exposure triangle is a key first step. The exposure triangle refers to ISO, aperture, and shutter speed. Each setting helps control how bright or dark your pictures turn out.
Aperture is the size of the lens opening and affects how much light enters your camera. A lower f-number like f/2.8 lets in more light, while a higher number like f/16 lets in less. Aperture also changes the depth of field, which influences how much of your photo appears sharp.
Shutter speed is the length of time your camera’s sensor is exposed to light. Fast shutter speeds are good for freezing action, while slower ones can create motion blur or allow in more light in darker conditions.
ISO is your camera sensor’s sensitivity to light. A lower ISO, such as 100, is best when it’s bright outside. If you’re in a darker space, you can increase the ISO, but it may introduce a bit of noise into your pictures.
Balancing these three settings helps you achieve the correct exposure. Practice adjusting each one and see how they affect your photos.


2) Start with Aperture Priority mode to control depth of field easily
Aperture Priority mode is a simple way to take more control of your photos without getting overwhelmed. You set the aperture (f-stop), and your camera automatically adjusts the shutter speed to match the lighting.
Choosing a small f-stop number, like f/2.8, gives you a blurry background and sharper focus on your subject. This is great for portraits or close-up shots.
If you want more of your image in focus, use a higher f-stop, such as f/11 or f/16. This is often best for landscapes or group photos.
You don’t need to adjust every setting yourself, so it’s easier to experiment and see what you like. Most cameras label this mode as “A” or “Av” on the mode dial.
Aperture Priority helps you learn how depth of field changes your photos while letting the camera handle the complicated parts. It’s a reliable first step beyond fully automatic modes.

3) Use ISO 100 or 200 for bright daylight conditions
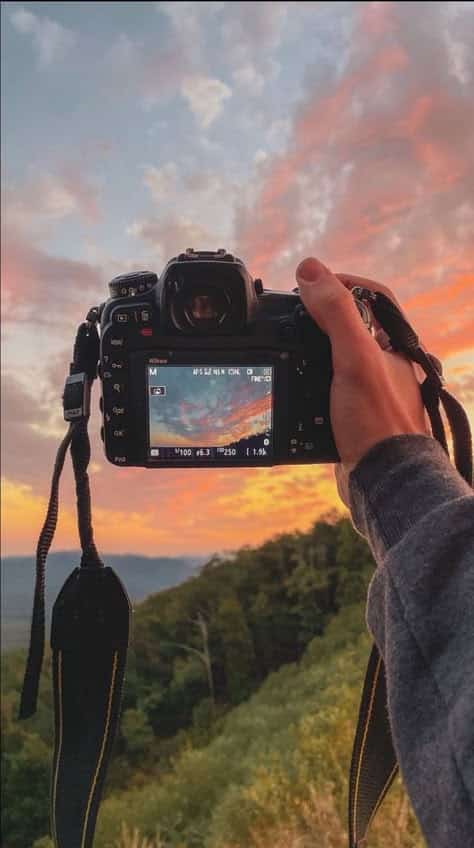
When you’re taking photos outdoors on a sunny day, setting your camera’s ISO to 100 or 200 is a safe choice. These settings let your camera’s sensor capture images without letting in excess light, which helps prevent your photos from looking washed out or overly bright.
Lower ISO values like 100 or 200 also keep image noise to a minimum. This means your photos will look clearer and sharper, with more natural colors and details. Noise is more likely to show up at higher ISO settings, but that’s rarely necessary in bright daylight.
If you notice your photos are still too bright, you can adjust the aperture or shutter speed instead. Sticking to a low ISO is one of the easiest ways to get crisp daylight shots.
For most beginner-friendly cameras, you’ll find ISO settings in a quick menu or directly on the dial. Try starting with ISO 100 and switch to 200 only if you need a little extra sensitivity, such as on a slightly cloudy day.

4) Set shutter speed based on motion: faster for action, slower for low light
Shutter speed controls how long your camera’s sensor is exposed to light. It also affects how motion appears in your photos.
If you want to freeze fast-moving subjects, like runners or cars, use a faster shutter speed. Settings such as 1/500 or 1/1000 second can help capture action sharply.
For subjects that move slowly, like people walking, you can use speeds around 1/250 second. This is usually fast enough to avoid blur while still letting in a reasonable amount of light.
In low light conditions, you might need to use a slower shutter speed. Lower speeds, like 1/60 or 1/30 second, allow more light to reach the sensor. Just remember that slower speeds can cause motion blur if the camera or subject moves.
To avoid blur at slower speeds, use a tripod or rest your camera on a steady surface. Experiment with different shutter speeds to see their effect on your photos.

5) Learn how aperture affects background blur (bokeh)
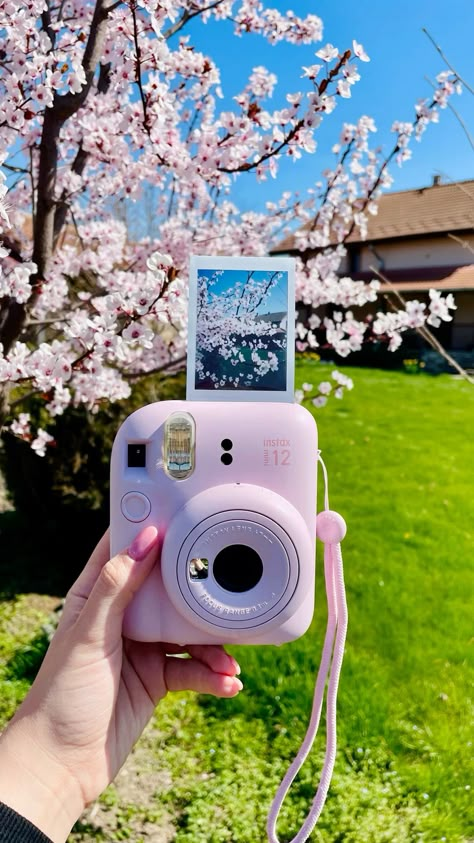
Aperture is one of the most important camera settings for creating a blurry background, often called bokeh. The aperture is the adjustable opening in your lens that controls how much light enters your camera.
A wider aperture (shown by a lower f-stop number like f/1.8 or f/2.8) lets in more light and creates a shallower depth of field. This means only a small part of your image is in sharp focus, making the background appear nicely blurred.
If you want strong background blur, use a wide aperture and get closer to your subject. A longer lens can also help increase the blur effect.
When you use a smaller aperture (higher f-stop number such as f/8 or f/11), more of the scene from front to back will stay in focus. This reduces the blur and gives you a sharper background.
Try experimenting with different aperture settings to see how they change the look of your photos. Practice helps you quickly recognize which settings give you the best bokeh for each situation.

6) Experiment with manual mode to get full control over settings
Switching your camera to manual mode gives you direct control over how your photos look. Instead of letting your camera decide everything, you choose each setting yourself.
Manual mode lets you adjust aperture, shutter speed, and ISO one by one. This means you can decide how bright or dark the image appears and how blurry or sharp moving objects look.
Start by changing one setting at a time and see what results you get. Try using a low ISO in bright light, or a wide aperture for a softly blurred background.
It can feel confusing at first, but practicing helps you build confidence. Don’t worry about making mistakes—experimentation is how you learn what each setting really does.
As you get more comfortable, you’ll notice how small adjustments make a big difference. Manual mode puts you in control, giving you more creativity and flexibility with your camera.
Understanding Camera Modes
Camera modes control how much say you have over your camera’s key settings like exposure, focus, and depth of field. They can make taking photos easier or give you more creative control depending on which one you use. Learning how to choose and use the right mode can quickly improve your confidence with your camera.
Automatic vs Manual Modes
Automatic modes take control of your camera’s settings for you. In “Auto” mode, your camera selects the shutter speed, aperture, ISO, and even focus point automatically. This setting is great when you’re just starting out or shooting in changing conditions.
Manual modes put all the choices in your hands. In “Manual” (M) mode, you adjust shutter speed, aperture, and ISO yourself. This gives you the most creative control but also requires more understanding. There are also semi-automatic modes, like Aperture Priority (Av/A) and Shutter Priority (Tv/S), which let you set one main variable while the camera picks the rest.
A quick breakdown:
- Auto: Quick, simple, but limited control
- Manual: Full control, best for learning and creative shots
- Aperture Priority/Shutter Priority: Balance between control and convenience
Choosing a mode depends on how much control you want and your comfort with camera settings.
Best Mode for Beginners
For most beginners, Aperture Priority mode (often marked as Av or A) is highly recommended. This mode lets you set the aperture, which controls the depth of field. Your camera then automatically selects the correct shutter speed for proper exposure.
Using Aperture Priority helps you focus on what matters most: how much of your photo is in sharp focus. It’s especially helpful for portraits (where you want blurry backgrounds) or landscapes (where you want everything sharp).
If you are shooting fast-moving subjects, Shutter Priority (Tv or S) mode is also helpful. With this, you pick the shutter speed, and the camera handles the rest. This is useful for sports or action shots.
Auto can be useful in a pinch, but learning to use Aperture Priority or Shutter Priority gives you better creative results without making things complicated.
Improving Your Photos With Settings
Changing camera settings lets you take sharper photos and capture details, even in challenging conditions. Small adjustments to how your camera captures light can make a noticeable difference in image quality.
How Exposure Settings Affect Your Shots
Exposure is controlled using three key settings: aperture, shutter speed, and ISO. These are often called the exposure triangle because they work together to determine how much light hits the camera sensor.
- Aperture (measured in f-stops) changes how much light enters the lens. A low f-number (like f/1.8) gives a brighter image and a blurrier background.
- Shutter Speed controls how long the sensor is exposed to light. Faster speeds (like 1/1000s) freeze motion. Slower speeds let in more light but can cause blur if the camera or subject moves.
- ISO sets the sensor’s sensitivity. Lower ISO (like 100) works best in bright light and gives less grain, while higher ISO (like 3200) is for darker scenes but can add some noise.
Learning how to balance these allows you to capture clear, well-lit photos in different environments.
Tips for Low-Light Photography
Shooting in low light requires different techniques to avoid dark or blurry results. First, open the aperture as wide as possible (use a low f-number) to let in more light.
Increase your ISO gradually, keeping in mind that higher ISO values can introduce noise. Try starting at ISO 800 and adjust upward if your shot is still too dark.
Shutter speed should stay fast enough to prevent blur, especially if you’re not using a tripod. If you need to lower shutter speed, brace the camera or use image stabilization features.
You can also try using a tripod or placing your camera on a stable surface. This lets you use longer shutter speeds without worrying about camera shake.
If available, use the camera’s built-in timer or a remote shutter release to reduce vibrations and get the sharpest image possible.
- 69shares
- Facebook0
- Pinterest66
- Twitter3
- Reddit0


