To wrap gifts neatly, measure enough paper to cover the box with a small overlap, fold the long edges tight, crease the corners into triangles, tape the seams flat, then finish with ribbon or a tag. The simple steps below show how to wrap gifts for everyday presents, Christmas boxes, round items, and awkward shapes without making the paper bulky.
I like to set up the paper, tape, scissors, ribbon, and tags before I start. It keeps the corners cleaner because you are not holding one flap down while searching for tape with the other hand.
How to Wrap Gifts Step by Step
- Measure the paper. Roll the box once across the paper and leave about 1 inch of overlap on the long seam.
- Cut straight. A clean edge makes the final seam look intentional, even with simple paper.
- Place the gift face down. Put the best side of the paper against the table so the seam lands on the bottom.
- Fold the long sides first. Pull the paper snug, tape the overlap, and press a crease along each box edge.
- Shape the ends. Push the side flaps inward, crease the top and bottom into triangles, then fold them flat.
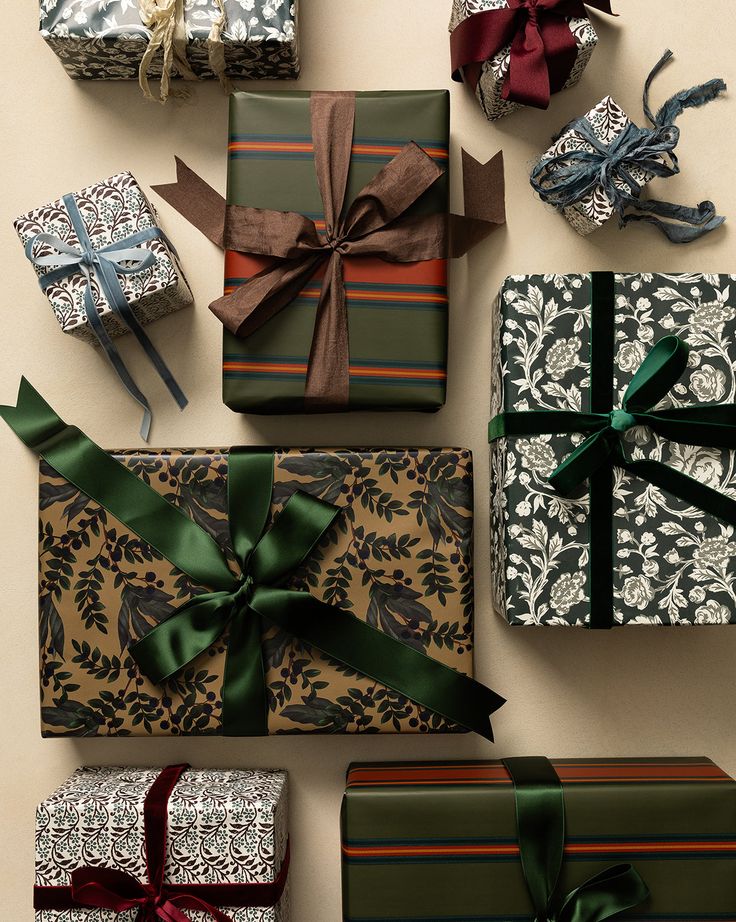
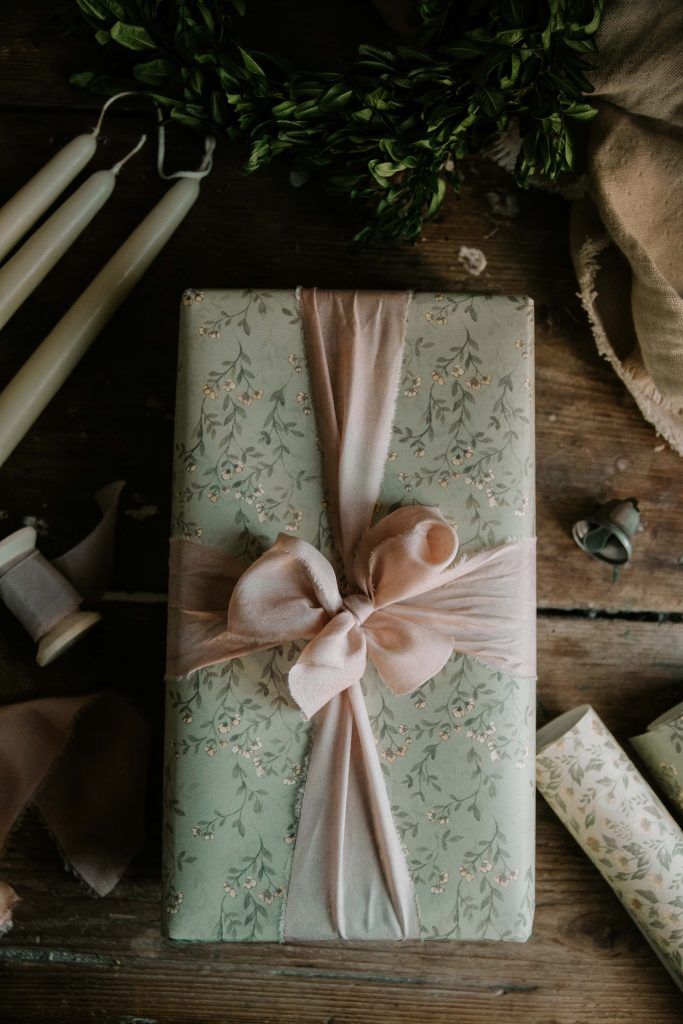
- Finish the package. Add ribbon, a small tag, greenery, or a layered scrap of contrasting paper.
Quick Gift Wrapping Checklist
| Wrapping detail | What works best |
|---|---|
| Standard box | Medium-weight paper, clear tape, crisp corner folds |
| Elegant gift wrapping | Solid paper, satin ribbon, one small decorative topper |
| Round or cylindrical gifts | Tissue paper, pleated ends, ribbon at both sides |
| Gifts without a box | Tissue wrap, fabric wrap, kraft paper bundle, or gift bag |
| Tape-free wrapping | Furoshiki fabric, twine, ribbon, or folded paper pockets |
Once you have your dimensions, use scissors to cut the wrapping paper. Ensure the cuts are straight for a polished look. Keeping a sharp pair of scissors handy will help achieve clean edges.
Fold Clean Edges Before You Tape
Folding is crucial for a professional appearance. Start by placing the gift in the center of the paper, ensuring equal amounts on each side.
Folding process:
- Fold one side of the paper over the gift, tucking the edge neatly.
- Repeat on the opposite side.
- For the ends, create triangular folds by pushing the sides in toward the center.
Maintain crisp folds by using a flat object, like a ruler, along the edges. This will give your gift a clean and finished look.
Tape the Gift Wrap Without Bulky Seams
Using tape is essential to keep your gift wrap in place. Choose a quality tape that adheres well.
Tips for taping:
- Start by taping the folded paper on the bottom of the gift.
- Use small pieces of tape for a neater finish, applying them at intervals along the edge.
- For the ends, after finishing your triangular folds, secure them with a piece of tape on each side.
Make sure the tape is not visible on the top of the gift. This attention to detail enhances the overall appearance.

Creative Gift Wrapping Ideas for Tricky Shapes
Enhancing your gift wrapping skills can improve the presentation of any present. Learning specific techniques, such as creating elegant pleats and expertly handling irregular shapes, will help you achieve a polished look.
How to Make Pleats for Fancy Gift Wrapping
To add sophistication to your gift wrapping, use pleats and folds. Start by cutting a piece of wrapping paper larger than the gift.
- Place the Gift: Position your gift in the center of the paper.
- Create Pleats: Begin folding the edges of the paper toward the gift, pinching as you go to create evenly spaced pleats.
Use double-sided tape to secure the pleats in place without visible adhesive. For a seamless finish, fold the top and bottom edges inward before taping down. This technique not only enhances visual appeal but also provides structure to the wrap.
How to Wrap Gifts Without a Box
Wrapping items with unique shapes requires creativity. Start by assessing the object’s dimensions.
- Use Padding: If the gift is particularly awkward, consider wrapping it in tissue paper or fabric first for extra cushioning.
- Select Your Paper Wisely: Choose a forgiving wrapping paper that can bend and fold easily.
Begin by covering the largest area and then work toward the smaller sections, tucking and adjusting as necessary.
Employ double-sided tape for a clean finish. This approach keeps edges smooth and avoids unsightly seams. Take your time with the folds to ensure they are neat and deliberate.
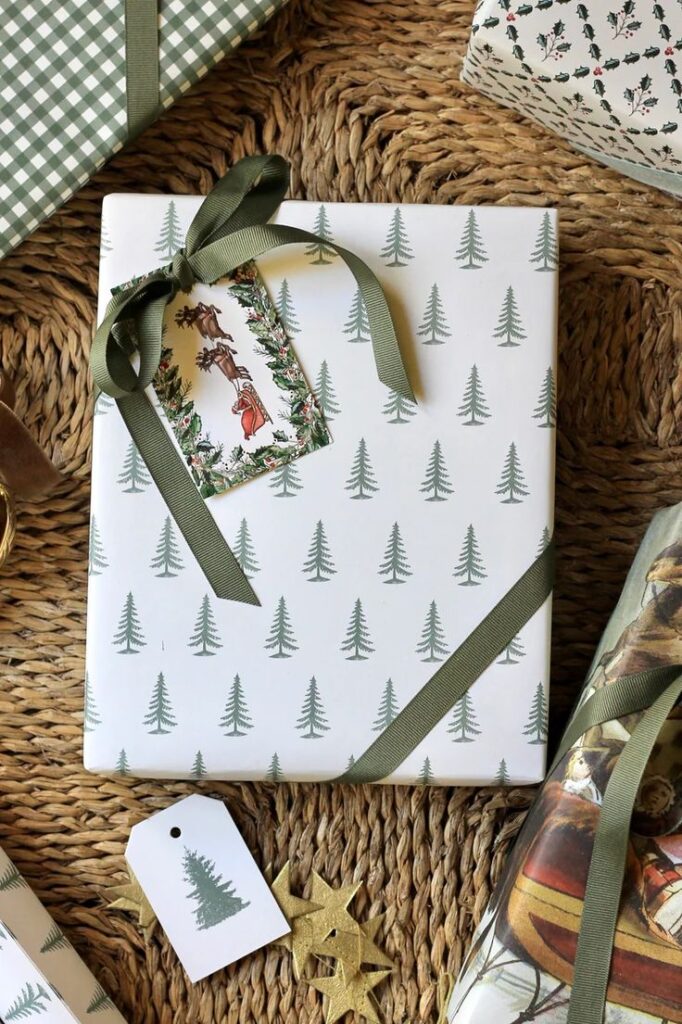
How to Wrap Round or Cylindrical Gifts
For candles, jars, bottles, and other round gifts, cut paper wide enough to roll around the item once. Pleat the extra paper at the top and bottom in small folds, then tie each end with ribbon or twine. If the paper fights the shape, switch to tissue paper or fabric; it bends more easily and looks intentional instead of forced.
How to Wrap Gifts Without Tape
To wrap gifts without tape, use a folded-paper pocket, ribbon that crosses under the box, or a fabric wrap tied in a knot. This works especially well for books, small boxes, and soft gifts. Keep the folds tight and let the ribbon do the holding.
Finishing Touches That Make Presents Look Polished
Enhancing your gift presentation with thoughtful details can transform a simple wrap into a memorable gift. Focusing on ribbons, bows, and gift tags adds personal flair. You can also include delicate tissue paper for an extra touch of elegance.
Ribbon Placement for Wrapping Gifts Beautifully
When selecting ribbon, consider the occasion and the color scheme of your wrapping paper. Satin, burlap, and organza are popular choices that add texture and shine. Measure enough ribbon to create a bow, allowing for some extra length for tails.
To apply the ribbon, start by wrapping it around the gift. Cross the ends, twist, and form a knot. If using a bow, make sure it’s symmetrical. You can also use wire-edged ribbon for a more structured bow that holds its shape. Secure your bow with glue dots for extra stability.
Gift Tags, Cards, and Small Personal Details
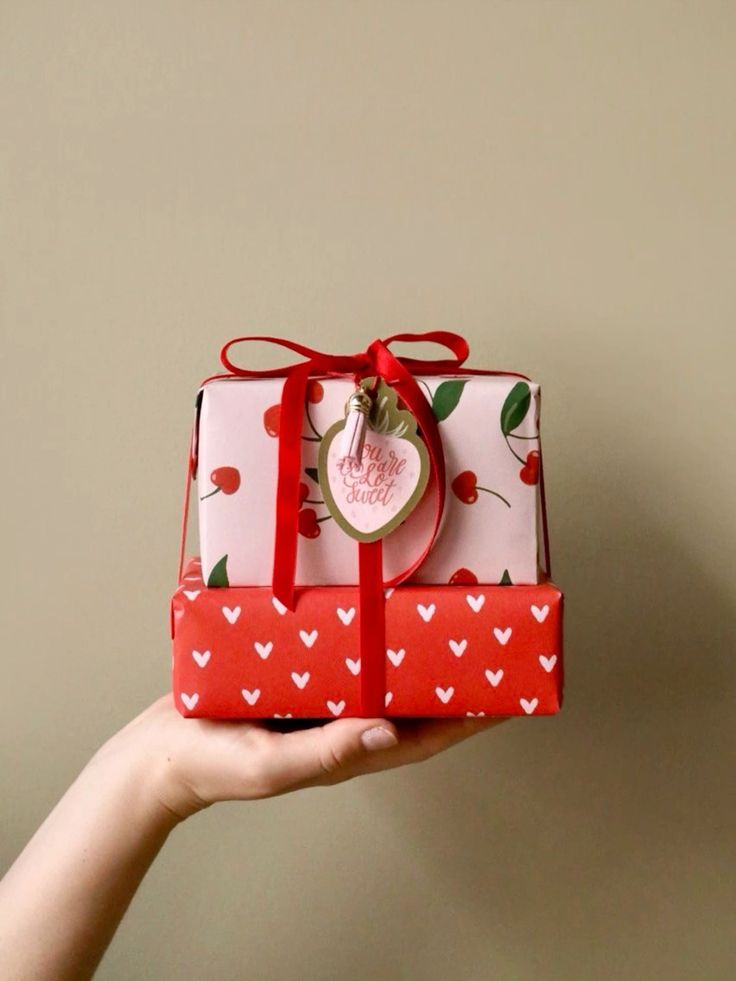
Gift tags and cards personalize your gifts and can convey a special message. Choose tags that match or complement your wrapping paper for a cohesive look. You can create custom tags using cardstock or buy pre-made ones.
Attach the tag by threading a piece of string or ribbon through the hole. Ensure it’s securely fastened and positioned attractively. Write a clear message with a permanent marker or pen, keeping it brief but heartfelt. For a special touch, consider adding a small photo or drawing on the tag.
How to Wrap Gifts with Tissue Paper
Tissue paper can add a layer of sophistication to your gift. Use it to cushion fragile items or to change the mood. Choose colors that contrast or complement your wrapping paper for an eye-catching effect.
To use tissue paper, cut it into squares or rectangles larger than the gift. Place the gift in the center and gather the edges together, creating a pouch. Tie it with string or ribbon to hold it in place. This adds an unexpected surprise when the recipient opens their gift.


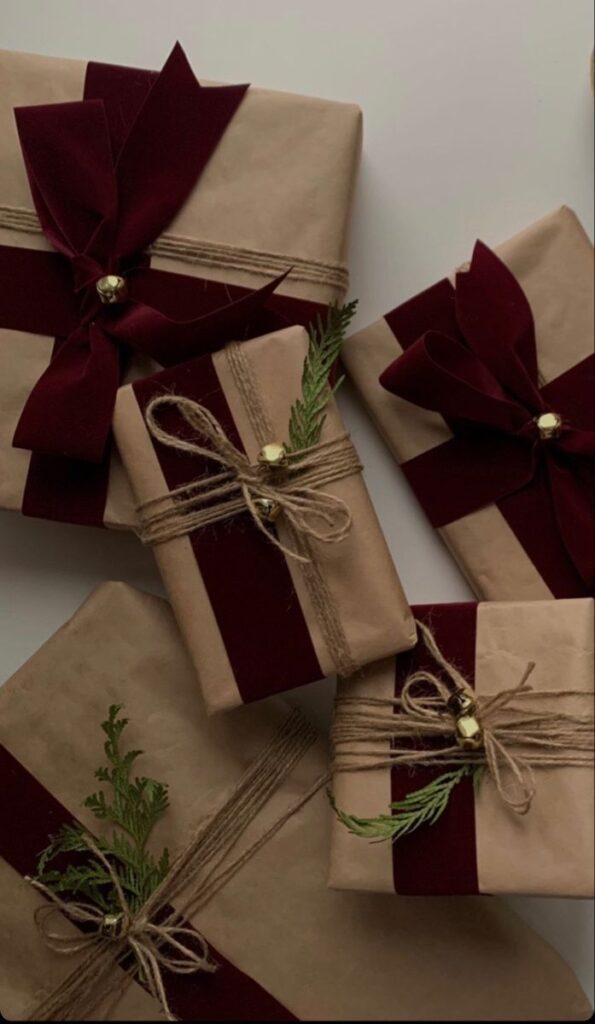
Gift Wrapping Ideas for Birthdays and Holidays
Wrapping gifts for special occasions requires attention to detail and creativity. Effective techniques can improve your presents and create a delightful presentation.
Christmas Gift Wrapping Ideas
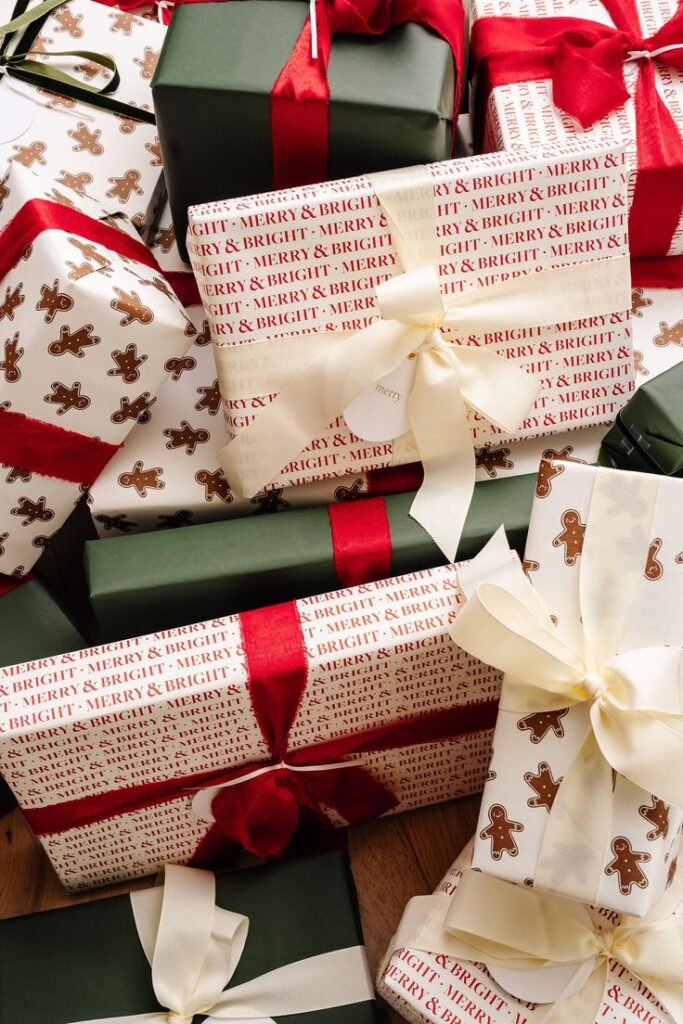
When wrapping Christmas presents, first choose high-quality gift wrap in festive colors or patterns. Consider traditional options like red, green, or gold, or explore modern designs with playful motifs.
Measuring the Wrap: Measure the paper against the gift. Ensure it overlaps on the bottom for a neat finish.
Sealing the Edges: Use double-sided tape for a clean appearance. Avoid using too much tape, which can create bulk.
Embellishing: Add ribbons, bows, or ornaments to enhance the look. Consider personal touches like gift tags with the recipient’s name.
A well-wrapped gift adds joy to the giving experience.
Present Wrapping Tips That Save Time
Choose the Right Materials
Use quality wrapping paper, tape, and scissors. Consider fabric, tissue paper, or reusable gift bags for eco-friendly options.Measure Before You Cut
Always measure your paper. Leave a few extra inches on each side to ensure complete coverage.Use a Flat Surface
Wrap gifts on a large, flat surface. This makes it easier to manage the paper and achieve precise folds.Secure with Tape
Use double-sided tape for a seamless look. Make sure all edges are secured to prevent the wrapping paper from peeling.Add Personal Touches
Include personalized gift tags or embellishments like ribbons and bows. This adds a unique touch and makes the gift stand out.Practice Your Folds
Perfect your folding technique for a polished finish. Clean lines create a professional appearance.Use Boxes for Odd Shapes
If the gift is an unusual shape, consider placing it in a box. This simplifies the wrapping process.Create an Assembly Line
If wrapping multiple gifts, set up an assembly line. Cut all paper first, then wrap each gift sequentially.
Following these tips can enhance your gift-wrapping efficiency and ensure your gifts are beautifully presented.
Store Wrapping Paper, Ribbon, and Tags Neatly
Organizing gift-wrapping materials can save you time and effort during the busy gift-giving season. Here are practical tips for effective storage.
Use a Designated Storage Container
Select a sturdy box or tote specifically for gift-wrapping supplies. This can keep everything in one place.
Sort by Material Type
Group your items into categories:
- Wrapping Paper: Roll and secure with a rubber band or clip.
- Gift Bags: Stack them by size and type.
- Ribbons and Bows: Store in small bins or pouches to avoid tangling.
Maximize Vertical Space
Consider a vertical storage option, such as a standing organizer. This can help you utilize closet or shelf space effectively.
Create a Supply Checklist
Maintain a list of your wrapping materials. Include:
- Wrapping paper rolls
- Gift bags
- Ribbons
- Tape
- Scissors
Regularly update this list to know what to replenish.
Keep Essentials Accessible
Store frequently used items, like scissors and tape, in an easily accessible location. A small caddy can work well for this purpose.
By following these storage tips, you can ensure that your gift-wrapping supplies are organized and ready for any occasion.
More Gift Wrapping Ideas to Try Next
Once the basic gift wrapping technique feels comfortable, try a few related presentation ideas: creative gift wrapping ideas, packaging ideas, paper craft projects, DIY gift ideas, Christmas gifts for friends, DIY holiday decorations, Christmas postcard design, easy origami Christmas decorations, budget Christmas gifts.
For lower-waste wrapping, the EPA recycling guidance is useful, and USPS has a plain checklist for packing items that need to be mailed.
Frequently Asked Questions About How to Wrap Gifts
How do you wrap gifts neatly?
Use enough paper for a 1-inch overlap, pull the long seam snug, crease each box edge with your fingers, and fold the ends into flat triangles before taping. The creases matter more than expensive paper.
How do you wrap a gift step by step?
Place the gift face down, bring the long sides of the paper together, tape the seam, press the side flaps inward, fold the top and bottom triangles flat, then add ribbon or a tag.
How do you wrap gifts without a box?
Wrap soft or awkward items in tissue paper first, then use kraft paper, fabric, or a gift bag. A ribbon or twine tie keeps the shape tidy without making the package look lumpy.
How do you wrap round or cylindrical gifts?
Roll the item in tissue paper or flexible wrapping paper, pleat the extra paper at the ends, and tie both ends with ribbon. For jars and candles, fabric wrap is often easier than stiff paper.
What are easy gift wrapping ideas for beginners?
Start with solid paper, double-sided tape, a simple ribbon cross, and one tag. Small additions like greenery, a wax seal, or a strip of contrasting paper make a basic box feel finished.
How do you wrap gifts with ribbon?
Run the ribbon under the box, cross it over the top, bring it around the other sides, then tie a knot or bow on the top face. Keep the ribbon centered so the package looks balanced.
Can you wrap gifts without tape?
Yes. Use fabric wrapping, twine, ribbon, or folded-paper pockets. Tape-free wrapping works best on books, small boxes, and soft gifts that can hold a crease.
What paper is best for gift wrapping?
Medium-weight wrapping paper is easiest for boxes because it folds cleanly without tearing. Tissue paper works better for delicate shapes, while kraft paper is sturdy and easy to decorate.
- 1.0Kshares
- Facebook0
- Pinterest1.0K
- Twitter0
- Reddit0