Personalizing your living space doesn’t have to involve major renovations or breaking the bank. With a few creative DIY IKEA hacks, you can transform budget-friendly furniture into unique pieces that better fit your style and needs.
These simple projects let you update functionality and design while working within your budget. You’ll discover practical ways to get more from your IKEA finds and make your home feel truly your own.
1) Kallax Shelving Unit to Custom Storage Cubes
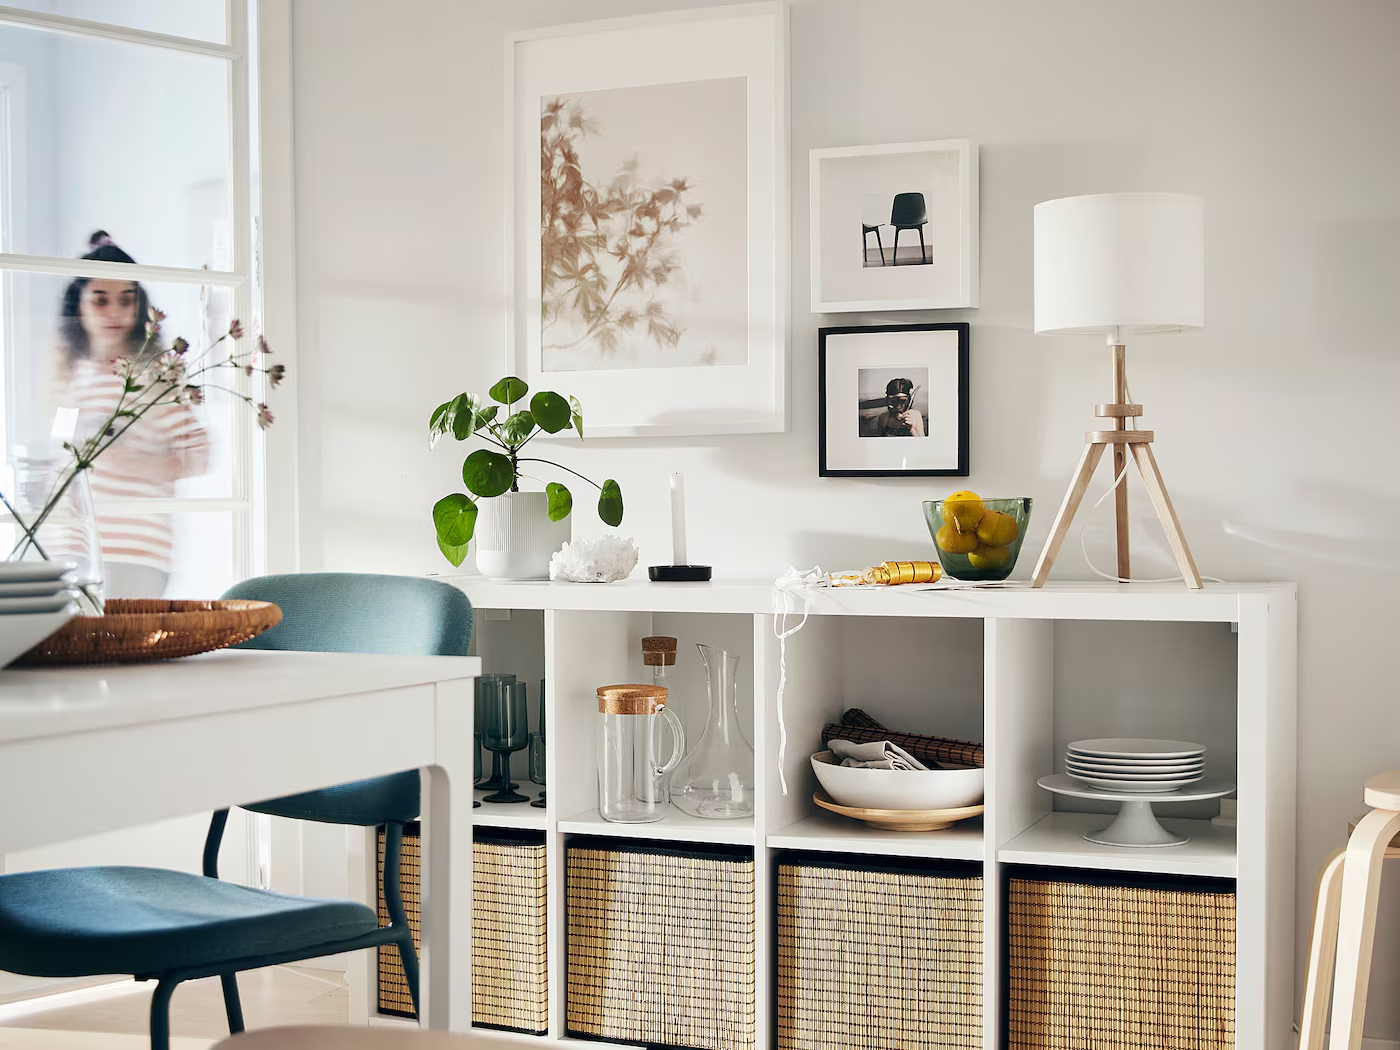
You can transform the IKEA Kallax shelving unit into tailored storage cubes that fit a range of needs in your home. The Kallax is commonly used for its clean lines and open compartments, making it a flexible starting point for a DIY project.
To create custom storage, start by measuring the available space where the Kallax will go. You might want to add doors, baskets, or even sub-shelves to maximize every cube’s storage potential.
For a more personalized look, attach decals, paint sections, or fit in fabric bins that match your room’s style. Some DIYers use the Kallax as the base for benches or media consoles, adding cushions or hardware.
You can also install legs or wheels for mobility or to change the unit’s height. This simple modification makes the Kallax suitable for a living room, entryway, or even a home office.
The Kallax’s sturdy construction means it can handle books, toys, or kitchen items while keeping everything organized. Customizing this shelving unit is a straightforward project that adapts easily to your storage needs.
2) Lack Coffee Table Mini Bar Transformation
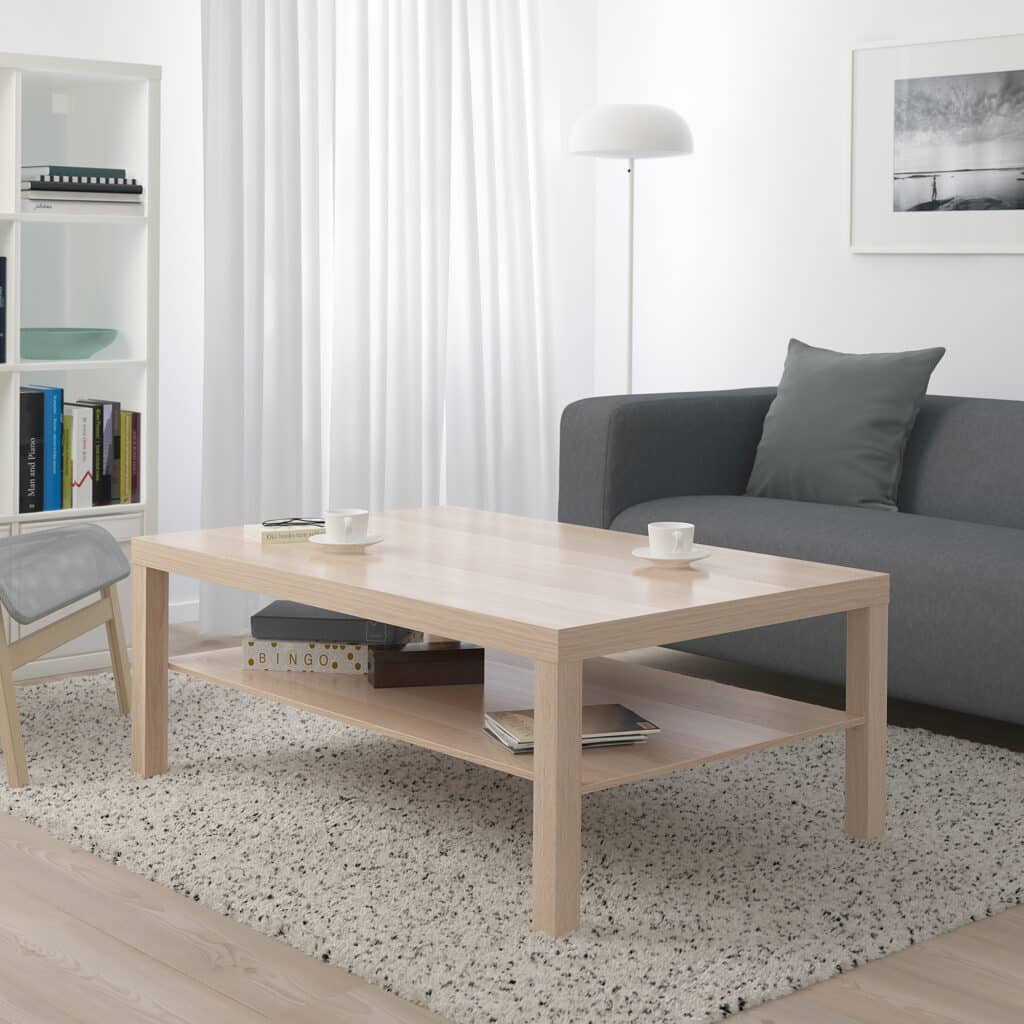
You can convert the popular IKEA Lack coffee table into a simple and functional mini bar with just a few modifications. Begin by removing the lower shelf or adding compartments to store bottles, glasses, and bar tools. The basic structure of the table works well for this purpose because of its open sides and easy-to-customize materials.
Install racks or holders beneath the tabletop for wine glasses or tumblers. Adhesive hooks or small tension rods can keep accessories neatly organized. If you want to separate cocktail ingredients, consider using small baskets or trays.
To give the mini bar a personalized look, cover the tabletop with peel-and-stick tile or bold printed contact paper. Adding LED strip lights under the table’s edge creates a soft ambient glow and highlights your drinks collection.
You can keep your new mini bar on casters for mobility, allowing you to move it between rooms. This project requires minimal tools and basic DIY skills, making it accessible for most people. The end result is a compact and stylish drink station using an affordable IKEA staple.
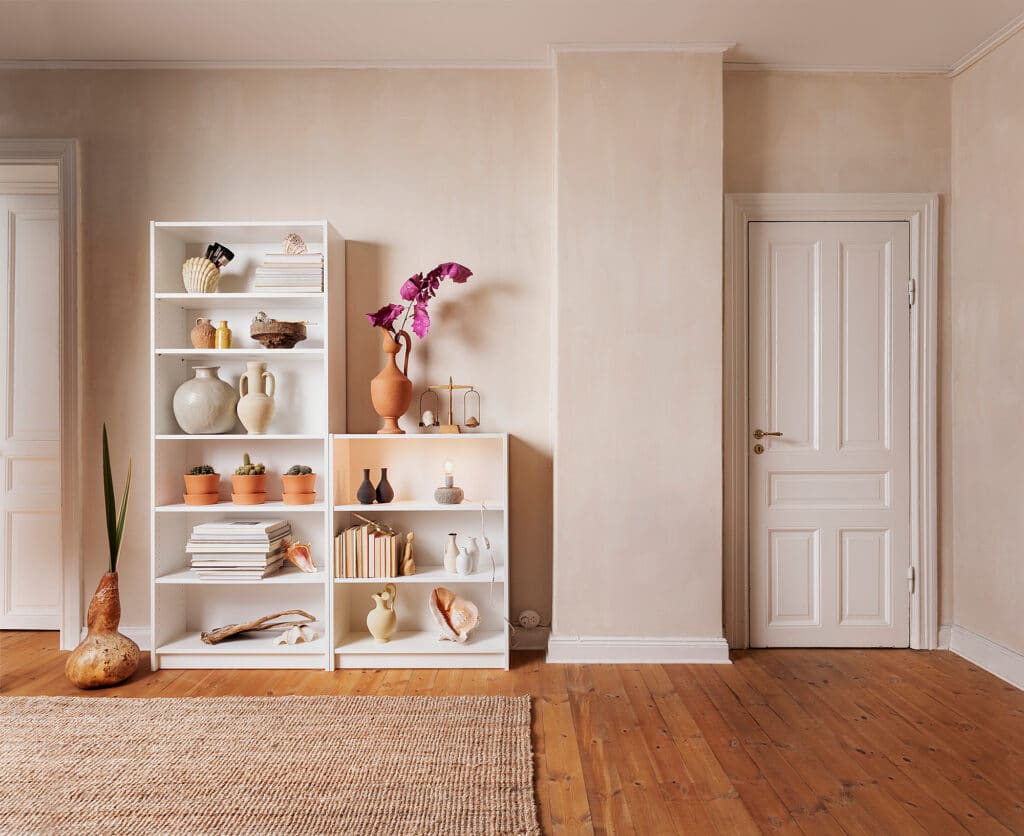
3) Billy Bookcase Built-In Shelf Hack
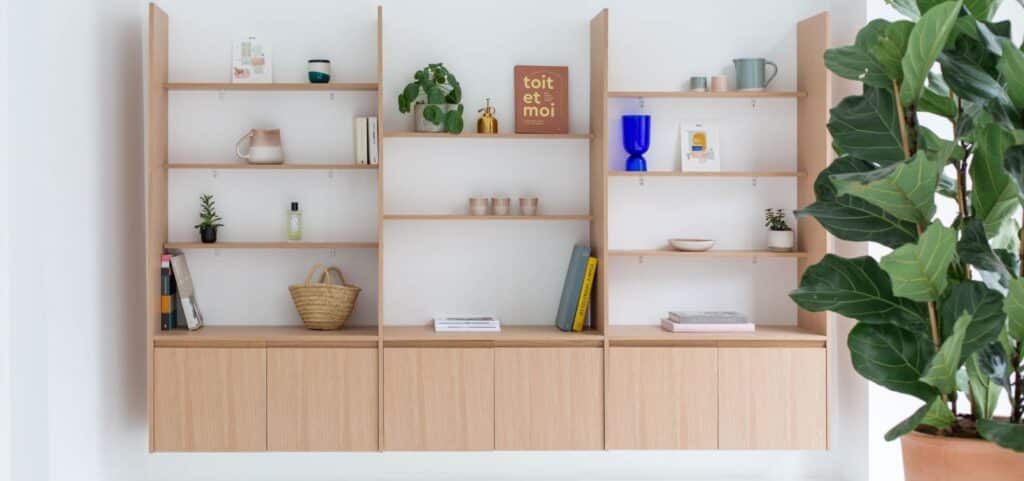
You can use IKEA’s Billy bookcases to create custom built-in shelves that fit your space and style. This hack is popular because the Billy bookcase is affordable, widely available, and easy to adapt.
To start, measure your wall area and determine how many Billy bookcases you’ll need. Arrange the bookcases flush together, either standing alone or anchored together, to form your base structure.
For a more finished built-in look, people often add trim, crown molding, or baseboards around the edges. You may need to cut existing trim or molding on your wall so the bookcases fit snugly. Secure the units to each other and the wall for stability and safety.
Painting the shelves or adding wallpaper to the back panel can help your new built-ins look fully customized. This hack works well for creating library walls, entertainment centers, or home office shelving.
The process is approachable for DIY beginners, but taking careful measurements and properly anchoring the units is important. With patience and attention to detail, you can achieve a polished, built-in effect using standard IKEA components.
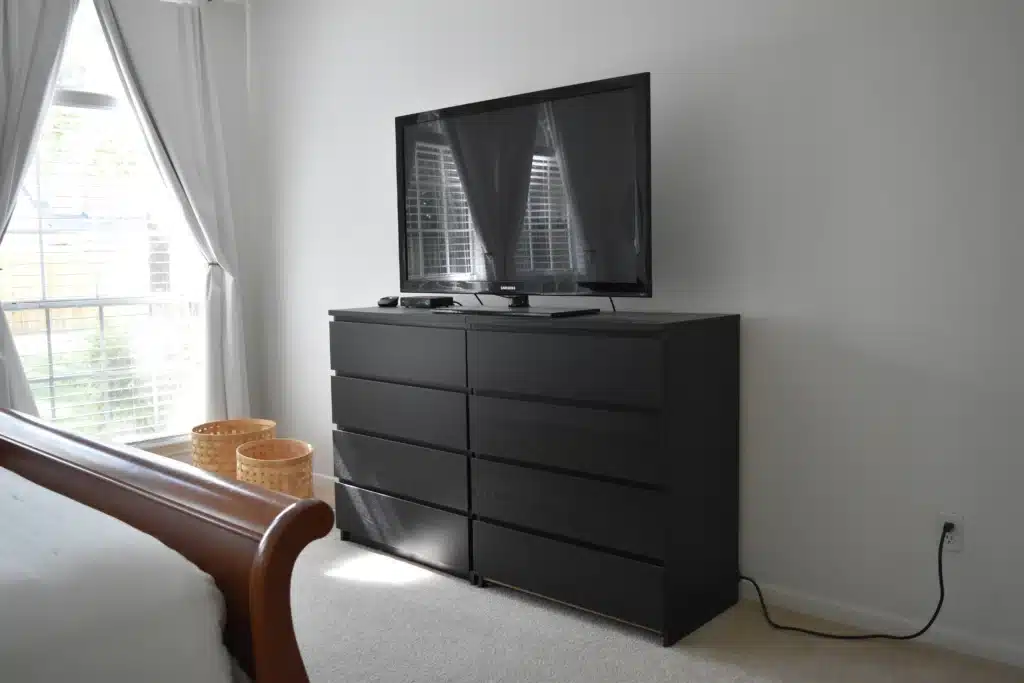
4) Malm Dresser Painted with Modern Handles
If you want to update your IKEA Malm dresser, painting it and adding modern handles is a simple way to create a custom look. The clean lines of the Malm make it easy to work with various paint colors and hardware styles.
Start by choosing a paint finish that fits your space, such as matte black for a contemporary style or a neutral tone for a softer look. Make sure to prep and prime the surface to help the paint stick and achieve a smooth appearance.
Once the paint is dry, replace the standard drawer pulls with modern handles. Brass, matte black, or geometric designs can shift the dresser’s feel to fit your aesthetic. Measure, mark, and attach the new handles with care for a precise finish.
You don’t need advanced skills or tools to make this transformation. Updating your Malm dresser with paint and new hardware is a budget-friendly way to personalize your furniture to match your room’s decor.
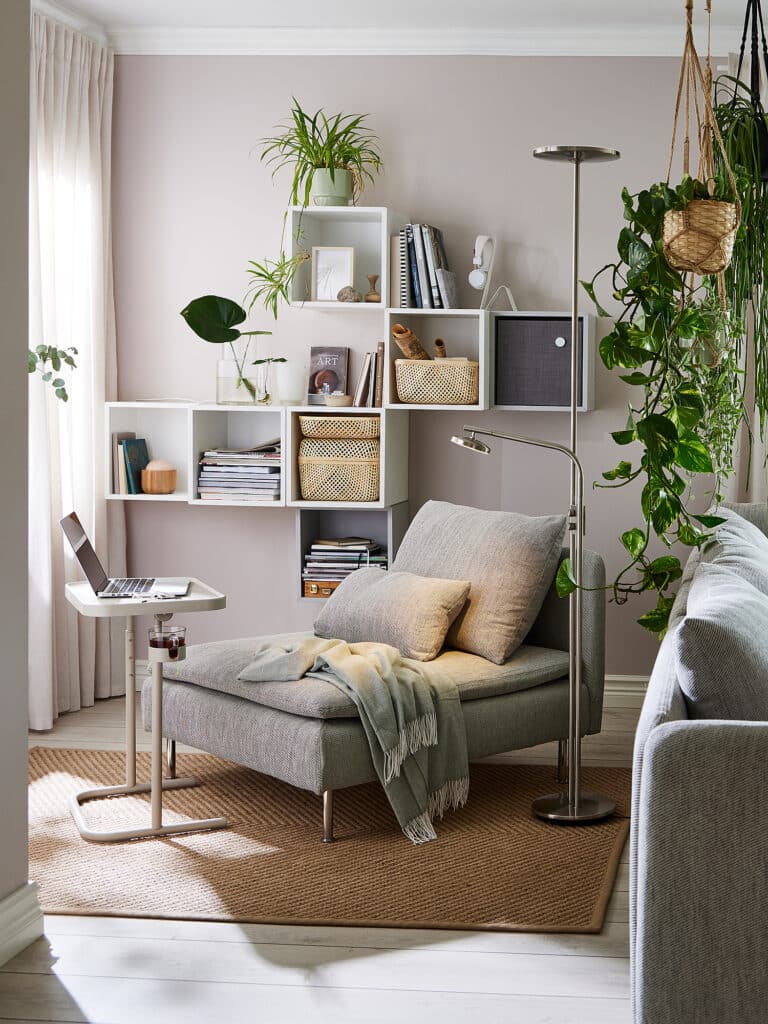
5) Ikea EKET Units Wall-Mounted Storage
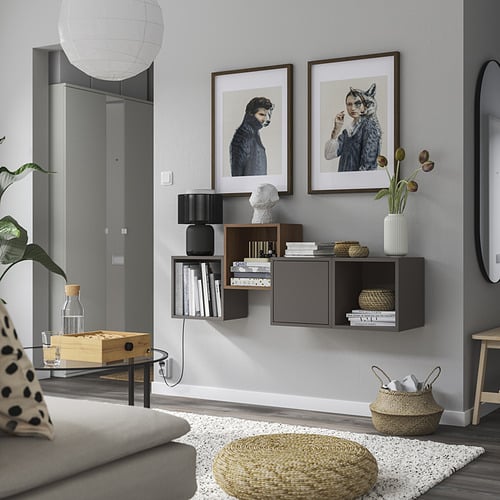
IKEA EKET units are popular for wall-mounted storage because of their simple, modular design. You can combine several EKET cubes in different colors and configurations to create a custom solution that fits your space.
Mounting EKET units on the wall frees up floor space and gives your room a tidy look. It’s especially useful in small rooms, entryways, or offices where every inch counts. You can use just a few units for a minimalist feel or fill a whole wall for maximum storage.
Many people use EKET units for books, decorative items, or even as a substitute for traditional shelving. With the right installation hardware, you can arrange them at different heights to suit your needs. Some users have even created stylish TV cabinets or media centers by mounting EKET units in rows or grids.
Adding small upgrades, like new knobs or paint, can personalize your EKET wall storage further. This makes it easy to match with existing décor while still offering reliable functionality.
6) Ivar Cabinet Turned into Kitchen Pantry
Transforming the IKEA Ivar cabinet into a kitchen pantry is a simple and practical DIY project. The Ivar’s basic wooden frame allows you to customize the look and layout to meet your storage needs.
You can start by painting or staining the wood for water resistance and style. Adding adjustable shelves makes it easy to organize canned goods, spices, and dry foods.
If you need more space, stack multiple Ivar cabinets or combine them with different cabinet depths. For better function, consider installing door racks or hanging organizers inside the doors.
Handles, hooks, or baskets can personalize the setup and keep everything accessible. The open interior makes it easy to see your supplies at a glance.
This approach is budget-friendly and fits kitchens of many sizes. With some planning, you can create a pantry that’s both organized and visually appealing using Ivar cabinets.
7) Raskog Cart Customized as a Mobile Bar
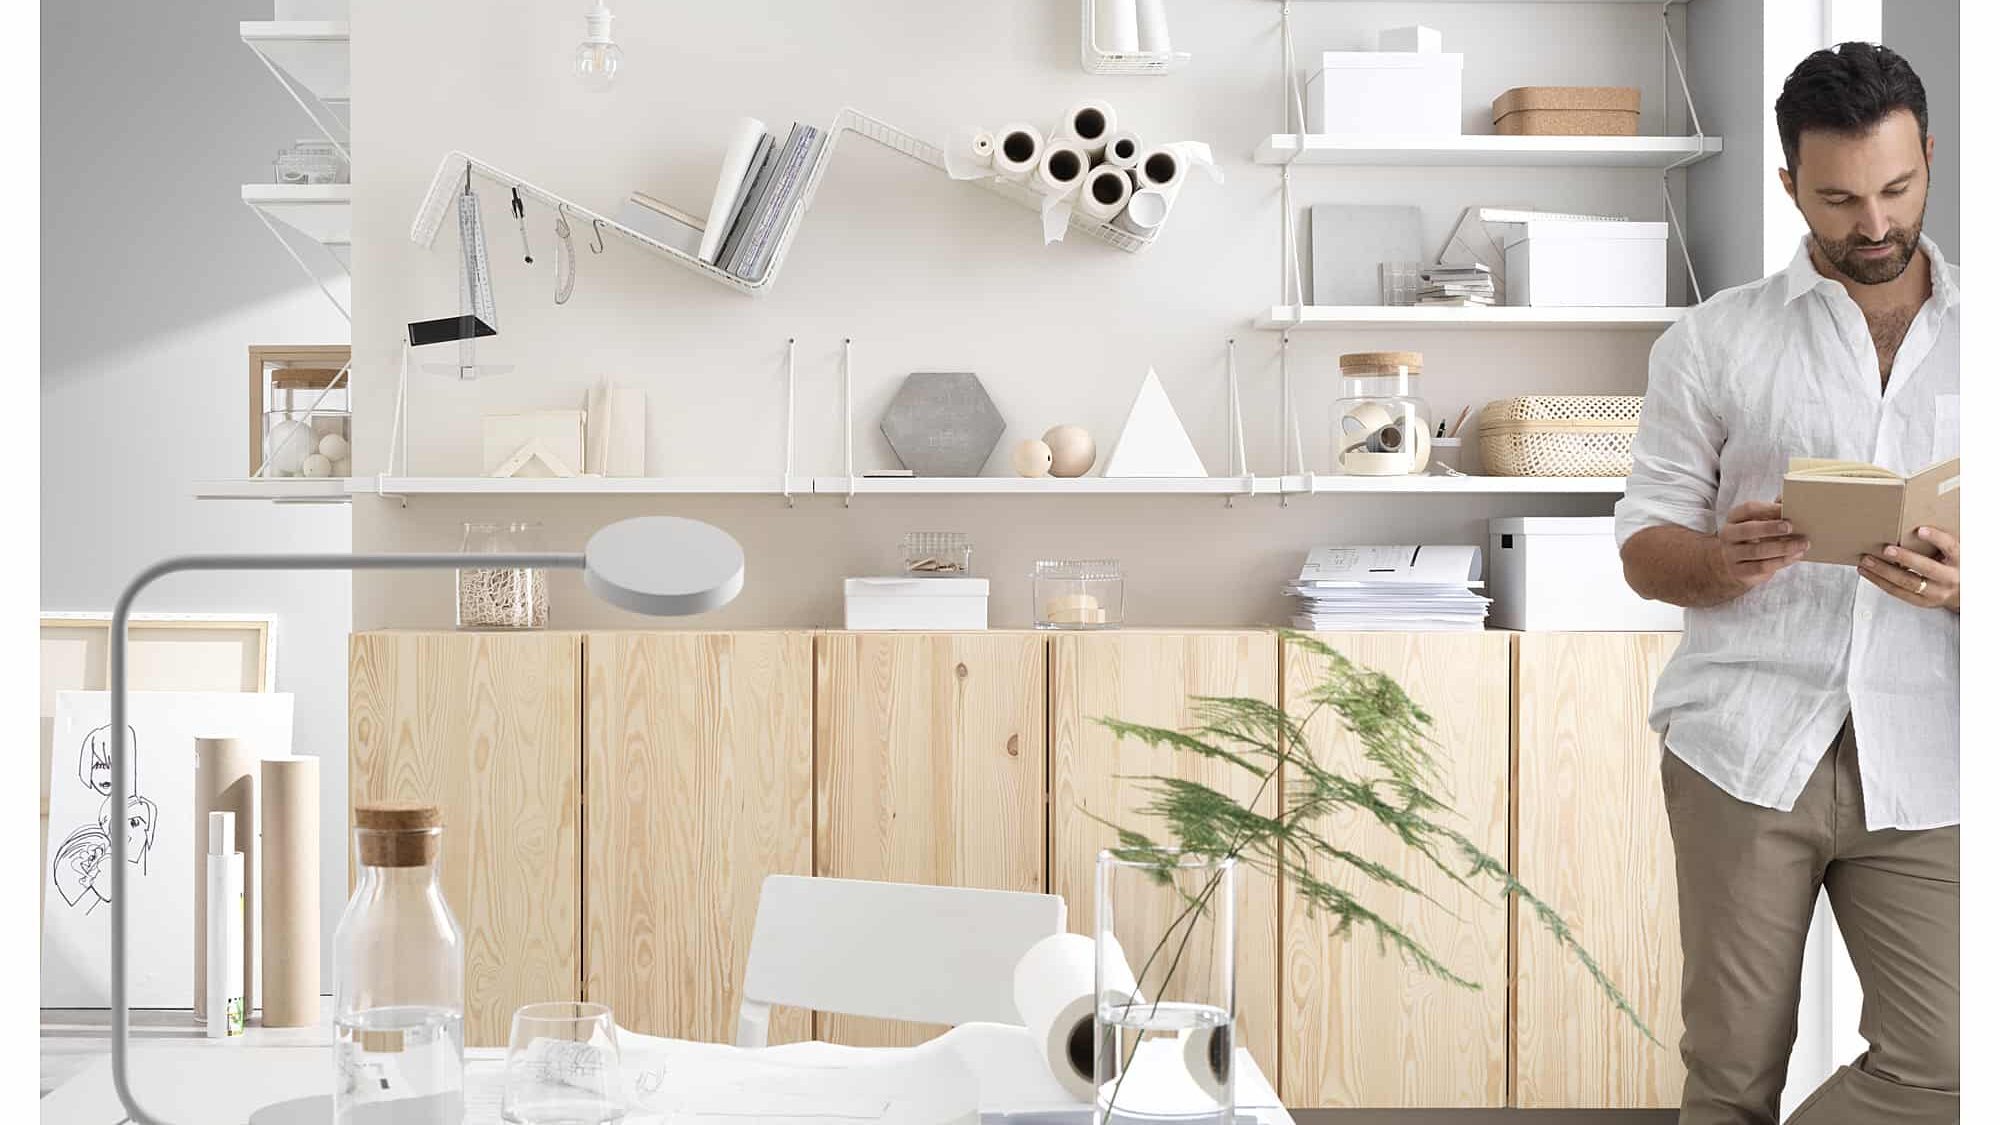
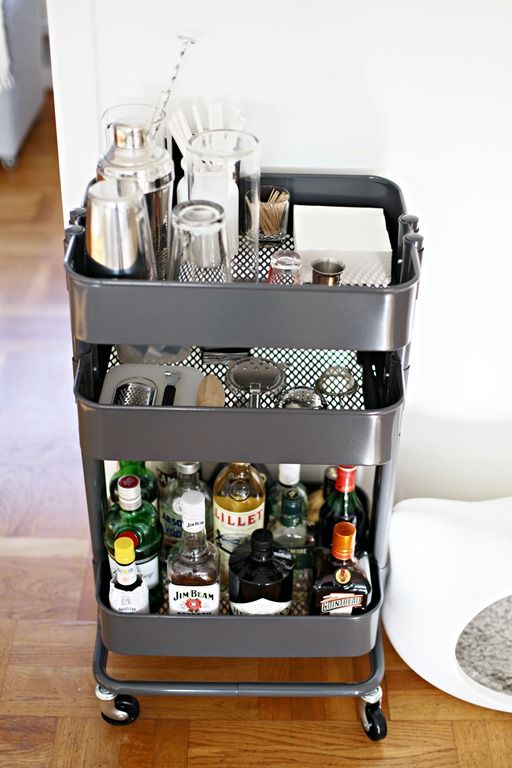
You can transform the IKEA Raskog cart into a practical mobile bar with just a few simple steps. The cart’s compact shelves are ideal for organizing bottles, glassware, and cocktail tools. Its wheels make it easy to move from your kitchen to your living or outdoor space.
Place your favorite beverages or spirits on the bottom shelf for stability. Use the middle shelf for glasses and cocktail shakers. The top shelf can hold garnish bowls, napkins, or a miniature ice bucket.
Customizing your Raskog cart allows you to match it with your decor using paints or adhesive liners. Hanging hooks or racks on the sides can give you space for bar tools or towels. The cart’s sturdy build supports the weight of multiple bottles and accessories.
This DIY project is straightforward and doesn’t require advanced skills. With minimal effort, you get a functional and stylish bar that is easy to adapt and rearrange as needed for different occasions.
8) Hemnes Console Upcycled with Upholstered Top
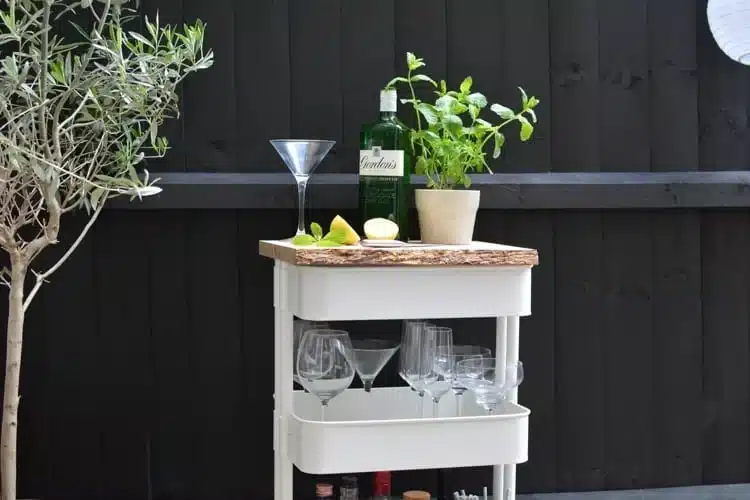
Transforming your IKEA Hemnes console is straightforward with an upholstered top. Adding a padded, fabric-covered cushion instantly boosts comfort if you use the console as a bench. It also introduces a fresh look to the classic clean design of Hemnes.
You can choose any upholstery fabric to match your decor or add a pop of color to the room. Secure dense foam to a cut-to-size plywood base, wrap it with durable fabric, and attach it to the top surface. Simple tools like a staple gun and scissors are all you need for most upholstery projects.
The rest of the console remains functional for storage. Drawers and shelves stay accessible, while the new top doubles as extra seating or a soft landing spot for bags and accessories. This hack combines visual interest with practical benefits in an easy weekend project.
9) Trofast Storage Bins as Entryway Organizer
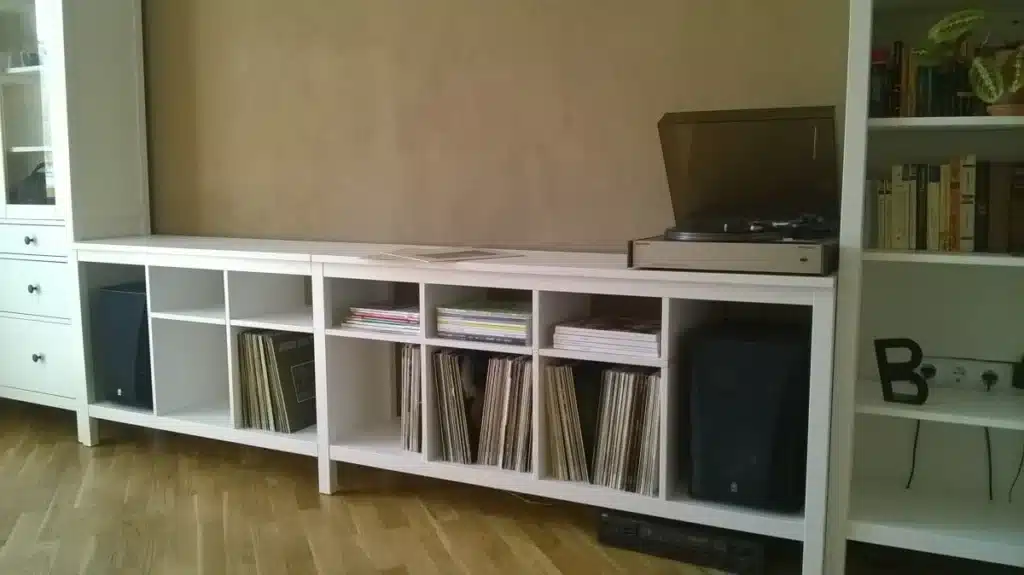
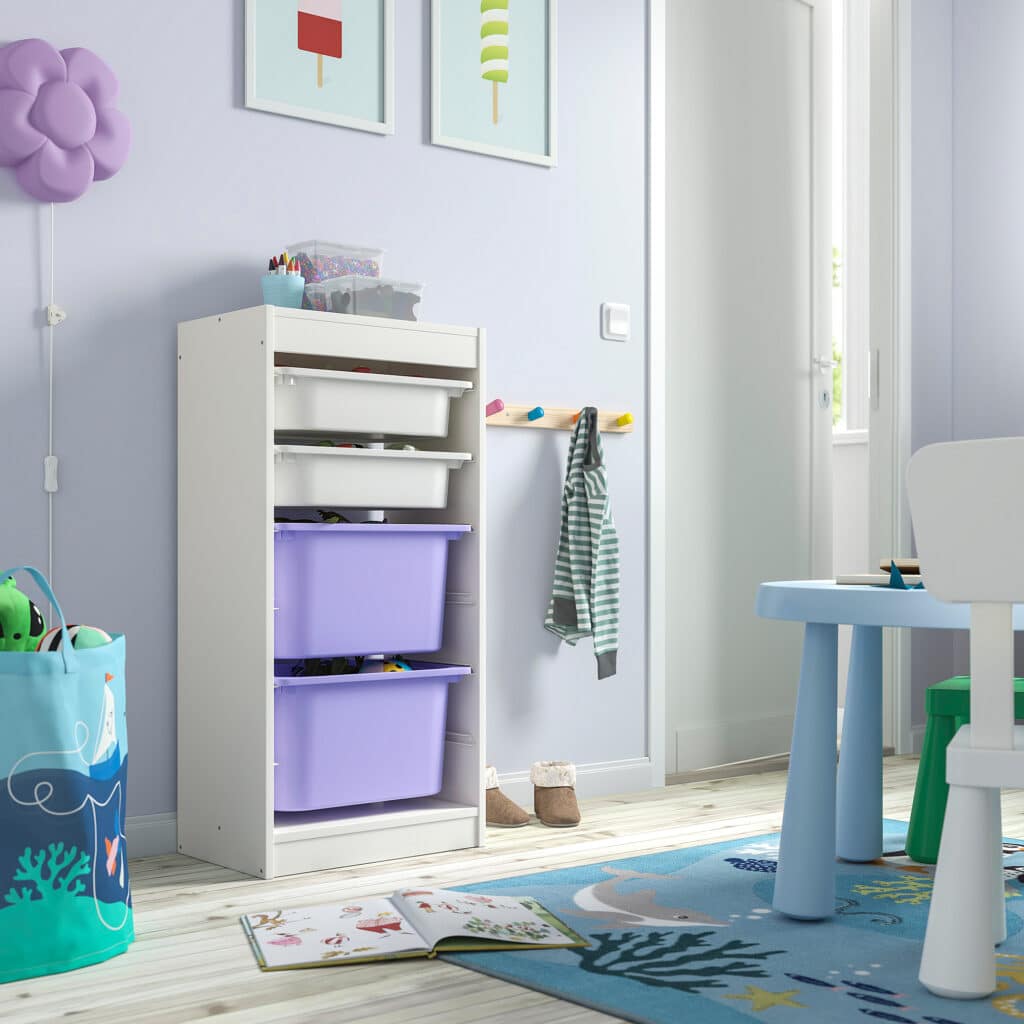
You can repurpose IKEA Trofast storage bins to create an efficient entryway organizer. The modular design lets you customize shelves and bins to fit your space and storage needs.
Install Trofast frames along the wall by the door to keep shoes, bags, and small items organized. Labeling the bins helps each family member manage their own belongings.
Consider adding hooks above the units for jackets or keys. The bins slide out easily, making daily routines smoother. You can also use different bin colors to separate types of items, like hats, scarves, or footwear.
Trofast’s sturdy construction handles frequent use and is easy to clean. With a small investment, you get a practical way to reduce clutter at your home’s entrance.
10) Laptop Desk Made from Bekant Table
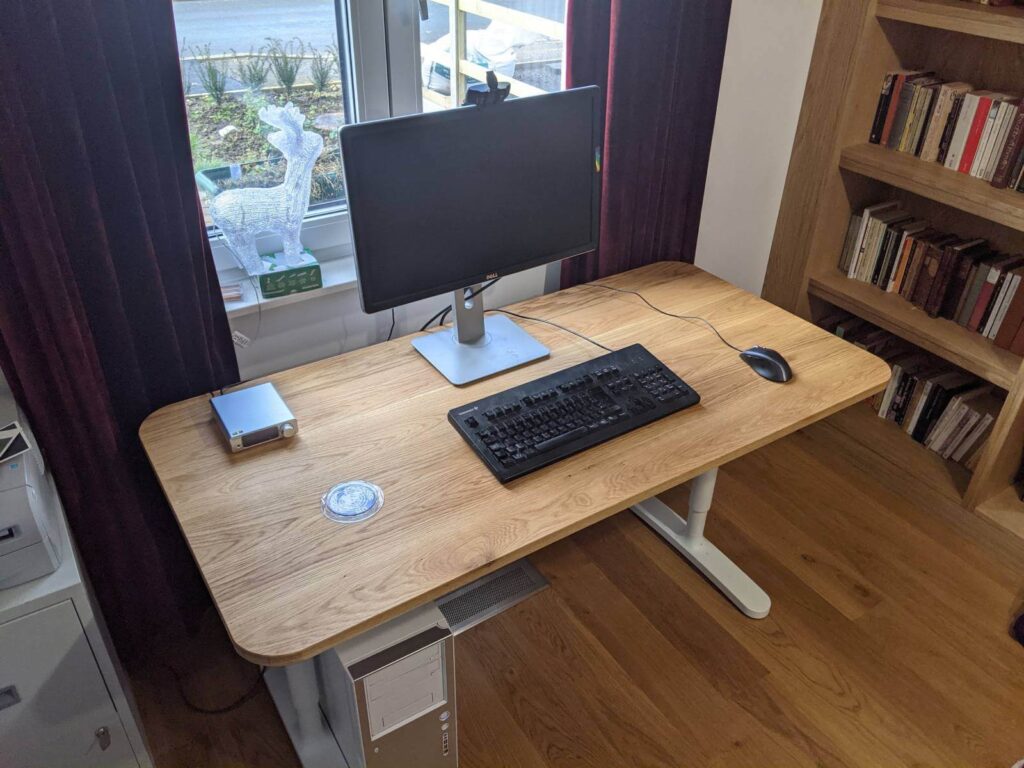
You can transform the IKEA Bekant table into a functional laptop desk with minimal effort. The tabletop is sturdy enough for regular use and is available in a variety of sizes. If you need a more tailored fit, you can cut the tabletop to your preferred dimensions.
Attach sturdy legs or use an adjustable frame for extra flexibility, such as sitting or standing positions. Many choose the IKEA UPPSEL sit-stand desk frame for easy height adjustment. It’s also possible to mount the tabletop onto drawer units for added storage.
Customize your laptop desk by adding cable management solutions or mounting power strips underneath the tabletop. If you like DIY projects, you can even integrate accessories like monitor arms or a keyboard tray.
This approach gives you an affordable and space-efficient laptop desk that fits your specific needs. Assembly is straightforward with standard tools, making it a suitable project for most home setups.
Essential Tools and Materials for IKEA Hacks
Making successful IKEA hacks starts with having the right equipment and supplies. Use this guide to select tools and finishes that will make your projects more efficient, durable, and visually appealing.
Recommended Power and Hand Tools
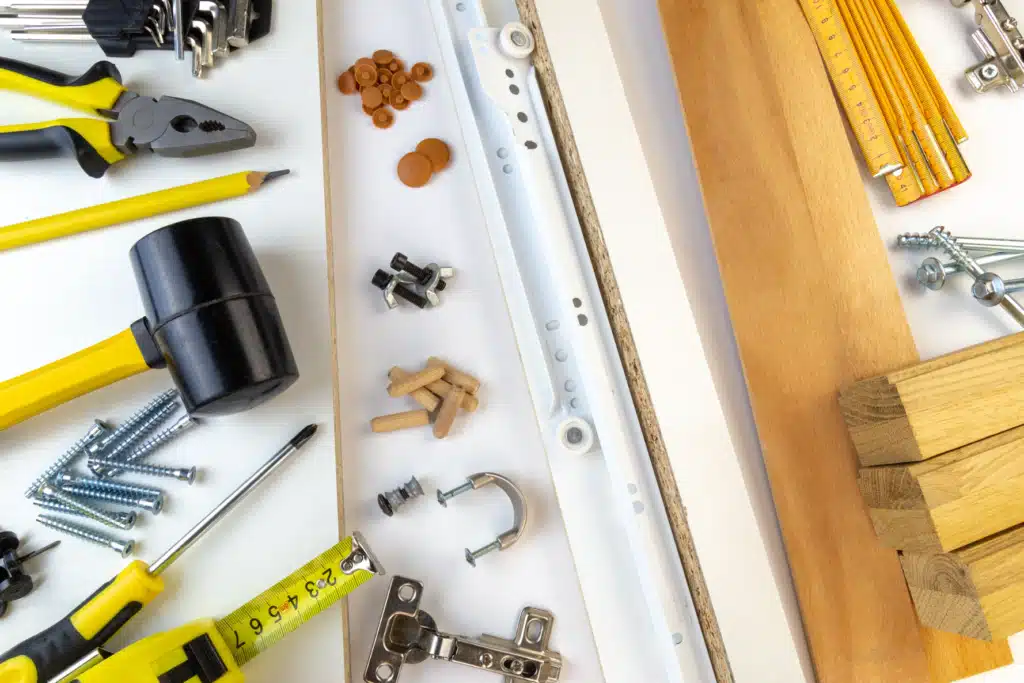
Having the right tools on hand simplifies every modification. A cordless drill with multiple bits allows you to assemble, disassemble, and alter pieces quickly. If you’re cutting MDF or particleboard, a circular saw or jigsaw will give you clean edges.
For hardware installation, use a screwdriver set (preferably both Phillips and flat-head). A measuring tape and level ensure accuracy for drilling holes and attaching hardware. Clamps can provide stability when gluing or screwing pieces together.
Here’s a quick reference table of essentials:
| Tool | Use |
|---|---|
| Cordless drill | Drilling holes, driving screws |
| Screwdriver set | Fastening and removing hardware |
| Jigsaw/circular saw | Cutting wood and panels |
| Measuring tape | Measuring and marking furniture |
| Clamps | Holding pieces steady during assembly |
| Level | Checking surfaces for evenness |
It’s also useful to have sandpaper or a sanding block to smooth rough edges before painting.
Choosing the Right Finishes and Hardware
Selecting finishes and hardware affects both the look and longevity of your IKEA hack. Use primer and paint designed for laminate or MDF to ensure proper adhesion and a durable surface. For stains, choose ones formulated for engineered wood.
When swapping out pulls or knobs, measure screw spacing to ensure your new hardware fits existing holes. Consider metal, wood, or leather hardware for distinct looks. Hinges and drawer slides should be sturdy enough for repeated use; soft-close versions add a premium touch.
For adhesives, wood glue offers long-lasting strength for joins. Use wall mounting hardware, such as anchors and brackets, for safety—especially with tall or heavy items.
Adding legs or replacement tops can further personalize your project. Always check load ratings on legs and hardware to match the scale and expected use of your piece.
Planning Your DIY IKEA Project
Accurate measurements and thoughtful preparation form the foundation of a successful DIY IKEA hack. Focusing on these areas saves time, reduces waste, and helps ensure your finished project fits your needs.
Measuring and Mapping Out Your Space
Begin by identifying the area where you want to place your IKEA project. Use a tape measure to record the width, depth, and height of the space, and double-check for features such as baseboards, outlets, or window sills that could affect the fit.
Draw a basic floor plan or sketch of the intended spot. Even a simple hand-drawn layout helps you visualize spacing and alignment. Compare your room’s dimensions with the product’s measurements listed on IKEA’s website or label.
Account for any modifications you plan to make, such as added trim or hardware. Taking clear and precise notes allows you to avoid last-minute adjustments or returning items that do not fit. Remember, it’s better to measure twice and cut once.
Safety and Preparation Tips
Prepare your work area by clearing enough space to move around freely. Place a drop cloth or sheet to protect your floors and make cleanup easier.
Wear safety glasses when drilling, cutting, or sanding, and use appropriate tools for each step. Before using power tools, check cords and batteries, and follow the manufacturer’s instructions.
Refer to IKEA’s instructions, as hardware or fastener types may vary by product. Keep all pieces organized by laying them out and labeling if necessary. Build your project on a stable surface, and don’t rush—allowing for patience and care helps minimize mistakes and injury risks.
- 3shares
- Facebook0
- Pinterest0
- Twitter3
- Reddit0

