Creating your own DIY bookshelf can transform your space while showcasing your personal style. With the right planning and materials, you can build a functional and attractive bookshelf that suits your needs. This project not only enhances your décor but also gives you a fulfilling crafting experience.
From selecting the right design to considering custom features, each step adds to the overall character of your bookshelf. You can choose from simple plans to more elaborate designs, depending on your skill level and the tools you have on hand. Regular maintenance ensures your bookshelf remains sturdy and stylish for years to come.
The flexibility of DIY projects allows you to tailor the bookshelf to fit your space and storage requirements perfectly. As you embark on this creative journey, you’ll discover the satisfaction that comes with building something from scratch.


Key Takeaways
- Proper planning is essential for a successful DIY bookshelf.
- Custom designs can enhance both functionality and aesthetics.
- Regular upkeep ensures longevity of your bookshelf.
Planning Your DIY Bookshelf
Effective planning is essential for successfully building your DIY bookshelf. Focus on choosing high-quality materials and selecting a design that meets your needs. Understanding bookshelf plans will further guide your construction process.
Choosing the Right Materials
Selecting the appropriate materials will impact both the durability and appearance of your bookshelf. Common options include:
- Plywood: Popular for its strength and versatility.
- Birch Plywood: Offers a clean finish and is resistant to warping.
- Oak Plywood: Known for its visual appeal and durability.
Other material choices may include solid wood for a classic look or MDF for a more budget-friendly option. Ensure the materials align with the design and function of your bookshelf.
Selecting a Bookshelf Design
Your bookshelf design will dictate its form and function. Consider the following styles:
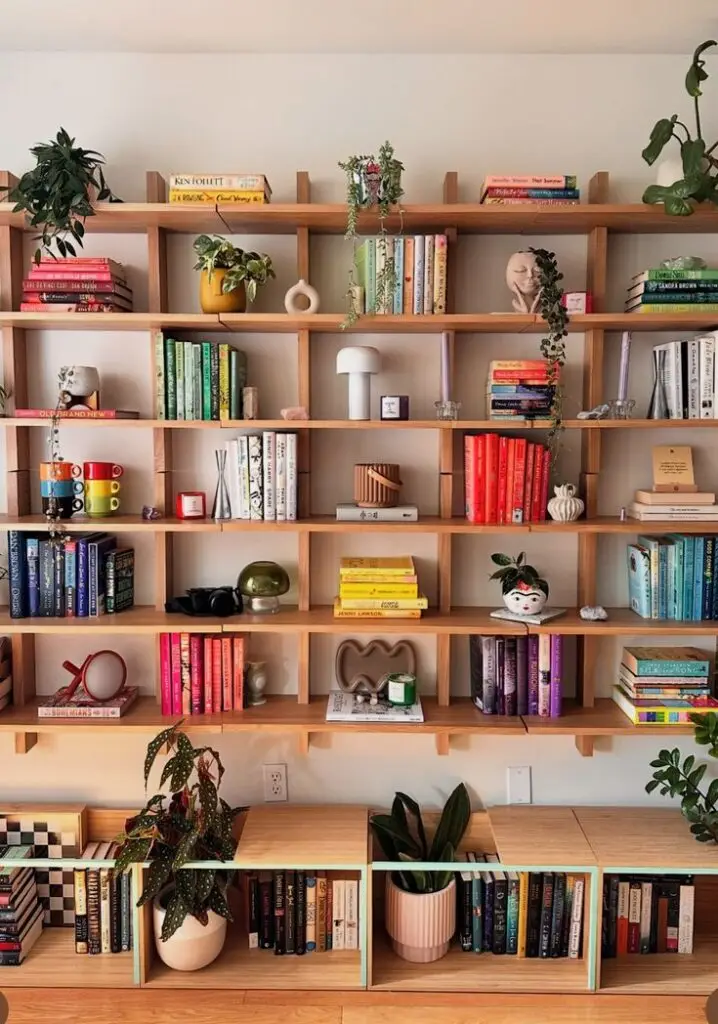
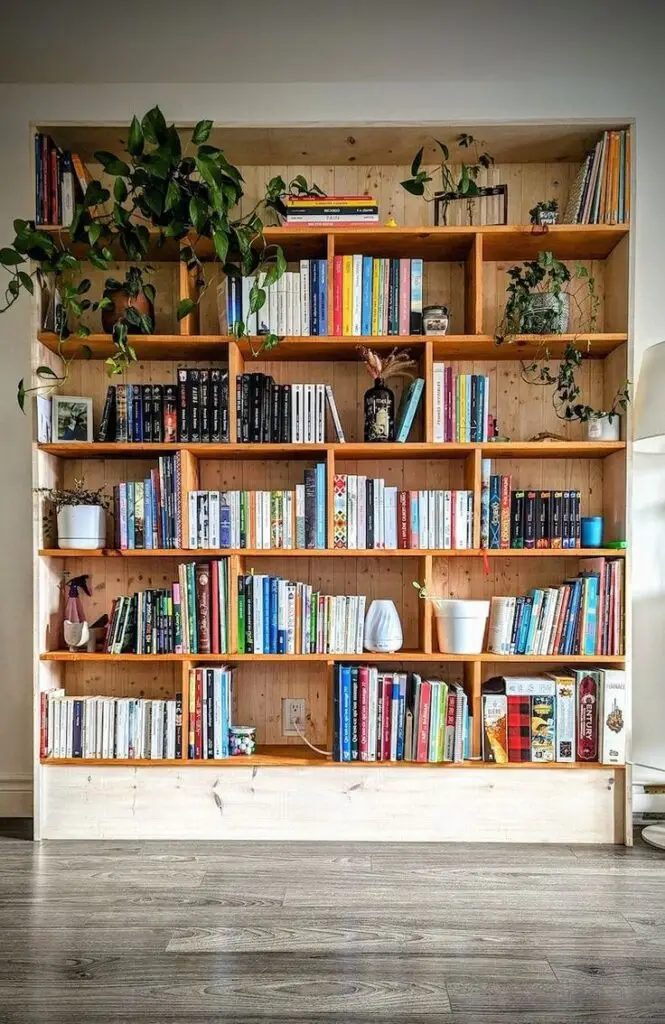
- Built-in Shelves: Efficient for maximizing space, perfect for alcoves or corners.
- Rustic Bookshelf: Emphasizes natural wood finishes, ideal for a cozy atmosphere.
- Modern Design: Features clean lines and minimalism, suitable for contemporary spaces.
Evaluate the overall look you want to achieve and the space you’re working with. Look for inspiration online or consider free DIY bookshelf plans to get started.
Understanding Bookshelf Plans
Once you have your materials and design, you can begin with bookshelf plans. These will guide your construction process and help you:
- Determine dimensions for each shelf.
- Plan for the total number of shelves based on your collection.
Free bookshelf plans can be a great resource, providing step-by-step instructions. Ensure you read through the plans thoroughly to anticipate tools and timeframes needed for your project. Taking the time to understand these factors will streamline your building experience.

Building the Bookshelf
Constructing a bookshelf involves key steps, including cutting and assembling materials, mounting it securely, and applying finishes for durability and aesthetics. Each stage is essential for achieving a practical and visually appealing book storage solution.
Cutting and Assembling
Begin by measuring your desired bookshelf dimensions. Use high-quality plywood or MDF for the shelves. A circular saw or table saw will make precise cuts.
Key Dimensions:
- Width: Determine based on your wall space.
- Height: Consider your book sizes.
- Depth: 10 to 12 inches is ideal for most books.
After cutting, assemble using wood screws and brackets for durability. If you’re building a simple bookcase or leaning bookshelf, ensure it is level during assembly. Use wood filler to cover screw holes for a smoother finish.
Mounting and Installation
Securely mounting your bookshelf is crucial. If you plan to install wall-mounted bookshelves, locate wall studs for maximum support. Use drywall anchors when necessary to enhance stability.
Installation Steps:
- Mark the wall where you’ll mount the bookshelf.
- Drill holes for your anchors or screws.
- Level the brackets before securing them.
For floating bookshelves, ensure the brackets can bear the weight of the books. Regularly check for any signs of sagging or instability once installed.
Applying Finishes
Finishing touches elevate the appearance of your bookshelf. Sand any rough edges after assembly. Apply a wood stain or paint, ensuring proper ventilation.
Finish Options:
- Stain: Enhances wood grain.
- Paint: Offers color variety and protection.
- Sealants: Ensures durability against wear.
Allow sufficient drying time between coats. This is especially important in high-use areas. The right finish will protect your bookshelf and provide a polished look, making it a standout feature in your space.
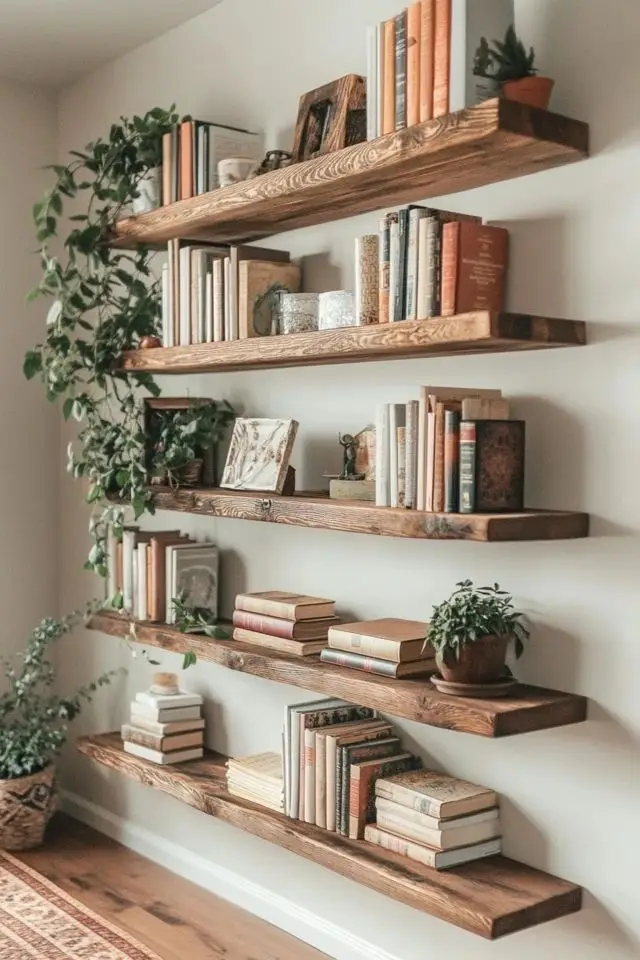

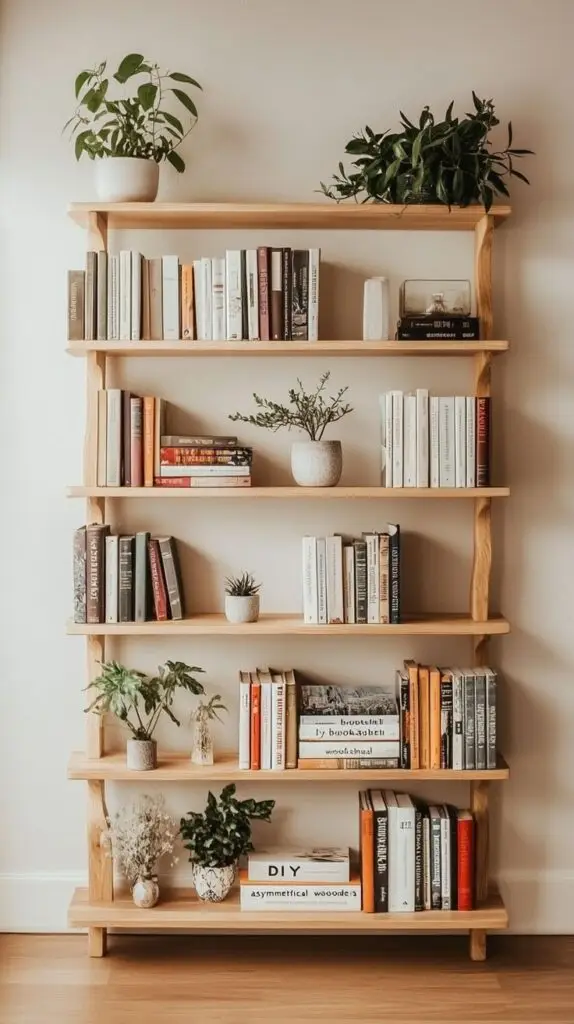
Custom Features and Designs
Customizing your DIY bookshelf opens up a world of possibilities. You can tailor the functionality and aesthetics to fit your space and style, incorporating features that make your bookshelf both practical and unique.
Incorporating Hidden Storage
Hidden storage is a clever way to maximize utility without compromising style. Consider designing compartments behind doors or drawers to conceal items like blankets, games, or seasonal décor.
For a seamless look, you might integrate a pull-out drawer beneath bottom shelves. This could serve as a hidden stash for small items, keeping your bookshelf tidy.
Tips for implementation:
- Use creating false backs to hide clutter.
- Add lift-top design elements for quick access.
- Consider a rolling bookshelf to enable easy access while maintaining a clean look.
Designing Modular and Flexible Shelves
Modular shelves give you the ability to adapt your bookshelf to changing needs. This can be as simple as adjustable heights for your shelves.
A modular bookcase can be expanded or reconfigured depending on your collection size. Additionally, using lightweight materials allows easy rearrangement.
Key elements to consider:
- Cube designs offer versatility, letting you stack or separate as needed.
- Wall-mounted options can create unique shapes and heights.
- Include casters for easy movement.
Exploring Unique Bookshelf Styles
Express your personality through unique bookshelf styles. From tree-shaped bookshelves to industrial designs, options abound.
A tree bookshelf not only saves space but also adds a whimsical touch to your room. Mixing styles can create a striking focal point.
Popular styles to consider:
- Midcentury designs feature clean lines and functionality.
- Cottage-style bookshelves often utilize distressed wood for a warm, inviting feel.
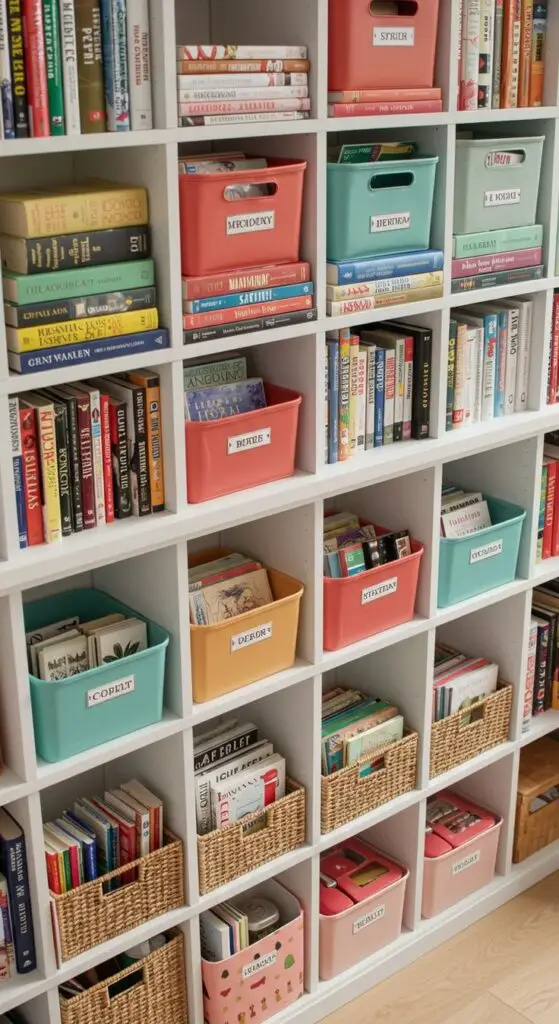
- A cubby bookshelf offers organized compartments and a playful structure.
With endless possibilities, your DIY bookshelf can be a reflection of both your practicality and creativity.

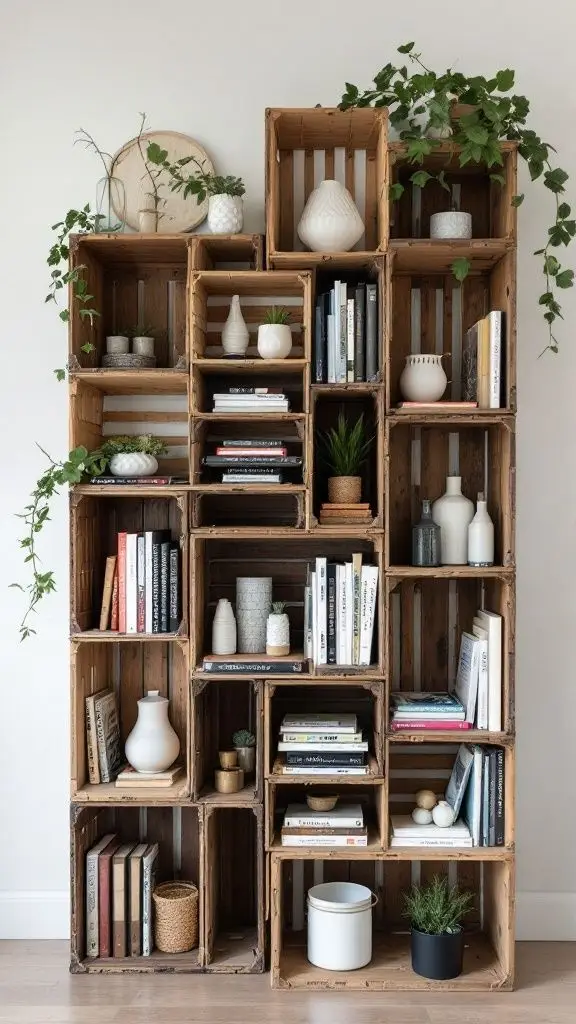
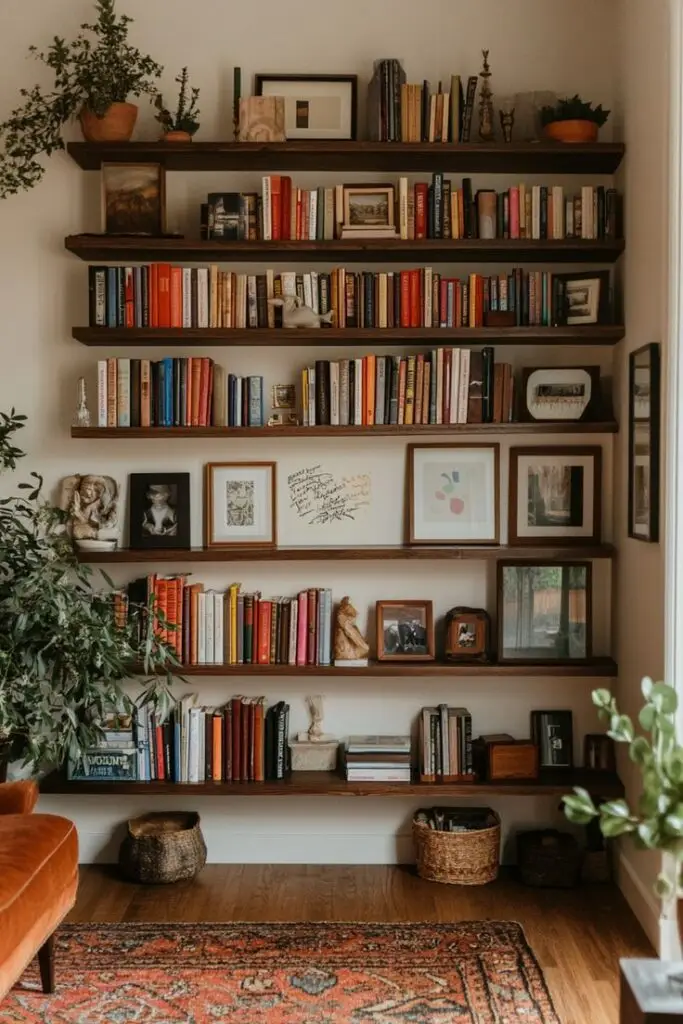
Bookshelf Maintenance and Upkeep
Maintaining your DIY bookshelf is essential for longevity and appearance. Regular care ensures that it remains functional and aesthetically pleasing.
Dust Regularly: Use a soft cloth or microfiber duster to remove dust. This prevents buildup and keeps surfaces clean.
Check Stability: Inspect wall-mounted and freestanding bookshelves for stability. Tighten screws or brackets if they become loose.
Monitor Weight Capacity: Avoid overloading shelves, especially for built-in bookcase plans. Follow manufacturer guidelines for weight limits to prevent sagging.
Repair Damage Promptly: Address scratches or dents on your cottage style bookshelf with wood filler or touch-up paint. This prevents further deterioration.
Maintain Finish: For wood bookshelves, apply a suitable wood polish quarterly. This keeps the wood nourished and vibrant.
Inspect Backer Board: Ensure backer boards in slat wall bookshelves are secure. Replace any damaged boards to maintain structural integrity.
Hidden Storage Drawers Care: Regularly check hidden storage drawers for smooth operation. Clean the tracks if necessary to prevent sticking.
Seasonal Care: In humid conditions, add silica gel packs to small wooden bookshelves to combat moisture. This helps prevent warping.
By following these maintenance tips, you can ensure your bookshelf remains a functional and attractive part of your home for years.
Frequently Asked Questions
Building a DIY bookshelf involves understanding the necessary materials and techniques. You can achieve a sturdy design through wood selection, customization, and even alternative materials like cardboard.
What materials do I need to build a simple bookshelf at home?
To build a simple bookshelf, you will need the following materials: plywood or solid wood for the shelves, wood screws or nails, wood glue, sandpaper, and paint or wood stain for finishing. Additionally, consider brackets or L-braces for added support.
How can I create a sturdy bookshelf using wood?
Choose high-quality wood, such as pine or oak, to ensure strength. Use proper joinery techniques, like mortise and tenon or pocket hole screws, to enhance sturdiness. Ensure the bookshelf is properly anchored to the wall for stability.
In what ways can I customize a built-in bookshelf for my living space?
You can customize a built-in bookshelf by adjusting the size to fit your space, choosing unique dimensions for each shelf, and incorporating design elements like crown molding. Adding lighting or decorative backing can also enhance its appearance.
What are some creative ideas for constructing a bookshelf for my children’s room?
Use bright colors or fun shapes to engage children. Consider incorporating interactive elements like a chalkboard or magnetic board. You can also build a low bookshelf to make it easily accessible for kids.
How do I construct a bookshelf using cardboard?
Start by cutting cardboard sheets into desired shelf dimensions. Reinforce with additional layers or folds to increase strength. Assemble the pieces using glue or tape, ensuring stability by securing the bookshelf to a wall if necessary.
What are the steps for securely mounting a DIY bookshelf to a wall?
To mount a DIY bookshelf, first locate the wall studs using a stud finder. Mark the spots where the brackets will be attached, making sure they align with the studs. Secure the brackets firmly using screws, then place the bookshelf on top and check for levelness.
- 2.2Kshares
- Facebook0
- Pinterest2.2K
- Twitter3
- Reddit0
