Autumn brings a crispness to the air and a palette of rich colors that inspire creativity. Making your own DIY autumn soap allows you to capture the essence of the season in a practical and enjoyable way. Crafting your seasonal soap not only enhances your home’s scent and aesthetics but also provides a personal touch that store-bought soaps can’t replicate.
You can experiment with various fall scents, colors, and designs to reflect the beauty of this time of year. With a few essential ingredients and the right techniques, you will find that soap making is straightforward and fulfilling. Embrace the flavors and fragrances of autumn as you create unique pieces that are perfect for gifting or personal use.
Key Takeaways
- Discover the charm of creating seasonal scents in your soap.
- Learn simple techniques for handcrafting personalized autumn soap.
- Find inspiration for unique designs and packaging to enhance your creations.
The Appeal of Fall Scents
Autumn brings a unique blend of scents that evoke feelings of warmth and comfort. These fragrances can significantly enhance your mood and create an inviting atmosphere in your home.
Understanding Aromatherapy
Aromatherapy uses essential oils to improve physical and emotional well-being. Fall scents, in particular, can stimulate memories and feelings associated with the season.
Key benefits of fall aromas include:
- Stress Relief: Scents like cinnamon and clove can help reduce anxiety.
- Improved Mood: Fragrances such as sweet orange uplift the spirit.
- Seasonal Ambiance: Fall scents create a cozy atmosphere, making your space inviting.
Incorporating these scents into your DIY soap can provide both therapeutic benefits and a nostalgic connection to autumn.
Popular Fall Essential Oils
Several essential oils capture the essence of fall, each offering distinct aromas and benefits. Here are some favorites:
Cinnamon Essential Oil: Warm and spicy, it evokes the feeling of freshly baked goods. Known for its stimulating properties, it can enhance focus.
Clove Essential Oil: Rich and earthy, clove has warming qualities that promote relaxation. It can also boost immunity.
Black Pepper Essential Oil: This spicy oil adds depth to your fall creations. It’s known for improving circulation and providing warmth.
Cardamom Essential Oil: Sweet and herbal, cardamom offers a refreshing quality. It aids digestion and can enhance clarity of thought.
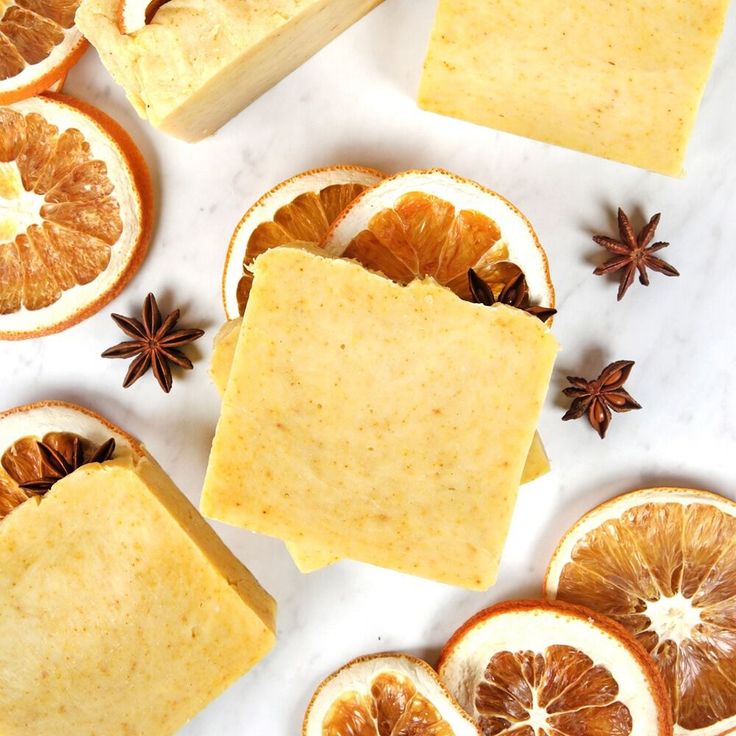
Sweet Orange Essential Oil: Bright and cheerful, it brings a lively touch to your soaps. Its uplifting scent helps relieve stress and elevate mood.
Using these essential oils in your DIY autumn soap can enrich your bathing experience and create a nurturing environment during the fall season.
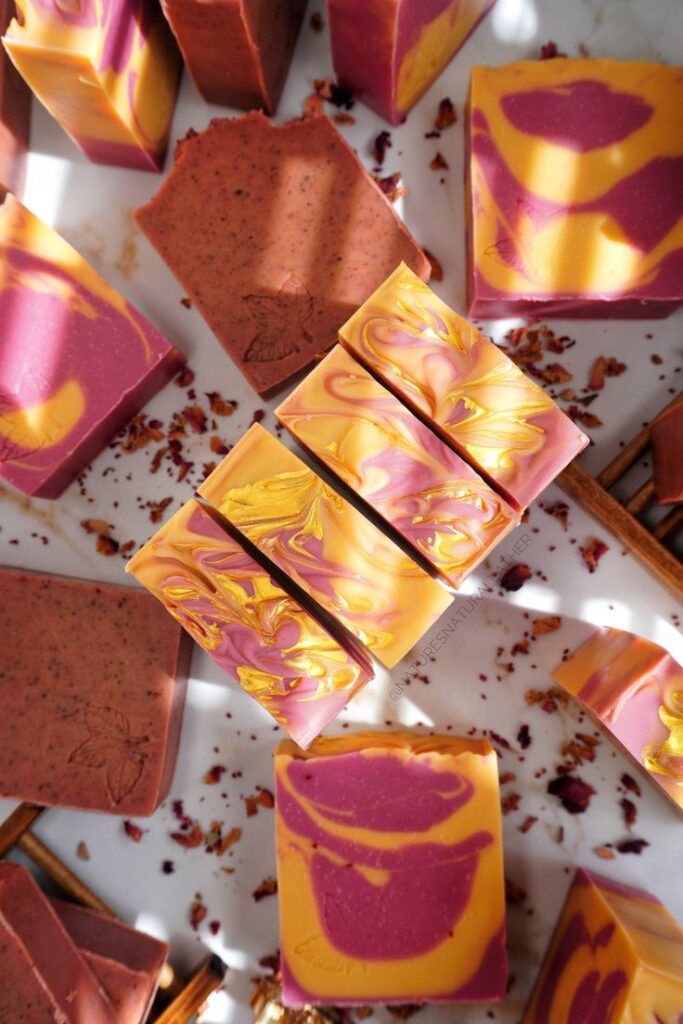
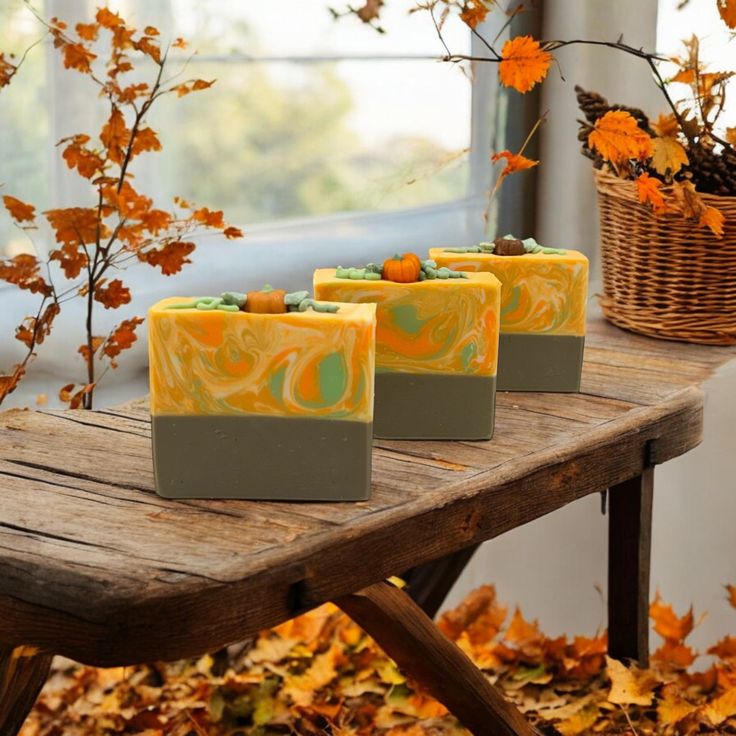
Fundamentals of Soap Making
Understanding the basics of soap making is essential for creating high-quality products. You must decide on the right soap base and choose between cold process and melt-and-pour methods to achieve the desired results.
Choosing the Right Soap Base
Selecting a soap base is a crucial step in your soap-making journey. There are two main options: melt and pour, or the cold process.
Melt and Pour Soap Base:
- Pre-made bases are available in glycerin, shea butter, or goat milk varieties.
- Ideal for beginners due to its ease of use and immediate results.
- Allows for customization with colors, fragrances, and natural ingredients.
Cold Process Soap Base:
- Requires mixing oils with lye, which produces a chemical reaction known as saponification.
- Offers greater control over ingredients and textures.
- Requires more time for curing, typically 4-6 weeks before use.
Both options have unique benefits, so choose based on your skill level, desired characteristics, and available time.
Cold Process vs. Melt and Pour
Understanding the differences between cold process and melt and pour methods helps refine your soap-making approach.
Cold Process:
- Involves precise measurements and safety precautions due to lye handling.
- Produces a richer lather and longer-lasting soap.
- You can experiment with natural ingredients such as herbs and essential oils for unique effects.
Melt and Pour:
- Simplifies the process with pre-made soap bases, allowing for quick crafting.
- Less time-consuming since you can use the soap immediately after cooling.
- Excellent for creative designs, layering, and intricate molds.
Choose the method that aligns with your goals, whether it’s experimenting with complex formulations or enjoying a straightforward, creative activity.
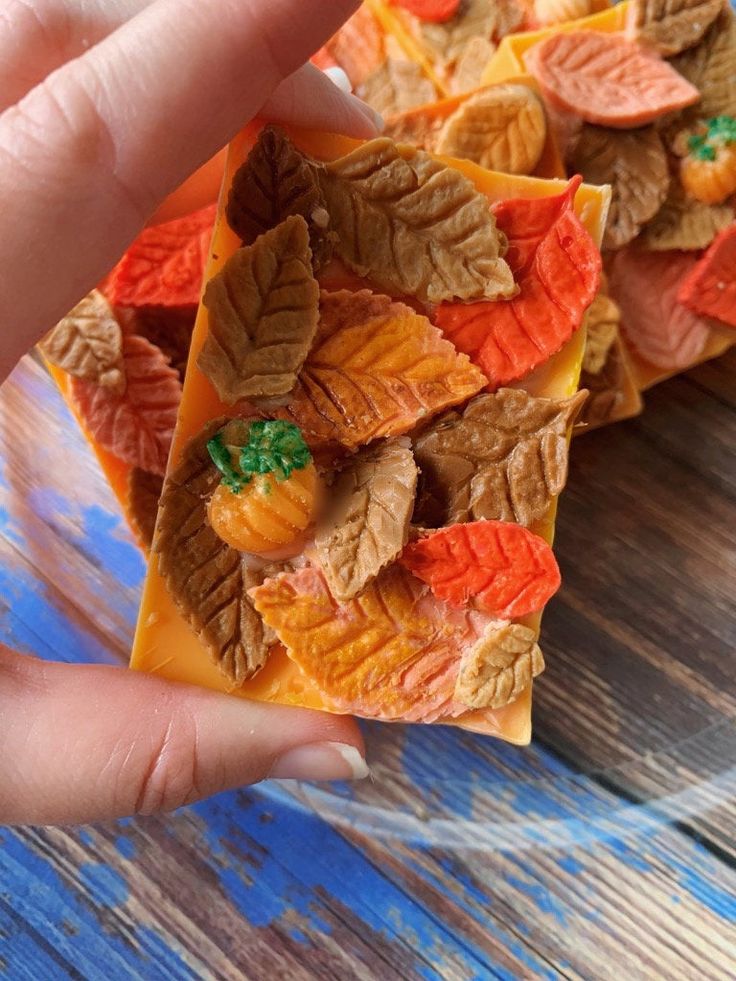
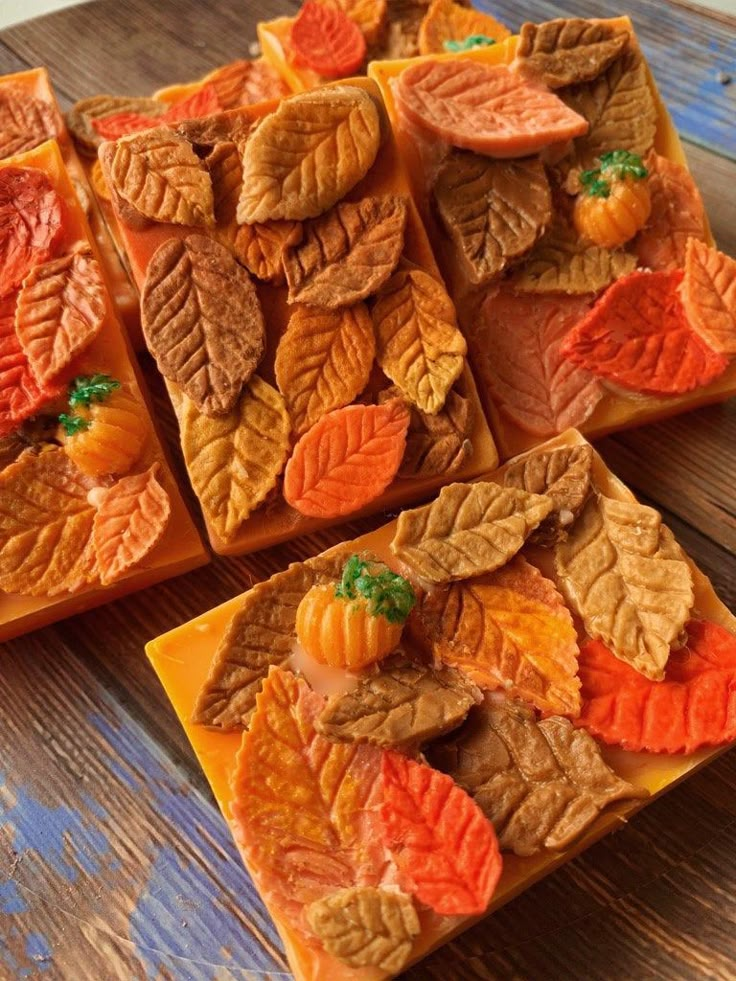
Designing Your Autumn Soap
Creating autumn soap involves careful selection of molds and thoughtful choices for colors and texture. These elements can evoke the essence of the season and enhance the sensory experience of your soap.
Selecting Fall Themed Molds
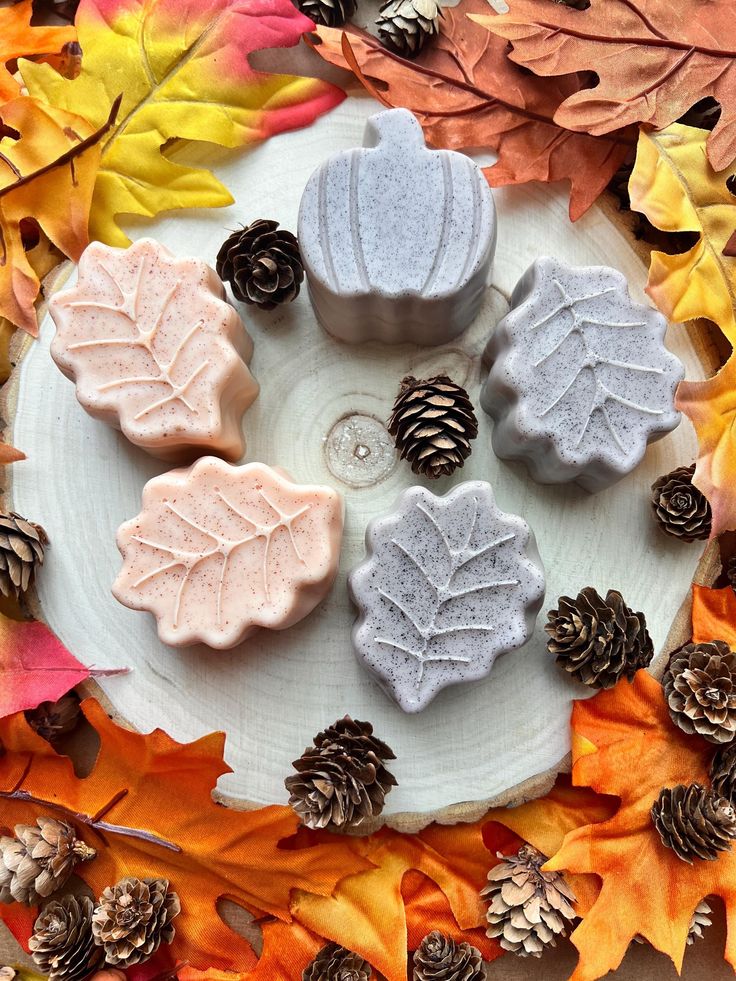
Choosing the right soap mold is crucial for achieving a seasonal feel. Look for molds in leaf, pumpkin, or acorn shapes to capture the spirit of autumn.
Using silicone molds ensures easy release and allows for intricate designs. Some options include:
- Leaf Molds: Mimic the shape and texture of fallen leaves.
- Pumpkin Molds: Create a whimsical, festive look.
- Acorn Molds: Add a subtle nod to autumn foliage.
Consider the size of your molds as well; larger bars can provide a more substantial feel while smaller bars may be more convenient for gifting.
Coloring and Exfoliation Options
Color is essential for making your autumn soap visually appealing. Use natural additives to create warm hues reminiscent of fall. For instance, you can add:
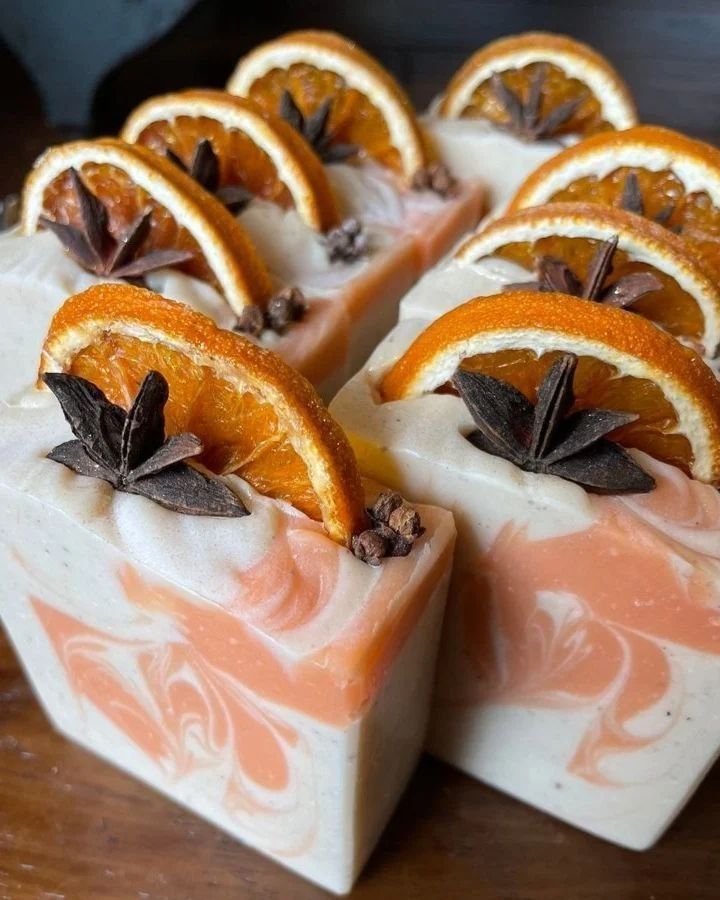
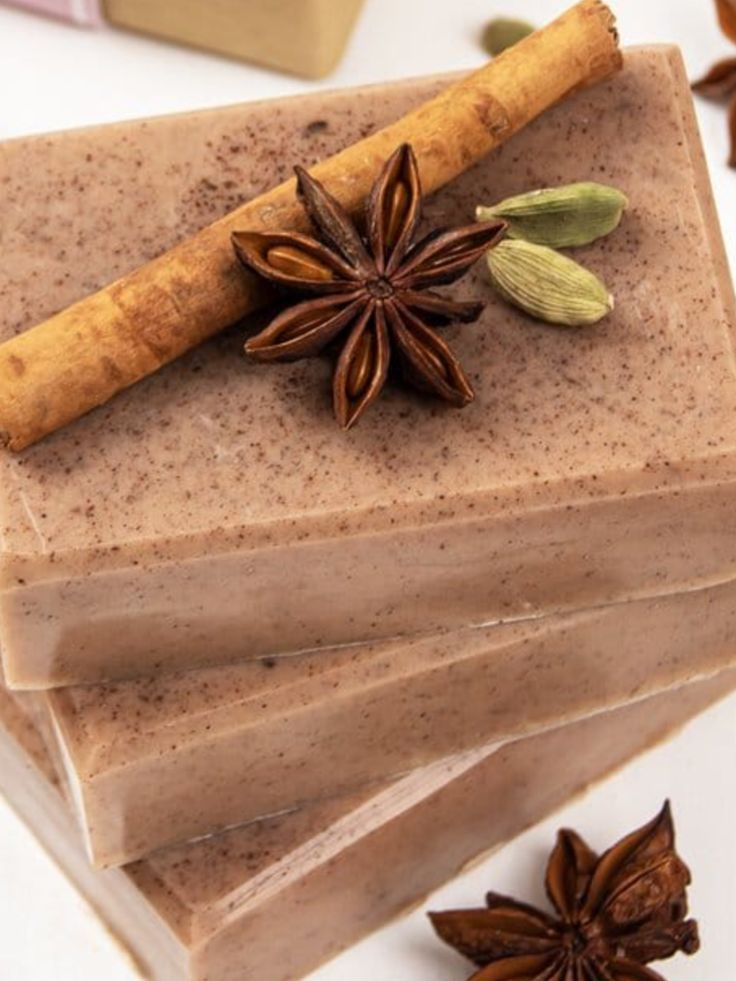
- Cinnamon: Offers a rich, warm color and a pleasing aroma.
- Turmeric: A vibrant yellow, perfect for a sun-kissed effect.
- Paprika: Adds a reddish tone, enhancing the fall palette.
Incorporating exfoliation elements can heighten the sensory experience. Ground cinnamon not only adds aesthetic warmth but also provides gentle exfoliation, leaving skin smooth.
You might also consider adding oatmeal for a gentle scrub or dried herbs for visual and textural interest. This combination of color and texture will elevate your autumn soap, making it a delightful treat.


Creating the Perfect Fall Essential Oil Blend
Crafting an autumn-inspired essential oil blend can elevate your DIY soap projects. By focusing on key seasonal scents, you can create fragrances that embody the essence of fall.
Recipes for Fall Soap Scents
Consider these essential oil combinations to capture autumn aromas in your soap:
Pumpkin Spice Blend:
- 3 drops cinnamon essential oil
- 2 drops clove essential oil
- 5 drops sweet orange essential oil
Crisp Autumn Air:
- 4 drops fir needle essential oil
- 3 drops cedarwood essential oil
- 2 drops bergamot essential oil
Harvest Blend:
- 2 drops nutmeg essential oil
- 4 drops vanilla essential oil
- 3 drops rosemary essential oil
Experiment with these recipes to find your favorite scent profile. Each combination offers a unique reflection of the season, making your soap special.
Blending Techniques
When creating your fall essential oil blends, consider these techniques for optimal results:
Start with a Base: Use a neutral carrier oil or base to dilute your essential oils. This helps to combine the scents without overwhelming any single note.
Layering Scents: Add essential oils in layers. Begin with the base notes (like cedarwood), then add middle notes (such as sweet orange), followed by top notes (like cinnamon) to create depth.
Test and Adjust: Always test your blend in a small batch before committing it to your soap. Modify the ratios based on your preference, ensuring a balanced fragrance.
These methods will help you achieve the perfect blend to enhance your DIY autumn soap creations.
The Process of Handcrafting Soap
Creating your own homemade soap is a rewarding experience. You can choose your ingredients and customize scents and colors to match the autumn season. Here’s how to get started.
Preparing Your Workstation
Your workstation should be clean and organized. Gather all necessary supplies before you begin.
Essential tools:
- Safety goggles and gloves
- Food scale
- Measuring cups and spoons
- Stick blender
- Soap molds
- Thermometer
Make sure your area is well-ventilated, especially when handling lye for cold process soap. Lay down newspaper or a silicone mat to protect the surfaces.
Store ingredients like essential oils, lye, and fats in clearly labeled containers. This prevents any mix-ups and ensures safe handling.
Steps for Cold Process Soap Making
Cold process soap making involves a chemical reaction called saponification. This requires lye, oils, and careful temperature control.
- Measure ingredients precisely using a scale. Typical ratios are around 33% lye to 67% oils.
- Mix lye and water in a well-ventilated area. Always add lye to water, not the other way around to prevent dangerous reactions.
- Heat your oils to between 95°F and 110°F.
- Once both mixtures are at the same temperature, combine them using a stick blender. Blend until “trace” is reached, which means the mixture will leave a trail when drizzled.
- Add colorants and scents, then pour into molds. Allow it to cure for 24-48 hours.
Cut the soap after it hardens and let it cure for 4-6 weeks.
Steps for Melt and Pour Soap Making
Melt and pour soap making is simpler and doesn’t require lye, making it accessible for beginners.
- Choose a melt and pour soap base. Options include glycerin, shea butter, or goat’s milk. Cut it into small cubes for easy melting.
- Melt the base using a microwave or double boiler. Heat it gently, stirring frequently until fully liquefied.
- Once melted, add colors, fragrances, and any additives like oatmeal or dried flowers. Mix well.
- Pour the mixture into molds. You can use silicone molds for easy removal.
- Let the soap harden at room temperature. This typically takes a few hours.
Once set, you can remove it from molds and package your DIY soaps.
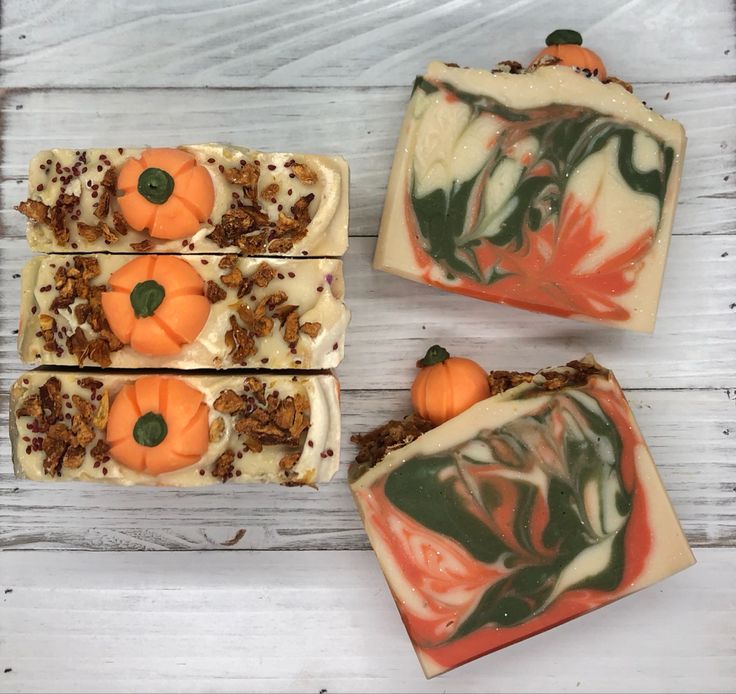
Dilution and Safety
When creating DIY soaps, focusing on the correct dilution and safety measures is essential. This ensures your products are effective and safe for use.
Measuring Essential Oils
Essential oils are concentrated and potent substances. When adding them to your soap, it’s crucial to measure accurately to avoid skin irritation. A safe dilution ratio is typically around 3-5% for most soaps.
For example, if you’re making a batch that weighs 500 grams, this translates to 15-25 grams of essential oil. Use a scale for precision, and consider creating essential oil blends to achieve desired scents. Always choose distilled water in your recipes to enhance the quality and longevity of your soap.
Keep in mind that some oils, like cinnamon or clove, may require even lower amounts due to their potency.
Understanding Lye Safety
Lye is necessary for saponification but requires careful handling. Always mix lye with water in a well-ventilated area and wear protective gear, including gloves and goggles.
When combining lye and water, always add lye to water, not the other way around. Doing so prevents violent reactions that can lead to splashes.
Store lye in a safe, cool place, away from children and pets. For your safety, keep a vinegar solution nearby; it can neutralize lye spills.
Knowing these safety protocols ensures your soap-making experience is productive and hazard-free.
Specialty Soaps
Creating specialty soaps allows you to tailor your products for specific needs and occasions. This section explores two appealing options: foaming hand soap and soap designed specifically for cold and flu season.
Foaming Hand Soap
DIY foaming hand soap is an excellent project for autumn. Using a foaming soap dispenser makes it easy to create a luxurious lather while saving product.
To make your own, combine:
- 1 cup of unscented castile soap
- 1 cup of distilled water
- 10-15 drops of your preferred essential oils (like tea tree or lavender)
Mix the ingredients in a bowl before transferring them to the dispenser. The ratio of castile soap to water keeps it effective while ensuring it doesn’t clog the dispenser. This recipe allows you to experiment with scents while ensuring a gentle wash for your hands.
Soap for Cold and Flu Season
When the cold and flu season approaches, a specialized soap can help maintain hygiene and comfort. Consider adding essential oils known for their antiviral properties.
Ingredients to include:
- 1 cup unscented castile soap
- 2 tablespoons of glycerin (for moisture)
- Essential oils like eucalyptus, peppermint, or lemon (10-15 drops)
This combination helps wash hands effectively while providing a soothing scent that can clear airways. Glycerin adds moisturizing benefits, preventing drying during frequent hand washing.
Make sure to label your soap clearly and store it in a cool place. Customizing your soap not only enhances your washing experience but also aids in protecting your health throughout the season.
Customizing Your Soap
You can enhance your DIY autumn soap by selecting unique oils and adding personalized elements. These adjustments allow you to cater the soap to your scent preferences and skin care needs.
Incorporating Unique Oils
To achieve distinctive scents and moisturizing properties, consider using various oils. Almond oil, especially sweet almond oil, is great for hydration and provides a light, nutty fragrance. Fractionated coconut oil also works well as it remains liquid at room temperature, making it an excellent carrier oil for essential oils.
Another option is to use glycerin, which adds clarity and increases the soap’s moisturizing properties. Experiment with these oils individually or in combinations to create a blend that suits your preferences. For a warm autumn aroma, you might mix in cinnamon leaf essential oil for a spicy, comforting note.
Adding Personal Touches
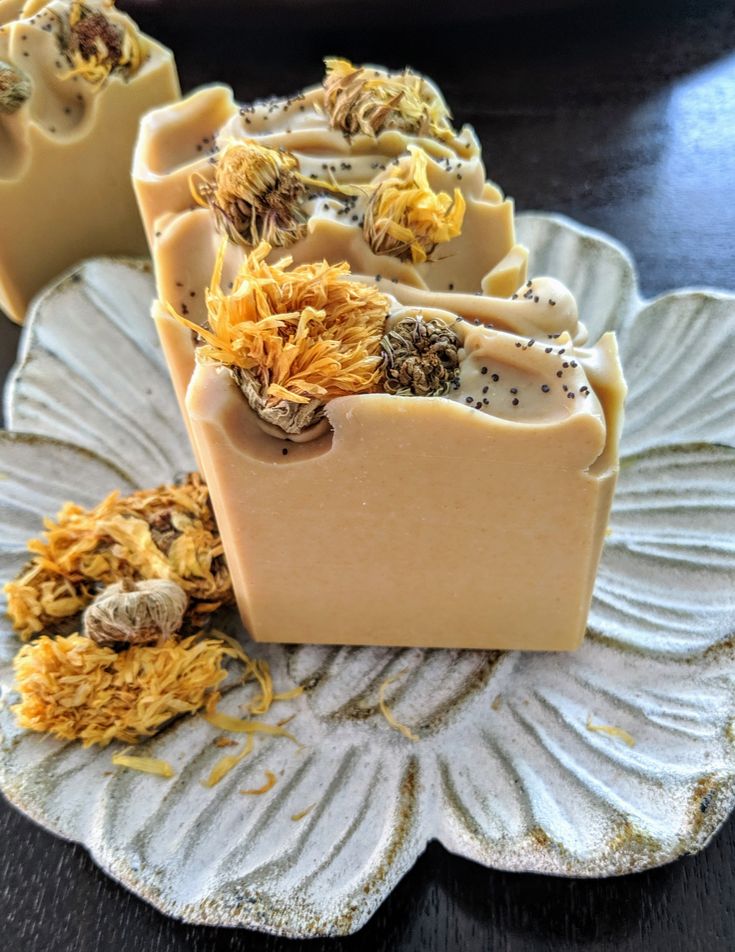
Personalization can make your soap truly unique. Consider adding natural colorants like turmeric for a warm hue or swirling in pumpkin puree for texture and a seasonal touch.
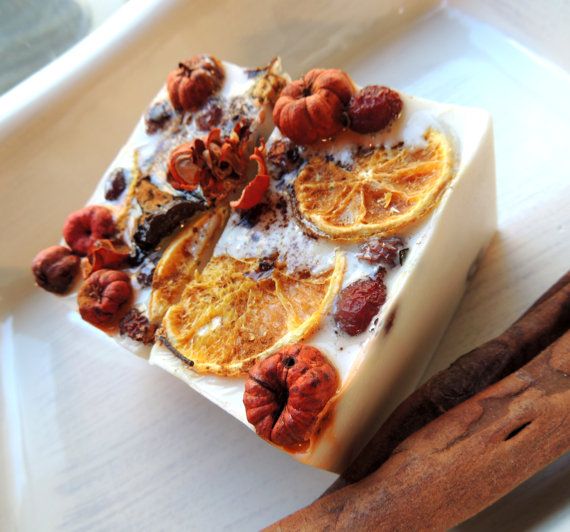
You can also integrate dried herbs or flowers, such as calendula petals or cinnamon sticks, for a rustic appearance. Additionally, customizing the shape of your soap using molds can enhance its visual appeal. Finally, label your soap with a personalized tag that reflects the autumn theme, making it perfect for gifting or decoration.
Packaging and Presentation
Effective packaging and presentation enhance the appeal of your DIY autumn soap. Thoughtful choices not only improve aesthetics but also communicate your brand values to customers.
Eco-Friendly Packaging Ideas
Opt for sustainable materials to package your homemade hand soap. Consider using recycled cardboard boxes or biodegradable wrappers. These options reduce environmental impact and align with eco-conscious consumer preferences.
You can also use glass or metal containers, which are reusable and recyclable. For a rustic touch, try wrapping your soap in brown kraft paper tied with twine.
Add natural elements like dried leaves or small pinecones for seasonal flair. Avoid plastic whenever possible; consumers appreciate brands that prioritize sustainability.
Labeling and Branding your Soap
Clear labeling is crucial for your homemade hand soap. Use waterproof labels to ensure durability. Essential details to include are the product name, ingredients, and net weight.
Branding matters too. Incorporate your logo and choose a color palette that resonates with autumn themes. Warm shades like orange and deep red can evoke seasonal feelings.
You may also want to add a short description highlighting the benefits of your ingredients. Utilizing handwritten labels can add a personalized touch and create a more inviting appeal.
Seasonal Inspiration
Autumn is a time filled with rich colors and comforting scents, perfect for creating seasonal soaps. You can draw inspiration from the flavors and experiences associated with fall to craft unique DIY soaps that resonate with this vibrant time of year.
Capturing the Essence of Fall
To embody the spirit of autumn in your soap, consider incorporating scents that reflect the season. Cinnamon, clove, and nutmeg are excellent choices, often reminiscent of apple pie baking in the oven.
Using natural ingredients can enhance your creations. For instance, pumpkin puree not only adds a beautiful hue but also provides skin-nourishing vitamins. You might create a pumpkin spice soap that combines these spices with a creamy base for a delightful aroma and a smooth texture.
Consider using essential oils like sweet orange for a refreshing twist, pairing it with the warmth of spices to evoke memories of warm family gatherings.
From Apple Orchard to Pumpkin Spice
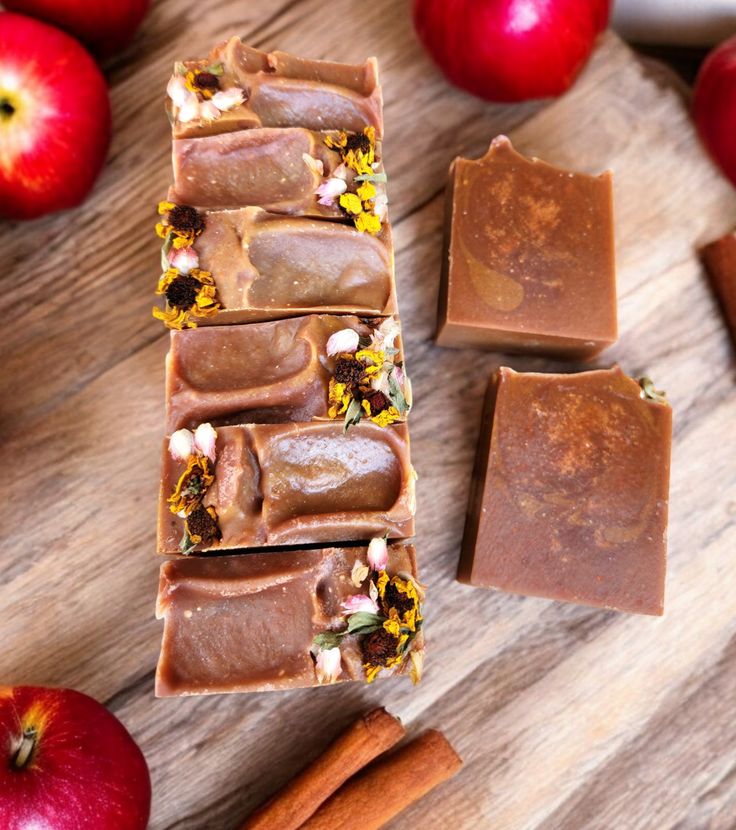
Drawing inspiration from local apple orchards can lead you to creative soap ideas. Apple scents, especially when blended with cinnamon and vanilla, can yield a sweet, inviting fragrance.
You could even use apple juice in your soap mixture for a unique touch. When crafting, think of combining these elements into a soap bar that not only smells wonderful but looks visually appealing with swirls of color that mimic an orchard’s landscape in autumn.
Incorporating pumpkin spice elements can be as simple as adding pumpkin seed oil or pumpkin fragrance oil. The combination of these elements allows you to create a soap that celebrates the flavors of fall, providing an aromatic reminder of the season every time you use it.
- 185shares
- Facebook0
- Pinterest182
- Twitter3
- Reddit0


