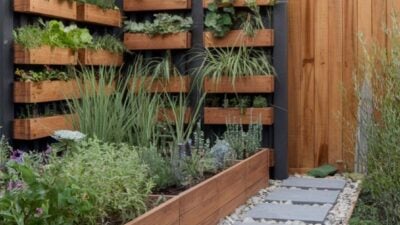
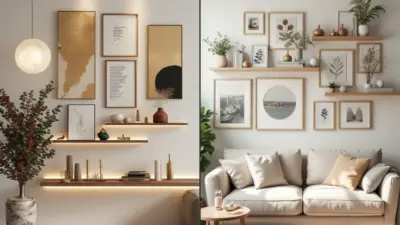
If you’re looking for creative ways to spend your time without needing advanced skills or expensive materials, easy DIY projects are a great choice. They offer a fun way to refresh your space, make personalized gifts, or simply enjoy some hands-on activity.
These 8 easy DIY ideas are designed to be simple and accessible, so you can start right away and feel accomplished with minimal effort. Whether you want to relax, get inspired, or add a personal touch to your home, these projects make crafting enjoyable and stress-free.
1) Paint an accent wall with bold colors
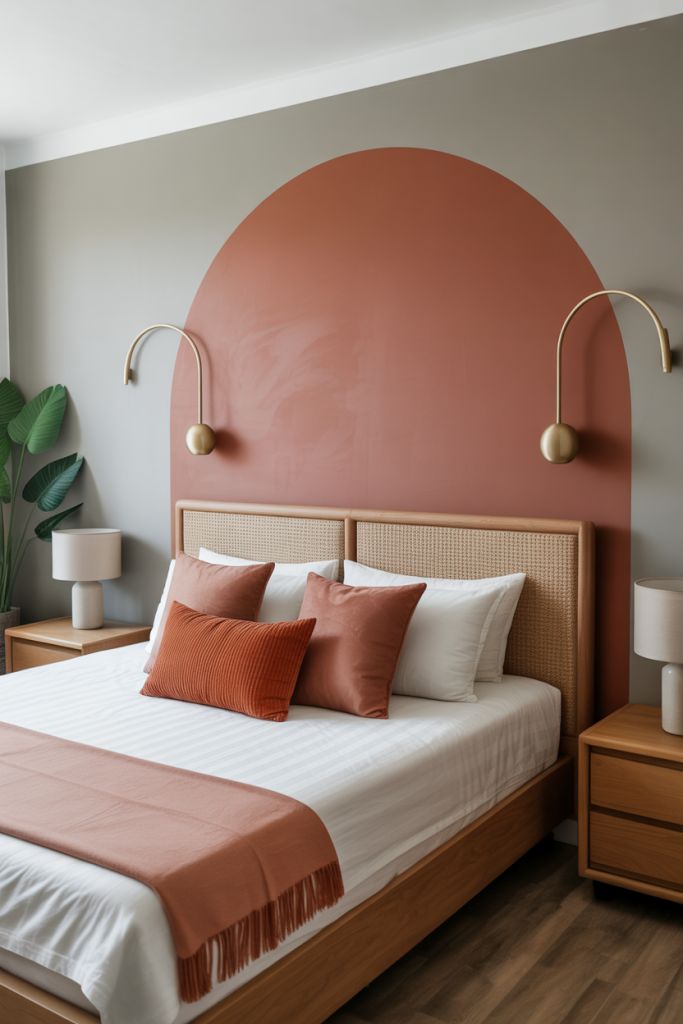
Painting an accent wall is one of the easiest ways to update a room without much effort. Choose a bold color that you love to create a striking focal point in your space.
Using painter’s tape will help you get clean, sharp edges. Consider paint finishes like eggshell or satin, which catch the light nicely and add subtle texture.
You don’t have to paint every wall; focusing on just one wall lets you experiment with color without overwhelming the room. This small change can refresh your space and add personality quickly.
Take your time with prep work, and don’t rush the painting itself. With patience and quality paint, your accent wall will look polished and beautiful.

2) Create a macrame plant hanger
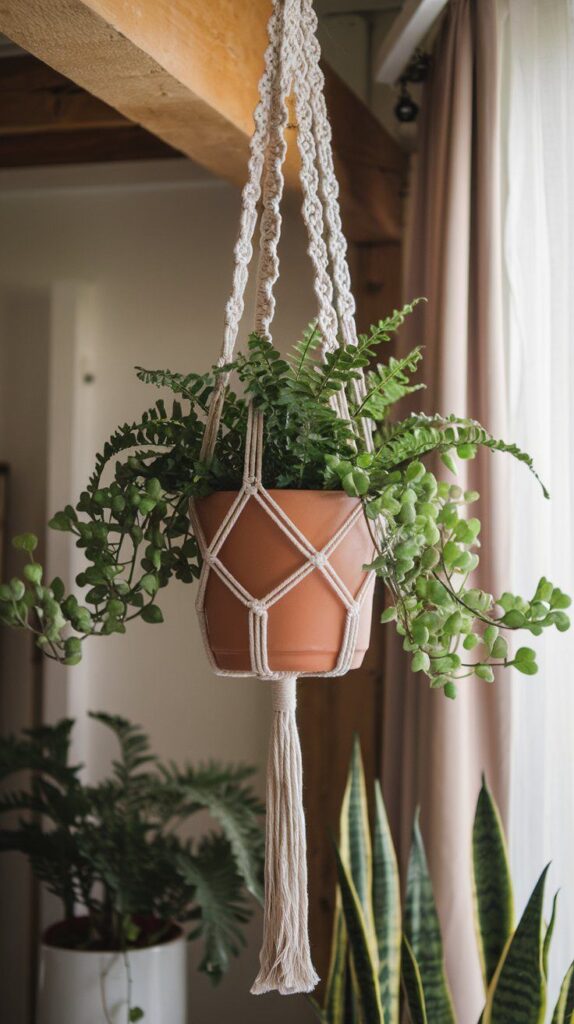
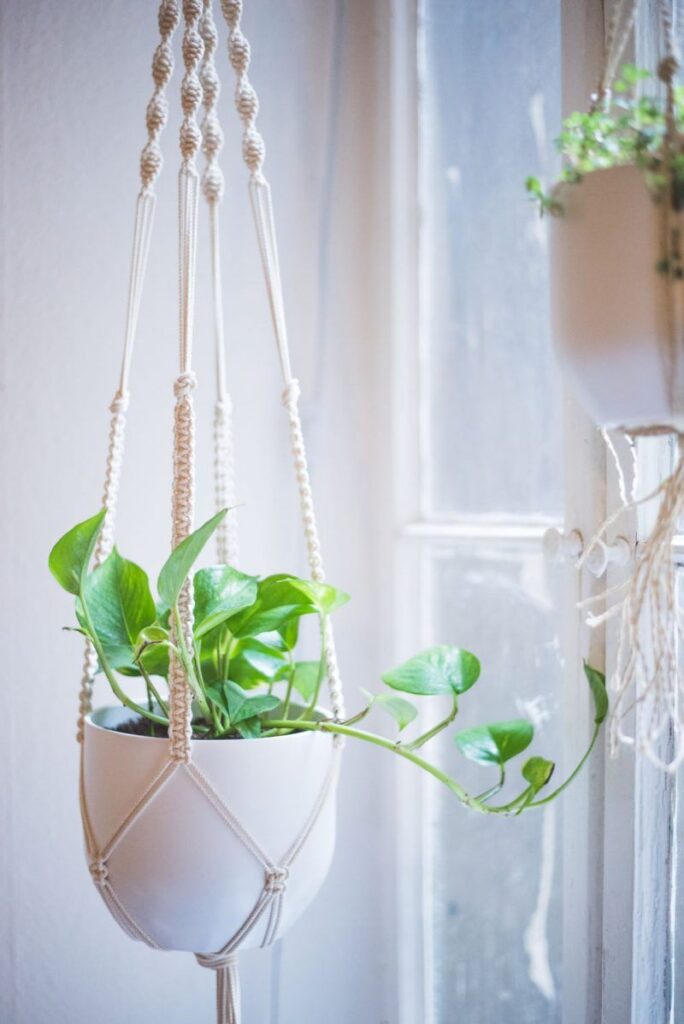
Making a macrame plant hanger is a fun and simple DIY project you can try. You only need some sturdy cord and a pot to get started.
The process mainly involves knotting the cords in different patterns. These knots create a secure holder for your plant and add a touch of texture and style to your space.
You can keep your design basic with simple knots or try more intricate patterns if you want a detailed look. Either way, it’s a great way to display your plants and save some floor space.
Plus, your finished hanger can bring a cozy, handmade feel to any room. It’s a perfect project for beginners and can be finished in a few hours with minimal materials.
3) Make personalized photo coasters
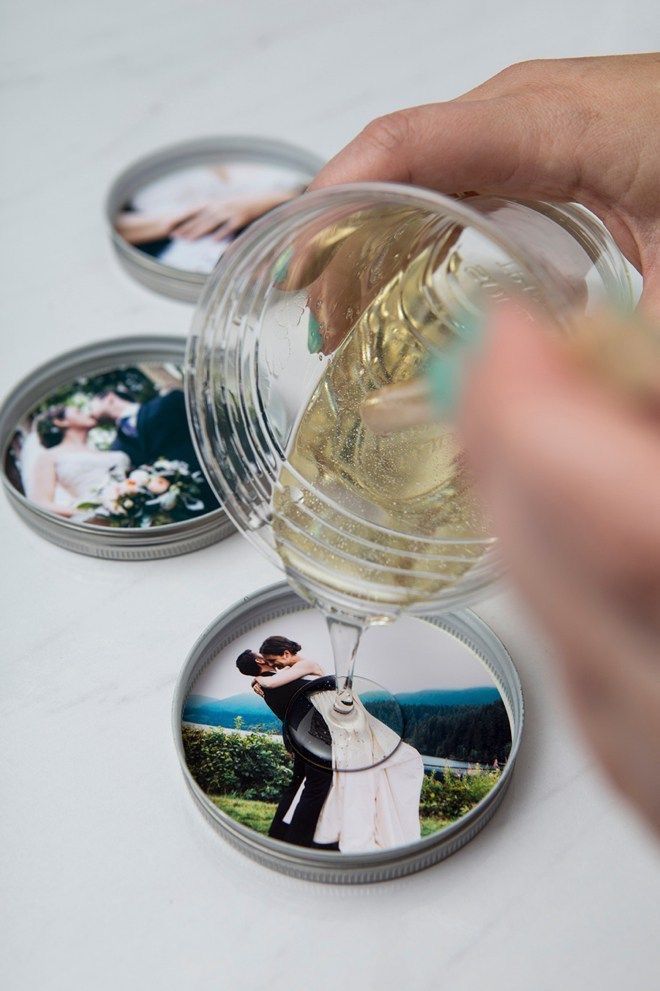
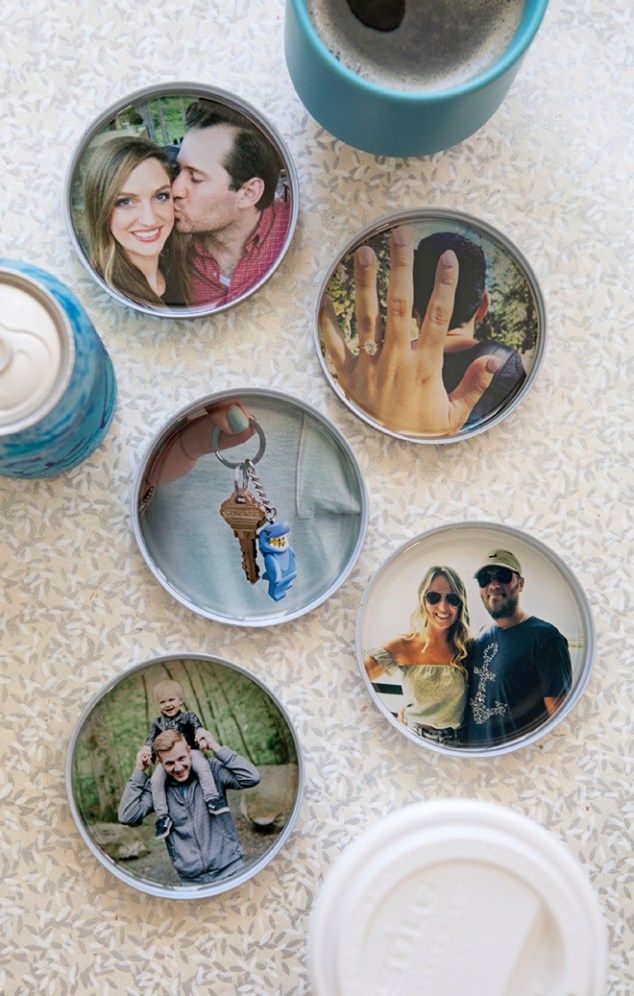
You can create personalized photo coasters using simple materials like tiles, photos, and Mod Podge. Start by selecting your favorite pictures that hold special memories.
Next, cut the photos to fit the surface of your coaster base. Apply a layer of Mod Podge to secure the photo, then seal with a waterproof finish to protect against spills.
These coasters are quick to make and highly customizable. They add a personal touch to your home or make thoughtful gifts for family and friends.
You can use wood slices or ceramic tiles, depending on your style. Adding resin can give the coasters a durable, glossy finish that lasts longer.
This project is budget-friendly and fun, letting you turn cherished moments into practical decor you’ll enjoy every day.
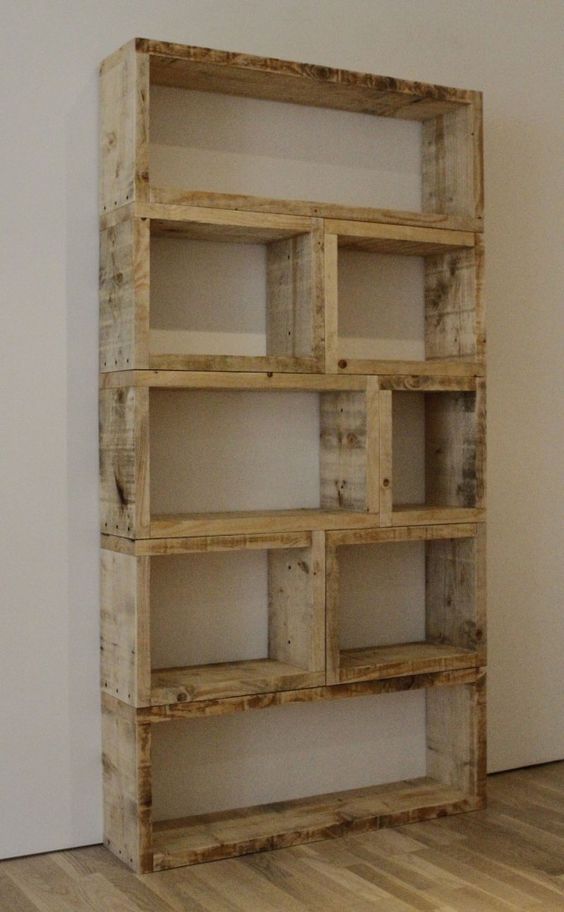
4) Build a wooden bookshelf from pallets
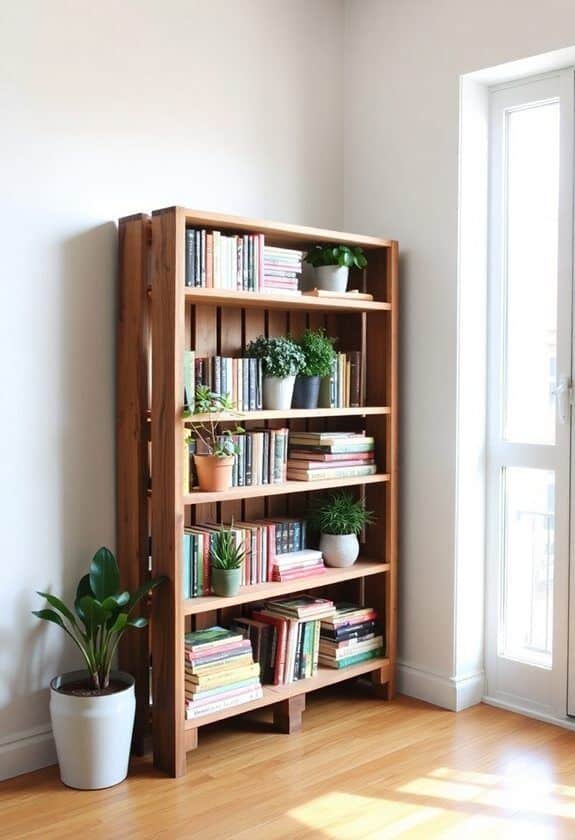
You can create a simple and sturdy bookshelf using wooden pallets. Start by gathering a few pallets that are in good condition. Sand them well to remove rough edges and splinters.
Next, decide how many shelves you want. Most pallet bookshelves have around three to four levels for books or decorative items. You can cut pallets to size or stack them vertically depending on your space.
Use screws or nails to secure the shelves firmly to a frame or directly onto wall studs. This will make your bookshelf strong enough to hold heavy books.
You can leave the wood natural for a rustic look or paint it to match your room’s style. Adding a protective finish will help your bookshelf last longer, especially if you’re placing it in a humid area.
This project is budget-friendly and perfect for repurposing old pallets. Plus, it’s easy enough for beginners to try and customize for any room in your home.
5) Craft scented soy candles
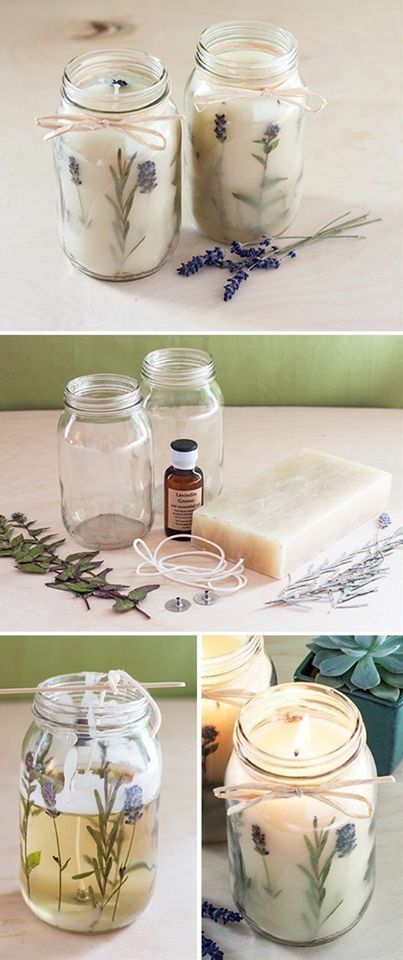
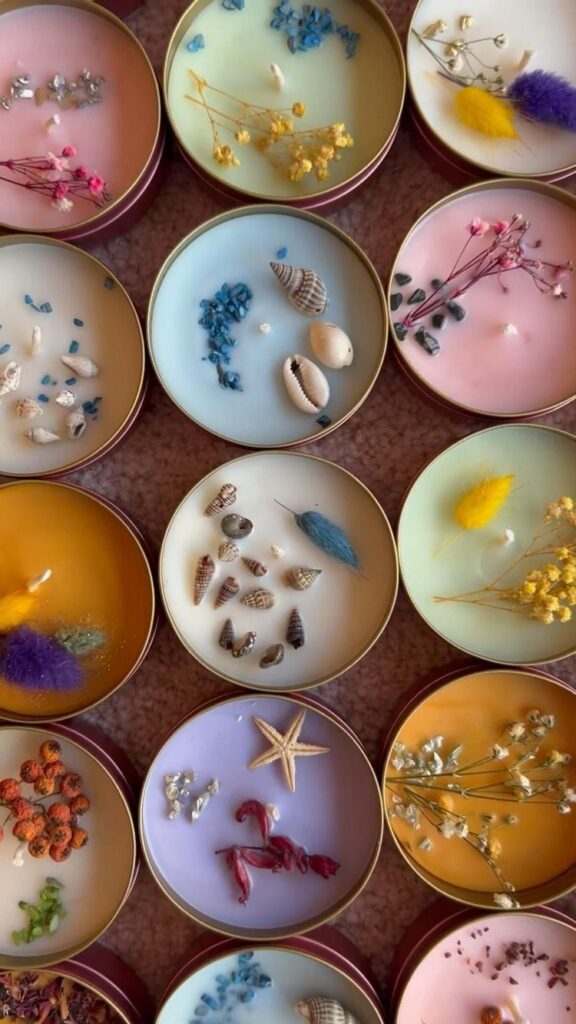
You can easily make your own scented soy candles at home with just a few simple supplies. Start with natural soy wax flakes, cotton wicks, and your favorite essential oils or fragrance oils to create the scent you love.
Pick a container that fits your style—recycled glass jars are a great option. Melt the soy wax slowly and add the fragrance when the temperature is right. Pour the mixture into the container with the wick centered.
Let your candle cure for several hours or overnight before lighting it. This helps the scent develop and burn more evenly. Making soy candles is a fun way to personalize your space or create thoughtful gifts for friends and family.
Once you get comfortable, you can experiment with different fragrance combinations to match any mood or season. It’s a rewarding craft that fills your home with a warm, natural aroma.
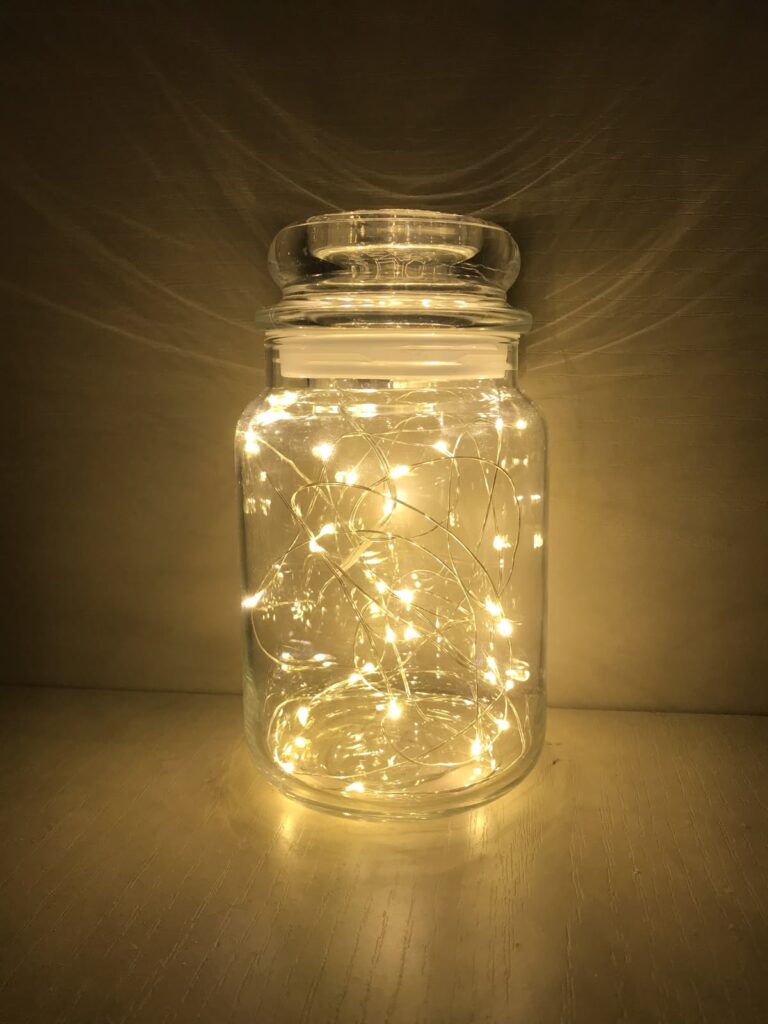
6) Decorate mason jars with fairy lights
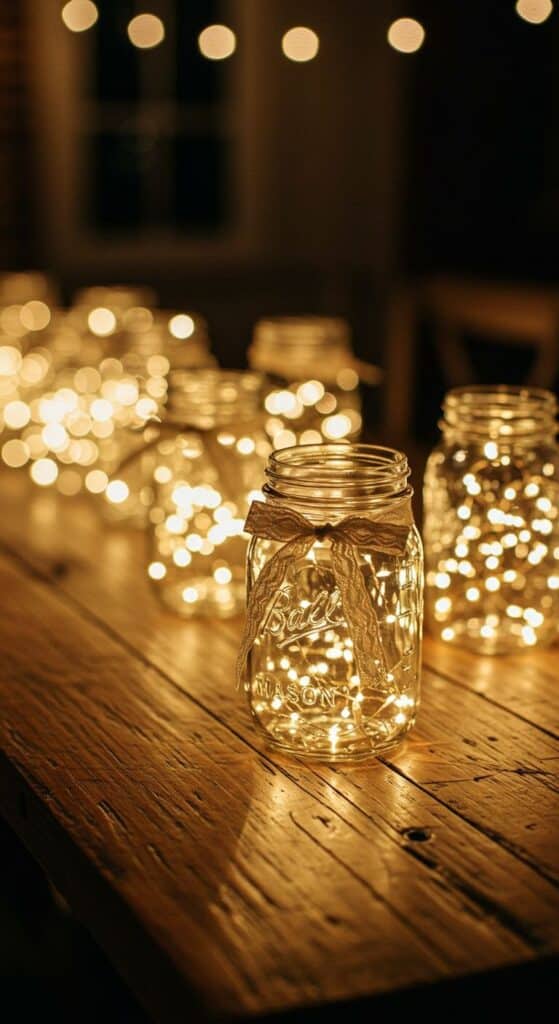
You can easily transform ordinary mason jars into charming decor by adding fairy lights inside. Start by choosing small LED string lights, which are safe and long-lasting. Just coil the lights inside the jar for a warm, cozy glow.
To personalize your jars, try painting the glass with frosted glass paint or using glow-in-the-dark paint for a subtle effect. You can also add small elements like moss, pebbles, or tiny figurines around the lights for an enchanted look.
These decorated jars work great as table centerpieces, nightlights, or outdoor decorations. You only need a few simple supplies, and the process is quick, making it a fun and easy DIY project for any skill level.
Once done, you can place your fairy light jars on shelves, patios, or even hang them with twine. They instantly add a soft, magical touch to your space without requiring much effort.
7) Assemble a simple herb garden kit
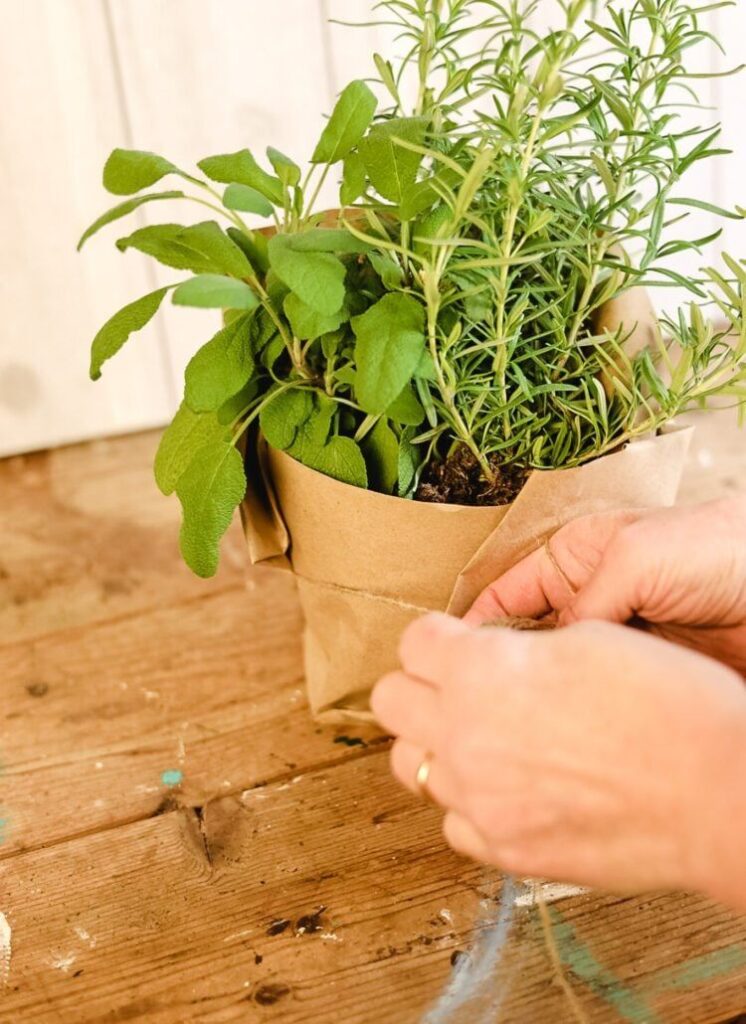
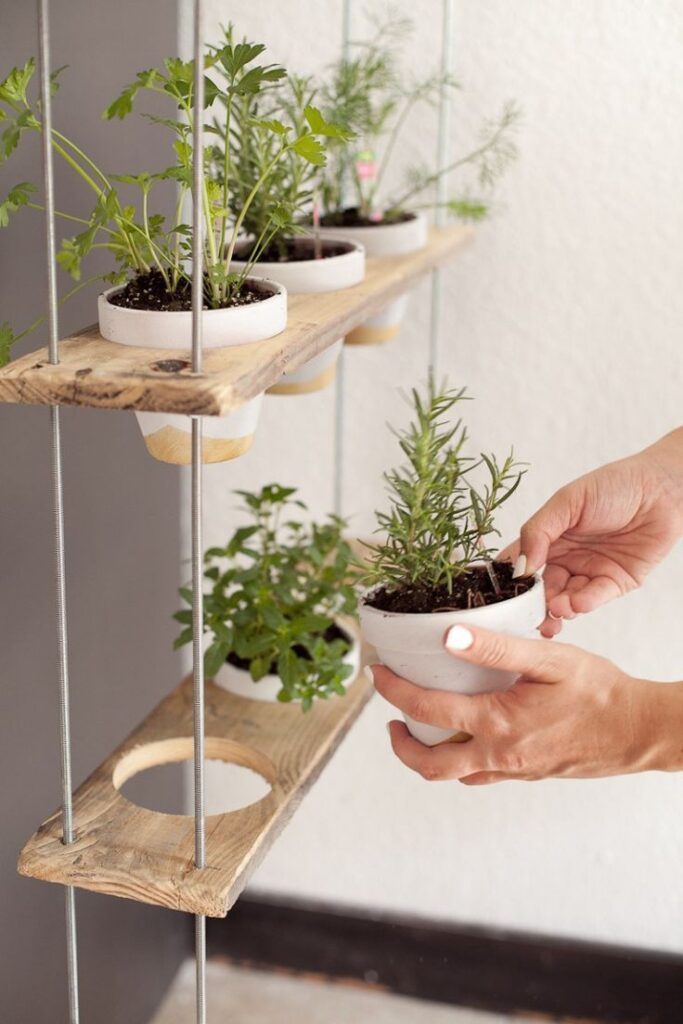
You can easily create your own herb garden kit with just a few basic supplies. Start with small pots or containers like mason jars or tin cans that fit your space.
Choose a handful of easy-to-grow herbs such as basil, parsley, or mint. Include potting soil and seeds or young plants for a quick start.
Label each container so you know what you’ve planted. This helps you keep track and harvest your herbs at the right time.
Adding a small watering can or spray bottle makes it simple to care for your kit. Keep it near a sunny window, as most herbs need good light to grow well.
This little setup is perfect if you want fresh herbs without a big commitment. It’s budget-friendly and fun to customize with your favorite flavors.
8) Upcycle old t-shirts into tote bags
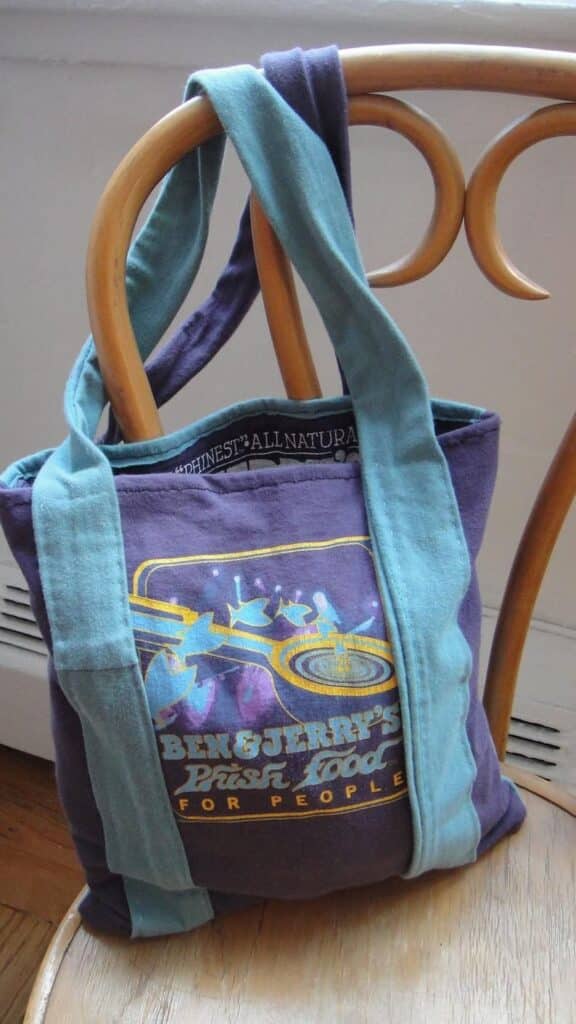
You can easily turn your old t-shirts into tote bags with just a few simple steps. No sewing is needed if you cut the sleeves and neckline, then tie the bottom edges together. This makes a quick, eco-friendly bag perfect for everyday use.
If you want a sturdier option, sewing the edges can help, but even no-sew versions work well. The handles come from the sleeves or neckline, so your bag stays wearable and comfortable.
Upcycling old t-shirts reduces waste and gives your favorite shirts a new life. Plus, you get a unique bag that reflects your style. It’s a fun project you can finish in under 30 minutes with only scissors and an old tee.

Must-Have Tools and Materials
Having the right tools and materials can make your DIY projects smoother and more enjoyable. Focusing on essential tools and budget-friendly materials helps you get started without breaking the bank.
Essential Tools for DIY Success
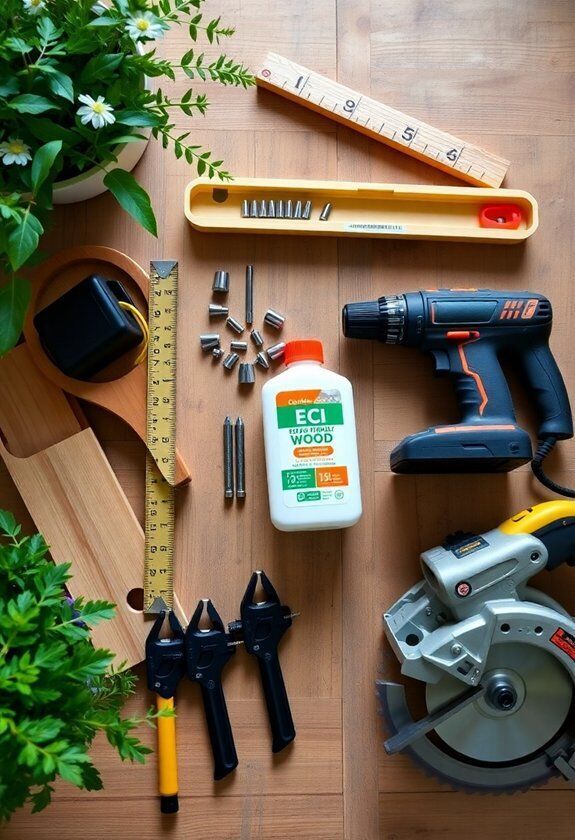
Start with a cordless drill to easily create holes and drive screws. It’s versatile and perfect for tasks like assembling furniture or hanging shelves. A hammer is also necessary for basic jobs, such as nailing or light demolition.
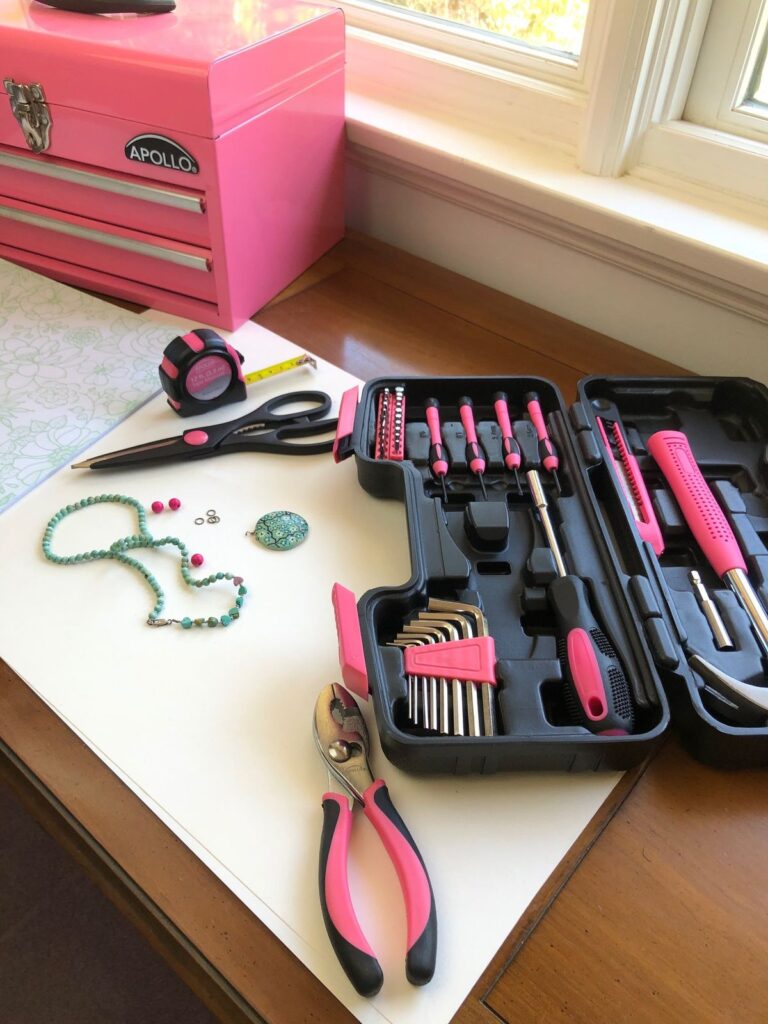
You’ll want a tape measure for accurate cuts and placement. Add a set of screwdrivers—both flathead and Phillips—for different screws. A utility knife is handy for trimming materials.
For cutting, a handsaw or circular saw works well depending on your project size. Consider safety gear like gloves and goggles to protect yourself while working. These tools form a solid foundation for most DIY projects.
Budget-Friendly Material Suggestions
Choose materials that are versatile and affordable such as plywood, which is great for shelves or simple furniture. Pine wood is also inexpensive and easy to work with for beginners.
For fastening, pick up basic nails, screws, and wood glue. They are inexpensive but essential for sturdy builds. Paint or stain can refresh items and personalize your work.
Recyclable materials like old pallets or crates are excellent low-cost options that add character when repurposed. Always prioritize quality in your adhesives and fasteners to ensure your projects last.
Personalizing Your DIY Projects
Making your DIY projects your own starts with simple adjustments and creative choices. You can tailor patterns, colors, and materials to match your style and ensure each piece fits perfectly in your space. A few practical methods help bring out your personality without overcomplicating the process.
Tips for Customizing Designs
Start by selecting colors that speak to you. Instead of following standard palettes, try mixing hues from your favorite artwork or fabrics.
Swap out standard materials for things you already have at home, like scraps of fabric, old furniture, or jars. This cuts costs and adds uniqueness.
Adjust sizes or shapes to fit your area perfectly. For example, modify a wall art frame size to suit a small nook or create larger cushions for extra comfort.
Use simple tools like stencils or stamps to add patterns. These help you create consistent, personalized designs even if you’re new to crafting.
Inspiration for Adding Personal Touches
Look at your daily life for meaningful design ideas. Incorporate photos, favorite quotes, or motifs into your pieces.
Upcycling is a great way to work personality into your project. Turn old mason jars into storage or string lights into a canopy for a cozy vibe.
Consider handmade touches like embroidery, painted details, or custom fabric prints. These little tweaks often make the biggest impact.
Focus on functionality that reflects your habits—custom doormats with your family name or pillows in your preferred shapes add both use and charm.
Personal expression is about simplicity paired with thoughtfulness, not complexity.
- 56shares
- Facebook0
- Pinterest53
- Twitter3
- Reddit0

