Creating your own flowers at home gives you a simple way to add color, creativity, and personality to any space. You don’t need expensive supplies or advanced skills to make something beautiful. With just a few everyday materials, you can craft unique flowers that bring charm to your home, gifts, or special occasions.
This article introduces seven different DIY flower ideas that let you experiment with paper, fabric, clay, and even recycled items. You’ll also find helpful tips on choosing materials and keeping your handmade creations looking their best. Each project offers a chance to try something new while adding a personal touch to your decorations.
1) Paper roses with colored tissue paper
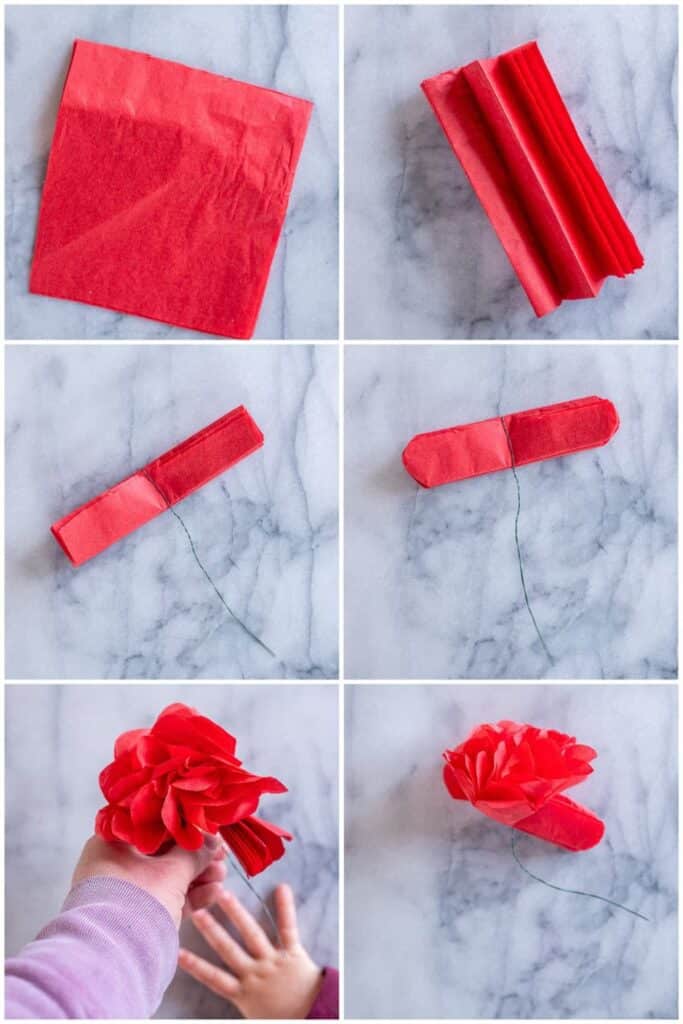
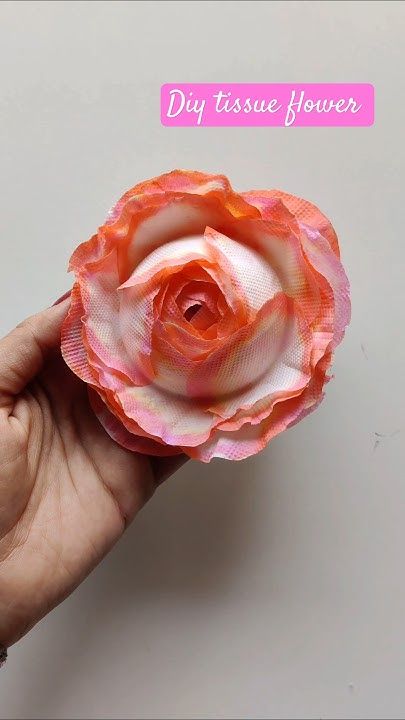
You can make simple paper roses with just a few sheets of colored tissue paper. This craft works well for decorations, small gifts, or even a handmade bouquet. You only need tissue paper, scissors, and some floral wire or tape.
Start by stacking a few layers of tissue paper together. Cut them into rectangles, then fold them accordion-style. The folds help create the layered look of rose petals once you shape them.
After folding, secure the center with floral wire or twist ties. Round the edges of the paper with scissors to give the petals a softer appearance. Carefully spread out each layer, pulling them upward to form a bloom.
You can make a single rose or combine several for a fuller arrangement. Mixing different colors of tissue paper can add variety and make your flowers stand out.
If you want stems, wrap the wire with green floral tape. This gives your rose a more natural look and makes it easier to display in a vase. You can also leave them stemless and use them as toppers for gifts or table décor.
2) Pressed flower bookmarks
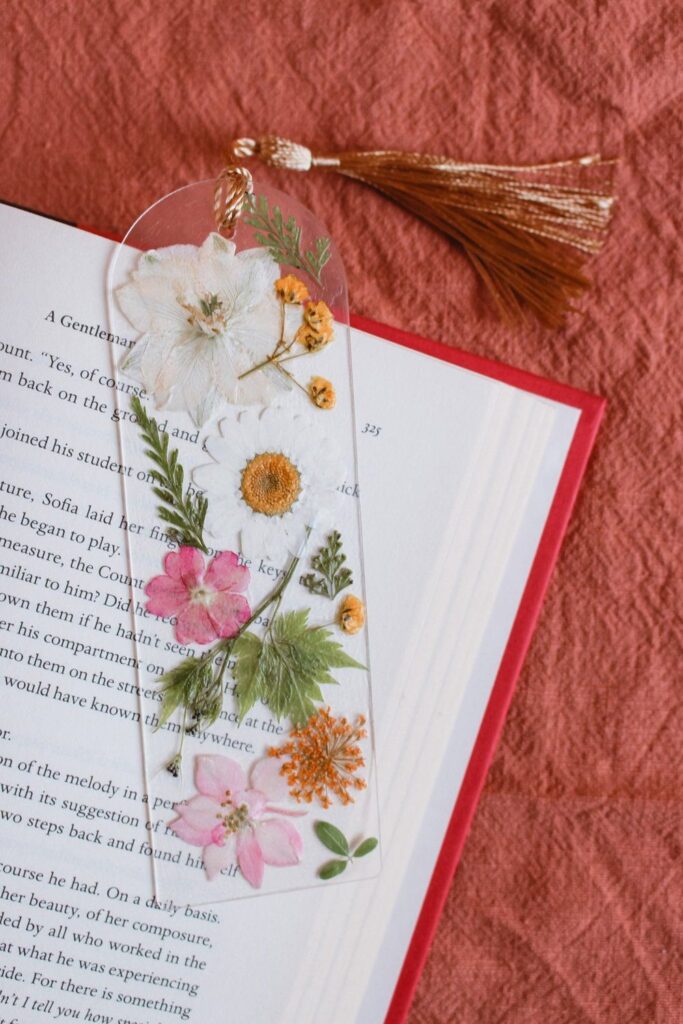
You can turn dried flowers into simple bookmarks that feel both personal and practical. This project works well if you want to keep a small piece of nature close while you read.
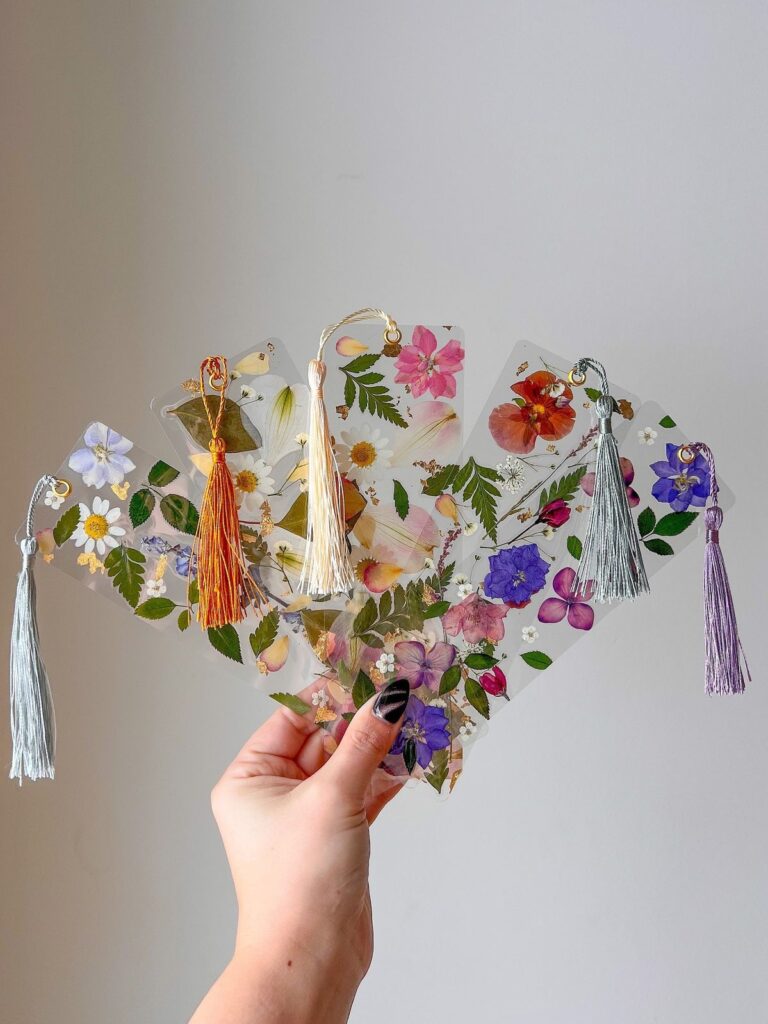
Start by pressing flowers between heavy books or using a flower press until they are flat and dry. Once ready, place them on cardstock or clear laminate sheets to protect them from damage.
You can seal the flowers with packing tape, laminate sheets, or a thin layer of Mod Podge. Each method helps preserve the colors and keeps the bookmark sturdy for daily use.
Try arranging the flowers in a neat pattern or let them overlap for a more natural look. Adding ribbon or twine to the top gives your bookmark a finished touch.
These bookmarks make thoughtful gifts, especially if you use flowers from a special occasion or your own garden. They’re quick to make and easy to personalize with small details like handwritten notes or pressed leaves.
3) Fabric daisies made from old clothes
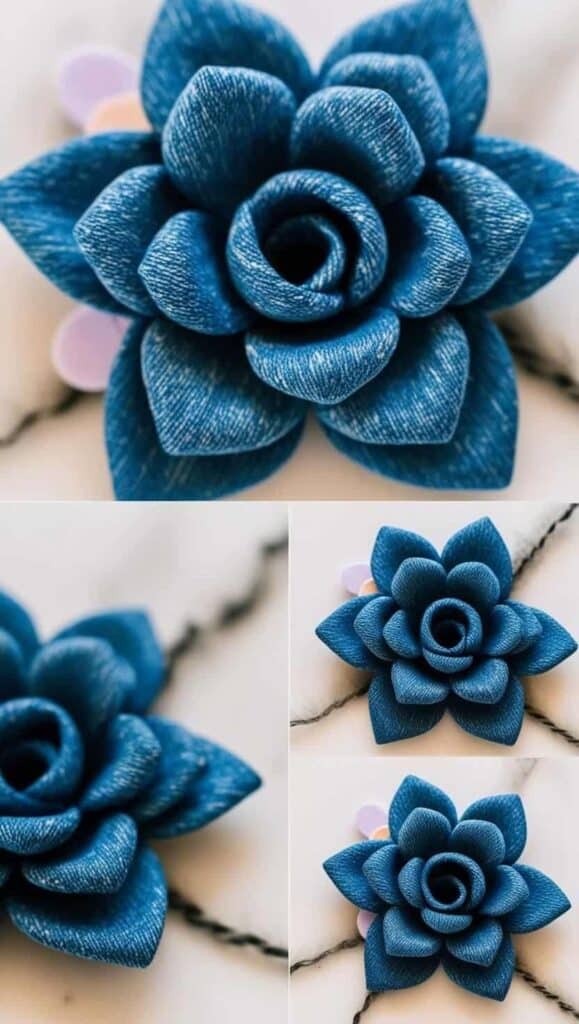
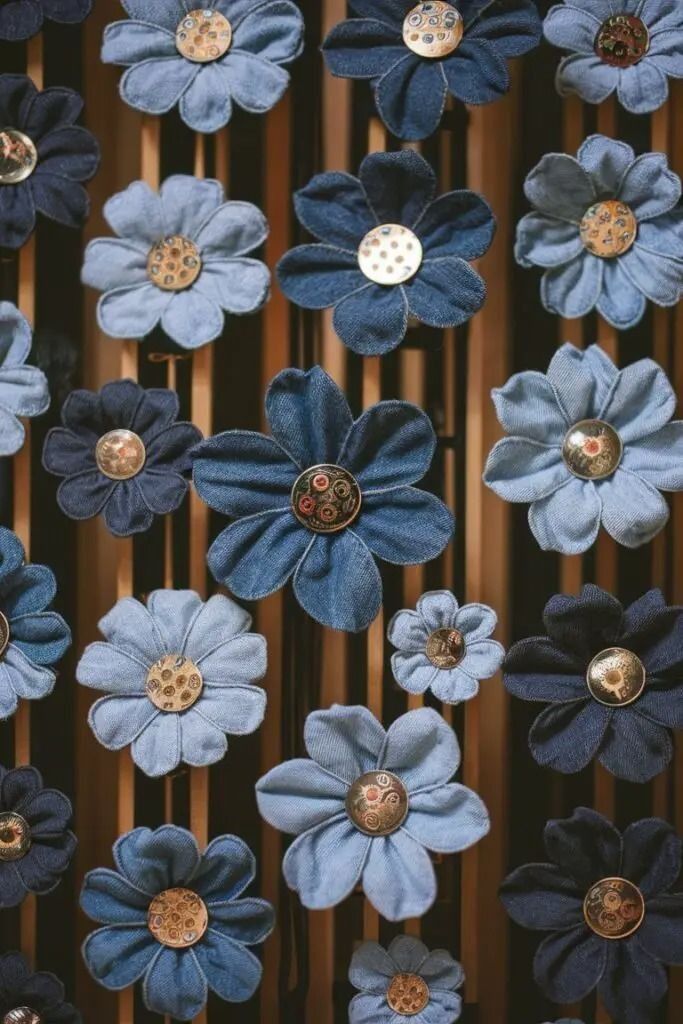
You can turn worn-out shirts, dresses, or fabric scraps into simple fabric daisies. Using old clothes not only saves money but also gives your flowers a personal touch. Each petal can carry a bit of history from the fabric you choose.
Start by cutting even strips or petal shapes from your fabric. Cotton works well because it holds its shape, but softer fabrics can create a more delicate look. You only need scissors, thread, and a needle to begin.
Sew or glue the petals together in a circle to form the daisy shape. Adding a small circle of contrasting fabric in the center helps the flower stand out. A button or bead can also work as a neat centerpiece.
You can attach your finished daisy to a hair clip, pin, or even a gift wrap. If you prefer home décor, try grouping several daisies together in a frame or on a cushion cover. This way, your old clothes become something new and decorative.
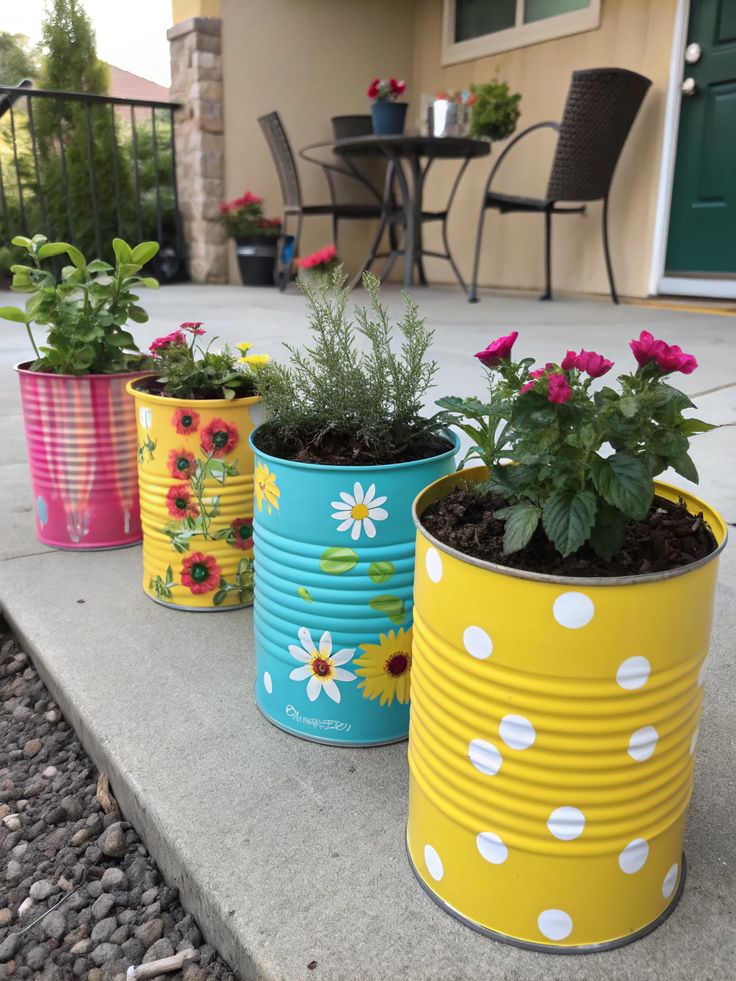
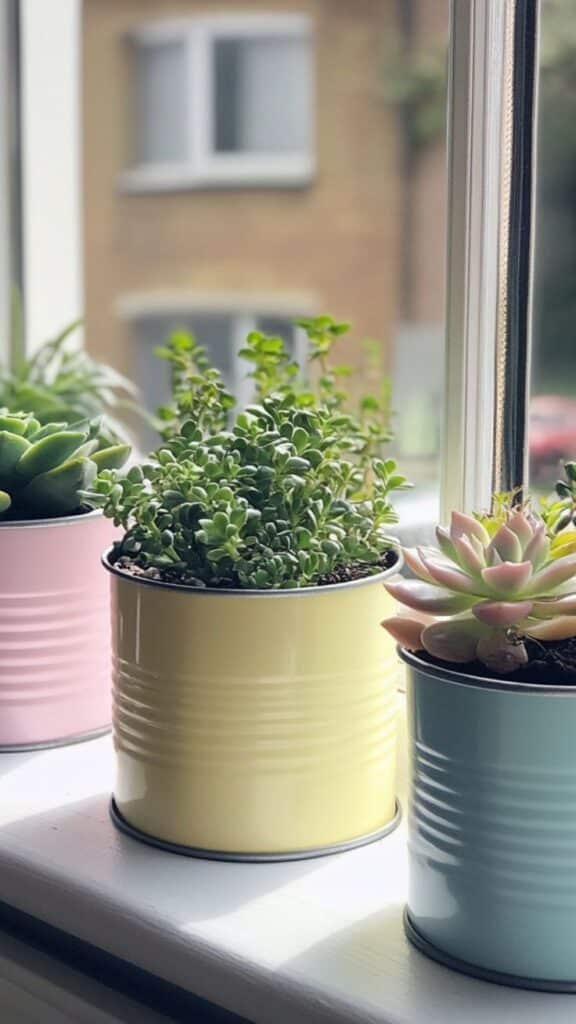
4) Recycled coffee can flower pots
You can turn an empty coffee can into a simple flower pot with just a few supplies. The sturdy metal or plastic makes it a good container for small plants, herbs, or flowers. It’s a practical way to reuse something you might normally throw away.
Start by cleaning the can thoroughly and removing any labels. If the container doesn’t already have drainage holes, you should carefully make a few in the bottom. Adding a thin layer of gravel before the soil helps prevent water from pooling.
You can decorate the outside to match your style. Paint, twine, or fabric can give the can a fresh look and make it blend in with your space. If you prefer a natural finish, leaving the metal plain works too.
Once you’ve prepared the can, fill it with potting soil and add your chosen flowers. Small flowering plants or herbs do especially well in these containers. Place your new planter on a porch, windowsill, or patio for an easy touch of greenery.
5) Faux succulents from clay
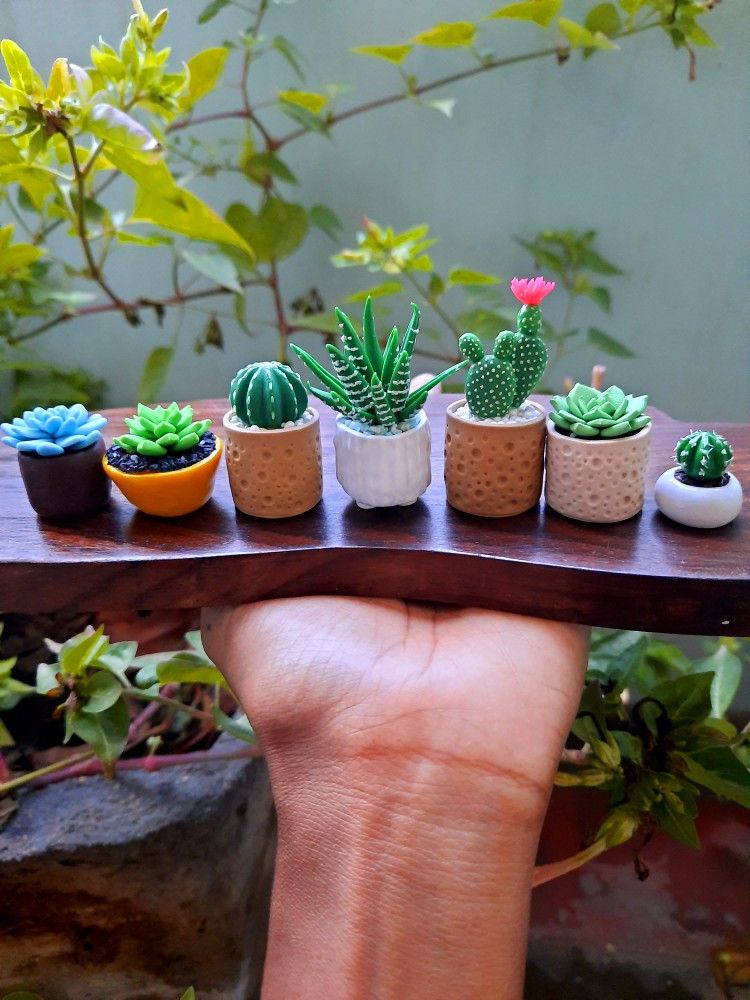
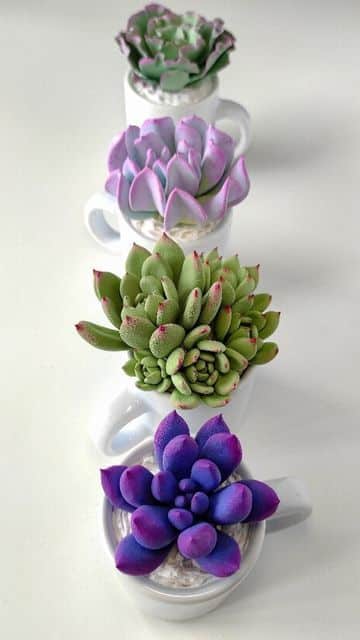
You can make realistic-looking succulents with just a few simple clay techniques. This project works well if you want a long-lasting plant that doesn’t need water or sunlight.
Start by choosing polymer clay in a few shades of green. Roll small balls, then pinch and flatten them into petal shapes. Layer the petals around a center point until you form a rosette shape similar to a real succulent.
Use toothpicks or clay tools to add small lines and texture. This step helps your succulent look more natural. You can also mix in a hint of pink or purple clay to mimic the subtle tones of real plants.
Bake your clay pieces according to the package directions. Once cooled, you can seal them with a thin coat of mod podge or clear varnish for durability.
Place your finished succulents in a small pot with pebbles, sand, or faux soil. They make great desk accents, shelf decorations, or handmade gifts.
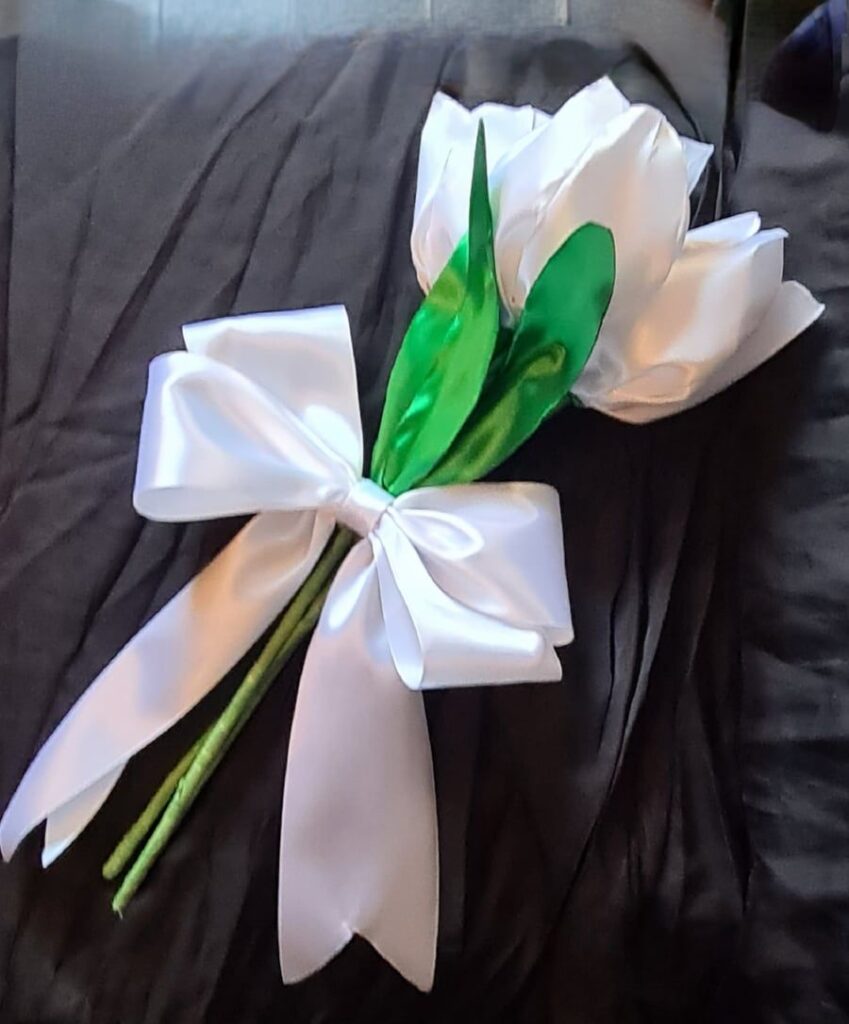
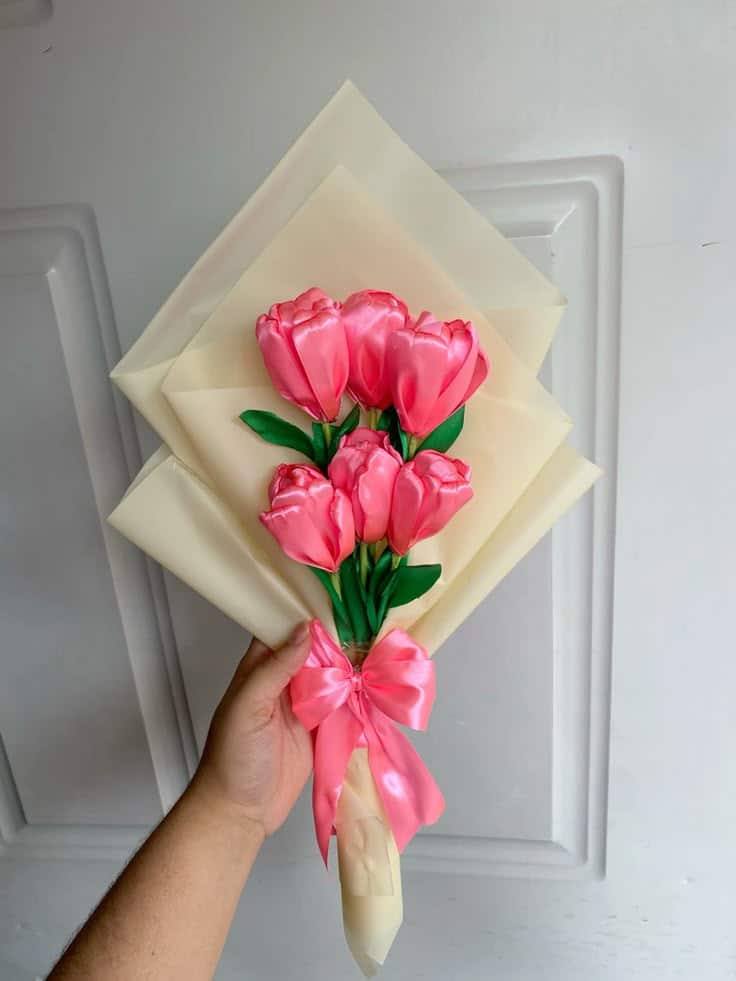
6) Ribbon tulips with wire stems
You can make simple tulip flowers using satin ribbon and wire stems. This project only needs a few supplies like satin ribbon, floral wire, floral tape, and a glue gun. These materials are easy to find in most craft stores.
Start by cutting a piece of satin ribbon and folding it to form the shape of a tulip petal. Secure the base with a small piece of wire or a dab of glue. Repeat this step until you have enough petals to form a full bloom.
Attach the petals to a thicker wire stem by wrapping them with floral tape. The tape helps hold everything in place and gives the stem a neat finish. You can also wrap green ribbon or tissue around the stem for a more natural look.
Once your tulip is assembled, gently shape the petals with your fingers. The satin ribbon is flexible enough to adjust without losing its form. You can make several tulips in different colors and group them into a small bouquet.
This craft works well for decorations, gifts, or even handmade centerpieces. It gives you a low-cost way to create flowers that stay looking fresh.
7) Origami lilies with patterned paper
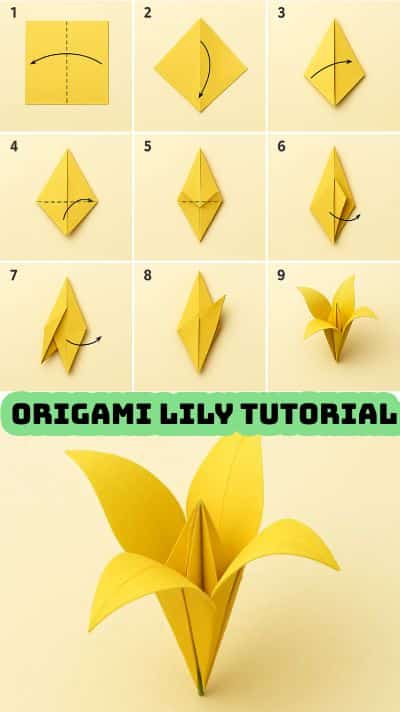
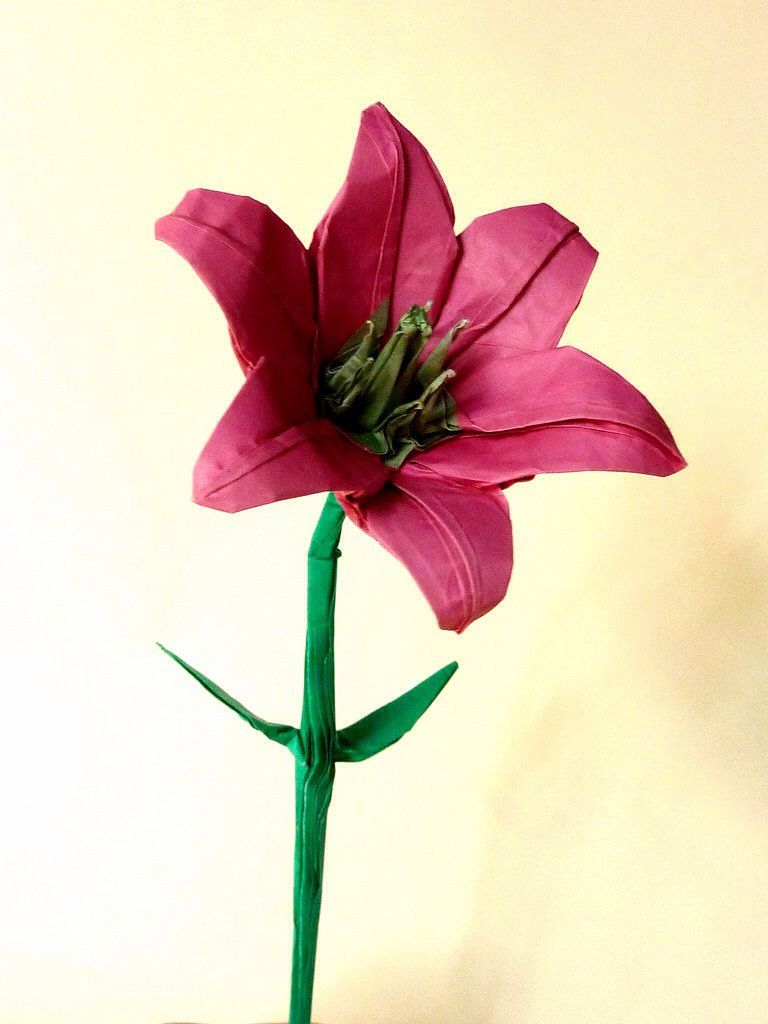
You can fold origami lilies using just a single square sheet of paper. Patterned paper works especially well because it adds texture and detail to the finished flower without needing extra decoration.
Start by choosing paper that is not too thick, so it’s easier to crease and shape. A lightweight patterned sheet will give you crisp folds and a clean look.
When you fold the petals, take your time with the corners and edges. Precise folds make the lily look more balanced, and patterned designs highlight the shape of each petal.
You can make several lilies in different sizes and patterns to group together. Arranging them in a small vase or tying them into a paper bouquet creates a simple display.
If you want to add more detail, fold a green stem or leaves separately and attach them. This makes the paper lily feel more complete and gives you more options for arranging your flowers.
Experiment with colors and patterns that match your style. Whether you use soft pastels or bold prints, your origami lilies will stand out as a handmade decoration or thoughtful gift.
Essential Materials for DIY Flower Projects
You need the right combination of tools and flower types to create clean, long-lasting designs. The materials you choose affect both the look of your arrangements and how easy they are to put together.
Choosing the Right Tools
Having a few reliable tools makes crafting flowers much easier. A sharp pair of floral scissors or pruning shears helps you cut stems cleanly without crushing them. For artificial flowers, wire cutters are essential for trimming thick stems.
You’ll also want floral tape and floral wire to secure stems and shape your designs. Floral foam or a sturdy vase insert can help keep arrangements in place, especially for larger projects.
Here’s a quick list of useful supplies:
- Scissors or shears – for trimming stems
- Wire cutters – for artificial stems
- Floral tape – to bind stems together
- Floral wire – for shaping and support
- Foam or vase inserts – to stabilize arrangements
Keeping these tools nearby saves time and gives your projects a more polished finish.
Selecting Fresh Versus Artificial Flowers
The choice between fresh and artificial flowers depends on how you plan to use your project. Fresh flowers bring natural fragrance and texture, but they require water and have a limited lifespan. They work best for short-term displays like centerpieces for events or gifts.
Artificial flowers, such as silk or paper varieties, last indefinitely and don’t need maintenance. They’re ideal for décor you want to keep for months or reuse in different arrangements.
Consider these points when deciding:
- Fresh flowers – vibrant color, natural scent, but short-lasting
- Artificial flowers – durable, reusable, but no fragrance
- Combination – mixing both can give you longevity and realism
By matching the type of flower to your project’s purpose, you’ll get results that are both practical and visually appealing.
Tips for Preserving Homemade Flower Arrangements
You can make your flowers last longer by focusing on how you store them and how you display them. Simple adjustments in care and placement will help maintain their color, shape, and overall appearance.
Proper Storage Methods
Keep your flowers in a cool, dry place to slow down fading and prevent mold. Direct sunlight and high humidity cause petals to lose color and become brittle. A dark closet or a low-humidity room works best for dried arrangements.
If you pressed flowers, store them between sheets of acid-free paper. This helps prevent yellowing and keeps them flat. For resin-preserved flowers, avoid extreme temperatures since heat can cause the resin to warp or crack.
You can also use airtight containers or shadow boxes for delicate blooms. This reduces exposure to dust and moisture. For bouquets, hanging them upside down in a ventilated area helps them dry evenly while keeping their shape.
Quick checklist for storage:
- Keep away from sunlight
- Avoid damp or humid areas
- Use acid-free paper for pressed flowers
- Store in airtight containers for fragile pieces
Creative Display Ideas
Once preserved, your flowers can become part of your home decor. Framed pressed flowers look clean and modern, while dried bouquets add texture to shelves or tables. You can even place them in glass domes for a dust-free display.
Try arranging smaller flowers in resin coasters or jewelry. These pieces are both decorative and functional. Larger blooms work well in wall art or as part of a centerpiece.
If you like seasonal decor, rotate your preserved arrangements throughout the year. For example, display soft pastels in spring and deeper tones in autumn. This keeps your decor fresh while making the most of your preserved flowers.
Ideas at a glance:
- Framed pressed flowers
- Glass domes or shadow boxes
- Resin coasters, keychains, or jewelry
- Seasonal table centerpieces
- 1.5Kshares
- Facebook0
- Pinterest1.5K
- Twitter3
- Reddit0

