Looking to refresh your wardrobe without spending a fortune? DIY clothing hacks offer a creative way to breathe new life into your existing pieces, turning ordinary items into something special. These simple transformations can save you money while allowing you to express your personal style in unique ways.
From swapping out buttons on old blazers to mending clothes with decorative embroidery, these clothing modifications require minimal supplies and expertise. You don’t need advanced sewing skills to implement most of these techniques, making them accessible even for beginners. With just a few strategic changes, you can transform outdated or damaged garments into fashionable statement pieces that look designer-made.
1) Turn long T-shirts into stylish crop tops by cutting and hemming the bottom edge
Transforming an old, oversized t-shirt into a trendy crop top is a simple way to refresh your wardrobe. Start by laying your t-shirt flat on a surface and marking where you want to cut with chalk or a fabric marker.
Use sharp fabric scissors to cut straight across the t-shirt at your desired length. For a clean finish, consider hemming the bottom edge to prevent fraying and give your crop top a professional look.
If you don’t have sewing skills, you can create a no-sew hem by cutting small slits around the bottom edge and tying them together. Another option is folding the raw edge up about half an inch and securing it with fabric glue or hem tape.
For added style, try cutting the bottom in different shapes—curved, diagonal, or with a high-low effect. You can also gather and tie the front center of your newly cut shirt for a fitted look.
This simple DIY project takes less than 15 minutes and can completely transform the look of an ordinary t-shirt. The best part is you can customize the length based on your personal style preferences.


2) Use scarves to sew unique blouses with no extra fabric needed
Transform your unused scarves into stylish blouses without purchasing additional fabric. Scarves often feature beautiful patterns and high-quality materials that make them perfect candidates for clothing transformation projects.
A large square scarf can become a fashionable blouse with minimal sewing required. Simply fold the scarf diagonally, sew the sides together, and leave openings for your arms and head. You can customize the neckline to your preference.
For a no-sew option, try creating a tunic by folding and twisting a scarf in strategic ways. This 10-minute DIY project can give you a completely new garment without even threading a needle.
Vintage scarves work particularly well for this project, adding a unique retro flair to your wardrobe. You can also combine multiple smaller scarves to create a patchwork blouse with interesting visual elements.
Adding simple embellishments like buttons or ribbons can elevate your scarf blouse and make it look professionally made. These customizations allow you to create a truly one-of-a-kind garment that suits your personal style.


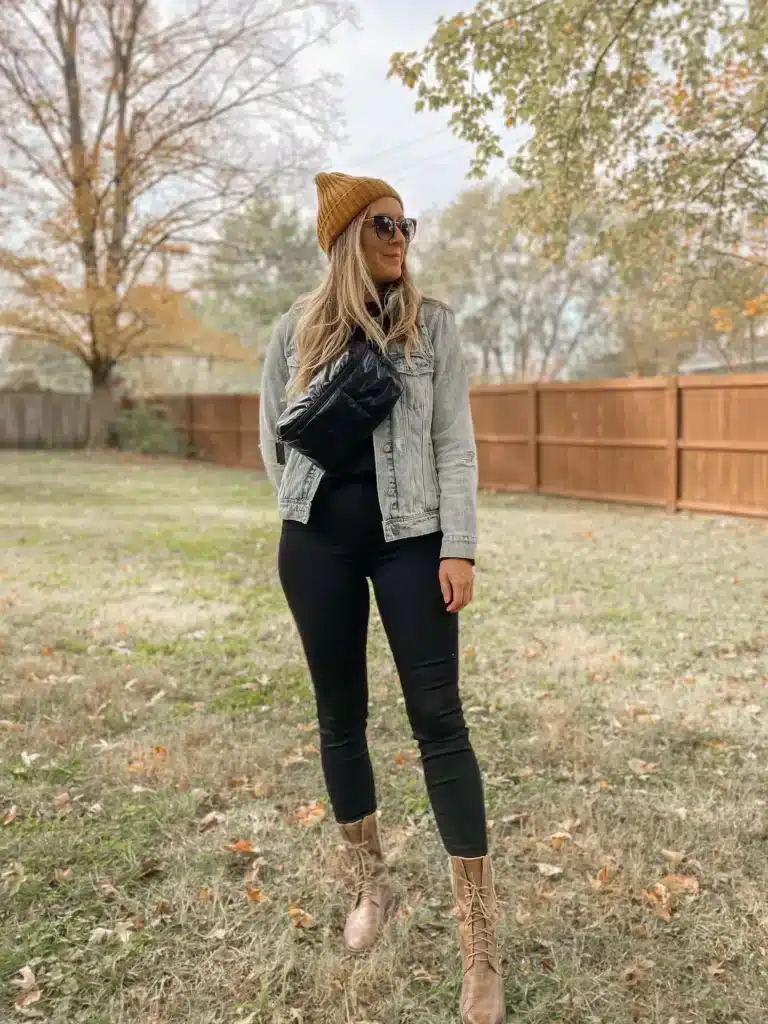
3) Tuck non-skinny jeans into boots for a fresh, trendy look
The early 2010s fashion of tucking skinny jeans into boots has evolved. Now in 2025, tucking non-skinny jeans into boots has become a standout trend that fashion-forward people are embracing.
This style works with various boot heights, from ankle to knee-high options. For wide-leg jeans, try the twist and tuck method – fold the extra fabric at the hem inward and tuck it into your sock or secure it with a hair tie.
Always wear tall or mid-calf socks when attempting this look. They help you slide into your boots more easily and keep everything in place throughout the day.
The length of your jeans matters significantly for this style. Try different combinations of jeans and boots to find what works best for your body type and personal style preferences.
For a polished appearance, pair tucked jeans with a tailored top. This creates a chic silhouette perfect for dinner outings or more formal occasions where you still want to maintain comfort.
This technique works particularly well in colder weather, solving the common problem of exposed skin between cropped pants and low-cut boots.

4) Add decorative embroidery to plain clothes for personalized detail
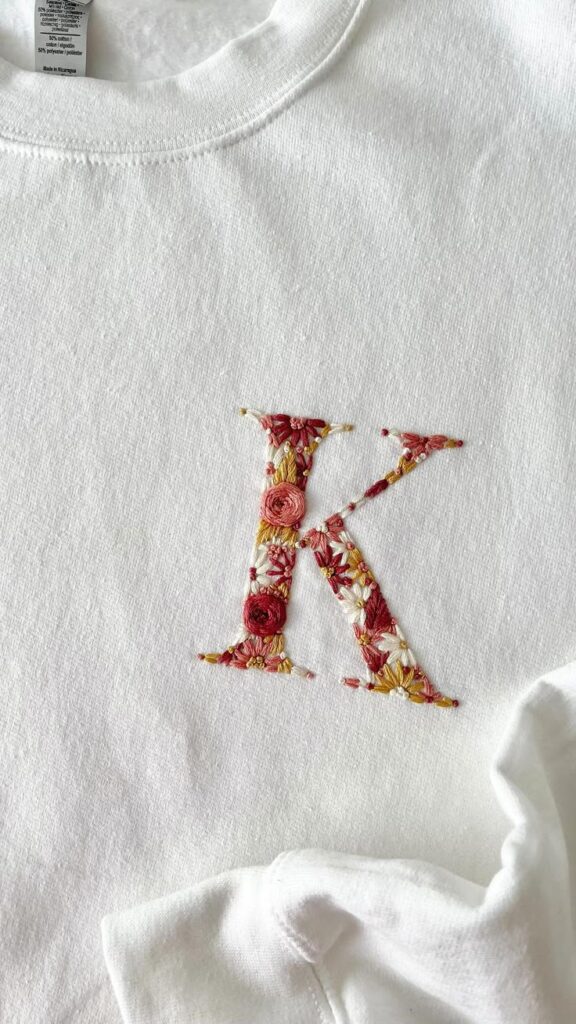
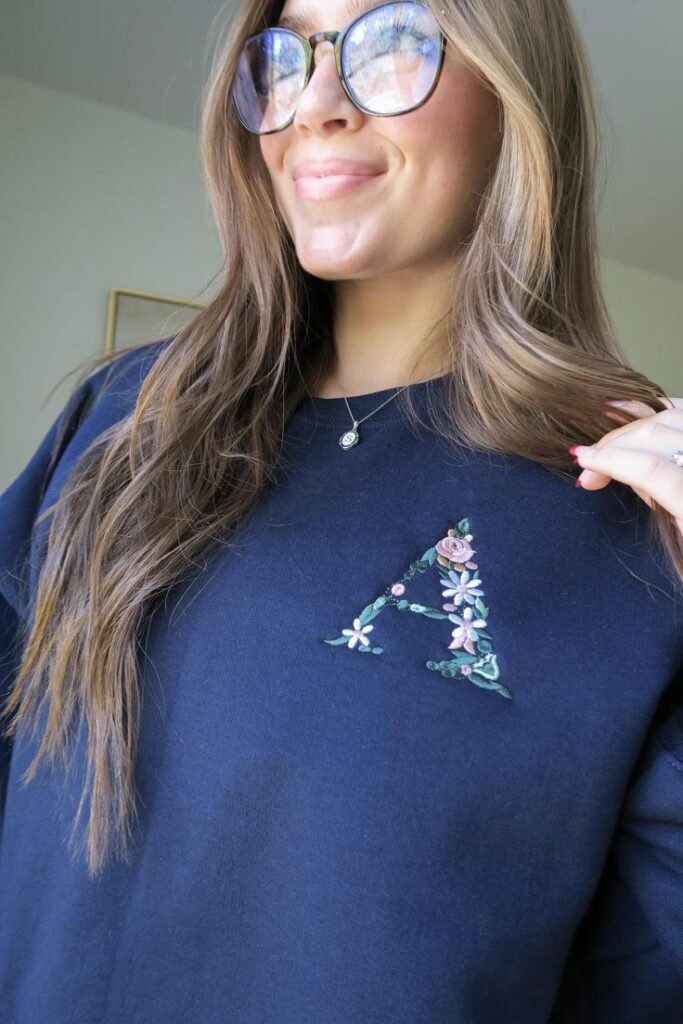
Embroidery is a fantastic way to transform plain clothing items into unique, personalized pieces. You can revamp your entire wardrobe by adding simple stitched designs to t-shirts, jeans, dresses, or jackets.
Hand embroidery requires minimal supplies – just needles, embroidery floss, and a hoop. Start with basic stitches like running stitch, back stitch, or French knots if you’re a beginner. Abstract designs like simple faces or geometric patterns work well for first-time projects.
For those with sewing machines, many models offer decorative stitch functions that can create beautiful embroidered details. These machine stitches provide a quick alternative to hand embroidery while still delivering personalized results.
Consider placement carefully before starting. Collar edges, pockets, sleeve cuffs, and hemlines make excellent locations for embroidered details. For a subtle look, try matching thread colors closely to your garment with just a slight contrast.
Embroidery is especially valuable for custom-fitting clothes. When you’ve made or altered a garment to fit perfectly, adding personalized embroidery creates a truly one-of-a-kind piece that fits both your body and your style preferences.
5) Repurpose old scarves into fashionable headbands or belts
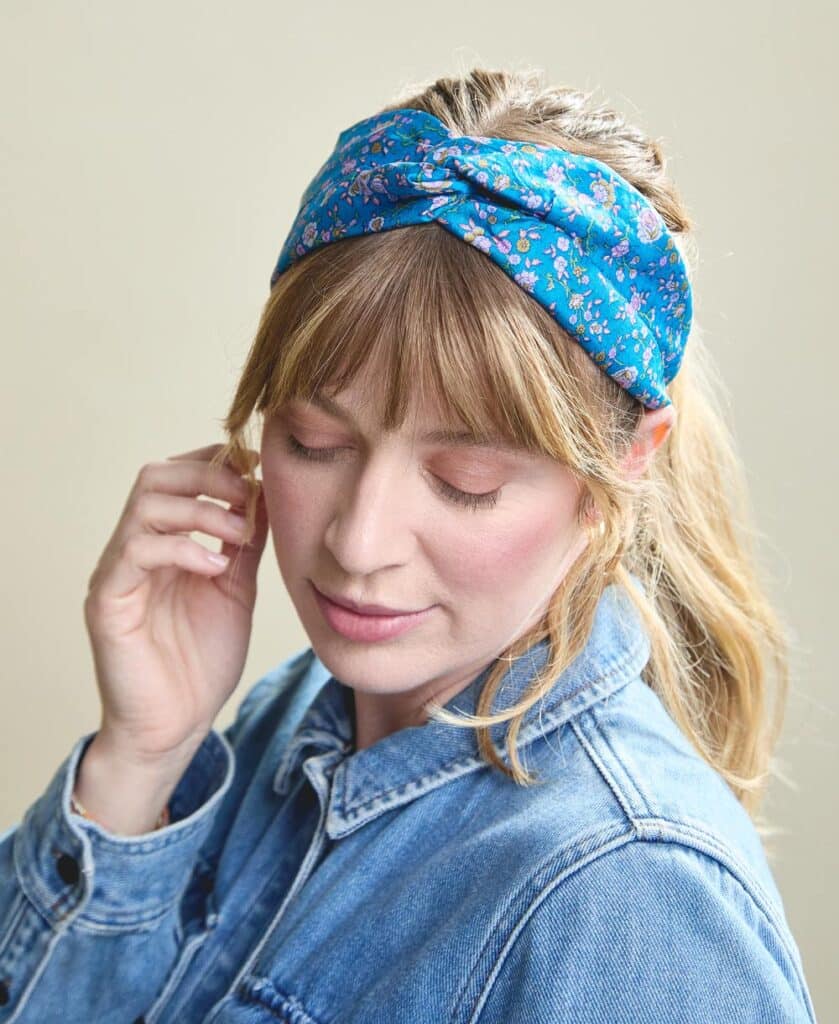
Those forgotten scarves hiding in your drawer can transform into stylish accessories with minimal effort. Converting scarves into headbands is particularly simple and effective for adding flair to any outfit.
For a headband that won’t slide, fold your scarf lengthwise until it reaches your desired width. Wrap it around your head, securing it with a hidden traditional headband underneath for extra stability. The result is a beautiful wrapped look that stays firmly in place.
Creating a belt from an old scarf instantly elevates basic outfits. Simply fold your scarf in half lengthwise and tie it around your waist. For a more polished appearance, consider sewing the ends together and adding a buckle.
Silk scarves work particularly well for these projects, offering a luxurious feel to your DIY accessories. Vintage patterned scarves create unique statement pieces that can’t be found in stores.
These transformations require minimal sewing skills and few tools. Most can be completed in under 10 minutes, making them perfect quick-fix solutions when you need to refresh your accessory collection.

6) Transform oversized shirts into fitted blouses by sewing darts
Darts are an excellent way to reshape oversized shirts into flattering, fitted blouses. They create shape by removing excess fabric and adding contours that complement your body.
To begin, turn your shirt inside out and put it on. Pinch the excess fabric at the sides, back, or bust area where you want more definition. Have someone mark these pinched areas with pins or chalk.
Take the shirt off and lay it flat. Draw your dart lines where you marked, creating a long, narrow triangle shape. The point of the triangle should face toward the area you want to contour.
Pin along these lines and try the shirt on again to check the fit before sewing. Make adjustments if needed to ensure the darts aren’t too tight or creating puckers.
Sew along your marked lines from the widest part of the dart toward the point. Iron the darts flat after sewing to create a smooth finish.
For men’s shirts, adding darts can transform them into feminine blouses. Focus on adding darts at the back and sides for the most flattering shape.
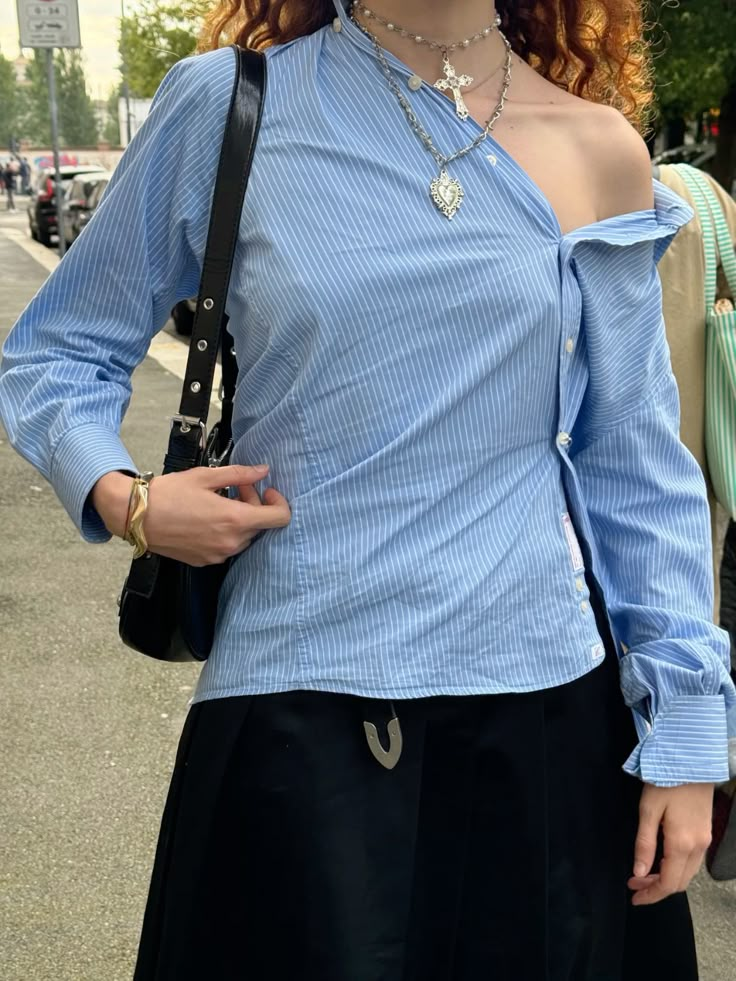

7) Apply iron-on patches to cover holes or refresh denim
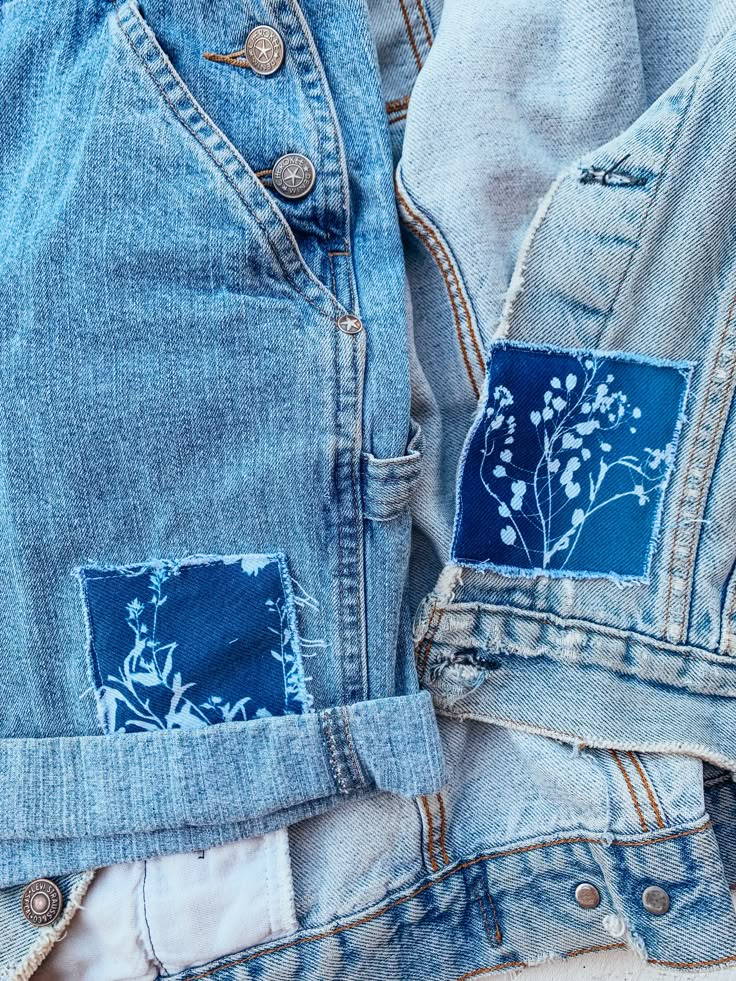
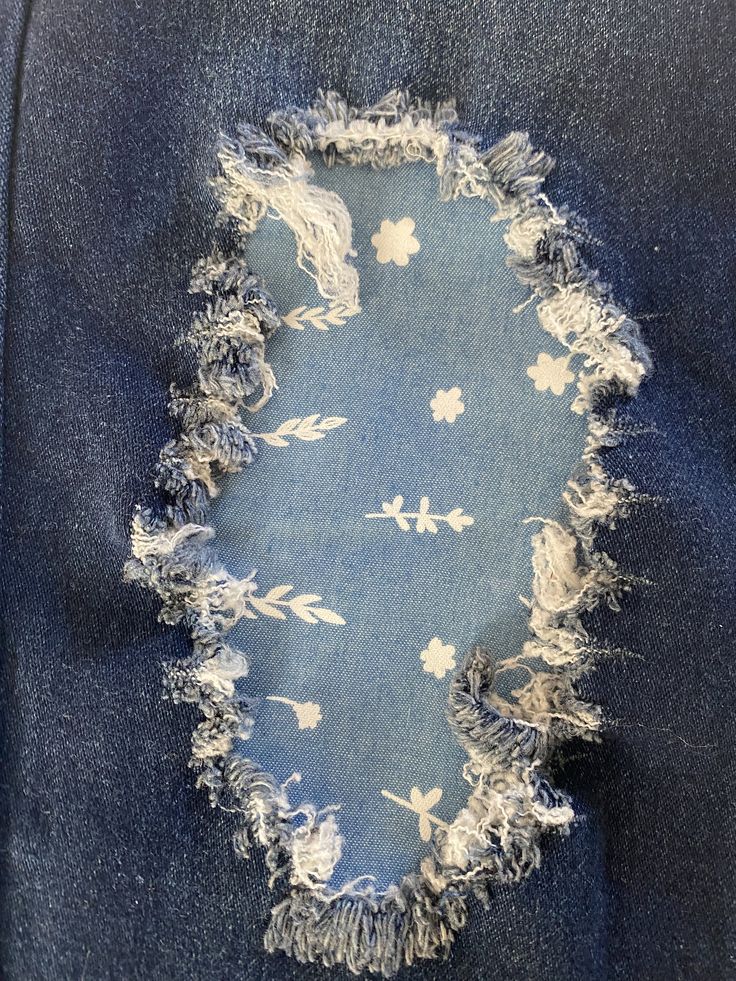
Iron-on patches offer a simple yet effective way to extend the life of your favorite jeans or denim jacket. They can cover unsightly holes or simply add a personal touch to refresh your garment.
Before starting, gather your materials: the denim item, iron-on patches, an iron, and parchment paper. Make sure to clean and dry your denim thoroughly before application.
For holes, place a denim scrap underneath the damaged area to create a stable base. This ensures proper adhesion and provides additional support for the patch.
Position your patch exactly where you want it on the garment. Cover the patch with parchment paper or a thin cloth to protect it from direct heat damage.
Set your iron to medium-high heat with no steam. Press firmly for 15-20 seconds, applying even pressure across the entire patch.
Allow the patch to cool completely before handling the garment. To ensure longevity, wash your patched denim inside out and avoid high heat drying.
This technique works particularly well on jeans, jackets, and other denim items that might otherwise end up discarded due to minor damage.
Essential Tools and Materials for DIY Clothing Hacks
Before diving into your DIY clothing projects, gathering the right supplies will make all the difference between professional-looking results and amateur attempts. The right tools and materials serve as the foundation for successful clothing transformations.
Choosing the Right Fabrics
When selecting fabrics for your DIY clothing hacks, consider both function and aesthetics. Natural fibers like cotton, linen, and wool are versatile and easy to work with for beginners.
Synthetic materials such as polyester and nylon offer durability and stretch, making them ideal for athletic wear modifications. For vintage-inspired looks, try working with tweed, which is forgiving because it doesn’t require a lining as mentioned in the search results.
Pre-wash your fabrics before starting any project to prevent unexpected shrinking after your modifications are complete.
Specialty Materials:
- Embroidery thread (for decorative mending)
- Velvet ribbon (for trim and embellishments)
- Double-folded fabric (for cape projects)
- Bleach (clothing-safe type for creating vintage looks)
Must-Have Sewing Supplies
Every DIY clothing enthusiast needs a well-stocked toolkit to tackle various modification projects. Quality tools make precise work possible and help achieve professional results.
Basic Supplies:
- Sharp fabric scissors (dedicated only to cutting fabric)
- Measuring tape
- Chalk or fabric markers
- Straight pins or clips
- Needles in various sizes
- Thread in basic colors and matching your fabrics
For closures and embellishments, stock up on buttons, hook and latch clasps, and decorative trims. These small details often make the biggest impact on your finished pieces.
Consider investing in a seam ripper for undoing mistakes and a good iron with steam function to achieve crisp, professional-looking seams and hems.
If you plan to do frequent DIY projects, a simple sewing machine will significantly expand your capabilities and save time on larger alterations.
Maintaining and Caring for Your DIY Creations
Proper care extends the life of your DIY clothing projects and maintains their unique appearance. Regular maintenance prevents deterioration while simple repair techniques can quickly address any issues that arise.
Best Practices for Longevity
Always check the care requirements for any materials you’ve added to your clothing. Sequins, patches, and specialty paints often need gentle washing methods to preserve their appearance.
Hand wash your bleached vintage items separately in cold water with mild detergent. This prevents color transfer and maintains the intentional faded effect you created.
Turn embellished garments inside out before washing. This simple step protects decorative elements from snagging or rubbing against other items.
Air dry your DIY creations whenever possible. Hang structured pieces like shoulder-padded items to maintain their shape. Lay delicate knits flat to prevent stretching.
Store modified clothing properly by folding rather than hanging items that might stretch. Use acid-free tissue paper between layers of special pieces to prevent transfer of dyes or adhesives.
Repairing DIY Modifications
Keep small repair kits ready for quick fixes. Include matching thread, fabric glue, spare buttons, and small fabric scraps from your original projects.
Check embellishments regularly for loose threads or adhesive failure. Catching these issues early prevents further damage and makes repairs simpler.
Re-secure loose elements with a few discreet stitches. Even if you originally used no-sew methods, adding a few stitches can significantly improve longevity.
Apply a thin layer of clear nail polish to prevent fraying edges on cut fabric projects. This works especially well for deliberate distressing or fringe details.
Replace worn elastic by creating a small opening in the seam. Thread new elastic through with a safety pin as your guide, then secure and close the opening.
Touch up faded designs with fabric markers or paint pens. Keep them in similar colors to your original design for quick refreshes when needed.
- 3shares
- Facebook0
- Pinterest0
- Twitter3
- Reddit0


