Sports car drawings capture the sleek lines and powerful essence of these high-performance vehicles. We love the way a well-drawn sports car can make our hearts race, even on paper. Drawing a sports car lets us bring our dream ride to life without breaking the bank.
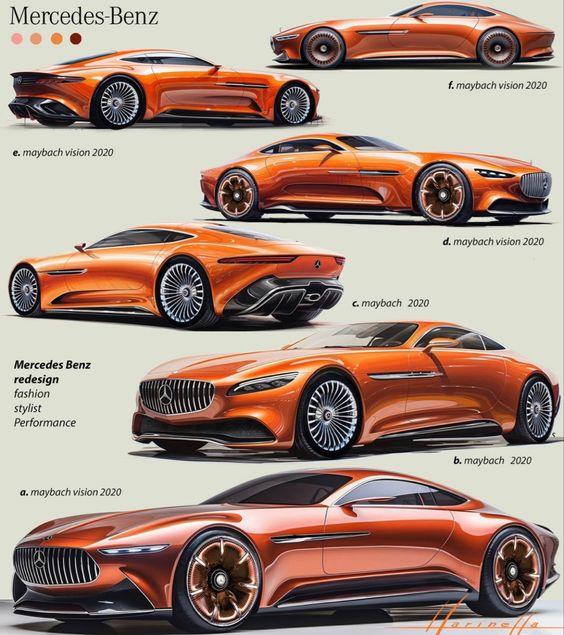
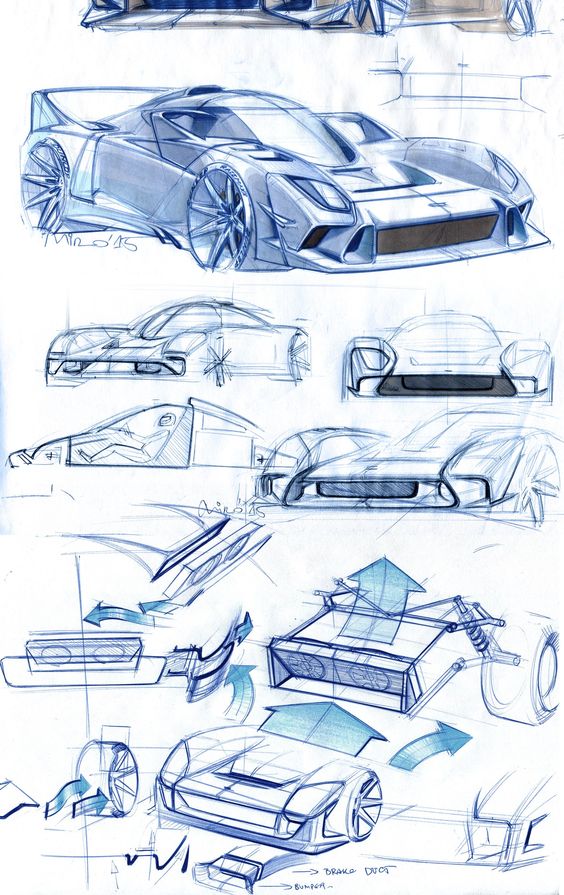
Getting started with sports car sketching is easier than you might think. With some basic tools and a bit of practice, we can create eye-catching drawings that showcase the speed and style of our favorite models. Whether we’re car enthusiasts or just enjoy drawing, sports cars offer a fun challenge for artists of all skill levels.
Ready to put pedal to the paper? Let’s grab our pencils and start our engines! We’ll walk through the steps to create an awesome sports car drawing that will impress our friends and family.
Key Takeaways
- Sports car drawings capture speed and style on paper
- Basic tools and practice are key to creating great sketches
- Drawing techniques help bring dream cars to life visually
Understanding Sports Cars
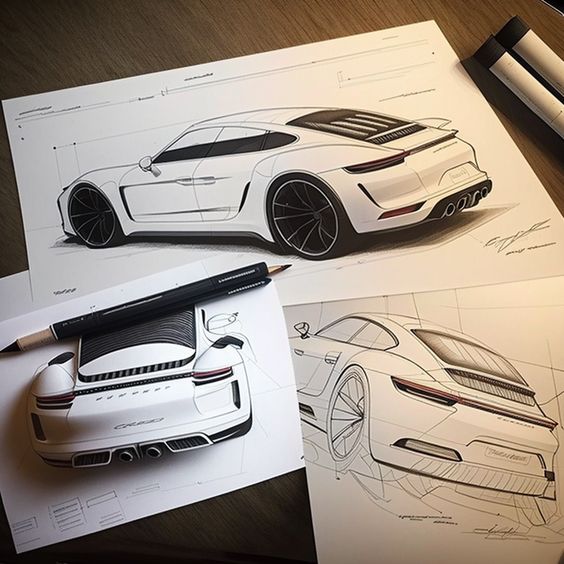

Sports cars are exciting vehicles known for their speed and style. We’ll explore what makes them unique and how to draw them.
The Basics of Sports Cars
Sports cars have a sleek look that sets them apart. They sit low to the ground and have smooth, curved shapes. This design helps them move through the air easily.
Many famous car brands make sports cars. Ferrari, Lamborghini, and Porsche are some of the best-known. These cars often have powerful engines and can go very fast.
Sports cars usually have two doors and room for just two people. Some have a roof that comes off. This lets drivers feel the wind in their hair as they zoom along.
Materials You’ll Need
To draw a sports car, we’ll need a few basic art supplies. Let’s get:
- Pencils (regular and colored)
- Eraser
- Paper
- Ruler
A pencil is great for sketching the car’s outline. We can use colored pencils to add details later. An eraser helps fix mistakes.
Good paper is important too. It should be thick enough that our pencils don’t tear it. A ruler helps us draw straight lines for the car’s edges.
If we want to get fancy, we might use markers or paint. But pencils are perfect for starting out.
Setting Up Your Workspace
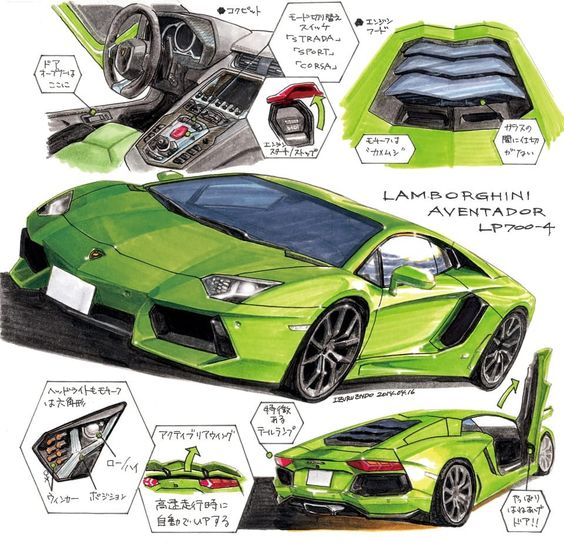
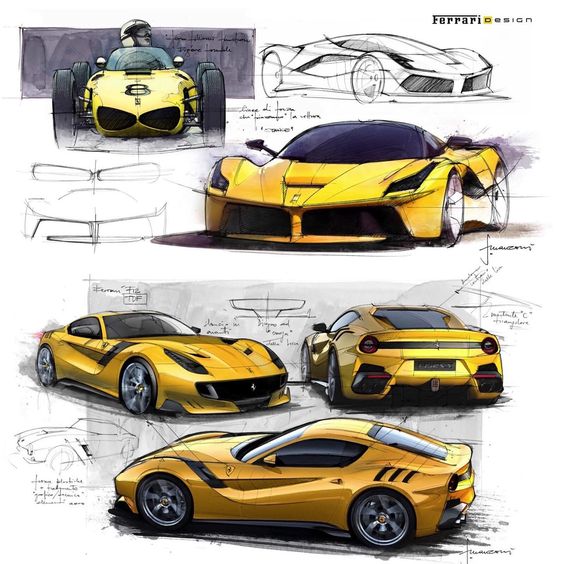
A good workspace is key for drawing sports cars. We’ll look at the best paper and tools to use.
Choosing the Right Drawing Paper
We like smooth, thick paper for car sketches. Bristol board is great – it’s stiff and takes pencil well. Marker paper works too if we want to use markers. We should pick a size that fits our desk, like 11×14 inches.
For practice, plain printer paper is fine. But the final drawing needs better paper. We can try different types to see what we like best.
Selecting Your Drawing Tools
Pencils are our main tools. We use HB pencils for light lines and 2B or 4B for darker shading. A kneaded eraser helps fix mistakes without damaging the paper.
For inking, we like fine-tipped black markers. They make clean, dark lines. Colored pencils add a nice touch for details like headlights.
We keep our tools in a case or cup. This keeps everything neat and easy to find when we’re ready to draw.
Drafting the Basic Outline
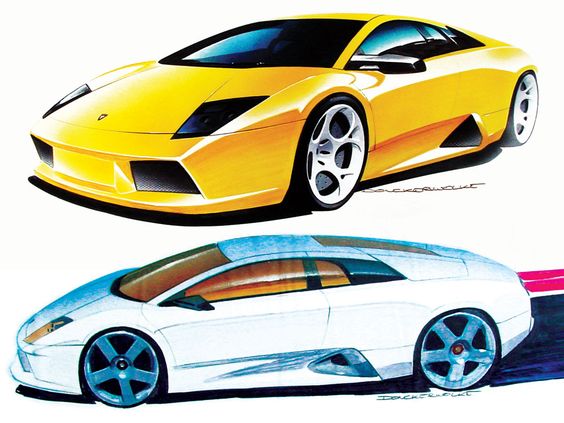
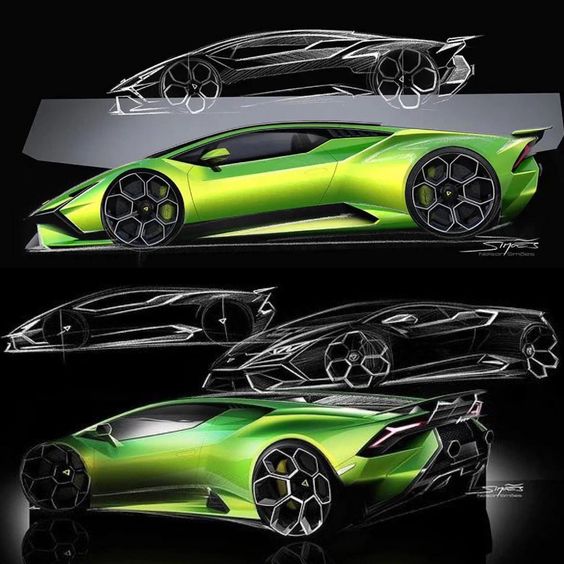
Let’s start our sports car drawing by sketching out the basic shape and key features. We’ll use simple shapes and lines to create the foundation for our sleek vehicle.
Starting with Basic Shapes
We begin with basic shapes to form the car’s outline. We draw a long, flat rectangle for the body. Next, we add two circles for the wheels. A smaller rectangle on top forms the windshield and roof. We use curved lines to connect these shapes, giving our car a smooth look.
We sketch lightly at first. This lets us easily erase and adjust as we go. We make sure the car’s proportions look right. The body should be longer than it is tall. The wheels need to be the right size compared to the body.
Adding the Car’s Main Features
Now we add more details to our basic outline. We draw the front bumper with a mix of straight and curved lines. The headlights come next – we can use small circles or ovals for these. We sketch the grille, which often has a distinctive shape for each car brand.
We add the side mirrors, using small rectangles or ovals. The rear wheel arch gets some attention too. We curve it slightly over the back wheel. Lastly, we sketch in some body lines to give the car more shape and style. These can be straight or curved, depending on the look we want.
Detailing the Sports Car
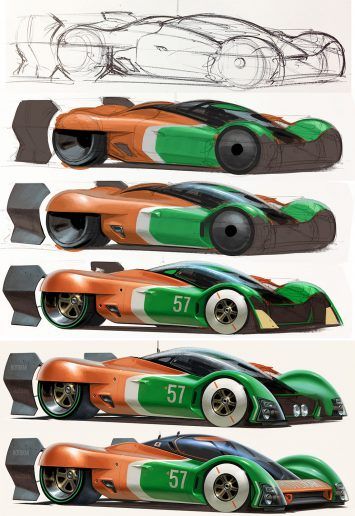
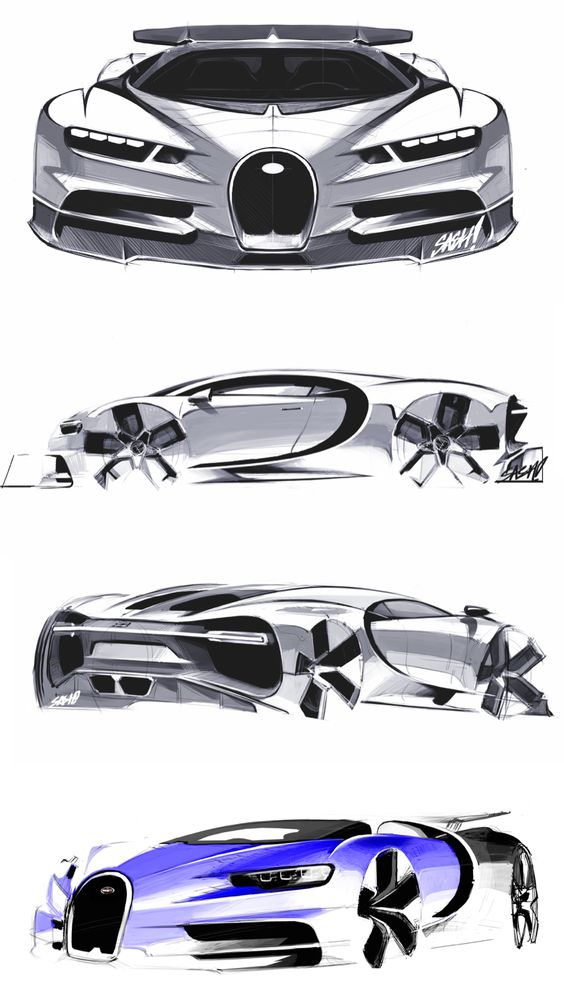
Adding precise details brings a sports car drawing to life. We’ll cover key elements like wheels, body, and lights to create a realistic image.
Drawing Wheels and Rims
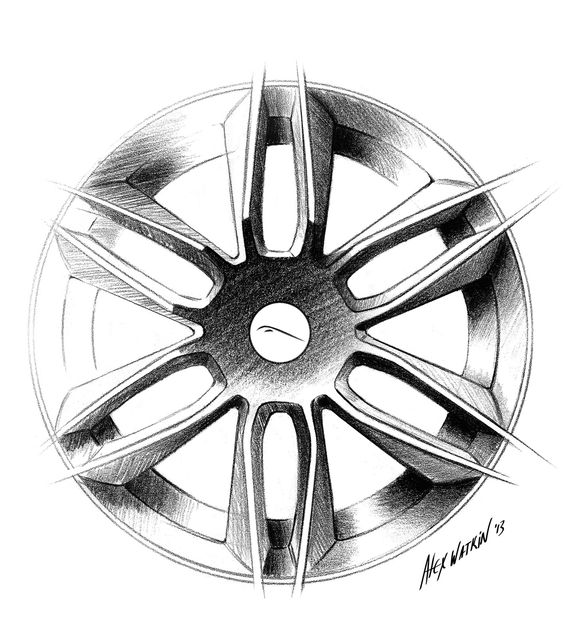
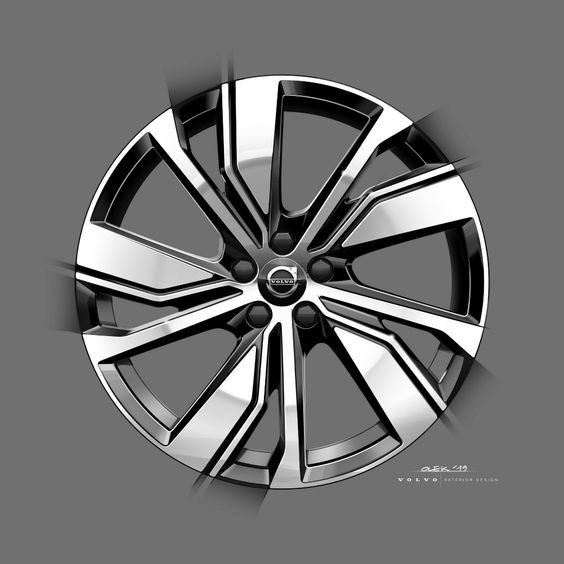
Let’s start with the wheels. We draw circles for the tires, making sure they’re the right size for our car. The rims are crucial for that sporty look. We sketch spokes or intricate patterns inside the wheels.
For a cool effect, we can add some shading to show the curve of the tire. We don’t forget the treads – a few simple lines can give that grippy texture.
Lastly, we draw the wheel well, the space above the tire. This helps the wheels look like they’re actually attached to the car.
Perfecting the Car Body
The body is the heart of our sports car. We start with the main shape – sleek and aerodynamic. We add curves to the hood and roof to give it that speed-demon look.
Next, we focus on details. We draw the doors, making sure to add handles. The windows come next. We make them slightly tinted for that extra cool factor.
Don’t forget the spoiler at the back! It’s a key part of many sports cars. We also add vents on the hood or sides. These little touches make our car look fast even when it’s standing still.
Depicting Lights and Mirrors
Lights and mirrors are small but important parts of our sports car. We start with the headlights. Modern sports cars often have sharp, angled headlights. We draw them to fit the car’s style.
For the taillights, we can get creative. Maybe they wrap around the back of the car? We add some reflections to make them look shiny and new.
Side mirrors are next. We keep them small and streamlined to match the car’s sporty look. Lastly, we draw the windshield and rear window. Adding a slight glare can make them look more realistic.
Creating Depth and Perspective
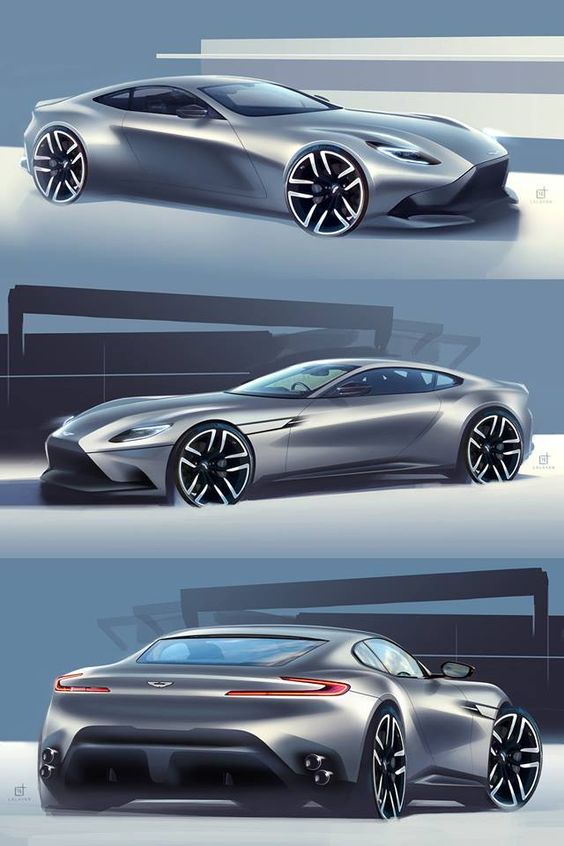
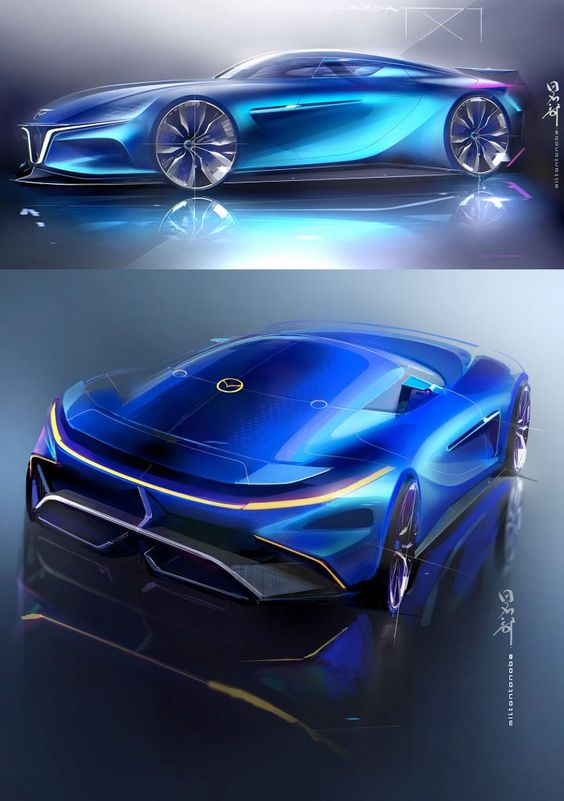
Depth and perspective are key to making sports car drawings look realistic. Let’s explore how to add these elements to bring our car sketches to life.
Understanding Perspective in Car Drawings
We need to get the angles right to make our sports car look 3D. The front of the car should be bigger and clearer than the back. We can use vanishing points to guide our lines. This helps show distance and makes the car look like it’s sitting on the ground.
For the bottom part, we draw
Adding the Final Touches
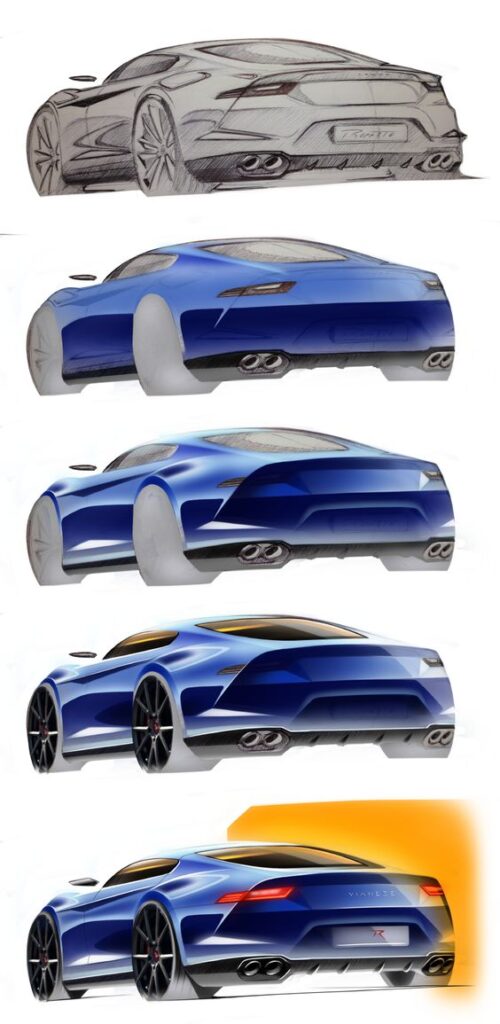
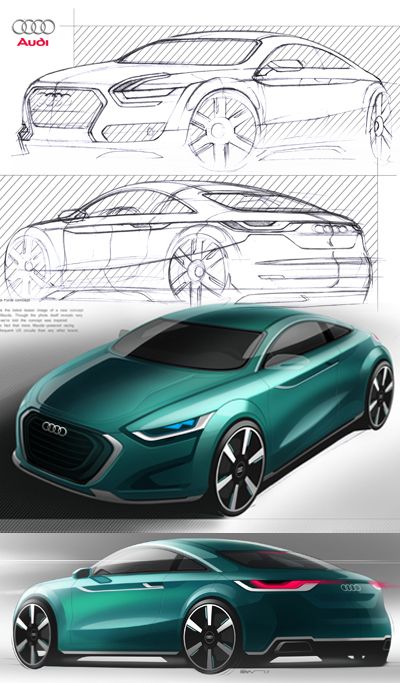
Let’s put the finishing touches on our sports car drawing. We’ll clean up the lines and add some eye-catching color to make our artwork really stand out.
Tracing and Cleaning The Drawing
First, we’ll trace over our pencil lines with a pen or marker. This step makes our car’s outline bolder and easier to see. We can use a black fine-tip marker for crisp, clean lines. As we trace, let’s pay close attention to details like the headlights and grille.
Next, we’ll grab an eraser to remove any leftover pencil marks. This cleans up our drawing and leaves only the inked lines. We should be gentle when erasing to avoid tearing the paper.
Coloring Your Sports Car
Now for the fun part – adding color! We can use markers, colored pencils, or even paint to bring our sports car to life. Red is a classic color for sports cars, but we can pick any shade we like.
Let’s start with the body of the car. We’ll color it in smooth, even strokes. For shiny parts like windows and chrome details, we can leave them white or use light blue and gray. Don’t forget to add some black for the tires and wheel rims.
To make our car pop, we can draw a simple road underneath it. A gray strip with white lines will do the trick. This gives our sports car a sense of speed and motion.
Tips and Tricks
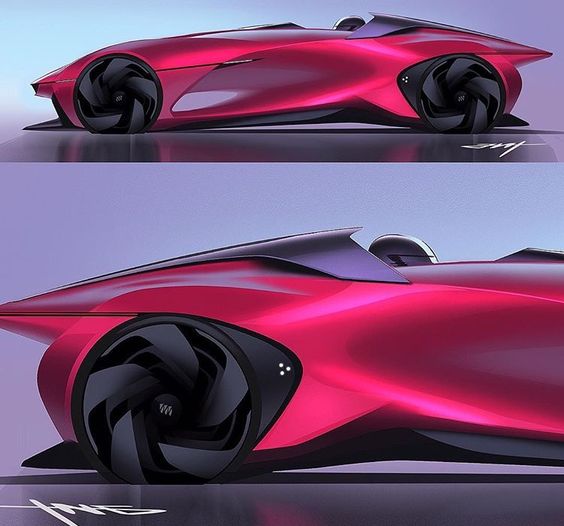
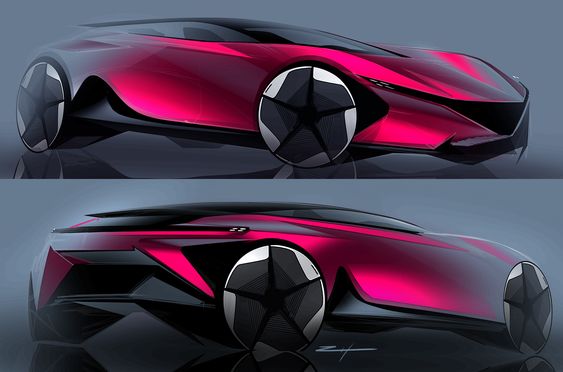
Drawing sports cars can be tricky, but with practice and the right techniques, anyone can create impressive sketches. We’ve put together some helpful pointers for beginners and more advanced artists.
Techniques for Beginners
Let’s start with the basics. First, we suggest using reference images to get familiar with car shapes. Start by sketching simple outlines and basic shapes. Don’t worry about details yet – focus on getting the main form right.
Use light pencil strokes at first. This makes it easier to erase and adjust as you go. Try breaking the car down into smaller parts like the wheels, hood, and windows. Draw these one at a time.
Practice drawing circles for wheels. They’re often harder than they look! A ruler can help with straight lines for the car’s body. Remember, it’s okay to make mistakes. Keep erasing and redrawing until you’re happy with the result.
Advanced Drawing Techniques
Ready to take your sports car drawings up a gear? Let’s dive into some pro tips. Pay close attention to proportions – they can make or break your sketch. Use guidelines to keep everything in scale.
Add depth with shading. Start light and build up darker areas gradually. This creates a 3D effect. For a sleek look, use smooth, curved lines on the car’s body. Sharp angles are great for modern, aggressive designs.
Don’t forget about reflections. Cars are shiny, so add some glare on windows and bodywork. This really brings your drawing to life. Experiment with different perspectives too. A low angle can make the car look fast and powerful.
Try different tools like markers or digital software to enhance your work. These can add color and extra detail to your sports car masterpieces.
Presenting Your Work

We’ve put in the effort to draw an awesome sports car. Now it’s time to show it off and get creative with our artwork. Let’s explore some fun ways to share our drawing and turn it into a cool coloring page.
Sharing Your Drawing
We can snap a photo of our sports car sketch and post it online. Social media is perfect for this. Instagram and Twitter love car art! We might join car enthusiast groups on Facebook to connect with other gearheads. They’ll dig our low-to-the-ground speed machine.
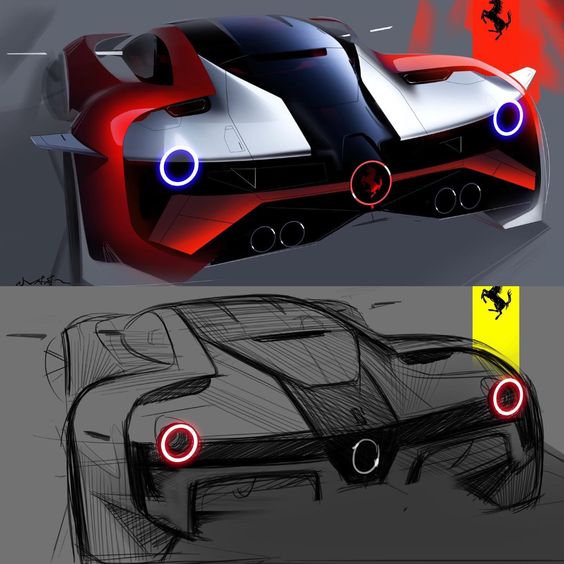
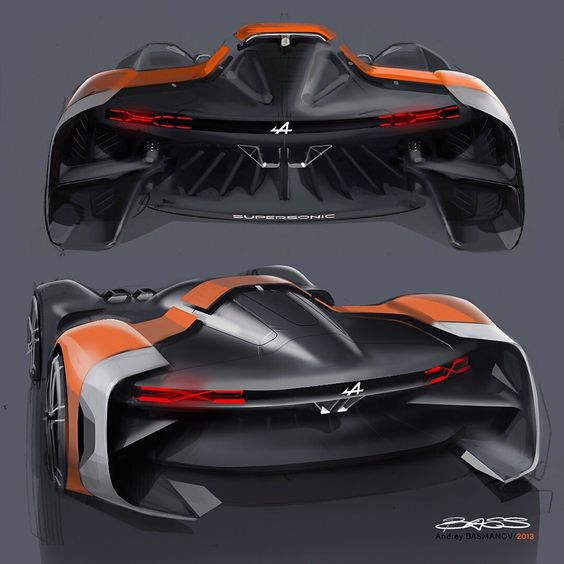
Art websites are another great option. DeviantArt and ArtStation welcome car drawings. We could even start a blog to showcase our car sketches over time. It’s fun to see how our skills improve.
Don’t forget real-world sharing too. We can frame our drawing and hang it up. It’ll look sweet on a bedroom or garage wall. Car shows sometimes have art displays – that could be a cool place to show off our work.
Creating a Coloring Page
Turning our sports car into a coloring page is super easy. We just need to trace the main lines of our drawing. Keep it simple – focus on the car body shape and key details.
Here’s how we do it:
- Place tracing paper over our original sketch
- Use a black marker to trace the outlines
- Scan or photograph the traced version
- Print copies to color
Now we’ve got a custom coloring page! It’s a fun way to share our art with kids or fellow car lovers. They can add their own flair with wild colors or racing stripes.
We could even make a whole “Hit the Road” coloring book. Different sports cars on each page would be rad. It’s a cool way to combine our love of drawing and fast cars.
- 1.0Kshares
- Facebook0
- Pinterest1.0K
- Twitter0
- Reddit0
